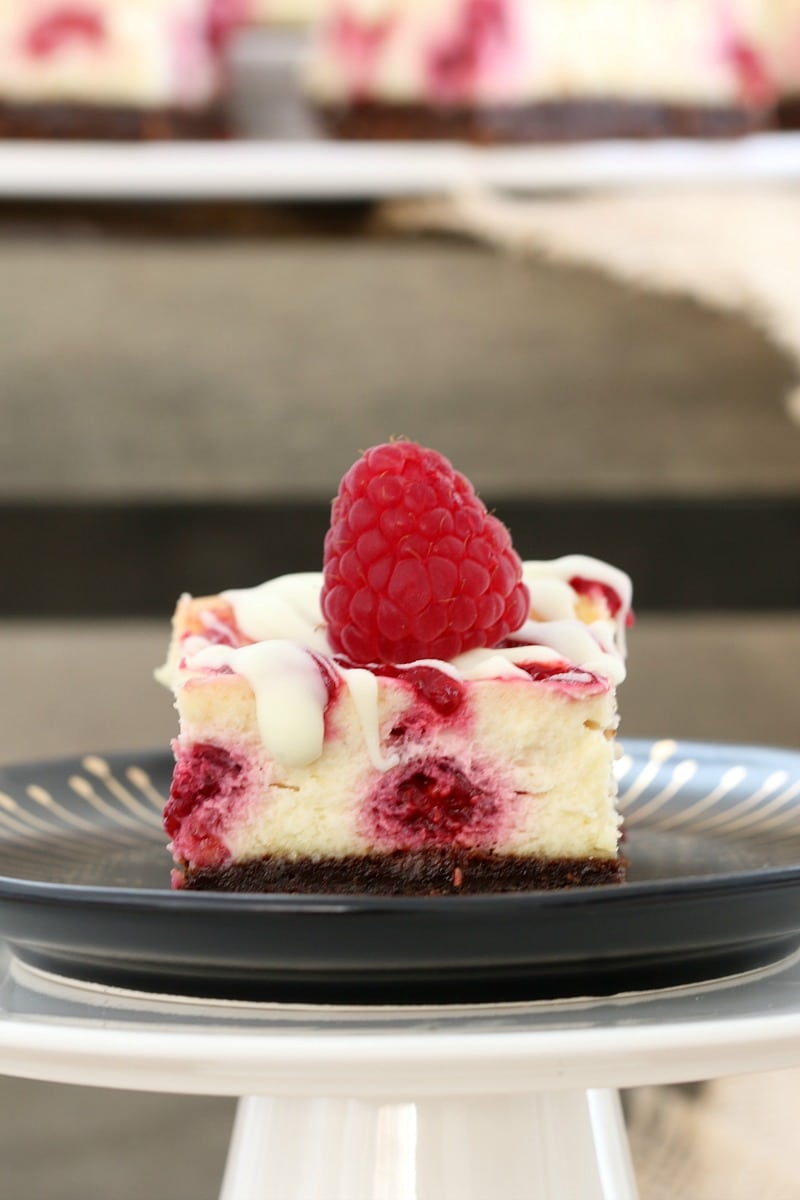
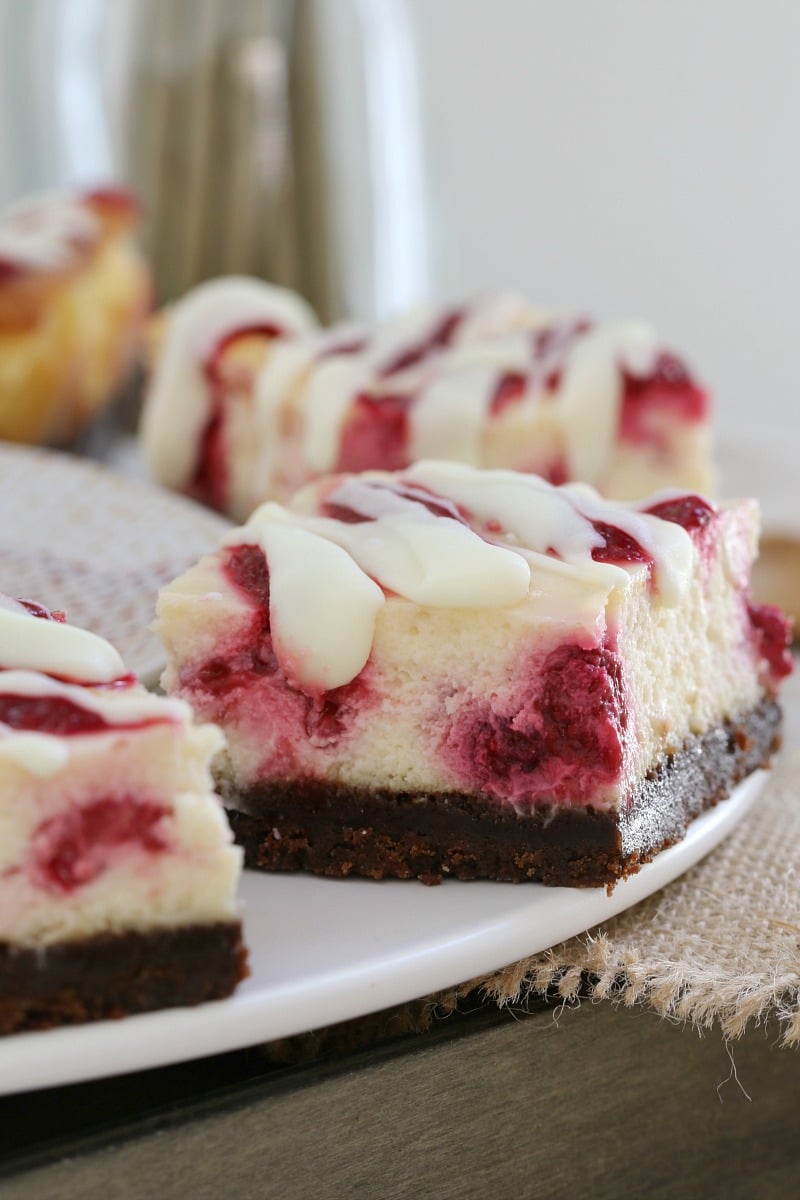
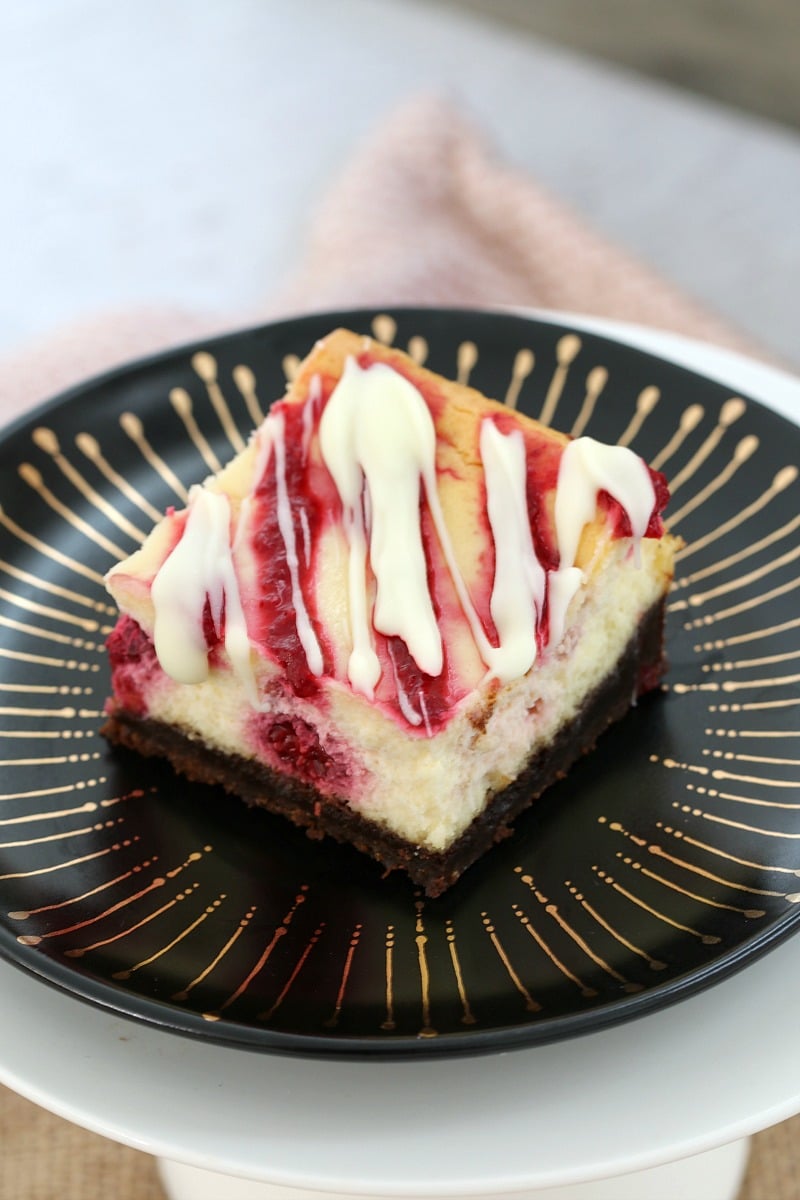
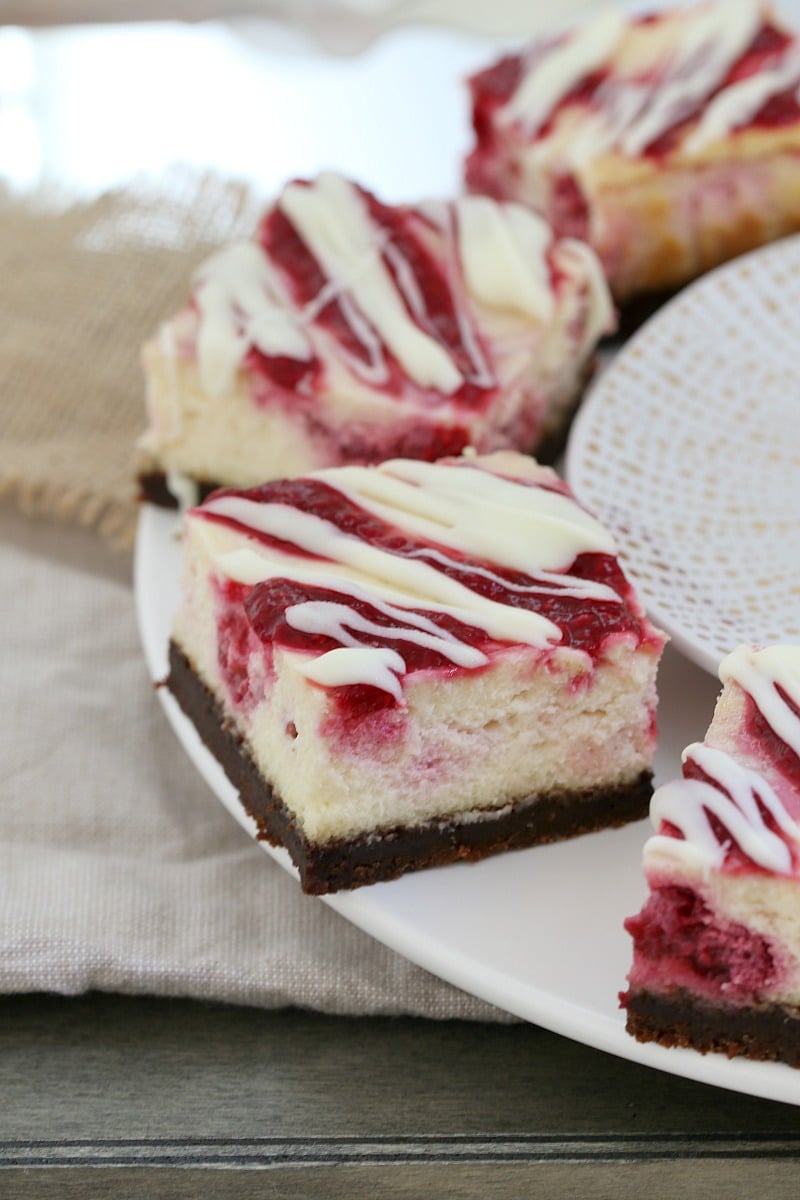
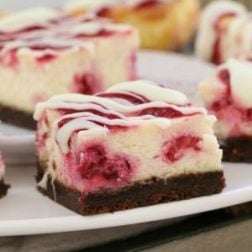
You will love these delightfully luscious, white chocolate and raspberry cheesecake bars! Featuring a crunchy chocolate biscuit base and creamy white chocolate filling with bursts of tart raspberries and swirls of raspberry sauce.
This cheesecake slice will make the perfect afternoon tea or dessert for any occasion!
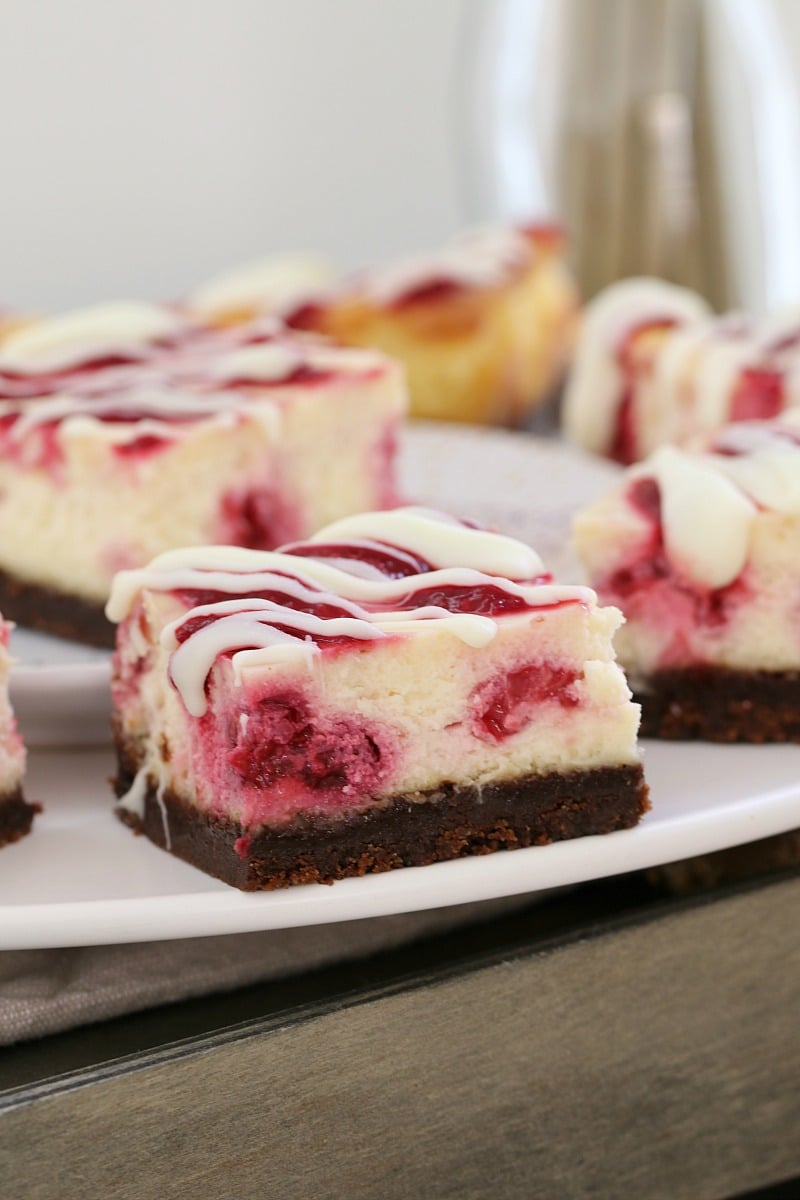
Quicker and easier than making a full cheesecake, this cheesecake slice is any cheesecake lovers' dream! Buttery chocolate crust? Check! Deliciously rich and creamy cheesecake filling? Double check. Sweet and tart raspberry swirl? You bet!
Make the most of summer berries - they're the perfect way to finish any meal. Or skip the meal entirely and just eat these instead (go ahead, I won't tell…!)
Cheesecake slices, such as this similar strawberry cheesecake slice, have a special place in my heart, because they require minimal effort but always impress!
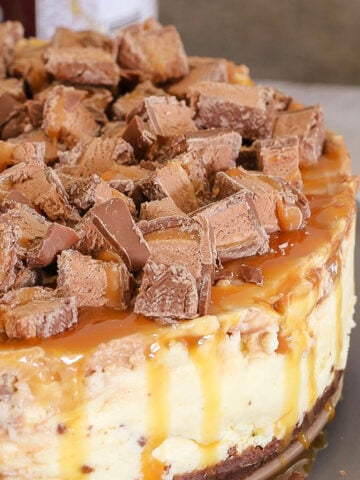
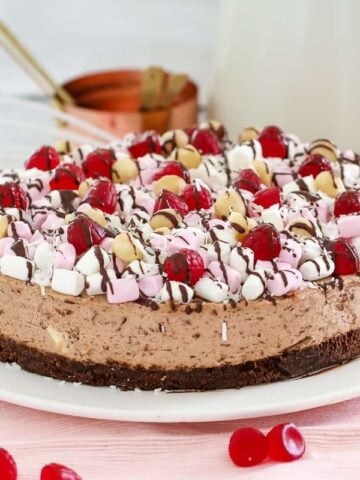
Whether it's baked, such as my classic baked lemon cheesecake or my New York baked cheesecake, or whether it's no-bake such as my raspberry and white chocolate cheesecake or Caramilk cheesecake that catchs your eye, this white chocolate and raspberry cheesecake slice is another cheesecake recipe that is just perfect for holidays, special occasions, birthdays, summer BBQ dinners, and more!
But you don't need a special reason to make it, it really is the perfect dessert for any time!
Why You're Going To Love This Recipe
- Easier to make than a full cheesecake - pop into a slice tin - there's less baking and resting time required compared to a full cheesecake.
- Easier to serve - this slice can be cut into individual, portable 'hand-held' serves.
- Super creamy - the most creamy, silky smooth, white chocolate cheesecake filling.
- Simple pantry ingredients - simple ingredients combine to make an incredible showstopping dessert.
- Quick and easy - 15 minutes prep time is all you need! Waiting for it to chill is the hardest part!
- Perfect for making in advance - you can make this white chocolate and raspberry cheesecake slice ahead of time and keep it chilled, all ready to serve.
- Both conventional and Thermomix methods - you will find both the conventional and Thermomix methods in the recipe card at the bottom of the post.
What You Need
No fancy ingredients needed here, just some simple pantry and fridge staples.
Note: Please scroll to the recipe card at the bottom for ingredient quantities and the full detailed method.
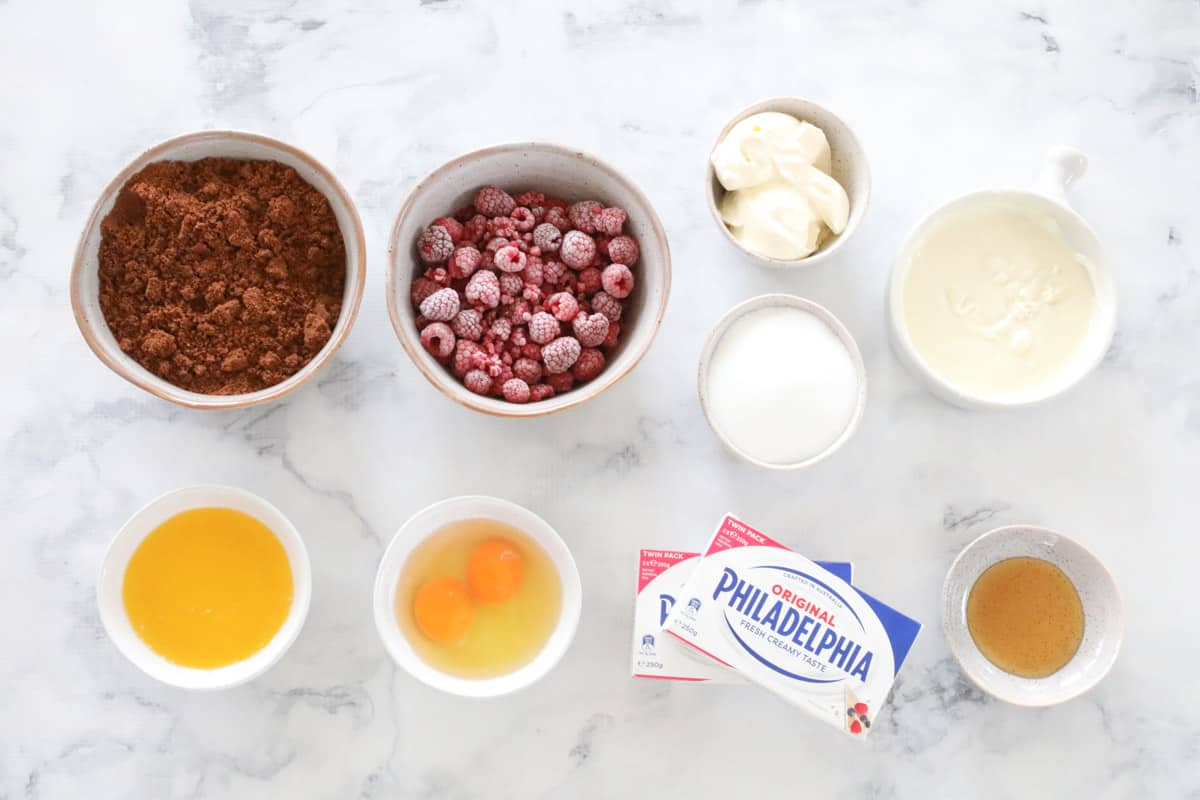
- Chocolate Ripple cookies - crushed cookies form the crunchy chocolate base. I use Arnott's Chocolate Ripple biscuits, but any plain, sweet chocolate biscuit will work. You could also substitute with Oreos.
- Butter - holds the crushed biscuits together and helps to set the base. It also gives a lovely, rich flavour to the cheesecake. I recommend using real, salted or unsalted butter, rather than margarine or butter substitutes.
- Cream cheese - softened to room temperature. I recommend regular, full fat cream cheese for the best flavour and texture. I use the Philadephia brand, but you can use any type of block cream cheese.
- Sour cream - adds a lovely tanginess and creamy richness to the cheesecake filling. While I recommend full-fat sour cream, light sour cream can also be used.
- Caster sugar - also known as superfine sugar, caster sugar dissolves easily when mixing with other ingredients.
- Eggs - help the cheesecake filling to set and add to the lovely rich flavour. Make sure your eggs are at room temperature for a better result.
- Vanilla extract - or vanilla paste or essence.
- Raspberries - you can use fresh or frozen raspberries, depending on what you have available. Make sure you keep extra for decorating though!
- White chocolate - be sure to use a good quality brand that you know and love for the best results! I use Cadbury or Nestle, but any good quality white chocolate will work.
- Raspberry coulis - this ingredient is optional, but highly recommended! You can use any type of store-bought raspberry coulis, or homemade if you prefer. Swirl a little over the top of the cheesecake (dot some over the top and use a knife to swirl it) before baking and then add a little more to serve with some fresh berries. LOOKS AMAZING!
Step By Step Instructions
I LOVE how easy it is to make this slice. Just a few simple steps and about 15 minutes prep time is all you need!
Note: Please scroll to the recipe card at the bottom of the post for ingredient quantities and the full detailed method.
Step 1 - The Biscuit Base
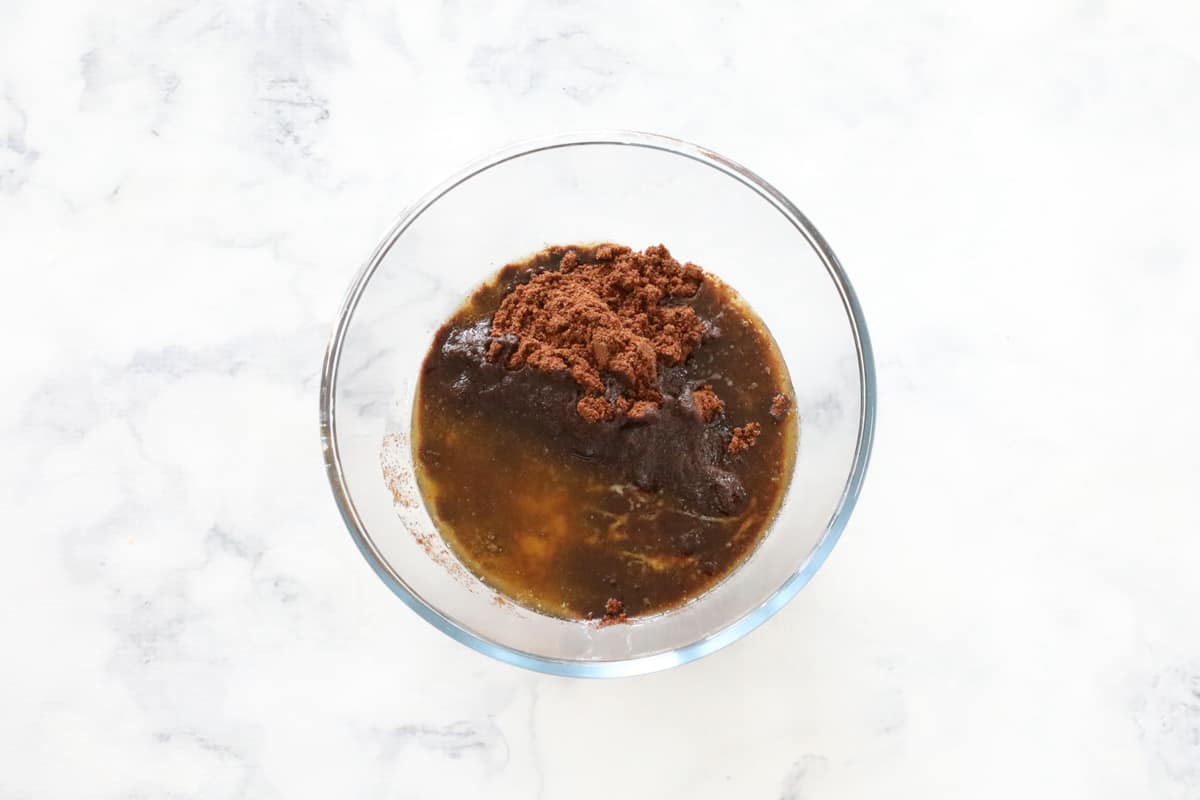
Start by mixing the crushed biscuits and melted butter together in a bowl until combined.
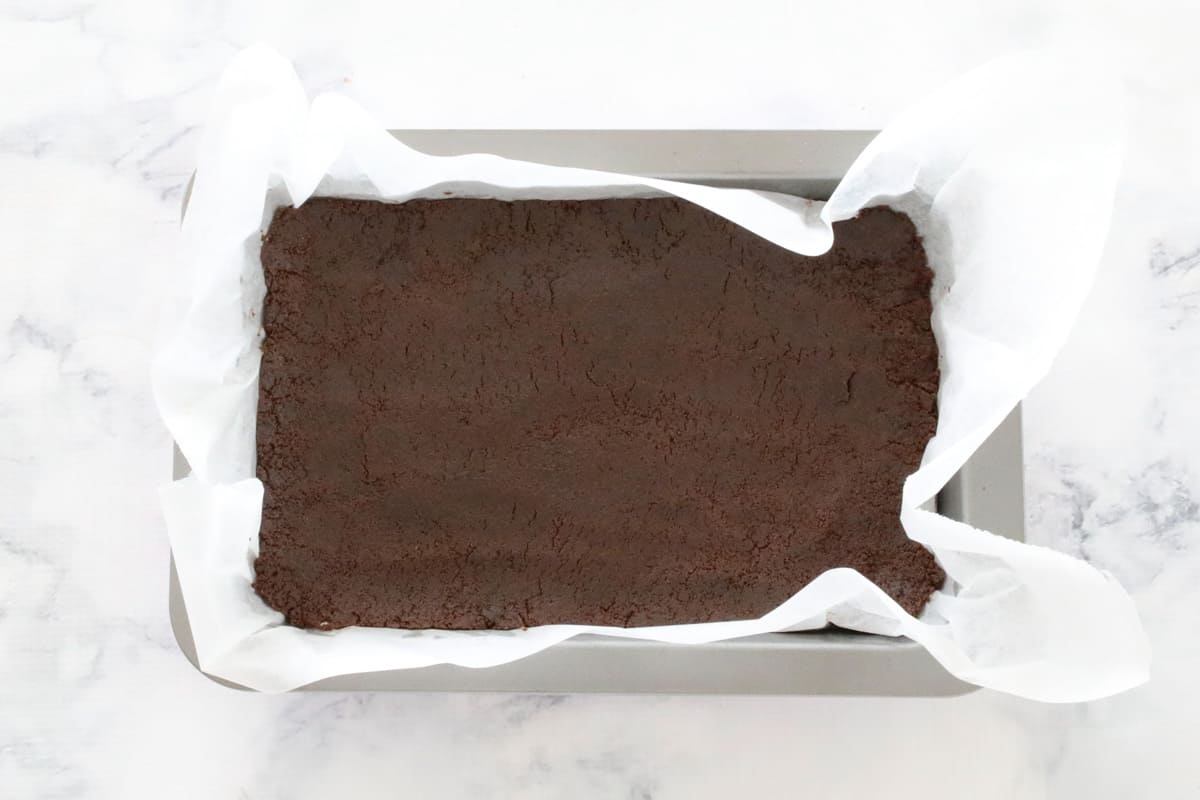
Firmly press the biscuit layer into your prepared slice tin.
Step 2 - The Cheesecake Filling
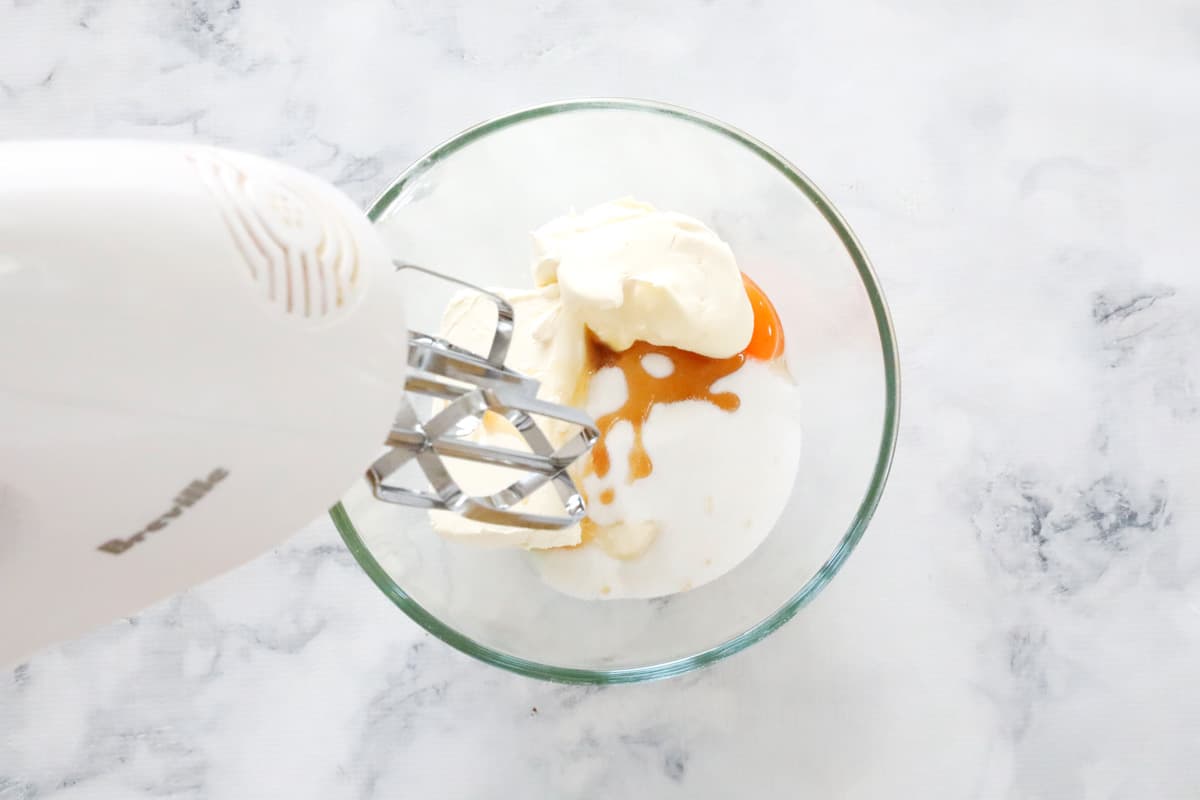
Beat the softened cream cheese, eggs, sour cream, caster sugar and vanilla extract in a large bowl until smooth and creamy.
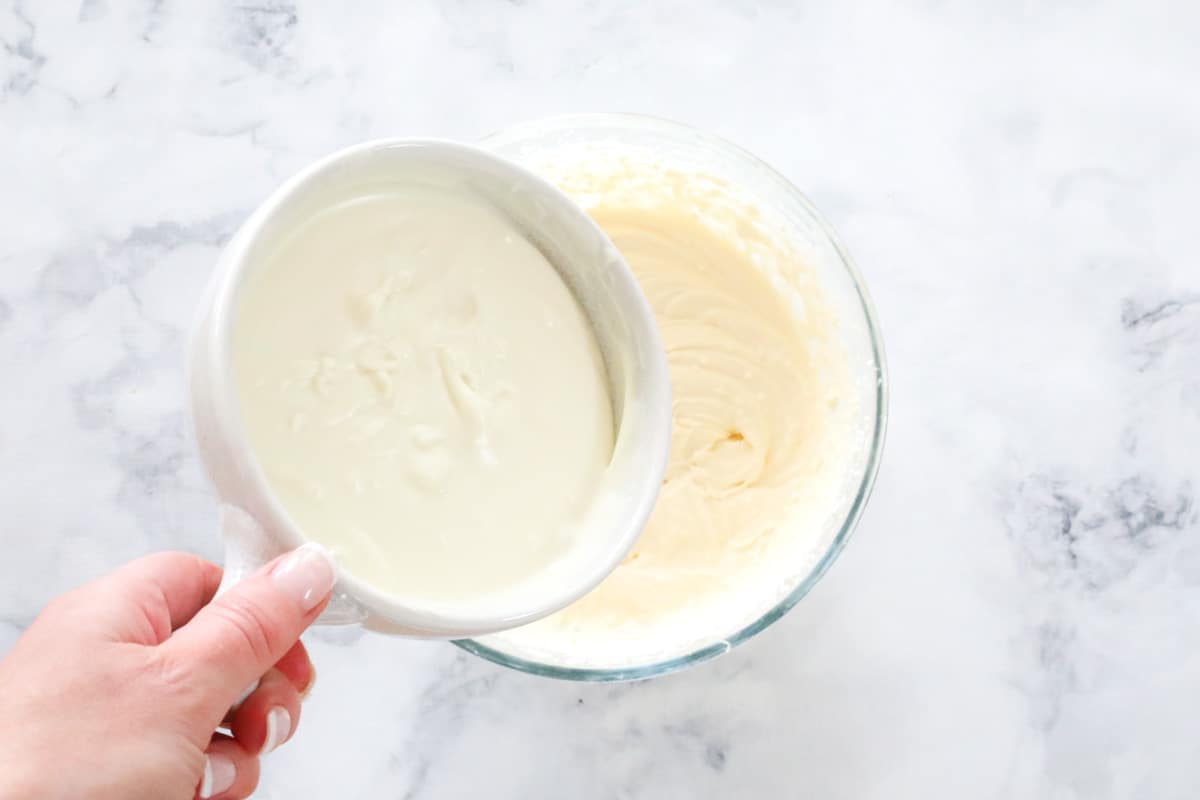
Add the melted white chocolate, and beat until smooth and combined.
Step 3 - Fold In The Raspberries
Fold the raspberries gently through with a spatula.
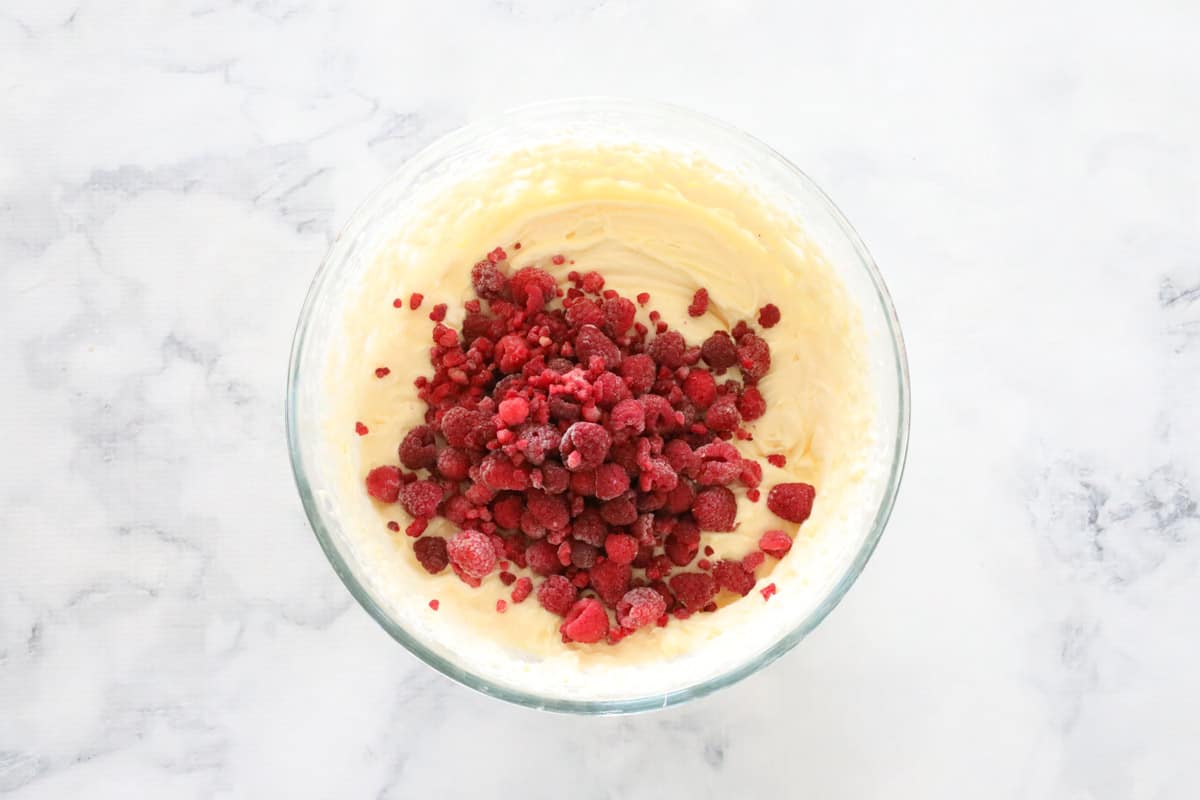
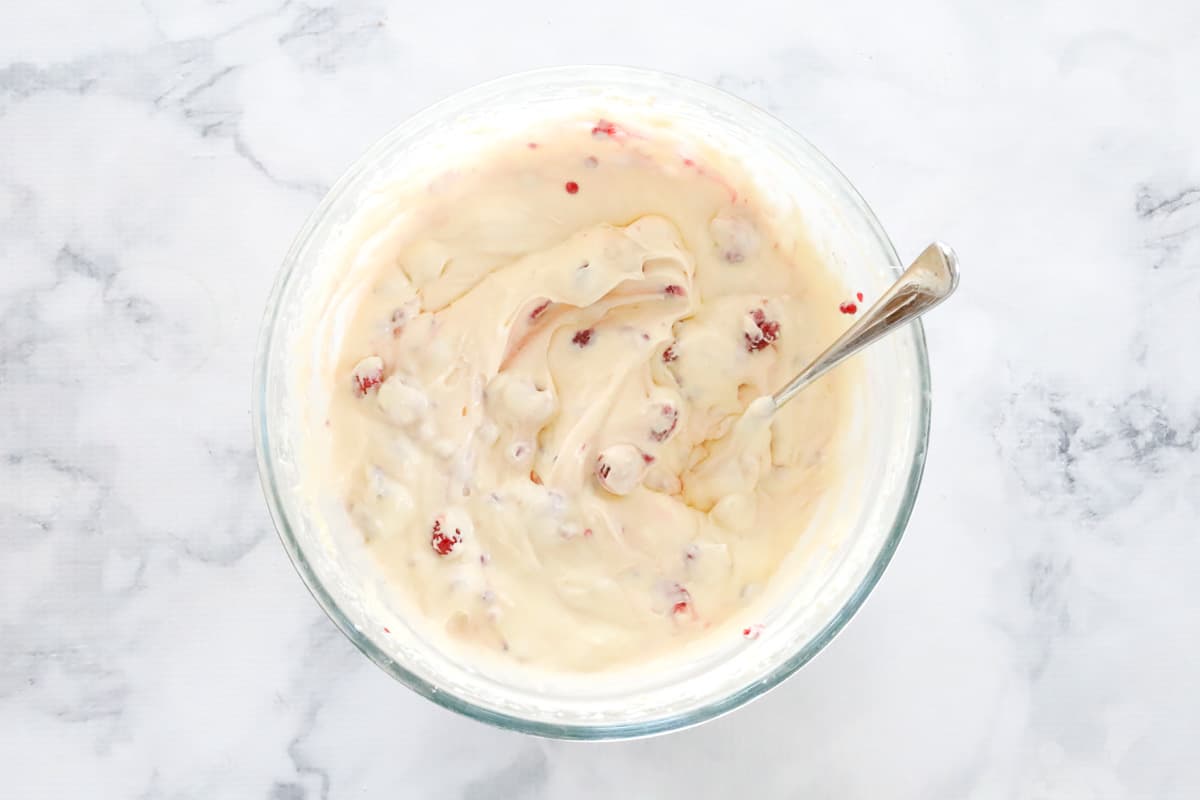
Mix lightly until just combined to avoid breaking up the berries.
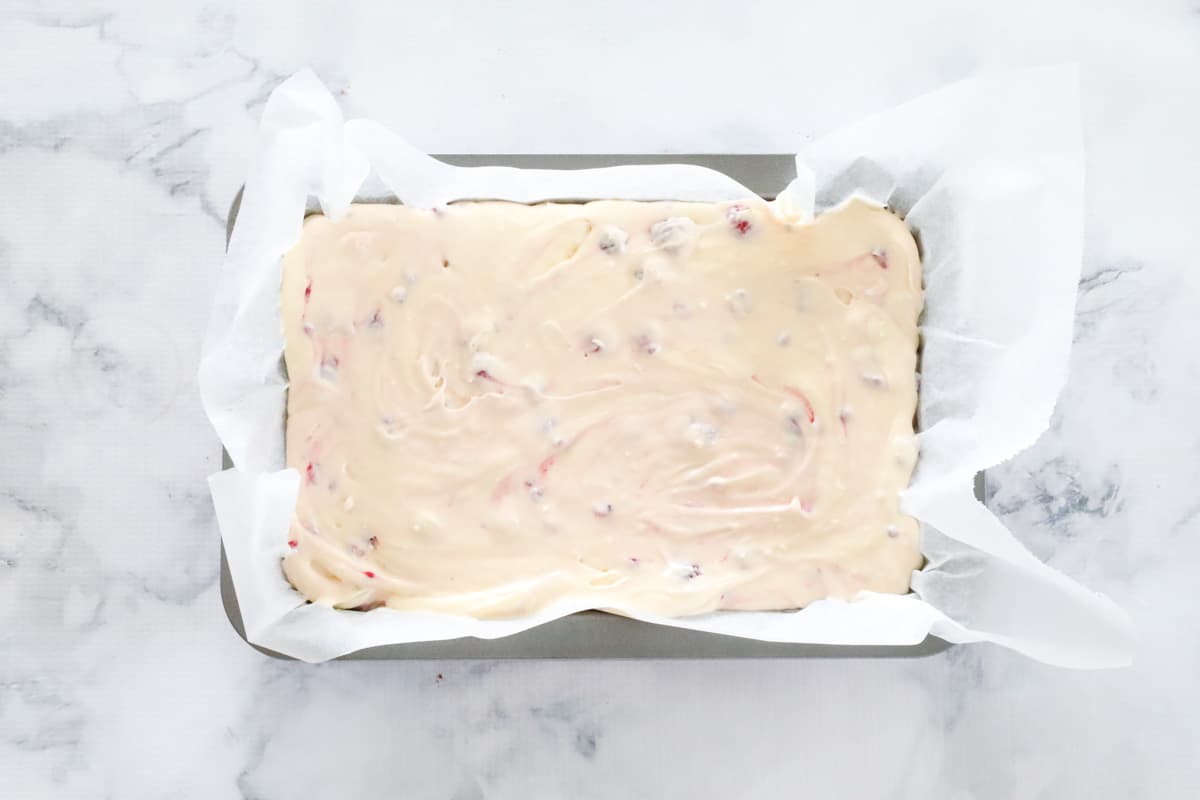
Pour the mixture into the prepared tin and spread out evenly with a spoon.
Step 4 - Bake
Bake for 40-50 minutes, see full baking instructions in the Expert Tips and Recipe Card below.
The slice is ready when it looks nearly set and only a small area in the centre jiggles when gently shaken. The centre will firm up as it cools.
Set in the fridge for at least 4 hours (overnight is best).
To serve, sprinkle with some extra raspberries and a drizzle of raspberry coulis. While the raspberry coulis is optional, it is highly recommended!
Expert Tips & FAQs
Follow these helpful tips to ensure the very BEST white chocolate and raspberry cheesecake slice, every time!
The cream cheese should be softened to room temperature so that it blends easily into a soft, creamy and smooth consistency, otherwise it may make the cheesecake mixture lumpy.
If you prefer, you can follow the same recipe but press into a round springform tin instead. However I find the benefit of a cheesecake slice is that it's easy to cut into pieces, perfect for taking to a special morning or afternoon tea, or serving as a dessert to a number of guests.
1. Firstly, don't overbeat your mixture, as this will cause the filling to crack when cooked.
2. You can also place a small, oven-safe baking dish filled with water at the bottom of the oven - this will keep the cheesecake moist when baking.
3. Baking the cheesecake at a relatively low temperature also helps the cheesecake to cook slowly and prevents the filling from over-baking (which can also cause cracks).
4. After the slice has finished cooking, you can leave the oven door open for an hour to allow the cheesecake to slowly cool.
5. Avoiding a sudden change in temperature will help to minimise any cracking or sinking.
You will need to chill the white chocolate and raspberry cheesecake slice for at least 4 hours (or preferably overnight) for it to fully set before slicing and serving. Then, you can serve it as is, or decorate it with white chocolate shavings, extra berries, and some raspberry coulis.
This cheesecake keeps well in the fridge in an airtight container or covered with clingwrap for up to 5 days. But, let's be honest, it is so creamy and delicious that it never lasts that long!
Related Recipes
Cheesecake lovers, rejoice! Here are some recipes that are sure to satisfy your sweet cheesecake cravings. Or, check out this collection of the very best cheesecake recipes!
WANT EVEN MORE DELICIOUS RECIPES? Subscribe to my newsletter or follow along on Facebook or Instagram. And if you love baking, then please come and join my Facebook cooking club group or subscribe to my YouTube channel.
The BEST White Chocolate & Raspberry Cheesecake Slice
Ingredients
- 250 g chocolate ripple biscuits or any plain chocolate biscuits, crushed
- 100 g butter melted
- 500 g cream cheese room temperature
- 175 g (¾ cup) sour cream
- 150 g (⅔ cup) caster sugar
- 2 eggs room temperature, lightly beaten
- 1 teaspoon vanilla extract
- 150 g white chocolate melted and slightly cooled
- 200 g (1 ½ cups) raspberries fresh or frozen, plus extra to decorate
Optional
- raspberry coulis store bought or homemade. A little can be swirled through the mix before baking, or drizzle some over the top before serving.
Instructions
Conventional Method
- Preheat oven to 160 degrees celsius (fan-forced). Grease and line a large 32cm x 28cm rectangular slice tin with baking paper.
- Place the crushed chocolate biscuits into a bowl and pour over the melted butter. Mix until well combined. Firmly press into the prepared tin and set aside.
- Beat the cream cheese, sour cream, caster sugar, lightly beaten eggs, and vanilla extract in a large bowl until smooth and creamy.
- Add the melted white chocolate and beat until smooth and combined.
- Fold the raspberries gently through with a spatula.
- Pour the mixture into the prepared tin and spread out evenly with a spoon.
- Optional - if using raspberry coulis, dot about 6-8 tablespoons of coulis randomly over the top the the slice. Then, use a knife to gently swirl the mixture a few times. Don't overmix the coulis or it will lose the pretty swirl effect.
- Place into the oven for 40-50 minutes or until firm in the centre. Note: if you notice the slice is over-browning and still isn't cooked through, place a sheet of foil loosely over the top and continue cooking.
- Once completely cooled, place in the fridge for at least 4 hours (preferably overnight) before cutting into slices.
- Decorate with extra raspberries, berry coulis and melted white chocolate drizzled over the top (optional).
Thermomix Method
- Preheat oven to 160 degrees celsius (fan-forced). Grease and line a large 32cm x 28cm rectangular slice tin with baking paper.
- Place the butter into the Thermomix bowl and melt for 2 mins, Speed 2, 100 degrees (or until melted). Add the chocolate ripple biscuits into the Thermomix bowl and crush for 6 seconds, Speed 10. Firmly press the biscuit mixture into the prepared tin and set aside.
- Place the white chocolate into a clean and dry Thermomix bowl. Melt for 3 minutes, 60 degrees, Speed 1 (or until melted). Allow to cool slightly.
- Add the cream cheese, sour cream, caster sugar, eggs, and vanilla extract. Mix for 15 seconds, Speed 5. Scrape down the sides of the bowl and repeat for a further 15 seconds (or until smooth).
- Fold the raspberries gently through with a spatula.
- Pour the mixture into the prepared tin and spread out evenly with a spoon.
- Optional - if using raspberry coulis, dot about 6-8 tablespoons of coulis randomly over the top the the slice. Then, use a knife to gently swirl the mixture a few times. Don't overmix the coulis or it will lose the pretty swirl effect.
- Place into the oven for 40-50 minutes or until firm in the centre. Note: if you notice the slice is over-browning and still isn't cooked through, place a sheet of foil loosely over the top and continue cooking.
- Once completely cooled, place in the fridge for at least 4 hours (preferably overnight) before cutting into slices.
- Decorate with extra raspberries, berry coulis and melted white chocolate drizzled over the top (optional).
Notes
- Cream cheese - soften to room temperature to avoid lumps in the mixture.
- Raspberry coulis - this is an optional ingredient, but highly recommended! You can use any type of store bought raspberry coulis, or homemade if you prefer. Swirl a little over the top of the cheesecake (dot some over the top and use a knife to swirl it) before baking and then add a little more to serve with some fresh berries. LOOKS AMAZING!
- Traditional cheesecake or cheesecake slice - if you prefer, you can follow the same recipe but press into a round springform tin instead. However, I find the benefit of a slice is that it's easy to cut into pieces, perfect for taking to a special morning or afternoon tea, or serving as a dessert to a number of guests.
- Tips to stop the cheesecake from cracking -
- Firstly, don't overbeat your mixture, as this will cause the filling to crack when cooked.
- You can also place a small, oven-safe baking dish filled with water at the bottom of the oven. This will keep the cheesecake moist.
- Baking the cheesecake at a relatively low temperature also helps the cheesecake to cook slowly and prevents the filling from over-baking (which can also cause cracks).
- After the slice has finished cooking, you can leave the oven door open for an hour to allow the cheesecake to slowly cool. Avoiding a sudden change in temperature will help to minimise any cracking or sinking.
- Serving - you will need to chill the cheesecake for at least 4 hours (or preferably overnight) for it to fully set before slicing and serving. Then, you can serve it as is, or decorate it with white chocolate shavings, extra berries and some raspberry coulis (optional).
- Storage - this cheesecake keeps well in the fridge in an airtight for up to 5 days.






Shyla Godin-Swereda says
If I want to make a round one instead what size pan and would there be any other changes?
Lucy says
Hi Shyla, as long as it holds approximately the same amount of mixture, it should be fine. You might also like to use a round springform tin which will make it easier to remove (round is a bit tricker with this slice!).
Robyn Bowman says
This is delicious, but its too soft to handle, which is necessary for a slice. How can I make it set a bit harder? An extra egg, for example? More chocolate?
Lucy says
Hi Robyn, I would simply try cooking it for a little longer. All ovens are so different so this cheesecake might need a little longer in yours! xx
Robyn Bowman says
It was browning too much on top to go any longer, so thats not a option. Next time I will try a different oven setting. It was really delicious though.
Lucy says
Hi Robyn, yes definitely reduce the temp but also pop a sheet of foil over the top as this will stop the browning. xx
Tania says
Just wondering how many days in advance could you make this.
Lucy says
Hi Tania, you can store this in the fridge in an airtight container for up to 3 days. xx
Irene says
Hi, Just wondering, can this slice be frozen? Or, could I halve the recipe ? Love your recipes, every single one I have tried has been great! Irene
Lucy Mathieson says
Hi Irene, I dont usually freeze cheesecakes (but you could try!). Yes you could have the recipe and use a smaller tin. xx
Marilyn says
Can you freeze the unbaked slices...such as Licorice All Sorts,
Bake Play Smile says
Hi Marilyn, yes you can freeze the Licorice All Sorts Slice!