

This cooked playdough recipe takes minutes to make and keeps the kids busy for way longer than the mess takes to clean up.
If you're after more easy screen-free activities the kids can help with, my Milo Biscuits and Tiny Teddy Racing Cars are both fun ones to make together.
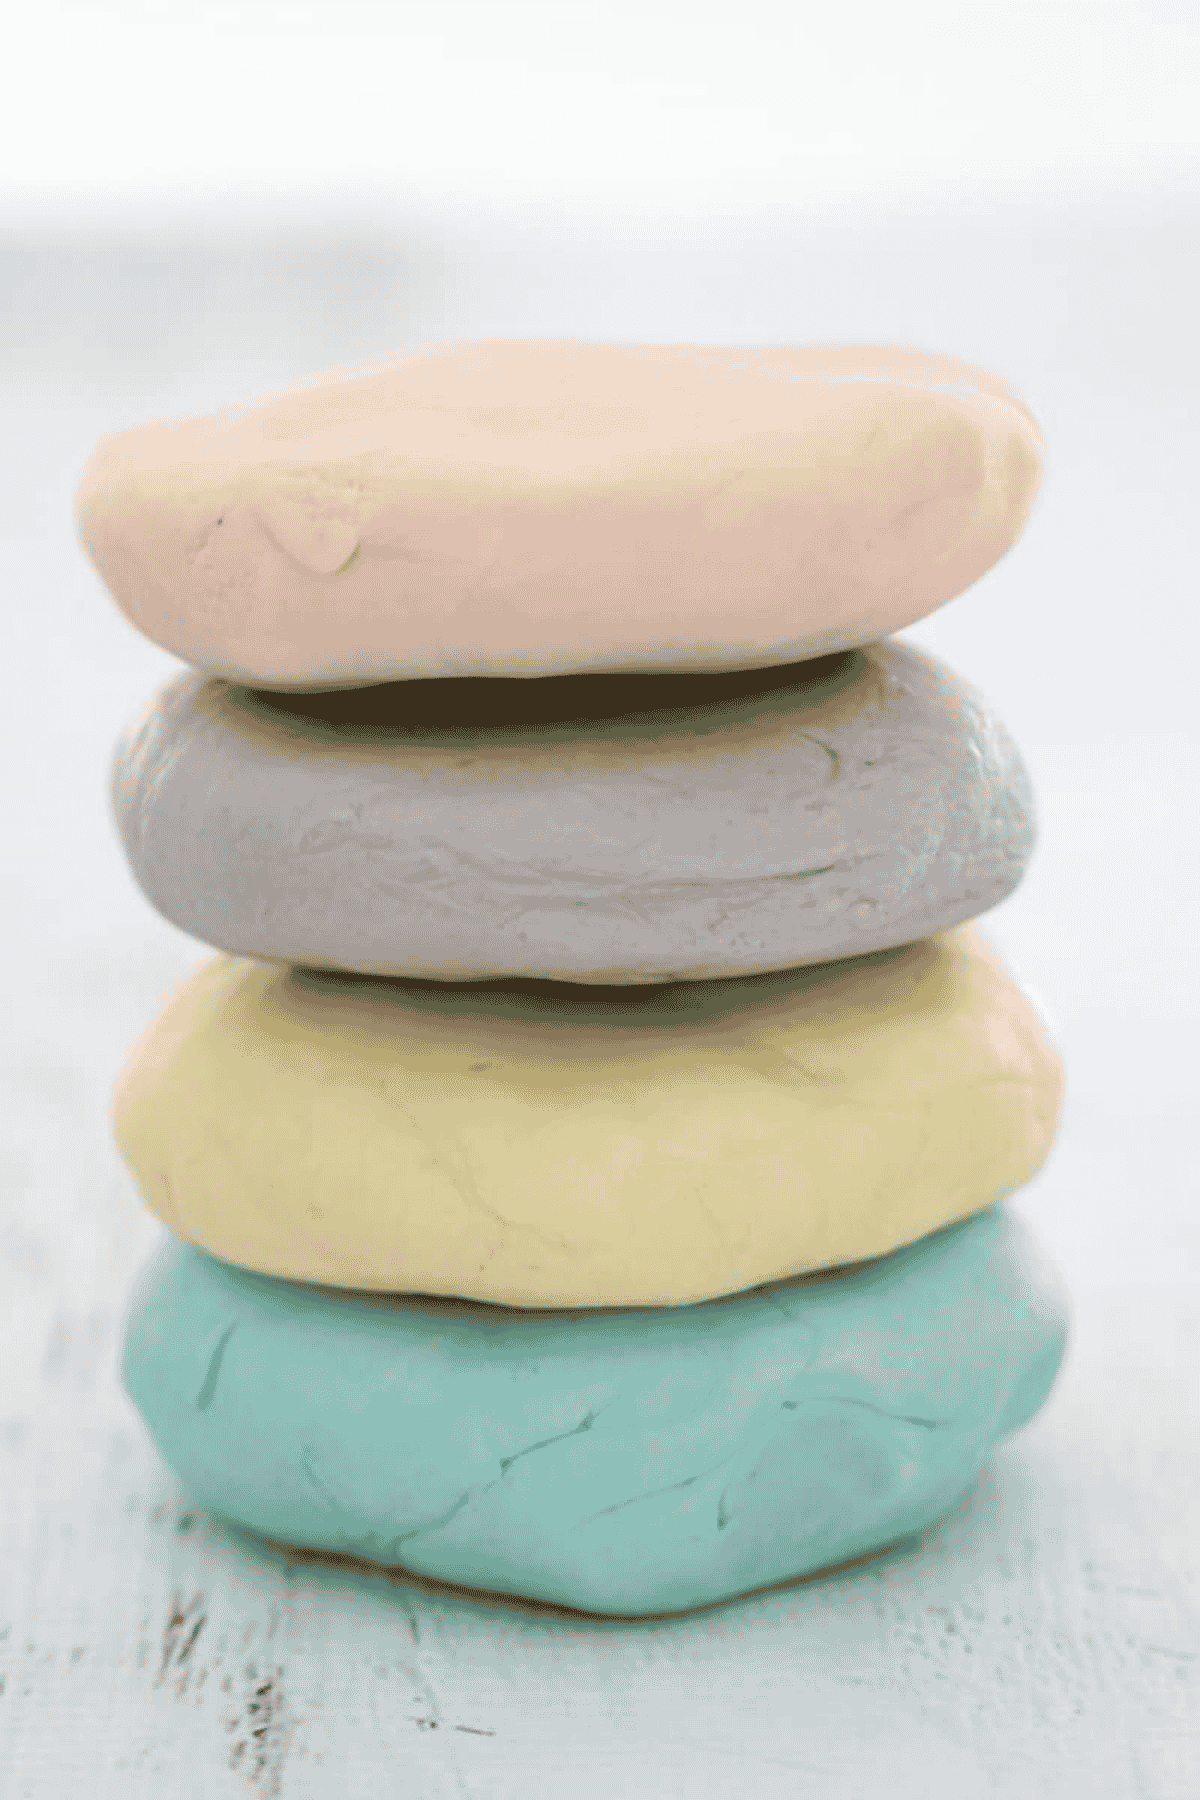
A Quick Look At The Recipe
✅ Recipe Name: Cooked Playdough
🕒 Ready In: 11 minutes
👪 Makes: 1 batch (enough for 3-4 colours)
💰 Cost: just a couple of dollars a batch
🥣 Main Ingredients: salt, water, cream of tartar, plain flour, oil
🌿 Dietary: non-edible, egg-free, nut-free
⭐ Why You'll Love It: cheap, quick to make on the stove-top or Thermomix, and it lasts up to 3 months.
SUMMARIZE & SAVE THIS CONTENT ON
I love this playdough. I do it in the Thermomix normally but would love a microwave version for at school.
- Aimee
Funnily enough, another reader answered Aimee's question for me in the comments, so I've added a microwave method below too.
If you're stocking up on easy activities for the kids, my 40+ Easy Kids Recipes are worth a bookmark too (especially the Tiny Teddy Cars and Tic Toc Tea Cup Biscuits!).
Jump to:
Why You're Going To Love This Recipe
- Cheap As Chips - a whole batch costs just a couple of dollars, using stuff you've probably already got in the pantry.
- Better Than Uncooked - cooked playdough has a far better texture and lasts way longer than the mix-and-go versions.
- 3 Ways To Make It - stove-top, Thermomix or microwave, whatever you've got handy.
- Lasts For Months - up to 3 months stored properly, so one batch goes a long way.
Playdough Ingredients
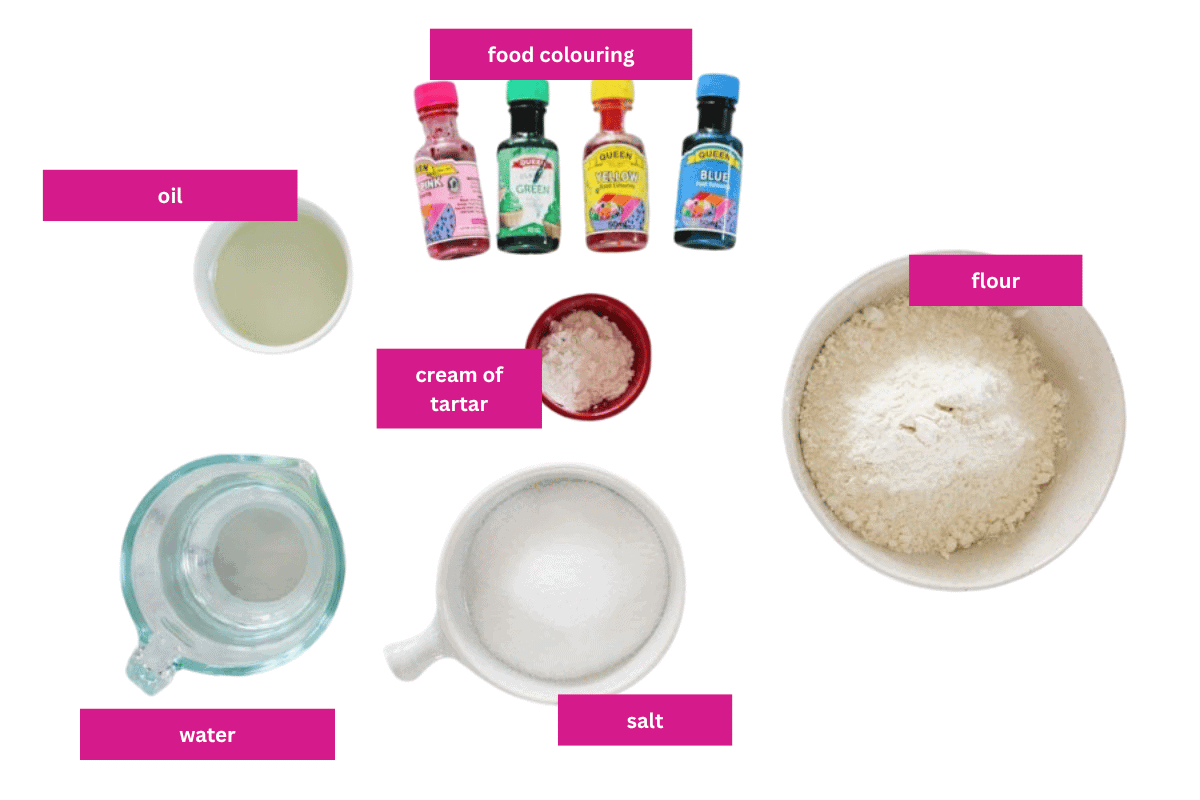
This is about as simple as ingredient lists get, here are the ones worth a mention:
- Cream of tartar - this is the ingredient that makes the difference between playdough that stays smooth and stretchy, and playdough that crumbles apart. Don't leave it out.
- Oil - vegetable, canola or coconut oil all work, it's what keeps the dough soft and stretchy instead of dry and cracked. Coconut oil gives it a nice subtle scent too.
- Salt - regular table salt is what makes this playdough last for months instead of going mouldy in a couple of weeks.
- Food colouring - mix it into the water before you start cooking if you want an even colour without kneading it through later, or knead it in at the end for a marbled effect.
Variations
- Microwave method - no stove or Thermomix? Combine everything except the oil and food colouring in a microwave-safe bowl and heat in 1 minute bursts, stirring well between each burst, until it thickens into a dough. Knead through the oil while it's still warm (careful, use gloves), then colour and knead as normal.
- Scented playdough - add a few drops of essential oil (lavender or orange work well) for a lovely smell while the kids play.
- Glitter playdough - knead through a sprinkle of glitter with the food colouring for a bit of sparkle.
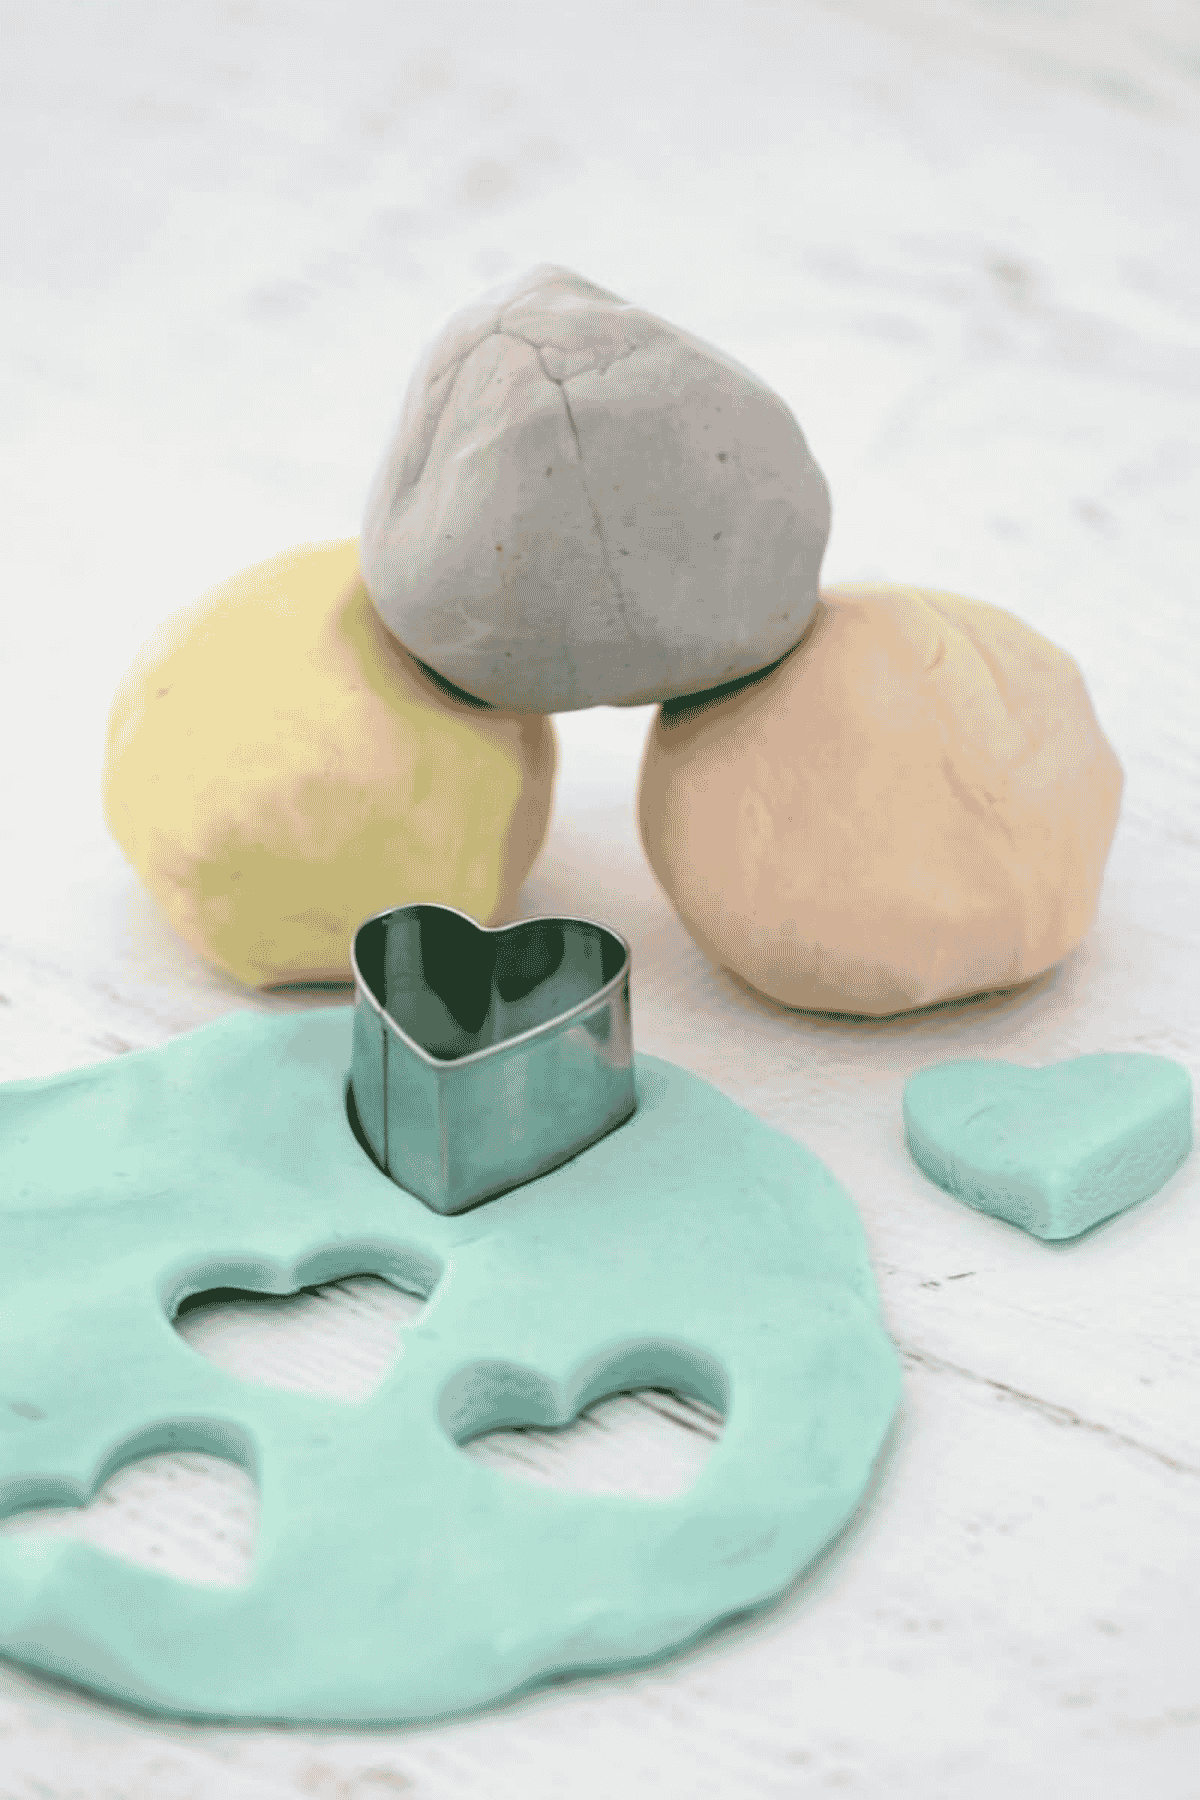
- Multiple colours - double the recipe and split the plain dough into as many bowls as colours you want before kneading through the food colouring.
How To Make Playdough
This works just as well on the stove-top or in the Thermomix, pick whichever's easiest for you.
Note: Scroll to the recipe card at the bottom for the ingredient quantities and full detailed method (plus the Thermomix version).
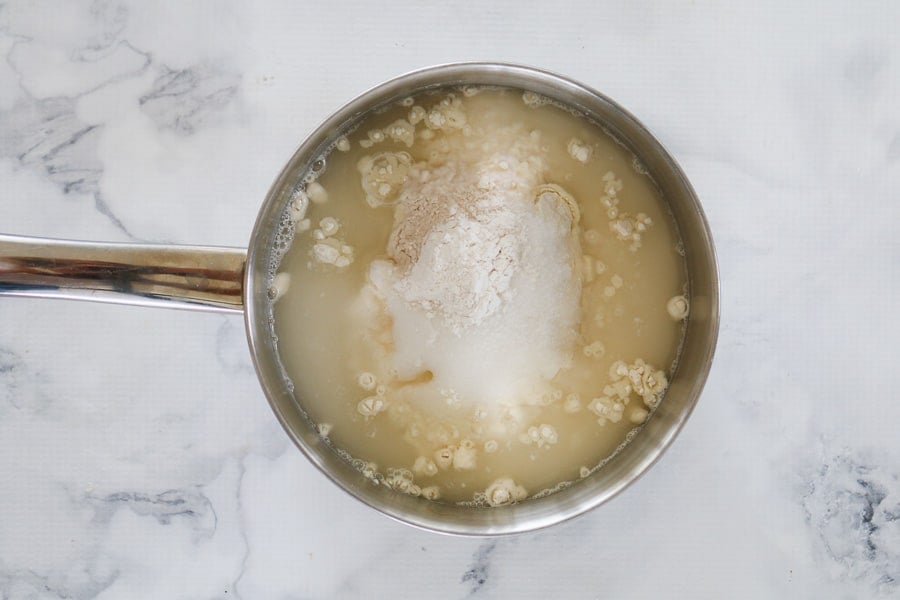
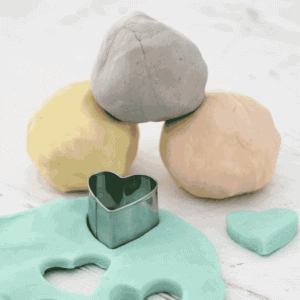
- Step 1: Mix and cook. Place the flour, water, cream of tartar and salt into a saucepan over medium heat and stir continuously until it thickens into a dough.
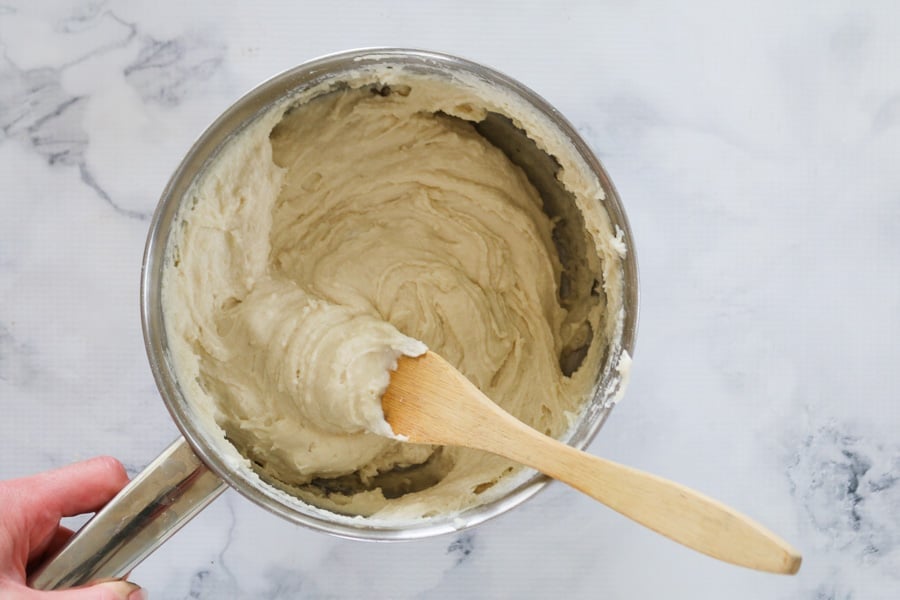
- Step 2: Cool. Take the pan off the heat and leave the mixture to cool until it's safe to handle.
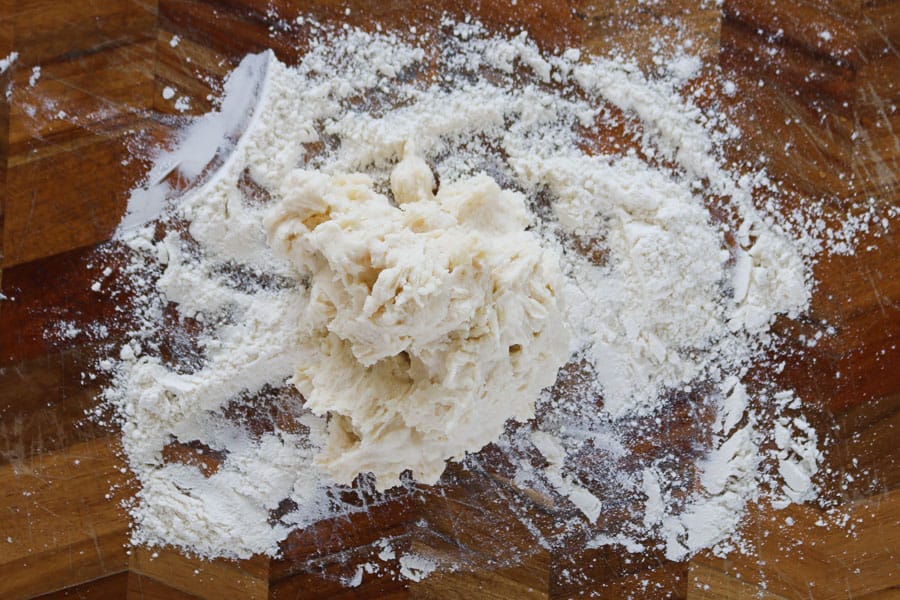
- Step 3: Knead through the oil. Place the dough onto a well-floured board and knead the oil through really well until it's smooth and stretchy.
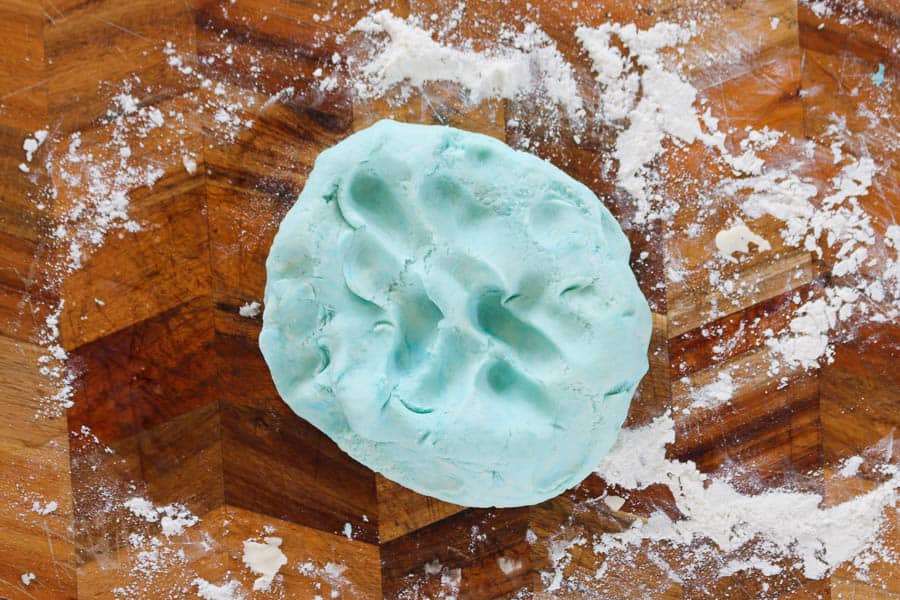
- Step 4: Colour and store. Divide into portions, then knead through the food colouring with gloves on until evenly coloured. Wrap in cling wrap and store in an airtight bag or container.
Recipe Tips
- Wear gloves when kneading through the food colouring, unless you want stained hands for a few days.
- Colour the water first if you want an even, solid colour without any streaks left over from kneading.
- Add glitter or essential oils while kneading for a sparkly, scented version.
- If it starts drying out, just knead through a small amount of oil to bring it back to life.
- Storage - keep each colour in its own ziplock bag or airtight container. It'll last up to 3 months at room temperature, or even longer stored in the fridge.
- Freezing - you don't need to. It's shelf-stable thanks to the salt, so there's no need to take up freezer space with it.
Playdough FAQs
Stored in an airtight ziplock bag or container, this playdough lasts up to 3 months at room temperature. Keeping it in the fridge will make it last even longer.
Cooked playdough has a much better texture, smoother and more stretchy, and it lasts a lot longer than an uncooked mix, for the sake of a couple of extra minutes on the stove.
Yes, see my microwave method in the Variations above. Heat everything except the oil and colouring in short bursts, stirring between each one, until it thickens.
Just knead through a small amount of oil until it comes back to a smooth, soft texture. This happens naturally over time as playdough dries out a bit with use.
It's non-toxic and made from edible ingredients, but it's still not meant to be eaten and has a very salty taste that should put most kids off quickly. Always supervise young children during play.
More Easy Toddler And Kids Recipes
If you're after more easy ways to keep the kids busy and happy, these are worth a look.



Playdough Recipe
Ingredients
- 110 g salt
- 250 g water
- 1 tbs cream of tartar
- 250 g plain flour
- 1 tbs oil coconut, vegetable etc are all fine
- food colouring
- glitter optional
Instructions
Thermomix Method
- Place the salt into the Thermomix bowl and mix on Speed 10 for 5 seconds.
- Scrape down the sides of the bowl.
- Add the water and cream of tartar and cook for 5 minutes, 60 degrees, Speed 3.
- Leave to cool for 5 minutes.
- Add the plain flour and the oil and mix together for 50 seconds, Speed 4.
- Knead for 1 minute on Interval Speed.
- Check the texture and if it's a little sticky, add some more flour and knead for a further 30 seconds.
- Separate the playdough into several bowls.
- Add 1 tiny drop of food colouring (and a sprinkle of glitter - optional) to each bowl and mix together with your hands until the colour is evenly dispersed (wear gloves!).
- Wrap the playdough in cling wrap and store in an airtight container in the fridge (see notes).
Conventional Method
- Place the flour, water, cream of tartar and salt into a saucepan over medium heat.
- Stir continuously until thickened. Leave the mixture to cool.
- Place the dough onto a well-floured board or bench.
- Add the oil and knead it through really well.
- Divide the playdough into equal portions, add food colouring and knead until the colour is completely even.
- Wrap the playdough in cling wrap and store in an airtight container in the fridge (see notes).

Melanie IKAHIHIFO says
Hi,
Great recipe!
How long would this playdough last for if stored correctly?
Lucy says
About a month!
Kristie says
Awesome playdough recipe! I forgot to let it cool down but it still worked really well. I used tumeric to colour it and lemon Myrtle to scent it. Thanks so much!
Lucy says
Oh what a great idea!!!
Mali says
Thanks for sharing.
I am so excited to try making it with Thermomix!
I was thinking of adding something to this recipe for some natural smell; something like mint, coconut, vanilla,...
I know you mentioned coconut oil in your recipe but in case I wanna try something else, do you think it’s better to add it to the water or add to the dough at the end?
Also may I ask how long does this dough last?
When kids finish playing, do you keep it in the fridge after each use?
Sorry for lots of questions
Thanks,
Mali
Lucy Mathieson says
Hi Mali, hmm I think I would add in your mint, coconut, vanilla etc at the end. Wrap it in an cling wrap and keep stored in the fridge in an airtight container. Depending on how much use it gets, it will last for several weeks. xx
Renae says
Add doTERRA essential oils - they are a sensory sensation!
Jade says
Hi,
Im a big follower of yours, love everything you do!!
I was just wondering why you dont add the food colouring in with the water?
Maybe im doing something wrong, but I get food colour everwhere & stain my hands if I do it at the end.
Lucy Mathieson says
Hi Jade,
You absolutely can add it in with the water (and this will stop the hand staining). The reason that I don't is that you can then split the plain dough into several different portions and colour each in individual colours (whereas if you add it in with the water, all of the dough has to be the same colour). xx
Sam Stone says
So glad I found this recipe for the Thermie!
BTW, Congrats on your bubba....I have been missing from blogging this past year, but hopefully back now.
Bake Play Smile says
Thank you so much Sam! Congrats on getting back into blogging!