The easiest and most delicious Double Chocolate Chip Cookies recipe ever... rich, soft and chewy chocolate cookies packed with loads of white chocolate chips! The ultimate chocolate treat.
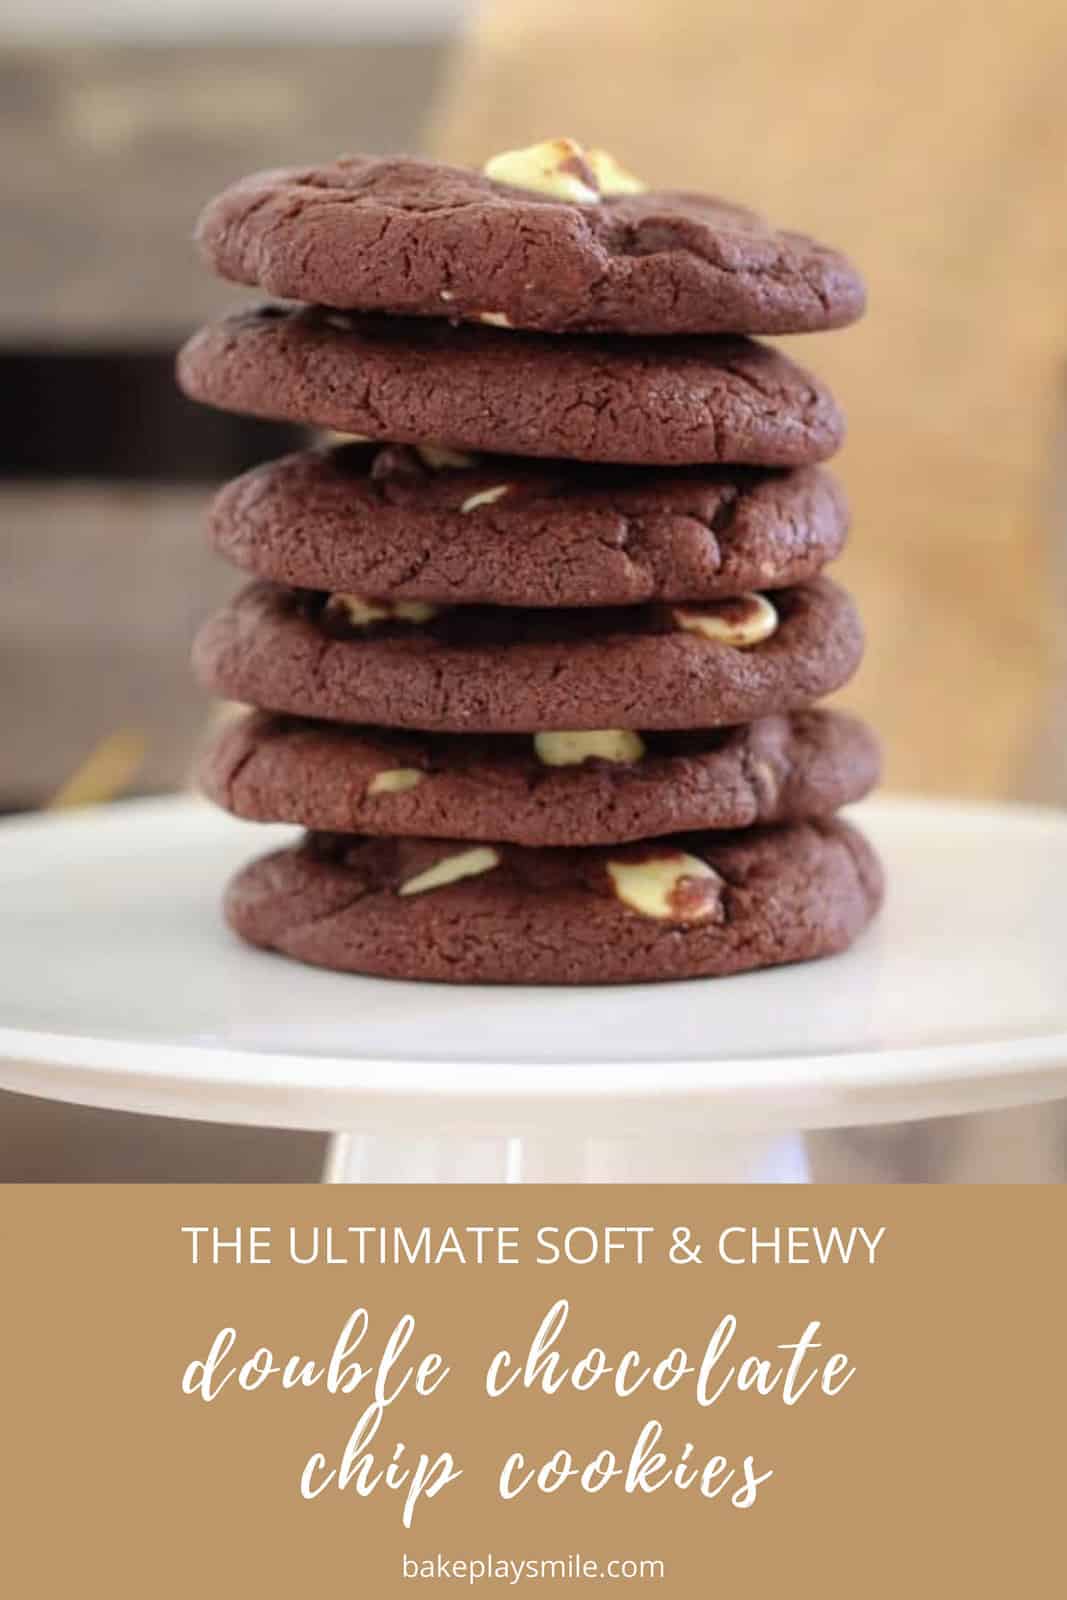
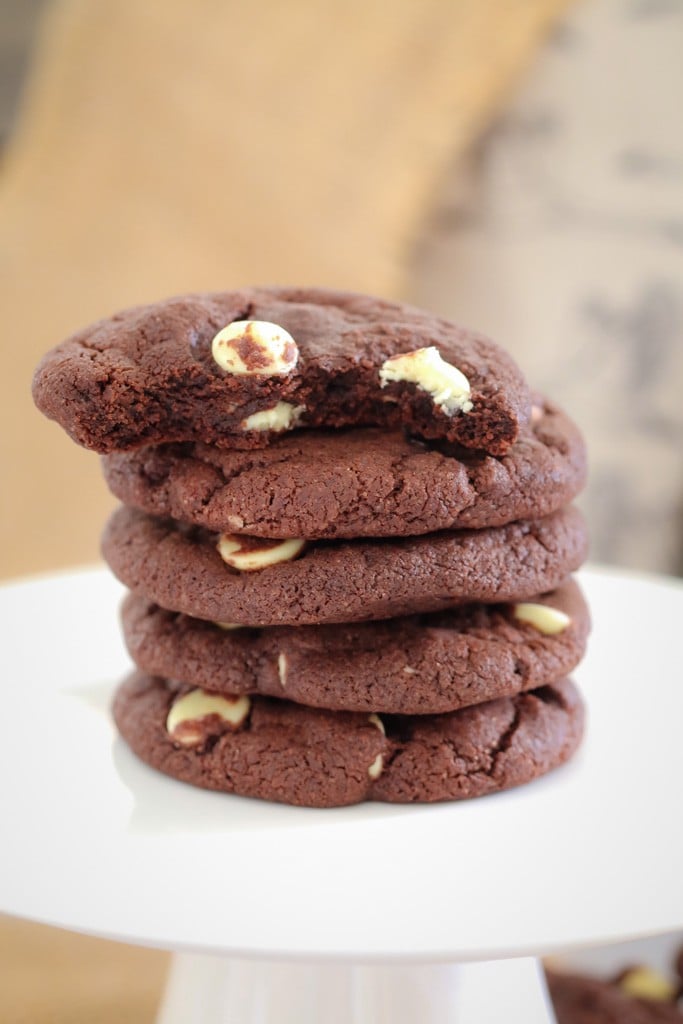
Well hello there!! I'm so happy you're here... because it's time to meet the best EVER Double Chocolate Chip Cookies. They're soft, chewy and completely delicious (just like all the very best cookies should be!).
If you love classic chocolate chip cookies, then this double choc version is going to become your new obsession. I mean, DOUBLE CHOC... you can't beat that!
Why You're Going To LOVE These Cookies
I could literally spend all day telling you how amazing these cookies are (... and they really, really are!), but I'm sure you have better things to do with your time.
So here's my top 5 reasons why you're going to fall in love with my double chocolate chip cookies:
- they're budget-friendly and made entirely from pantry and fridge staples
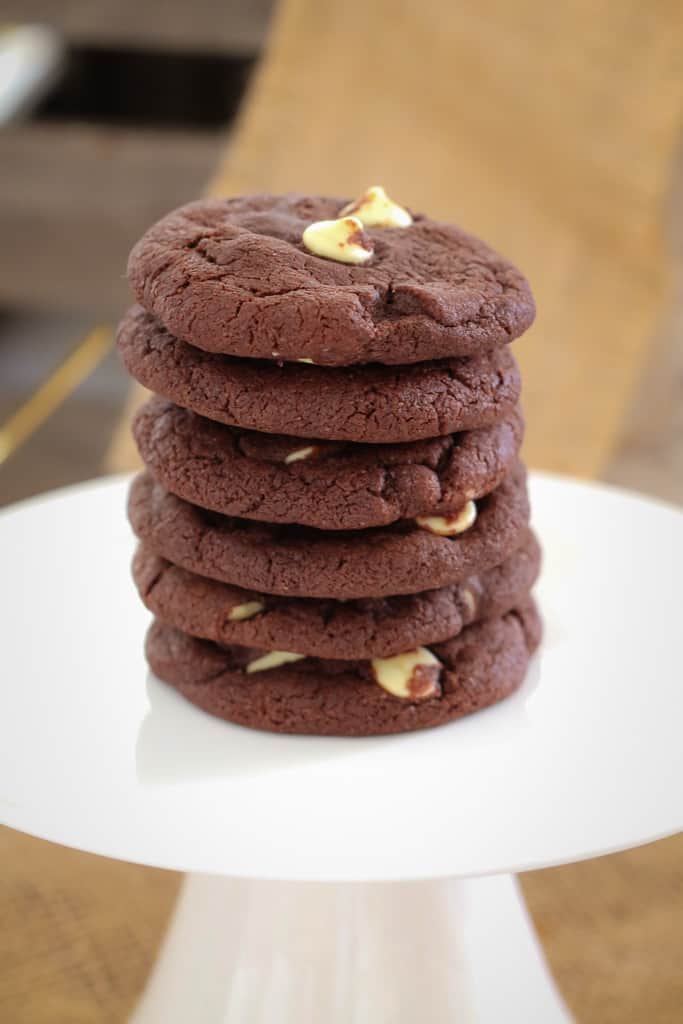
- rich chocolate cookies that are super soft and chewy
- perfect for kids and school lunchboxes (plus it's a great recipe for kids to help make!)
- they take just 10 minutes to prepare and 8-10 minutes to cook
- they're freezer-friendly (you can either freeze the uncooked dough in a roll or freeze the baked cookies for a quick 'grab and go' lunch box snack.
PLUS they're DOUBLE CHOCOLATE and taste incredible!!!!
The Ingredients
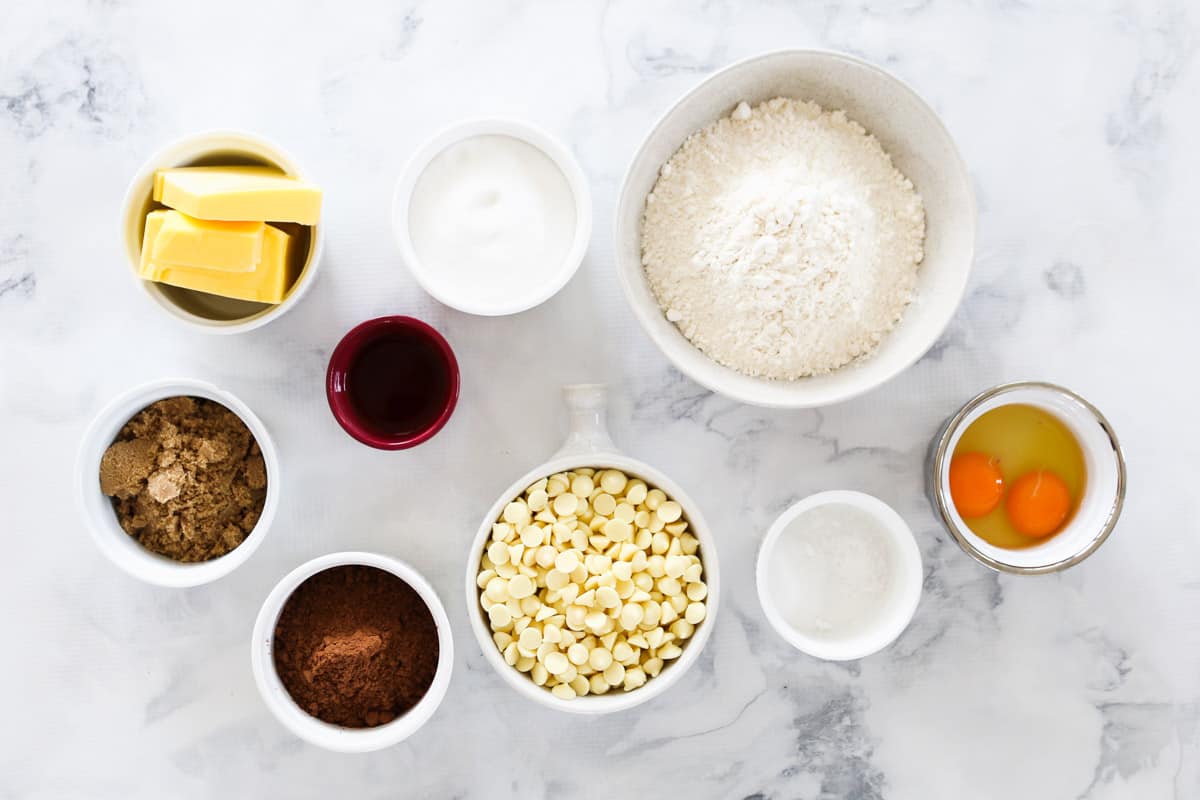
To make these yummy double chocolate chip cookies, you'll need:
- butter - I generally use unsalted butter. If you choose to use salted butter, simply omit the extra pinch of salt from the recipe
- sugars - these cookies are made using a mix of caster sugar (also known as superfine sugar) and brown sugar. The brown sugar is what gives these cookies their delicious chewiness.
- eggs
- vanilla extract - this can be bought from the baking section of any supermarket
- plain flour
- cocoa powder
- pinch of salt - salt balances the sweetness of the cookies and brings out the flavour (omit if using salted butter)
- bi-carbonate soda
- white chocolate chips - sometimes known as white chocolate bits, baking bits, chips or baking chips. These hold their shape when cooked.
10 Minute Recipe
These cookies take only 10 minutes to prepare... that's nothing! Here's how to whip up the dough (scroll to the recipe card at the bottom for the detailed method and ingredients list).
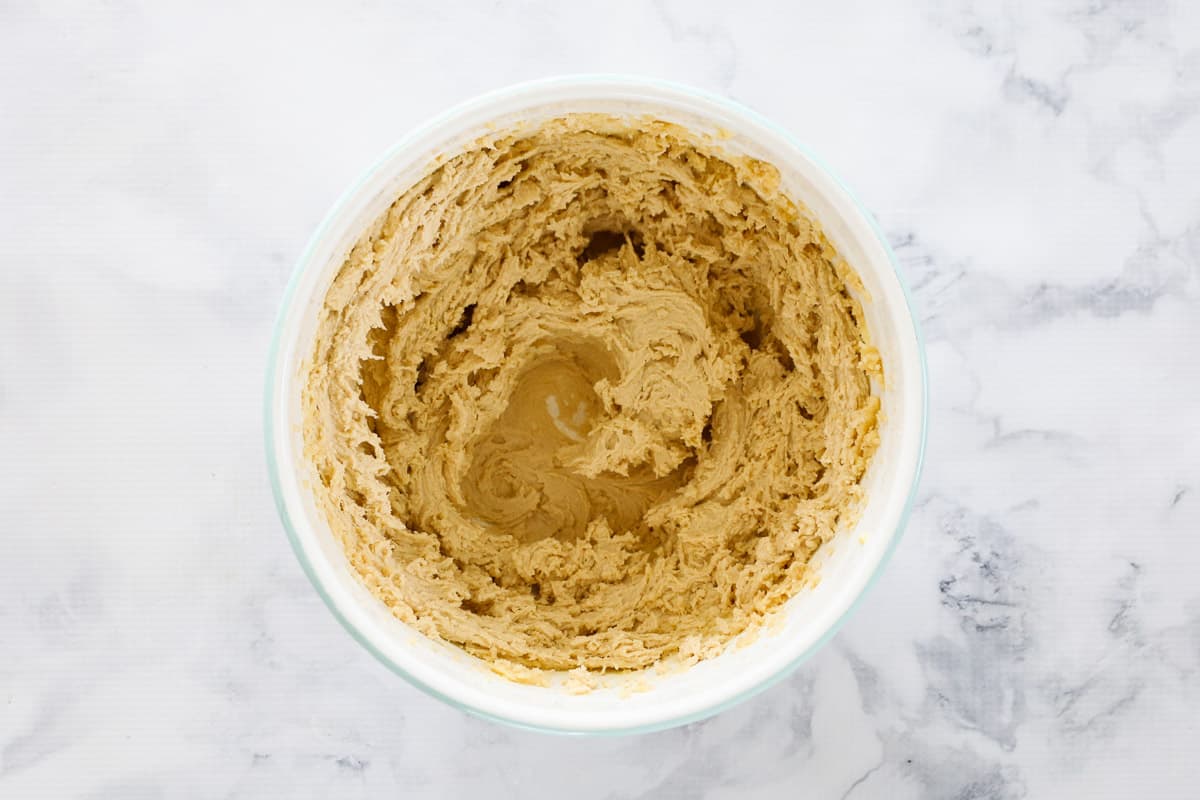
Cream the butter and sugars
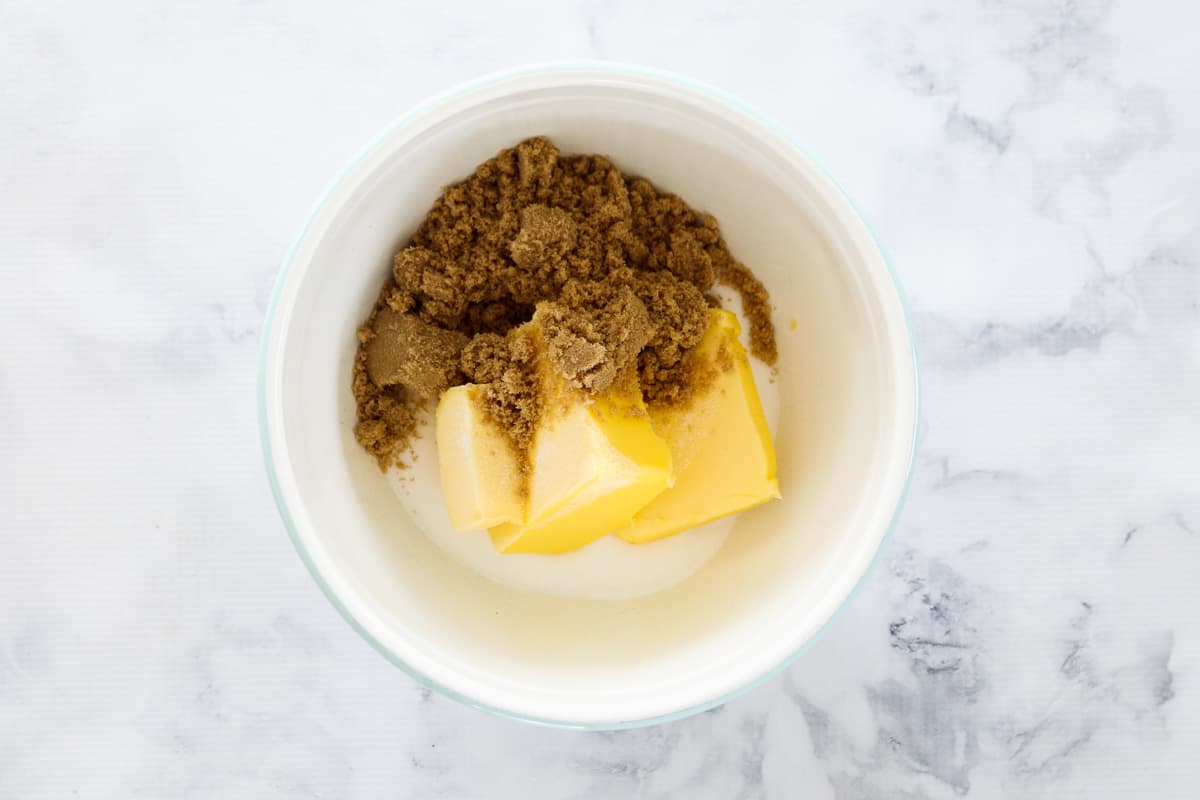
Use hand-held beaters, a stand-mixer or a Thermomix to beat the butter and sugars (caster and brown) together until pale and creamy. When beaten well, the sugar should be almost completely dissolved.
Add the eggs and vanilla extract
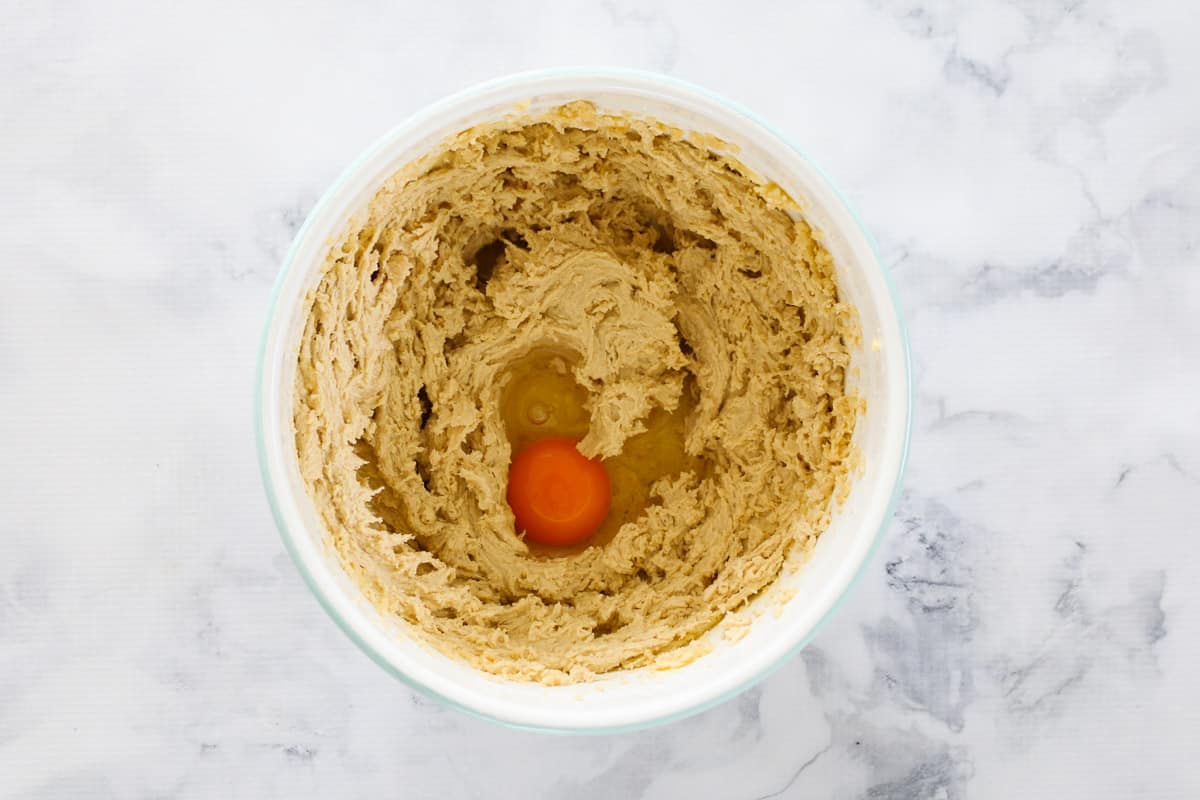
Slowly beat the eggs through one at a time. Wait until the first egg has been completely beaten through before adding the second egg. Mix through the vanilla extract.
Mix through the remaining ingredients
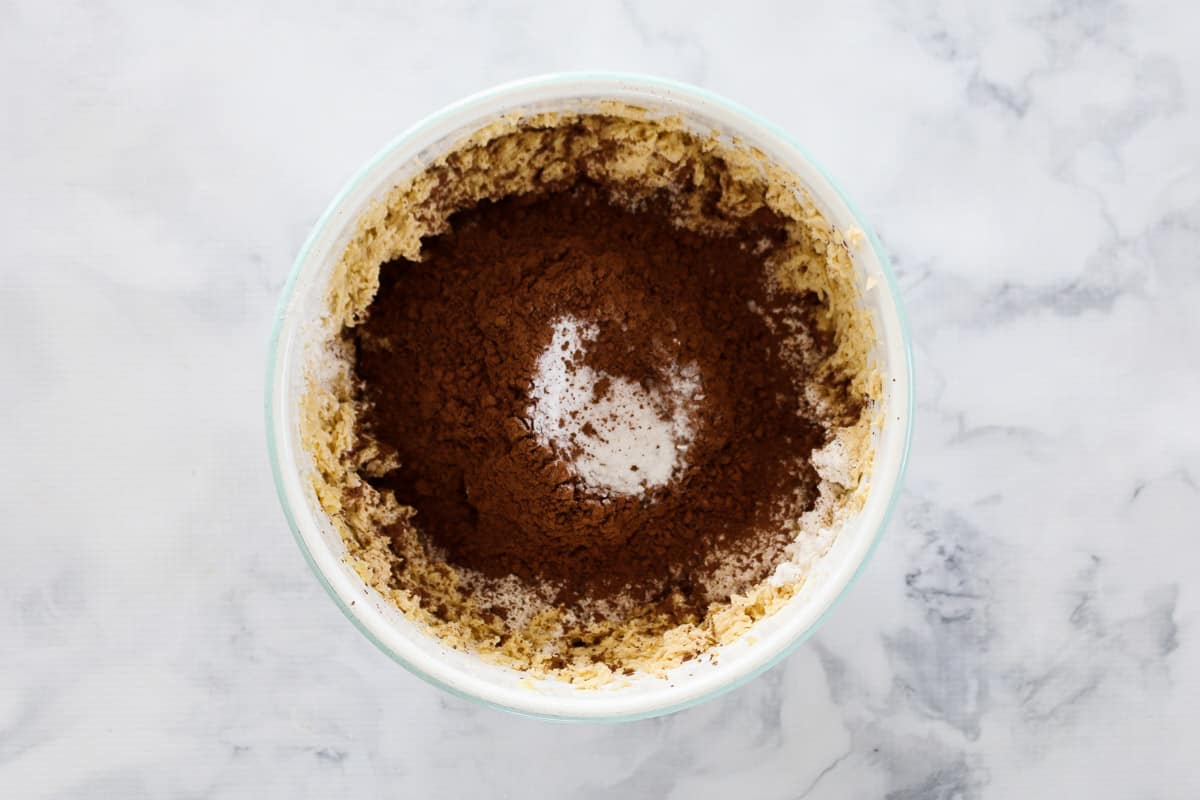
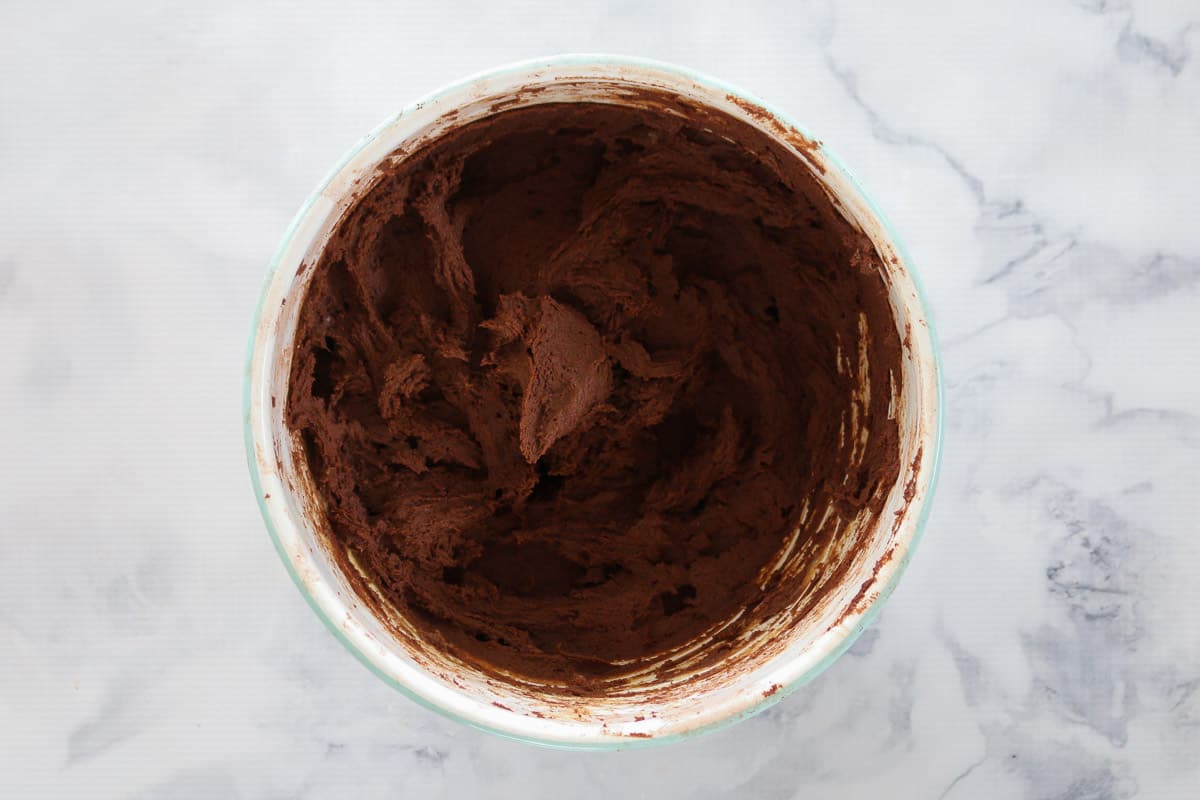
Sift over the plain flour, bi-carbonate soda, salt and cocoa powder. Mix gently on low speed until combined. Add the chocolate chips and stir through.
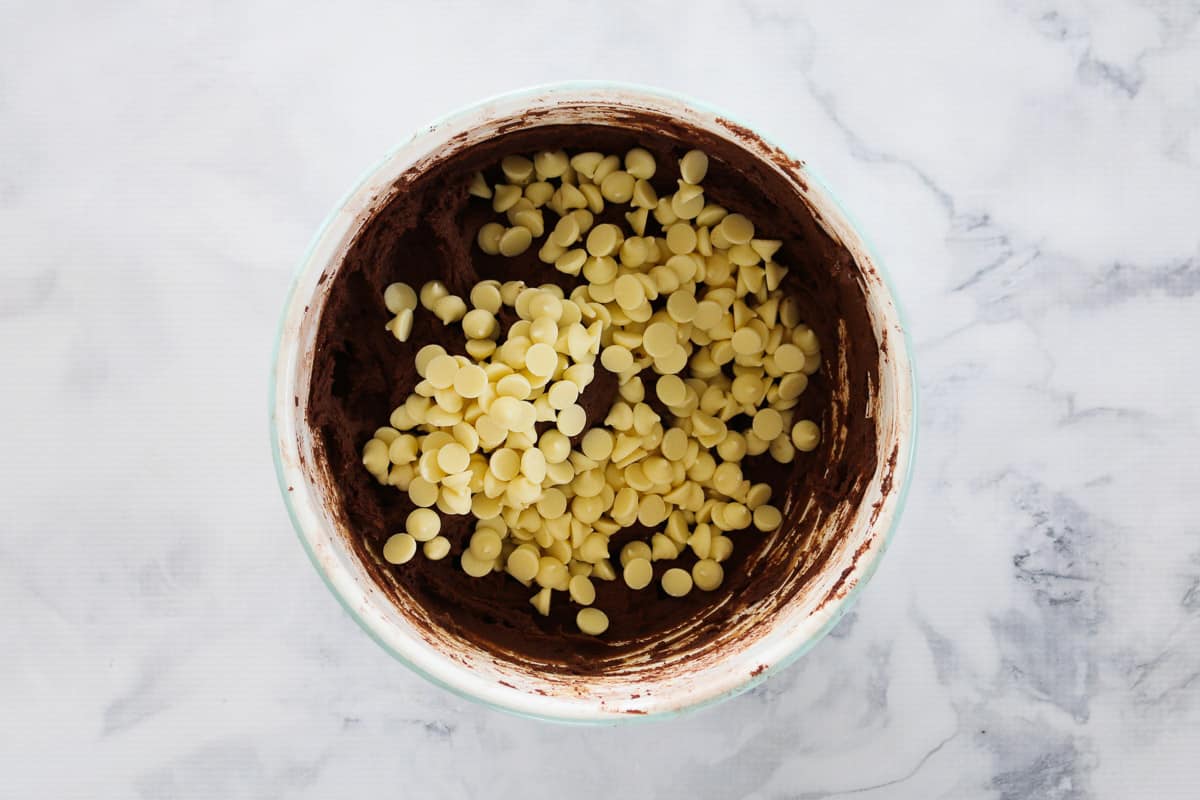
Chill the dough
Place the dough into the fridge for 30 minutes (see tips below), before rolling into balls and baking.
Recipe Tips
While these cookies are honestly the easiest things to make... there's a few things you can do to make them even more amazing!!!
- use room temperature ingredients - for the best possible cookies, make sure your ingredients are at room temperature before using. This will help the butter to cream easier and also allow the eggs to be beaten through smoothly.
- chill the dough - if you want beautiful round, soft and thick cookies, then you absolutely must chill the dough first! This allows the butter to re-solidify, meaning that when the cookies are baked, the butter will very slowly melt while the cookies maintain their shape. Chill for 30 minutes.
- roll the dough into balls - there's no need to press the balls down as they will slowly spread when baking.
- add a few extra chocolate chips to the top of each balls - there's no reason for this except it makes them look extra delicious!!
- baking time - for soft and chewy cookies, its essential not to overcook them. Bake for 8-10 minutes or until only just set. They'll still be very soft (which is great!) but will firm on cooling.
- storing - store the cookies for up to 1 week in an airtight container at room temperature.
- freezing - you can freeze uncooked dough for up to 3 months. Simply roll into a log and wrap with two layers of plastic wrap followed by one layer of foil. Alternatively you can freeze the baked cookies for up to 3 months in an airtight container.
- substitutions - you can replace the white chocolate chips with milk or dark chocolate chips. Alternatively, you can omit them altogether. You can also use M&Ms or Smarties in place of the chocolate chips.
More Chocolate Chip Recipes
If you love chocolate chip cookies (and lets face it... who doesn't!?), then you need to make ALL of these recipes!
- Crunchy Chocolate Chip, Cornflake & Sultana Cookies
- Classic Chocolate Chip Cookies - the ULTIMATE old fashioned recipe
- Peanut Butter & Chocolate Chip Cookies with M&Ms
- The FAMOUS 100 Cookie Recipe - and yes.. it really does make 100 cookies!
- Almond & Chocolate Chip ANZAC Biscuits - an Aussie fave
- Chocolate Chip Oat Cookies - chewy and crispy!
Plus so many more cookie recipes here!
WANT EVEN MORE DELICIOUS RECIPES? Subscribe to my newsletter or follow along on Facebook or Instagram. And if you love baking, then please come and join my Facebook cooking club group or subscribe to my YouTube channel.
Double Chocolate Chip Cookies
Ingredients
- 250 g butter softened
- ½ cup (100g) brown sugar
- 1 cup (225g) caster sugar
- 2 eggs
- 2 tsp vanilla extract
- 2 cups (250g) plain flour
- ⅔ cup (65g) cocoa powder
- pinch of salt
- 1 tsp bi-carbonate soda
- 200 g white chocolate chips
Instructions
Conventional Method
- Preheat oven to 180 degrees celsius (fan-forced). Line two large trays with baking paper and set aside.
- Beat the butter, brown sugar and caster sugar together until pale and smooth.
- Add the eggs one at a time and beat until smooth.
- Add the vanilla extract and beat through.
- Sift over the plain flour, cocoa powder, salt and bi-carb soda. Mix through until thoroughly combined.
- Add the chocolate chips and stir through.
- Place the dough into the fridge for 30 minutes to chill (see notes).
- Roll heaped teaspoons of the mixture into balls and press down slightly. Place 5 cm apart on the baking trays.
- Bake for 8-10 minutes or until just set (see note).
- Allow to cool for 10 minutes before carefully transferring to a wire rack to cool completely.
- Store in an airtight container at room temperature for up to a week.
Thermomix Method
- Preheat oven to 180 degrees celsius (fan-forced). Line two large trays with baking paper and set aside.
- Insert the butterfly and add the softened butter (chopped), brown sugar and caster sugar. Mix on Speed 4, 30 seconds or until smooth and creamy.
- Reduce to Speed 2 and add the eggs, one at a time, through the MC hole.
- Add the vanilla extract and return to Speed 4 for a further 10 seconds.
- Remove the butterfly and add the plain flour, cocoa powder, salt and bi-carb soda. Mix on Speed 5, 20 seconds.
- Add the chocolate chips and mix on Reverse, Speed 4, 10 seconds.
- Place the dough into the fridge for 30 minutes to chill (see notes).
- Roll heaped teaspoons of the mixture into balls and press down slightly. Place 5 cm apart on the baking trays.
- Bake for 8-10 minutes or until just set (see note). Allow to cool for 10 minutes before carefully transferring to a wire rack to cool completely. Store in an airtight container at room temperature for up to a week.


Patrick
I reduce the sugar and chocolate by 1/3 and find the biscuits are fine, even for sweet tooths.
Dom
These are incredible! We made ours with dark chocolate chips instead of white chocolate.
Lucy
Great idea!
Kaylah Jackson
These are the best biscuits I have made
Kelsie
Yummy! These were delicious! Reminded me of soft but chewy Subway cookies. Will be adding to my faves list! Thank you!
Lucy
Oh I'm so thrilled you liked them!
jose carrero
Hi Lucy , i would like to know if at the time to bake the cookies do you ues wax paper or not.
Best regards jose
Lucy
Hi Jose, you can use wax paper or a non stick baking tray. The temperature are times are in the recipe card at the bottom of the post. 🙂