
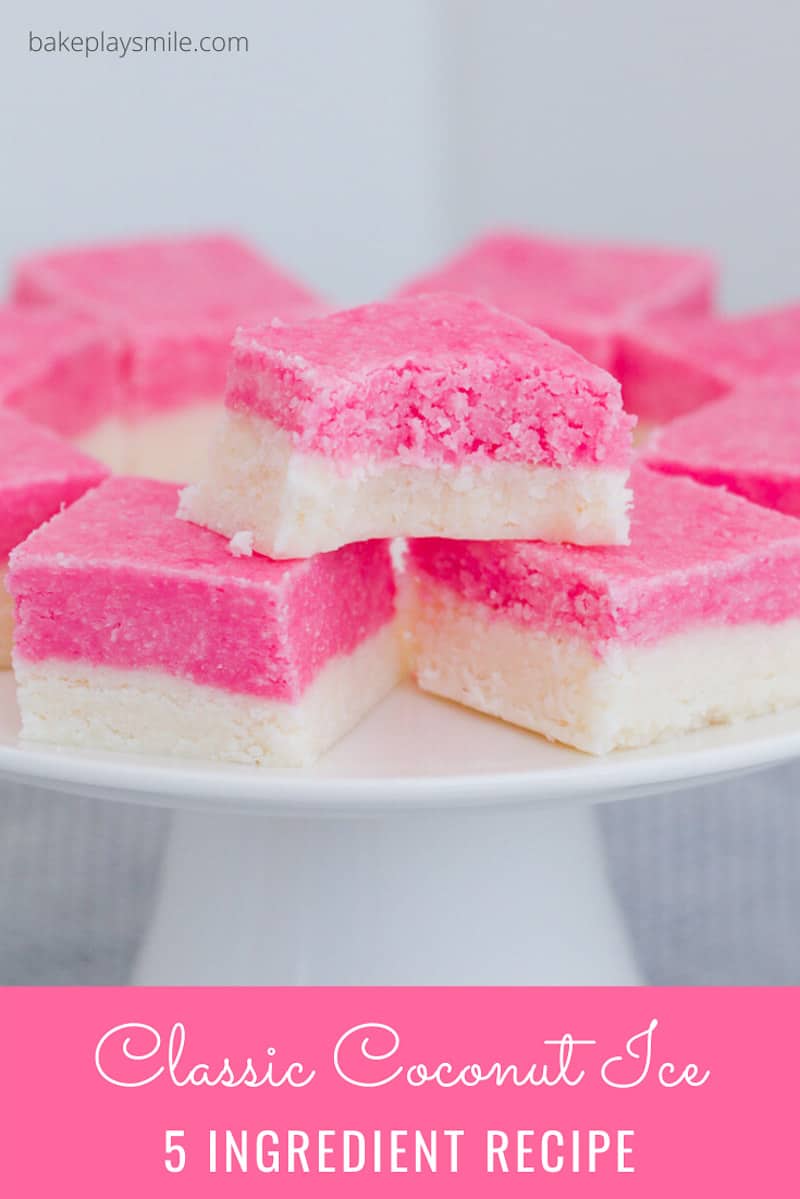
A classic sweet Coconut Ice recipe made with icing sugar, desiccated coconut and sweetened condensed milk that takes just 10 minutes to prepare! The perfect slice for fetes, fundraisers and bake sales.
Coconut Ice is the ultimate old fashioned baking recipe. Just like apple and sour cream slice, vanilla custard slice, jelly slice and peppermint slice, there's a very good reason that these famous classic slice recipes are just as popular now as they ever have been!
No-Bake Coconut Slice Recipe
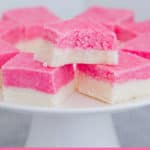
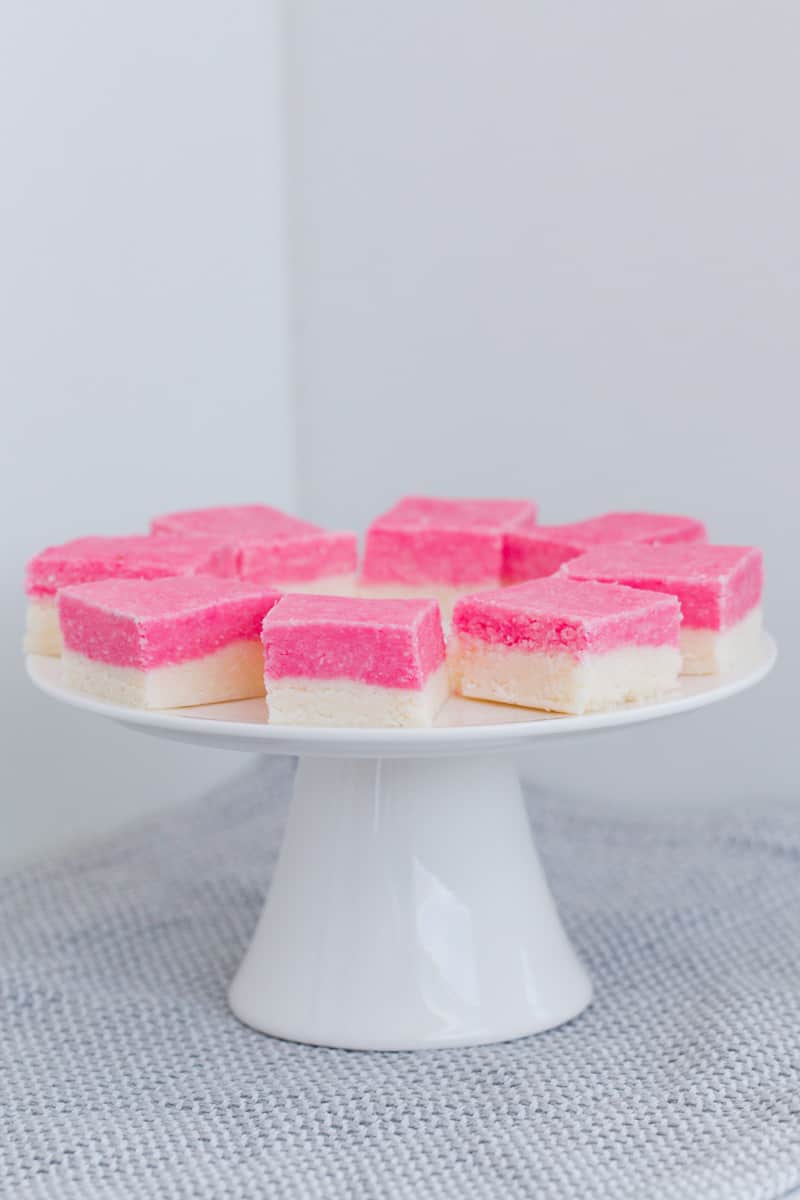
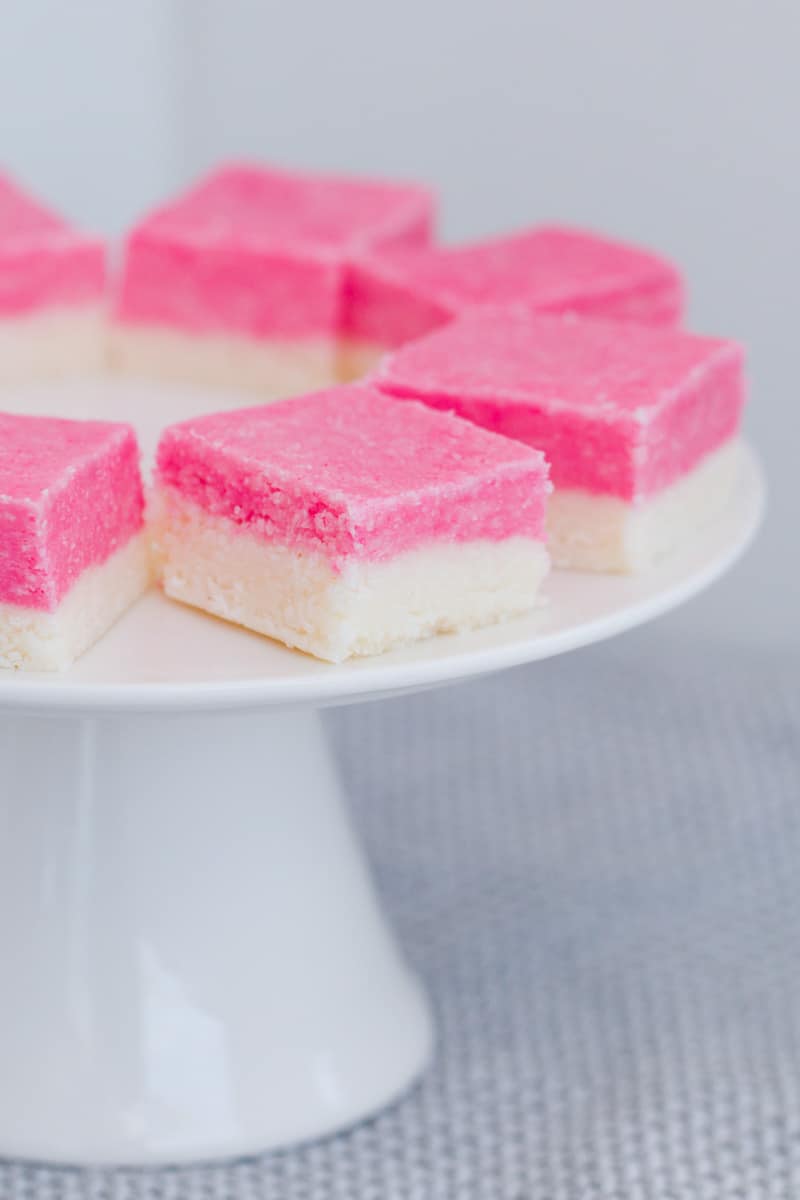
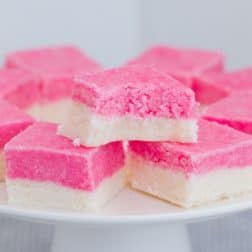
This sweet slice is traditionally made with two coconut layers - one white layer and pink layer. Quick and easy to prepare - you'll have it mixed and in the fridge within 10 minutes!
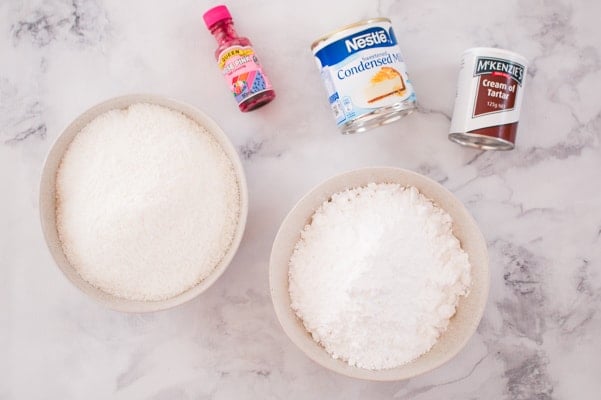
The 5 Ingredients
- pure icing sugar (see recipes notes below)
- desiccated coconut
- cream of tartar
- sweetened condensed milk
- pink food colouring
*please scroll to the recipe card at the bottom for ingredient quantities and tips!
How To Make Coconut Ice
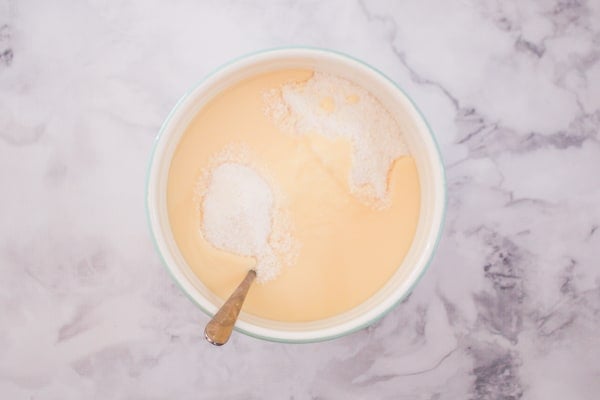
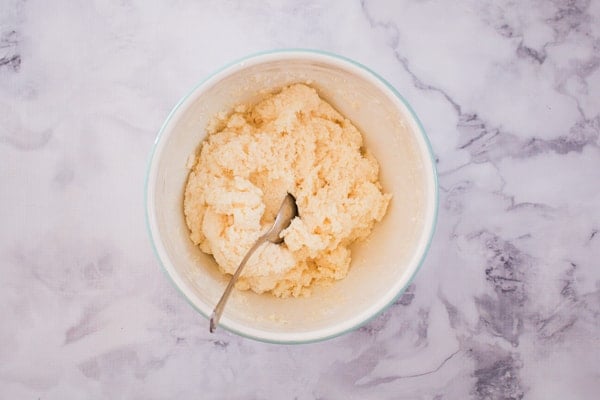
Step 1 - Sift the pure icing sugar and cream of tartar then add the sweetened condensed milk and coconut and mix
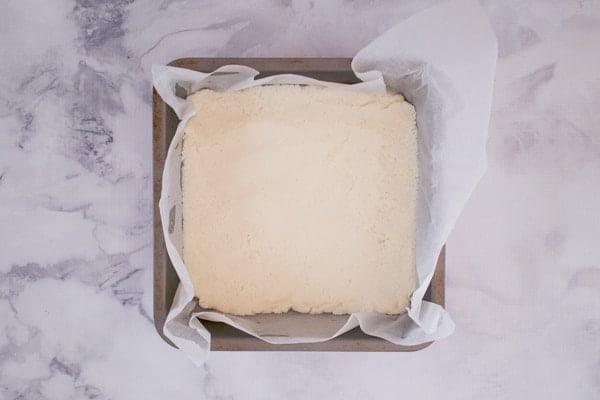
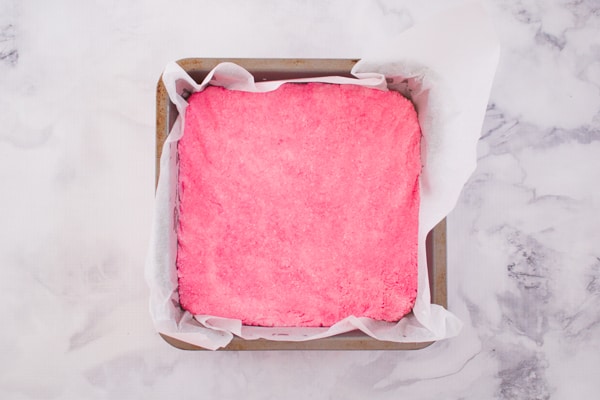
Step 3 - Divide the mixture into 2 equal portions and press one half into a baking tin
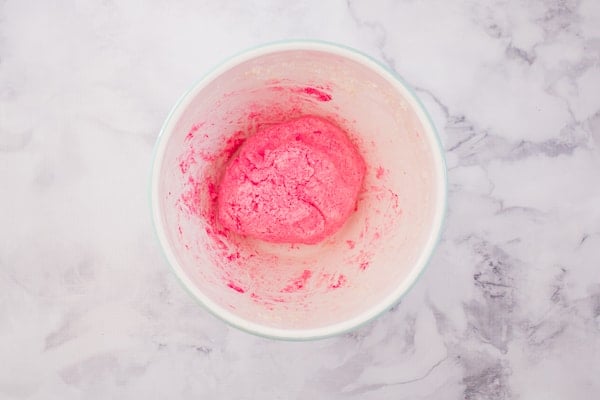
Step 4 - Add 5-6 drops of pink colouring to the remaining portion and press into the tin
*Scroll to the recipe card at the bottom for detailed instructions as well as hints and tips.
The Best Type Of Coconut To Use
Coconut ice should be made using desiccated coconut which is a dry, fine coconut that can be bought in packets in the baking section of any supermarket.
Shredded coconut should be avoided as it tends to crumble when cut. Moist coconut flakes are also not recommended as they cause the slice not to set firm.
Storing Coconut Slice
Coconut ice is the perfect recipe for bake sales, fetes and fundraisers as it can be made ahead of time and stored at room temperature for up to 1 month.
FAQ
Can I use any type of icing sugar?
We recommend using pure icing sugar for coconut ice as it's helps to set the slice hard. If you choose to use icing sugar mixture, it will be soft and difficult to cut.
Do I really need to use cream of tartar?
Cream of tartar is a white powder than can be bought from the baking section of any supermarket. It helps to stabilise the coconut ice, making it firmer and easier to cut. If you don't have any cream of tartar at home, you can omit it, as the recipe only calls for a very small amount (¼ tsp).
Can I make this ahead of time and store it?
Absolutely! You can store coconut ice in an airtight container at room temperature for up to 1 month.
Can I make coconut ice in my Thermomix?
Of course! The recipe card below includes both conventional (bowl and spoon) and Thermomix methods.
How many serves does this recipe make?
Coconut ice is super sweet, so the perfect serving size is a small piece. This recipe will make 30 small pieces.
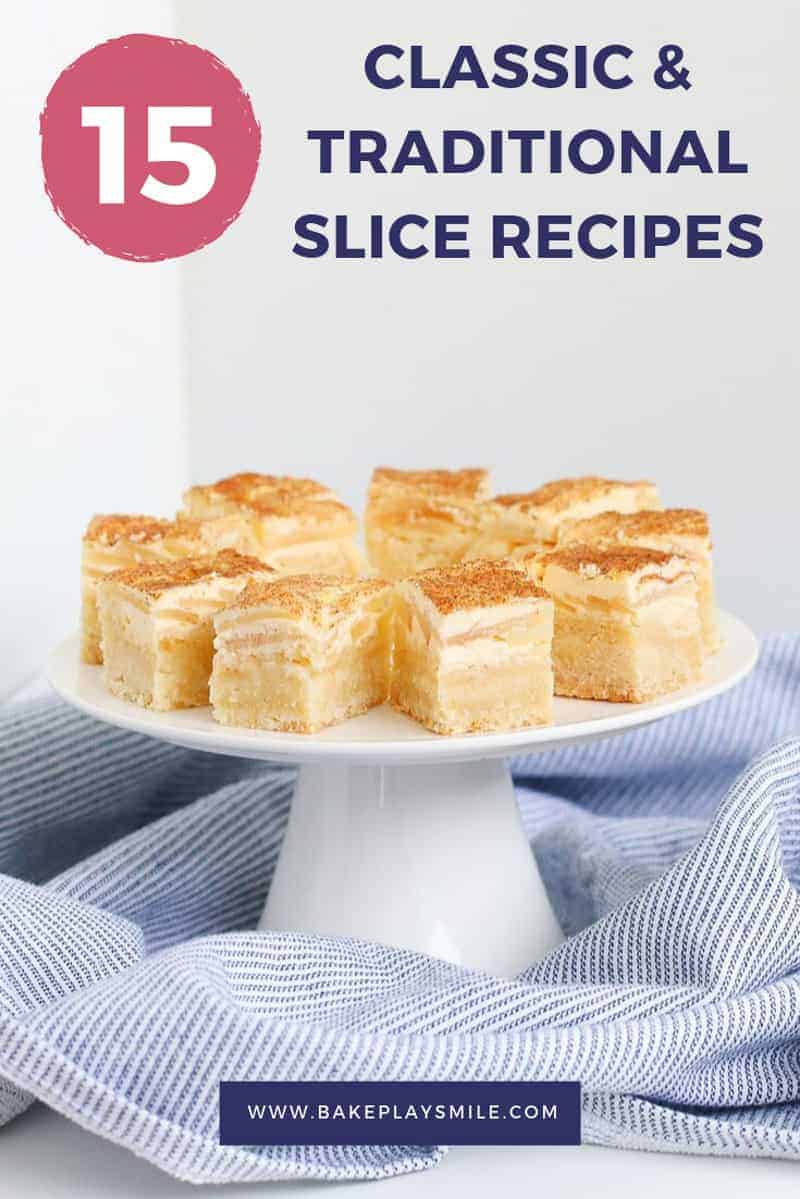
More Classic Slice Recipes
If you love good old fashioned slices (like this coconut ice recipe!), then check out 15 more of our favourite traditional slice recipes here....
WANT EVEN MORE DELICIOUS RECIPES? Subscribe to my newsletter or follow along on Facebook or Instagram. And if you love baking, then please come and join my Facebook cooking club group or subscribe to my YouTube channel.
Coconut Ice
Ingredients
- 300 g (2 cups) pure icing sugar
- ¼ teaspoon cream of tartar
- 395 g sweetened condensed milk
- 300 g (3 ½ cups) desiccated coconut
- 5-6 drops pink food colouring
Instructions
Conventional Method
- Grease and line a 20 X 20cm square baking tin with baking paper (allowing the edges to overhang).
- Sift the pure icing sugar and cream of tartar into a bowl.
- Add the condensed milk and coconut and stir until well combined.
- Divide the mixture equally into two bowls.
- Add the pink food colouring, one drop at a time, into one of the bowls, until desired colour is achieved and stir well to combine.
- Press the white mixture into the base of the prepared baking tin and use a spoon to firmly press down and level out.
- Carefully spread the pink mixture over the top and press down firmly.
- Refrigerate for at least 2 hours to allow to fully set before cutting.
Thermomix Method
- Grease and line a 20 X 20cm square baking tin with baking paper (allowing the edges to overhang).
- Place the pure icing sugar and cream of tartar into the Thermomix bowl and sift by pressing Turbo for 5-10 seconds.
- Add the condensed milk and coconut and mix on Reverse, Speed 4, 5 seconds. Scrape down the sides of the bowl and repeat for a further 5-10 seconds or until combined.
- Remove half of the mixture and press into the base of the prepared baking tin and use a spoon to firmly press down and level out.
- Add 5-6 drops of food colouring to the remaining mixture in the Thermomix. Mix on Reverse, Speed 4 until the colour is evenly dispersed.
- Carefully spread the pink mixture over the top of the white layer and press down firmly.
- Refrigerate for at least 2 hours to allow to fully set before cutting.


Sher says
Hi, my coconut ice breaks when I cut it. What can I do?
Lucy says
This will help! https://bakeplaysmile.com/how-to-cut-perfect-slices/
I would make sure you use a very, very sharp small serrated knife. It's also sometimes easier to cut in the tin straight from the fridge.
Kara says
Hi Lucy,
Could I make this blue instead of pink for a baby shower?
Thanks <3
Lucy says
Absolutely!
Pania Arnold-Hair says
Hi what do you grease tin with butter ?
Lucy says
You can - or cooking oil spray.
Jamie says
How much condensed milk?
Lucy says
Hi Jamie, all of the info you need regarding the quantities and the method are in the recipe card (you can click 'jump to recipe' if you like). 🙂
Rossi Borth says
Can i use baking powder instead of cream of tartar?
Lucy says
Sure!