
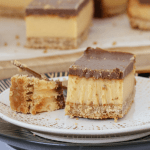
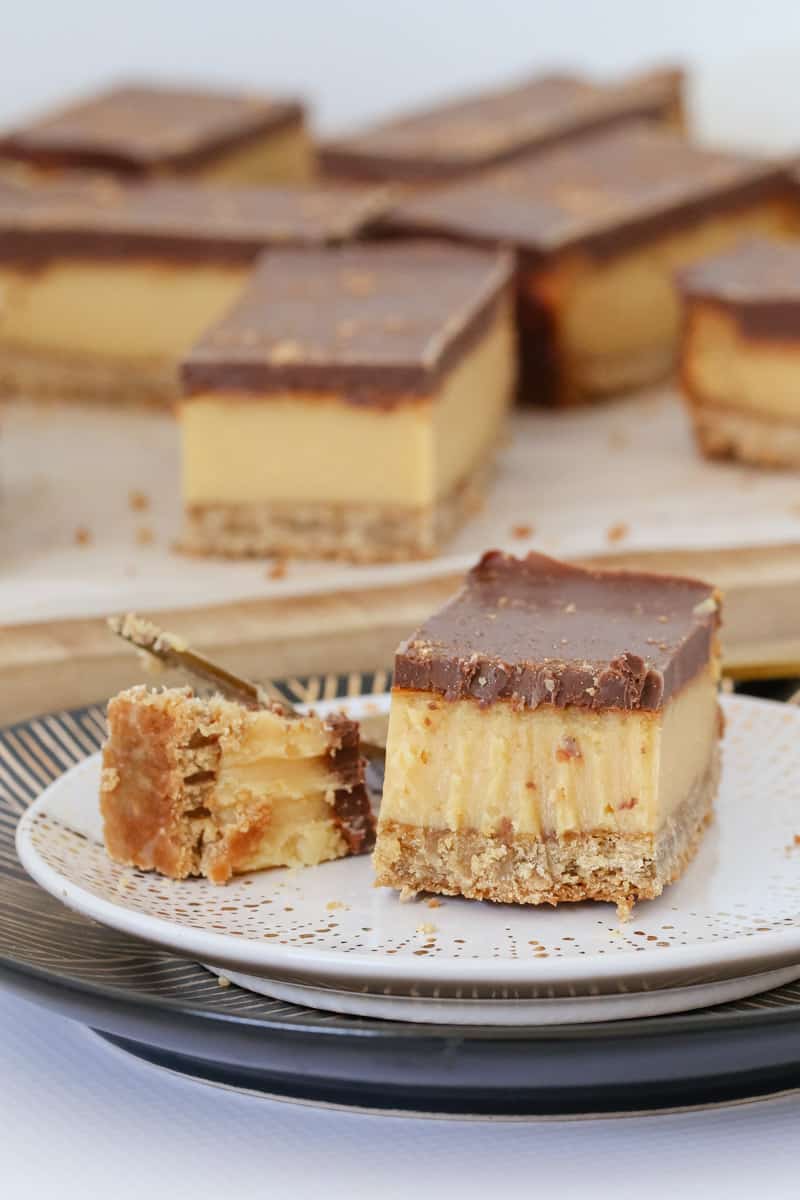
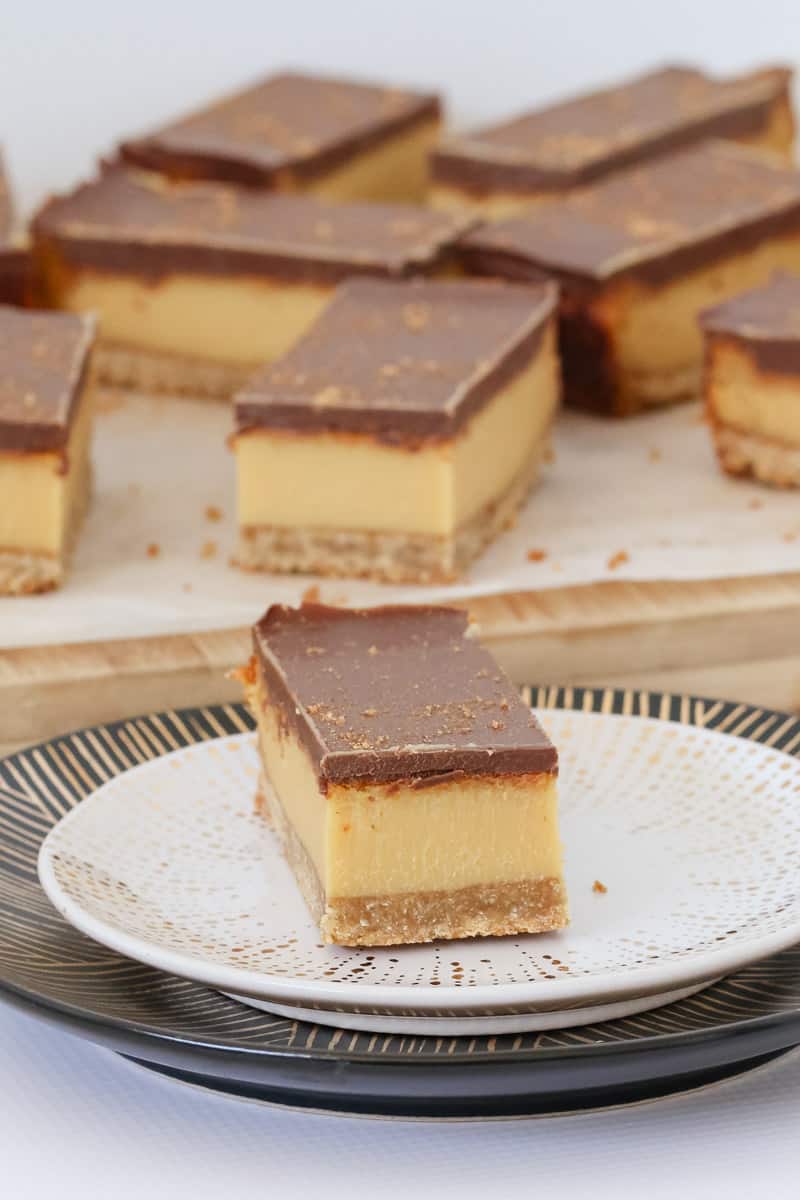
This Chocolate Caramel Slice is one of my all-time favourites - a true Aussie classic! With a crunchy biscuit base, a thick, gooey caramel filling, and a smooth chocolate top, it's the kind of sweet treat that never lasts long. If you love indulgent bites like my Peppermint Crisp Tart or Caramilk Balls, this one's a must-try.
What makes it extra special? That generous caramel layer (none of that thin stuff!) and the fact that I've included both conventional and Thermomix methods to suit everyone.
This is the very best caramel slice I've had. I now make it all the time and never fails to impress family and friends.
- Sue
This is one of those recipes that every Aussie household seems to have a version of - passed down from Nan or scribbled in a well-worn notebook. But let me tell you, not all caramel slices are created equal. Some have barely-there caramel, others are a pain to slice. My version fixes all that - thick caramel layer, no-fuss ingredients, and a silky chocolate topping that won't crack when you cut it.
It's ideal for lunchboxes, bake sales, birthday parties or just a cheeky treat with your afternoon cuppa. And if you love your old-school baking, check out my Classic ANZAC Biscuits or Lemon Coconut Slice.
Why You're Going To Love This Recipe
- ✨ Thick, gooey caramel layer - no stingy fillings here! In fact, it's DOUBLE the thickness of most caramel slice recipes!
- ☕ Perfect for morning teas, bake sales, or lunchboxes
- 🪥 Includes both conventional and Thermomix methods
- ✔️ Pantry staples only - no fancy ingredients
- ❄️ Freezer-friendly and perfect for make-ahead baking
Jump to:
Slice Ingredients
This slice is made from pantry and fridge staples, but there are a few things to get right for the best result:
Note: Scroll to the recipe card at the bottom for the ingredients quantities and full detailed method.
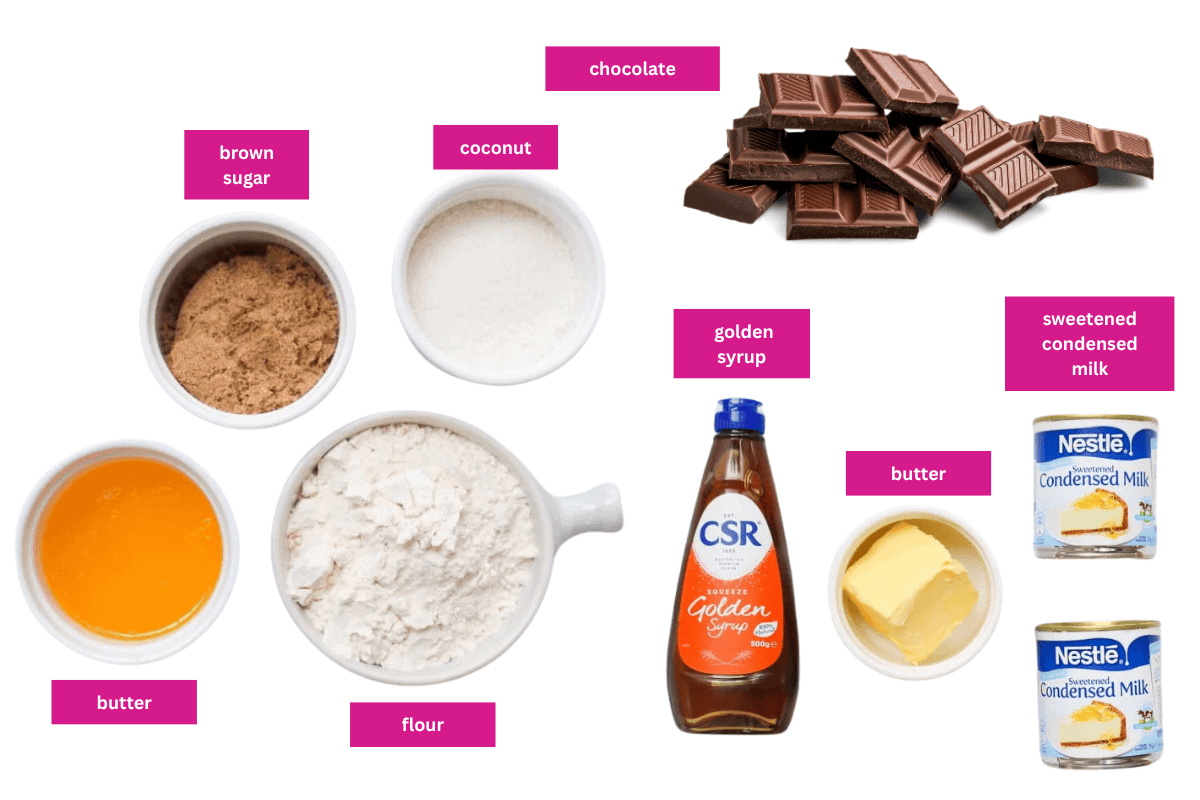
- Golden syrup - adds that signature depth of flavour. You can swap for maple syrup or honey in a pinch. Note: if using maple syrup, you'll need to cook the caramel filling for a little longer until it's visibly thickened.
- Sweetened condensed milk - use full-fat only! Skim won't set properly.
- Chocolate + oil - adding a bit of vegetable or coconut oil keeps the top layer soft enough to slice easily.
Variations
- Gluten-Free Option - Use a gluten-free plain flour blend for the base.
- White Chocolate or Dark Chocolate Top - Swap milk chocolate for white chocolate for extra sweetness or dark chocolate for a richer flavour.
- Salted Caramel Slice - Stir a good pinch of sea salt flakes through the caramel layer.
- Nutty Base - Add ¼ cup finely chopped pecans or walnuts to the base for a crunchier twist.
How To Make Chocolate Caramel Slice
Whether you're baking the traditional way or using a Thermomix, this slice is super simple - it just needs a little patience to let the layers cool and set properly.
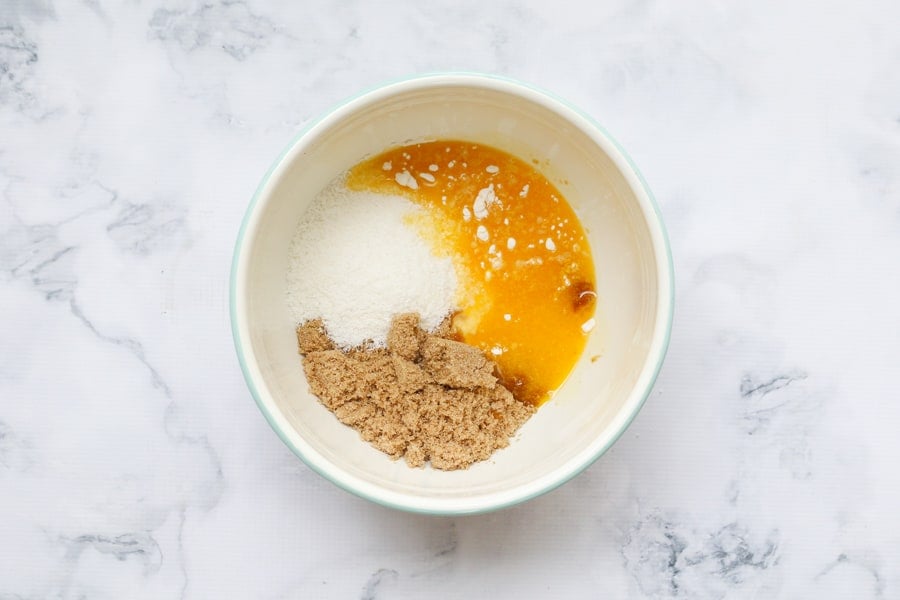
- Step 1: Combine flour, brown sugar and coconut. Add melted butter and mix to form a crumbly base.
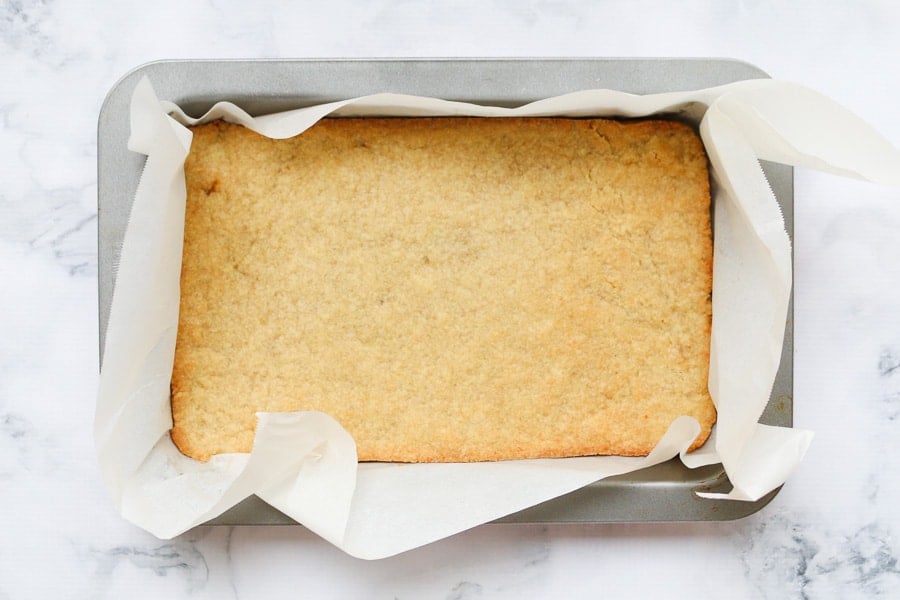
- Step 2: Press into tin and bake 15 mins.
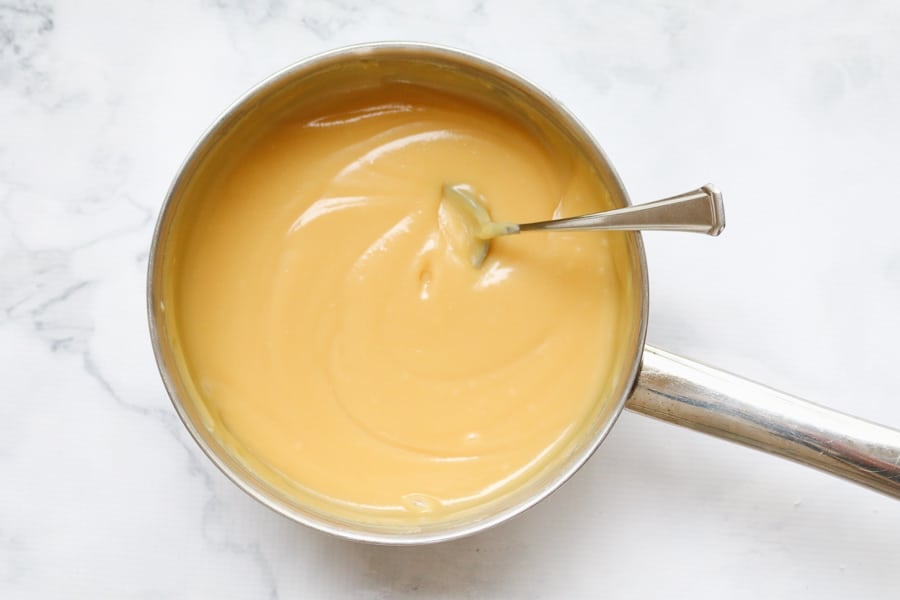
- Step 3: Heat condensed milk, golden syrup and butter on low, stirring for 10-15 mins until thickened.
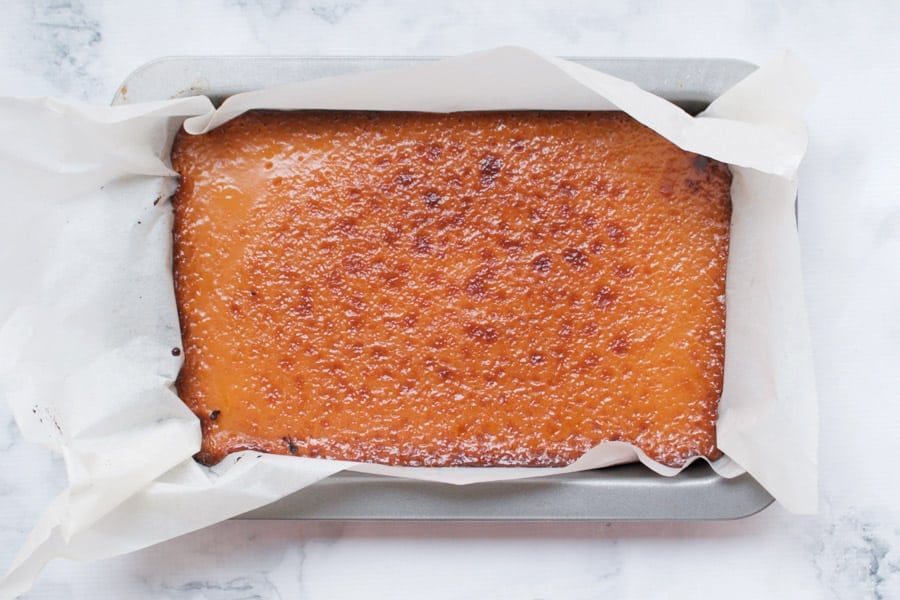
- Step 4: Pour over base and bake 15-20 mins.
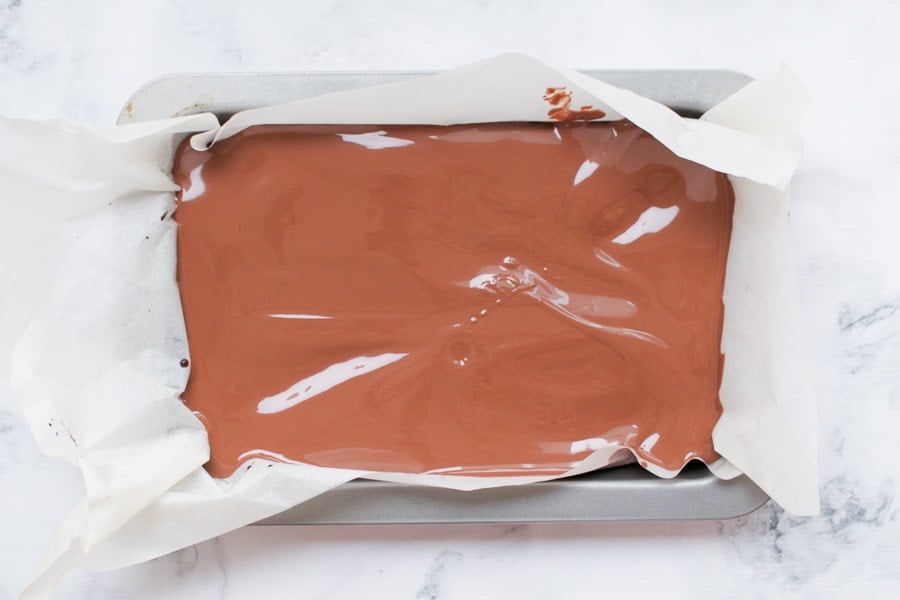
- Step 5: Melt chocolate with oil. Pour over caramel and spread evenly. Let it just-set before slicing.
Top Tip
Let the chocolate layer just set before cutting - that way it slices cleanly without cracking or squashing the caramel.
Recipe Tips
- Use full-fat condensed milk - It sets firmer and gives the caramel a better consistency.
- Stir the caramel constantly - Don't walk away! Keep it on low and stir until thickened.
- Cool the caramel before adding chocolate - This prevents melting and mixing of layers.
- Add oil to chocolate - This keeps it soft enough to slice without cracking.
- Score before slicing - Use a serrated knife to gently mark the top before pressing through.
- Store in an airtight container - Room temp or fridge, it keeps for 5 days.
- Freezer-friendly - Wrap in foil or plastic wrap and freeze for up to 1 month.
- Let thaw at room temp before serving for best texture.
Chocolate Caramel Slice FAQs
No - it won't set properly. Full-fat condensed milk is a must.
It's likely set too hard. Add a little oil to the chocolate and slice before fully set.
Yes! It keeps well in the fridge or freezer, making it perfect for prepping ahead.
It should be thick and golden, and feel firm to the touch after baking.
Let it sit out of the fridge for 30 minutes, score the chocolate, then use a sharp knife to press down through the layers.
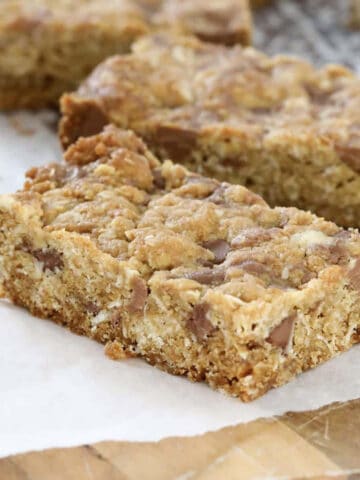
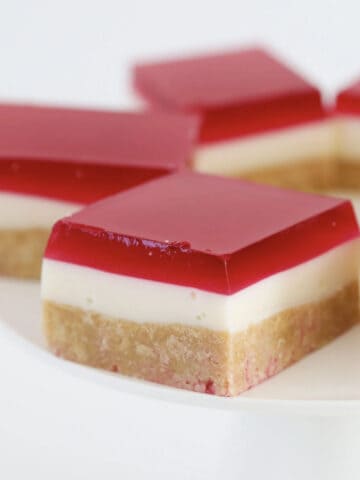
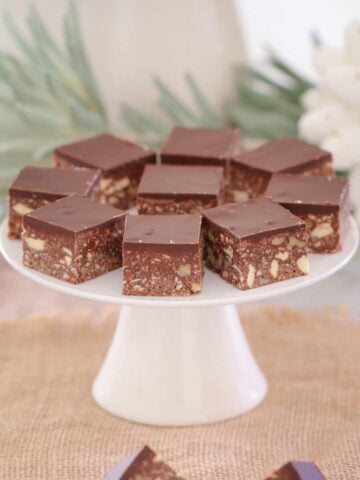
More Classic Slice Recipes
Love this slice? Don't stop there - explore more of my classic slice recipes that are perfect for lunchboxes, bake sales or a sneaky late-night treat!
WANT EVEN MORE DELICIOUS RECIPES? Subscribe to my newsletter or follow along on Facebook or Instagram. And if you love baking, then please come and join my Facebook cooking club group or subscribe to my YouTube channel.

Chocolate Caramel Slice
Ingredients
- 1 cup (150g) plain flour
- ½ cup (100g) brown sugar
- ½ cup (45g) coconut
- 125 g melted butter
- ⅓ cup (130g) golden syrup see recipe notes
- 790 g sweetened condensed milk
- 125 g butter
- 250 g milk chocolate
- 20 g vegetable oil (or coconut oil) see recipe notes
Instructions
Conventional Method
- Preheat oven to 160 degrees celsius (fan-forced). Line a 20X28cm rectangular slice tin with baking paper and set aside.
- To make the base sift the plain flour into a bowl. Add the brown sugar and coconut and stir to combine.
- Add the melted butter and mix well until crumbly and completely combined.
- Press the mixture firmly into the base of the prepared tin and smooth with a spoon.
- Bake for 15 minutes or until lightly golden.
- To make the filling, place the golden syrup, condensed milk and butter into a small saucepan over low heat.
- Stir continuously for 10-15 minutes or until the caramel has thickened (make sure your heat is very low and you continue stirring until the sauce has obviously thickened).
- Pour the caramel over the cooked base and return to the oven for a further 15-20 minutes or until golden and firm to the touch.
- Remove from the oven and set aside until cool. Place in the fridge to cool completely.
- Melt the chocolate and vegetable oil (or coconut oil) in the microwave on 50% power for 3-4 minutes, stirring every 30 seconds with a dry metal spoon.
- Pour the chocolate topping over the cooled caramel layer (see notes).
- Cut into slices just before the chocolate topping sets completely.
- Store in an airtight container for up to 5 days.
Thermomix Method
- Preheat oven to 160 degrees celsius (fan-forced). Line a 20X28cm rectangular slice tin with baking paper and set aside.
- Melt the butter in the TM bowl on Speed 2, 100 degrees, 3 minutes.
- Add the plain flour, brown sugar and coconut and mix on Speed 4, 10 seconds. Scrape down the sides of the bowl and repeat for a further 15 seconds or until completely combined (use the spatula to help mix).
- Press the mixture firmly into the base of the prepared tin and smooth with a spoon. Bake for 15 minutes or until lightly golden.
- To make the filing, place the golden syrup, condensed milk and butter into a clean and dry Thermomix bowl. Mix on 80 degrees, Speed 4, 8 minutes.
- Pour the caramel over the cooked base and return to the oven for a further 15-20 minutes or until golden. Remove from the oven and set aside until cool then place in the fridge to cool completely.
- Place the chocolate melts into a clean TM bowl. Grate on Speed 8 for 10 seconds. Scrape down the sides of the bowl, add the vegetable oil (or coconut oil) and melt on Speed 2, 80 degrees, 4 minutes (or until completely melted).
- Pour the chocolate topping over the cooled caramel layer (see notes).
- Cut into slices just before the chocolate topping sets completely.
- Store in an airtight container for up to 5 days.
Notes
- Use full-fat condensed milk - It sets firmer and gives the caramel a better consistency.
- Stir the caramel constantly - Don't walk away! Keep it on low and stir until thickened.
- Cool the caramel before adding chocolate - This prevents melting and mixing of layers.
- Add oil to chocolate - This keeps it soft enough to slice without cracking.
- Score before slicing - Use a serrated knife to gently mark the top before pressing through.
- Store in an airtight container - Room temp or fridge, it keeps for 5 days.
- Freezer-friendly - Wrap in foil or plastic wrap and freeze for up to 1 month.
- Let thaw at room temp before serving for best texture.


Timea says
Hi! Can you replace the coconut?TIA
Lucy says
Yes just add a little extra flour xx
Kerry says
Best caramel
Slice ever !
Lucy says
Thank you!!!
Sara says
This is the best recipe for caramel slice everrrrrr. Thank you so much.
Lucy says
Thank you so much!
El says
Big hit, as always!!
Lucy says
Thank you!! xx
Tumaini M says
What kind of coconut do you need ? Chunks , fresh, dedicated ?
Lucy says
Hi there, I use desiccated coconut. xx
Dak Scott says
i use extra chunky coconut