

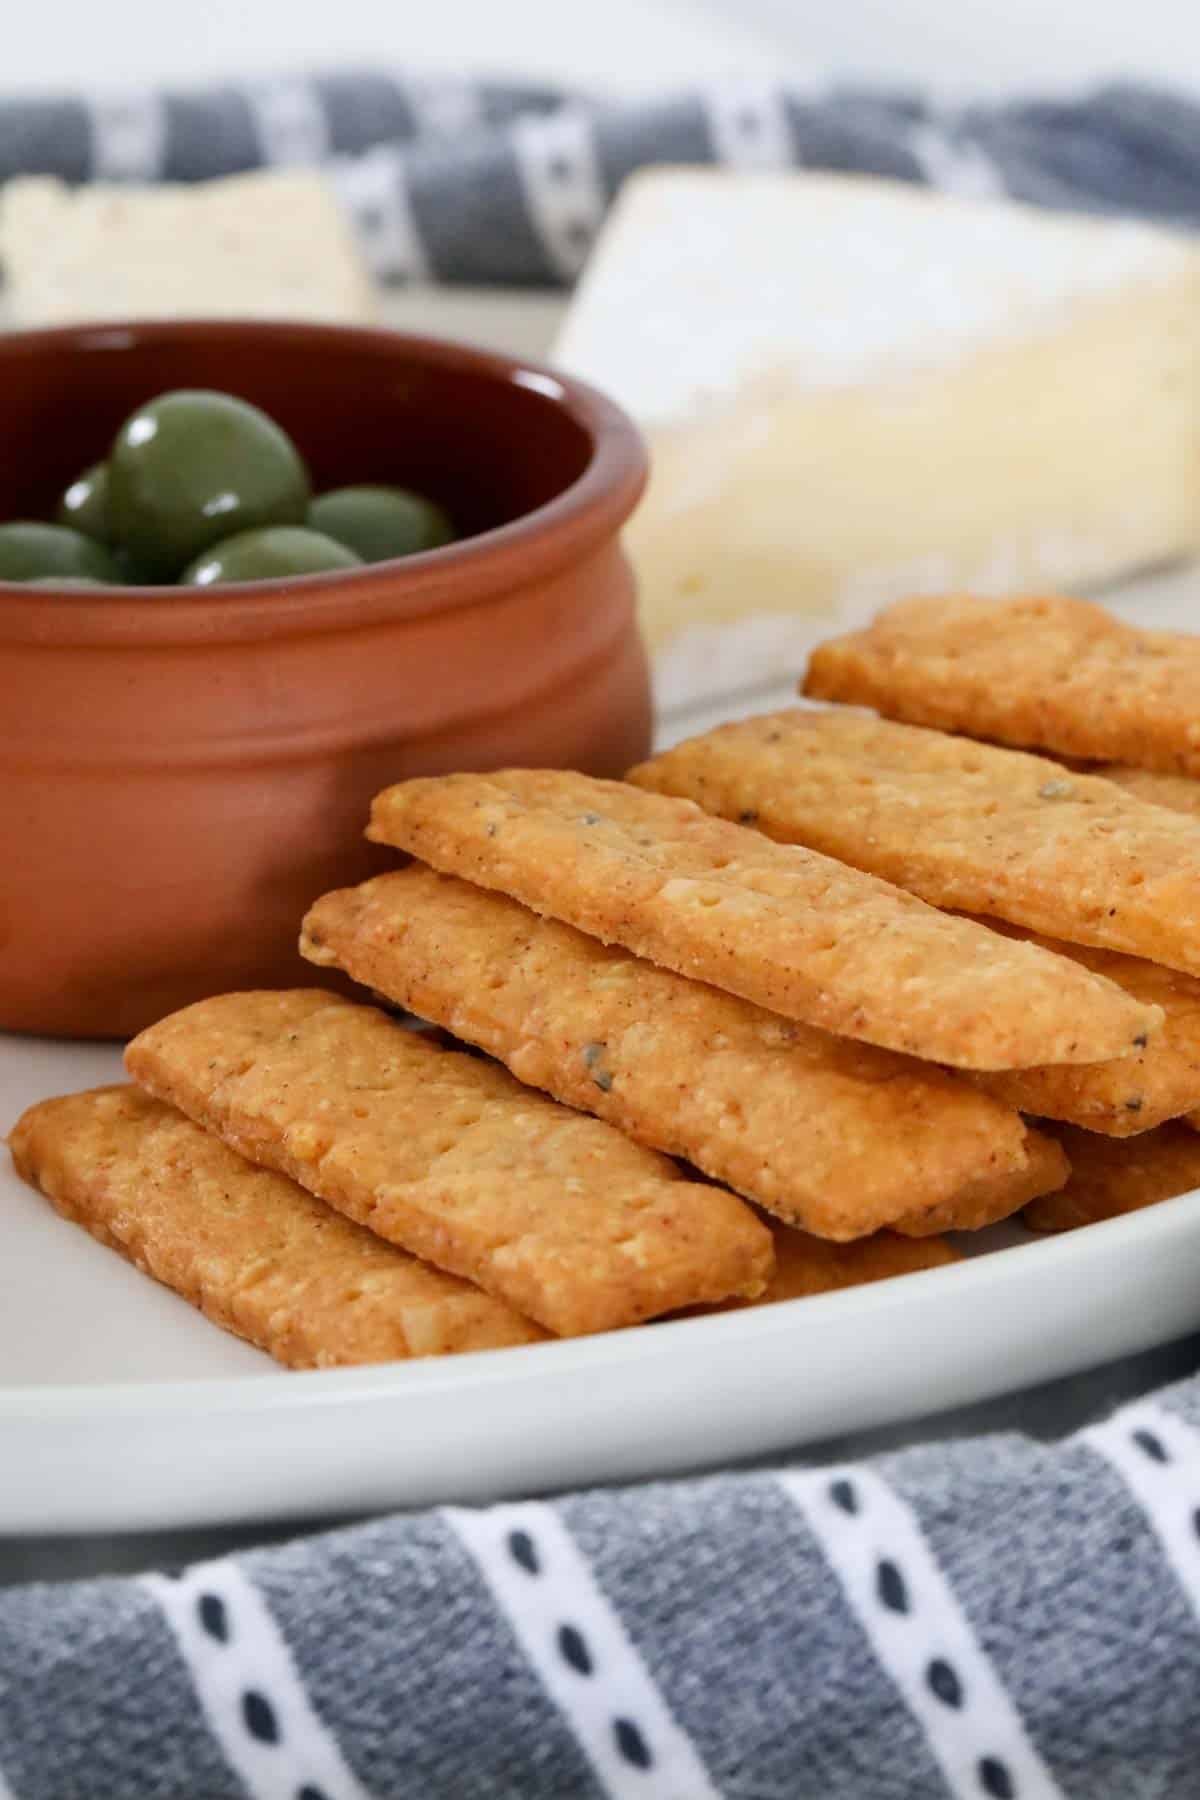
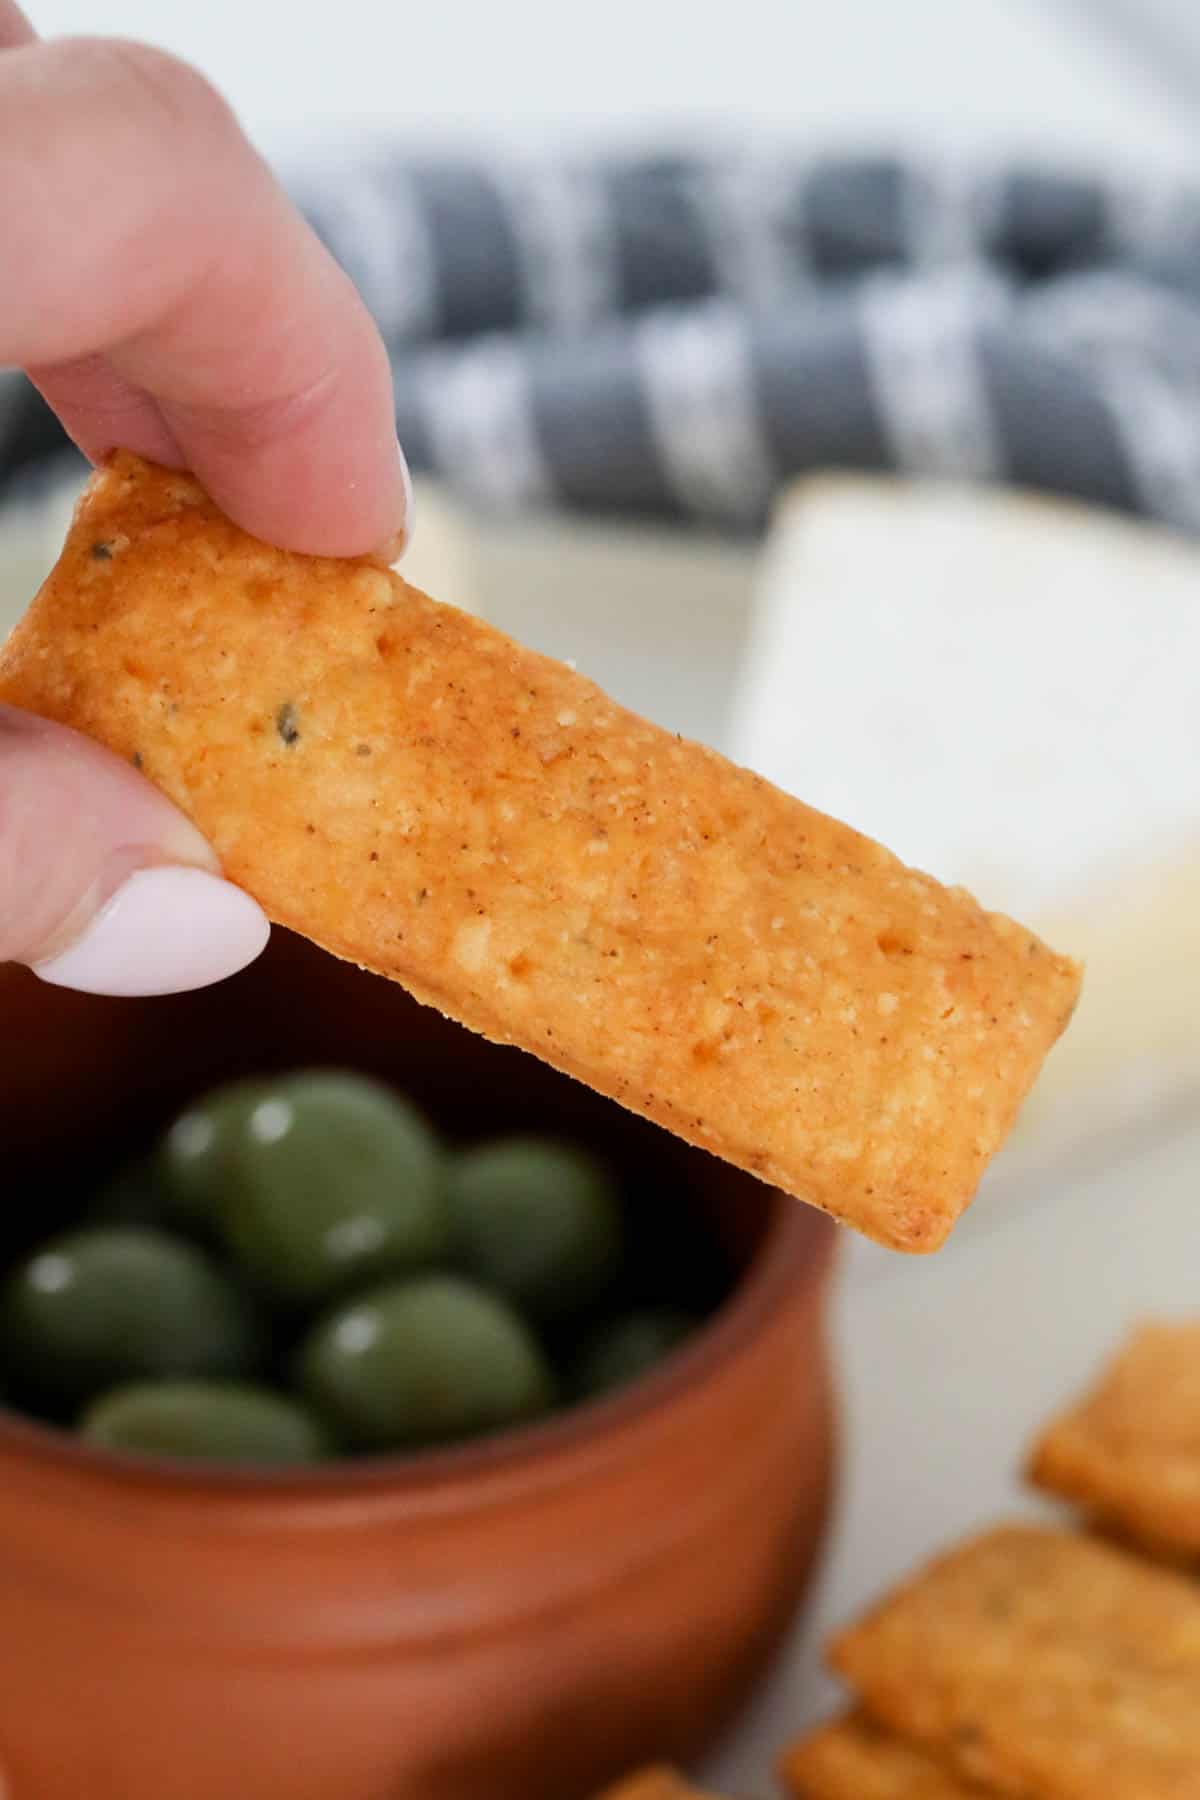
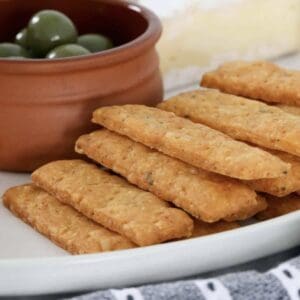
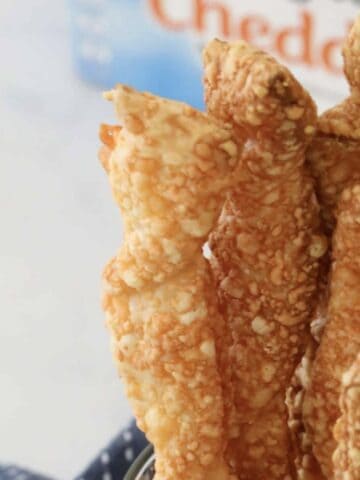
Looking for something a little extra special for your next cheese board or grazing platter? Try these tasty homemade cheese stick crackers!
Ready in just 30 minutes, you'll love how easy and how popular these cheese fingers are!
I recently made these cheese stick crackers from a similar recipe that my mum brought back from a visit to her aunt in New Zealand. She had tried them and found them just so divine!
So when I was having friends around and putting together a simple platter, I thought I would give them a try. What I loved about this recipe is that you can use a variety of different types of cheeses, and since I'm 'slightly' addicted to creamy blue cheese, I've included a little in the ingredients. But if you're not a blue cheese fan (yet!) then just experiment with your favourites.
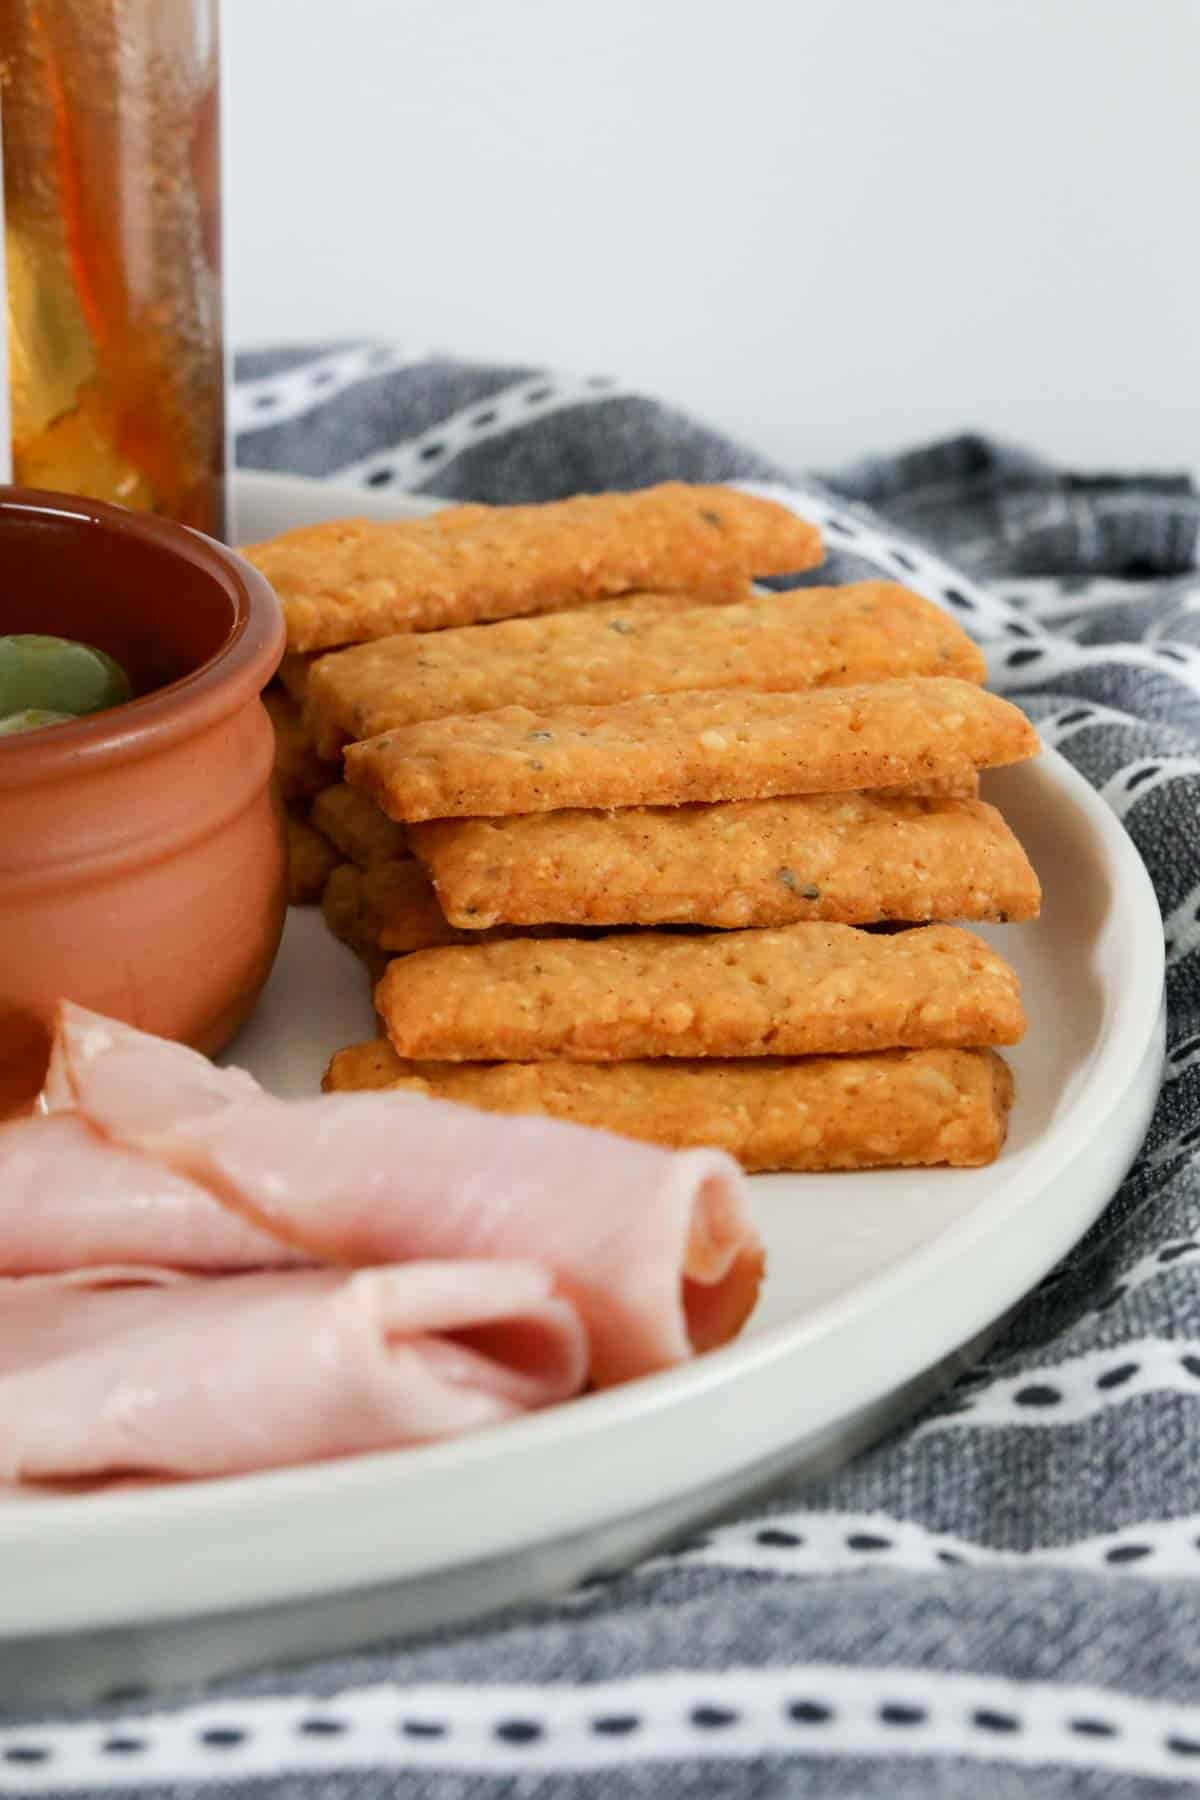
Perfect to serve with an antipasto, or on a simple cheeseboard with a dip such as easy hummus dip, cream cheese dip, or a spicy beetroot dip. But just as good to pack in a lunchbox with some carrot and celery sticks for a welcome change too.
Why You're Going To Love This Recipe
Make your own homemade cheese crackers from scratch!
- You know exactly what's in them - cheeses, butter, flour and a little spice! No hidden preservatives or additives included like the store bought varieties!
- Simple ingredients - but HUGE on taste!
- Mix up your cheeses - use whatever your favourites are or what you have on hand as long as the total weight is the same as the recipe states. Try using a couple of different tasty cheeses such as cheddars, vintage tasty, blue cheese, smoked cheese, even a nutty havarti, and I definitely recommend a little parmesan too!
- Popular with all ages - whether it's kids or adults, these cheesy little bites are just too hard to resist munching on!
- Great homemade gift - whip up a batch of these cheese biscuits, pop them in a clear bag tied with a ribbon, and you have a gorgeous surprise gift for a neighbour or friend.
What You Need
The simplest of ingredients is all that's required for these tasty cheese stick fingers.
Note: Scroll to the recipe card at the bottom for the ingredients quantities and full detailed method!
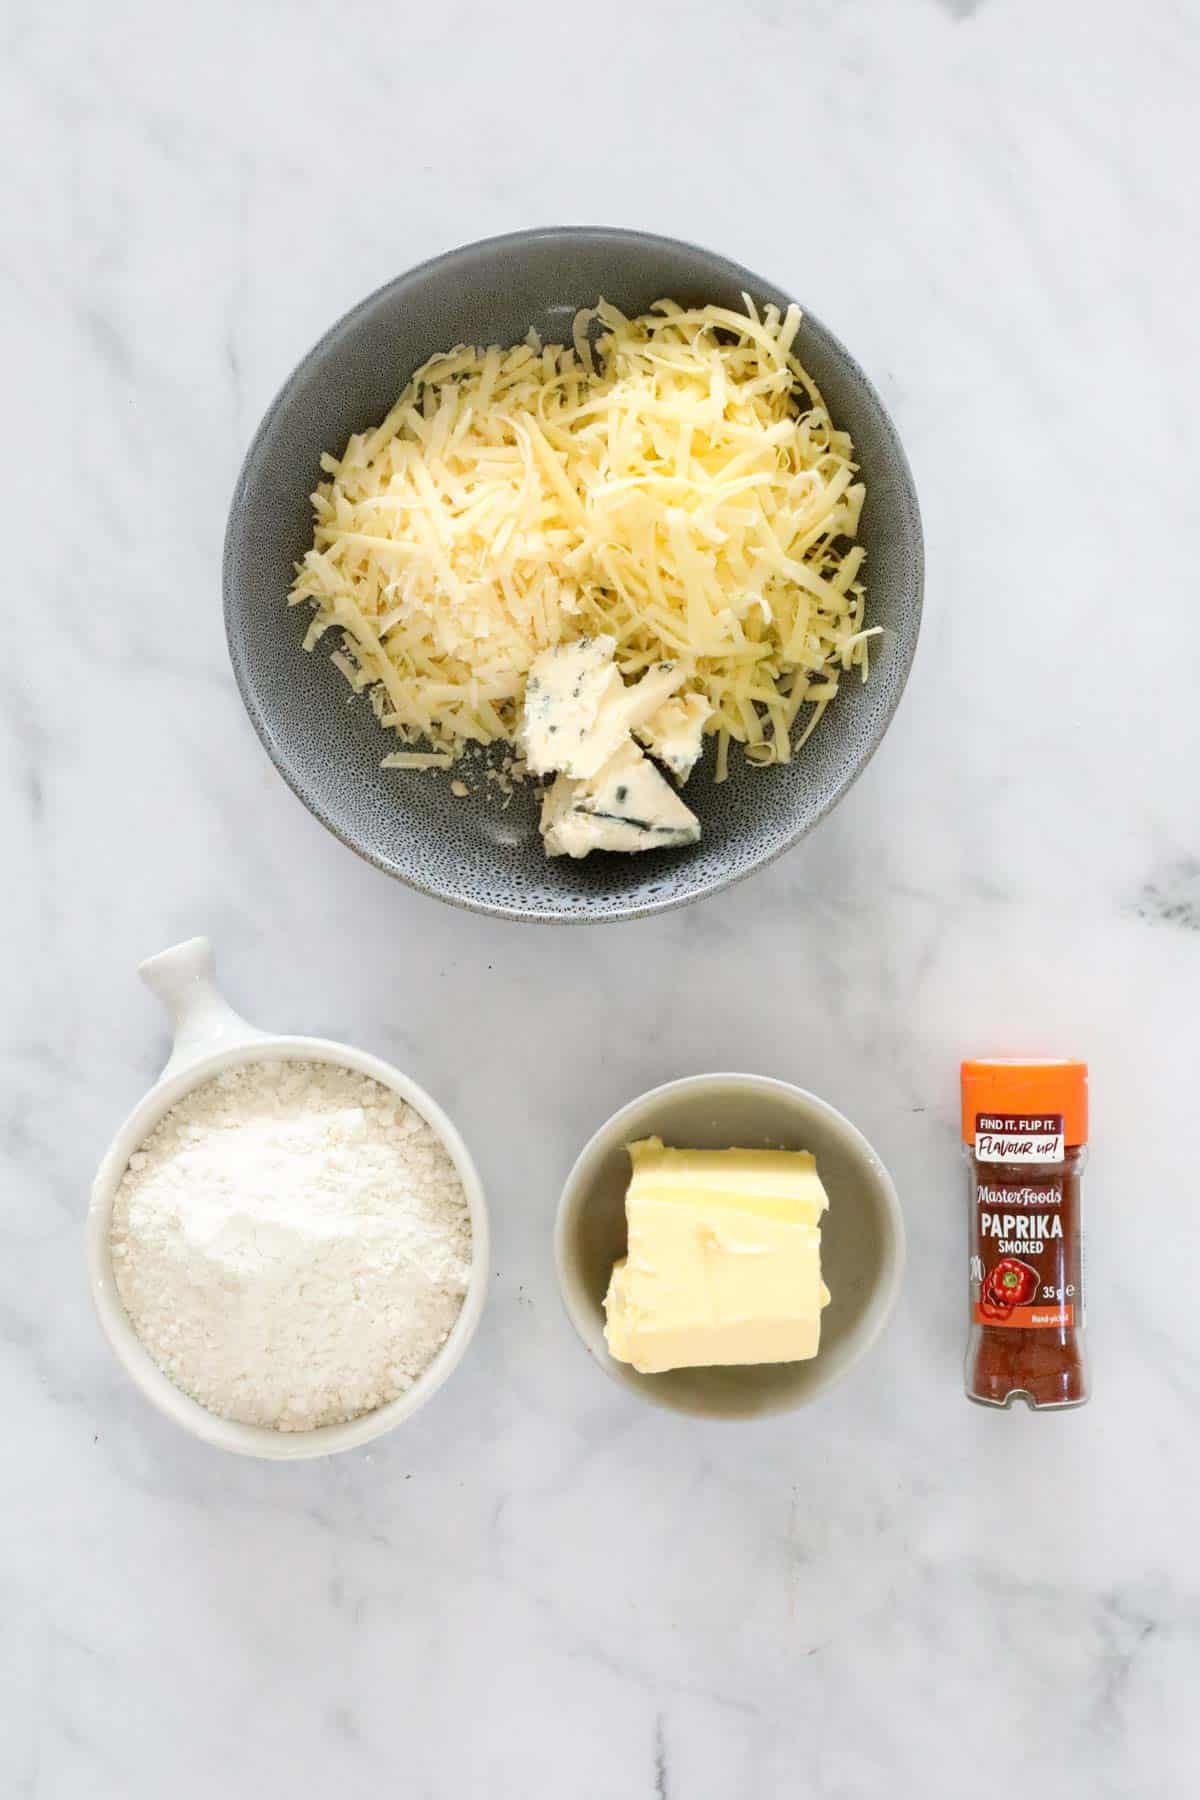
- Cheddar - grated. I recommend you use freshly grated cheeses in these crackers. Freshly grated cheese has much more flavour than the store bought, pre-shredded varieties, which also includes extra additives such as anti-caking agents.
- Parmesan - grated. Parmesan adds that sharp nutty flavour to these cheese sticks and makes it simply impossible to stop at one or two cheesy crackers!
- Blue cheese - I used a creamy smooth blue cheese which gave these crackers a unique blend of tasty savoury flavours.
- Butter - either salted or unsalted is fine to use.
- Plain flour - also known as all purpose flour.
- Smoked paprika - for a smoky and mildly spiced flavour.
- Salt & pepper - to taste.
Equipment Required
This recipe is such a simple one - once you have grated the cheese, just mix all ingredients together in one bowl, roll out, cut into fingers and bake!
- Baking trays - 2 trays lined with baking paper.
- Grater - or you could use a food processor or Thermomix to grate cheeses with.
- Rolling pin - to roll the dough out on a lightly floured board.
- Oven.

Step By Step Instructions
The dough comes together easily, and the cheesy crackers bake in no time at all!
Note: Scroll to the recipe card at the bottom for the ingredients quantities and full detailed method!
Step 1 - Prepare The Cheeses
Firstly, preheat your oven to 150 degrees Celsius (fan forced), and line two baking trays with baking paper. Set aside.
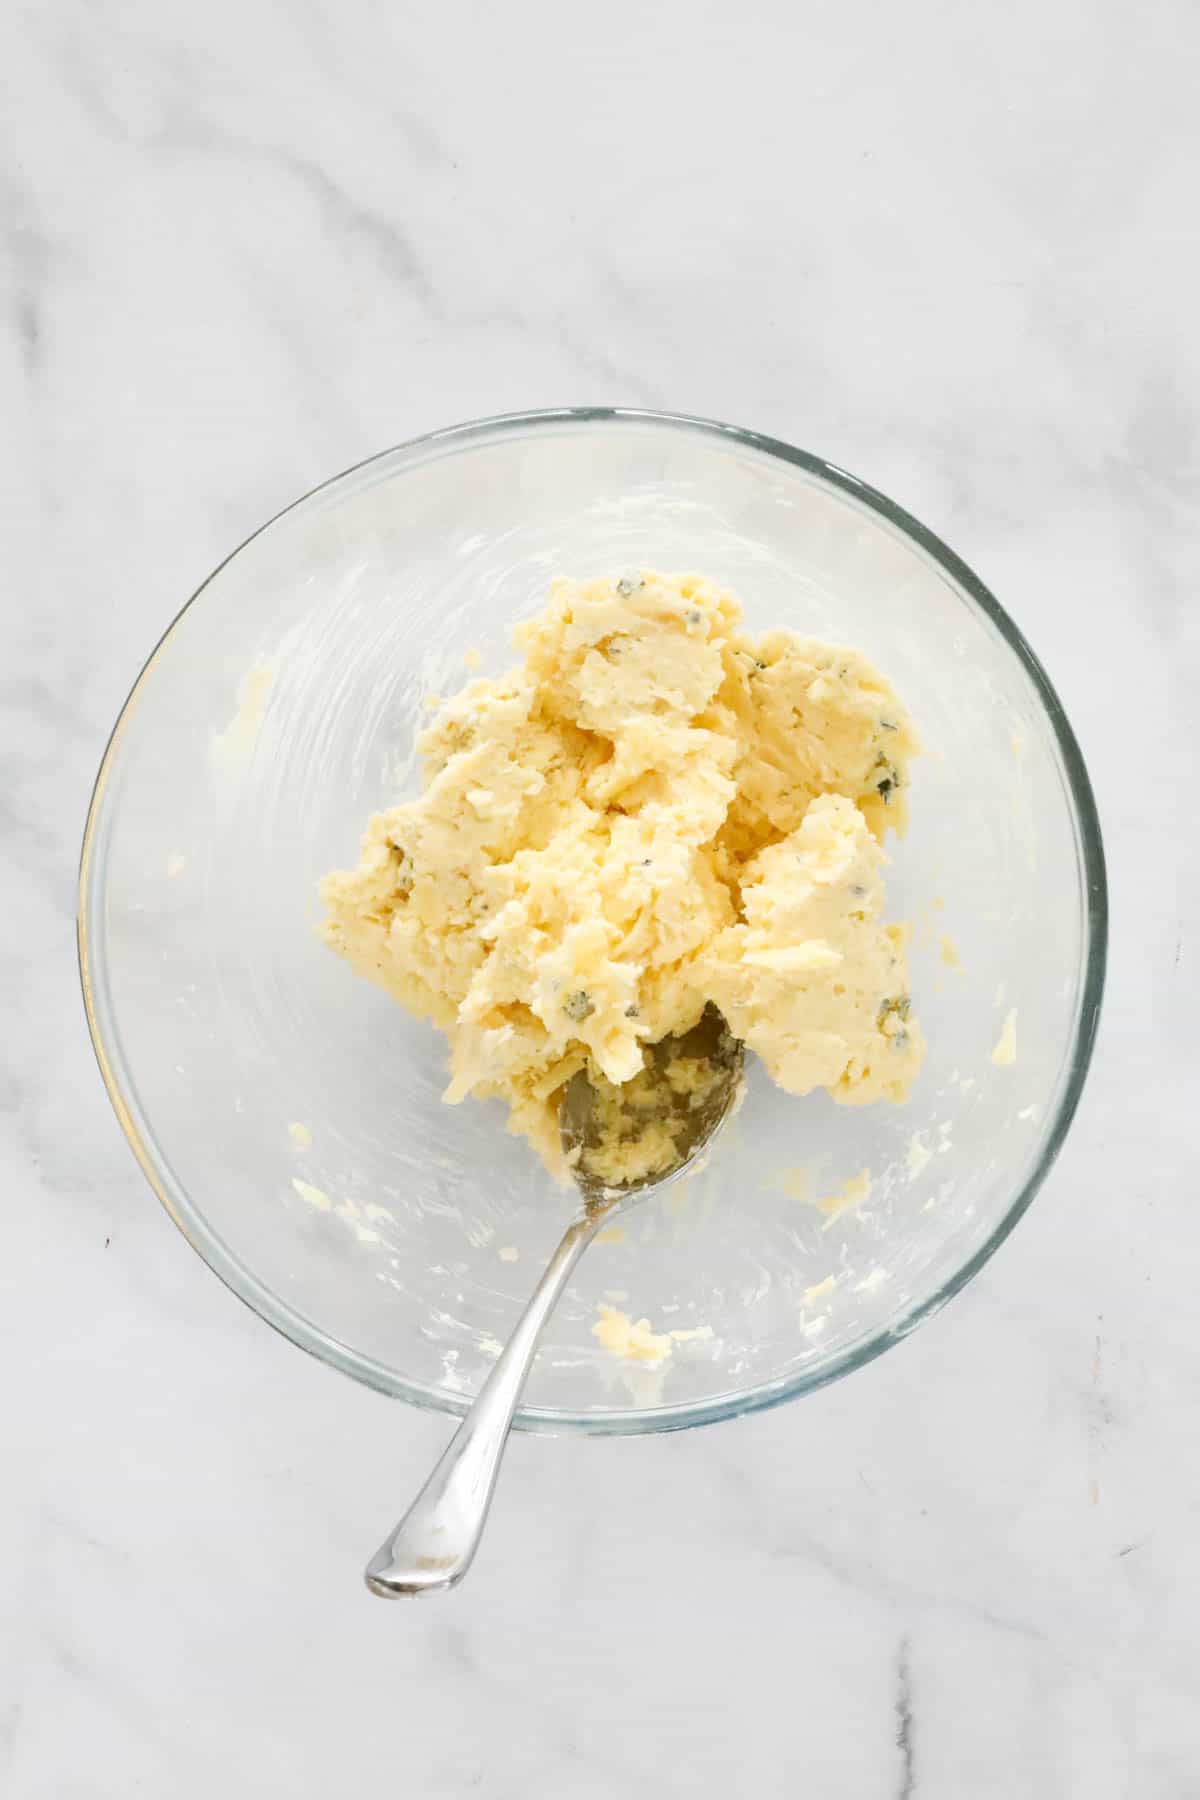
Grate your cheeses and place in a bowl with the softened butter.
Step 2 - Add The Remaining Ingredients
Add the plain flour, smoked paprika, and season with salt and pepper.
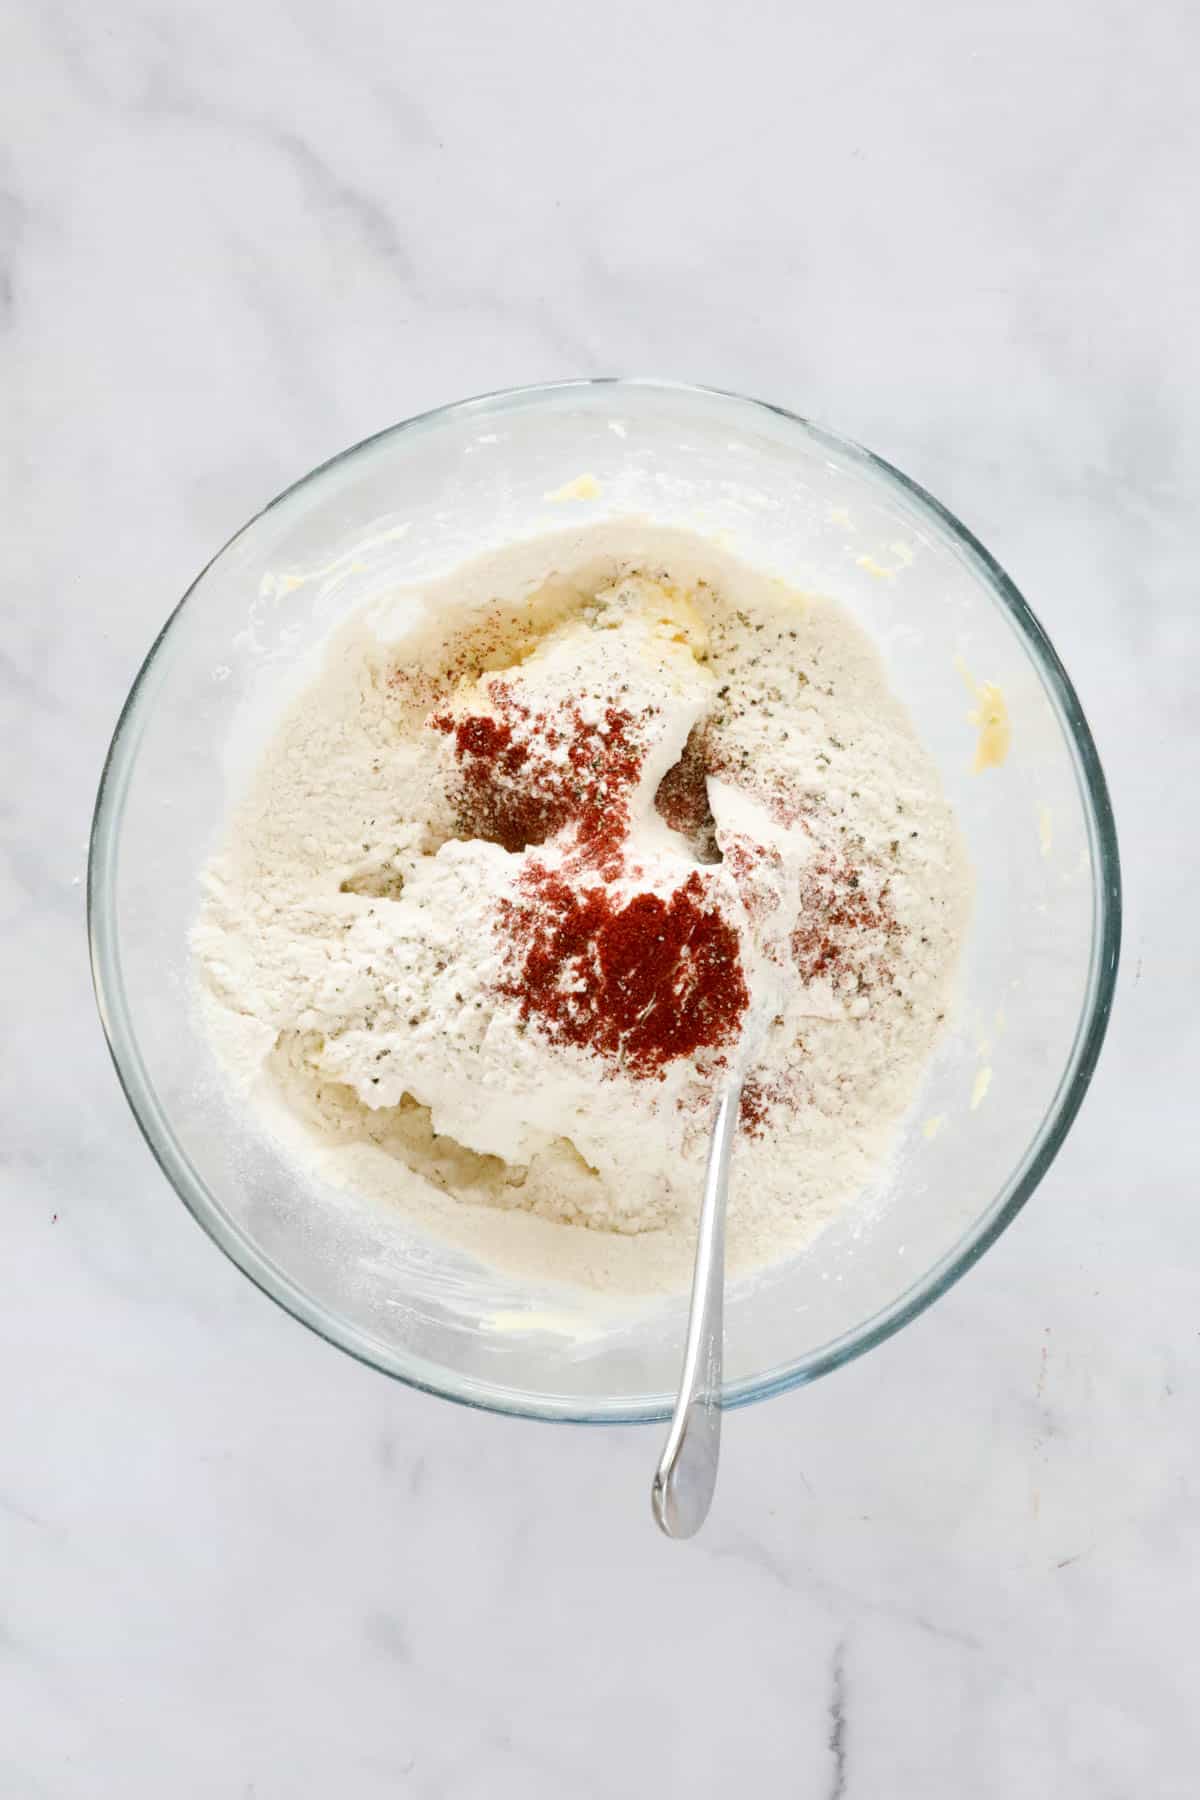
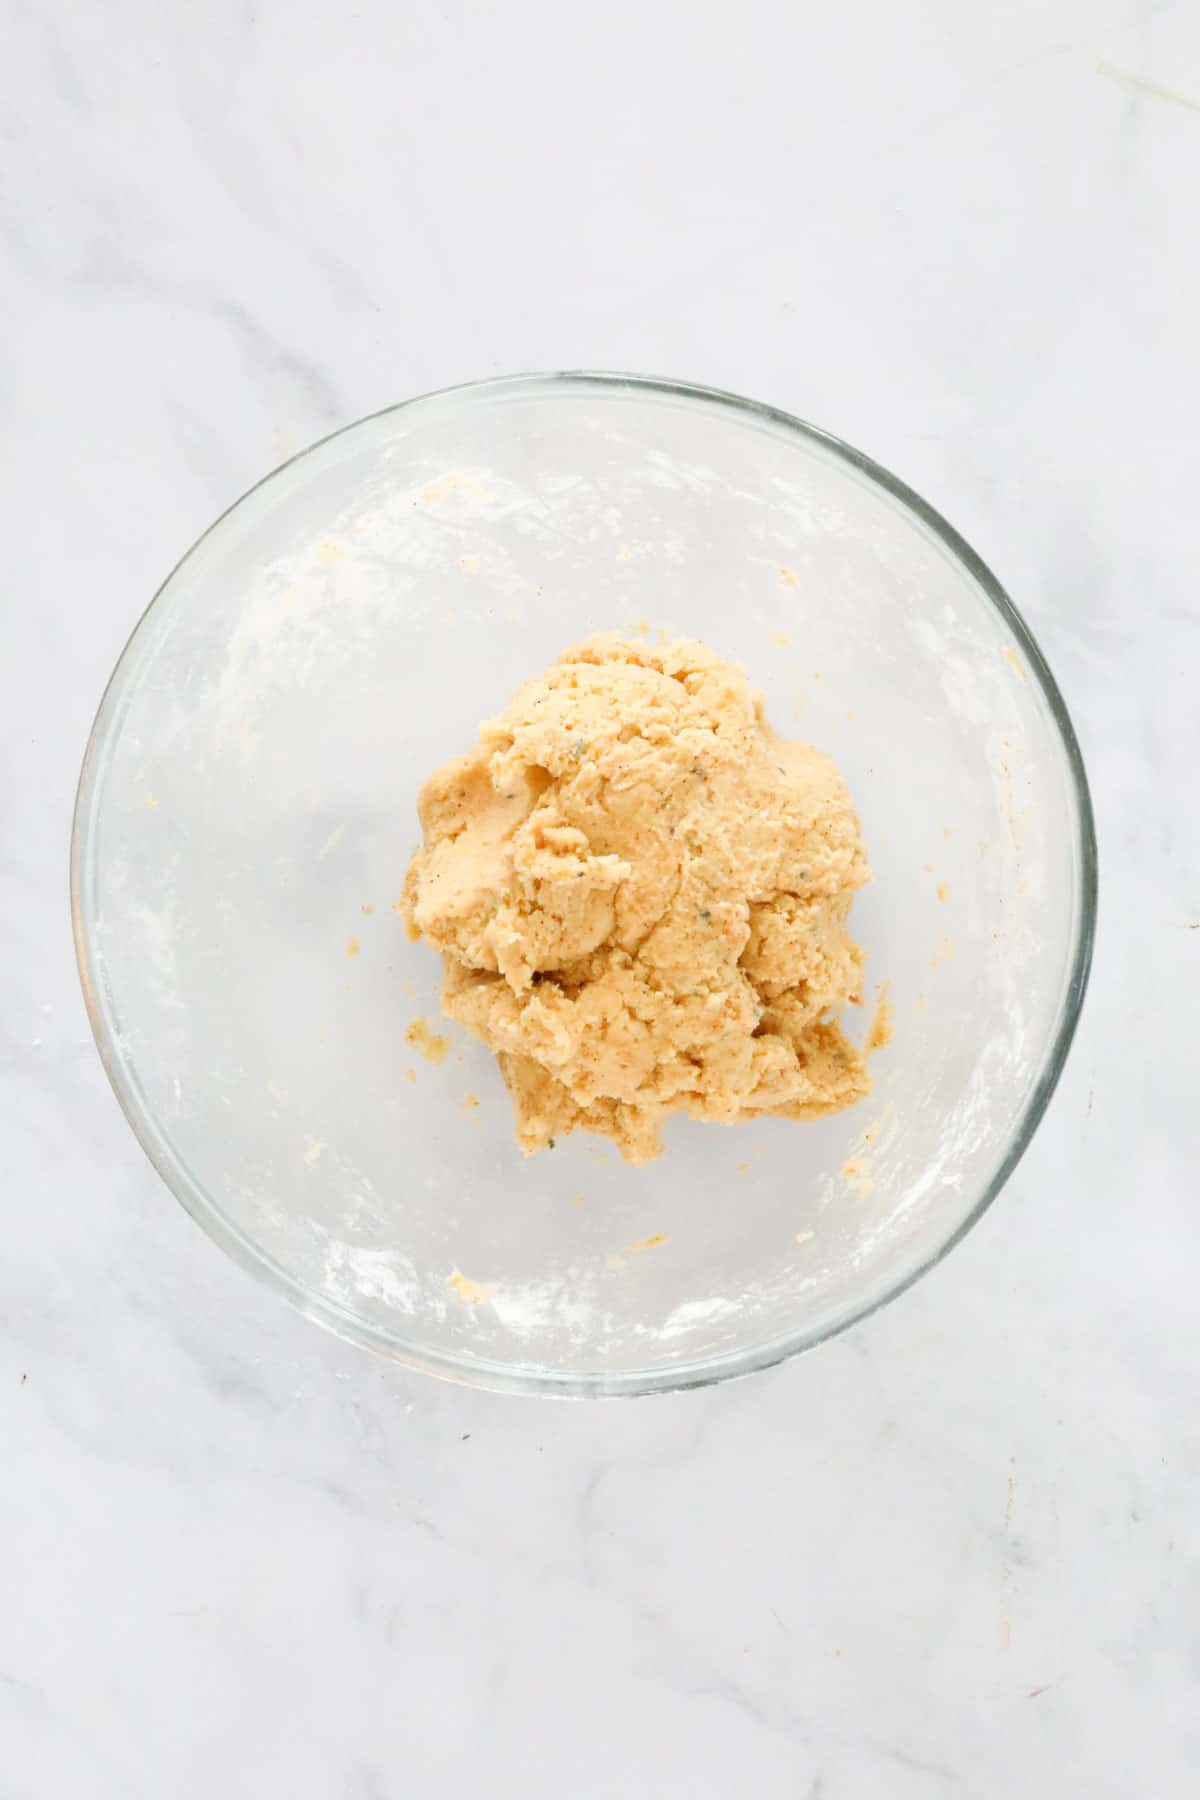
Knead the mixture into a ball.
Note: If the mixture is a little too crumbly and won't hold together, add a touch of cold water and knead again.
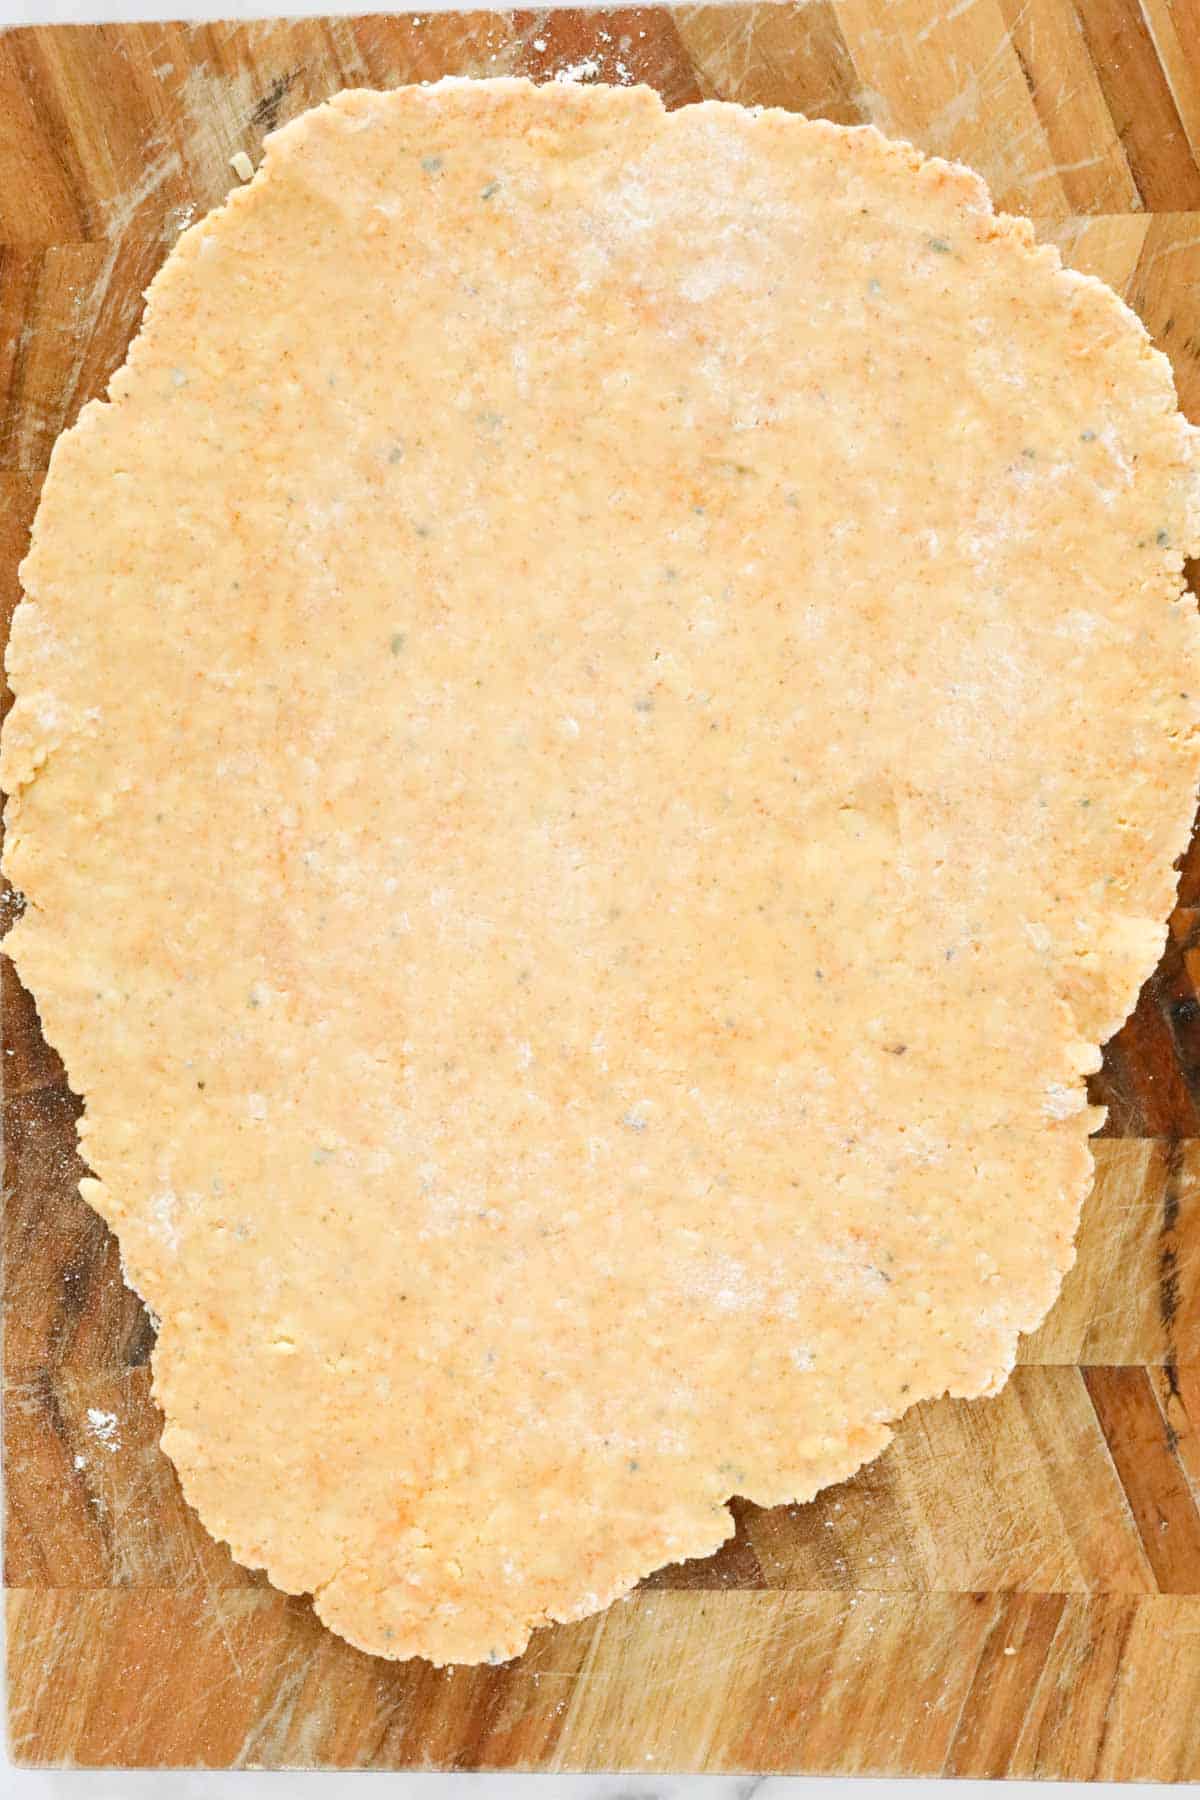
Step 3 - Roll Out And Bake
On a lightly floured board or bench, roll the dough out to 0.5 centimetre (half a centimetre) thick.
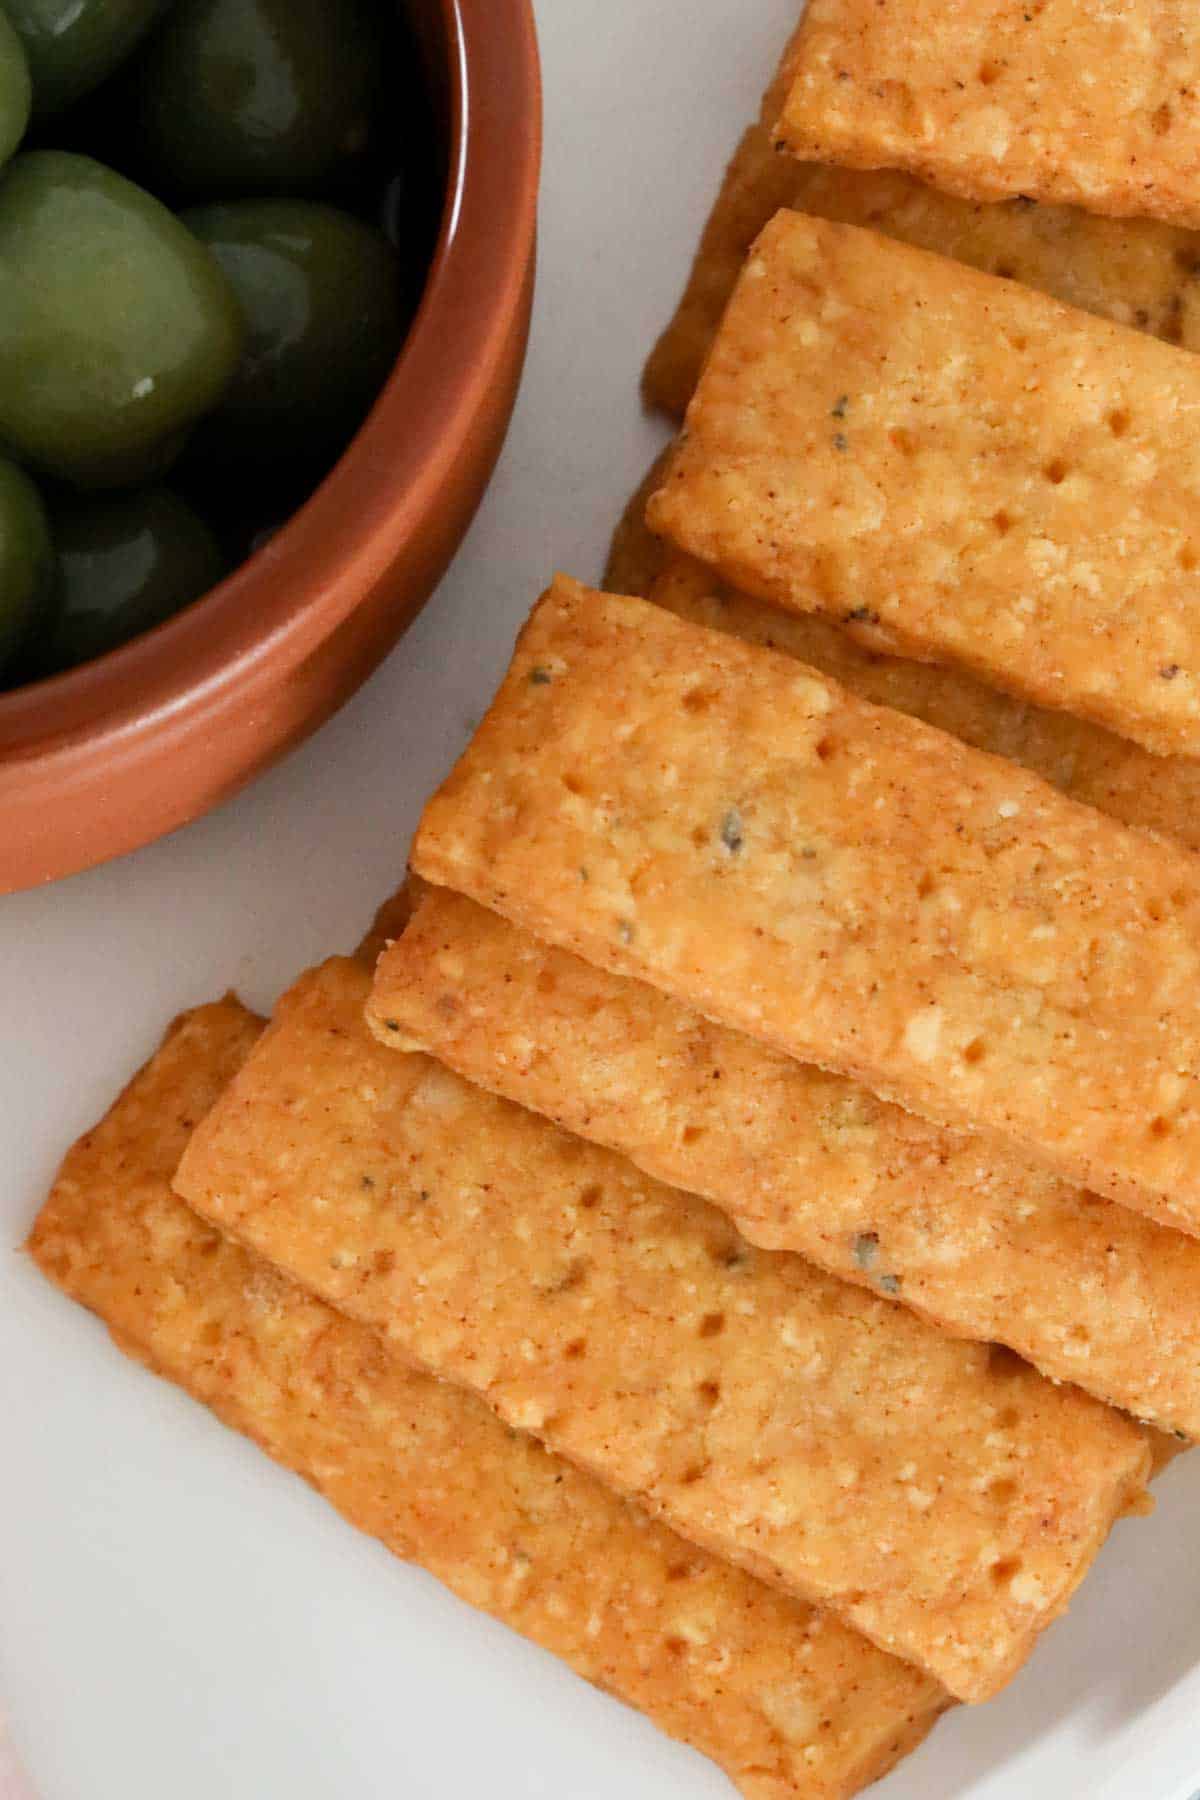
Cut into fingers (aprox 3cm x 10cm) and gently lift on to the prepared baking trays.
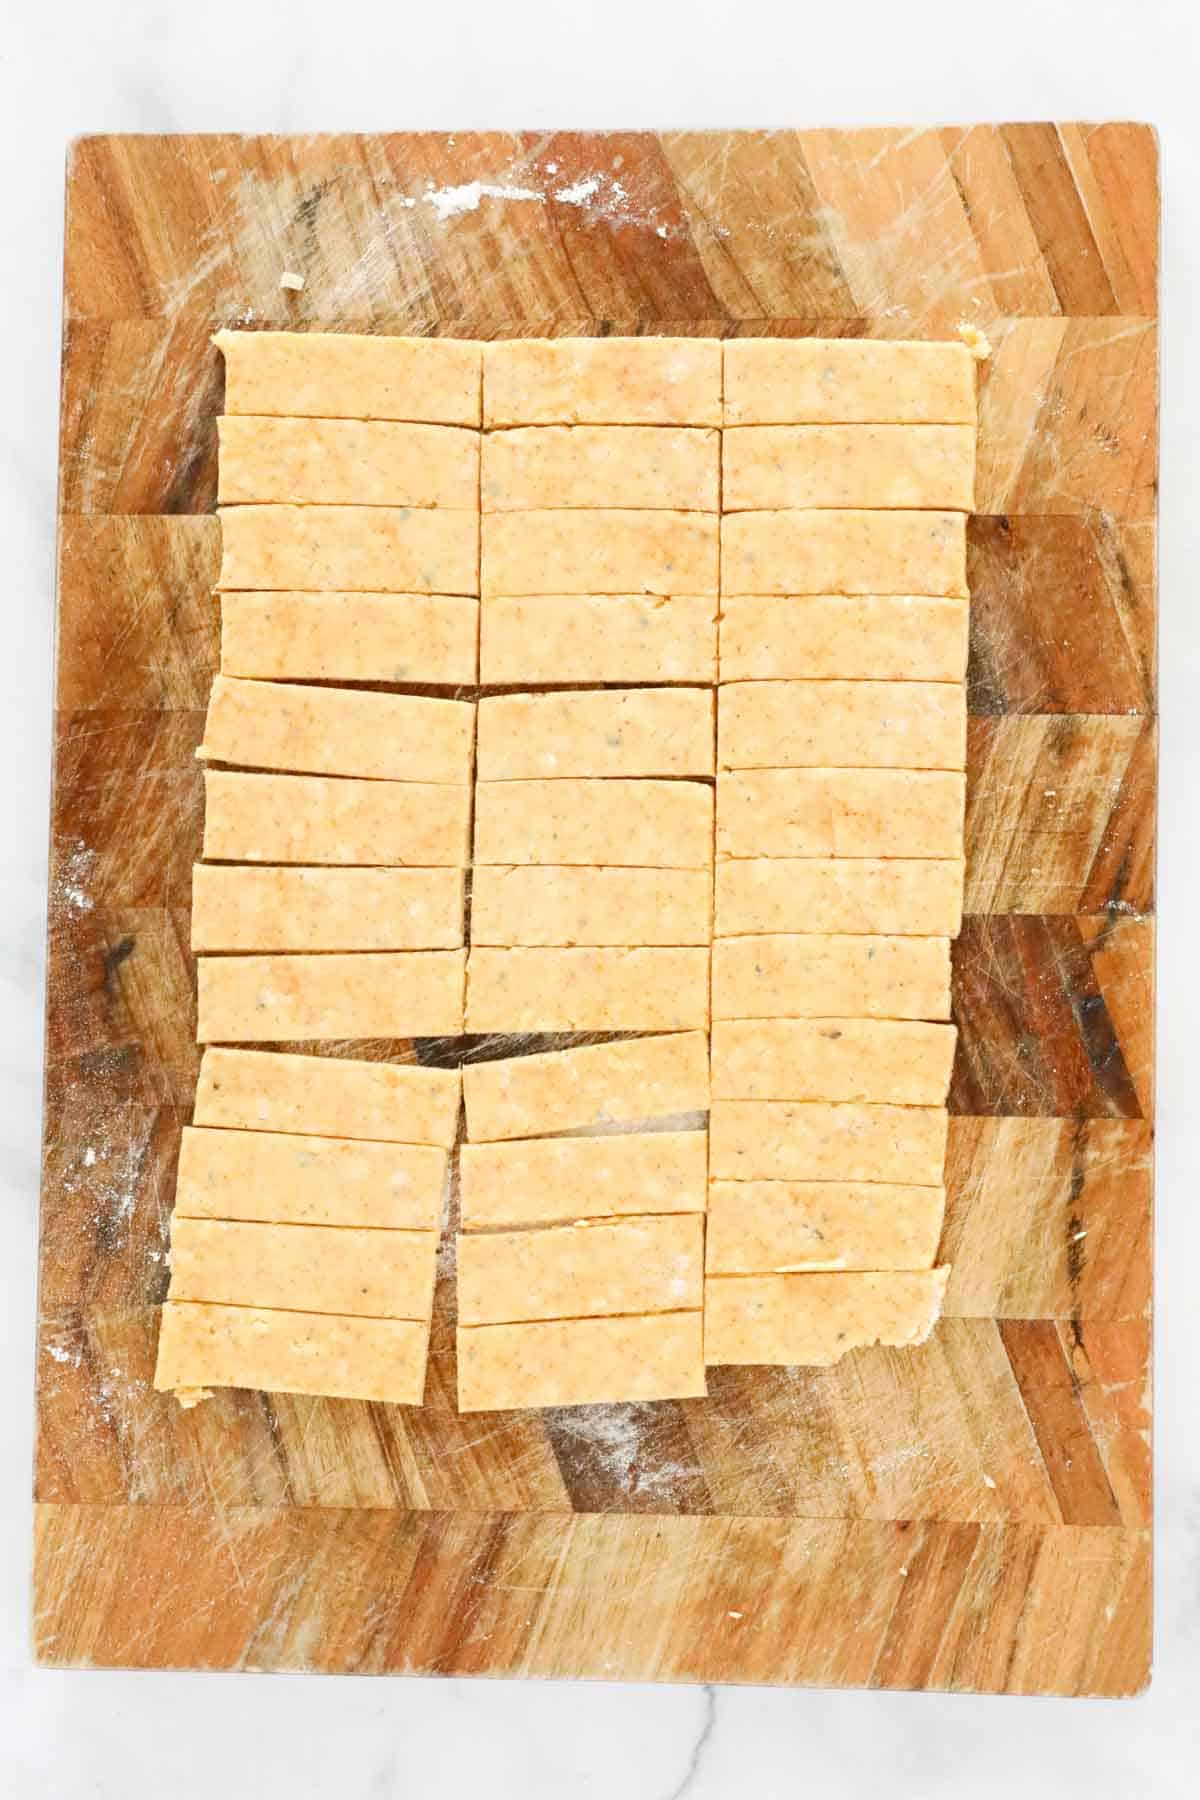
Prick each cheese finger several times with a fork - this stops them from puffing up when baking.
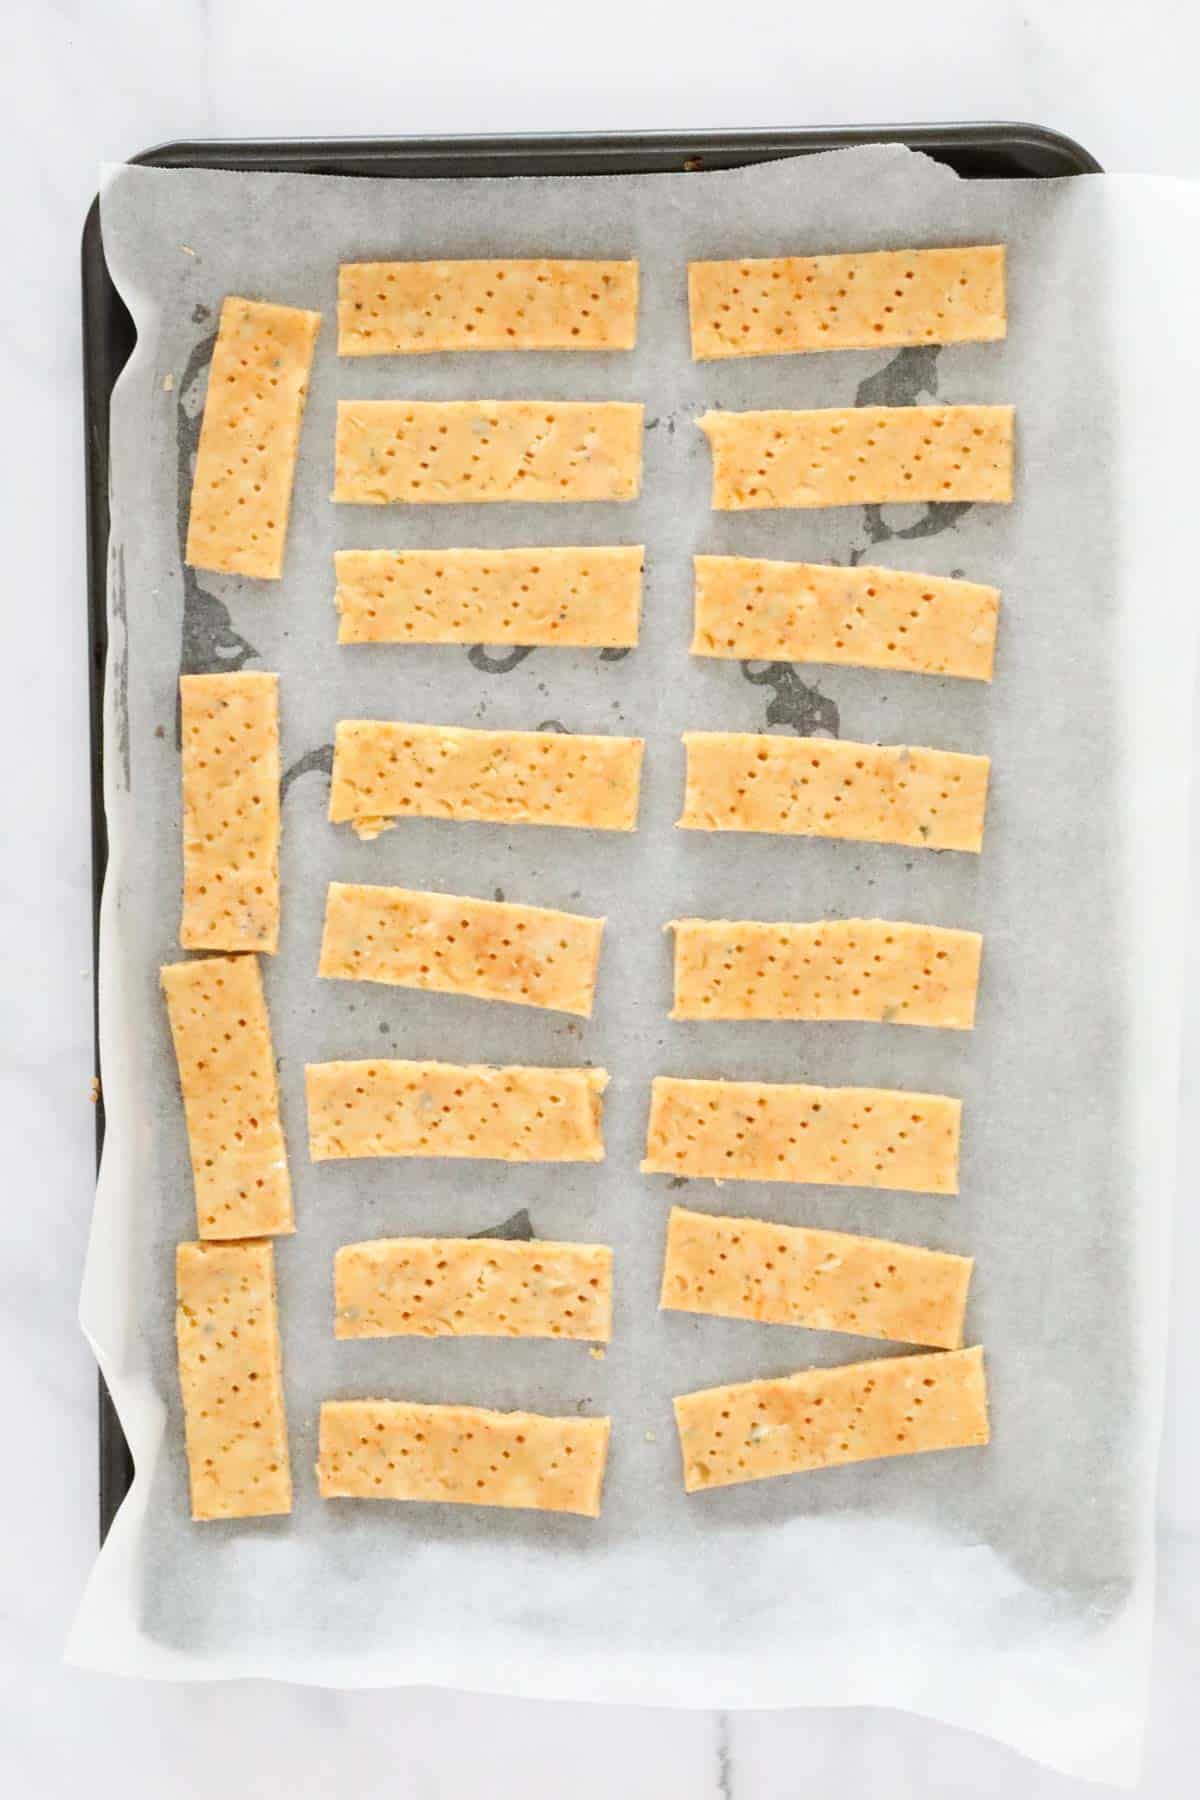
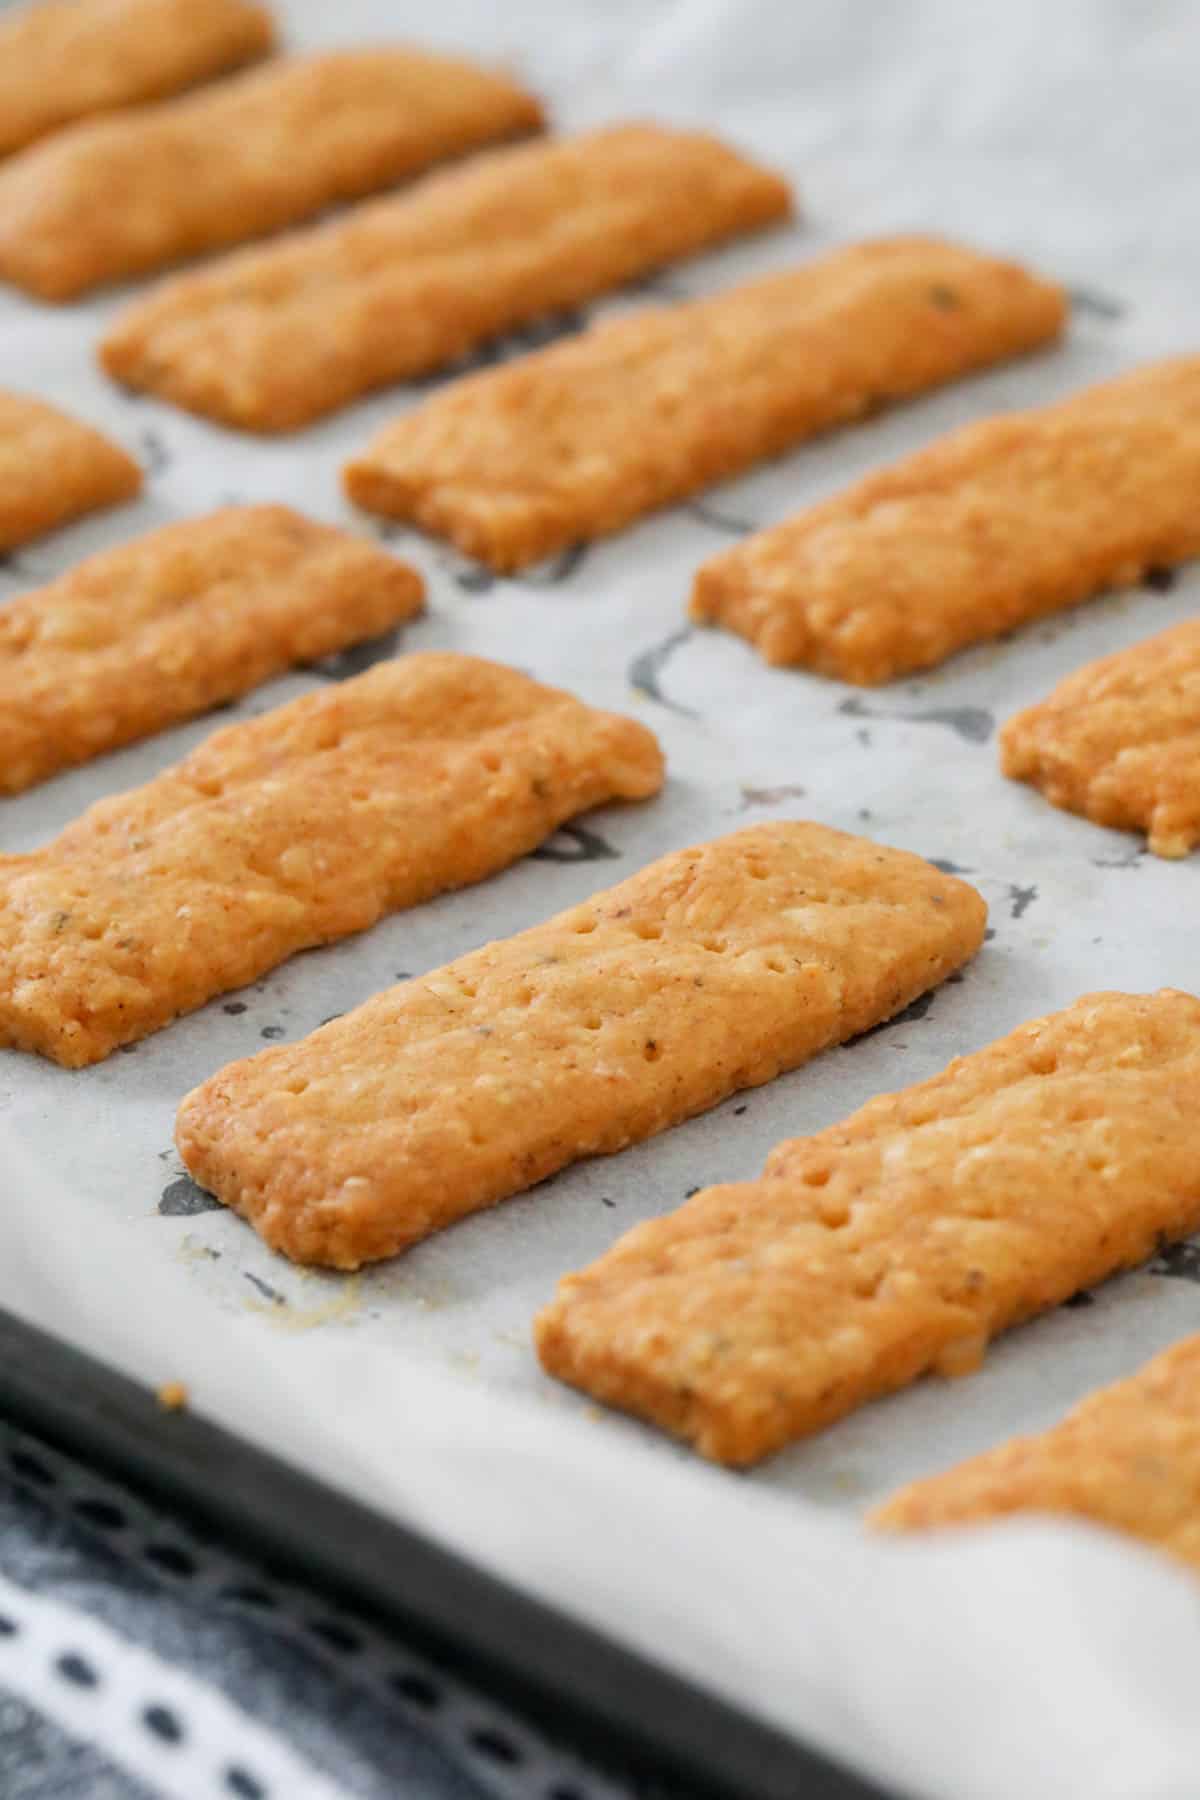
Bake for 15-20 minutes or until lightly golden. Allow cheese sticks to cool on the baking trays for 5 minutes, then place on a wire rack to cool completely.
Expert Tips
These savoury cheesy crackers can be served anytime. They're great to share on a cheese platter, popped in to a lunch box, or given as a surprise gift - or just to enjoy nibbling on in front of the TV!
- I recommend using the tastiest cheeses you can - parmesan, cheddar and blue cheese are all great options. Use a combination of cheeses as long as the total weight is as the recipes states.
- Use freshly grated cheeses rather than pre-shredded cheese.
- If the dough feels a little too crumbly to roll out, just add a little cold water.
- Prick each cheese stick finger with a fork several times - this stops the dough from puffing up as it bakes.
- Baking for 20 minutes gives these crackers a good crunch, however if you prefer a softer, more crumbly texture, reduce the baking time by 3-4 minutes.
- Leave the cheese stick crackers to cool and firm on the baking trays for 5 minutes before placing on a wire rack to cool completely.
- Storing - cheese stick crackers are best to eat freshly baked and crunchy, as they will soften a little over a few days. Store in an airtight container at room temperature for 3-4 days.
- Freezing - you can freeze the uncooked dough, wrapped well, for up to 3 months, then thaw to room temperature before rolling out and baking.
Variations
Besides being able to mix up the types of cheese that you use, you can try out a different flavoured cracker each time by adding a little extra spice or some savoury herbs too.
- For a little heat - add a pinch of cayenne pepper along with the smoked paprika to the dough mix.
- Add a pinch of garlic powder!
- Dried herbs - dried rosemary or oregano leaves would add interesting savoury flavours.
- Sprinkle your cheese stick crackers with sea salt before baking, or even some sesame seeds.
- Cut into whatever shapes you like - I like the look of long flat fingers, however you could cut cheese biscuits into smaller squares or triangles - just like Savoury Shapes!
FAQs
Lightly flour the board (and rolling pin) before rolling out. Or, you could roll the dough between two sheets of baking paper that have been lightly sprayed with cooking oil to avoid the dough sticking. If the weather is particularly hot, chill the dough for 15 minutes before rolling it out.
All ovens vary slightly, so it's important to be aware of that and keep an eye on these crackers during baking. For a slightly softer, more crumbly texture, keep baking time to a minimum. For a more crunchy cracker, bake for the full baking time.
I specify fan-forced oven temperatures in my recipes, so if you have a conventional oven, just increase the temperature by between 10 and 20 degrees Celsius.
Related Recipes
Honestly, you cannot stop at one or two with these moorish cheese biscuits! I'm still wondering where they all went....
Everything tastes better with cheese!

WANT EVEN MORE DELICIOUS RECIPES? Subscribe to my newsletter or follow along on Facebook or Instagram. And if you love baking, then please come and join my Facebook cooking club group or subscribe to my YouTube channel.
Cheese Crackers
Ingredients
- 60 g grated cheddar cheese
- 60 g grated parmesan cheese
- 40 g blue cheese see notes
- 120 g butter softened to room temperature
- 150 g (1 cup) plain flour
- 1 teaspoon smoked paprika
- salt and pepper to taste
Instructions
- Preheat oven to 150 degrees celsius (fan forced). Line two flat baking trays with baking paper and set aside.
- Place the grated cheeses and softened butter into a bowl. Mix until combined.
- Add the plain flour, smoked paprika and season with salt and pepper. Knead into a ball.
- On a lightly floured board or bench, roll the dough out to .5cm (half a centimetre).
- Use a large flat knife to cut into fingers (approximately 3cm x 10cm).
- Carefully place the cheese fingers onto the prepared baking trays.
- Bake for 15-20 minutes or until lightly golden.
- Allow to cool on the trays.
Notes
- Cheeses - you can use any combination of cheeses that you like (as long as the total weight equals 160g). I recommend using the tastiest cheeses you can (parmesan, cheddar and blue cheese are all great options), and use freshly grated cheese, rather than pre-shredded cheeses.
- For variations - try adding a little cayenne pepper or garlic powder, some dried herbs such as rosemary or oregano leaves, sprinkle fingers with sea salt or sesame seeds before baking, cut into small squares or triangles.
- If the dough feels a little too crumbly to roll out, just add a little cold water.
- Prick each cheese stick finger with a fork several times - this stops the dough from puffing up when baking.
- Baking for 20 minutes gives a good crunch, however if you prefer a softer, more crumbly texture, reduce the baking time by 3-4 minutes.
- Leave to cool and firm on the baking trays for 5 minutes before placing on a wire rack to cool completely.
- Storing - cheese stick crackers are best to eat freshly baked and crunchy, as they will soften a little over a few days. Store in an airtight container at room temperature for 3-4 days.
- Freezing - you can freeze the uncooked dough, wrapped well, for up to 3 months, then thaw to room temperature before rolling out and baking.

Leave a Reply