
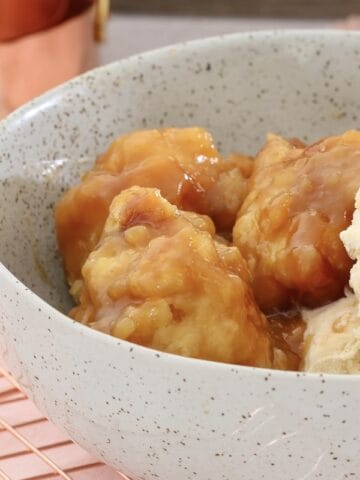
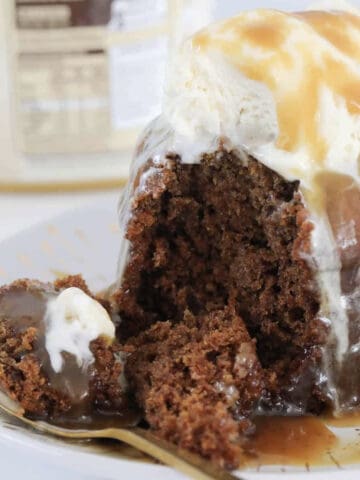
When the weather cools down, nothing beats a bowl of warm, saucy pudding. This caramel pudding is an old-fashioned favourite with a twist-sweetened condensed milk and golden syrup create a rich caramel sauce that sits under a light, fluffy sponge. It's budget-friendly, easy to make, and absolutely made for serving with ice cream. If you love cosy desserts, you'll also want to try my Sticky Date Pudding, Creme Brulee or Golden Syrup Dumplings.
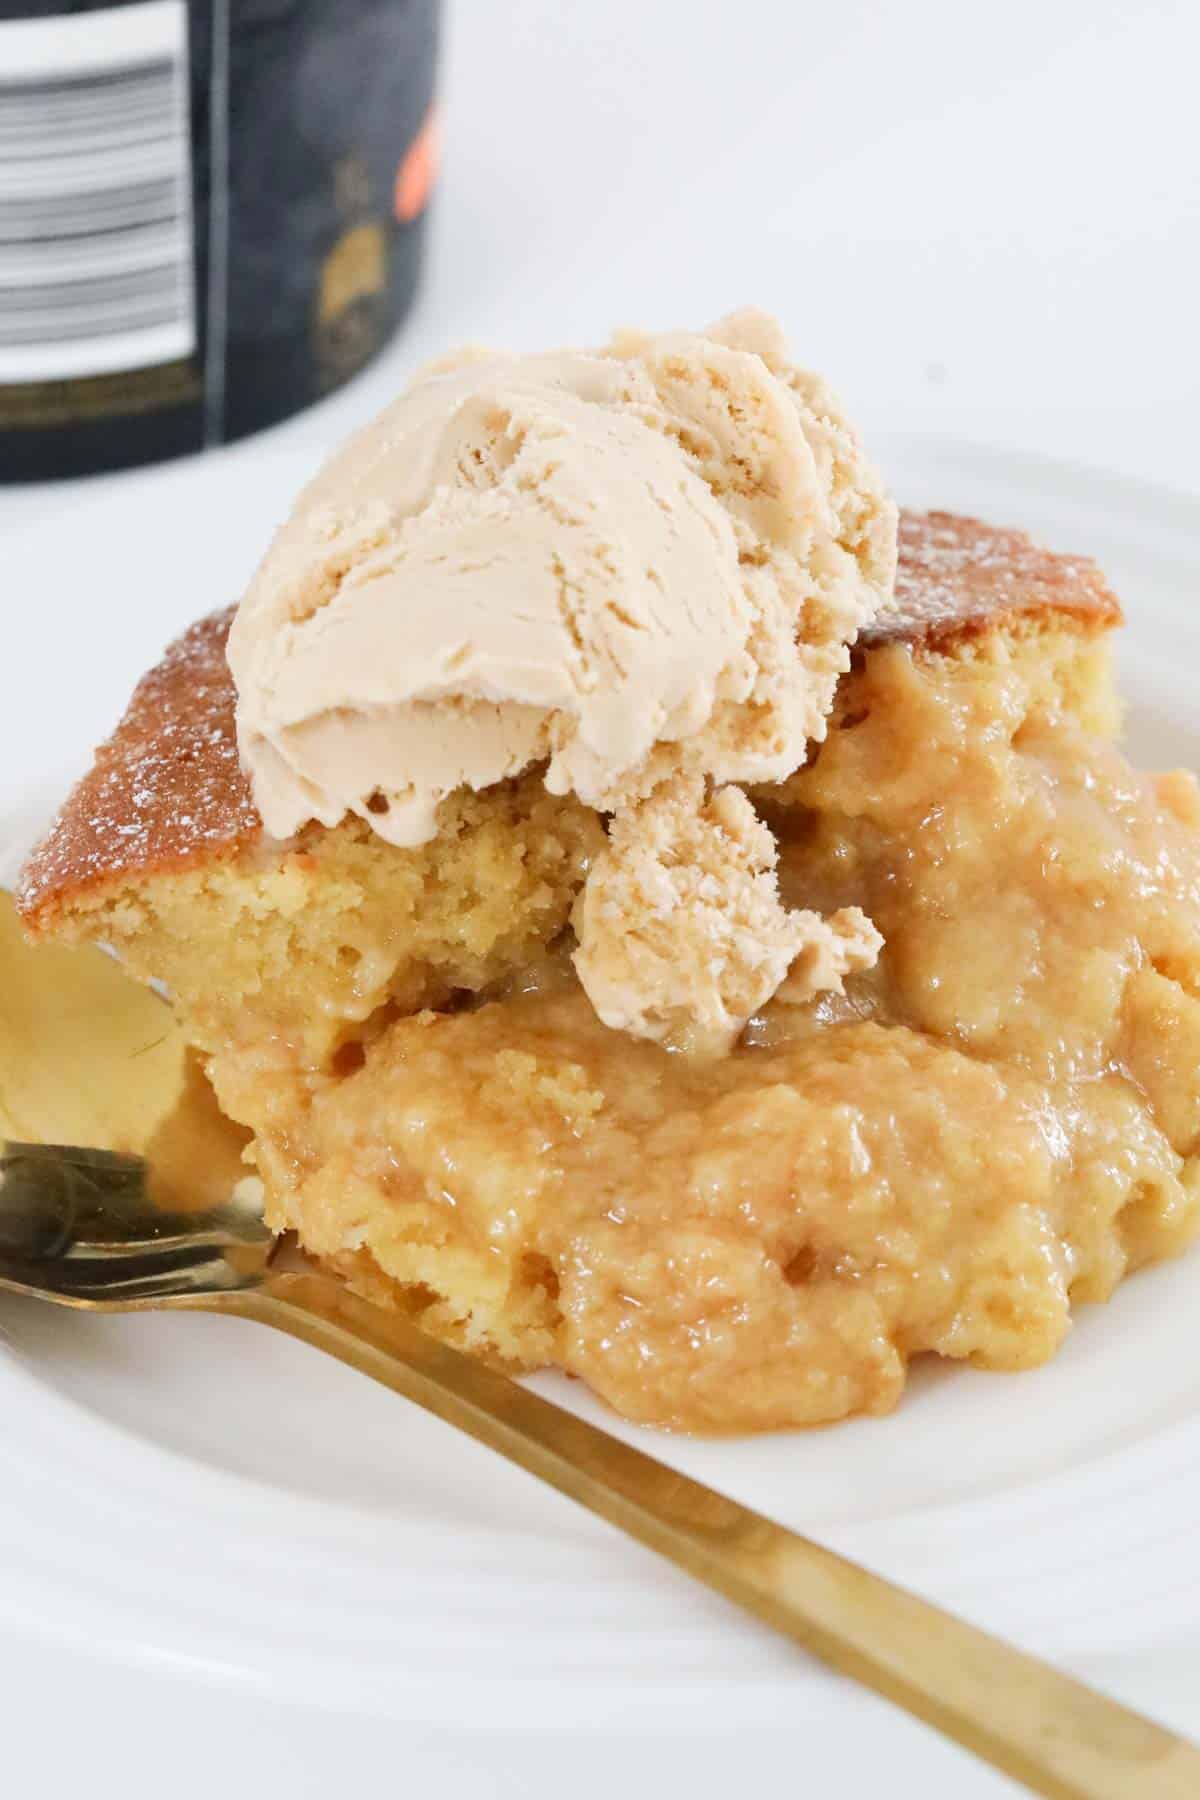
Unlike traditional self-saucing puddings (like my Butterscotch Self Saucing Pudding or Chocolate Self Saucing Pudding), this one starts with a thick caramel base in the bottom of the dish. The pudding batter is spooned on top and baked in a gentle water bath, leaving you with a gooey river of sauce underneath and a soft, golden sponge on top. It's pure comfort food and the perfect way to end a chilly evening.
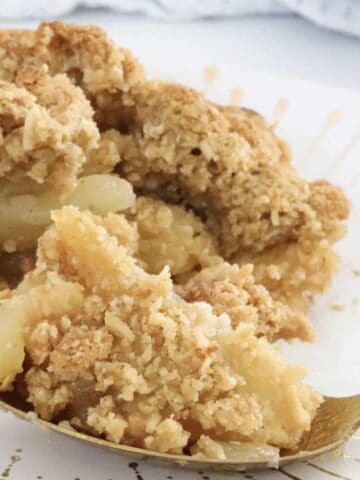
For another family favourite pudding with a fruity twist, try my Apple Sponge Pudding.
Why You're Going To Love This Recipe
- So much sauce! Thanks to the condensed milk base and water bath, you get a generous layer of thick caramel sauce under the sponge.
- Pantry staples: No fancy ingredients-just butter, sugar, golden syrup, milk, and flour - the perfect homemade pudding.
- Thermomix & conventional methods: Clear instructions for both, so everyone's covered.
- Budget-friendly: Feeds 8 people with ingredients you probably already have.
- Cosy winter dessert: Serve warm with cream, custard, or ice cream for maximum comfort.
Jump to:
Pudding Ingredients
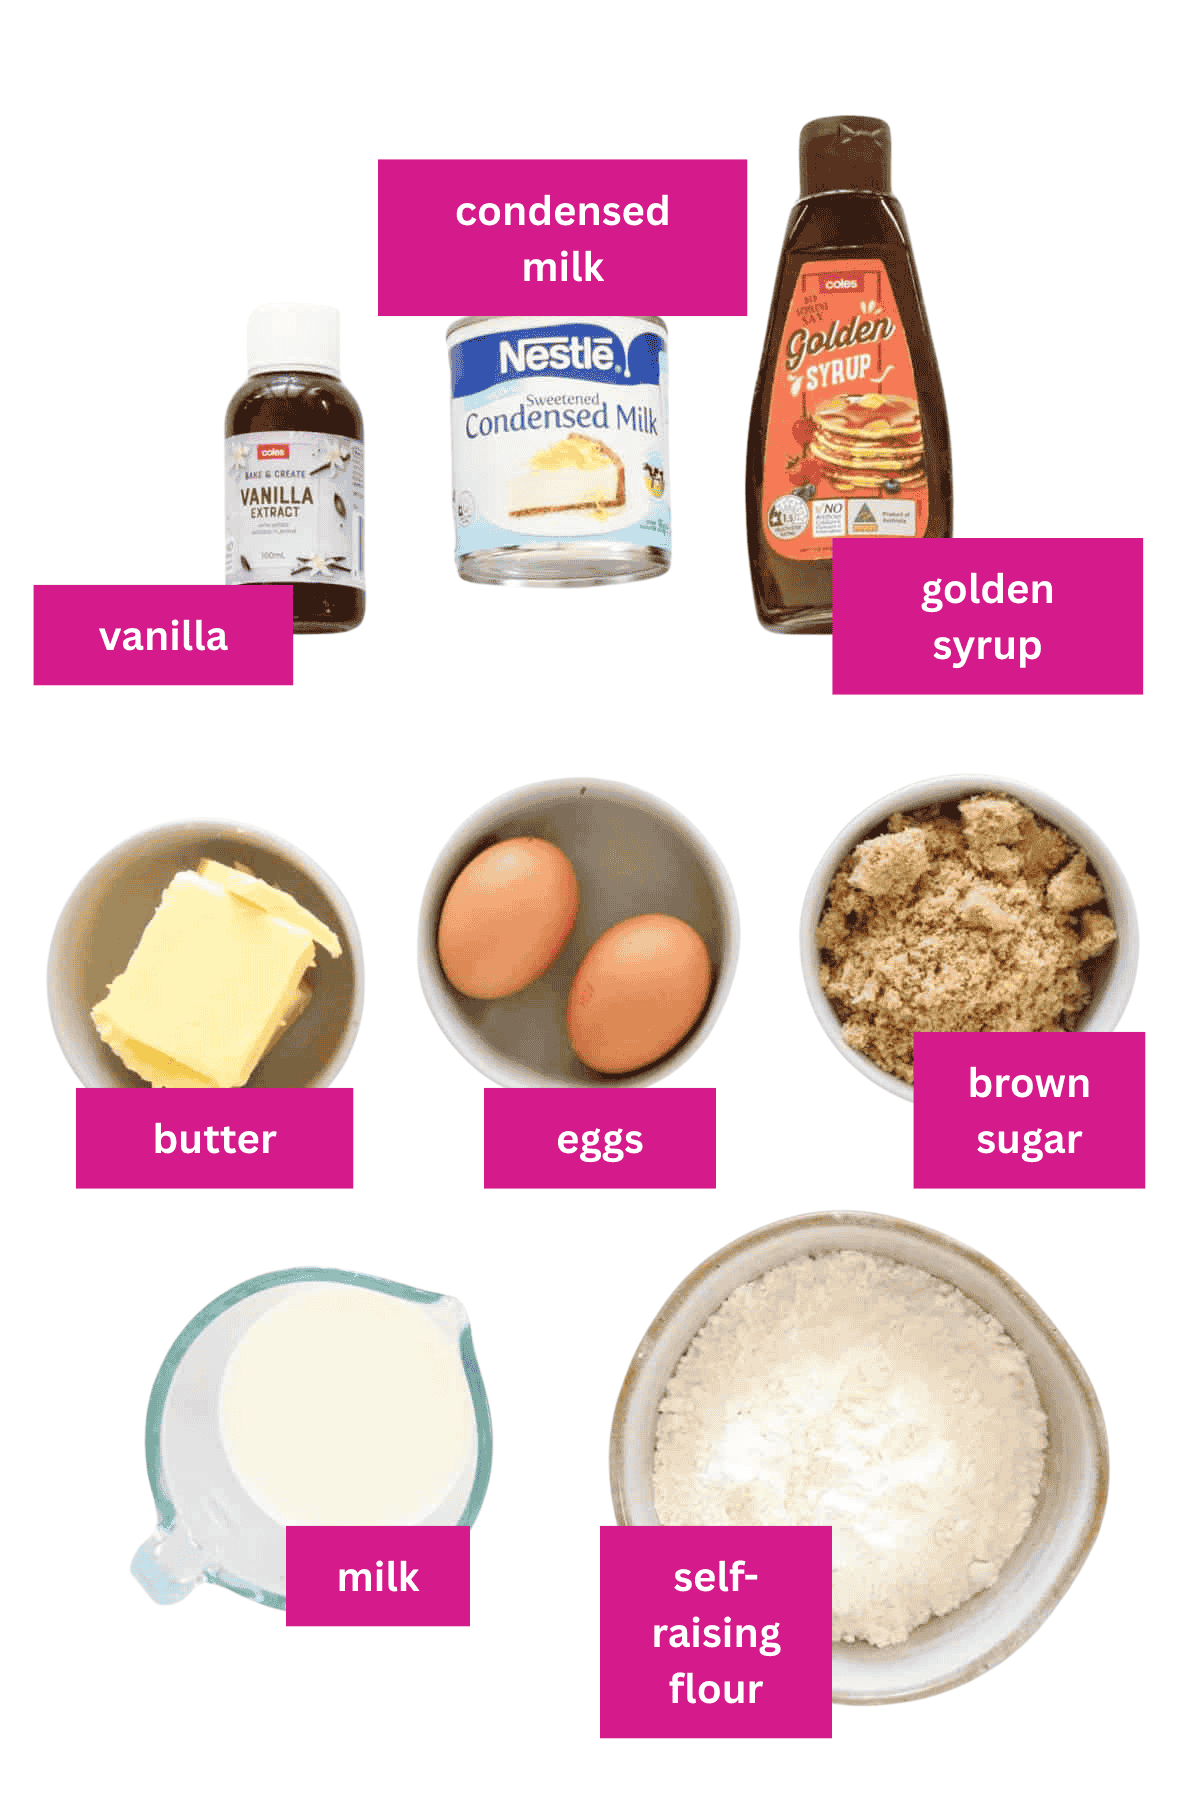
This recipe uses simple ingredients, but here are a few worth noting:
- Milk - full cream milk helps the sponge rise and gives a richer flavour.
- Sweetened condensed milk - full-fat gives the best flavour and consistency.
- Golden syrup - the key to that classic butterscotch caramel taste. If unavailable, substitute with honey or maple syrup.
- Brown sugar - light or dark; dark will give a stronger caramel depth.
- Self-raising flour - or make your own by sifting 2 teaspoon baking powder into every 1 cup of plain flour.
Variations
- Gluten-Free Caramel Pudding: Swap the self-raising flour for a quality gluten-free blend (or add baking powder to plain GF flour).
- Dairy-Free Caramel Pudding: Use coconut condensed milk, dairy-free butter, and your choice of plant milk.
- Salted Caramel Twist: Add ½ teaspoon sea salt to the caramel base for that sweet-salty finish.
- Nutty Caramel Pudding: Sprinkle chopped pecans or walnuts over the sponge batter before baking for crunch.
- Mini Caramel Puddings: Divide the mixture between individual ramekins (about 6-8). Bake in a water bath for 25-30 minutes until the sponges are set but the sauce is still wobbly. Perfect for dinner parties!
Need To Substitute An Ingredient?
Ask ChatGPT for suggestions on how to substitute the particular ingredient:
How To Make Caramel Pudding
This dessert looks impressive but is surprisingly simple. Here's the step-by-step:
Note: Scroll to the recipe card at the bottom for the ingredients quantities and full detailed method!
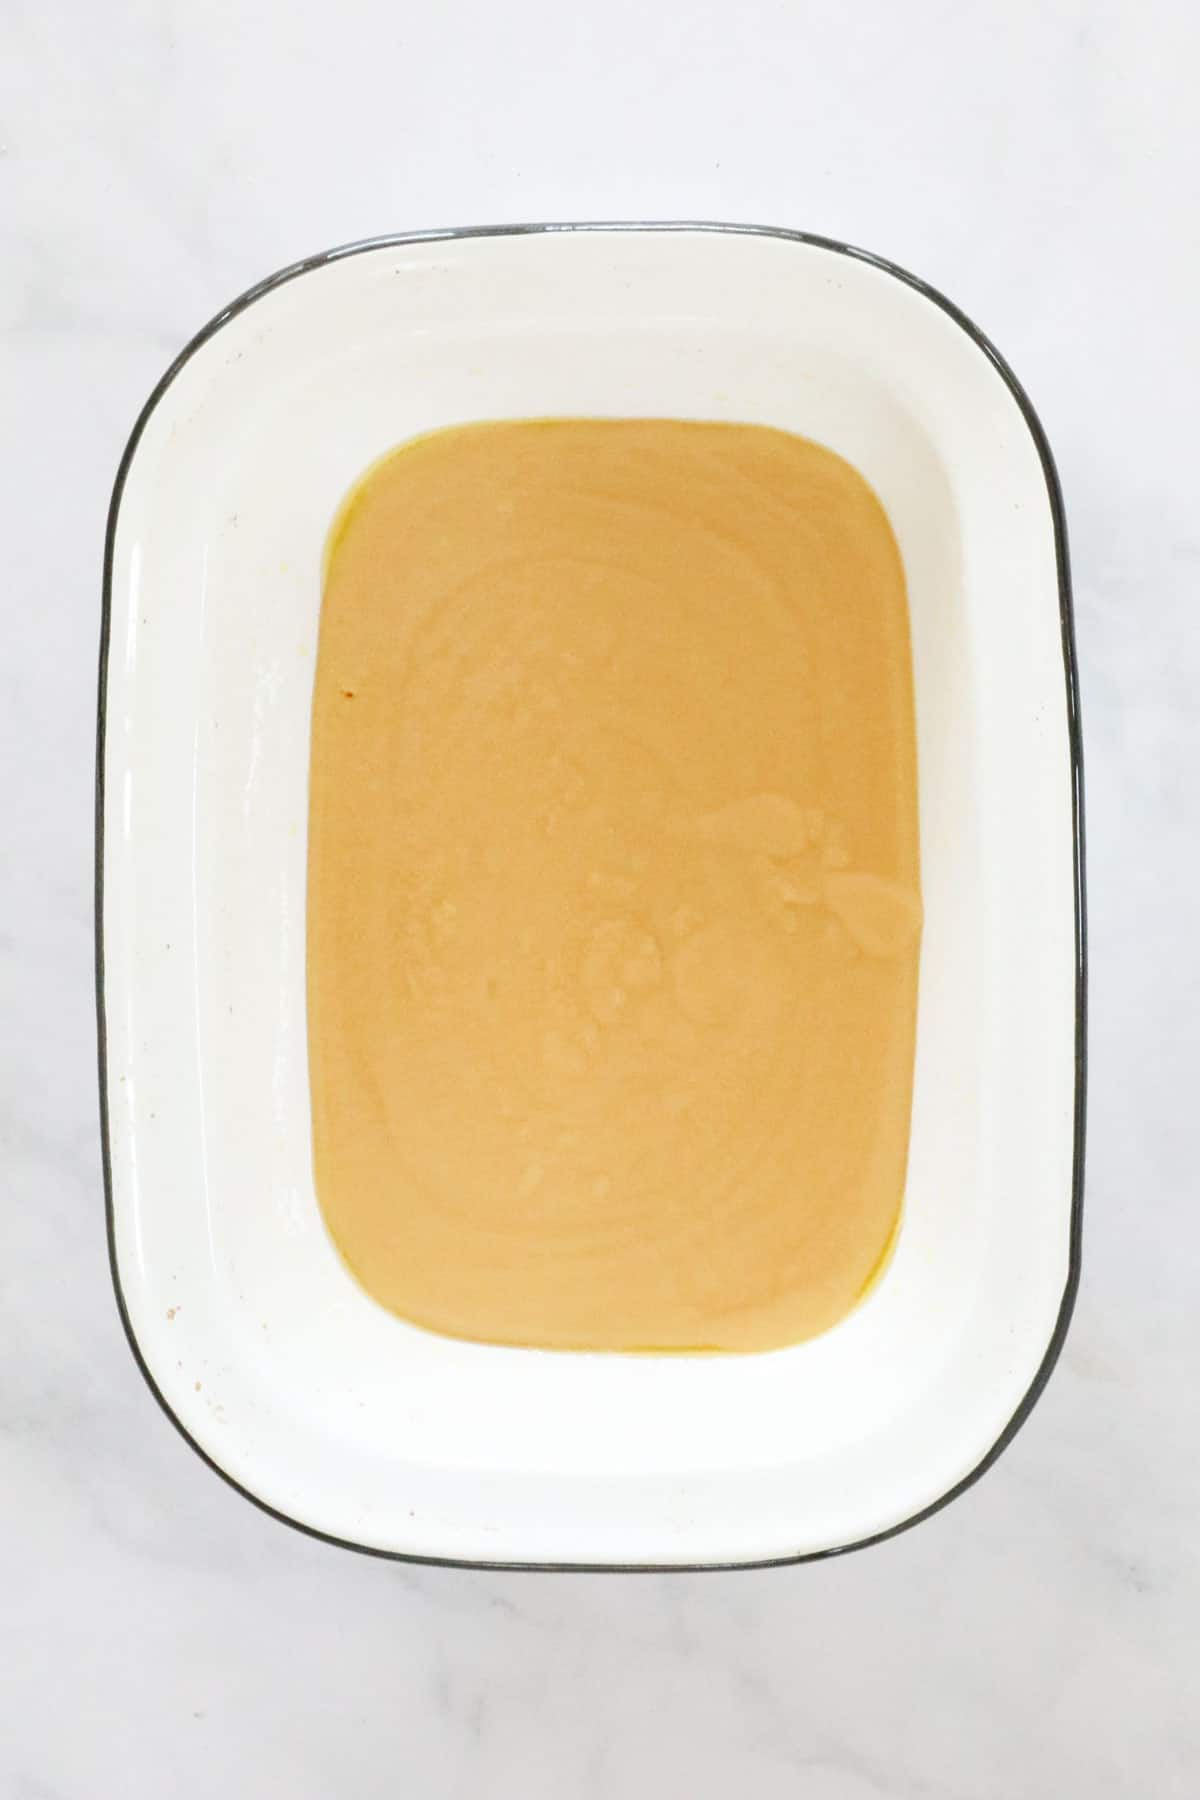
- Step 1: Make the caramel base: Melt condensed milk, golden syrup, and butter until smooth. Pour the liquid into a greased 1.6L (6-cup) baking dish.
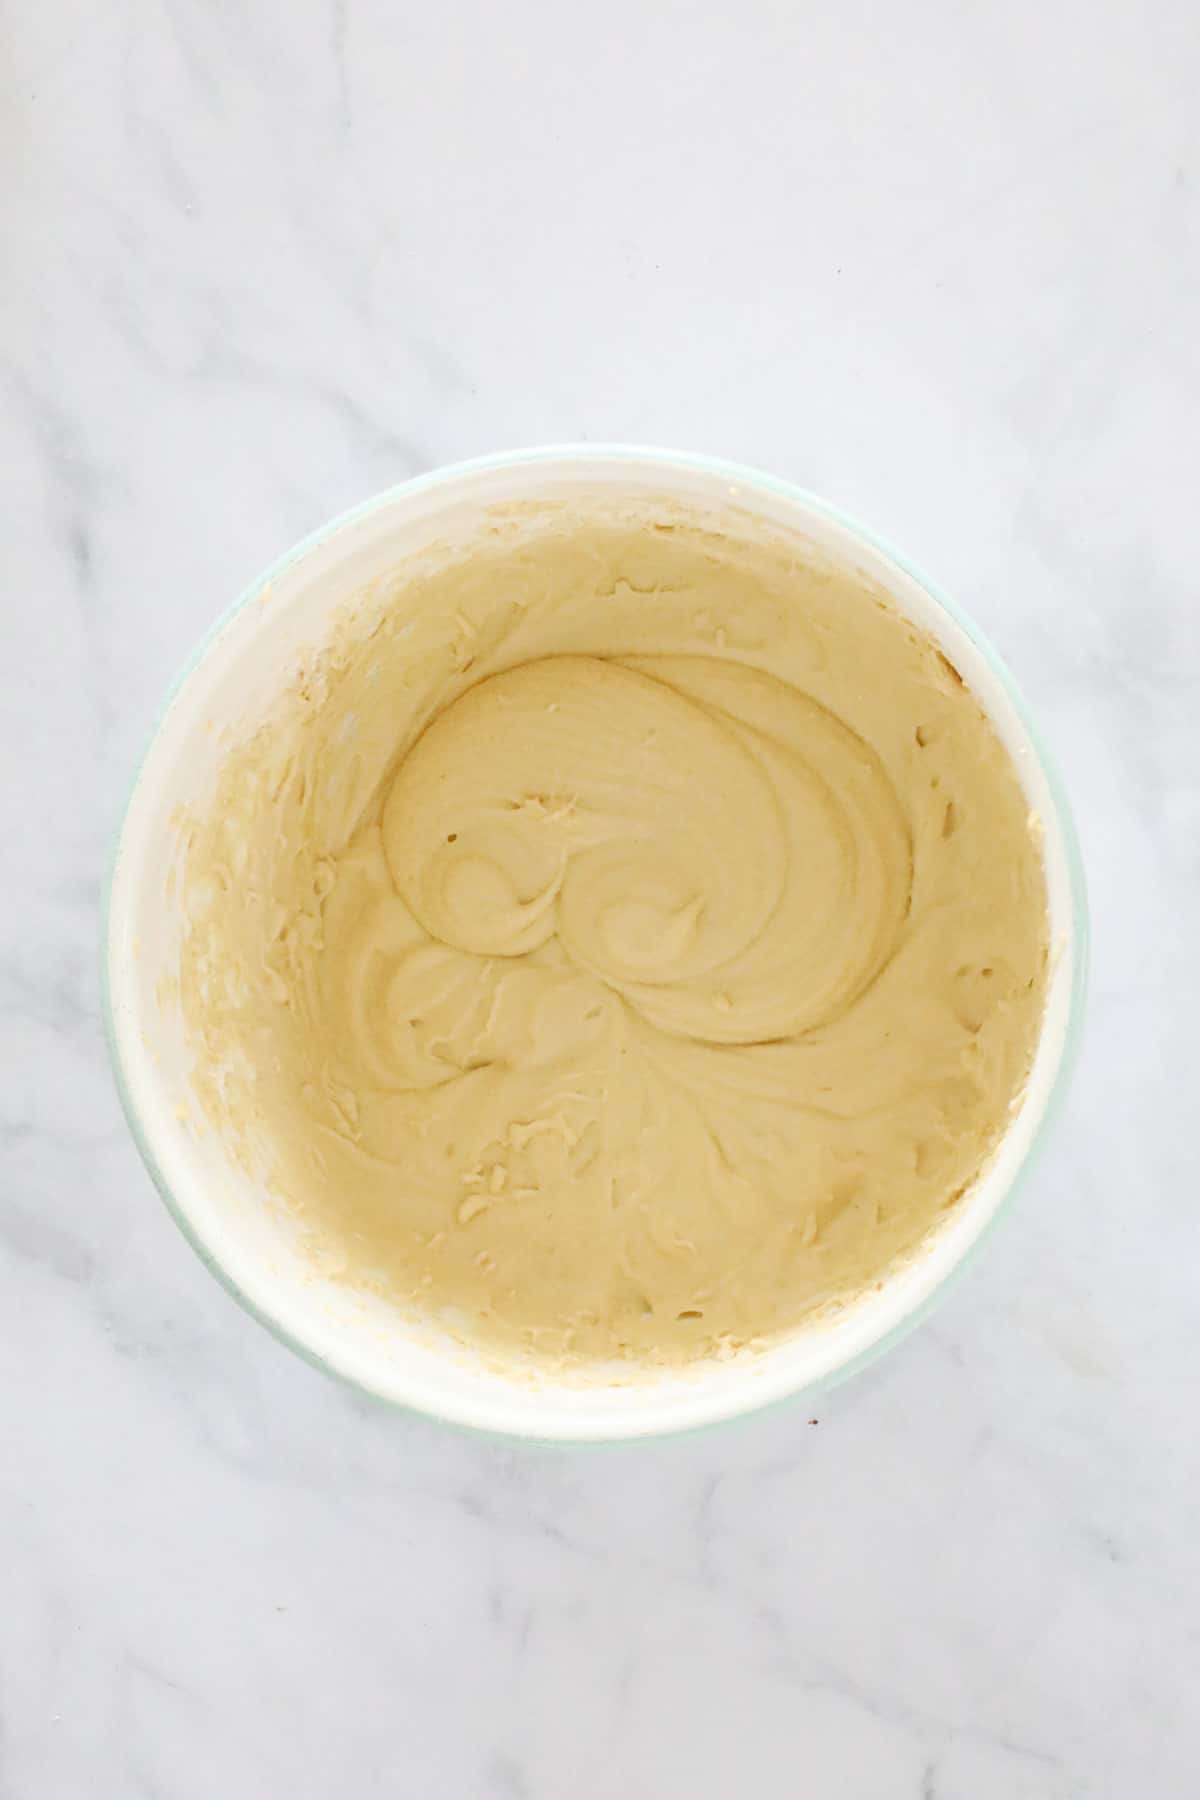
- Step 2: Make the sponge batter: Beat butter, brown sugar, and vanilla until pale and creamy. Add eggs one at a time. Gently mix in the flour and milk, alternating until smooth.
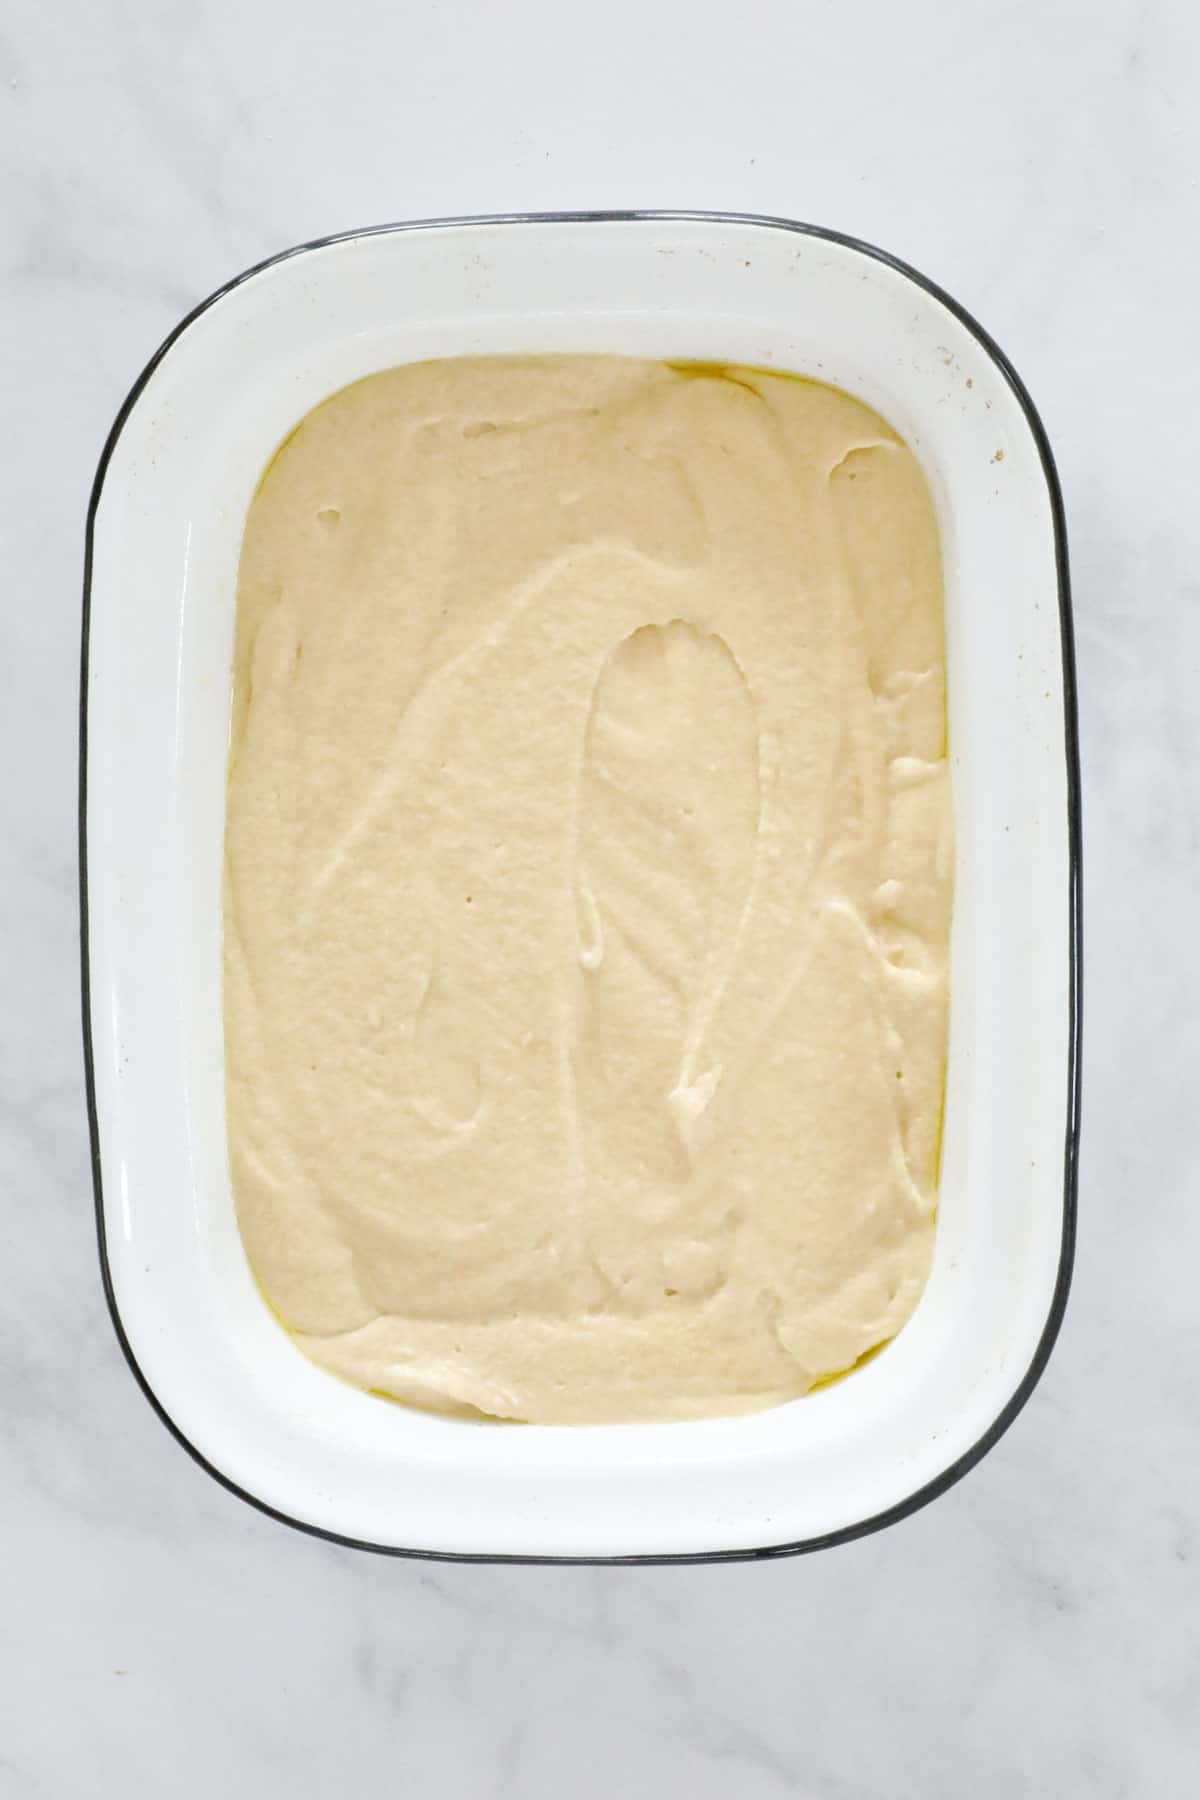
- Step 3: Assemble: Carefully spoon the sponge mixture over the caramel base.
- Step 4: Bake in a water bath: Place the dish into a larger pan. Pour boiling water into the pan until it reaches halfway up the sides of the pudding dish.
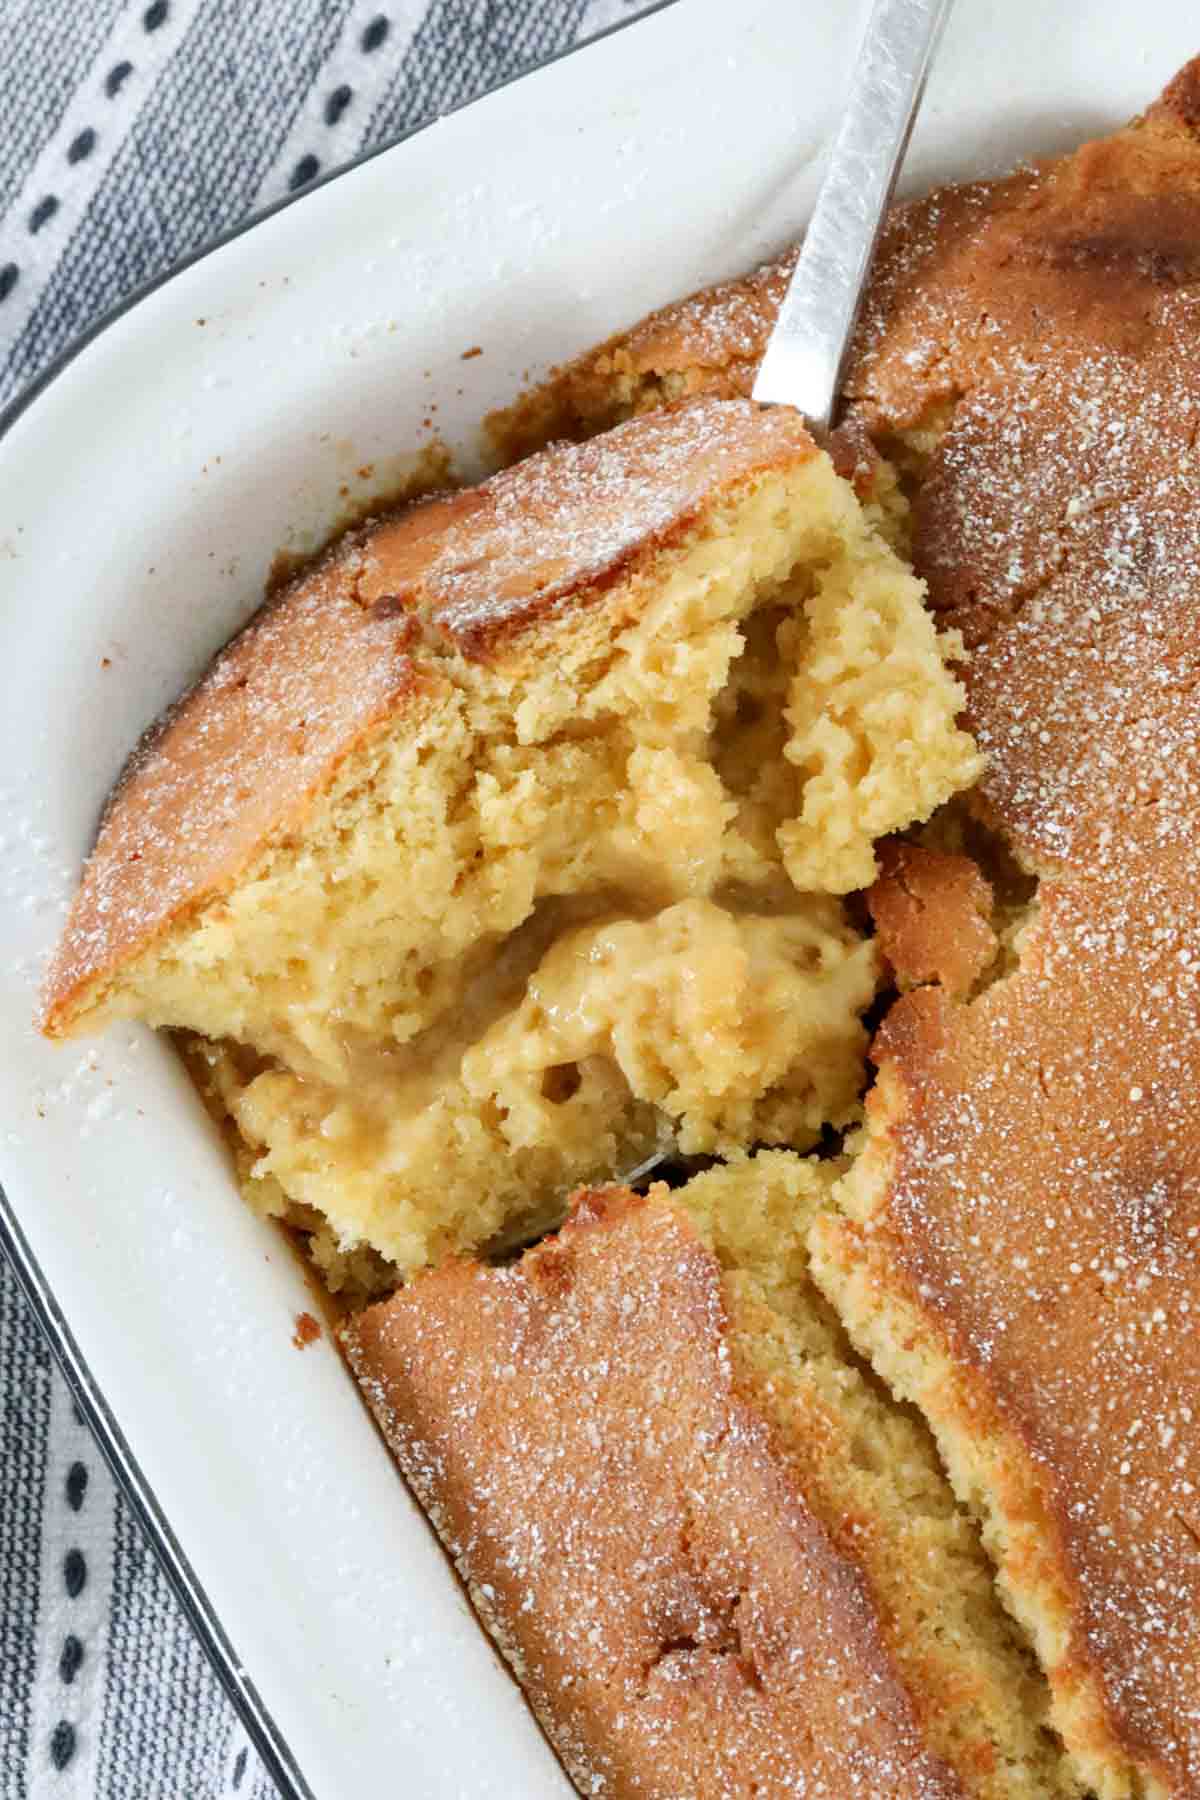
Cook: Bake at 160°C fan-forced (180°C conventional) for 50 minutes, or until the sponge is golden and a skewer inserted into the cake layer comes out clean (the pudding underneath will still wobble).
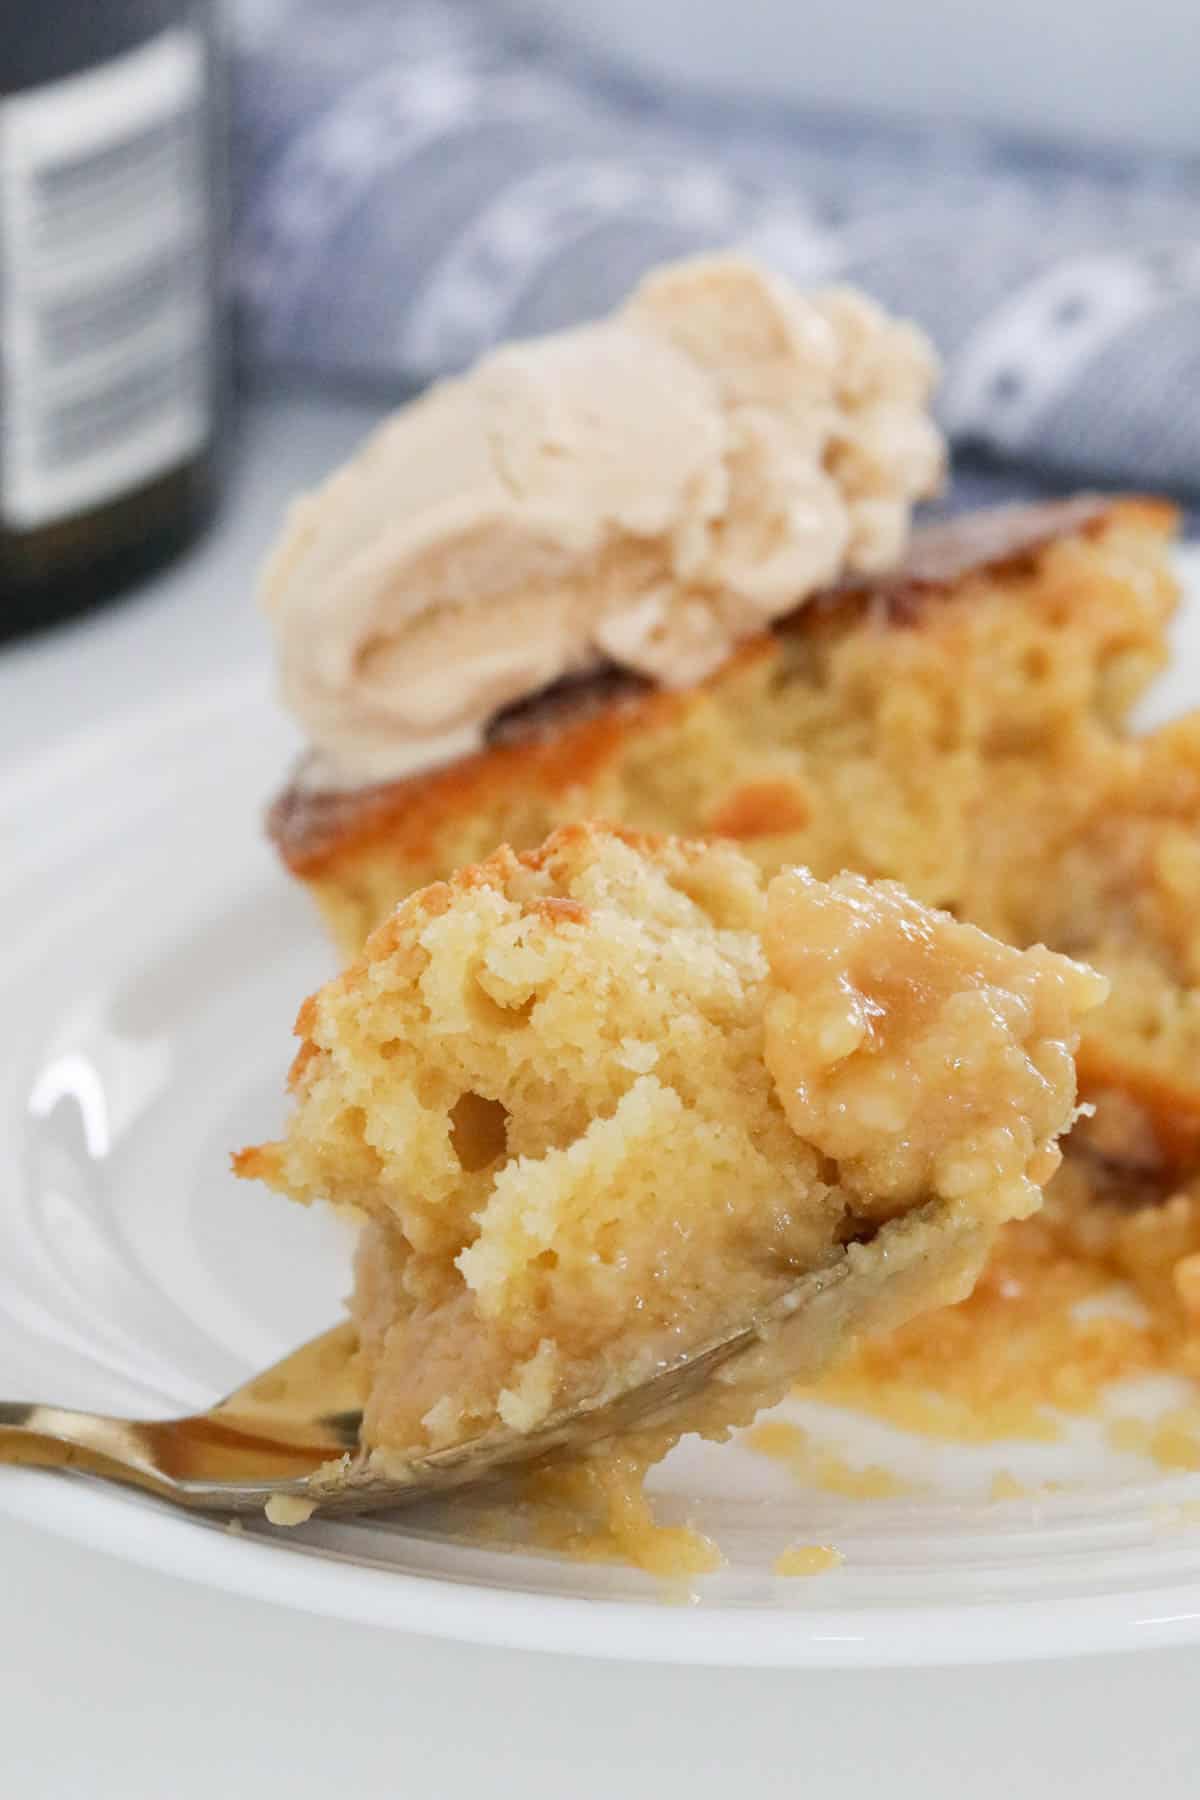
Serve with whipped cream, custard or ice cream.
Top Tip
Bake until the sponge tests clean but is still wobbly underneath-overbaking will reduce the amount of caramel sauce.
Recipe Tips
- Use room temperature ingredients (butter, eggs, milk) for the best texture.
- Don't stir the layers together-the magic happens when the sauce and sponge bake separately.
- Check early: Start testing at 45 minutes to avoid overcooking.
- A water bath is essential for a silky caramel sauce-don't skip it.
- Best served immediately when the sauce is at its sauciest.
- Storage: Refrigerate leftovers for up to 2 days; reheat in the microwave (note: some sauce absorbs into the sponge).
- Freezing: Freeze portions for up to 1 month. Thaw overnight in the fridge and reheat gently-less sauce, but still delicious.
Caramel Pudding FAQs
It bakes the pudding evenly, prevents the caramel base from catching, and keeps the sauce silky.
Yes. Bake, cool, and refrigerate for up to 2 days. Reheat before serving, but expect a little less sauce after storing.
Most use boiling water + sugar sprinkled on top to create the sauce. This version uses a condensed milk and golden syrup base that bakes into a rich, thick caramel.
Absolutely-see my variations above.
Insert a skewer into the sponge layer. If it comes out clean, the pudding is done-even if the base looks wobbly (that's the sauce!).
More Winter Dessert Recipes
If this caramel pudding has you craving more cosy desserts, you'll love:

WANT EVEN MORE DELICIOUS RECIPES? Subscribe to my newsletter or follow along on Facebook or Instagram. And if you love baking, then please come and join my Facebook cooking club group or subscribe to my YouTube channel.

Caramel Pudding
Ingredients
For The Caramel Sauce
- 395 g sweetened condensed milk
- 110 g (⅓ cup) golden syrup
- 30 g butter
For The Cake Layer
- 80 g (⅓ cup) brown sugar
- 120 g butter softened
- 1 teaspoon vanilla extract
- 2 eggs
- 225 g (1 ½ cups) self raising flour
- 180 g (¾ cup) milk
Instructions
Conventional Method
- Preheat oven to 160 degrees celsius fan-forced (180 degrees celsius conventional). Grease a large 6 cup capacity (1.6 litre) baking dish and set aside.
- Place the sweetened condensed milk, golden syrup and 30g butter into a microwave safe bowl. Heat on 50% power for 3-4 minutes, stirring each minute, until melted and slightly thickened. Alternatively, you can do this step using a small saucepan over medium heat. If using a Thermomix: place the sweetened condensed milk, golden syrup and butter into the bowl and cook for 4 minutes, 50 degrees, Speed 2.
- Pour into the base of the dish.
- In a large mixing bowl, beat the brown sugar, softened butter and vanilla extract until pale and creamy.If using a Thermomix: mix for 15 seconds, Speed 4. Scrape down the sides of the bowl and repeat until pale and creamy.
- Add the eggs one at a time while continuing to beat.If using a Thermomix: reduce to Speed 3 and add the eggs one at a time through the MC hole.
- Alternate beating through the self raising flour and the milk. If using a Thermomix: alternate adding the self raising flour and milk through the MC hole with the blades spinning on Speed 2. Increase to Speed 4 for 10 seconds. Scrape down the sides and repeat for a further 5 seconds.
- Spoon the cake layer mixture gently over the top of the caramel mixture. Place the dish into a large pan and fill halfway up the side with boiling water (to create a water bath around the baking dish).
- Bake in the oven for 50 minutes or until the cake layer is golden and firm to the touch (the caramel sauce in the bottom of the dish will be soft and wobbly). TIP: check that the cake layer is cooked by inserting a skewer gently into the centre. The cake batter should have a few crumbs, while the caramel sauce on the bottom will be thick and runny.
- Dust with icing sugar and serve while warm with cream or ice-cream.
Notes
- Use room temperature ingredients (butter, eggs, milk) for the best texture.
- Don't stir the layers together-the magic happens when the sauce and sponge bake separately.
- Check early: Start testing at 45 minutes to avoid overcooking.
- Bake until the sponge tests clean but is still wobbly underneath-overbaking will reduce the amount of caramel sauce.
- A water bath is essential for a silky caramel sauce-don't skip it.
- Best served immediately when the sauce is at its sauciest.
- Storage: Refrigerate leftovers for up to 2 days; reheat in the microwave (note: some sauce absorbs into the sponge).
- Freezing: Freeze portions for up to 1 month. Thaw overnight and reheat gently-less sauce, but still delicious.


Stephanie says
Could I make this with gluten free SR flour? Thanks
Lucy says
Hi Stephanie, I haven't tried that but I'd love to hear how it goes if you do!