

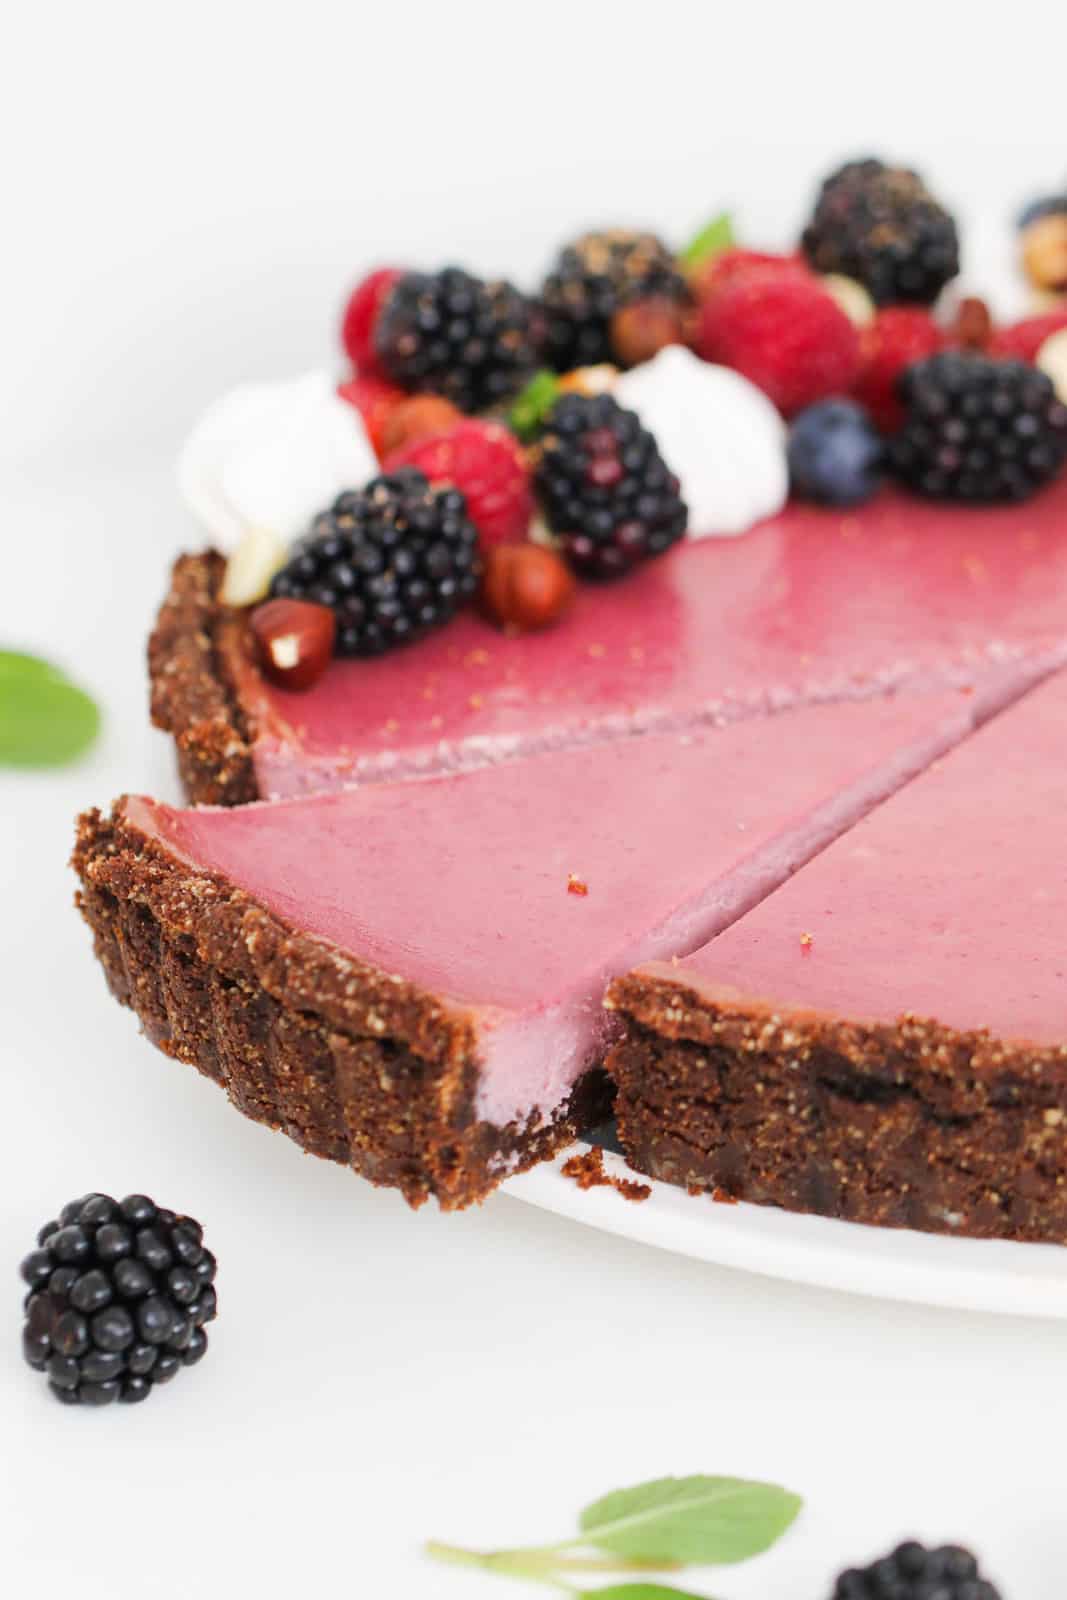
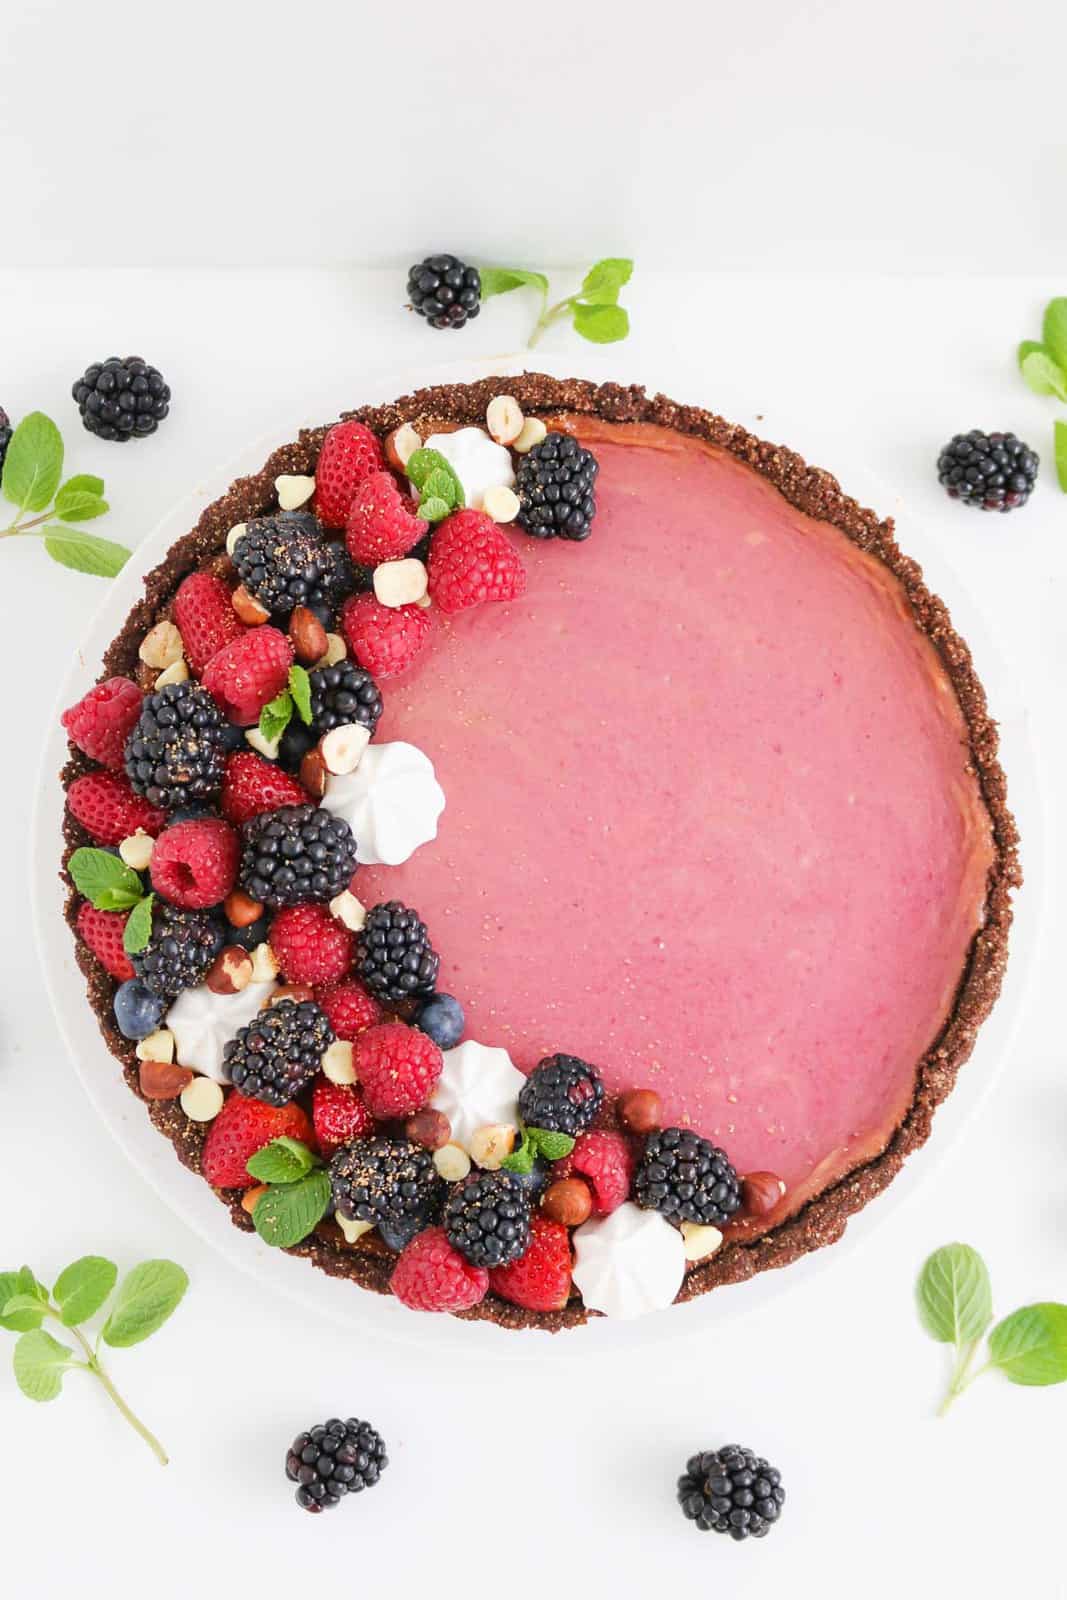
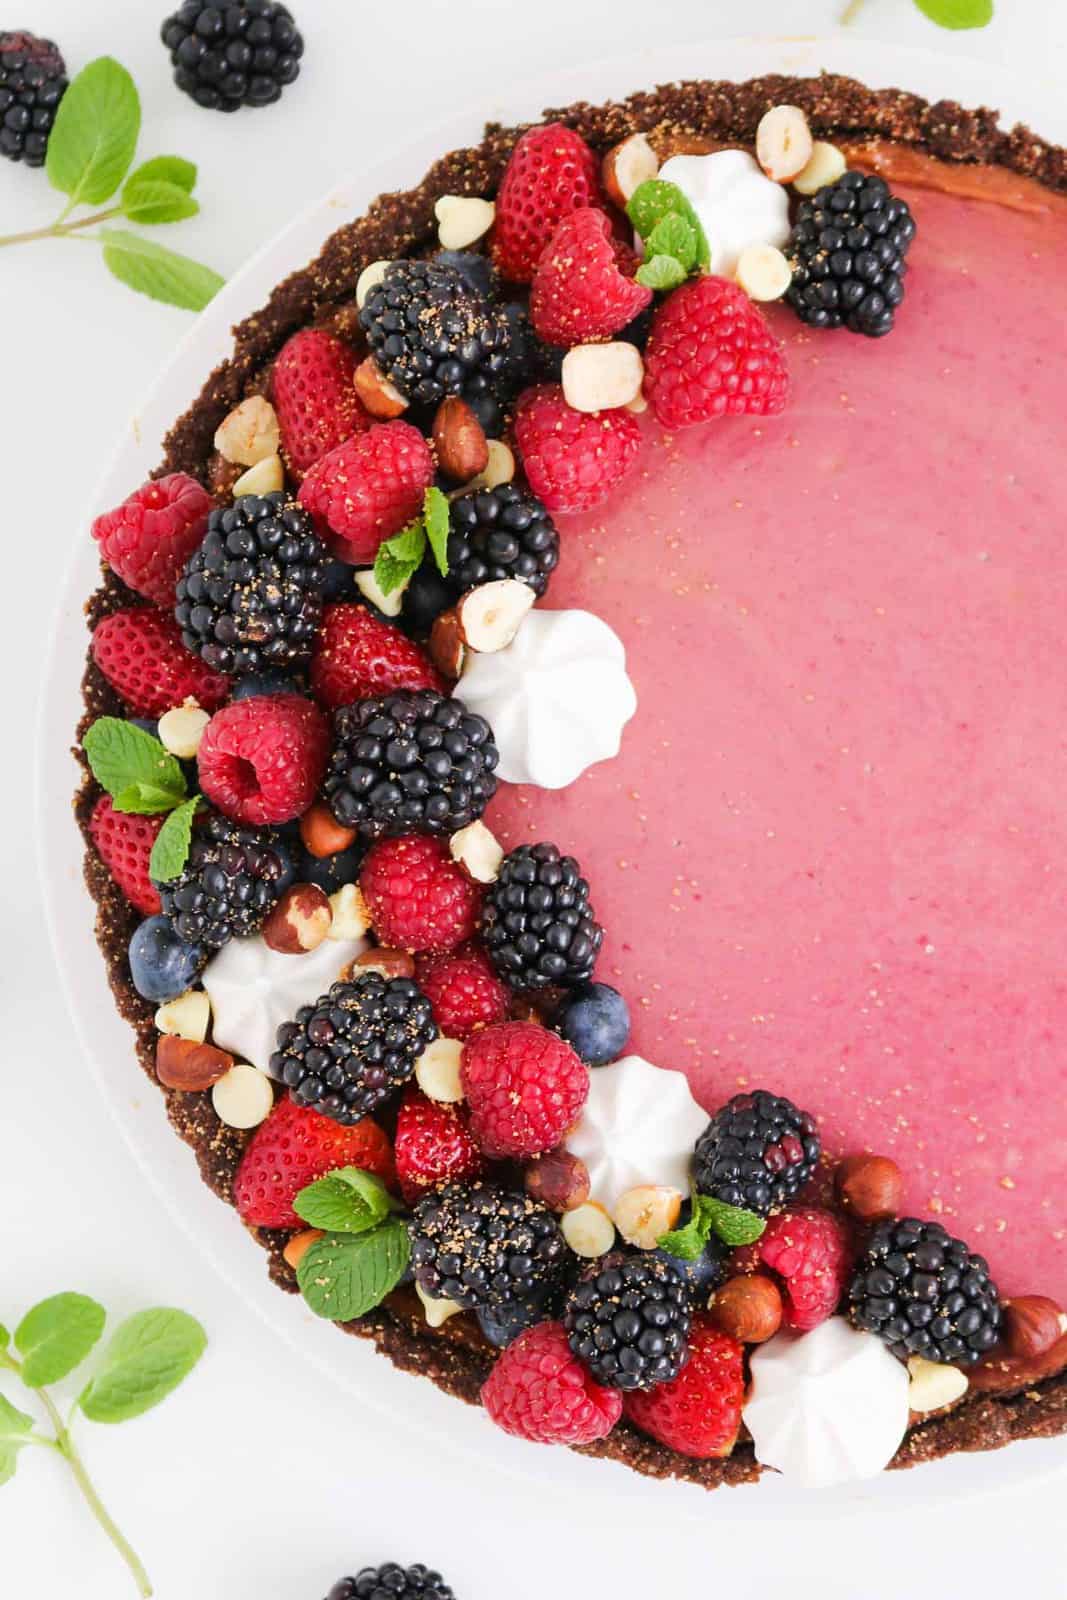
A smooth and creamy blackberry cheesecake tart made with fresh blackberries encased in a rich chocolate crust. The ultimate dessert!
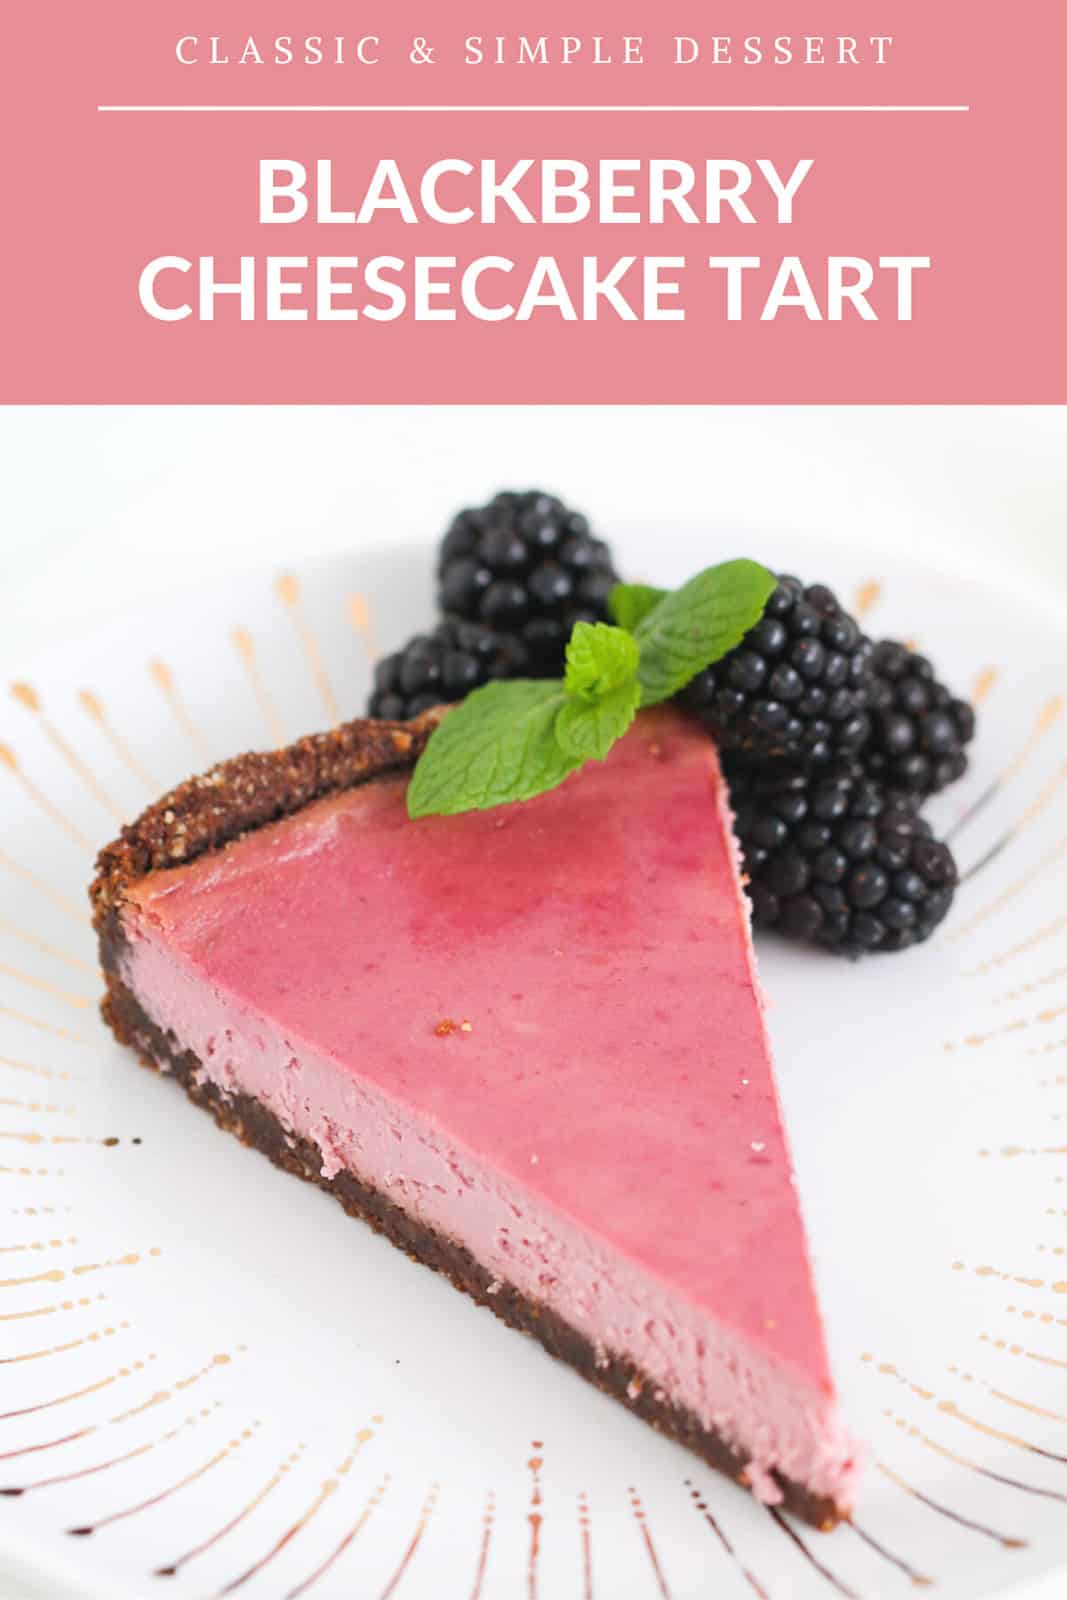
Baked Blackberry Cheesecake Tart
If you love cheesecake then you've come to the right place... Cheesecake is my weakness and also my favourite dessert to make!
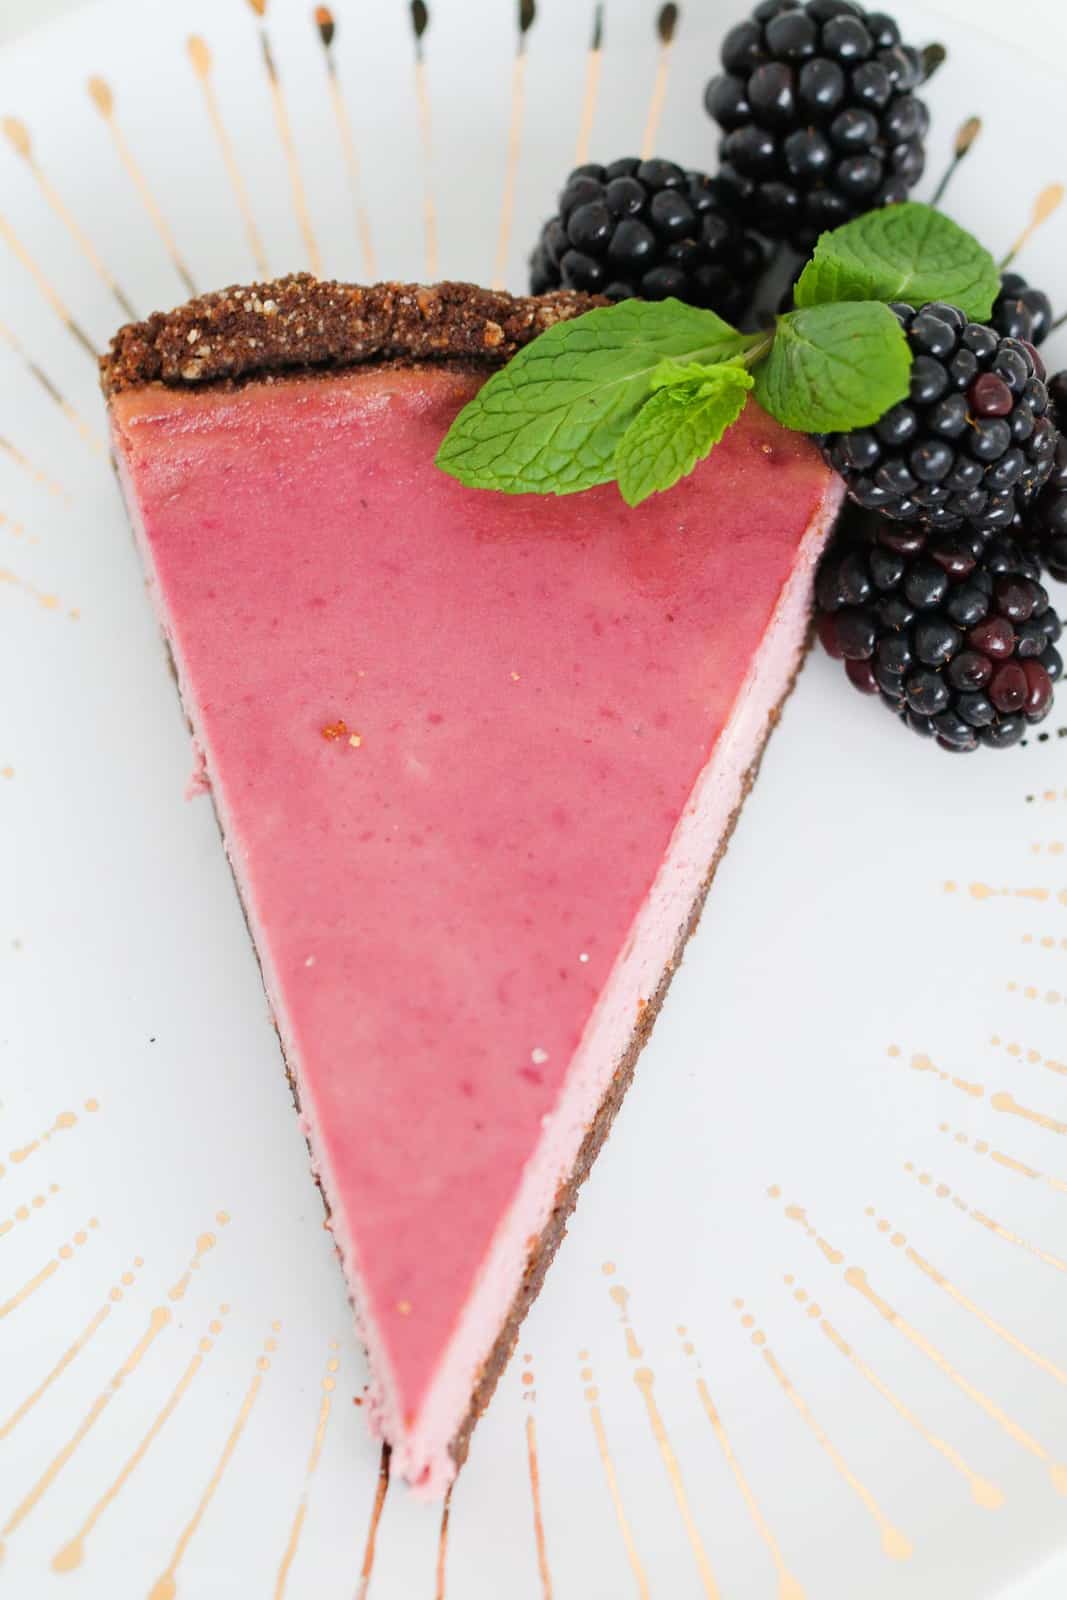
This baked blackberry cheesecake tart is just all kinds of delicious.... From the chocolate base to the creamy, sweet blackberry filling, it's the perfect cheesecake for your next special dessert or party!
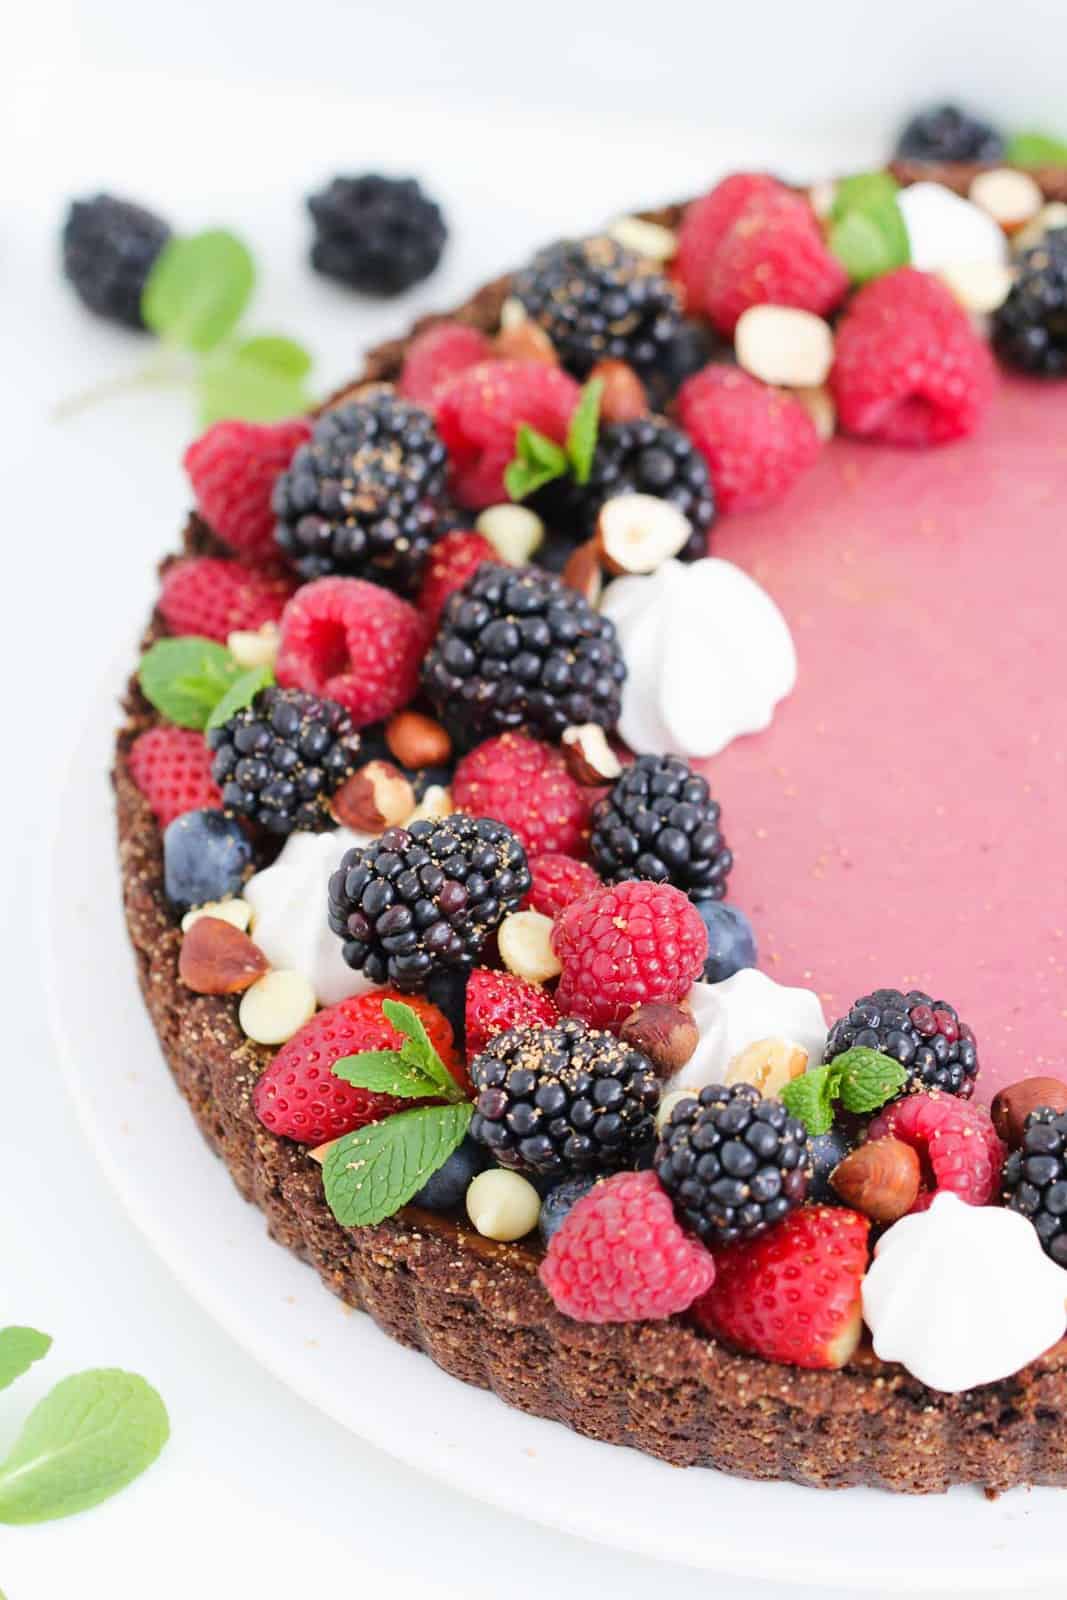
Decorate with extra berries, meringues and chocolate for a show-stopping dessert (that's actually super simple!)
... so let's get baking!
What You Need
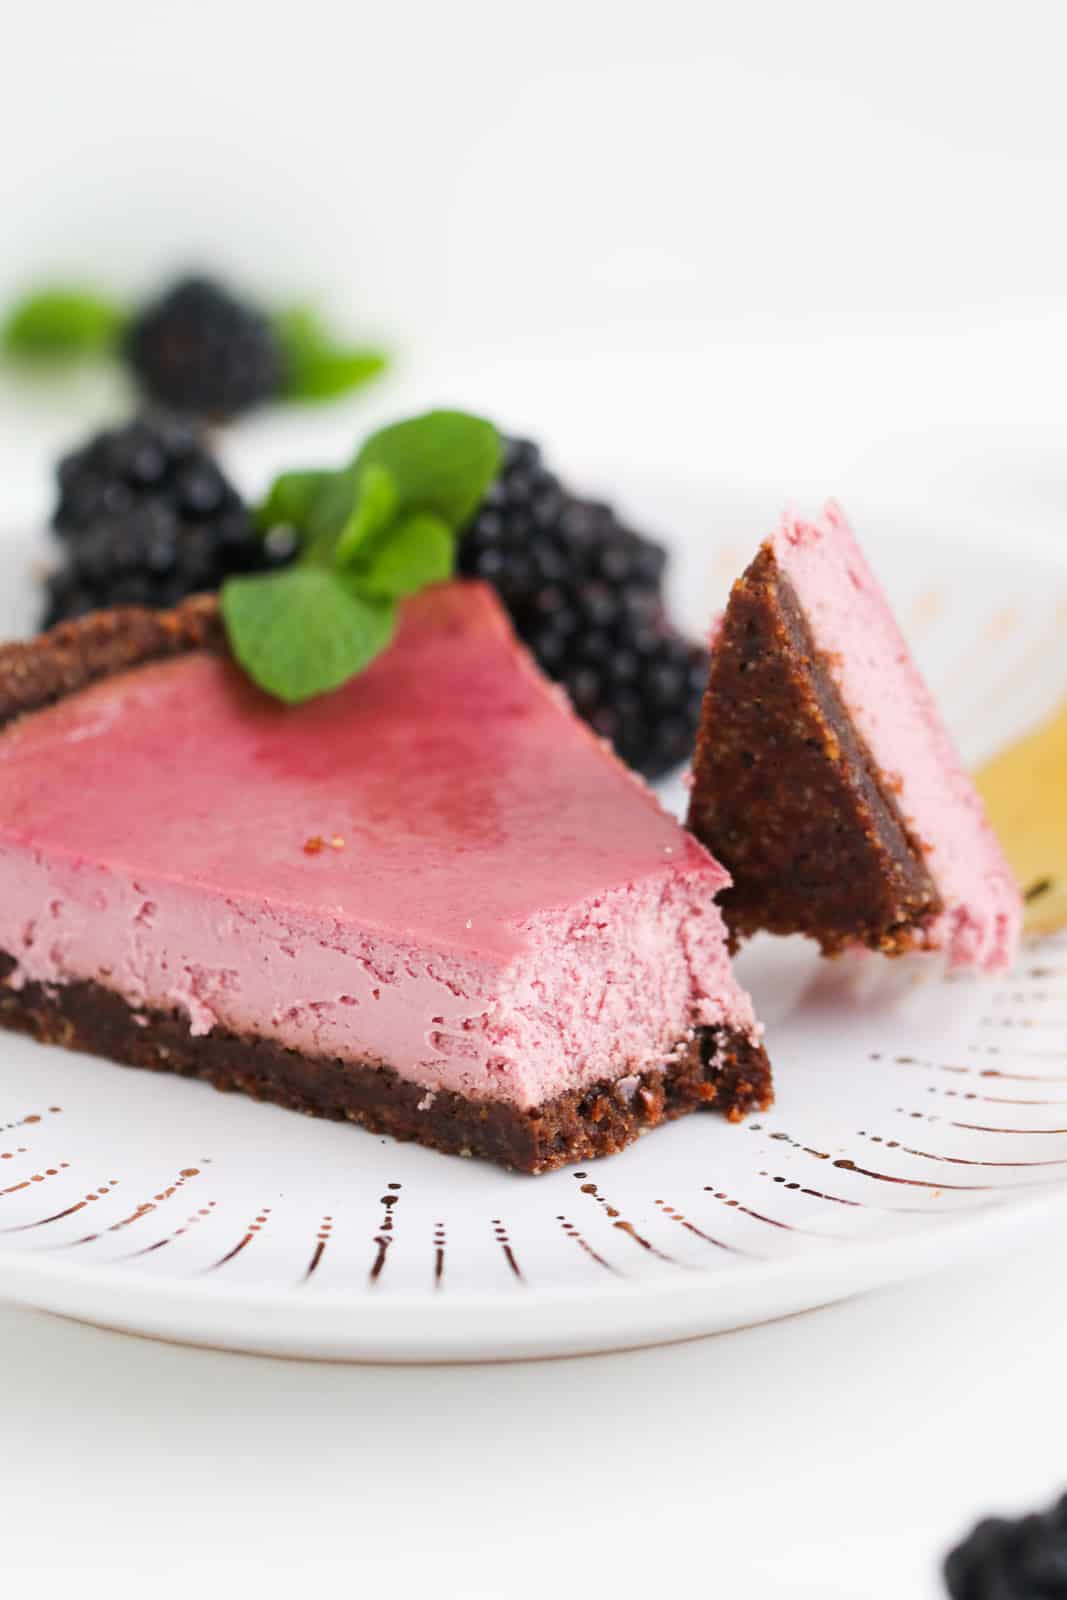
This yummy tart has the perfect balance of creamy cheesecake, a rich chocolate base and fresh sweet blackberries going on... it's a combo that will leave you drooling (and sneaking back to the fridge for another slice!)
Note: scroll to the recipe card at the bottom of the post for the ingredient quantities and the full method.
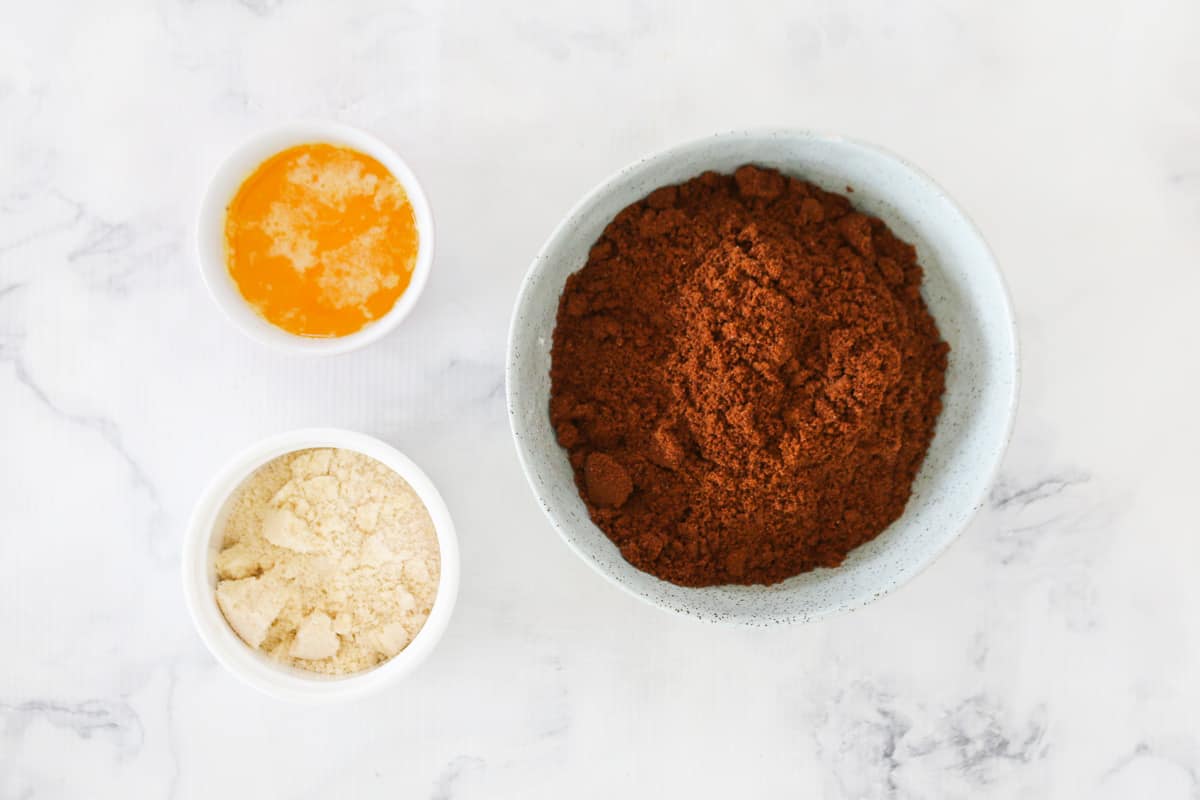
For the base you'll need:
- plain chocolate cookies - here in Australia, I like to use Arnott's Choc Ripple biscuits, but you can use absolutely any brand you like!
- almond meal - can be bought in packets from the baking section of any major supermarket or health food shop. It has a fine grainy texture and is made from raw and unpeeled almonds. Alternatively you can make your own by finely grinding almonds.
- butter - you can use either salted or unsalted butter in this recipe. Once you've mixed the butter through the almond meal and chocolate biscuit crumbs, you should be easily able to press the mixture into your tart tin. If it's too dry, add a little more melted butter and mix again (the amount you need will depend on the brand of chocolate biscuits you use).
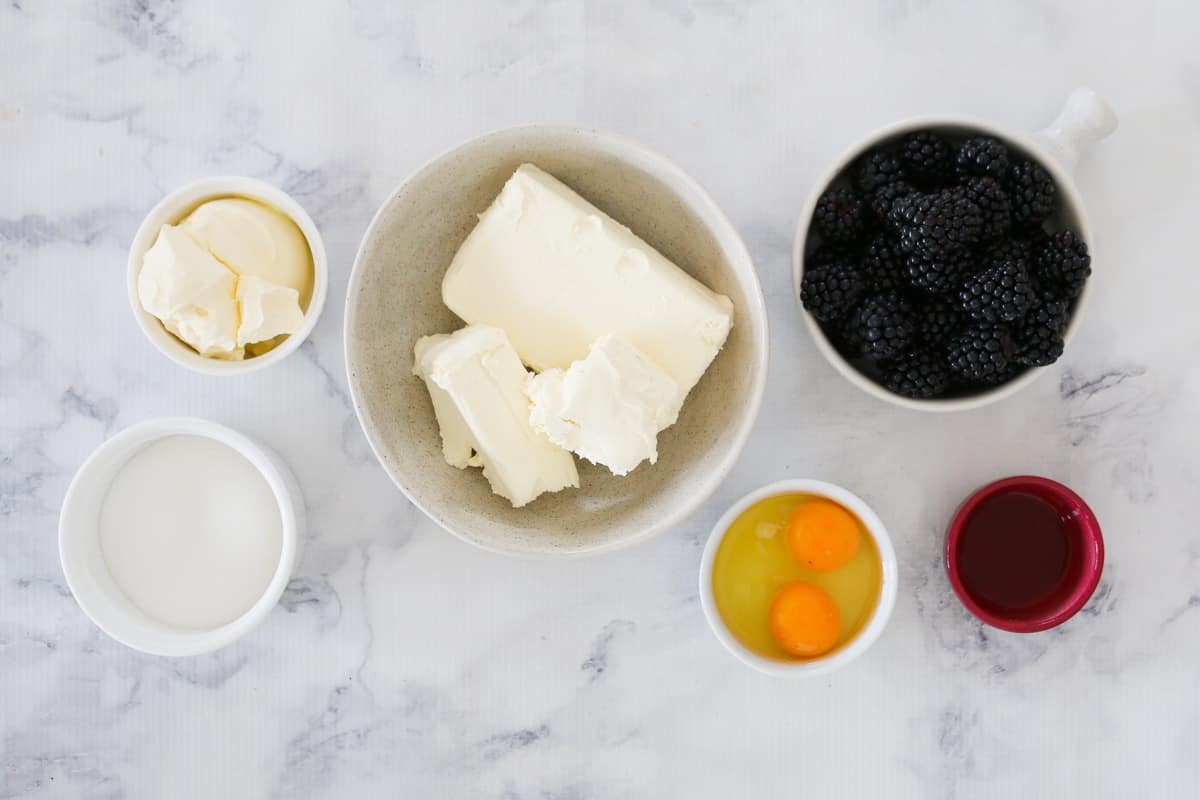
For the blackberry cheesecake filling:
- blackberries - these fresh blackberries are grown in Australia and add the most delicious berry flavour to the tart.
- caster sugar - also known as superfine sugar. This is cooked with the blackberries and water to create a beautifully smooth puree.
- water - for simmering the blackberries.
- cream cheese - I recommend using full fat cream cheese in this recipe.
- sour cream - again, the full fat version is best for this cheesecake tart.
- eggs
- vanilla extract
Preparing The Tart
My blackberry cheesecake tart recipe consists of 3 stages (don't worry - they're all super easy!)
- The chocolate cookie crumb base
- The blackberry cheesecake filling
- And of course, the baking stage!
Note: scroll to the recipe card at the bottom of the post for the full method.
The Base
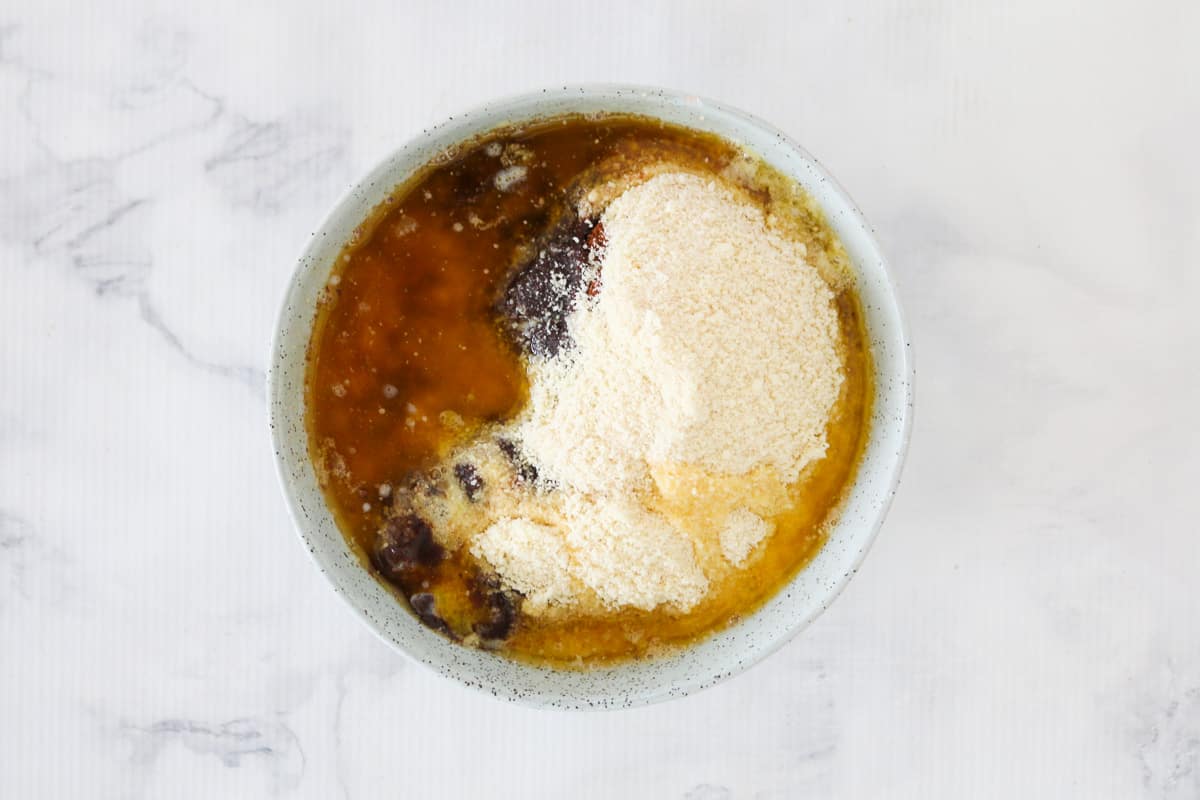
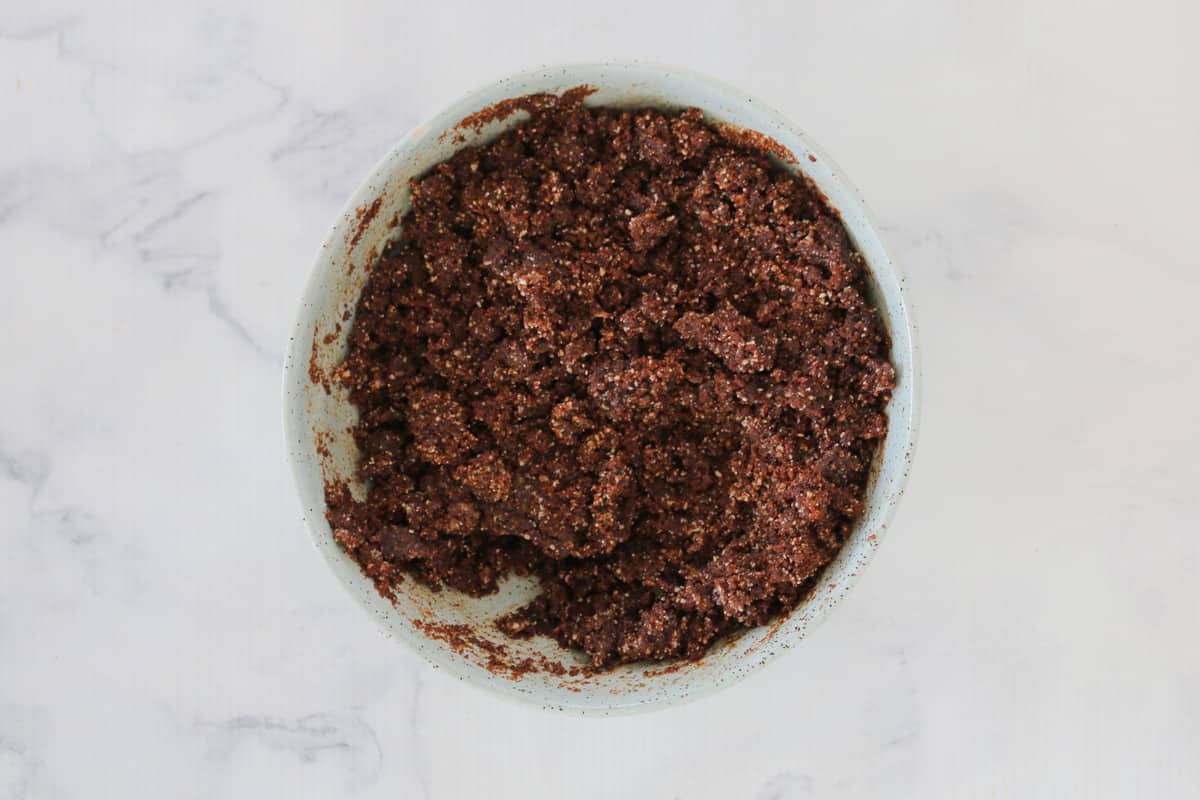
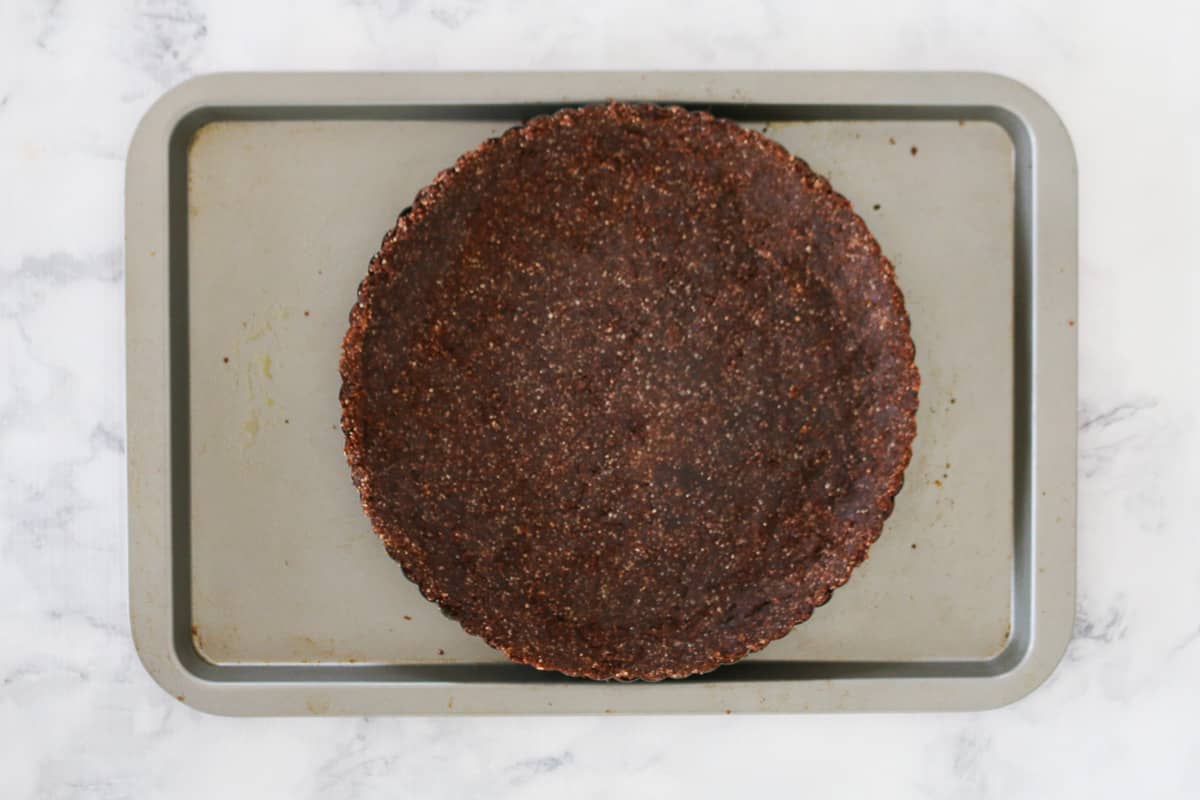
To make the base, crush the chocolate cookies until they resemble fine crumbs. Mix together with the almond meal and melted butter and press firmly into the base and sides of a greased tart tin (with a removable base).
The Cheesecake Filling
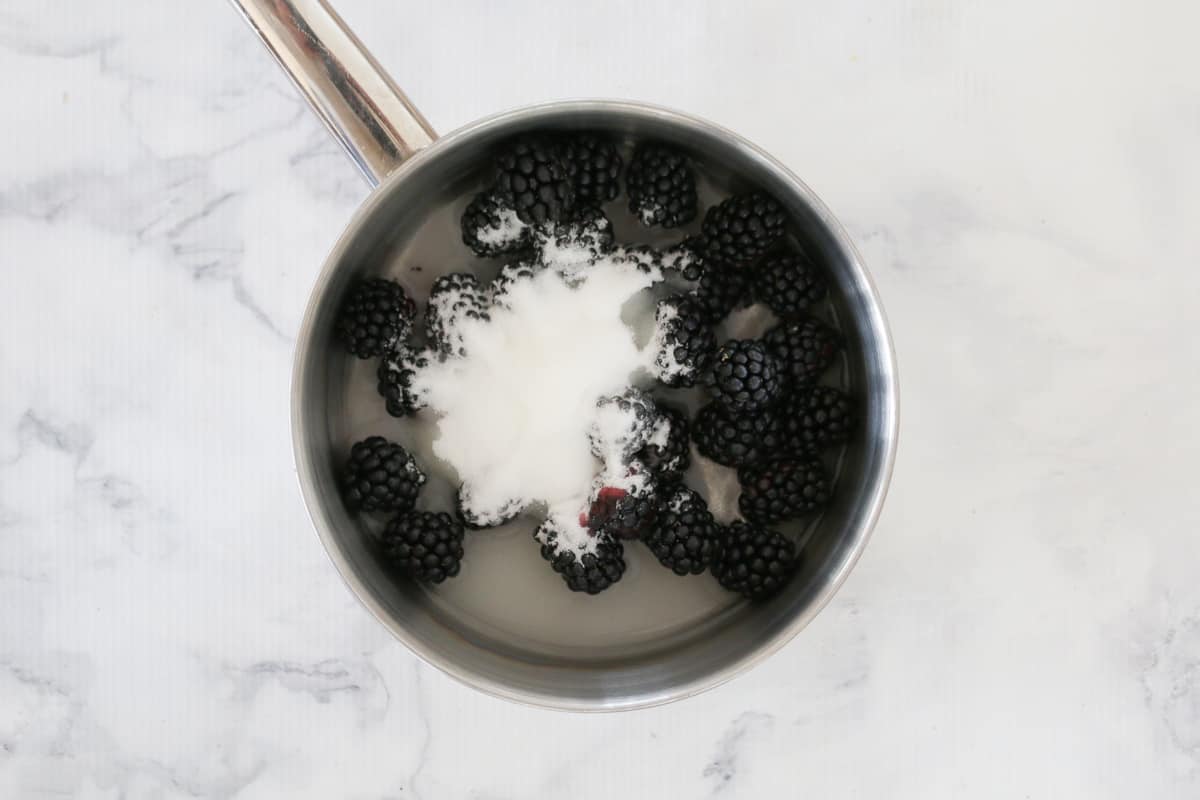
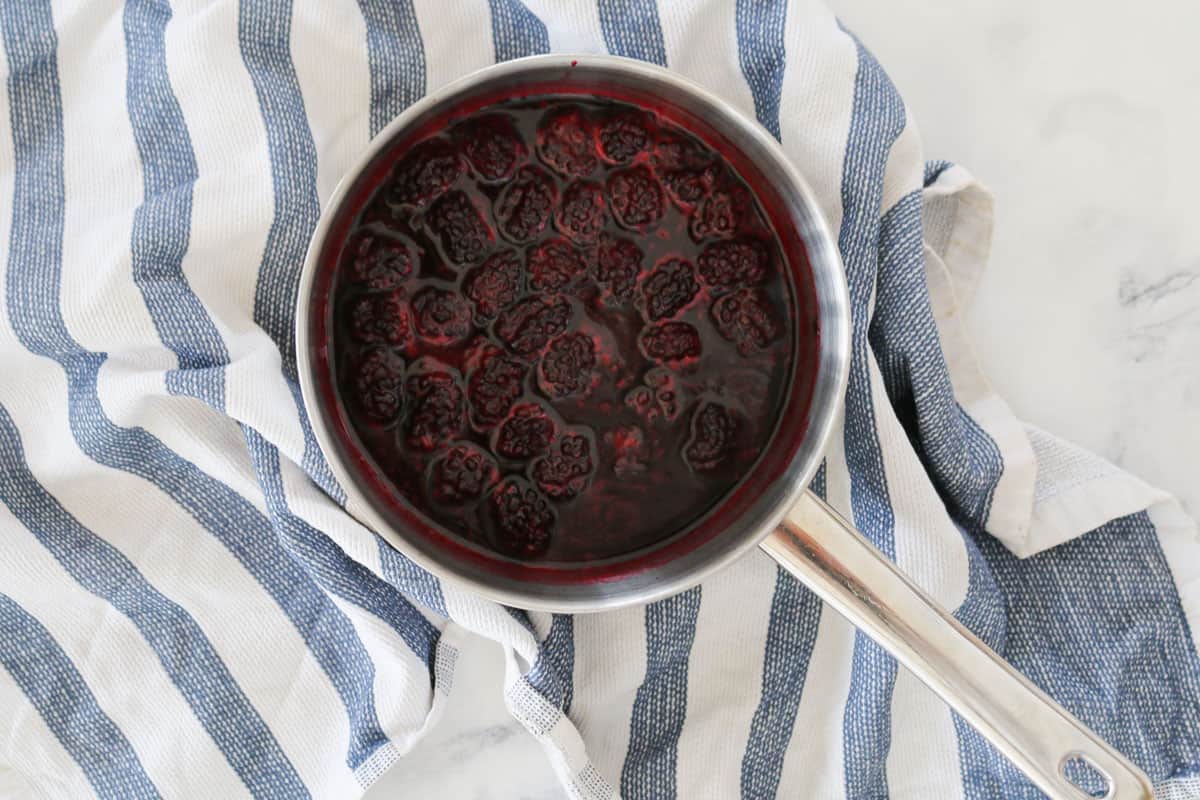
Make the puree by simmering blackberries, caster sugar and water until the berries have softened.
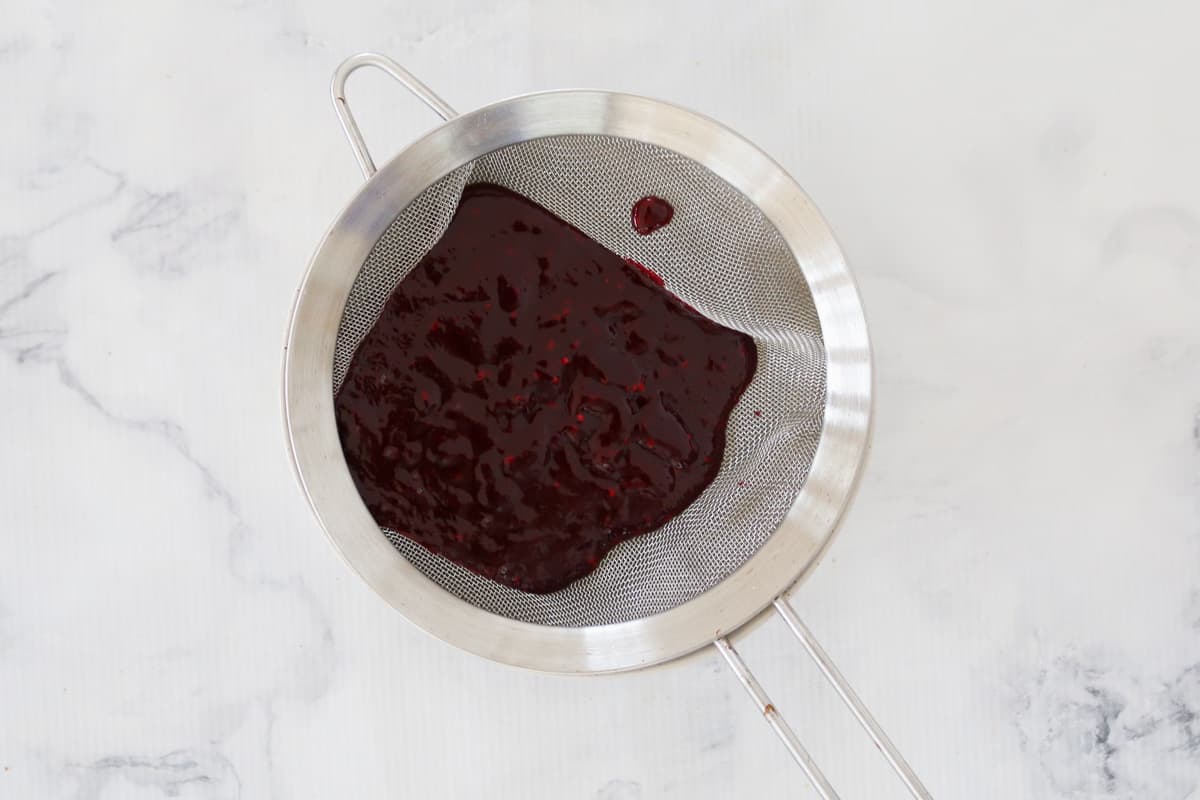
Blend until smooth and then press through a strainer to remove the seeds.
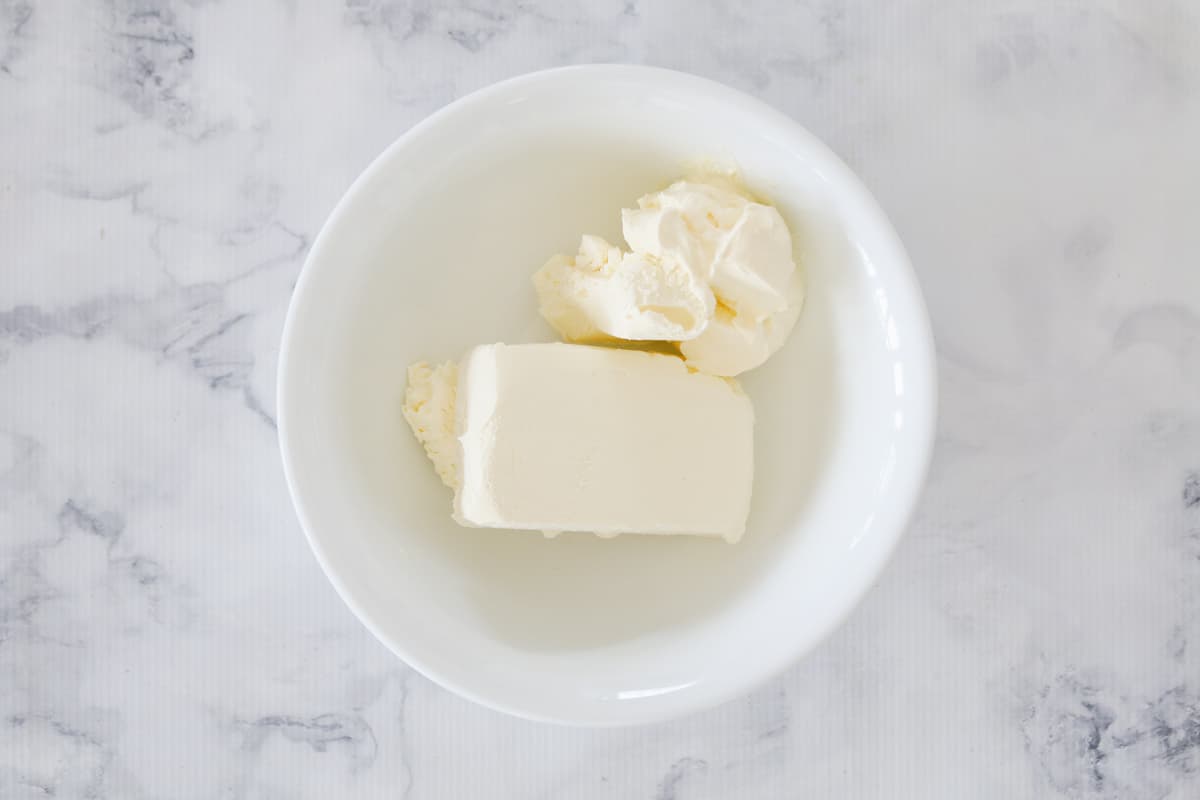
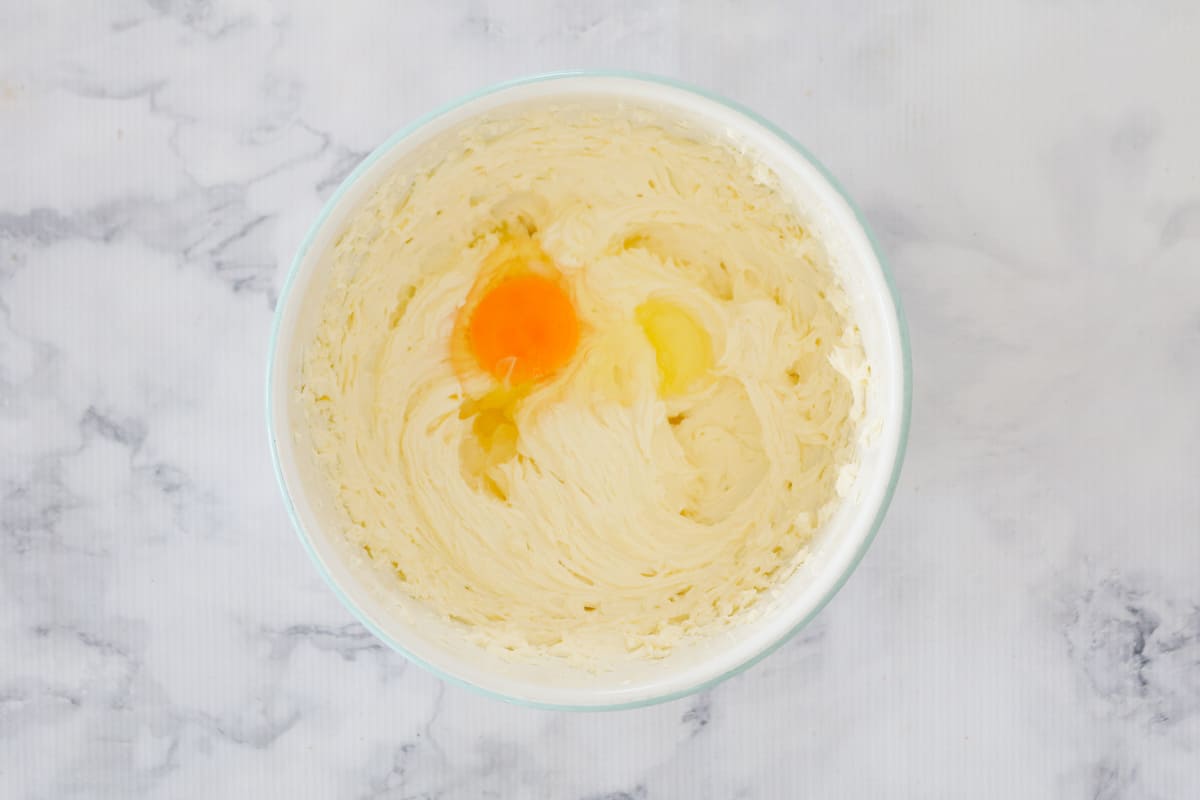
Beat the cream cheese and sour cream until smooth and creamy.
Add the eggs (one by one) and beat through - don't over-mix.
Mix through the blackberry puree and vanilla extract then pour onto the chocolate base.


Baking The Tart
Bake the blackberry cheesecake tart in a low oven for 30 minutes. Leave in the oven to cool for 2-3 hours (see my tips below for baking cheesecakes).
The Benefits Of Baking With Blackberries
Blackberries are one of my favourite fruits to bake with - they're healthy, sweet and oh-so-delicious!
Blackberries are also:
- very high in antioxidants
- a high source of Vitamin C, E, folate and fibre
- a great way to add a beautiful natural sweetness to your recipes
- ... and of course, they're super yummy!
Tips For Baking Cheesecakes
A baked cheesecake is my all-time favourite dessert (which is a big call because I LOOOOVE desserts!).
While it might seem daunting to bake a cheesecake, if you follow my tips, you'll have a perfectly baked and completely luscious cheesecake every single time!
1. Don't over-beat the mixture - this will cause the cheesecake to crack when cooked. Mix with beaters or a stand-mixer until just combined.
2. Prepare your removable base tart tin correctly - ensure your tart tin has a removable base and grease the base and sides well before adding the cookie base crumbs. Place the tart tin onto a large flat baking tray so that you can easily move it in and out of the oven.
3. Use full fat ingredients - using full fat cream cheese and full fat sour cream in your cheesecake will give you the most amazing rich and creamy texture.
4. Use room temperature ingredients - ensure your cream cheese, eggs and sour cream are at room temperature before using. This makes them easier to combine and gives you a beautiful smooth mixture.
5. Add a pan of water to the oven when baking - to prevent cracking, place a tray of water in the oven on the lowest shelf and then place the cheesecake on a middle shelf.
6. Don't open the oven door - opening the door while your cheesecake is cooking will alter the temperature and cause the cheesecake to sink and crack. When the cheesecake has finished cooking, leave the door closed or very slightly ajar (there is no need to check if it's ready - it will be!) Leave it in the oven for 2-3 hours before removing and placing into the fridge (preferably overnight but at least for a minimum of 4-6 hours).
For more helpful information on baking cheesecakes, check out my ultimate guide to baked cheesecakes.
More Recipe Tips
Fresh blackberries - this recipe is made using fresh blackberries that add a deliciously natural and healthy sweetness to the tart.
Storing - Chill the cheesecake in the fridge for a minimum of 4-6 hours before serving (or overnight) and consume within 3 days.
Freezing - Individual slices can be wrapped in foil or plastic wrap then placed into sealable plastic bags for up to 1 month (minus the decorations).
Defrosting - place the frozen cheesecake slices in the fridge overnight to defrost.
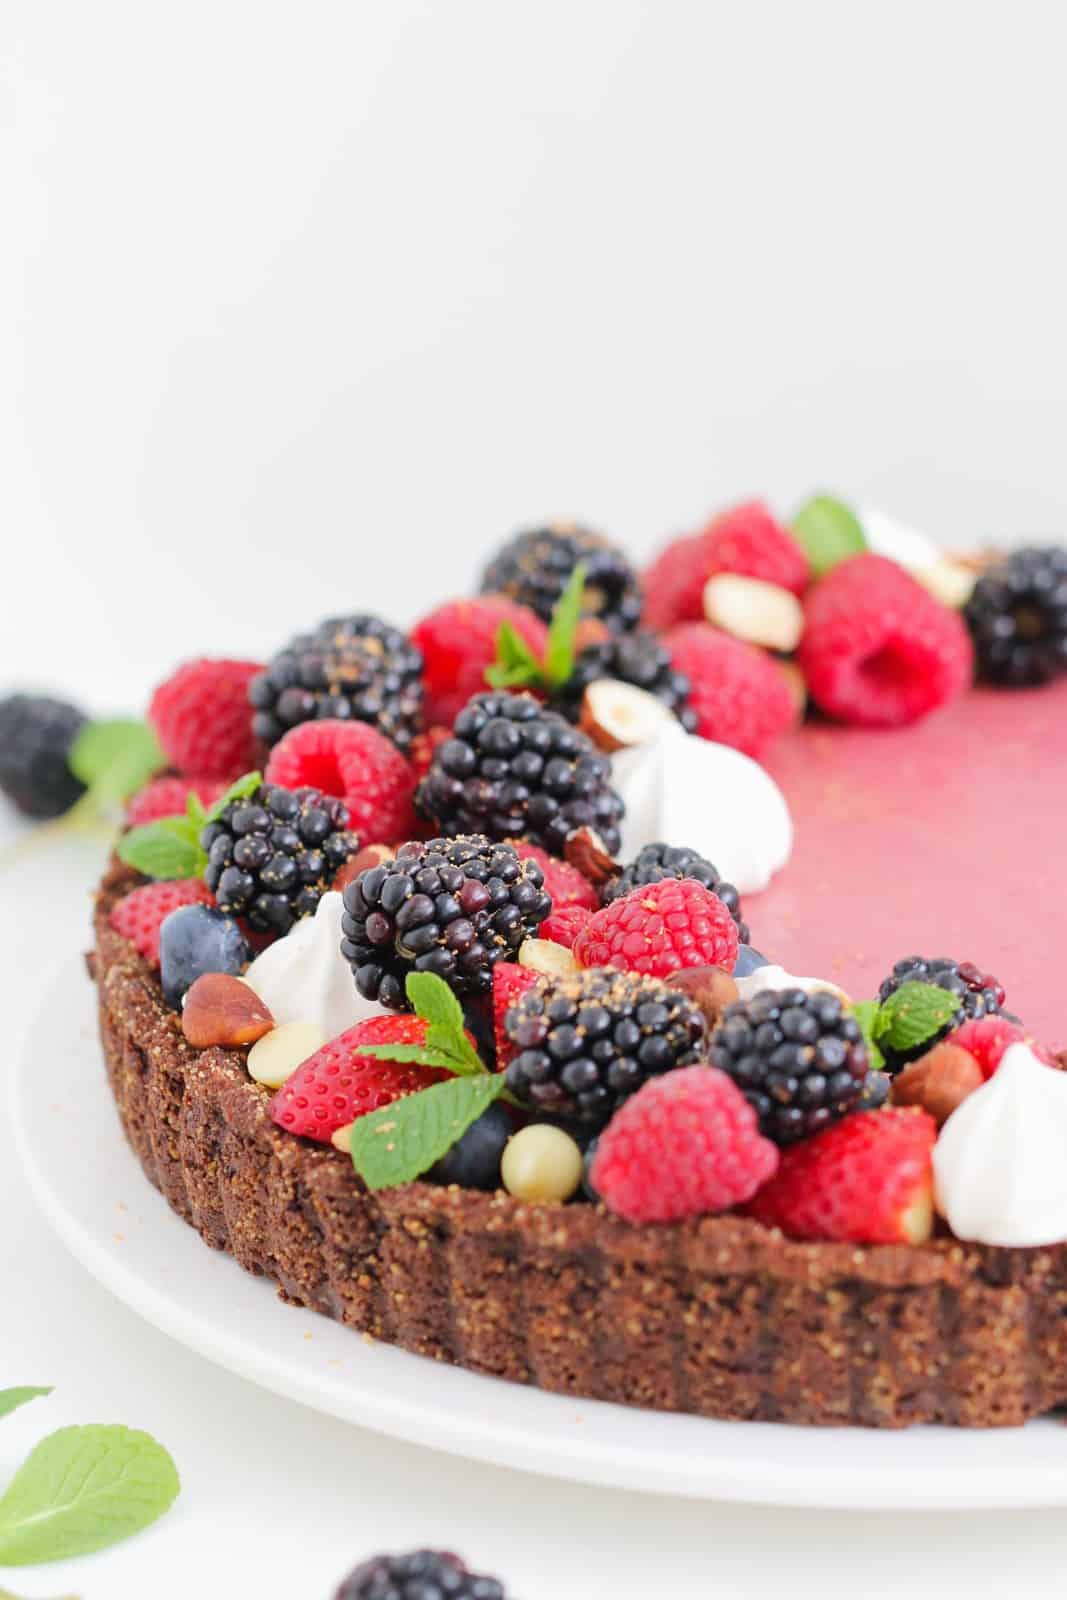
Serving - serve this cheesecake chilled with your choice of toppings - such as extra fresh berries, meringue kisses, grated chocolate, whipped cream and fresh mint leaves.
More Recipes Using Berries
If you love baking with berries, then please feel free to check out a few more of my favourite recipes:
- easy blueberry muffins
- lemon and blueberry crumble slice
- raspberry and white chocolate cheesecake slice
- raspberry & ricotta cake
WANT EVEN MORE DELICIOUS RECIPES? Subscribe to my newsletter or follow along on Facebook or Instagram. And if you love baking, then please come and join my Facebook cooking club group or subscribe to my YouTube channel.
Blackberry Cheesecake Tart
Ingredients
For the base
- 250 g plain sweet chocolate biscuits like Arnotts Choc Ripple
- 50 g (½ cup) almond meal
- 125 g butter melted
For the filling
- 250 g (2 cups) Driscolls blackberries
- 110 g (½ cup) caster sugar
- 60 g (½ cup) water
- 375 g cream cheese full fat
- 120 g (½ cup) sour cream full fat
- 2 eggs
- 1 teaspoon vanilla extract
- berries, chocolate, gold sugar, fresh mint leaves and meringue kisses to decorate, optional
Instructions
Conventional Method
- Grease a 24cm tart tin (with a removable base) and set aside. Place the tart tin onto a large flat baking tray.
- Crush the biscuits in a food processor or blender until fine crumbs remain. Stir through the almond meal and melted butter until well combined.
- Press the mixture into the base and sides of the tart tin (use a round flat spoon or glass to press it down firmly). Chill in the fridge or freezer for 30 minutes.
- Place the blackberries, sugar and water into a saucepan over medium heat until the sugar has dissolved. Increase the heat and cook the mixture simmering for 5 minutes. Allow to cool completely.
- Place the mixture into a blender or food processor and mix until smooth.
- Pour the blackberry puree into a strainer to remove any seeds (discard the seeds) and set aside.
- Preheat oven to 140 degrees celsius (fan-forced).
- Beat the cream cheese and sour cream with a stand-mixer or hand-held beaters until smooth and creamy.
- Add the eggs (beating through one at a time) and slowly add the blackberry puree and vanilla extract. Continue to beat until smooth and combined.
- Pour the mixture into the chocolate base (filling to the top).
- Bake for 30 minutes or until just set. Leave in the oven with the door only slightly ajar for 2-3 hours before placing into the fridge to cool completely.
- Decorate with extra berries, chocolate, gold sugar, fresh mint leaves and meringue kisses.
Thermomix Method
- Grease a 24cm tart tin (with a removable base) and set aside. Place the tart tin onto a large flat baking tray.
- Place the butter into the Thermomix bowl and melt for 2 mins, Speed 2, 100 degrees (or until melted). Add the chocolate ripple biscuits and almond meal and mix on Speed 9, 6 seconds. Press the mixture into the base and sides of the tart tin (use a round flat spoon or glass to press it down firmly). Chill in the fridge or freezer for 30 minutes.
- Place the blackberries, sugar and water into a clean and dry Thermomix bowl. Heat on 100 degrees, Reverse, Speed 2, 8 minutes (MC on). Allow to cool slightly.
- Mix on Speed 9 for 10 seconds or until pureed. Pour the blackberry puree into a strainer to remove any seeds (discard the seeds) and set aside.
- Preheat oven to 140 degrees celsius (fan-forced).
- In a clean and dry Thermomix bowl, add the cream cheese, eggs and sour cream. Mix on Speed 5, 15 seconds. Scrape down the sides of the bowl and repeat for a further 15 seconds (or until smooth).
- Add the blackberry puree and the vanilla extract and mix on Speed 4, 5 seconds or until combined.
- Pour the mixture into the chocolate base (filling to the top).
- Bake for 30 minutes or until just set. Leave in the oven with the door only slightly ajar for 2-3 hours before placing into the fridge to cool completely.
- Decorate with extra berries, chocolate, gold sugar, fresh mint leaves and meringue kisses.
Notes
- plain chocolate cookies - here in Australia, I like to use Arnott's Choc Ripple biscuits, but you can use absolutely any brand you like!
- almond meal - can be bought in packets from the baking section of any major supermarket or health food shop. It has a fine grainy texture and is made from raw and unpeeled almonds. Alternatively you can make your own by finely grinding almonds.
- butter - you can use either salted or unsalted butter in this recipe. Once you've mixed the butter through the almond meal and chocolate biscuit crumbs, you should be easily able to press the mixture into your tart tin. If it's too dry, add a little more melted butter and mix again (the amount you need will depend on the brand of chocolate biscuits you use).
- fresh blackberries add the most delicious berry flavour to the tart!
- cream cheese and sour cream - I recommend using full fat versions in this recipe.


Rosaleen Saroni says
Sorry...I couldn’t edit: Thermomix, not thermometer...
Rosaleen Saroni says
I’m planning on making this using wild blackberries that have just come into season and are now sweet. My question: I have a thermometer but usually do my baking in the traditional way. Have you made this in the Thermomix and how did it turn out? I’m hesitant because I have more control in the traditional way but am prepared to give it a go but don’t want to stuff it up because I’m bringing desert for our family bbq..
Lucy says
Hi Rosaleen, you can make it either way! I've included my conventional and Thermomix methods in the recipe card at the bottom of the post. And yes, I've made it both ways with the exact same results.
Rosaleen Saroni says
Thanks Lucy. Victoria is now in a five day lockdown and our family celebration has been cancelled, can I freeze the whole tart do you think? Or can I freeze the prepared base ( which I did in the Thermomix) and blackberries and then proceed with the recipe when we’re all allowed to gather again.?
Lucy says
Hi Rosaleen, you can do either!
Ann says
Hi Lucy
This looks soo good!
Can I use frozen blackberries?
Fresh ones are hard to get here in N Z Maybe leave out the water?
Thanks
Ann
Lucy says
Absolutely!