

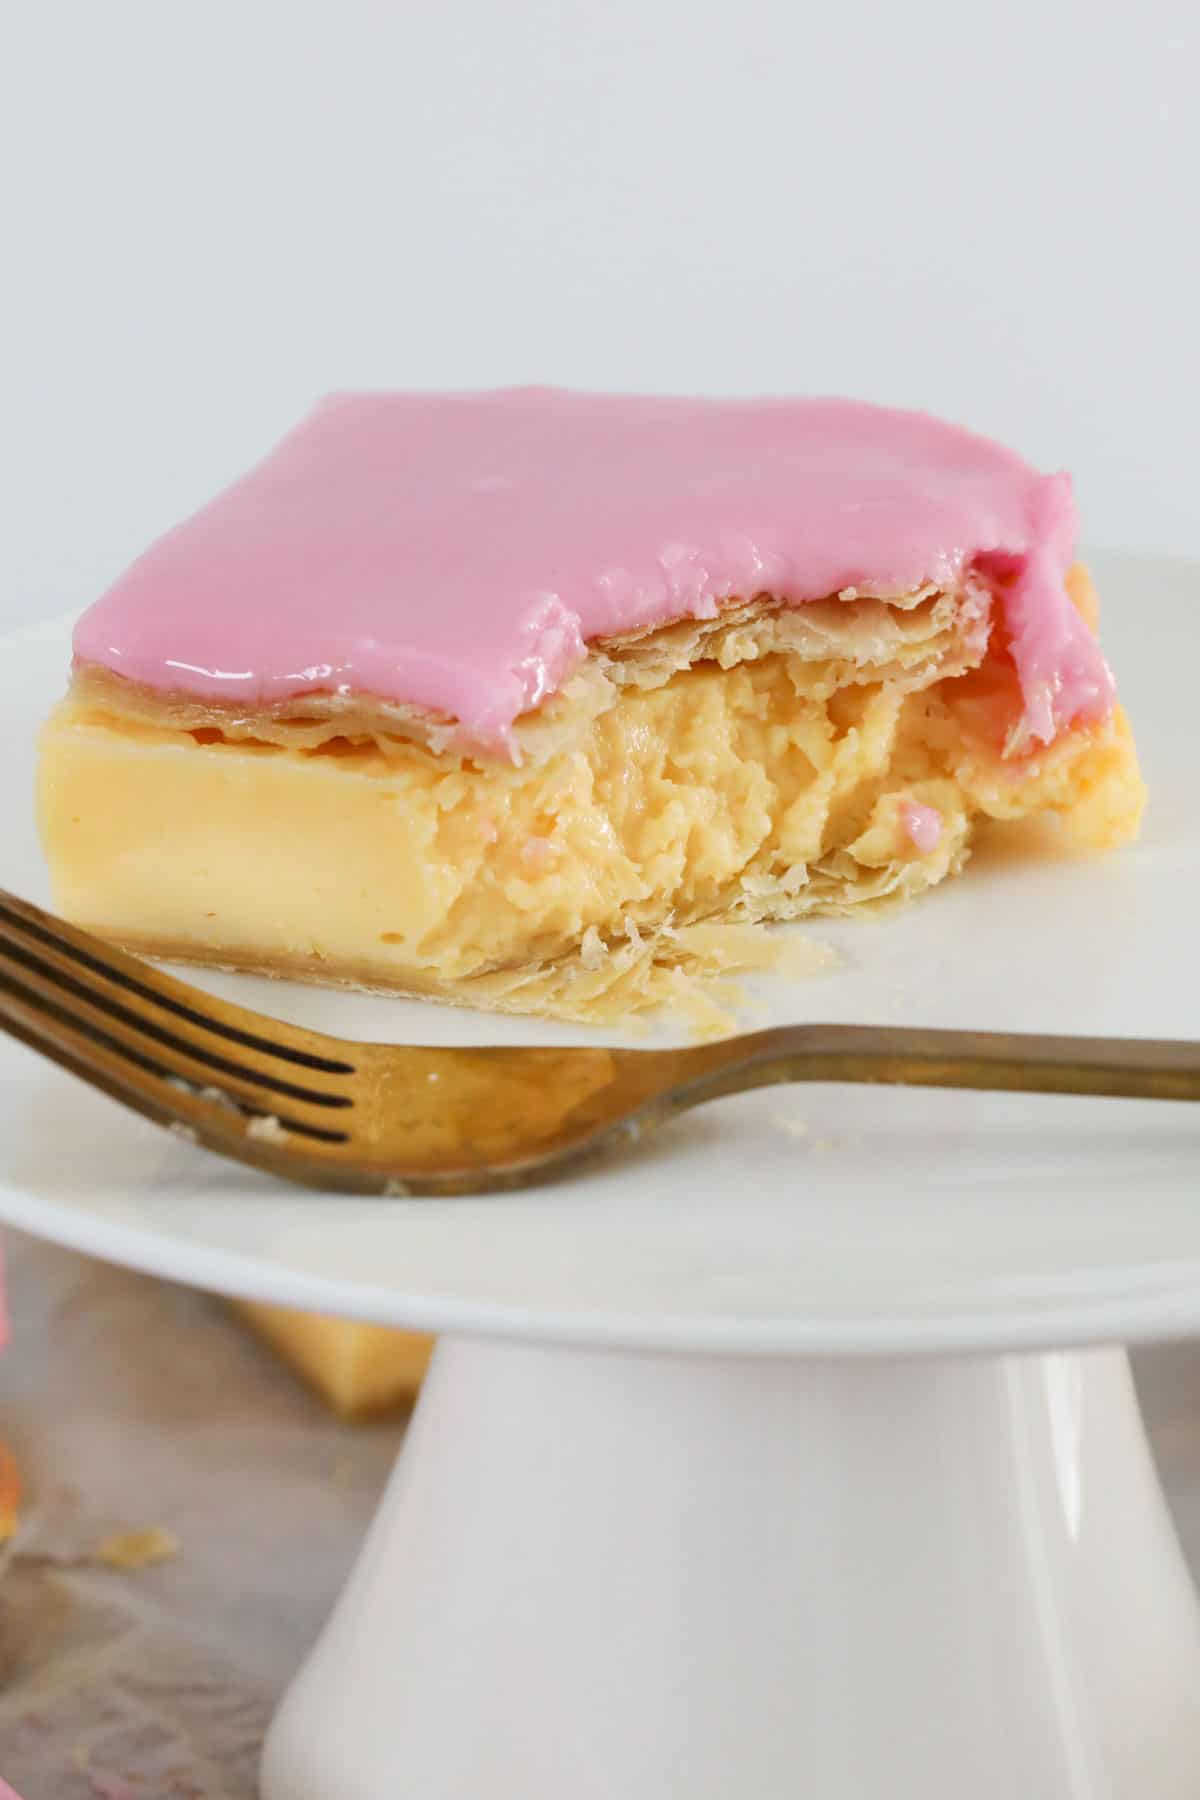
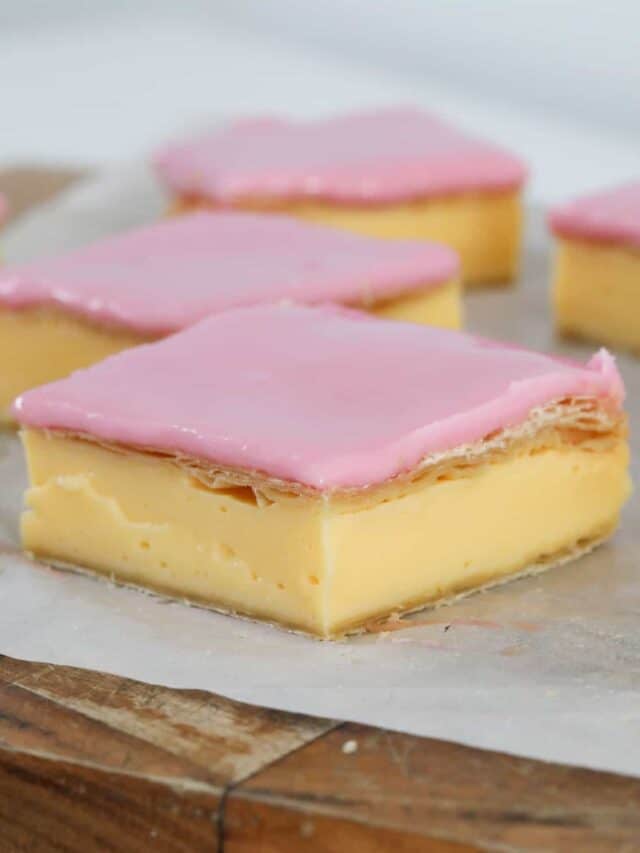
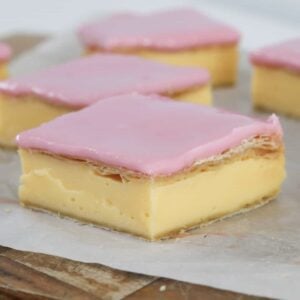
There's something so nostalgic about vanilla custard slice - flaky pastry, thick creamy custard, and that sweet pink icing. Just like the bakery classic… but so easy to make at home, no fancy ingredients needed!
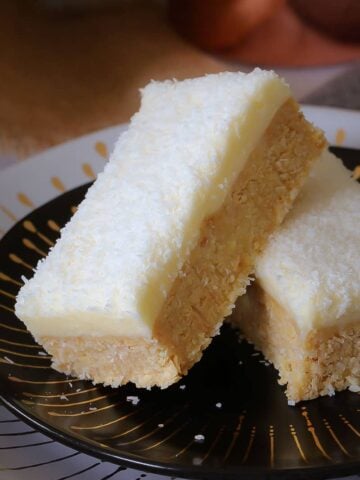
Just like my custard cake or lemon coconut slice, this recipe is all about simple steps and maximum deliciousness.
I'm on my 3rd time with this recipe (in the UK) in a week. I'm rubbish at baking, but this recipe is so simple and delicious that even I can get fantastic results. Thank you
(my waist-line doesn't...!).
- Vince
Unlike more complex versions that call for multiple egg yolks and careful tempering, my vanilla slice keeps it easy - with just a few pantry staples and a packet of custard powder, you'll have a thick, silky custard filling that sets beautifully. The pink icing gives it that old-school Aussie bakery feel (but of course, you can mix it up too - see the variations below!).
Best of all? This recipe includes both conventional and Thermomix instructions, so whether you're whisking on the stovetop or pressing a few buttons, you're covered.
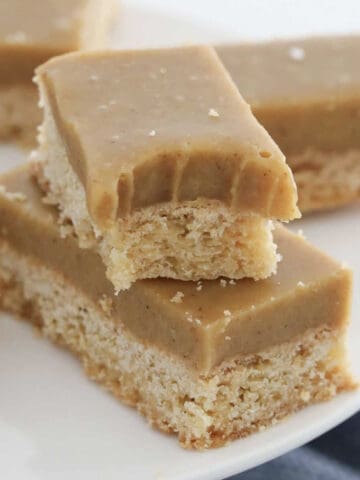
Love classic Aussie slices? Don't miss my Iced Vovo Biscuits, ANZAC Slice or Chocolate Caramel Slice too!
Why You're Going To Love This Recipe
✔️ Uses simple pantry ingredients - no eggs or cream required
✔️ That thick custard layer sets beautifully every time
✔️ Classic pink icing for a retro bakery-style finish
✔️ Includes both conventional and Thermomix methods
✔️ The ultimate slice for parties, lunchboxes, or just a sneaky afternoon treat
Jump to:
Slice Ingredients
Chances are, if you have a couple of sheets of puff pastry and a packet of custard powder at home, you may have everything else required to make this easy vanilla custard slice right now!
Note: Scroll to the recipe card at the bottom for the quantities of the ingredients and fully detailed method!
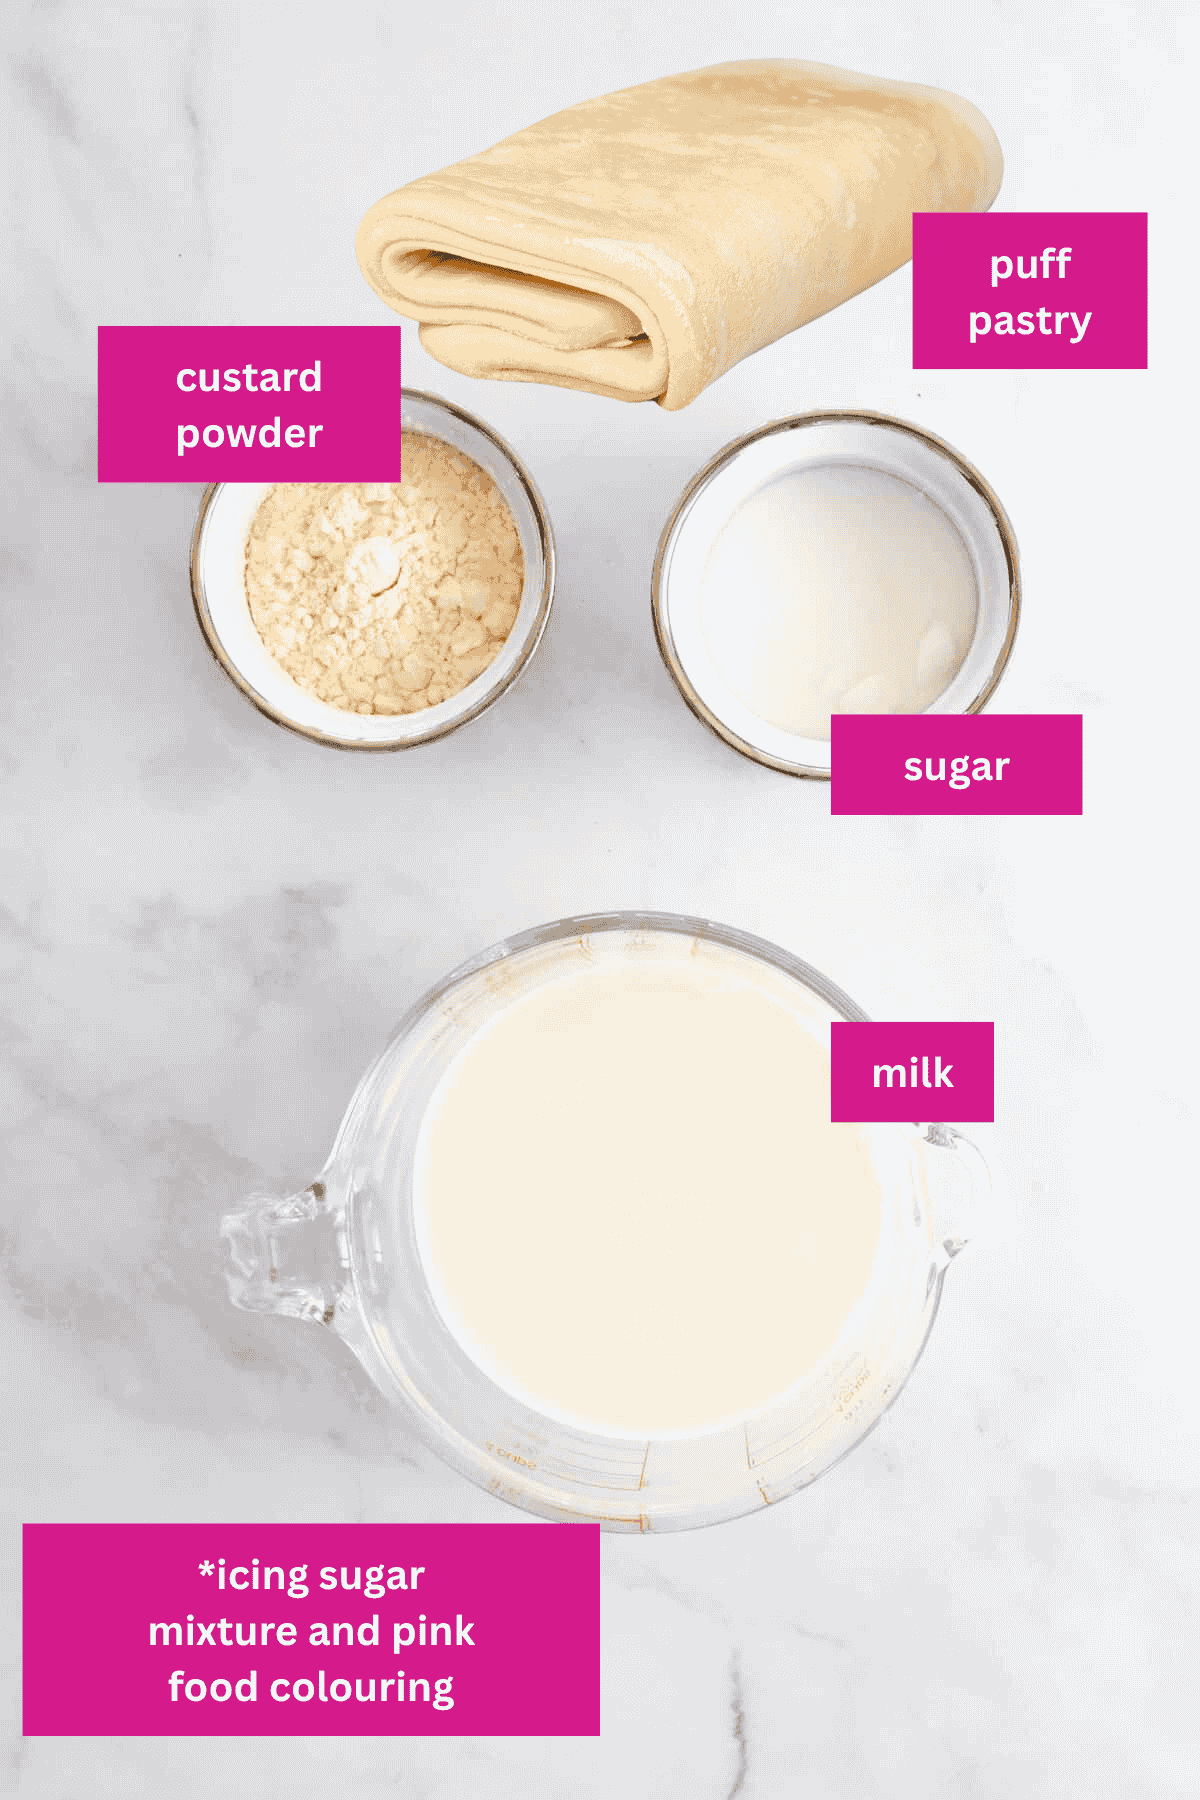
- Custard powder - I use Foster Clark's or Lion brand - both work perfectly to thicken and flavour the custard without fuss.
- Puff pastry - Bake it between two trays to keep it flat and crisp.
- Icing sugar mixture - This gives a smooth, spreadable finish without lumps.
- Pink food colouring - Totally optional, but gives that nostalgic bakery slice vibe.
Variations
- Gluten-Free - Swap the puff pastry for a good quality GF version.
- Passionfruit Icing - Skip the pink and use passionfruit pulp instead of water in the icing. A zingy, tropical twist!
- Vanilla Bean Custard - For a richer version, add 1 teaspoon vanilla bean paste to the custard for a deeper vanilla flavour.
- Lemon Icing - Add fresh lemon juice instead of water for a tangy, zingy glaze.
How To Make Vanilla Custard Slice
Here's how to make vanilla custard slice from scratch:
Note: Scroll to the recipe card at the bottom for the ingredients quantities and full detailed method!
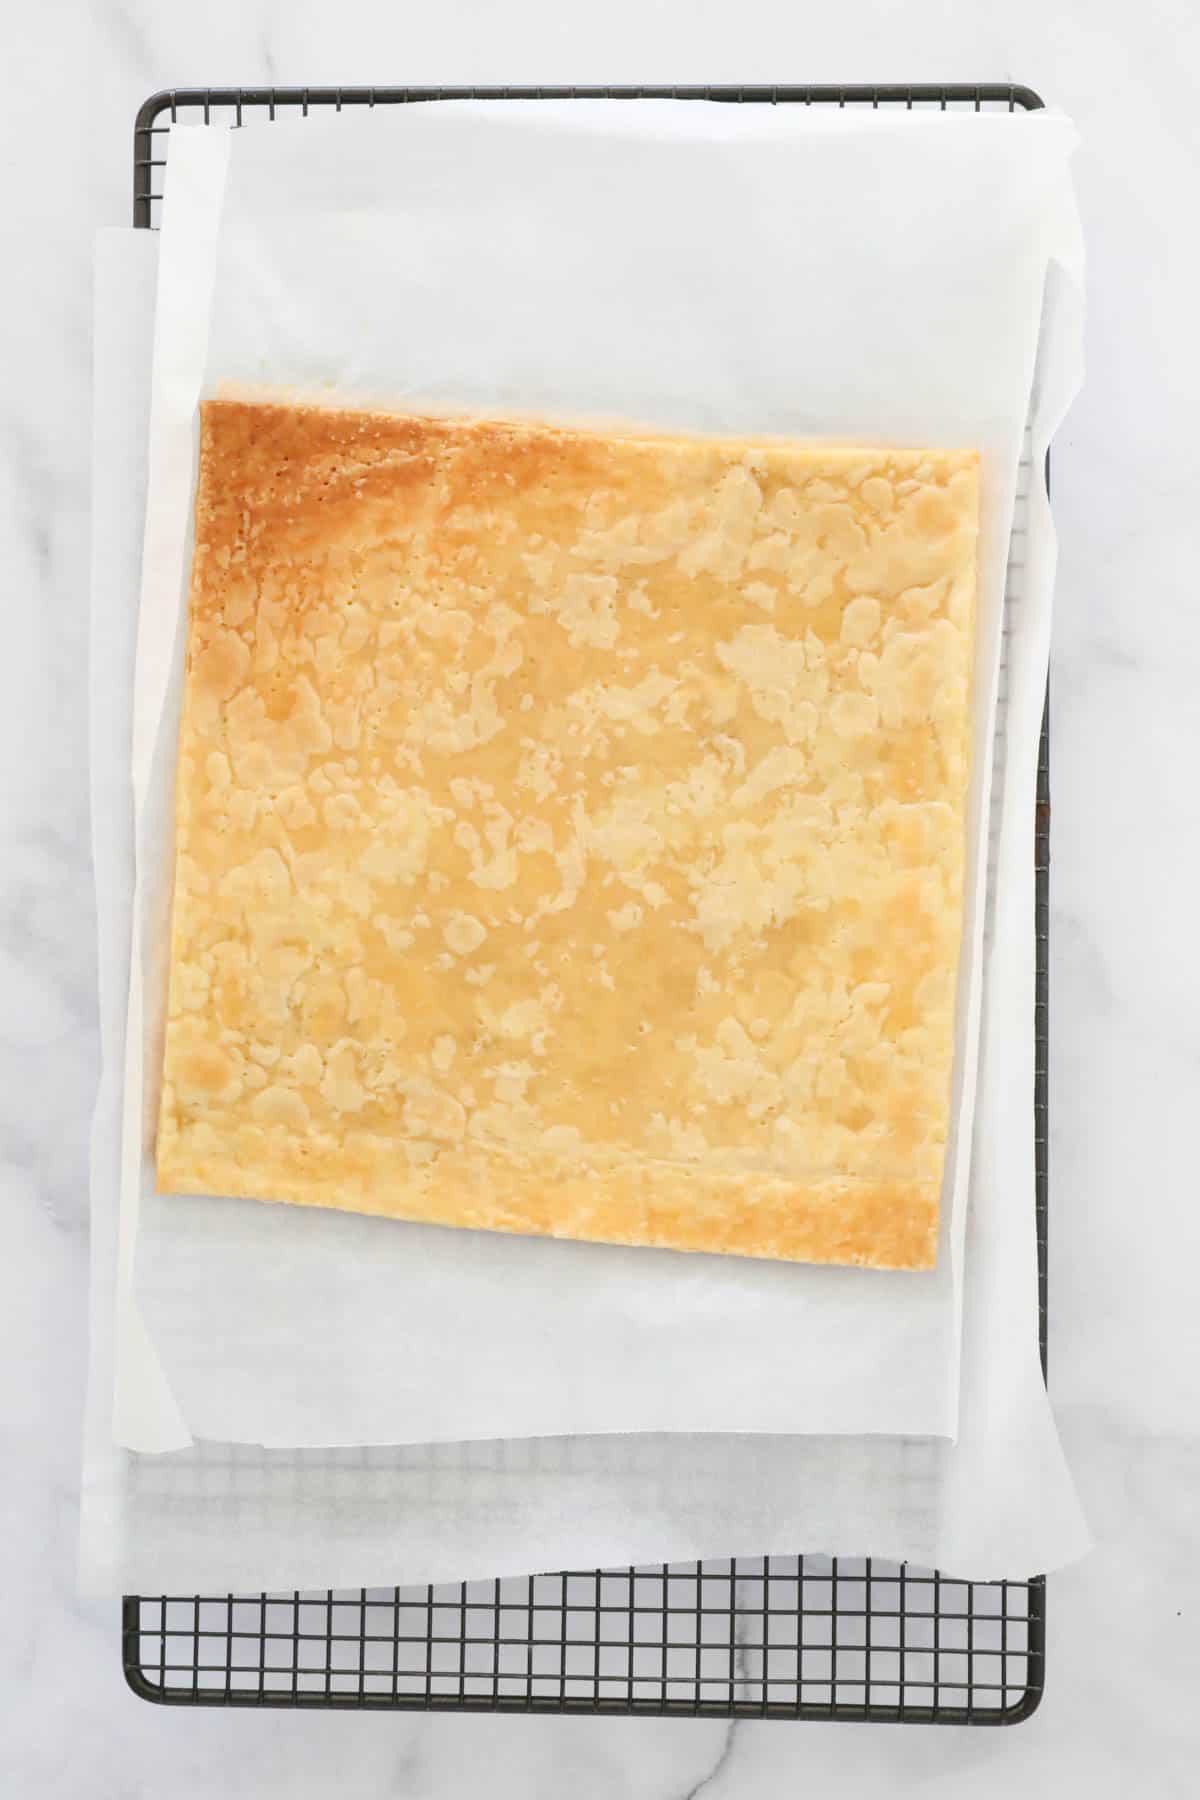
- Step 1: Prick the puff pastry sheets all over with a fork, place between baking paper and trays, and bake until golden and flat. Let cool and trim to fit a 20cm square tin.
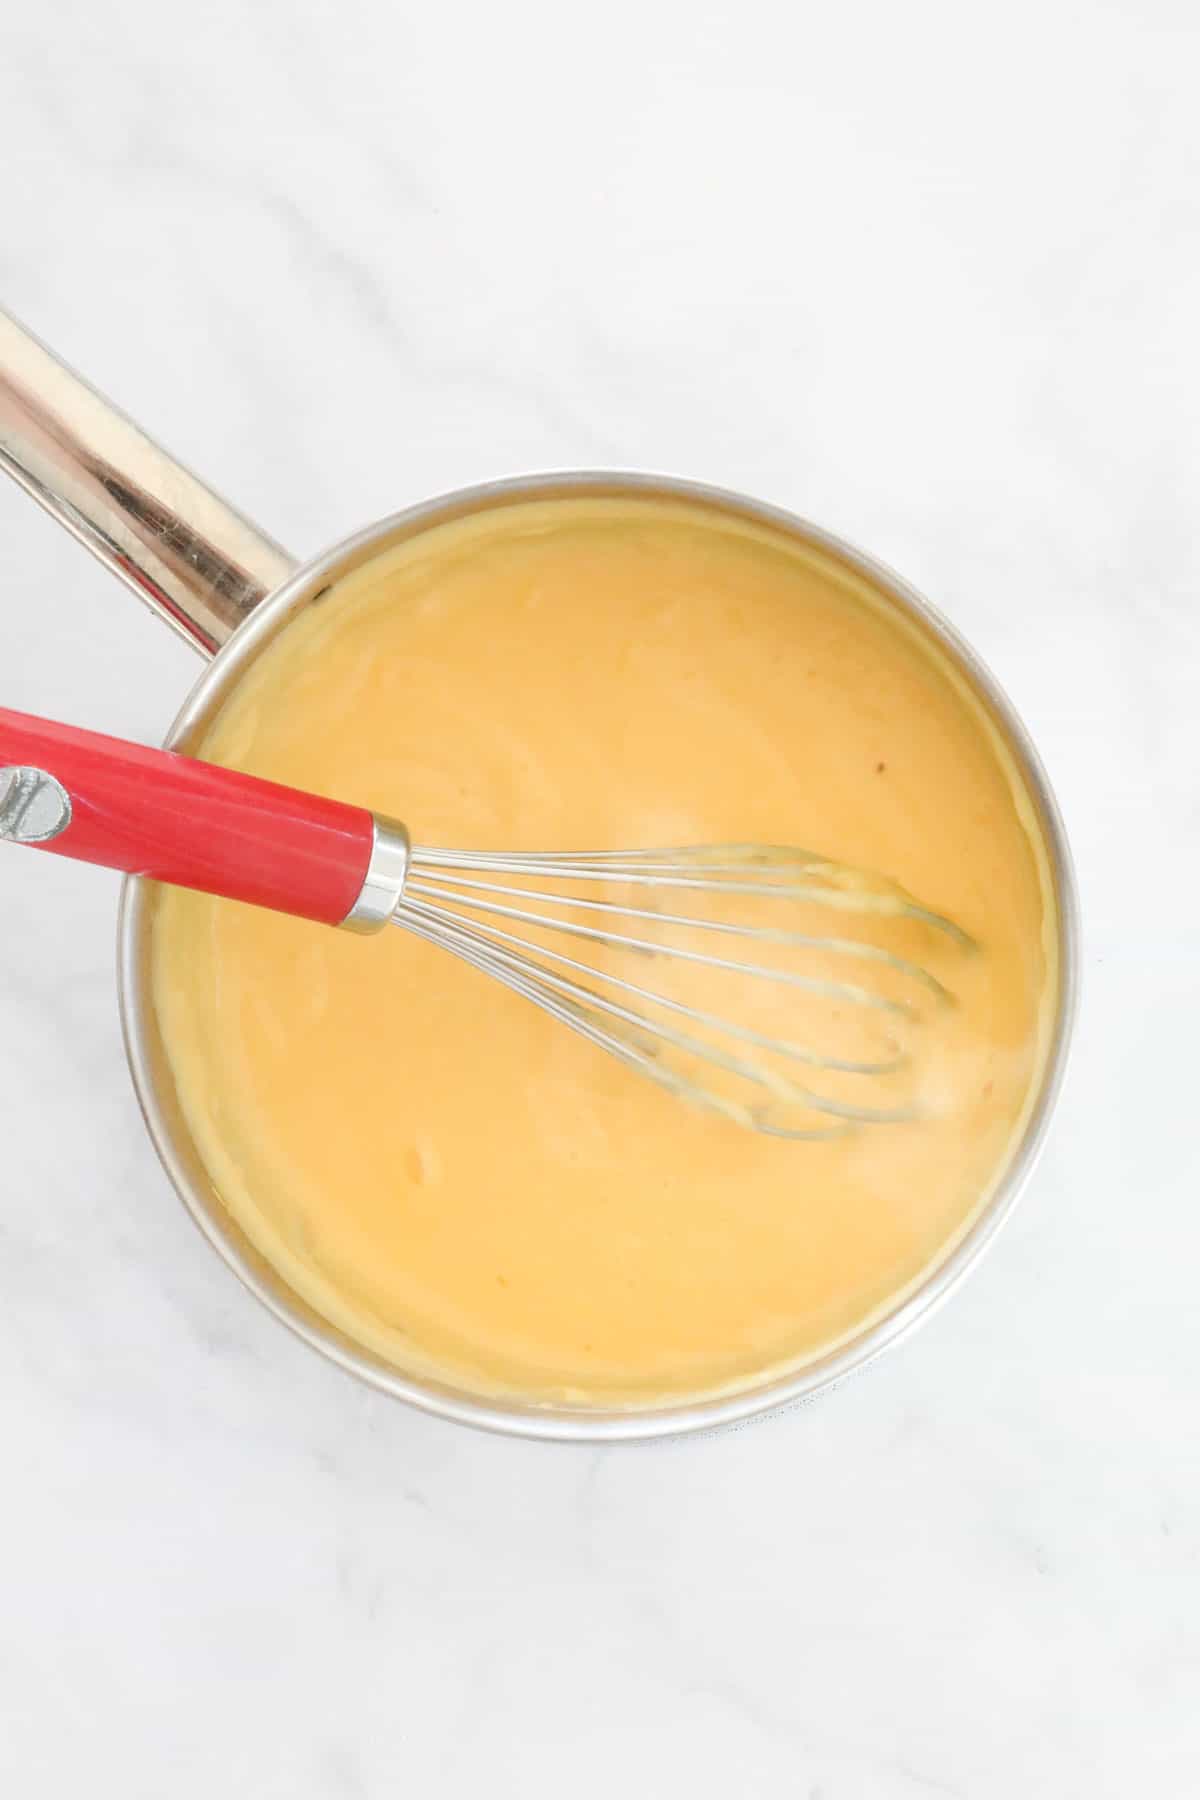
- Step 2: In a saucepan, stir custard powder with a little milk to dissolve. Add the rest of the milk and caster sugar, and whisk over medium heat until very thick and bubbling.
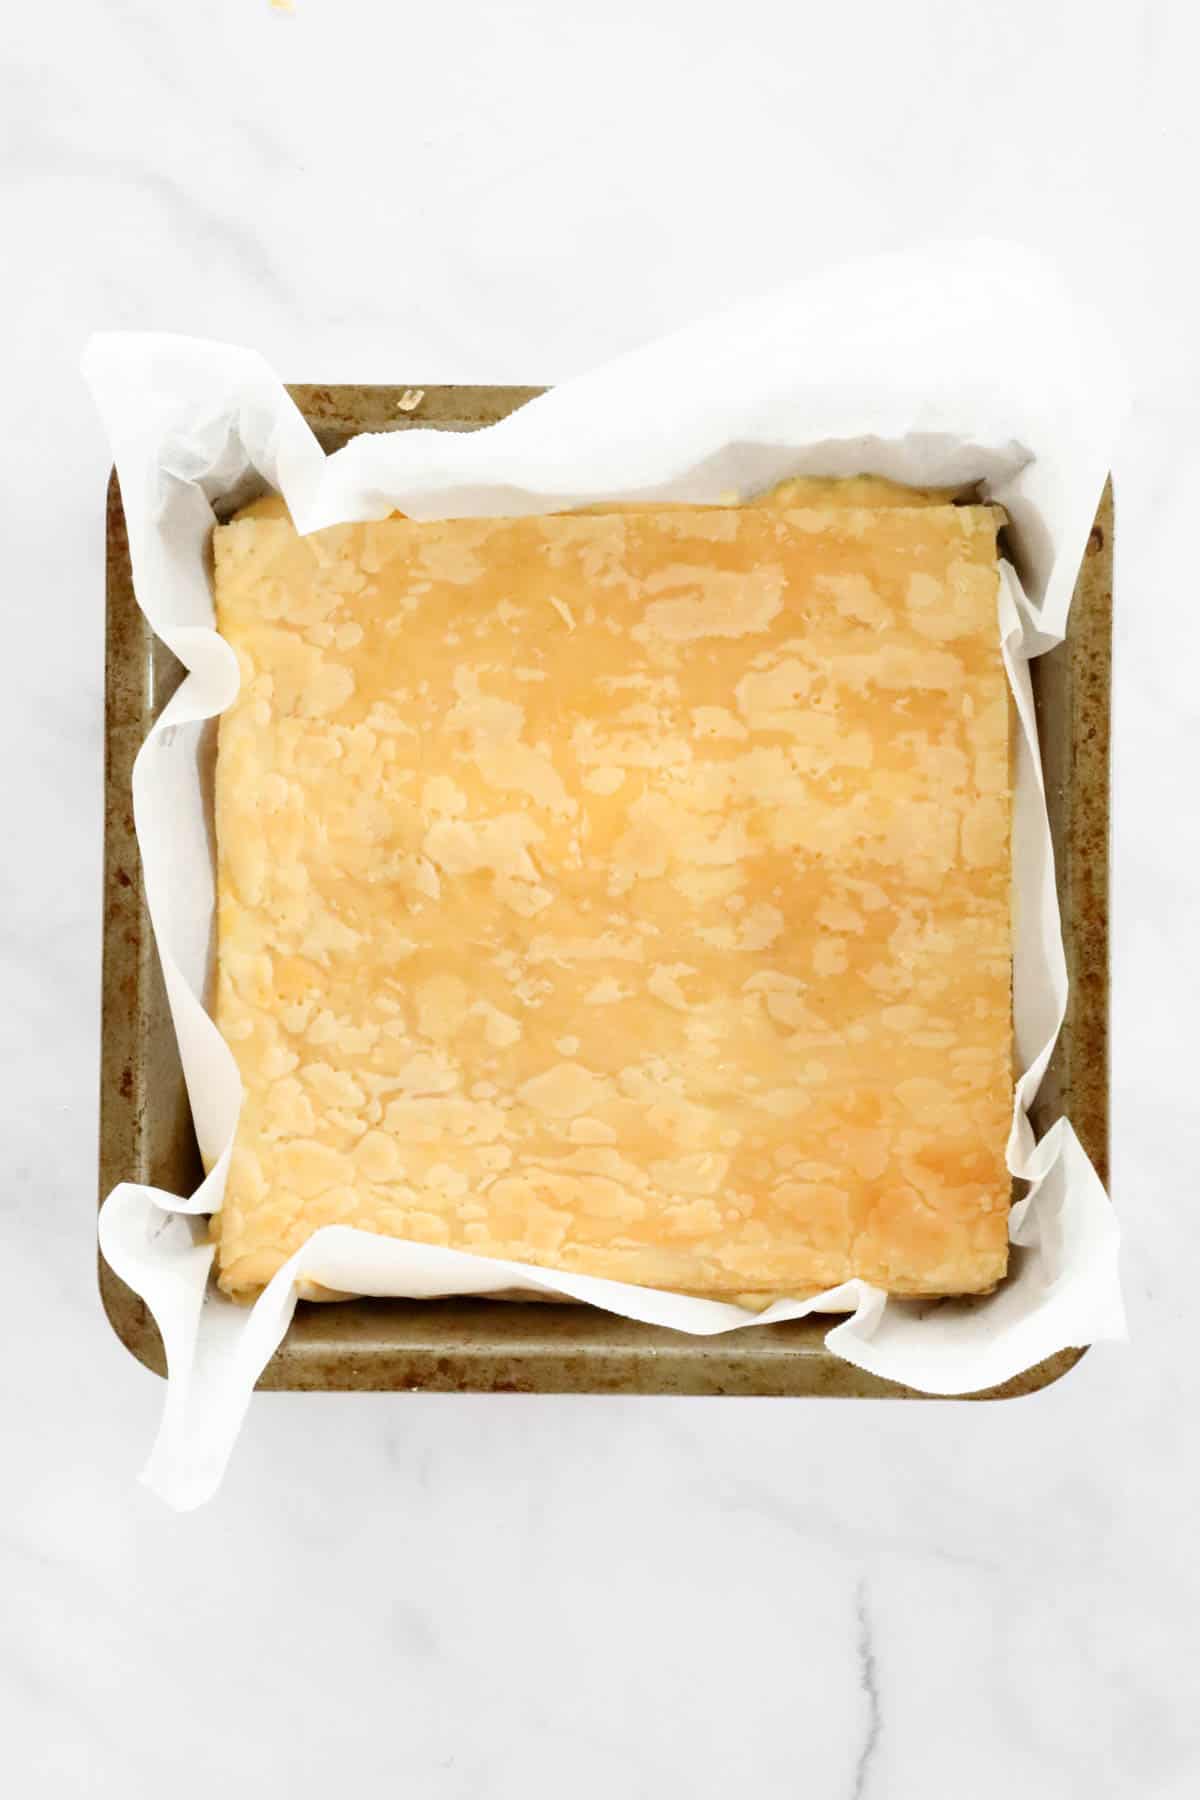
- Step 3: Place one pastry sheet in your lined tin. Spread over the slightly cooled custard. Top with the second pastry sheet.
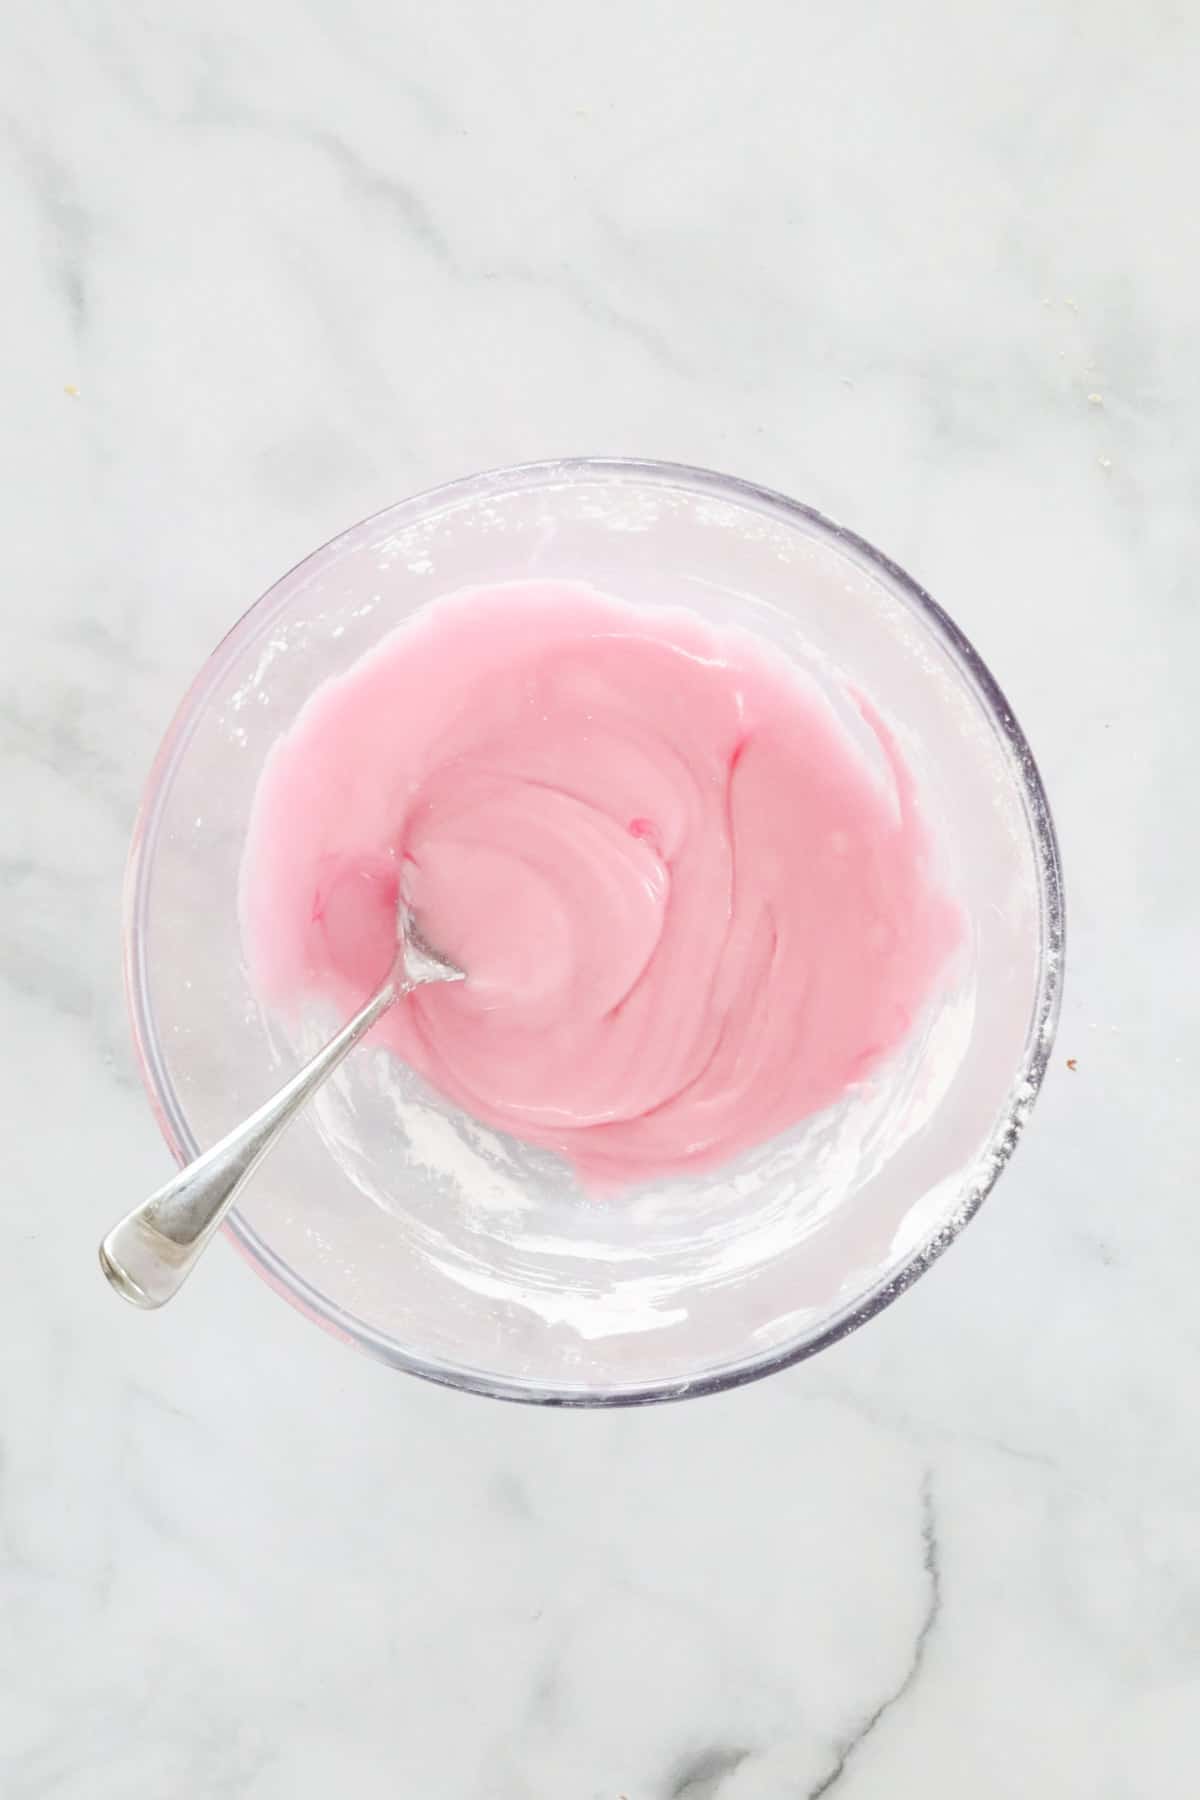
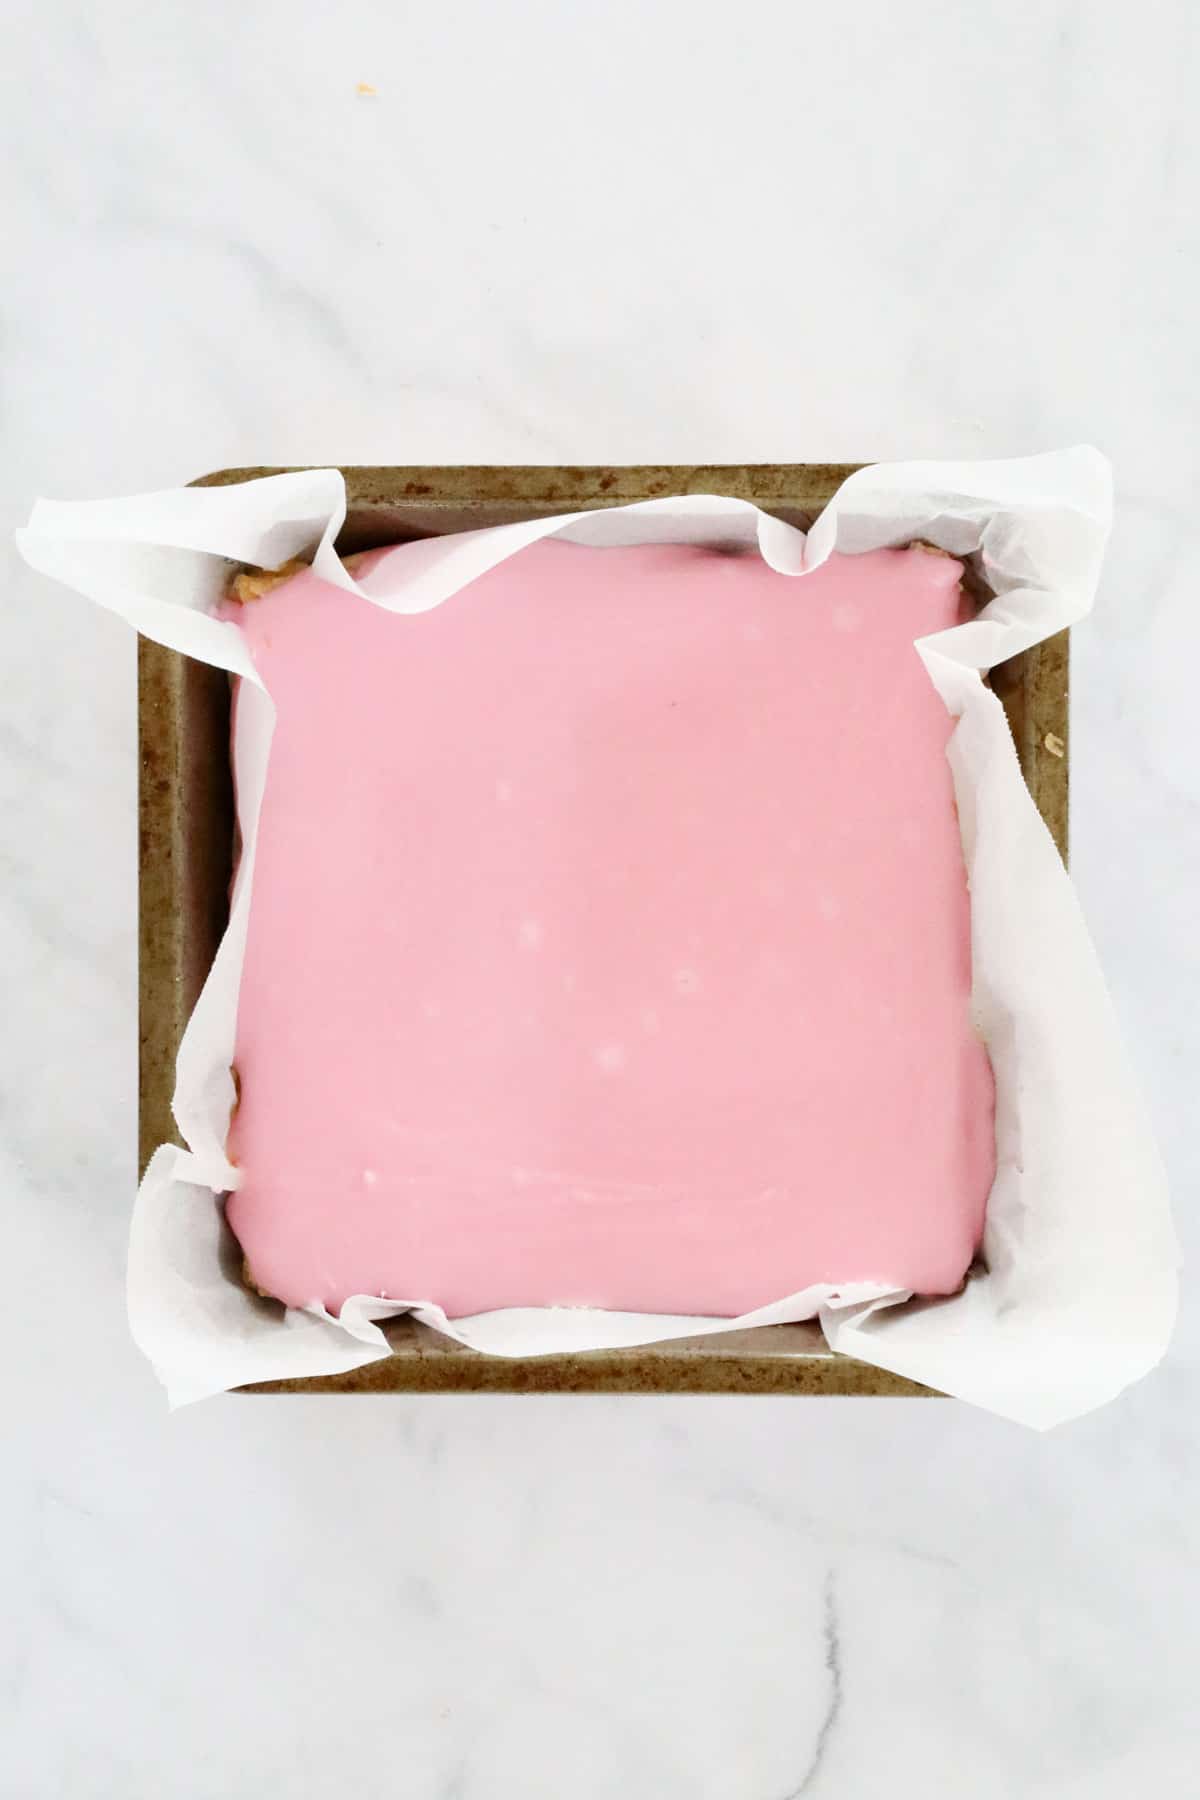
- Step 4: Mix icing sugar with a little water and pink food colouring until thick and spreadable (add water 1 tablespoon at a time). Spread over the top.
- Step 5: Refrigerate for at least 3-4 hours (overnight is best). Slice using a small serrated knife for the top, and a large flat knife to press through the custard.
Top Tip
Let the slice chill overnight for clean slices and perfect custard texture - it's worth the wait!
Recipe Tips
- Weigh down the pastry while baking to stop it puffing - this gives you nice, flat layers.
- Cook the custard until very thick - it should be bubbling before you take it off the heat.
- Cover with plastic wrap while cooling to prevent a skin forming on top of the custard.
- Don't overwater the icing - it should be thick enough to spread, not runny.
- Chill before slicing - this helps the custard set and the icing to firm up.
- Use a serrated knife to slice the top pastry first, then press down gently with a large knife.
- Storage - Keep in the fridge for 3-4 days (the pastry will soften slightly over time).
- Freezing - Not recommended - the custard doesn't freeze well.
Vanilla Custard Slice FAQs
Yes - if you have a favourite egg-based custard recipe, you can absolutely use that instead.
It likely hasn't cooked long enough. It needs to boil and thicken fully before being removed from the heat.
Definitely - in fact, it's even better the next day once it's chilled and set.
Nope! Go with white vanilla icing, lemon, or passionfruit - whatever suits your taste.
More Bakery-Style Recipes
If you're like me, you probably grew up with these bakery favourites - and they're still as popular and irresistible as ever!

WANT EVEN MORE DELICIOUS RECIPES? Subscribe to my newsletter or follow along on Facebook or Instagram. And if you love baking, then please come and join my Facebook cooking club group or subscribe to my YouTube channel.
Vanilla Custard Slice
Ingredients
- 2 sheets puff pastry thawed
- 65 g (½ cup) custard powder
- 610 g (2 ½ cups) milk
- 55 g (¼ cup) caster sugar
- 500 g (2 ½ cups) icing sugar mixture
- 50-75 g (4-5 tbs) water (see notes)
- 1-2 drops pink food colouring optional
Instructions
Conventional Method
- Preheat the oven to 180 degrees celsius (fan-forced). Place the pastry sheets on flat baking trays lined with baking paper. Use a fork to prick holes all over the pastry. Add an extra sheet of baking paper on top of each pastry sheet and place an extra baking tray on top as a weight.
- Bake for 20-25 minutes or until golden. Allow to cool completely on a wire rack.
- Place a 20cm square baking tin on top of the cooked pastry sheets and use a serrated knife to carefully trim the sheets to the size of the tin.
- Grease and line the 20cm square baking tin with baking paper (allowing it to overhang). Place one of the pastry sheets in the base of the tin and set aside.
- Place the custard powder into a saucepan with ¼ cup of the milk. Stir until all of the custard powder has dissolved. Add the remaining 2 ¼ cups of milk and the caster sugar. If using a Thermomix: Place the custard powder, milk and caster sugar into the Thermomix bowl. Cook for 9 minutes, 90 degrees, Speed 4. If the custard is too runny, cook for a further minute.
- Whisking continuously, heat the custard over a medium heat for 5 minutes or until it has started to thicken. Once the custard starts to boil, continue whisking for a further 2 minutes or until very thick. Place a sheet of glad wrap over the custard to stop it forming a 'skin' and allow to cool for 20 minutes.
- Spread the cooled custard over the pastry and top with the extra sheet of cooked puff pastry.
- To make the icing, sift the icing sugar into a bowl and add the food colouring. Add the water 1 tablespoon at a time and stir until you have a smooth paste (that can be spread). If using a Thermomix: place the icing sugar into a clean and dry Thermomix bowl. Sift by pressing Turbo for 2-3 seconds. Add the pink food colouring and 3 tbs water. Mix for 10 seconds, Speed 6. Scrape down the sides of the bowl and mix for a further 5 seconds. If the mixture is too thick and can't be spread, add 1 more tablespoon and mix again (it should be a thick paste).
- Spread the icing over the slice and place into the fridge for 3-4 hours (overnight is best).
- Use a small, serrated knife to cut through the top pastry sheet before using a large, flat knife to press down firmly to cut into slices.
Notes
- Use a fork to prick holes over each pastry sheet before baking, to make it extra crispy.
- Bake each pastry sheet between two sheets of baking paper and two baking trays to cook flat and avoid it puffing up.
- It's important to continue to cook the custard (while continuously whisking) until it is very thick - this will ensure it sets firm.
- Glaze - only add water a little at a time, just enough to make the glaze spreadable. Too much water will make the glaze too runny, and soften the pastry on top which you want to stay crispy and flaky.
- Pink food colouring - optional. You only need a teeny-tiny drop of food colouring - don't overdo it!
- Passionfruit icing - to make passionfruit glaze, omit the pink food colouring and water and replace with passionfruit pulp (use just enough to get a spreadable thick paste).
- Cutting the slice - for best results, leave the slice in the fridge overnight and cut whilst still in the tin. Use a small, sharp serrated knife to cut through the top layer of the puff pastry. Then use a large flat knife to press through the custard and base layers.
- Storing - vanilla custard slice can be stored in the fridge for 3-4 days, however the pastry layers will soften the longer the slice is in the fridge.
- Freezing - this slice is not suitable for freezing.


Teresa says
I haven’t tried this yet, however I just wanted to share a hack I found out about for cutting this up.
To cut it without squishing all of the filling out, stand the cold slice on one end and slice through it that way, cutting through both layers of pastry and filling (and icing) all at once. I’ve never done it for a whole slice, but it’s brilliant for the massive ones that the bakeries sell so you can share them.
Shane says
Better than any you’ll buy from a shop!!!
Vince says
I'm on my 3rd time with this recipe (in UK) in a week. I'm rubbish at baking but this recipe is so simple and delicious even I can get fantastic results. Thank you
(my waist-line doesn't...!).
Lucy says
Thank you so much!
Nelleke Sheldrick says
To make it even nicer ( the Dutch way; they're called Tompouce over here) add thick whipped cream to the cooled down custard to give it a lovely cream/ custard flavour; or one layer of not too stiff custard and one layer of stiffly whipped cream. The best!!!!
Lucy says
Yum!
Di says
Hello how much can do you whip into the custard?
Jennifer says
I did have it refridgerated, but I think that the icing was too runny. Will be trying it again. Thanks for your reply.
Lucy says
Good luck! You can also try using pure icing sugar for an even thicker icing.