A super easy hot cross bun recipe that makes the softest and fluffiest homemade Easter buns.
Traditional buns lightly spiced with cinnamon and nutmeg and with sweet sultanas or raisins throughout... make a batch for Easter breakfast and serve warm with butter.
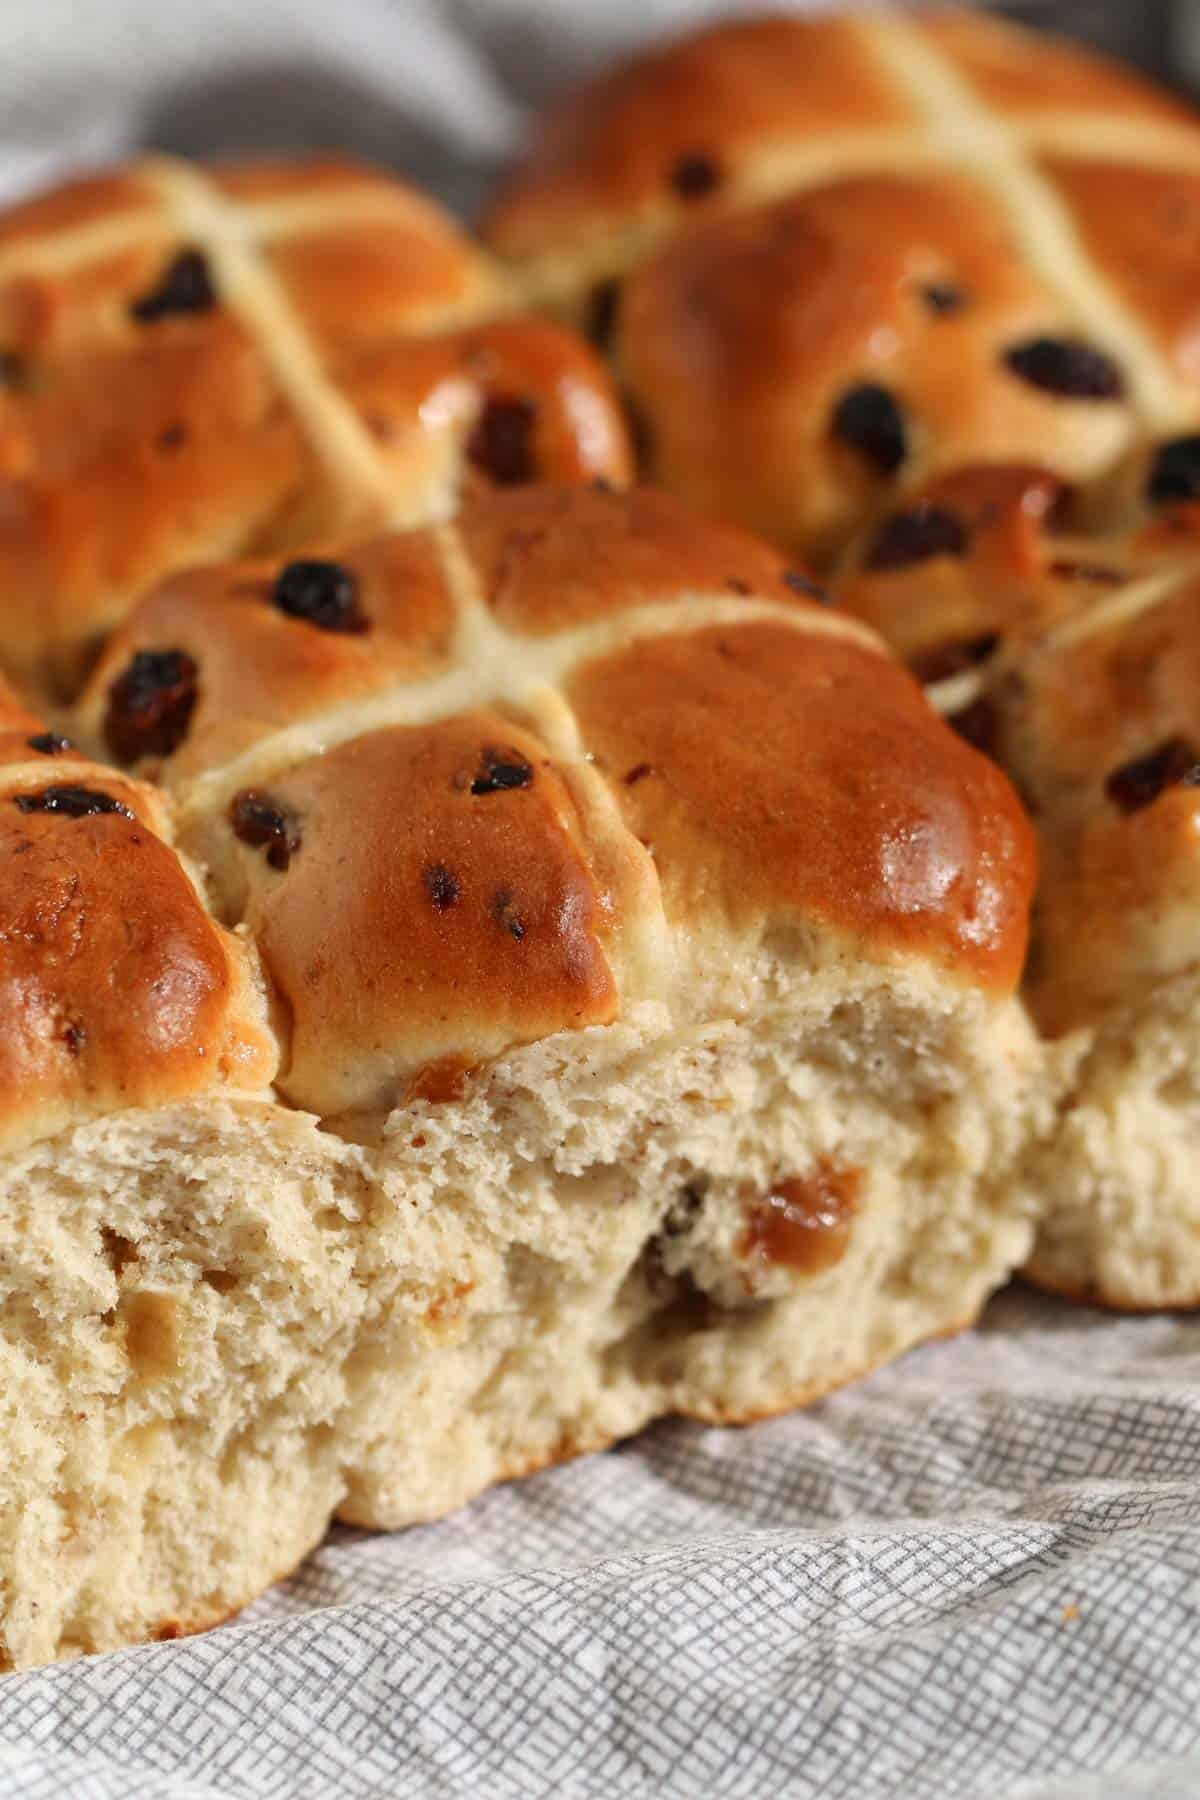
With Easter just around the corner, there's no better time to whip up a batch of sweet homemade hot cross buns!
Choose from this incredibly easy recipe for hot cross buns or my chocolate chip hot cross bun recipe - either way, making your own hot cross buns has never been easier.
My recipe is so versatile - mix and match with your favourites spices (or use my recommendation of cinnamon and nutmeg!), add sultanas or raisins for extra sweetness and texture or omit them entirely for fruitless hot cross buns.
The choice is yours!
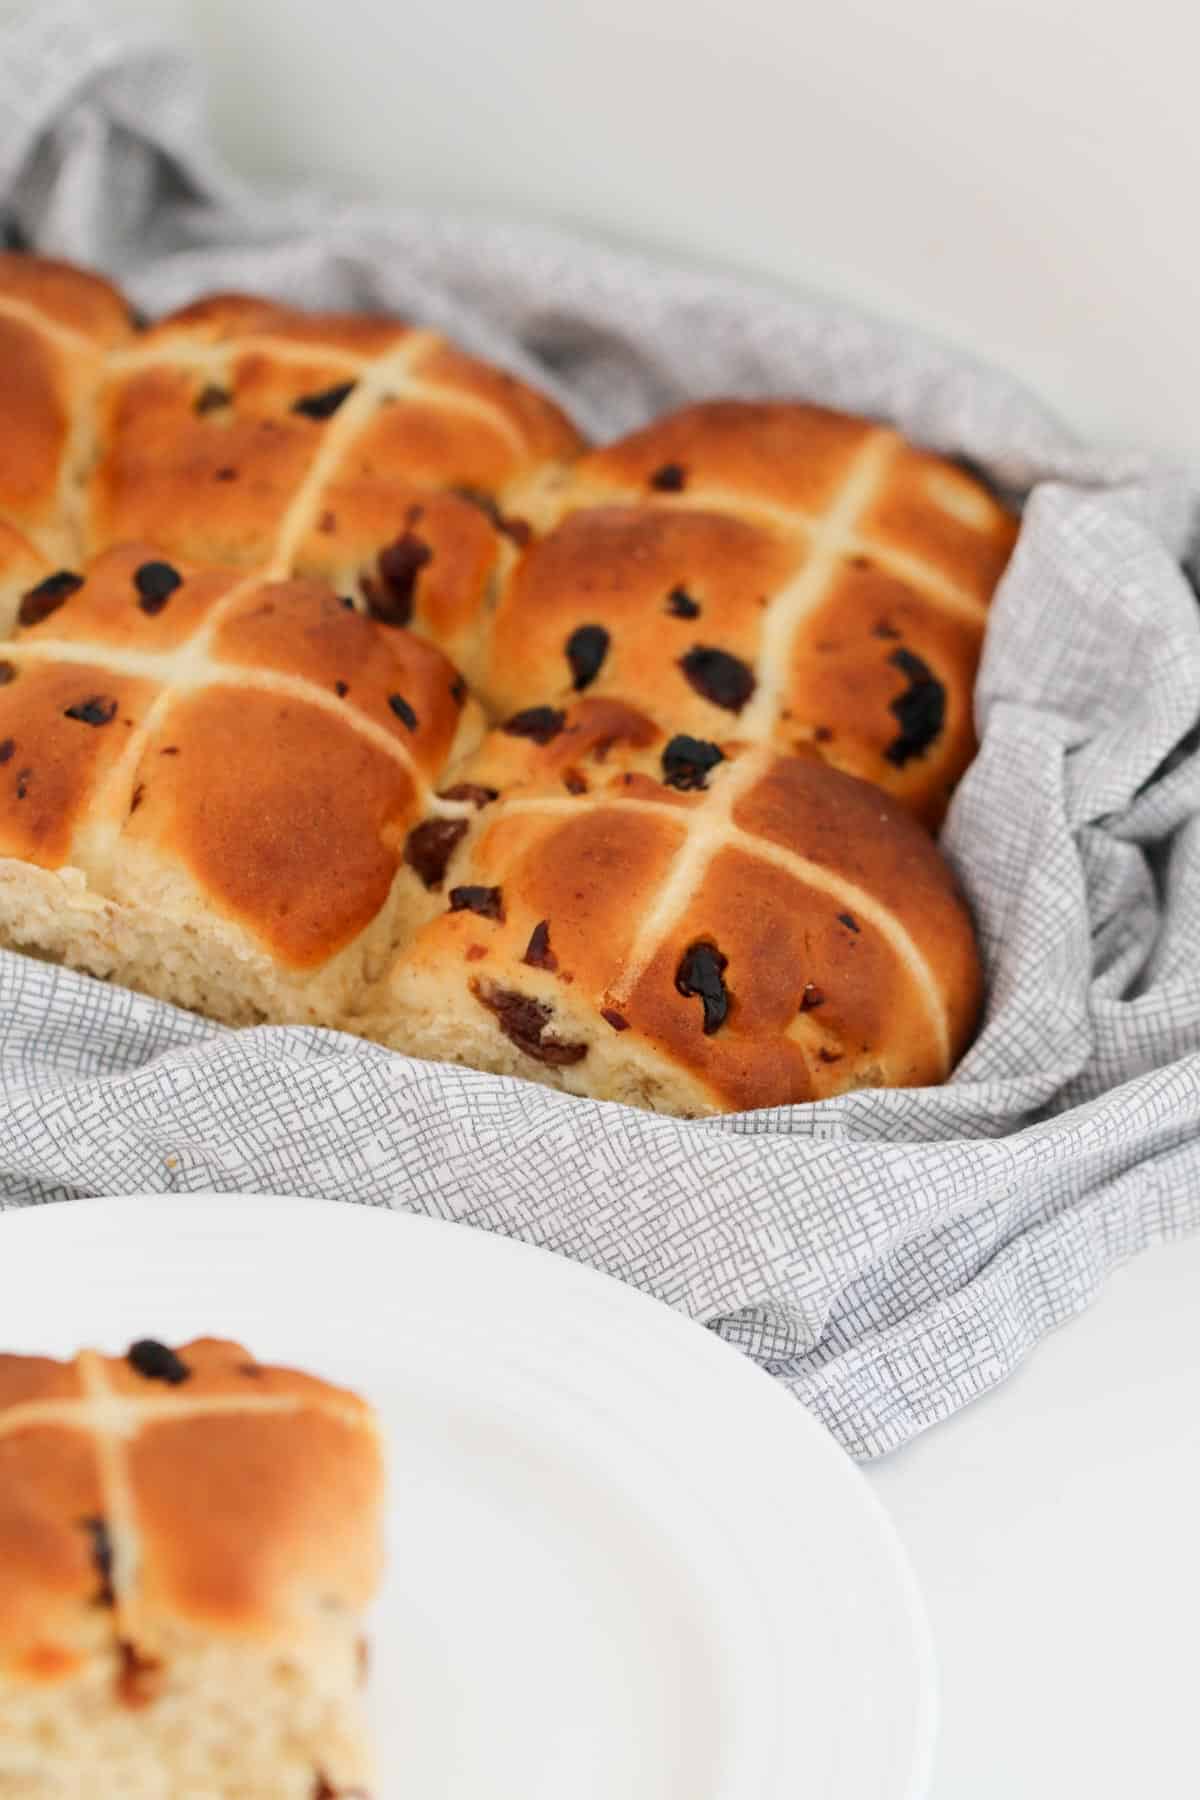
Traditional Hot Cross Bun Recipe
Hot cross buns date back to the 12th century and are traditionally made and eaten on Good Friday (although nowadays they are enjoyed all year long - particularly in the months leading up to Easter).
Hot cross buns are sweet buns traditionally made with yeast. They can be prepared as fruitless hot cross buns or flavoured with dried fruits or chocolate chips.
White crosses made from a mix of plain flour and water are piped on top of the buns before being baked into big, soft and fluffy buns and covered with a sweet sugar glaze.
Why You're Going To Love This Recipe
It couldn't be easier to make hot cross buns at home! With just a few basic ingredients and simple steps, you'll be eating soft and fluffy fruit buns in no time!
- No Preservatives/Additives - you just can't beat a homemade hot cross bun recipe. Forget about the artificial tasting store-bought buns, once you try these preservative and additive free buns, you'll never eat grocery store buns again.
- Great For Kids - the entire family will love warm hot cross buns fresh out the of oven - from fussy toddlers and hungry teens to adults.
- Versatile - want fruitless hot cross buns? Easy - simply omit the sultanas! Prefer raisins? Substitute them instead. The choice is entirely yours!
- Freezer-Friendly - got leftover buns? Pop them in an airtight container in the freezer for a simple grab and go snack. Allow to defrost before reheating or serve at room temperature.
- Thermomix and Conventional Methods - I've included both the traditional method for making hot cross buns, as well as instructions for making them in a Thermomix machine. You will find both methods in the recipe card at the end of the post.
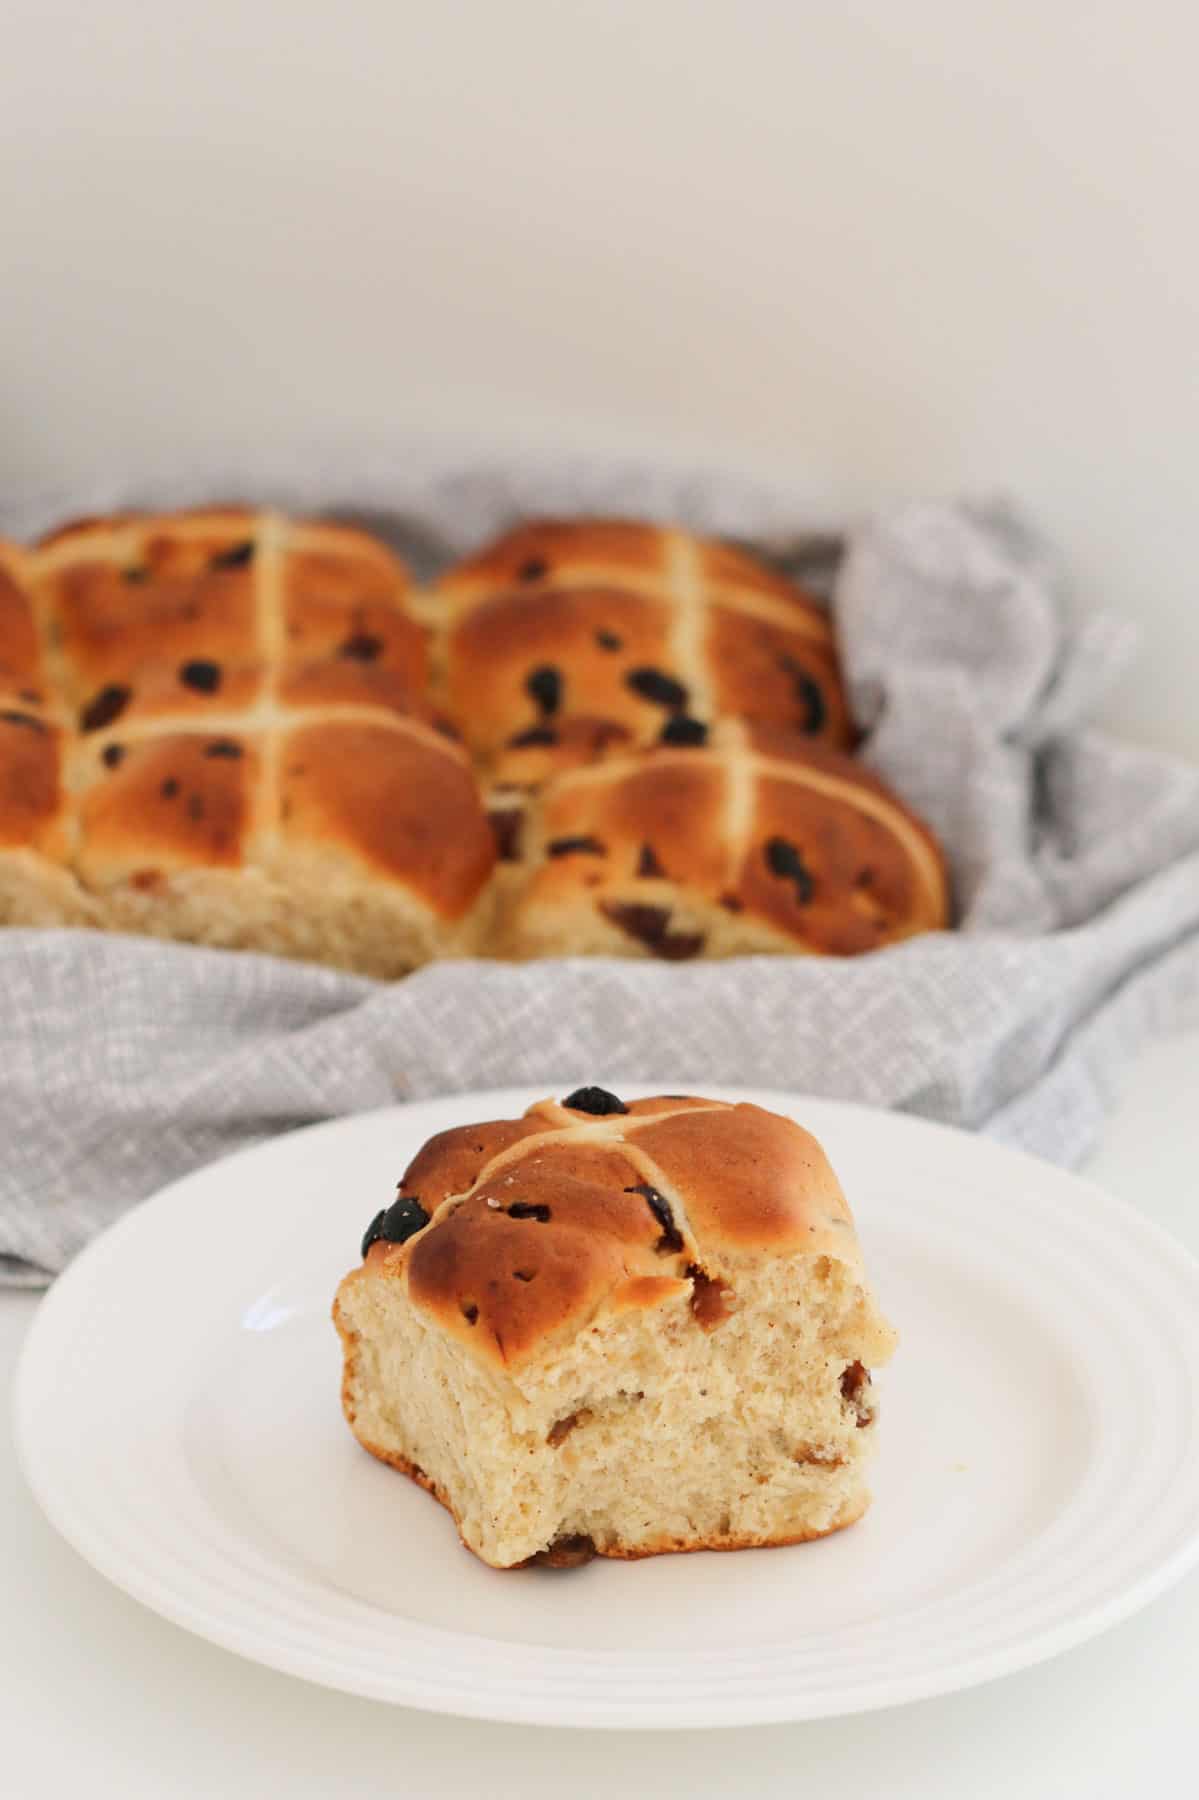
What You Need
My hot cross bun recipe is made using basic pantry ingredients:
Note: Please scroll to the recipe card at the bottom of the post for ingredient quantities and the full detailed method.
Dry Ingredients
- Yeast - use dried yeast. This can be bought in individual sachets or larger boxes/containers. You'll find it near the flour in the supermarket.
- Plain Flour - also known as all-purpose flour
- Salt - adding a pinch of salt to your hot cross bun mixture perfectly balances the sweetness and enhances the flavour
- Caster Sugar - also known as superfine sugar
Wet Ingredients
- Milk - I recommend using full cream/full fat milk for the softest, fluffiest hot cross buns
- Butter - you can use either salted or unsalted butter in this recipe. If using salted butter, omit the extra pinch of salt in the dry ingredients
- Egg - bring to room temperature before using
Spices In Hot Cross Buns
Traditionally the spices in hot cross buns are ground cinnamon and nutmeg. This is my preferred combination and what I like to use in my easy hot cross bun recipe.
These give the buns a very lightly spiced flavour (perfect for even the fussiest of kids!).
Fruit vs Fruitless Hot Cross Buns
In my traditional hot cross bun recipe I use sultanas which give a classic sweetness and bursts of soft texture to the buns.
Alternatively, you can substitute the sultanas with raisins, dried cranberries, or any other chopped dried fruit such as apricots.
If you would prefer a fruitless hot hot bun recipe, you can omit the fruit entirely and proceed as per the recipe.
Step By Step Instructions
Note: Please s
It couldn't be easier to prepare and cook hot cross buns!
Follow my simple steps to see how easy it is...
Note: Please scroll to the recipe card at the bottom of the post for ingredient quantities and the full detailed method.
Step 1 - Mix The Dry Ingredients
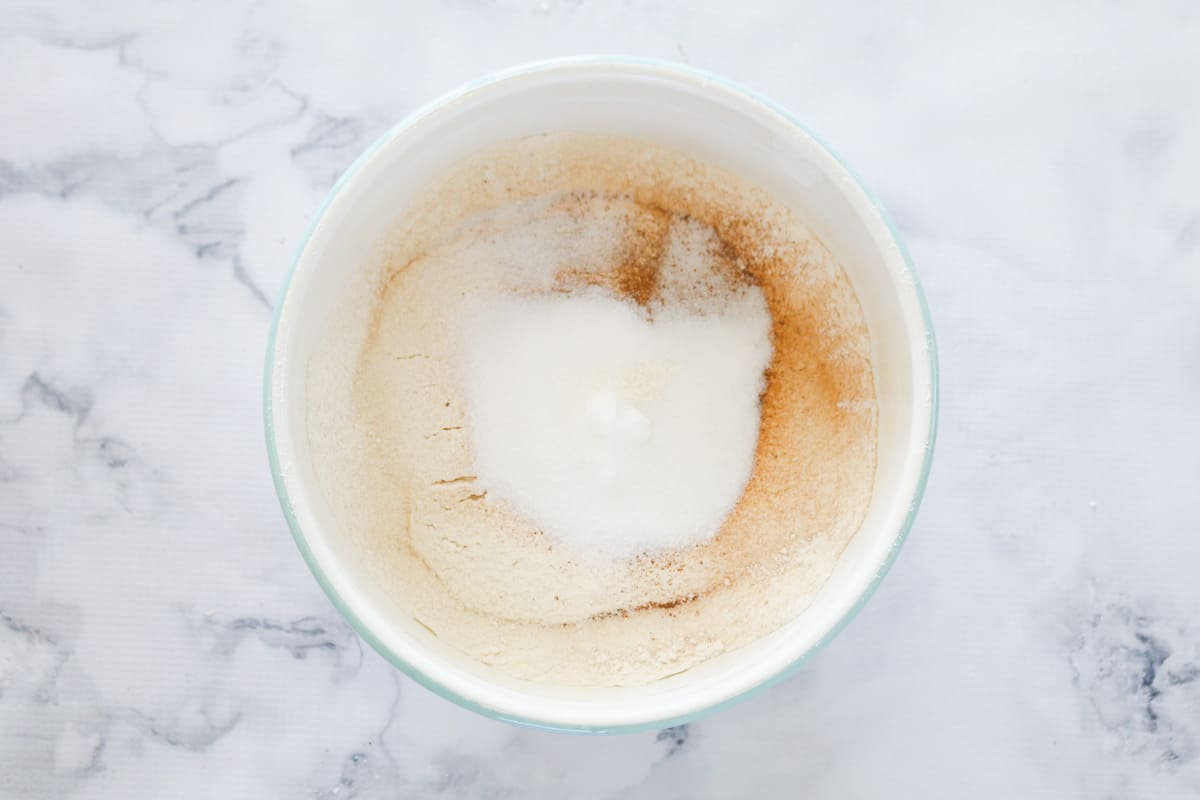
Sift the plain flour, cinnamon, nutmeg, sugar and salt in a large bowl.
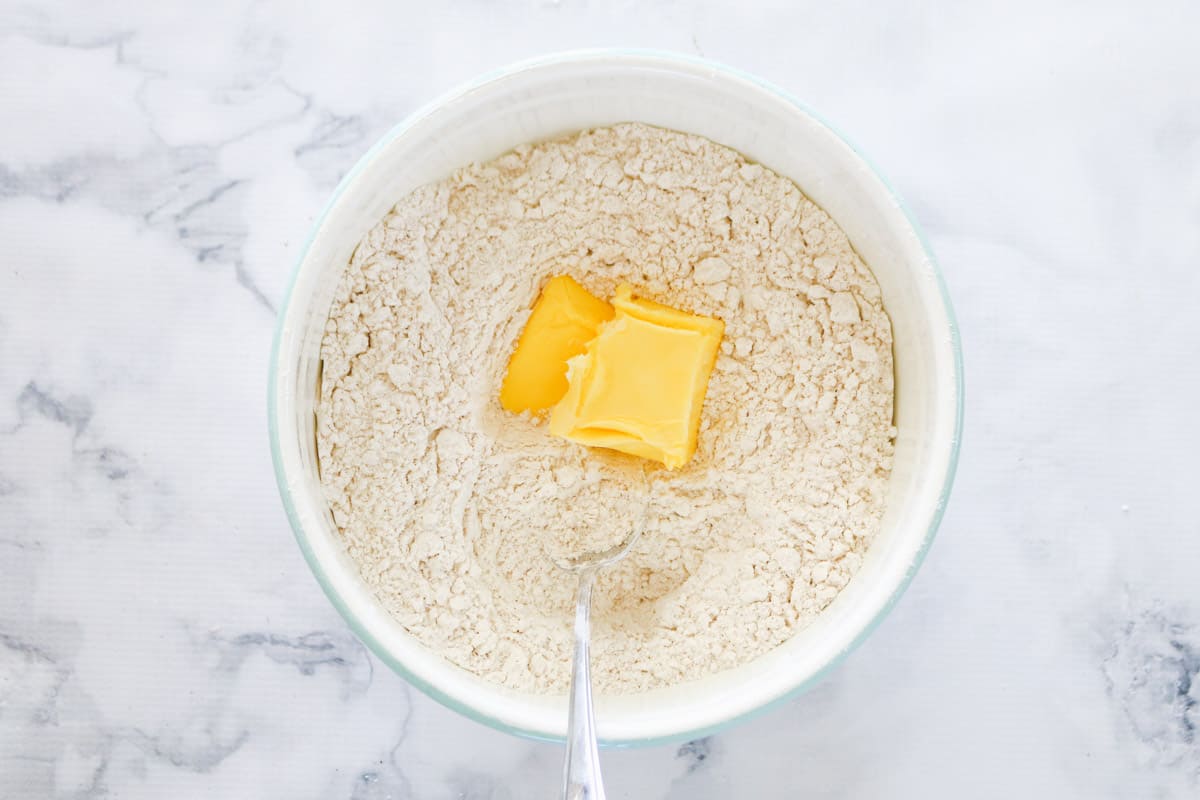
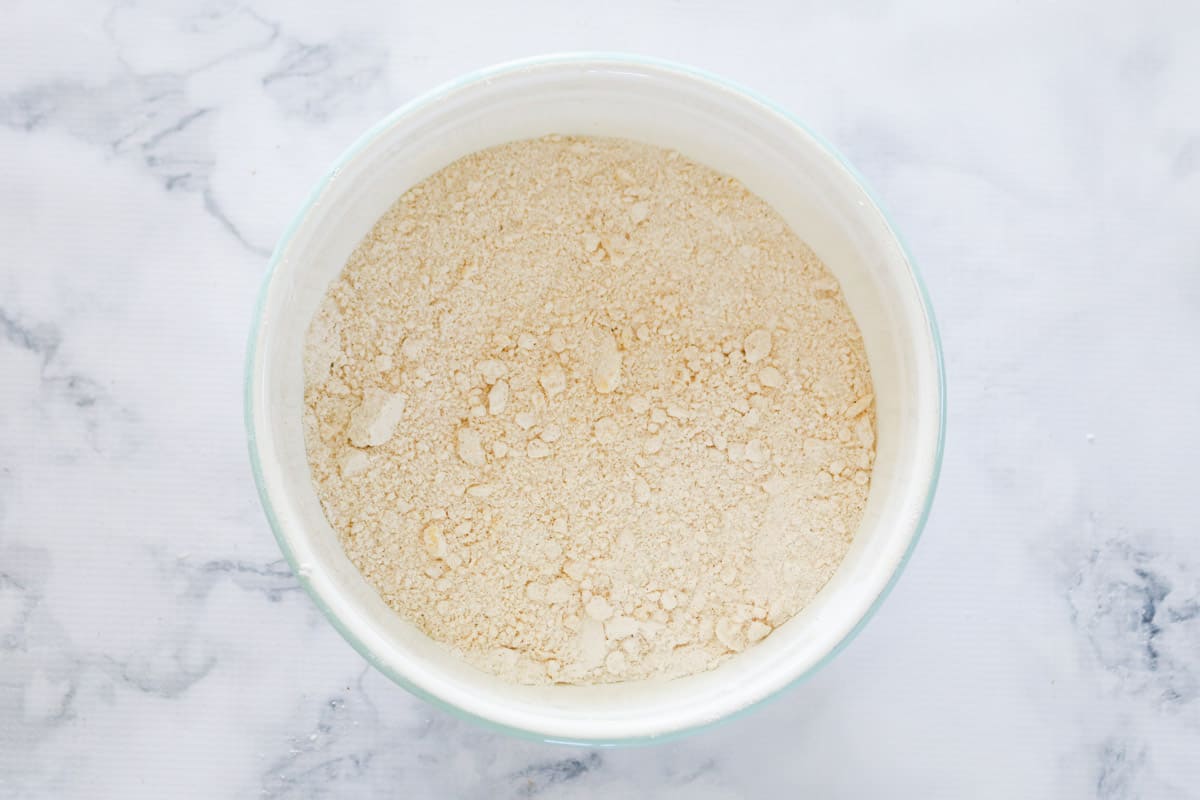
Step 2 - Rub Through The Butter
Using your fingers, rub the butter through the dry ingredients mixture until it resembles fine breadcrumbs.
Step 3 - Mix The Yeast & Milk
Add the dried yeast to the warm milk and whisk together. Leave in a warm spot until frothy then add to the dry mixture.
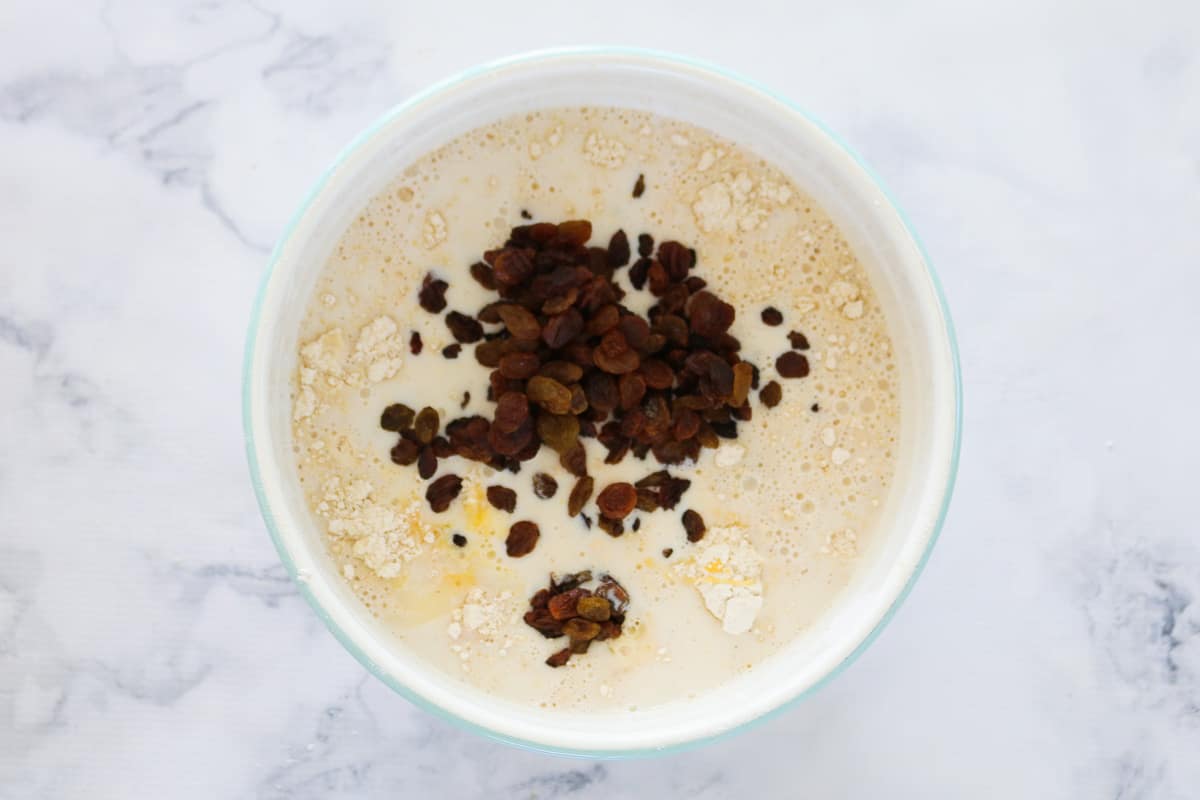
Step 4 - Add Egg & Fruit
Add the egg and dried fruit (if using) to the bowl and mix to combine.
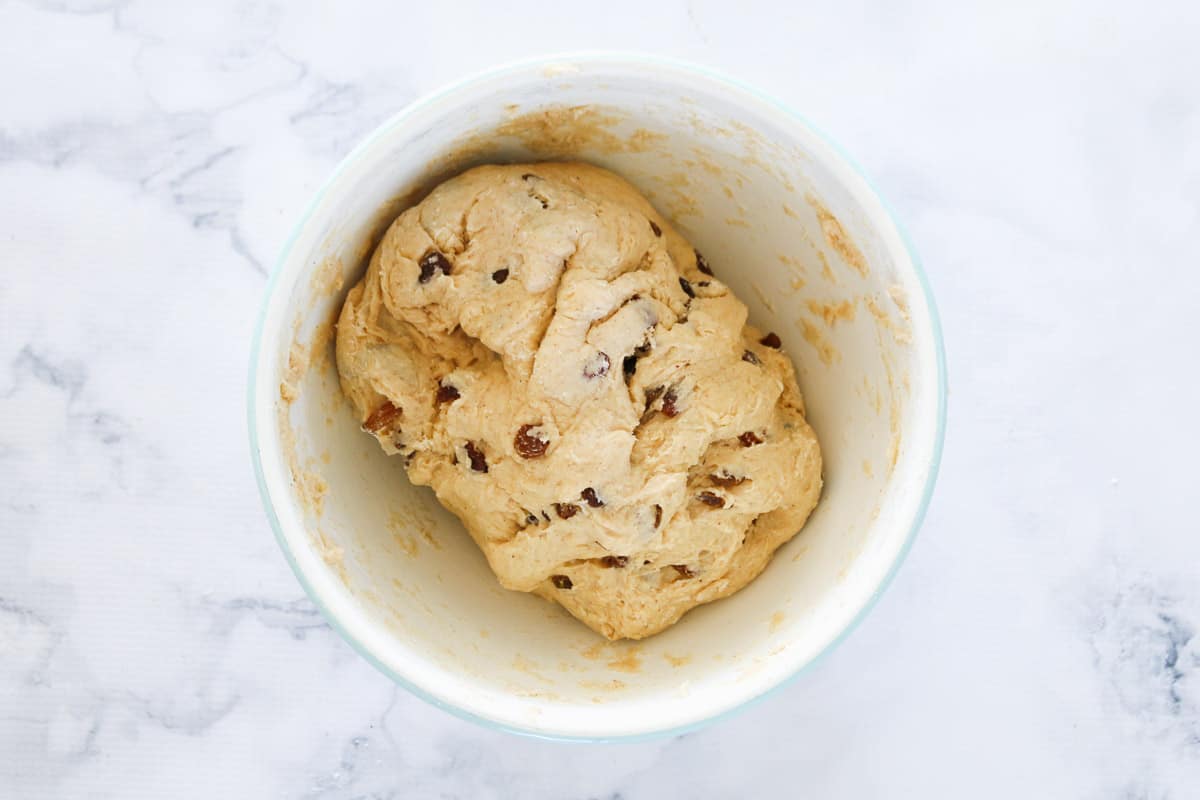
Step 5 - Knead
Knead the dough together and then cover and set aside to rise in a warm spot for 30 minutes.
Step 6 - Divide Into Buns
Divide the mixture into 12 equal-sized balls and placed into a baking tray.
Pipe crosses over the top using a flour and water paste (see tips below).
Leave the buns to prove again for 15 minutes.
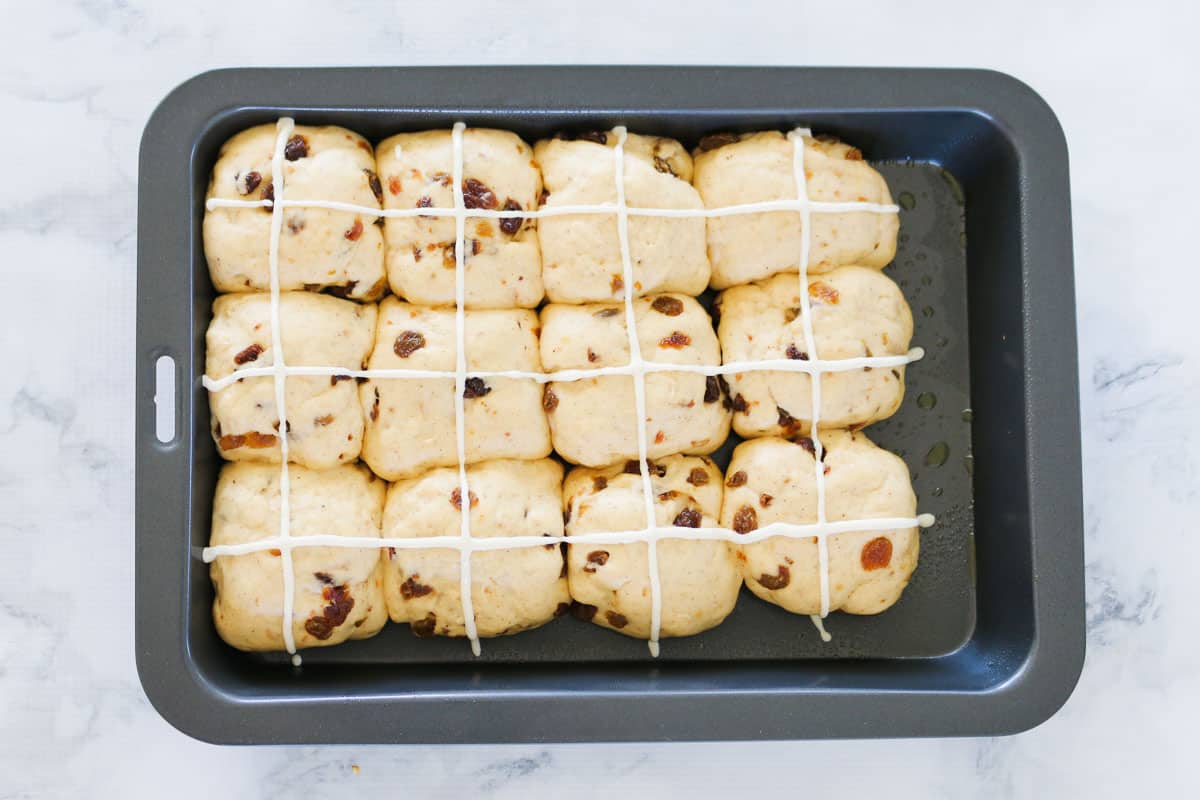
Step 7 - Bake
Bake the hot cross buns until golden.
Glaze with a mix of sugar and water (see tips below) while the buns are still warm.
How To Prove (Rise) Hot Cross Buns
To prove the dough, place it into a lightly greased bowl and set the bowl in a warm spot and cover with a tea towel. Warm places can include:
- a sunny spot in the house
- heat an oven on low temperature and then turn off - allow the oven to cool until only just warm and place the bowl inside
- pour boiling water into the bowl and leave for 5 minutes - drain the bowl, grease lightly and place the dough inside
- place the bowl on top of a hot water bottle
- place the bowl near a warm heater
How To Make The White Crosses On Hot Cross Buns
To make the white mixture or hot cross bun icing, we simply mix plain flour and water together until a smooth paste forms.
This smooth paste is then piped onto the hot cross buns in crosses.
Tips For Piping Crosses:
- make sure the piping mixture is easy to pipe but not runny. Add extra plain flour if the mixture is too runny.
- Place the mixture into a piping bag with a narrow piping tip.
- If you don't have a piping bag, place the mixture into a plastic sealable bag (like a glad bag) and cut a tiny hole in one corner. Squeeze the plastic bag to pipe the crosses onto the buns.
Glazing Hot Cross Buns
Ever wondered how hot cross buns get that beautiful, sweet and shiny top?
It's from the glaze that's brushed over the top while the cooked, golden buns are still warm!
To make the sweet glaze, heat water and sugar in the microwave for 30 seconds or until bubbling and then brush the syrup over the warm buns using a pastry brush (or a spoon).
The glaze will set as the buns cool.
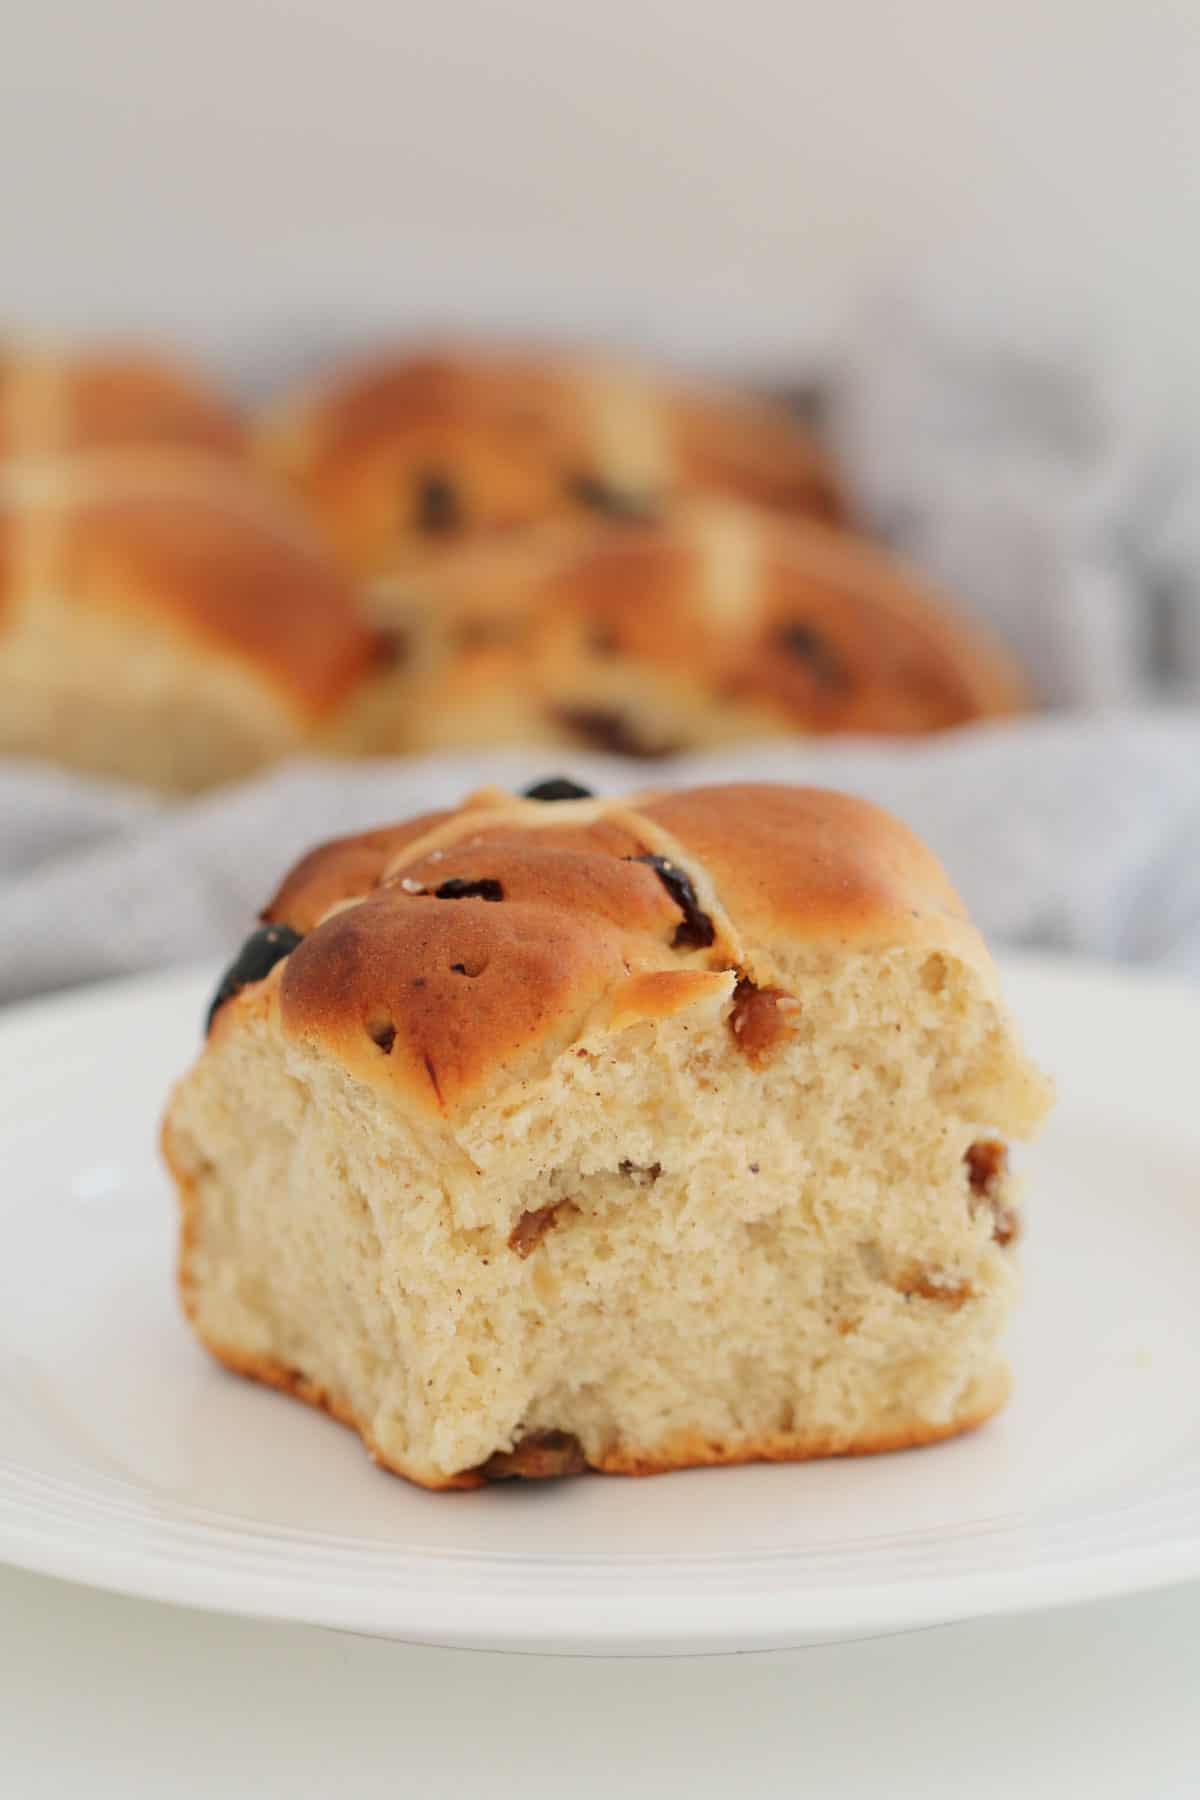
Expert Tips
Before using your yeast, make sure that it is in date and still active (learn how to test if your yeast is active here).
Mix the yeast with warm milk to help it dissolve and activate. You'll know it's ready when it becomes frothy.
Leaving the dough in a warm place is essential for it to rise and double in size. See my tips above for proving dough.
This traditional recipe is made using dried sultanas. Alternatively, you can omit the sultanas for a fruitless hot cross bun recipe. You can also substitute the sultanas with any dried fruit you like (such as raisins or cranberries).
Glaze the cooked buns while they're still warm using a mixture of water and caster (superfine) sugar.
For soft, fluffy hot cross buns (which is what we want!!) your dough should be sticky! If your dough isn't sticky then there may be too much flour and your buns will be firm when baked. Sticky dough is good dough!
If you find that your hot cross buns are dense and hard rather than super soft and fluffy, this is usually due to over-kneading. This is generally more of an issue when using a mixer or dough hook as it's easier to over-knead. The dough has been kneaded enough when it is stretchy and smooth.
Hot Cross Buns are best served immediately after baking while they're still warm. This is when they are their softest and freshest. Serve on their own, with butter or jam.
Store in an airtight container at room temperature for up to 3 days (they are at their very best within the first 24 hours).
Freeze the buns in an airtight container for up to 1 month. Allow to defrost before reheating or alternatively, serve at room temperature once defrosted.
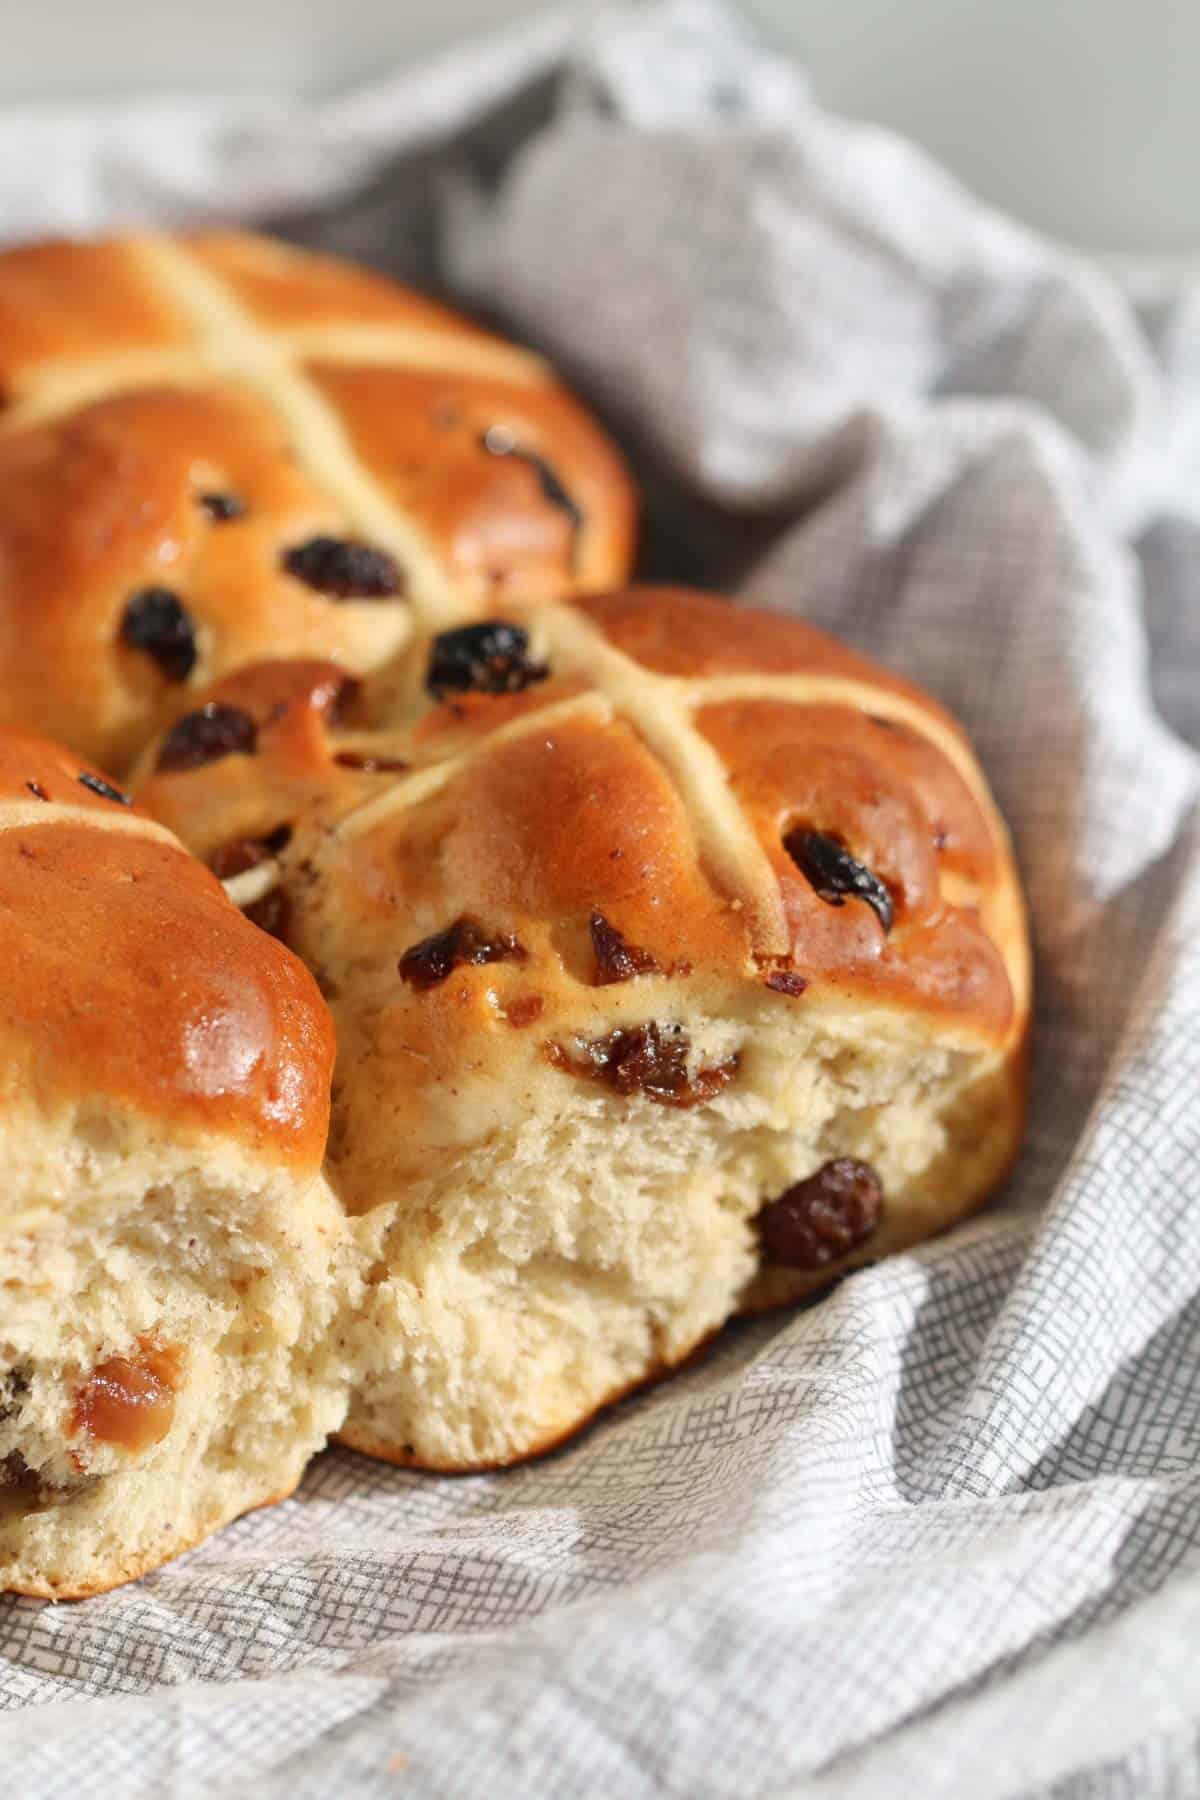
More Easter Recipes
If you love my hot cross buns, then you are sure to fall head over heels with our other chocolate-filled Easter recipes!
From Easter rocky road and chocolate ripple cake to fun Easter cake hacks, kids recipes, easy desserts, brownies and a cheeky chocolate cocktail… your Easter is sure to be extra delicious (and chocolate-filled).
Check out all of my Easter recipes here.
WANT EVEN MORE DELICIOUS RECIPES? Subscribe to my newsletter or follow along on Facebook or Instagram. And if you love baking, then please come and join my Facebook cooking club group or subscribe to my YouTube channel.
Hot Cross Bun
Ingredients
- 1 tbs dried yeast
- 1 cup (250g) warm milk full fat/full cream
- 4 cups (600g) plain flour
- 1 tsp ground nutmeg
- 1 tsp ground cinnamon
- ½ tsp salt
- ⅓ cup (80g) caster sugar
- 80 g butter softened
- 1 egg lightly beaten
- ⅓ cup (85g) warm water
- 180 g sultanas see notes
For the piping:
- ½ cup (75g) plain flour
- 100 g water
For the glaze:
- 2 tbs caster sugar
- 2 tbs water
Instructions
Conventional Method
- Add the dried yeast to the warm milk and whisk together. Place the cup in a warm place for 15 minutes or until the mixture has become frothy.
- In a large bowl, sift together the plain flour, nutmeg, cinnamon, salt and caster sugar.
- Add the butter and rub together until the mixture resembles fine breadcrumbs.
- Pour in the milk/yeast mixture, the egg and the warm water. Sprinkle over the sultanas.
- Stir together until the mixture forms a round dough ball.
- Grease a bowl with cooking spray and place the dough ball into the bowl.
- Cover with a tea towel and leave in a warm spot to rise for 30 minutes or until doubled in size (see notes).
- Preheat oven to 200 degrees celsius (fan-forced).
- On a lightly floured board, place the dough and knead for 5 minutes.
- Divide the dough into 12 equal sized portions and roll each portion into a ball.
- Place the balls (1cm apart) in a greased 20cm X 30cm baking tin. Set aside for a further 15 minutes to prove.
- Make the piping by sifting the flour into a bowl and adding enough water to make a paste.
- Pipe the crosses onto the buns using a piping bag or a glad bag with the end snipped off.
- Bake in the oven for 15 minutes or until the buns sound hollow when tapped.
- To make the glaze, place the water and sugar into a microwave safe bowl and heat for 30 seconds. Mix until the sugar dissolves.
- Brush the tops of the buns with the glaze.
- Place the buns onto a wire rack to cool.
Thermomix Method
- Place milk and yeast into the Thermomix bowl and mix for 1 minute, Speed 1, 37 degrees.
- Add flour, salt, softened butter, sugar, egg, cinnamon, nutmeg and warm water and mix for 6 seconds, Speed 7.
- Knead for 2-3 minutes on Interval/Kneading function. Add the sultanas and combine for 10 seconds, Reverse, Speed 5.
- Work the dough into a ball on a lightly floured board. Place in a bowl and cover with a tea towel. Keep in a warm place for 30 minutes to allow the dough to prove (it should double in size). See notes.
- Preheat oven to 200 degrees celsius (fan-forced).
- On a lightly floured board, place the dough and knead into a ball. Divide the dough into 12 equal sized portions. Roll each portion into a ball.
- Place the balls (1cm apart) in a greased 20cm X 30cm baking tin. Set aside for a further 15 minutes to prove.
- To make the piping, mix the flour and water in the Thermomix bowl for 20 seconds on Speed 4. Scrape down the sides and repeat for a further 20 seconds.
- Pipe the crosses onto the buns using a piping bag or a glad bag with the end snipped off.
- Bake in the oven for 15 minutes or until the buns sound hollow when tapped.
- Meanwhile, heat the sugar and water in the Thermomix bowl for 2 minutes, Speed 4, 100 degrees.
- Brush the tops of the buns with the glaze. Place the buns onto a wire rack to cool.
Notes
- a sunny spot in the house
- heat an oven on low temperature and then turn off – allow the oven to cool until only just warm and place the bowl inside
- pour boiling water into the bowl and leave for 5 minutes – drain the bowl, grease lightly and place the dough inside
- place the bowl on top of a hot water bottle
- place the bowl near a warm heater
- make sure the piping mixture is easy to pipe but not runny. Add extra plain flour if the mixture is too runny.
- Place the mixture into a piping bag with a narrow piping tip.
- If you don’t have a piping bag, place the mixture into a plastic sealable bag (like a glad bag) and cut a tiny hole in one corner. Squeeze the plastic bag to pipe the crosses onto the buns.
- Make sure that your yeast is in date and still active.
- Mix the yeast with warm milk to help it dissolve and activate. You’ll know it’s ready when it becomes frothy.
- Leaving the dough in a warm place is essential for it to rise and double in size. See my tips above for proving dough.
- This traditional recipe is made using dried sultanas. Alternatively, you can omit the sultanas for a fruit-free hot cross bun recipe. You can also substitute the sultanas with any dried fruit you like.
- Glaze the cooked buns while they’re still warm.
- Hot Cross Buns are best served immediately after baking while they're still warm. This is when they are their softest and freshest. Serve on their own, with butter or jam.
- Store in an airtight container at room temperature for up to 3 days (they are at their very best within the first 24 hours.
- Freeze the buns in an airtight container for up to 1 month. Allow to defrost before reheating or alternatively, serve at room temperature once defrosted.





Helen Wood
These worked out so well, my first attempt too, thank you! So easy
Sam
Have you tried these with Gluten Free flour?
Lucy
I haven't, sorry!!
Blitzo
Wow! it was a lovely recipe. Thank you for sharing.
Kelsie
Is it possible to do this as an overnight recipe and if so, when would you put in the fridge?
PerhPs after forming balls?
Then bring back to room temp in the morning before baking??
Lucy
Yes absolutely! Pop them in the fridge overnight after rolling into balls. Remove from the fridge one hour before baking. 🙂
Tracy
So easy to make and tasty
Hubby would eat a batch in a day if I let him
Lucy
hahaha that's so great to hear!