

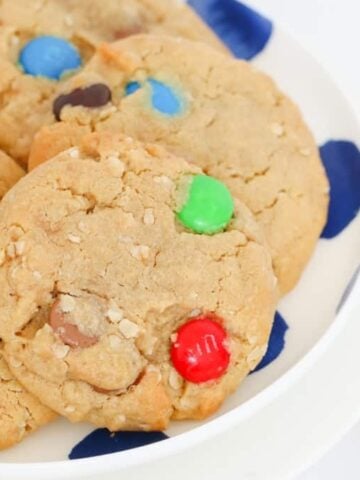
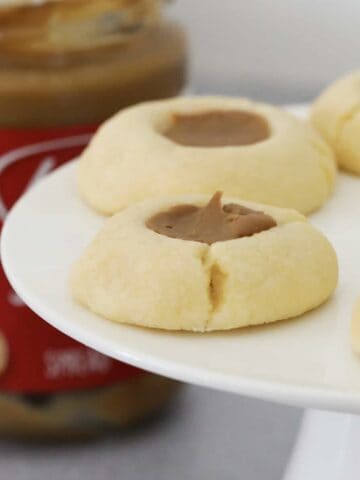
Soft, buttery, and packed with peanut butter goodness-these Peanut Butter Thumbprint Cookies will disappear before you know it! Perfect for little kitchen helpers… and if you're on a cookie roll, try my Chocolate Chip Peanut Butter Cookies or colourful Peanut Butter M&M Cookies!

Peanut butter features in some of my all-time favourite bakes-and let's be honest, there's almost always a jar sitting in the pantry!
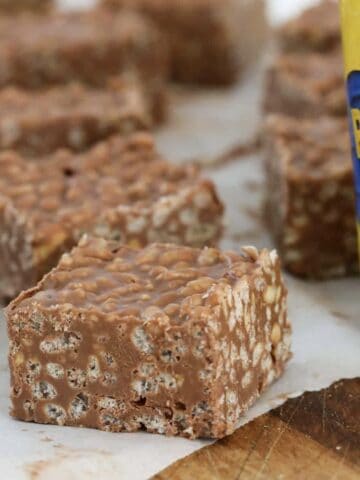
For school lunchboxes, my peanut butter crunch bars and easy, no-bake peanut butter slices are always popular with the kids. For those sneaky late-night treats, try my microwave peanut butter fudge made with just 3 ingredients, and peanut butter brownies make a delicious dessert, especially with a drizzle of cream or a scoop of ice cream!
Or, for a healthy post-gym workout, peanut butter protein balls are one of my most popular snack foods, and they take just 5 minutes to make!
Why You're Going To Love This Recipe
Peanut butter thumbprint biscuits are the easiest cookies for school lunchboxes or holiday baking with only 10 minutes baking time!
- Simple Ingredients - This recipe is made with basic pantry staples, and with only six ingredients required, you probably have everything you need at home already.
- Quick & Easy - With just a few simple steps, you'll have a delicious batch of biscuits ready to enjoy in no time. Just what you need for school lunchboxes too!
- Perfectly Soft & Buttery - These easy peanut butter cookies have a rich, buttery texture with just the right amount of softness and chewiness.
- A Peanut Butter Lover's Dream - The creamy peanut butter filling adds a deliciously nutty twist to a classic biscuit recipe.
Peanut Butter Cookie Ingredients
Note: Scroll to the recipe card at the bottom for the ingredients quantities and full detailed method.
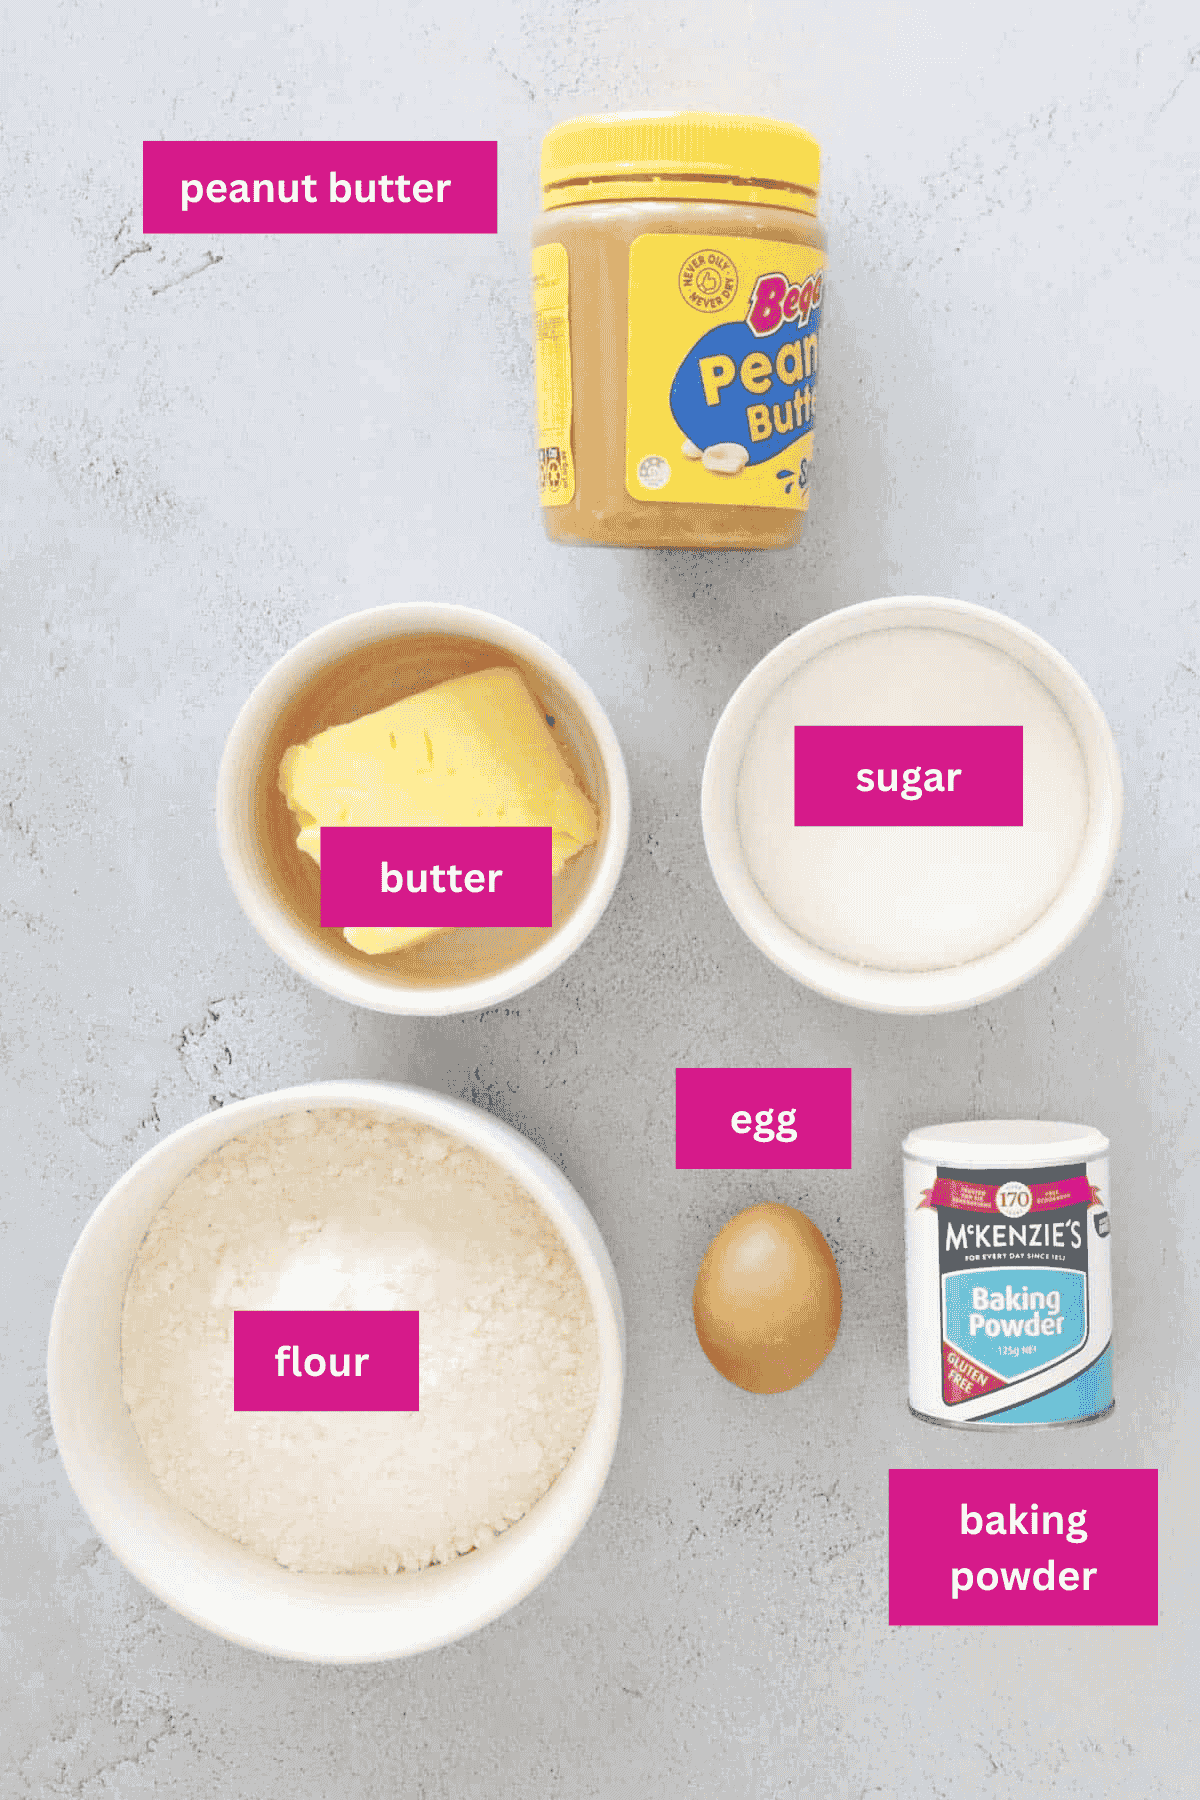
- Peanut Butter - Use smooth, store-bought peanut butter for the best consistency and flavour.
Substitutions & Variations
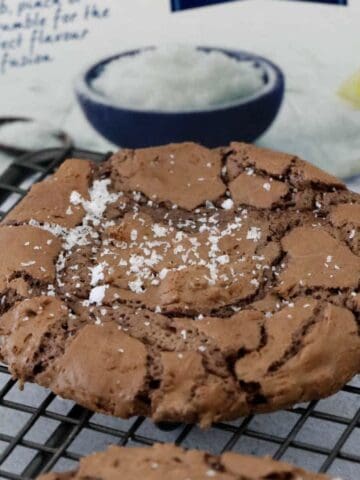
- Chocolate drizzle - Drizzle either melted milk chocolate or white chocolate over the biscuits once they've cooled for a delicious finishing touch. You could even add some chocolate chips to the dough mixture as chocolate and peanut butter flavour is a winning combination!
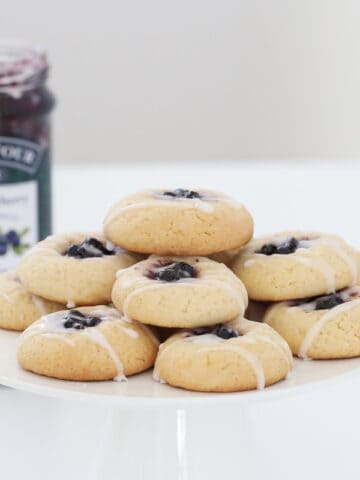
- Nut-free option - If you need a nut-free version, swap the peanut butter for a dollop of delicious Biscoff spread or your favourite jam filling - both great options. PS. I love raspberry jam!
How To Make Peanut Butter Thumbprint Cookies
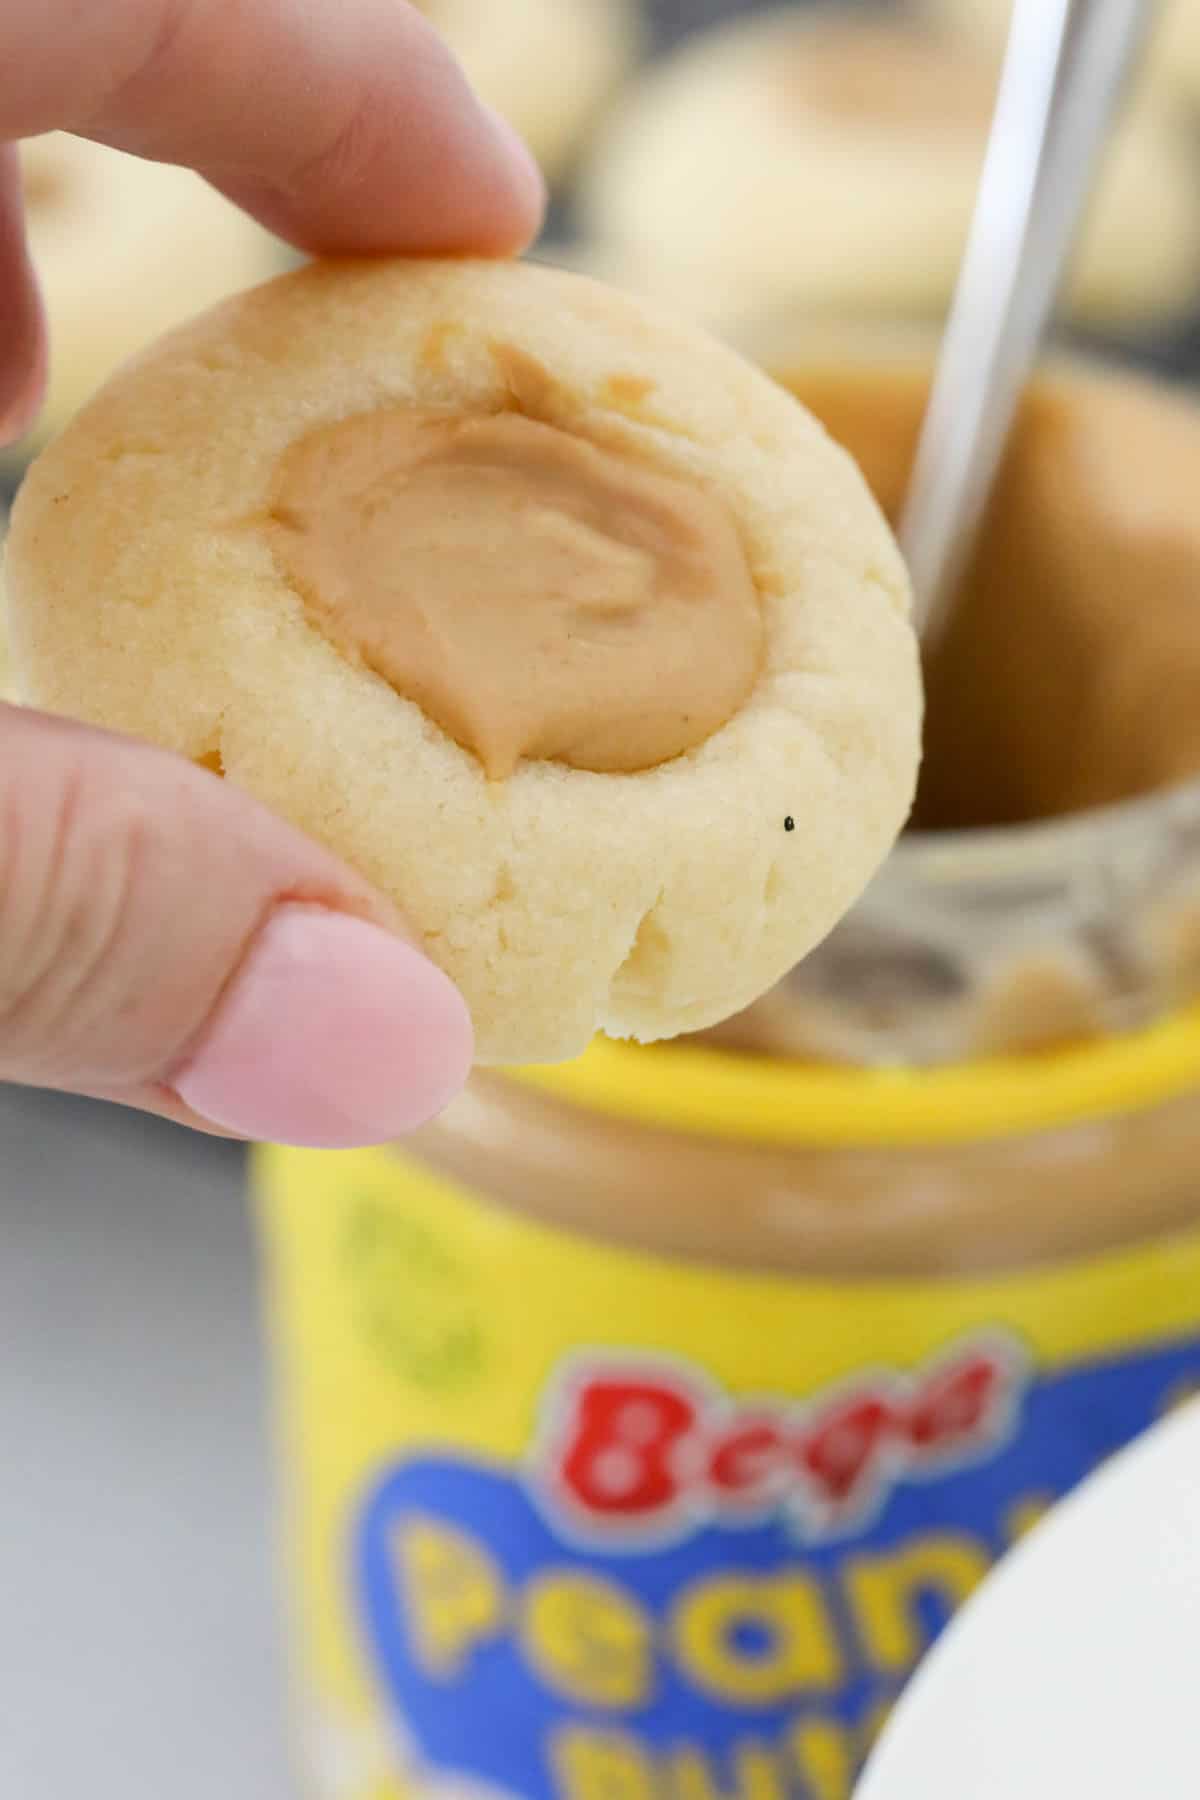
With their buttery base and creamy peanut butter filling, these biscuits simply melt in your mouth-and don't expect them to last long!
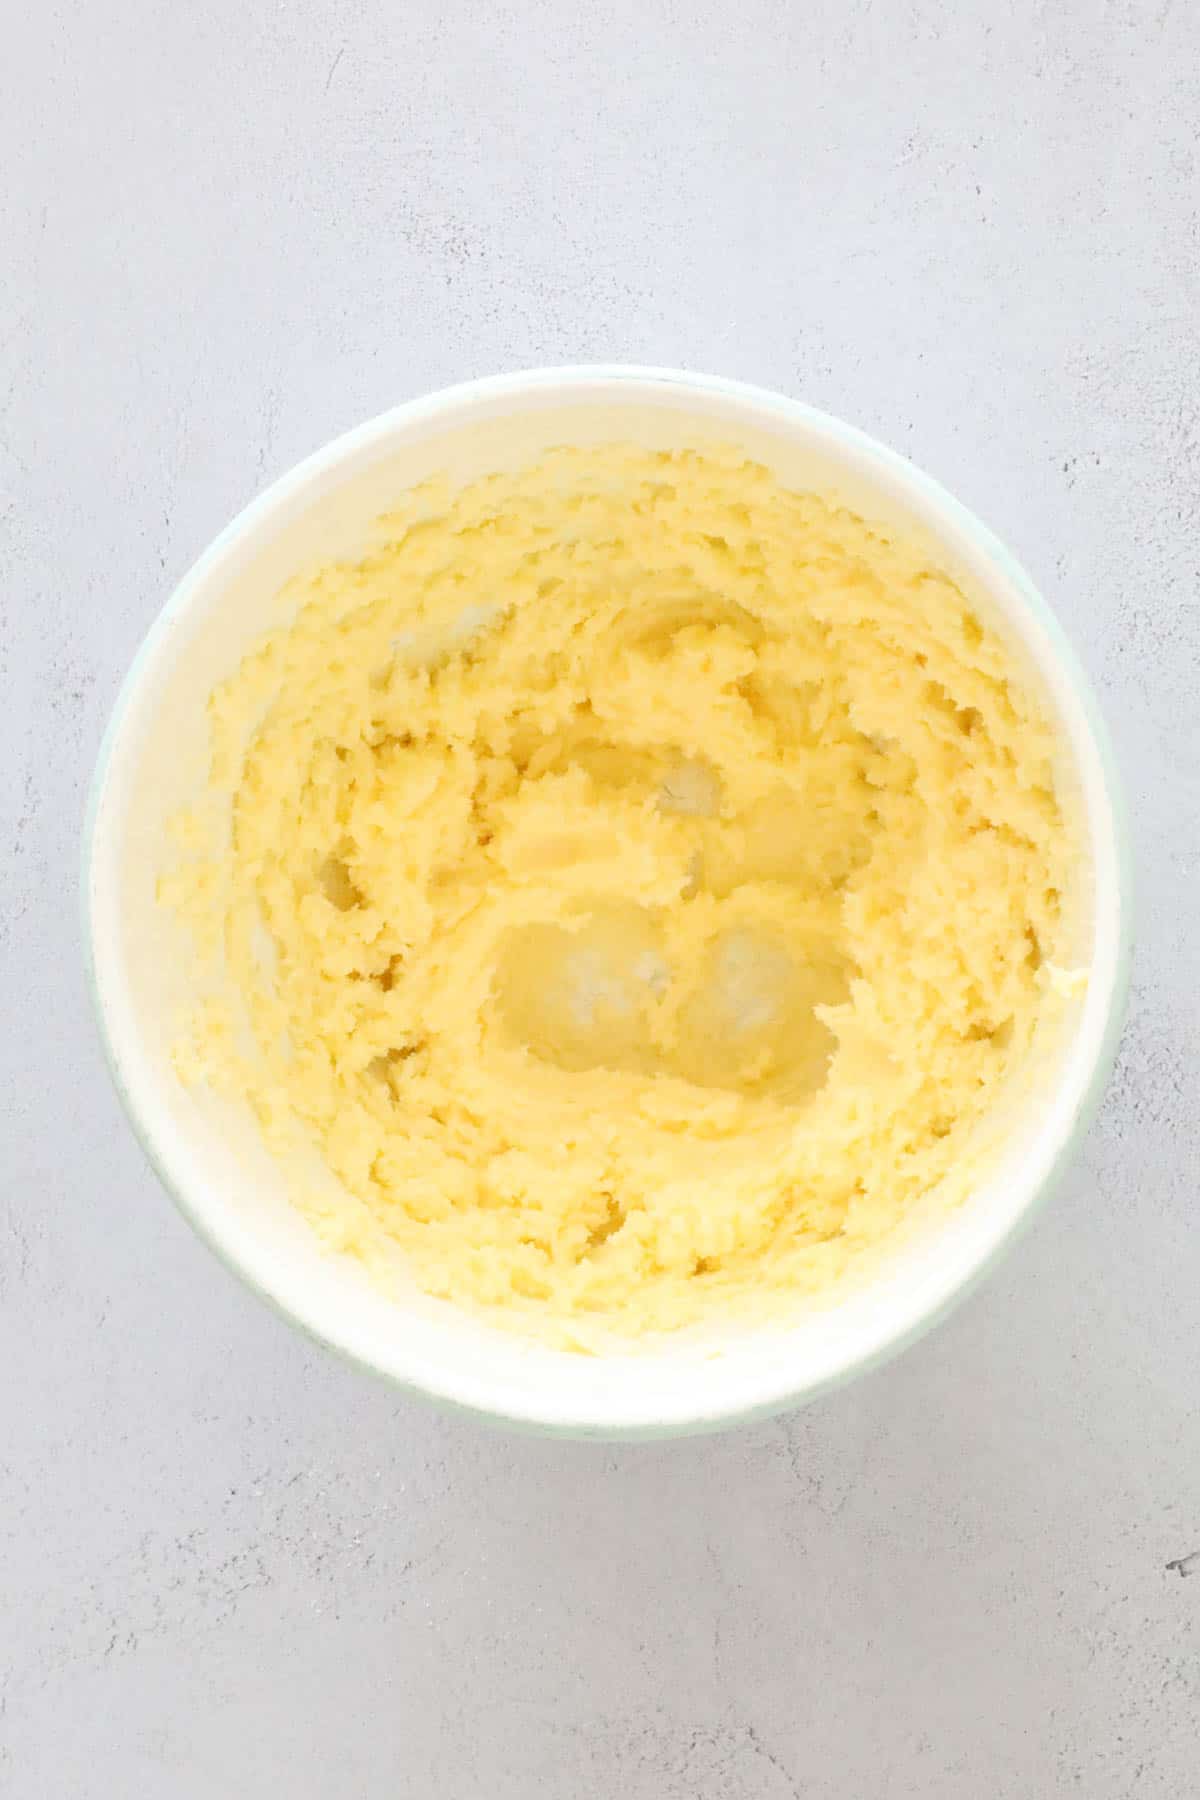
- Step 1: In a large bowl, beat the softened butter and caster sugar together with electric beaters at high speed until light and fluffy.
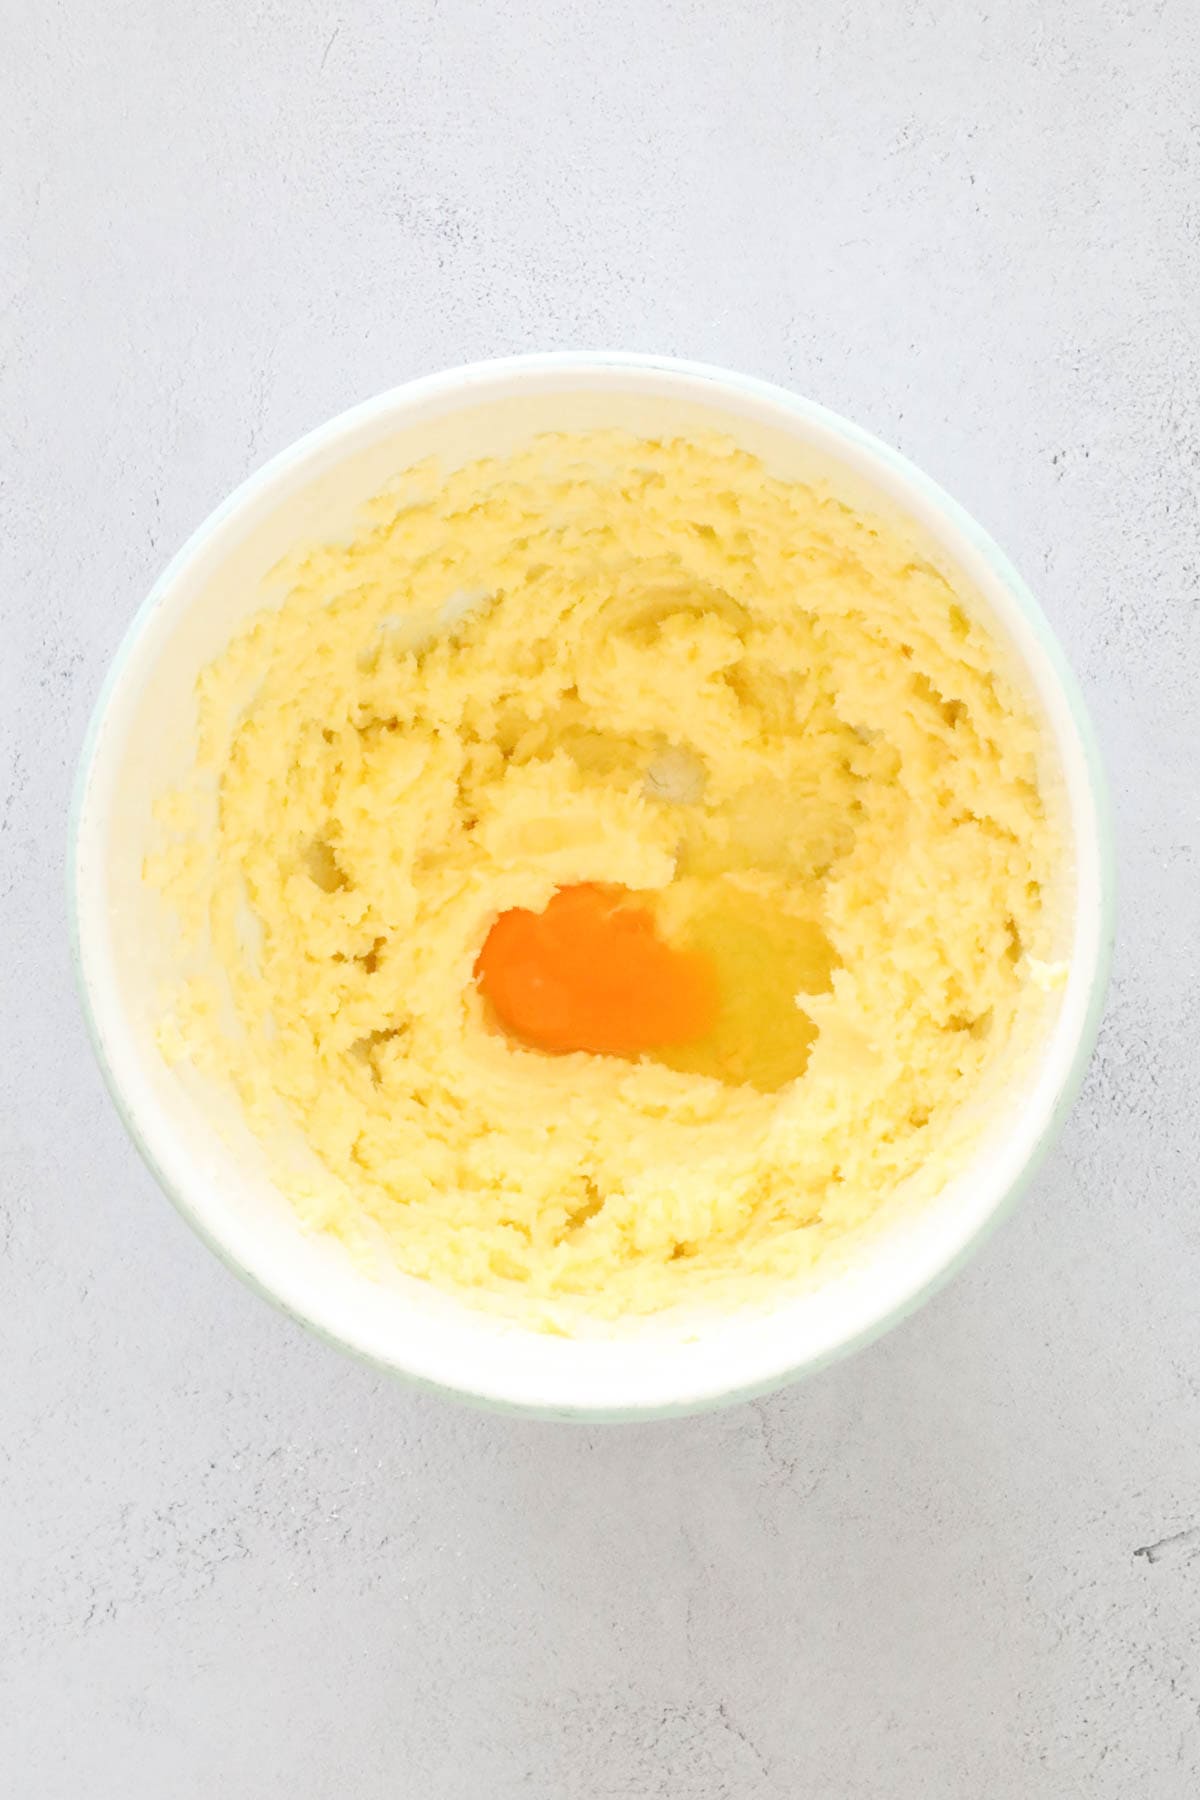
- Step 2: Crack in the egg and continue to beat on medium speed until the mixture is smooth and well combined.
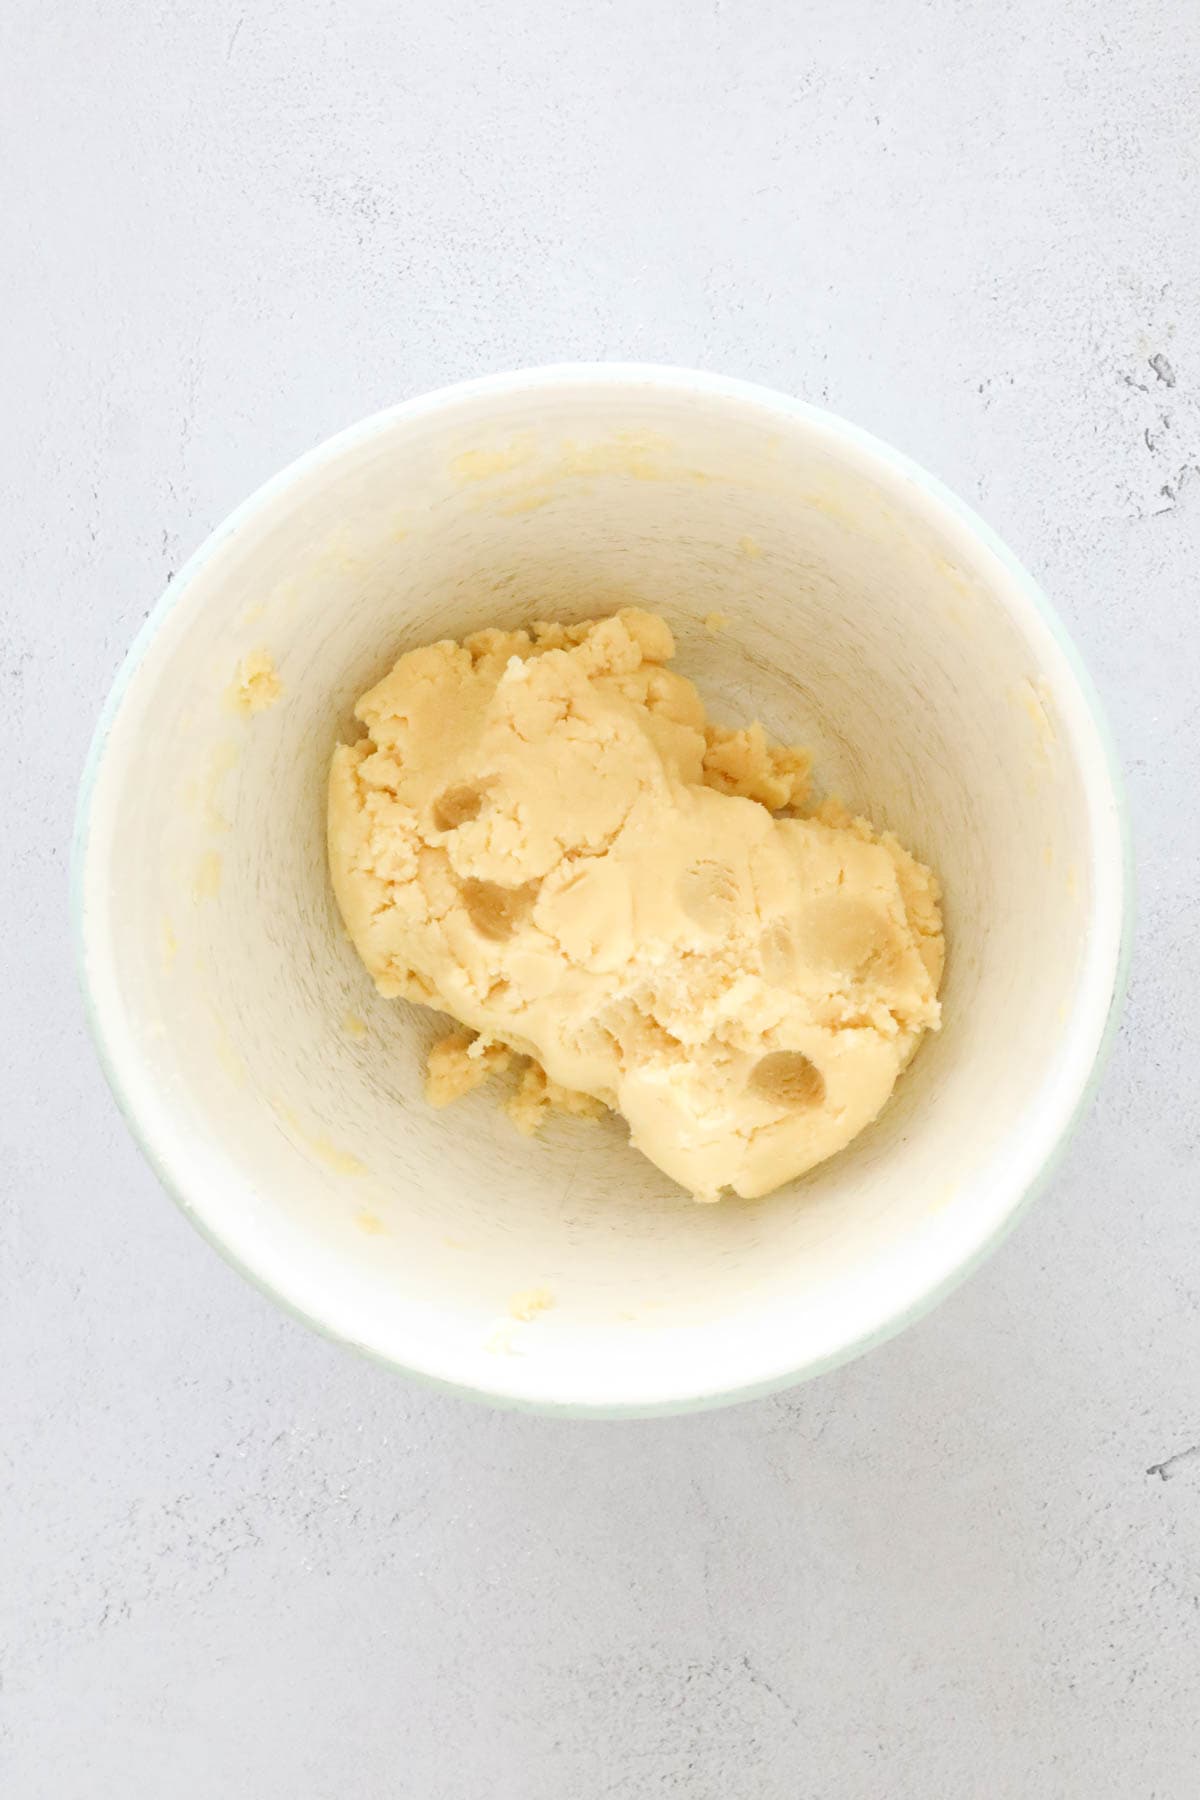
- Step 3: Sift the plain flour and baking powder over the wet ingredients, then use a spatula or wooden spoon to fold everything together until a soft dough forms.
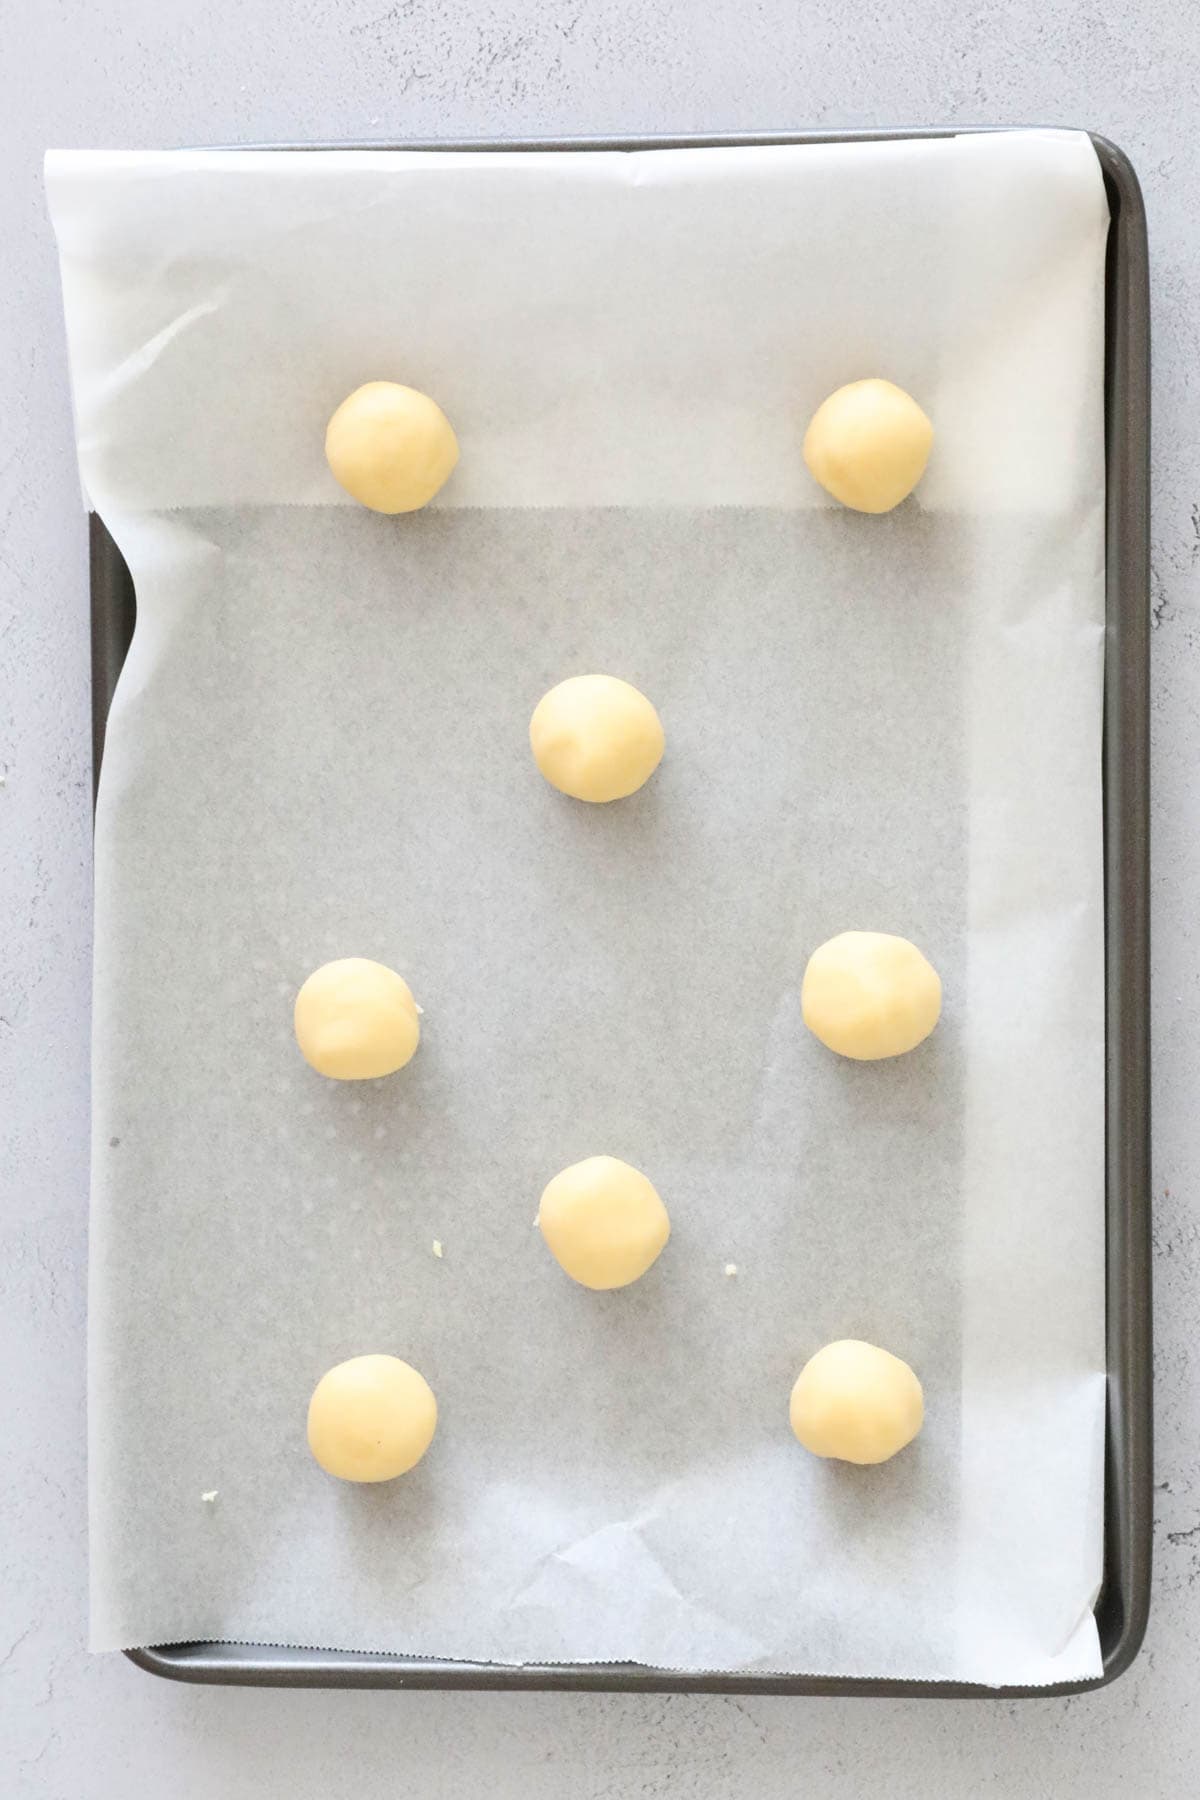
- Step 4: Roll small portions of the dough into balls, about the size of two teaspoons.
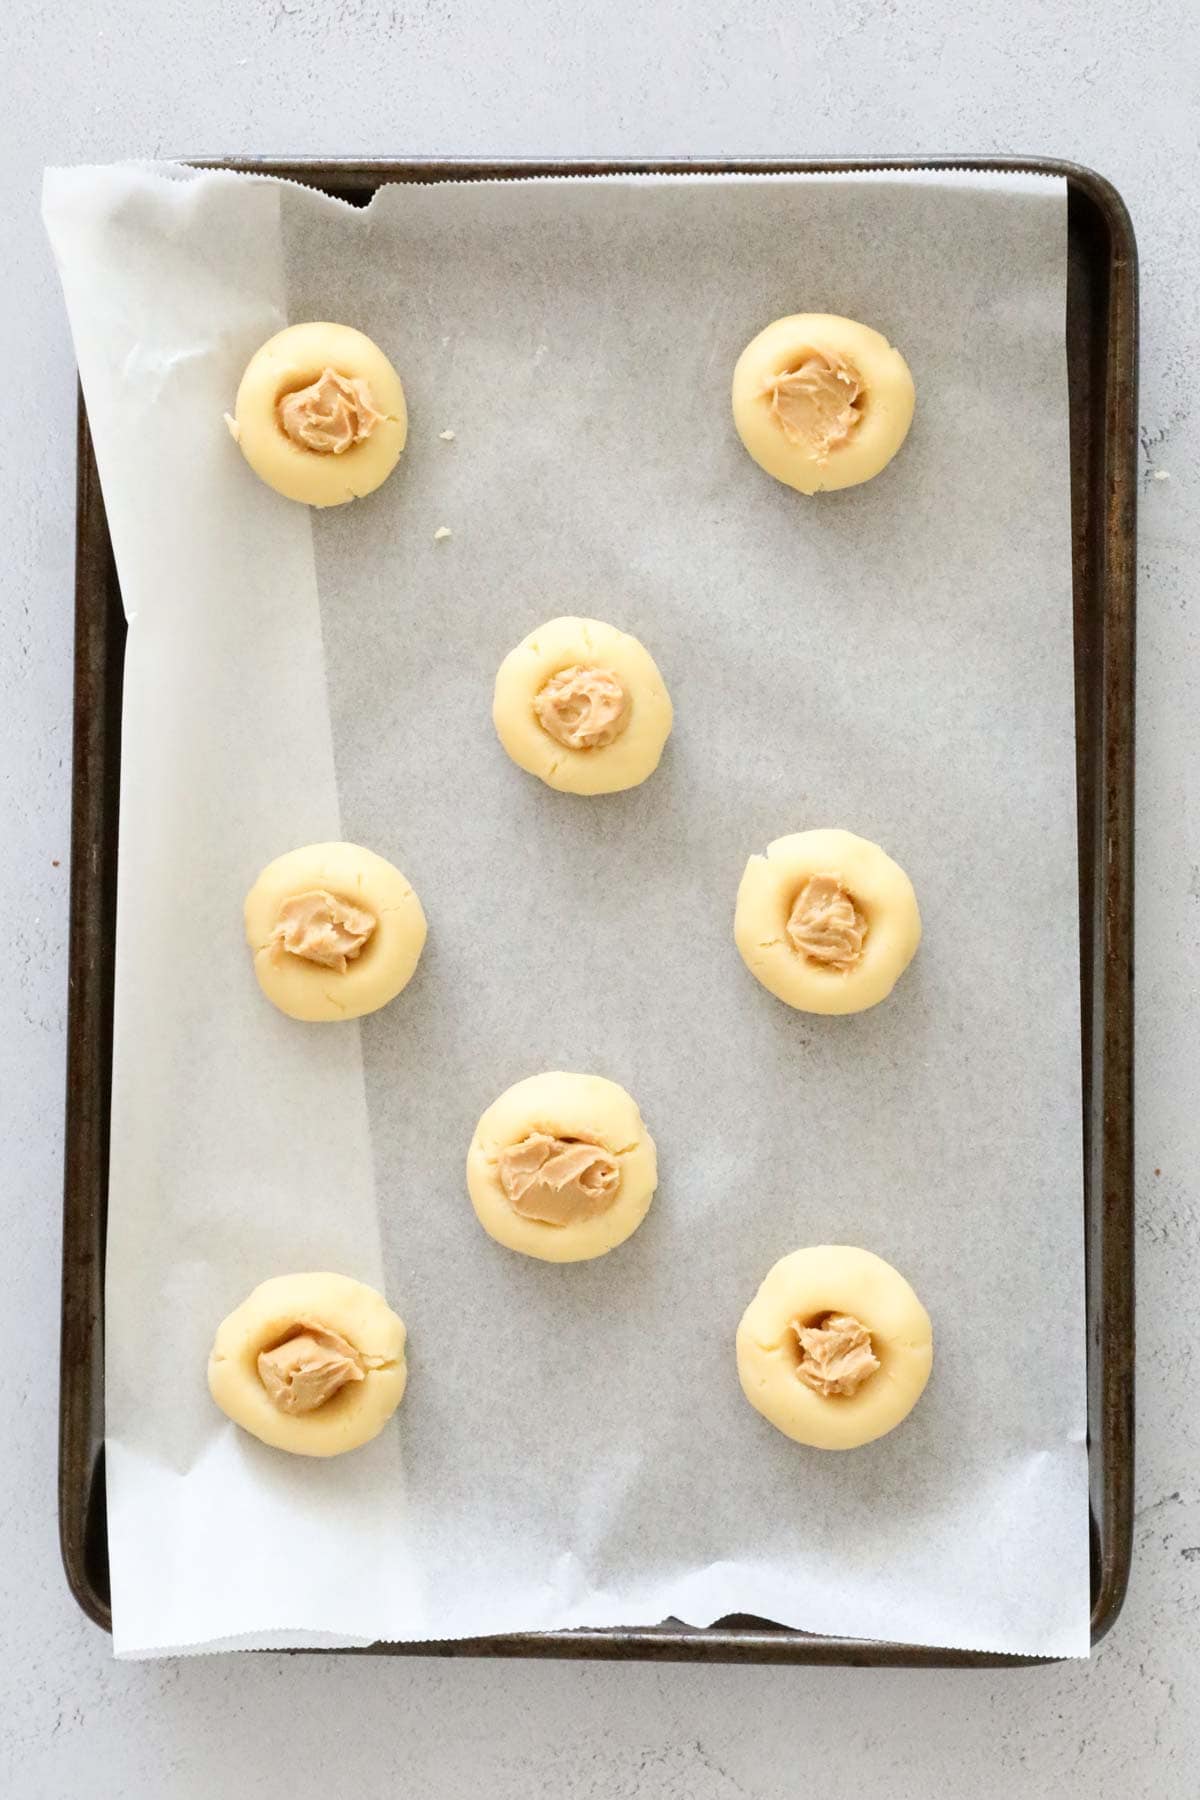
- Step 5: Use the tip of your little finger to press a small indent into the centre of the cookie, going about halfway through the dough.
Use a piping bag or a spoon to place a small amount of peanut butter into each indent.
Chill in the fridge for 30 minutes - ESSENTIAL STEP!
- Step 6: Preheat your oven to 170°C (fan-forced).
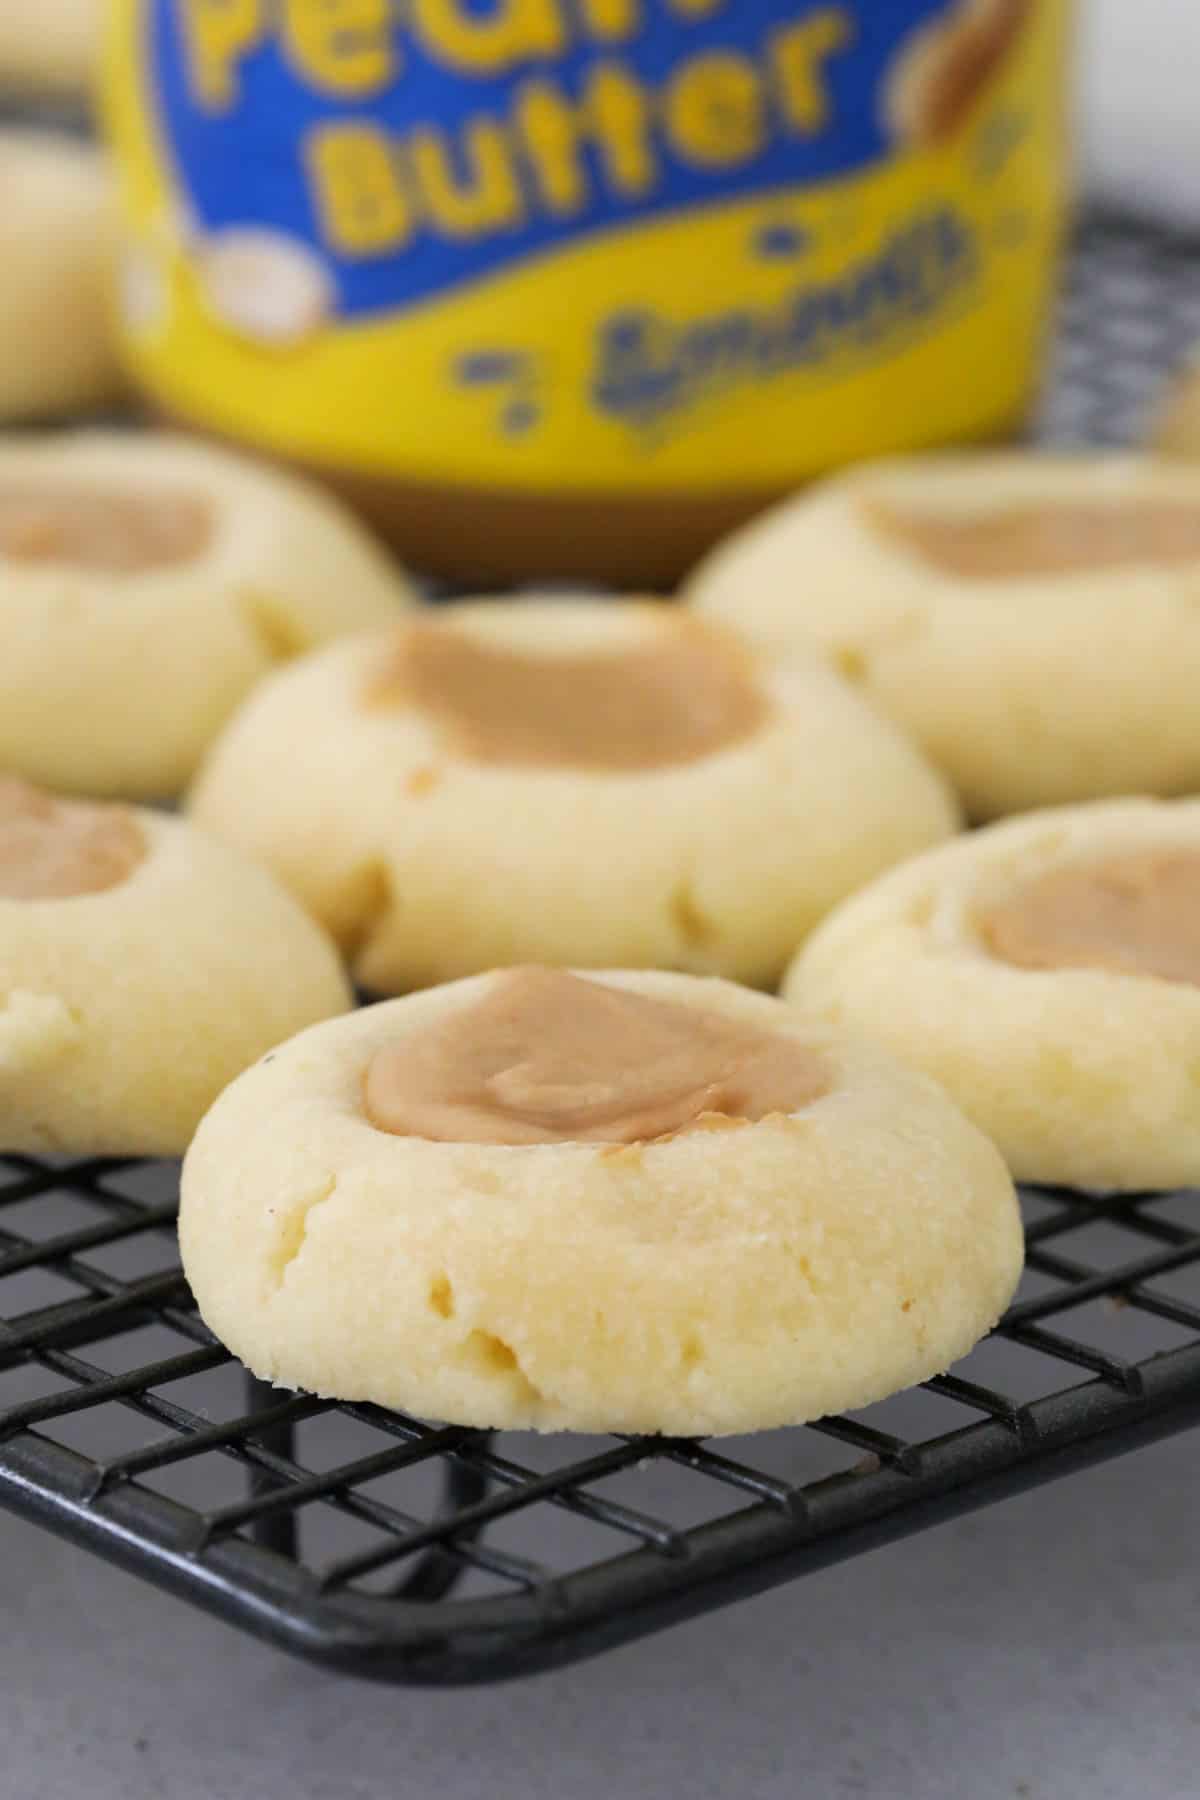
Bake the biscuits for approximately 10 minutes or until they are lightly golden.
Recipe Tips
- Chilling the dough - Don't skip this step! Chilling helps the biscuits keep their shape while baking.
- Measuring ingredients accurately - Especially when it comes to the baking powder. Using more than required can cause the biscuits to rise too much.
- Crunchy peanut butter - If you prefer a bit of texture, swap the smooth peanut butter for a crunchy variety.
Peanut Butter Thumbprint Cookies FAQs
Self-raising flour contains baking powder, so if you use it in these peanut butter thumbprint cookies, be sure to omit the additional baking powder. However, for best results, I recommend sticking to plain flour and measuring the baking powder separately.
Store these favourite cookies in an airtight container at room temperature for up to a week. If you'd like to keep them fresh for longer, they can be frozen in a freezer-safe container for up to three months.
Yes! You can prepare the cookie dough, roll it into balls, and create the indents ahead of time. Store them in the fridge overnight or freeze them for up to a month before baking. If baking from frozen, you may need to add an extra couple of minutes to the baking time. Add the peanut butter prior to baking.
More Peanut Butter Recipes
Sweet, buttery, and packed with nutty goodness, these chewy peanut butter thumbprint cookies are an instant five-star favourite! Quick to make, easy to store, and impossible to resist-give them a go and tell me if you can stop at just one!

WANT EVEN MORE DELICIOUS RECIPES? Subscribe to my newsletter or follow along on Facebook or Instagram. And if you love baking, then please come and join my Facebook cooking club group or subscribe to my YouTube channel.

Peanut Butter Thumbprint Cookies
Ingredients
- 180 g butter softened to room temperature
- 220 g (1 cup) caster sugar
- 1 egg
- 300 g (2 cups) plain flour sifted
- ½ teaspoon baking powder
- peanut butter smooth
Instructions
- Beat the sugar and softened butter with electric beaters or a stand mixer until light and fluffy.If using a Thermomix: Cream the butter and sugar for 20 seconds, Speed 4. Scrape down the sides of the bowl and repeat for a further 20 seconds, Speed 4.
- Add the egg and continue to mix until combined.If using a Thermomix: Add egg and mix for 10 seconds, Speed 4.
- Sift in the plain flour and baking powder. Stir gently to combine.If using a Thermomix: Add flour and baking powder and mix for 20 seconds, Speed 5.
- Roll the mixture into small balls (2 teaspoons of mixture per ball).
- Place the cookie balls onto the baking trays and use the tip of your little finger to create an indent in the middle that goes approximately one-half of the way down). Fill the indent with peanut butter.
- Place the trays into the fridge and chill for 30 minutes (very important!!!)
- Preheat oven to 170 degrees celsius (fan-forced). Grease and line two baking trays with baking paper.
- Bake the cookies for approximately 10 minutes or until lightly golden.
- Leave the cookies on the baking trays for 10 minutes and then transfer to a wire rack to cool completely.
Notes
- Butter - you can use either salted or unsalted butter for this recipe. Soften the butter to room temperature before using.
- Caster sugar - this is also known as superfine sugar and is a fine white sugar.
- Egg - I recommend using a large egg (approximately 60g), have this at room temperature.
- Plain flour - this is also known as all-purpose flour.
- Baking powder - this acts as the rising agent in this recipe.
- Peanut butter - I recommend using storebought smooth and creamy peanut butter *(not homemade) as it is creamier.
- Carefully measure your baking powder - only ½ teaspoon is required. The baking powder is the rising agent in this recipe so it's important not to use too much!
- The biscuits will spread once baked - so allow enough room on the baking trays!
- The most important tip to avoid spreading is to chill the biscuits before baking! This allows the fat in the butter to solidify, which means that it will slowly melt when baked. If you don't chill the biscuits, they will almost certainly over-spread.
- Roll balls using 2 teaspoons of mixture and place onto flat baking trays. Place the balls at least 5cm-6cm apart to allow for spreading.
- Use the tip of your little finger to create an indent in the middle of each ball. The indent should go approximately one-half of the way through the ball. Don't flatten the ball (it will flatten and spread when baking).
- Have the oven preheated as this means the cookies will start the baking process immediately, and also help to prevent the cookies from spreading too much.
- Rotate the trays partway through cooking.
- The biscuits are cooked when the biscuit mixture appears dry.
- Allow the cookies to cool on the trays for 10 minutes before transferring to a wire rack to cool completely.
- Store in an airtight container at room temperature for up to 1 week.
- Alternatively they can be frozen for up to 3 months.


Leave a Reply