

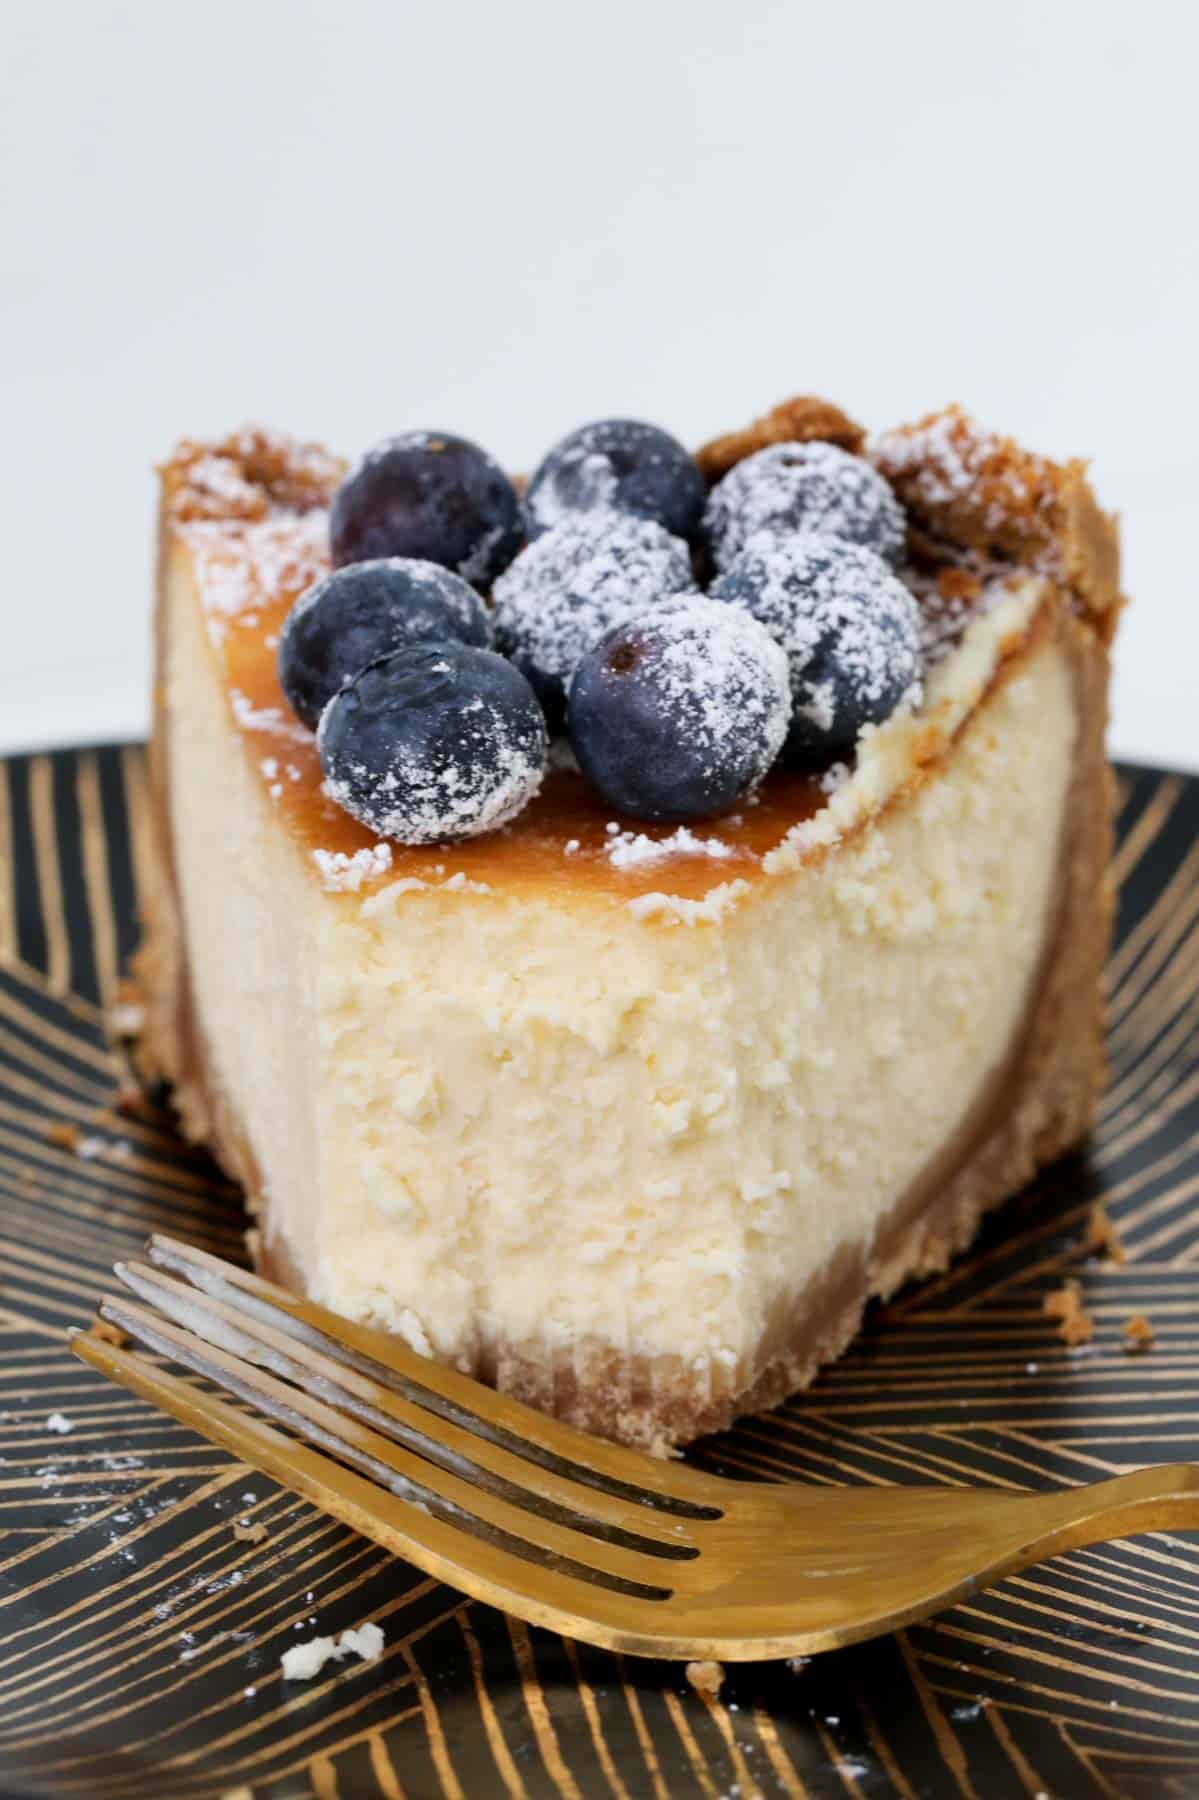
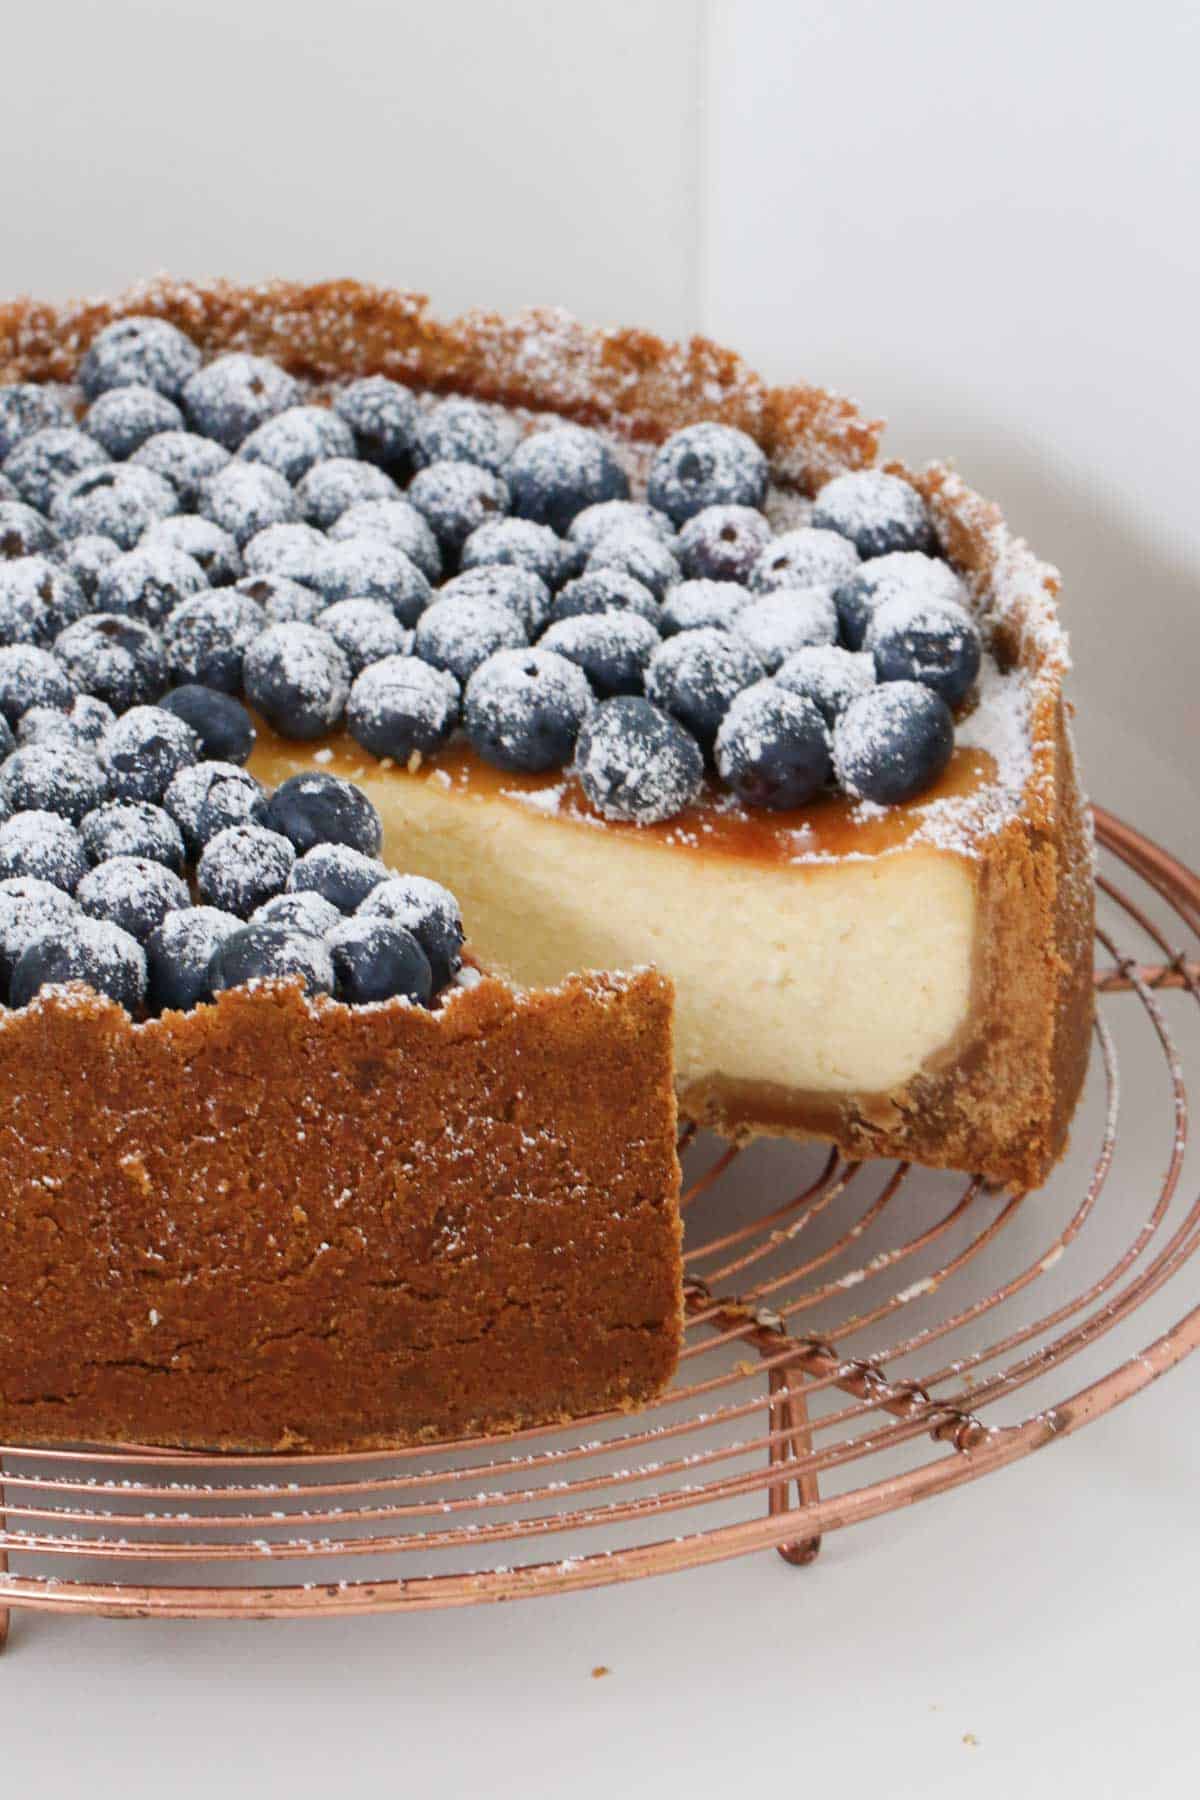
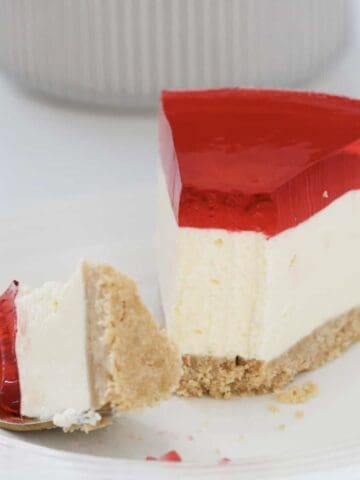
Nothing beats a New York Baked Cheesecake-rich, creamy, and silky-smooth, it's the kind of dessert that makes everyone stop mid-bite. With over 120 five-star reviews, this recipe is a proven favourite, just like my Lemon Baked Cheesecake and Raspberry Baked Cheesecake. Perfect for birthdays, dinner parties, or simply when you're craving a café-style treat at home.
Oh my goodness - I've never known whether it was the way I followed recipes or just bad luck but cheesecakes have NEVER worked for me; they always come out cracked and burnt. This is the first recipe that has come out absolutely PERFECT!! Thank you soooo much - this will now be my go to for a fabulous cheesecake!
- Lesi
Unlike no-bake cheesecakes, a true New York cheesecake is dense, velvety, and unapologetically indulgent. The secret is in the full-fat cream cheese, sour cream, and eggs-this combo creates that signature creamy yet firm texture that slices beautifully. It's baked "low and slow," often in a water bath, to avoid cracks and ensure that perfect, smooth top.
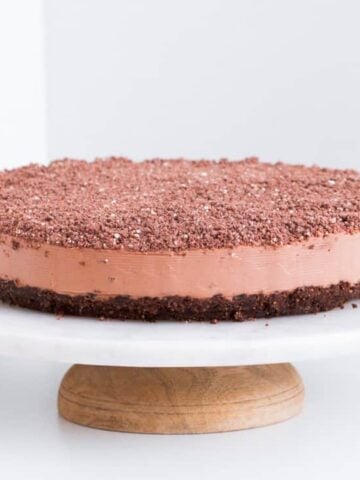
And whether you're using a Thermomix or a stand mixer, this recipe couldn't be easier. I've included both methods so you can choose the one that suits you best. If you're a cheesecake fan, you might also love my Passionfruit Cheesecake or my Mars Bar Cheesecake -both equally decadent, but so simple to whip up.
Why You're Going To Love This Recipe
- Rich and creamy texture - that classic, dense New York style.
- Foolproof method - with step-by-step conventional and Thermomix instructions.
- Proven success - over 120 five-star reviews from readers.
- Make-ahead friendly - perfect for entertaining as it needs to be chilled overnight.
- Versatile base - top it with berries, coulis, curd, or keep it plain and elegant.
- Freezer-friendly - enjoy slices whenever you fancy!
Jump to:
Cheesecake Ingredients
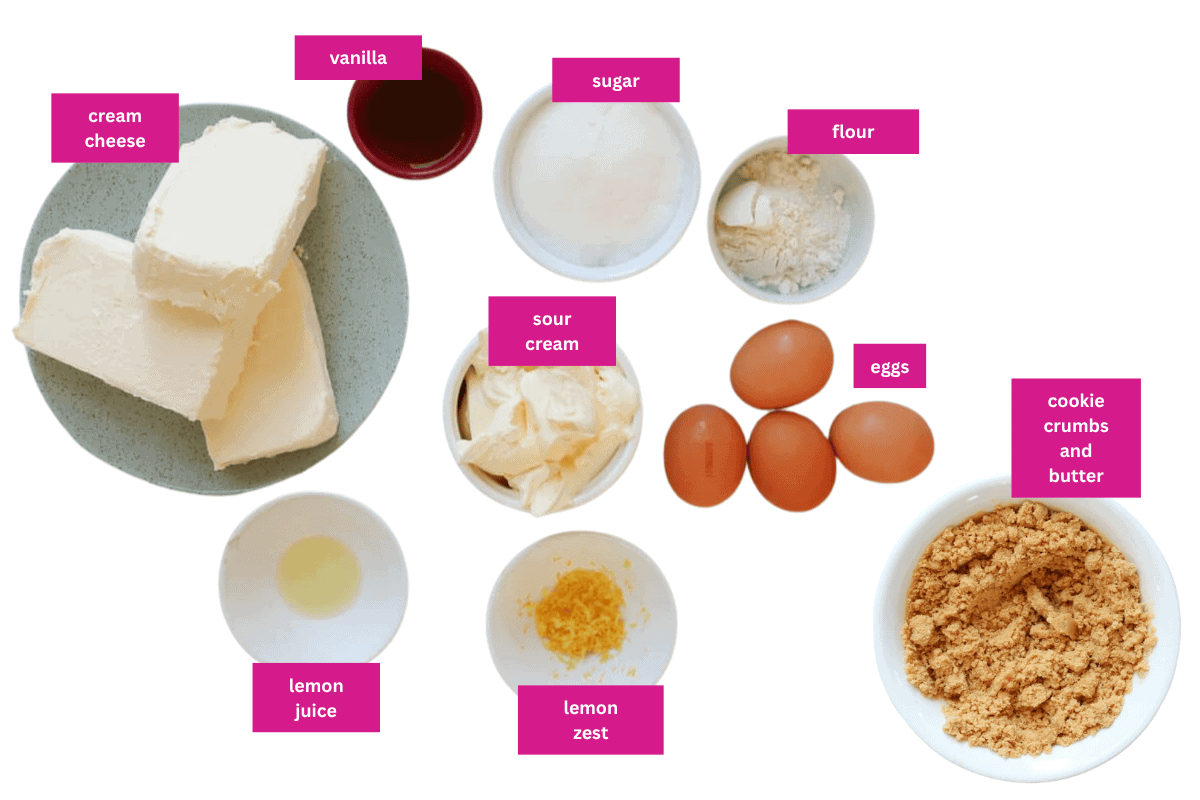
You'll only need simple pantry and fridge staples to make this cheesecake. Here are a few ingredients worth noting:
- Lemon zest & juice - just enough to cut through the richness and add brightness.
- Plain sweet biscuits - I use Arnott's Nice or Marie biscuits, but Graham Crackers or digestive biscuits work well too.
- Full-fat cream cheese & sour cream - don't use light versions, as they won't give the cheesecake the correct texture.
Variations
This recipe is a classic base, but here are some fun ways to switch it up:
- Gluten-Free Cheesecake - use gluten-free sweet biscuits for the crust.
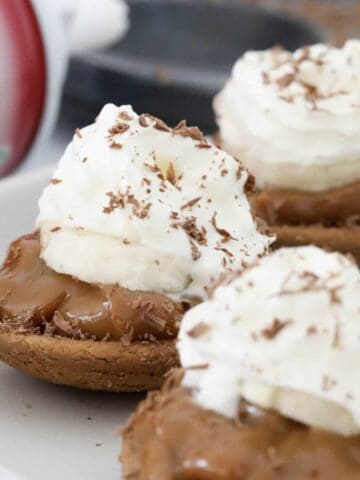
- Mini Cheesecakes - bake the filling in lined muffin trays for individual serves (adjust baking time).
- Fruit Swirl Cheesecake - swirl through raspberry or passionfruit puree before baking. Alternatively, you could swirl through a little caramel sauce or strawberry sauce instead.
- Chocolate Marble Cheesecake - fold melted dark chocolate through half the batter and swirl.
Need To Substitute An Ingredient?
Ask ChatGPT for suggestions on how to substitute the particular ingredient:
How To Make New York Baked Cheesecake
This New York style cheesecake recipe works beautifully both conventionally and in the Thermomix-choose whichever suits you!
Note: Scroll to the recipe card at the bottom for the ingredients quantities and full detailed method.
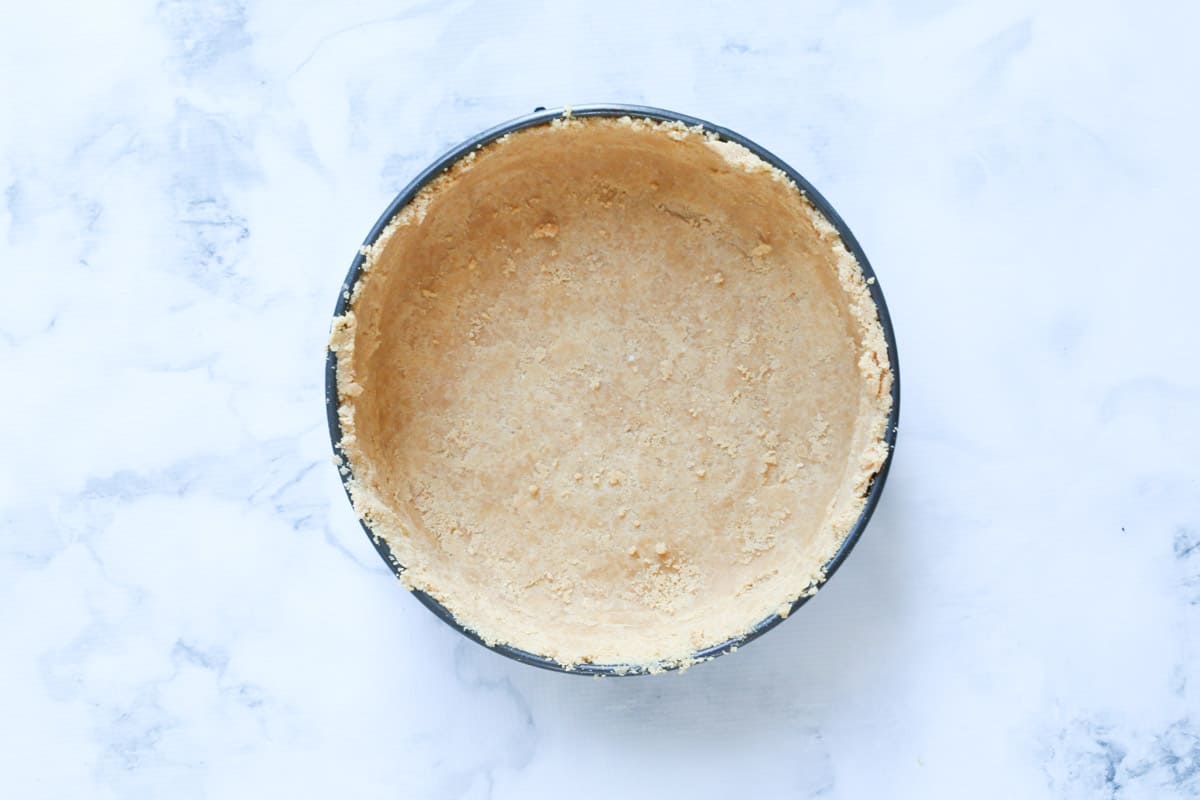
- Step 1: Make the crust - Crush the biscuits, mix with melted butter, press the fine crumbs into the base and sides of the pan. Chill.
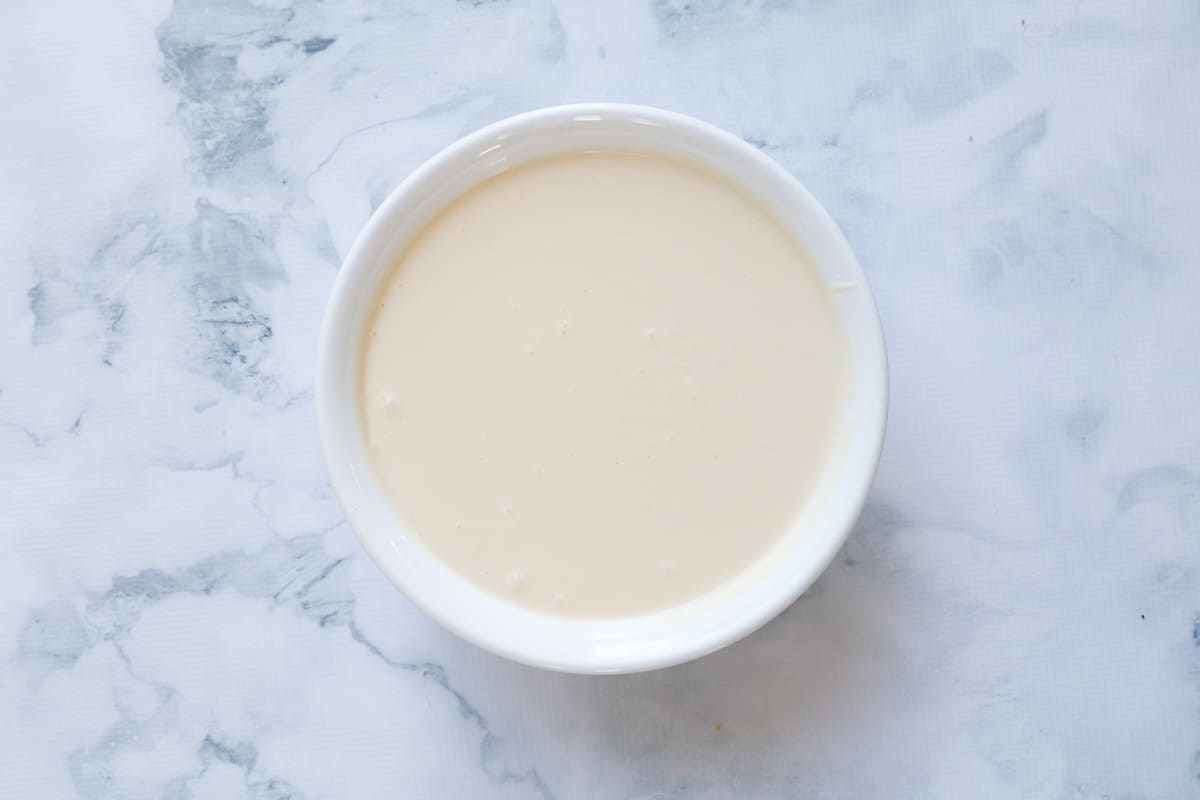
- Step 2: Mix the filling - Beat the cream cheese, sugar, lemon zest/juice, vanilla, and all purpose flour on low speed until smooth. Add eggs one at a time, then fold through sour cream with a spatula.
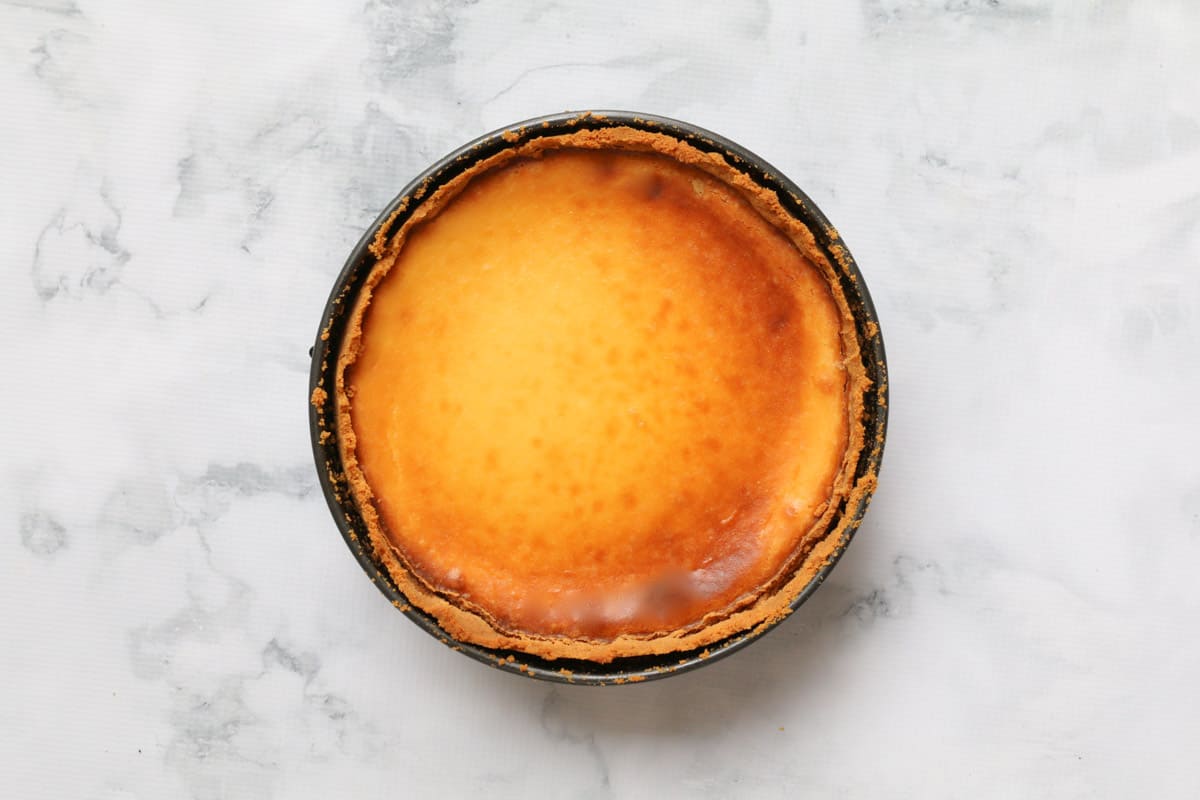
- Step 3: Bake gently - Pour the cheesecake batter into the base. Bake low and slow until just set (about 1 hour 15 minutes). Don't open the oven door.
Cool gradually - Turn off oven, leave cheesecake inside with the door shut for 2 hours.
- Step 4: Chill - Cool on bench, then refrigerate at least 4 hours (overnight is best).
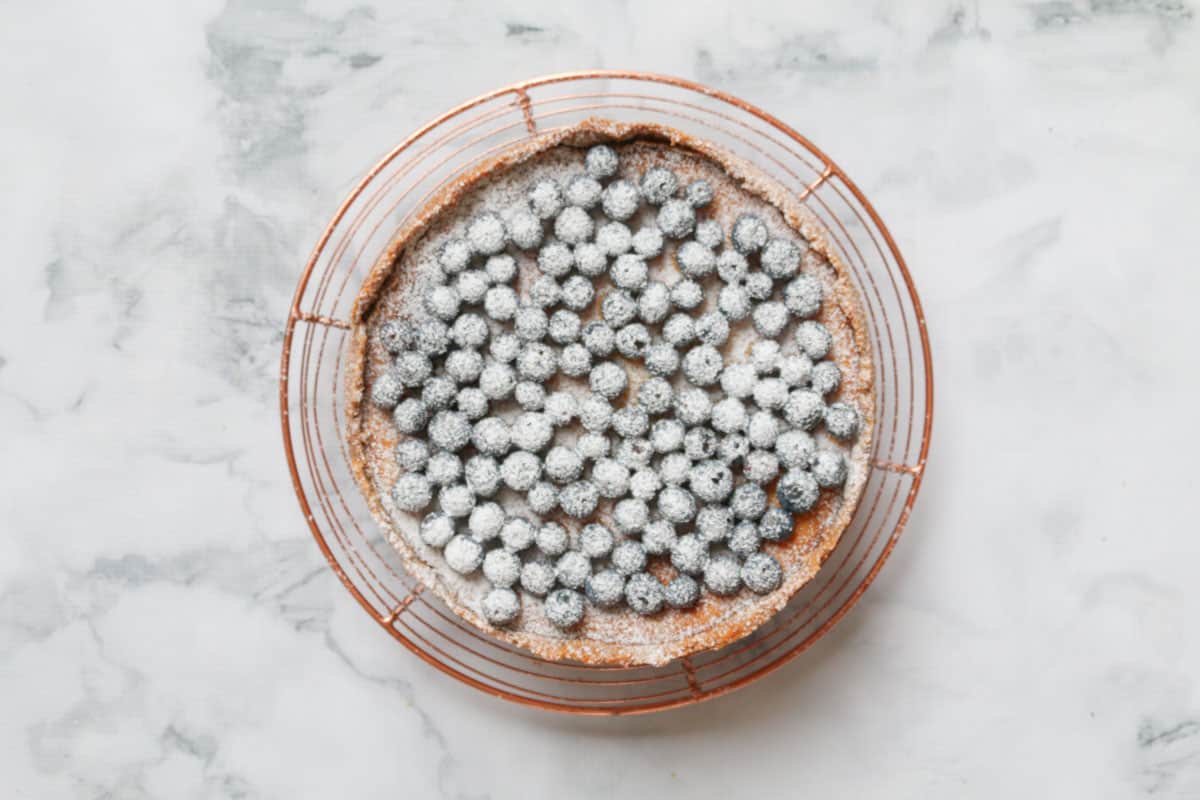
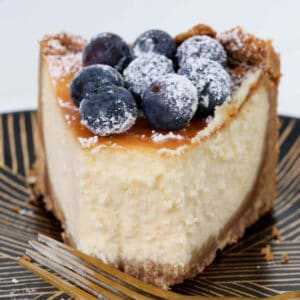
Serve - Remove from pan, top with berries, icing sugar, or your favourite topping.
Top Tip
Don't rush the cooling time-slow cooling and overnight chilling are the key to a crack-free, creamy cheesecake.
Recipe Tips
- Line your springform pan properly - remove the base, cover with baking paper/parchment paper, then clip it back in. Grease the sides.
- Use room temperature ingredients to avoid lumps.
- Always choose full-fat cream cheese and sour cream.
- Don't over-beat the batter-mix until just combined.
- Place the cheesecake tin above a tray of water in the oven to prevent cracks.
- Ensure the oven temperature is low (140 degrees celsius fan-forced or 160 degrees celsius conventional).
- Leave the oven door closed while baking and cooling.
- Chill for at least 4 hours, preferably overnight.
- Store in an airtight container in the refrigerator for up to 5 days.
- Freeze whole or sliced cheesecake for up to 1 month (wrap tightly in cling film/plastic wrap + aluminum foil). Allow to thaw in the fridge before consuming.
New York Baked Cheesecake FAQs
It's extra dense and creamy thanks to the addition of sour cream and extra whole eggs (egg yolks and whites), baked at a low temperature for that signature texture.
Don't overmix, bake gently at a low temp, use a water bath, and let it cool in the oven before chilling.
It's optional, but adding a tray of water in the oven keeps the cheesecake moist and helps prevent cracks. I don't recommend skipping the water bath.
Yes! I've included a full Thermomix method-just follow the step-by-step instructions for a perfectly smooth, fuss-free cheesecake.
More Cheesecake Recipes
If you loved this cheesecake, you'll also enjoy these favourites:
WANT EVEN MORE DELICIOUS RECIPES? Subscribe to my newsletter or follow along on Facebook or Instagram. And if you love baking, then please come and join my Facebook cooking club group or subscribe to my YouTube channel.
New York Baked Cheesecake
Ingredients
- 375 g plain sweet biscuits crushed, like Arnott's Nice or Marie biscuits or Graham Crackers
- 250 g unsalted butter melted
- 750 g full fat cream cheese room temp
- 215 g (1 cup) caster sugar
- ½ teaspoon vanilla extract or vanilla essence
- 2 teaspoons finely grated lemon rind
- 1 teaspoon lemon juice
- 2 tablespoons plain flour
- 4 eggs room temp
- 300 ml full fat sour cream room temp
- 125 g fresh blueberries (optional)
- 2 tb sifted icing sugar (optional)
Instructions
Conventional Method
- Preheat oven to 140 degrees celsius or 285 degrees fahrenheit with a fan forced oven (160 degrees celsius or 320 degrees fahrenheit if using a conventional oven).
- Grease and then line the base and sides of a 23cm springform pan with non-stick baking paper (see recipe tips below).
- Finely crush the biscuits in a food processor and then place into a large bowl.
- Add the melted butter and mix thoroughly until well combined.
- Spoon half of the biscuit crumbs onto the base of the prepared tin. Use a glass to press the mixture down evenly (you will also need to use a spoon to press the edges down firmly).
- Press the remaining half of the mixture firmly up the sides of the pan (leaving a small 1cm gap near the top).
- Chill in the fridge for 30 minutes.
- Beat the cream cheese, sugar, vanilla, lemon juice and lemon rind with electric beaters until just combined (don't over-beat).
- Gently beat in the flour followed by the eggs (1 at a time). Beat until just combined.
- Stir through the sour cream until combined.
- Gently pour the cheesecake mixture into the base of the tin.
- Place the the tin onto a baking tray and bake for 1 ¼ hours or until just set in the centre. Do not open the oven during the cooking time or the cheesecake will crack and sink (see recipe tips below).
- Turn the oven off and leave the cheesecake in the oven with the door closed for 2 hours.
- Place the cheesecake onto the bench until completely cooled before placing into the fridge (still in the baking tin).
- After a minimum of 4 hours in the fridge (preferably overnight), carefully remove the cheesecake from the baking tin and remove the baking paper.
- Allow to come to room temperature for 1 hour before serving and then top with fresh blueberries and icing sugar (optional).
Thermomix Method
- Preheat oven to 140 degrees celsius or 285 degrees fahrenheit with a fan forced oven (160 degrees celsius or 320 degrees fahrenheit if using a conventional oven).
- Grease and then line the base and sides of a 23cm springform pan with non-stick baking paper (see recipe tips below).
- Place the butter (chopped) into the Thermomix bowl and melt for 3 minutes on Speed 2, 80 degrees (or until melted).
- Add the biscuits and mix for 10 seconds on Speed 8, or until completely combined.
- Spoon half of the biscuit crumbs onto the base of the prepared tin. Use a glass to press the mixture down evenly (you will also need to use a spoon to press the edges down firmly).
- Press the remaining half of the mixture firmly up the sides of the pan (leaving a small 1cm gap near the top).
- Chill in the fridge for 30 minutes.
- In a clean and dry Thermomix bowl, set the Thermomix to 37 degrees, 25 minutes, Speed 3. Note: it will NOT take 25 minutes, but by setting the timer for this long will keep it at the right temperature while you add in the other ingredients). With the blades turning, place the cream cheese into the Thermomix bowl and mix until well combined.
- Slowly add in the caster sugar, followed by the flour and eggs and mix until just combined.
- Place the butterfly attachment into the bowl (with the cream cheese mixture in it). Still on Speed 3 slowly add in the grated lemon rind, lemon juice, vanilla extract and sour cream. Scrape down the sides of the bowl and mix until completely smooth (don't over mix).
- Gently pour the cheesecake mixture into the base of the tin.
- Place the the tin onto a baking tray and bake for 1 ¼ hours or until just set in the centre. Do not open the oven during the cooking time or the cheesecake will crack and sink (see recipe tips below).
- Turn the oven off and leave the cheesecake in the oven with the door closed for 2 hours.
- Place the cheesecake onto the bench until completely cooled before placing into the fridge (still in the baking tin).
- After a minimum of 4 hours in the fridge (preferably overnight), carefully remove the cheesecake from the baking tin and remove the baking paper.
- Allow to come to room temperature for 1 hour before serving and then top with fresh blueberries and icing sugar (optional).
Notes
- Use room temperature ingredients to avoid lumps.
- Always choose full-fat cream cheese and sour cream.
- Don't over-beat the batter-mix until just combined.
- Place the cheesecake tin on a tray of water in the oven to prevent cracks.
- Leave the oven door closed while baking and cooling.
- Chill for at least 4 hours, preferably overnight.
- Store in an airtight container in the fridge for up to 5 days.
- Freeze whole or sliced cheesecake for up to 1 month (wrap tightly in cling film + foil).


Catherine says
I made this cake for New Year’s Day celebration. I followed all your tips and it turned out perfectly. I’ve never had a cheesecake crack free. It looks just like your picture. Thank you so much for the recipe!!
Lucy Mathieson says
Yay!!! I'm thrilled to hear that! Hope you had a great night!
Paula Reames says
First Thank you for taking the time to write and post your recipes online. I have not tried your recipes yet HOWEVER:
I love to bake, but have to look up weigh conversions every time, could you include the old fashioned ounces and other measurements for those of us over 50 who never learned grams and ml.
Lucy Mathieson says
Hi Paula, thank you for your comment and I hope you get to try some of the recipes! Unfortunately the recipe plugin I use doesn't allow me to use ounces. My apologies!
Karen says
Hi Lucy
I am just about to try your recipe. I have an oven that has the choice between a fan setting or not. Should I bake the cake with the fan or without it?
Lucy Mathieson says
Hi Karen, I have always had fan-forced ovens and that's what I use for my cheesecakes. Good luck! xxx
Nicky says
Hello Lucy
Thank you for this wonderful recipe & the clever top tips! I have followed the classic recipe several times now which always turns out perfectly! You have made me a legend amongst colleagues & friends! However, I do have one question - butter appears to leak from the cake tin every single time! It has never effected the construction or the taste of the cheesecake but I must be doing something wrong for this to happen? I would appreciate your advice as I am making this again on Friday night for a friends birthday party on Saturday?
Nicky
Lucy Mathieson says
Hi Nicky, thank you for the beautiful comment!!!!! Its not you - it's just the fact that the springform pans can leak butter - I recommend popping a tray underneath to catch any drips. xx
Natalie says
Hello Lucy, I made this cheesecake last night, and I just wanted to say thank you for your detailed instructions. It worked perfectly. All my work colleagues were very impressed. I was impressed that firstly, I didn't have to use a water bath to bake a cheesecake and secondly, that it did not crack, split, or sink! I was also running out of time before bed, and I could only let the cake cool down on the bench for an hour (after cooling in the oven for 2 hours) before placing it in the fridge, but still i had no cracks! So that was a relief.
One thing I will point out is that I had quite a large baking dish of water in the oven and then an oven tray underneath the baking dish and I"m glad I did, as a lot of the butter from the base did drip into the dish/tray. While it's not a bad thing it is just something people need to be aware of. I have never had any luck with water baths and cheesecakes, so I think I will adapt this method when baking my cheesecakes from now on! I hope it works as it's so much easier.
Lucy Mathieson says
Thank you so much Natalie - and yes I absolutely agree!! A large tray underneath is a good idea to catch the excess melted butter! So glad you enjoyed the cheesecake! xx