

Some treats never lose their bakery magic, and finger buns are one of them.
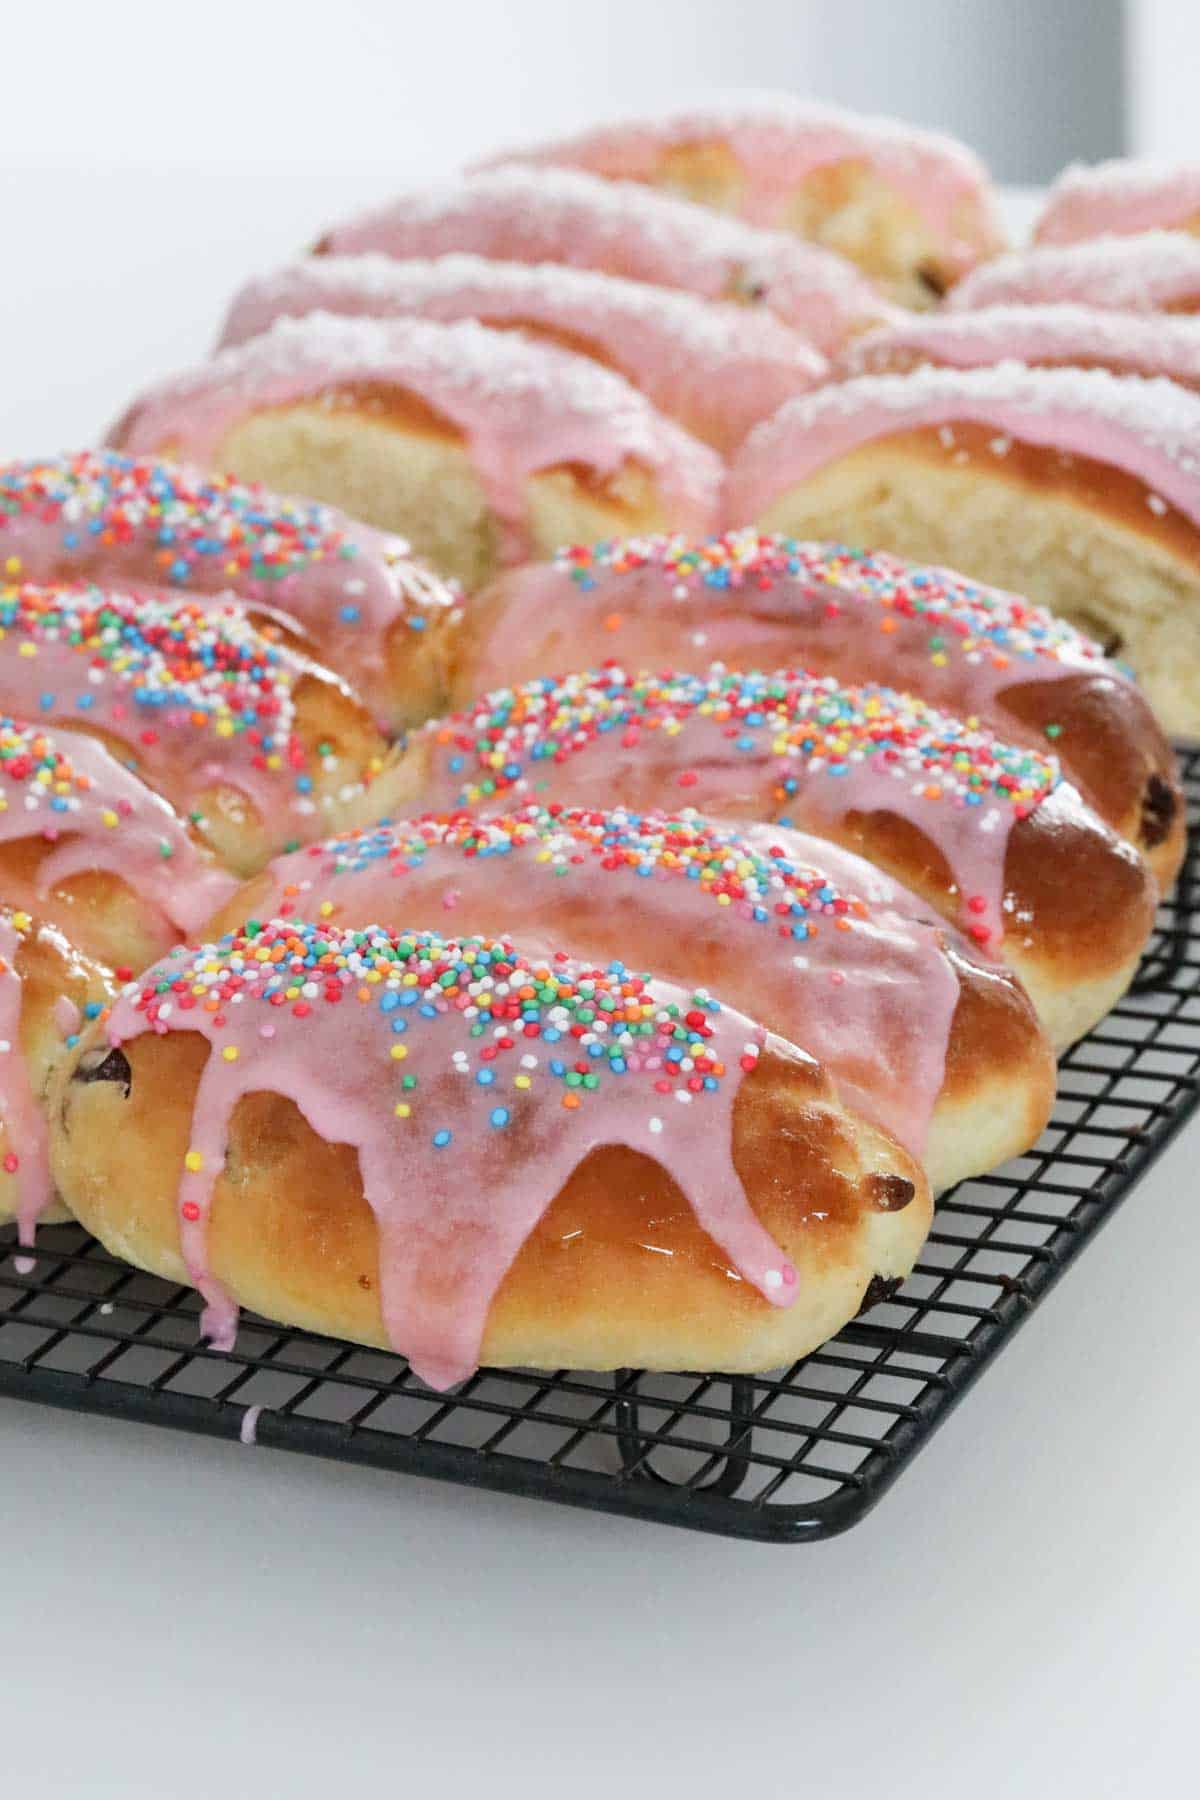
This easy finger buns recipe is soft fruit dough topped with a sticky glaze, pink icing and a sprinkle of coconut or 100s and 1000s. If you love a homemade bakery classic, you'll also want to try my Vanilla Custard Slice or Apple & Cinnamon Scrolls.
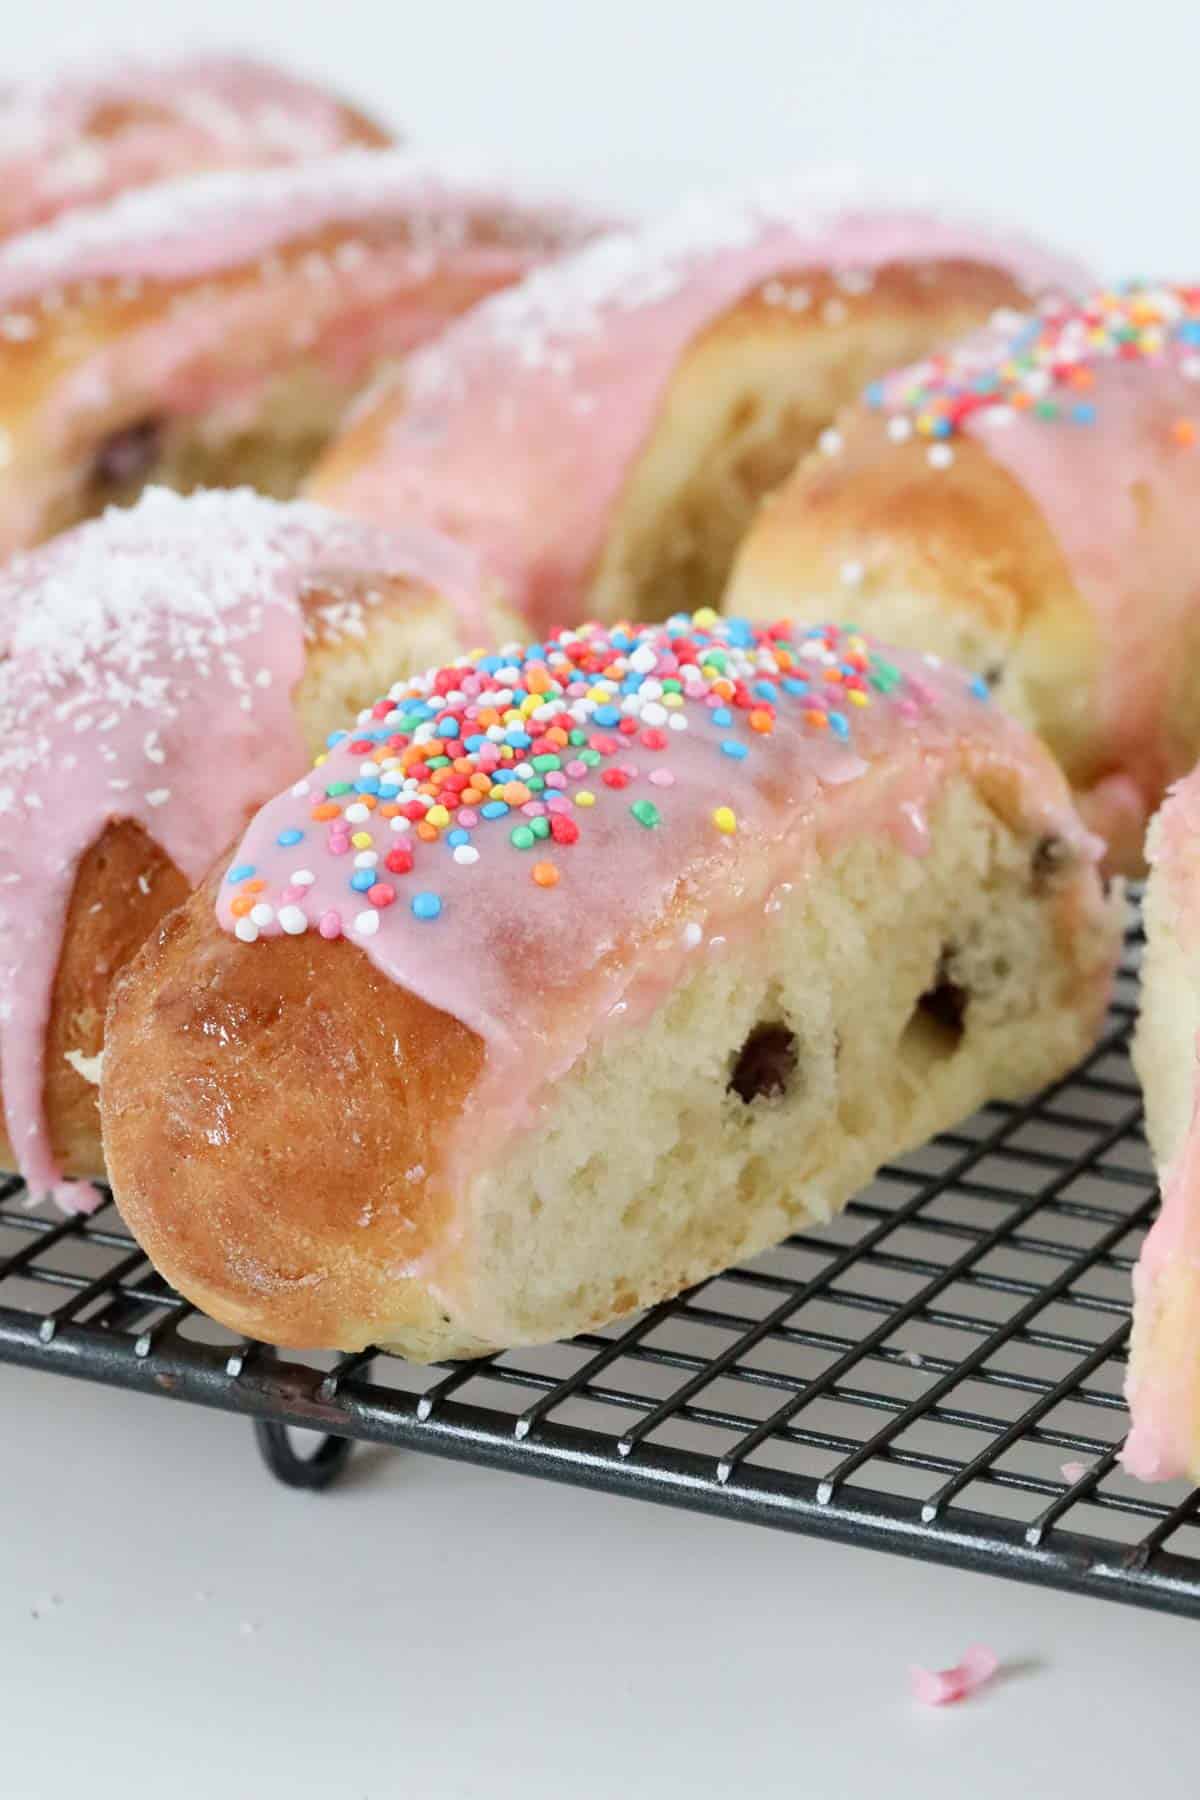
A Quick Look At The Recipe
✅ Recipe Name: Finger Buns
🕒 Ready In: 1 hour 22 minutes
👪 Serves: 16
🍞 Calories: 367kcal per serve
🥣 Main Ingredients: dried yeast, bread flour, milk, sultanas, icing sugar
📖 Dietary Info: can be made without fruit
⭐ Why You'll Love It: Soft, sticky, pink-iced bakery buns you can make from scratch at home.
SUMMARIZE & SAVE THIS CONTENT ON
"First time making bread, it was easy and the finger buns turned out so well. Thanks to the helpful tips on proving the dough also. I recommend this recipe." - Maree
Iced finger buns are a bakery favourite. Alongside Jam Tarts and Triple Chocolate Muffins, they make the perfect tea time treat, a fun addition to lunchboxes, and a popular pick for kids parties.
Jump to:
Why You're Going To Love This Recipe
- Loved by all the family - these sticky finger buns are always popular with kids and adults alike.
- Basic ingredients - no special ingredients required to make these soft sweet buns.
- Cheaper than store-bought - and they taste so much better fresh from the oven.
- Conventional or Thermomix - both methods written in the recipe card below.
Bun Ingredients
These iced finger buns are made with just a handful of basic ingredients.
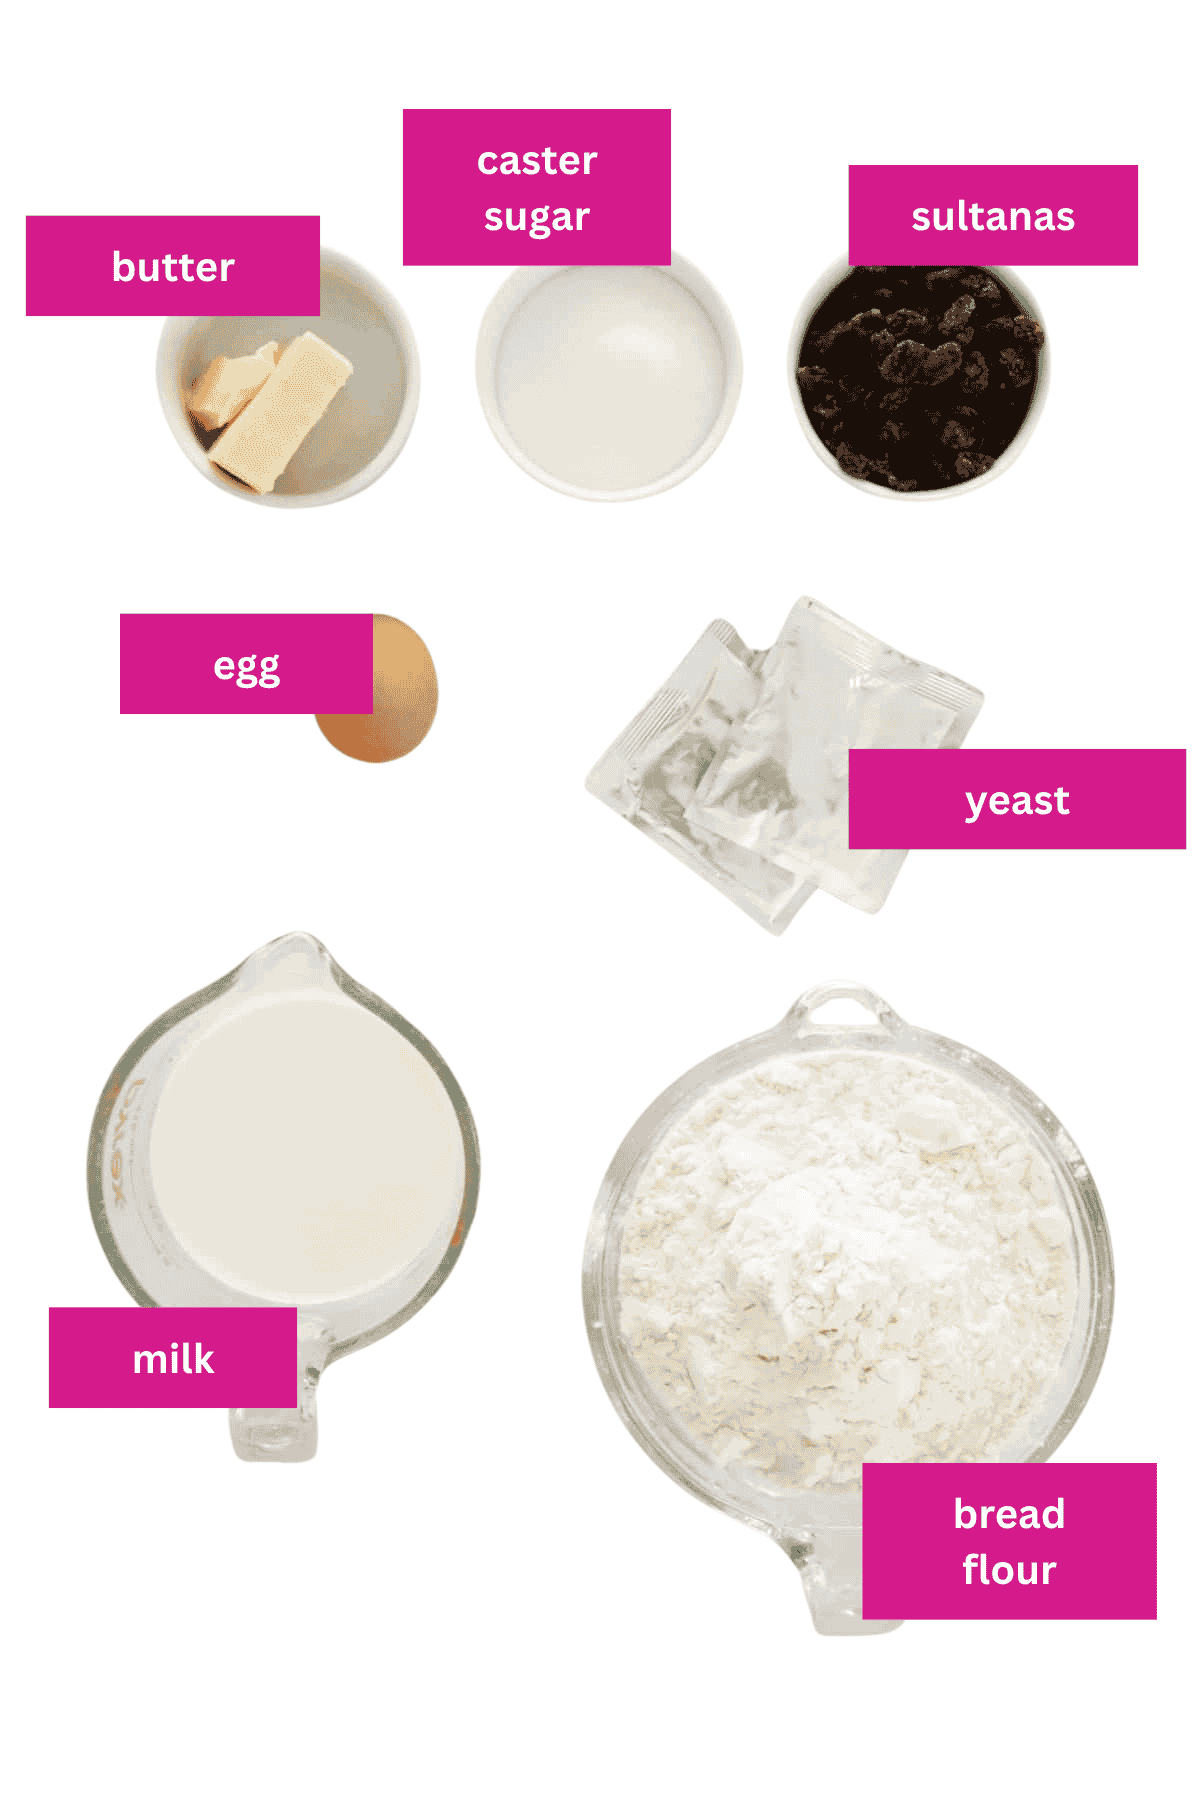
- Dried yeast - available in individual sachets or larger boxes/containers.
- Bread flour - or plain, all-purpose flour.
- Sultanas - optional, you can make a fruitless finger bun if you prefer.
- Desiccated coconut or 100s and 1000s - to decorate. Make half of each so everyone can pick their favourite.
Variations
- Fruitless - leave out the sultanas for a plain finger bun.
- Mixed dried fruit - swap the sultanas for a mix of currants, sultanas and mixed peel for a more traditional bakery-style bun.
- Chocolate chip - swap the sultanas for chocolate chips for a kid favourite twist.
- Coconut all the way - skip the sprinkles and coat every bun in desiccated coconut.
How To Make Finger Buns
It takes just 15 minutes to prep these pink iced finger buns, then it's just a matter of letting the dough rise.
Note: Scroll to the recipe card at the bottom for the ingredient quantities and full detailed method.
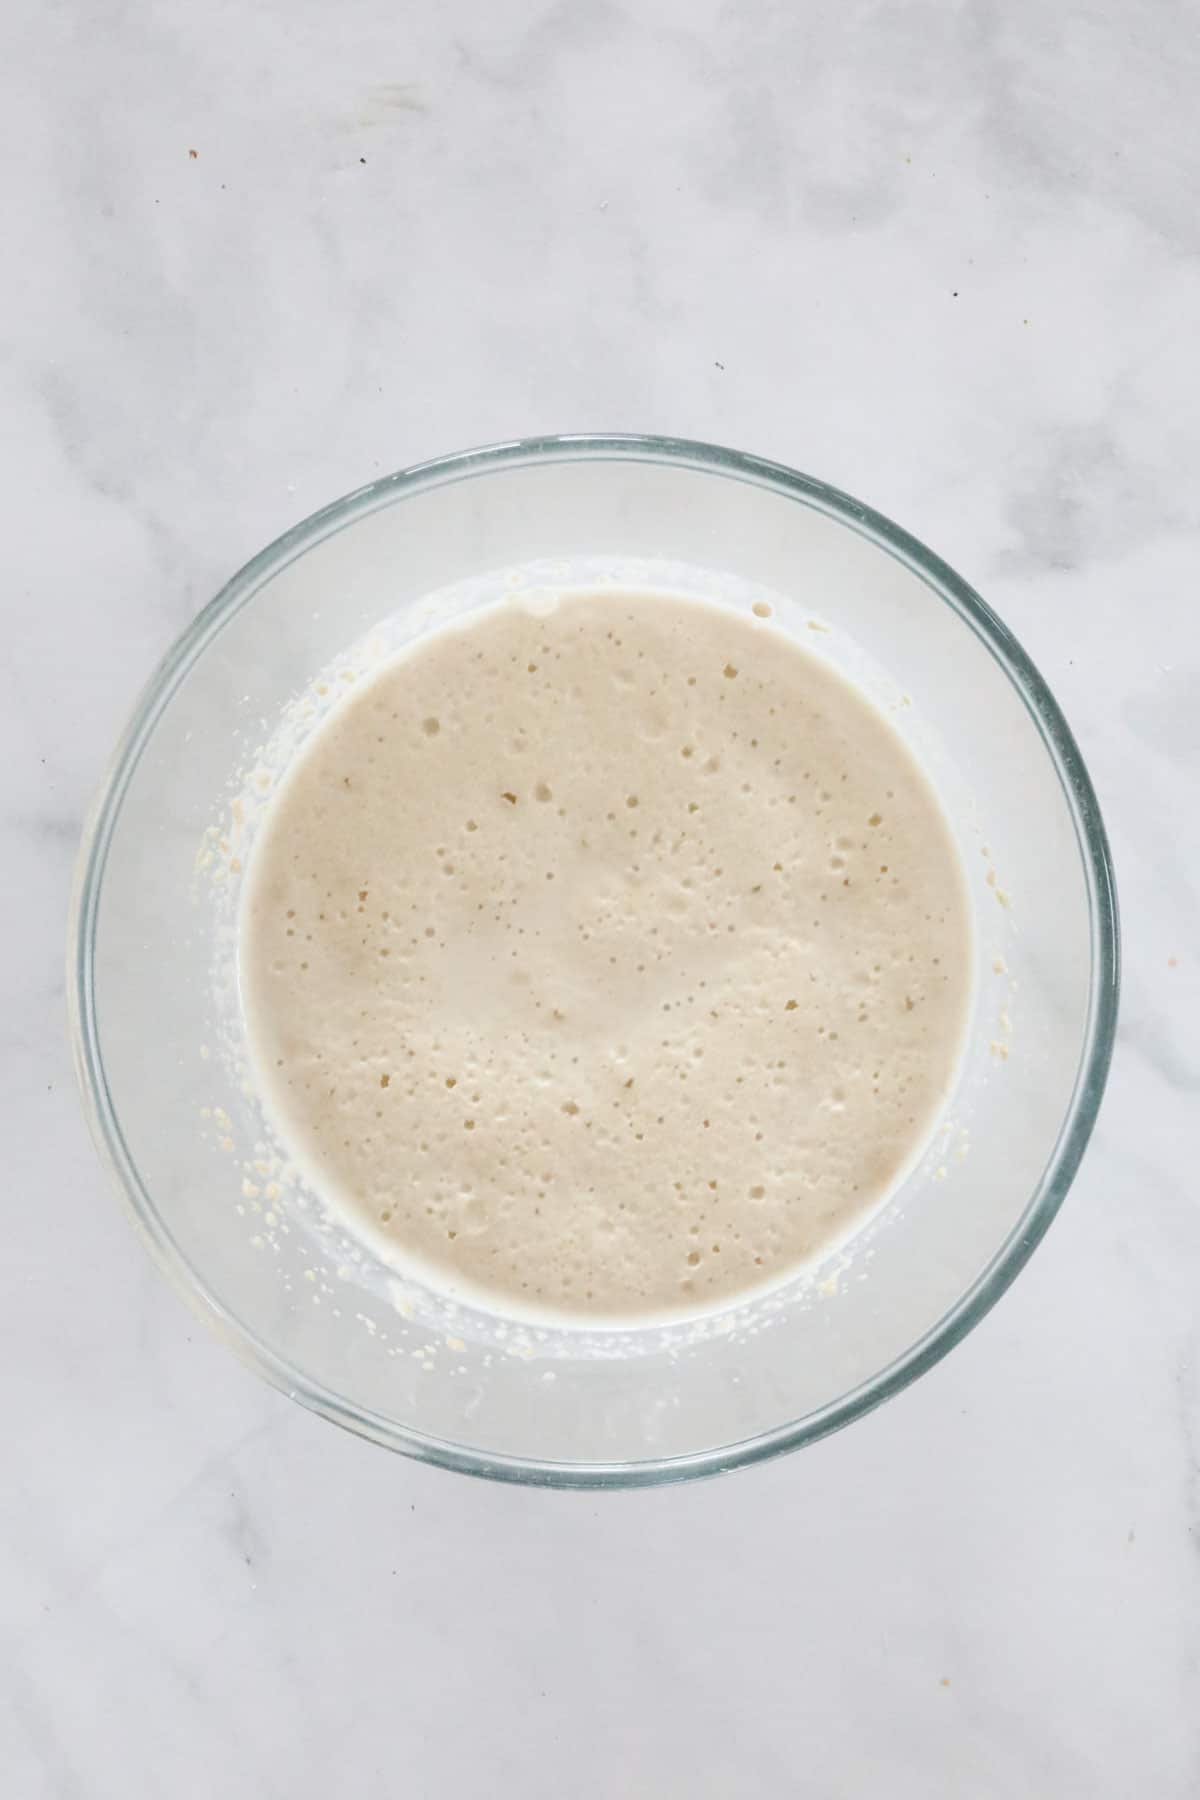
- Step 1: Activate the yeast. Whisk together the yeast, caster sugar and warm milk, and let sit in a warm place for 10 minutes until frothy.
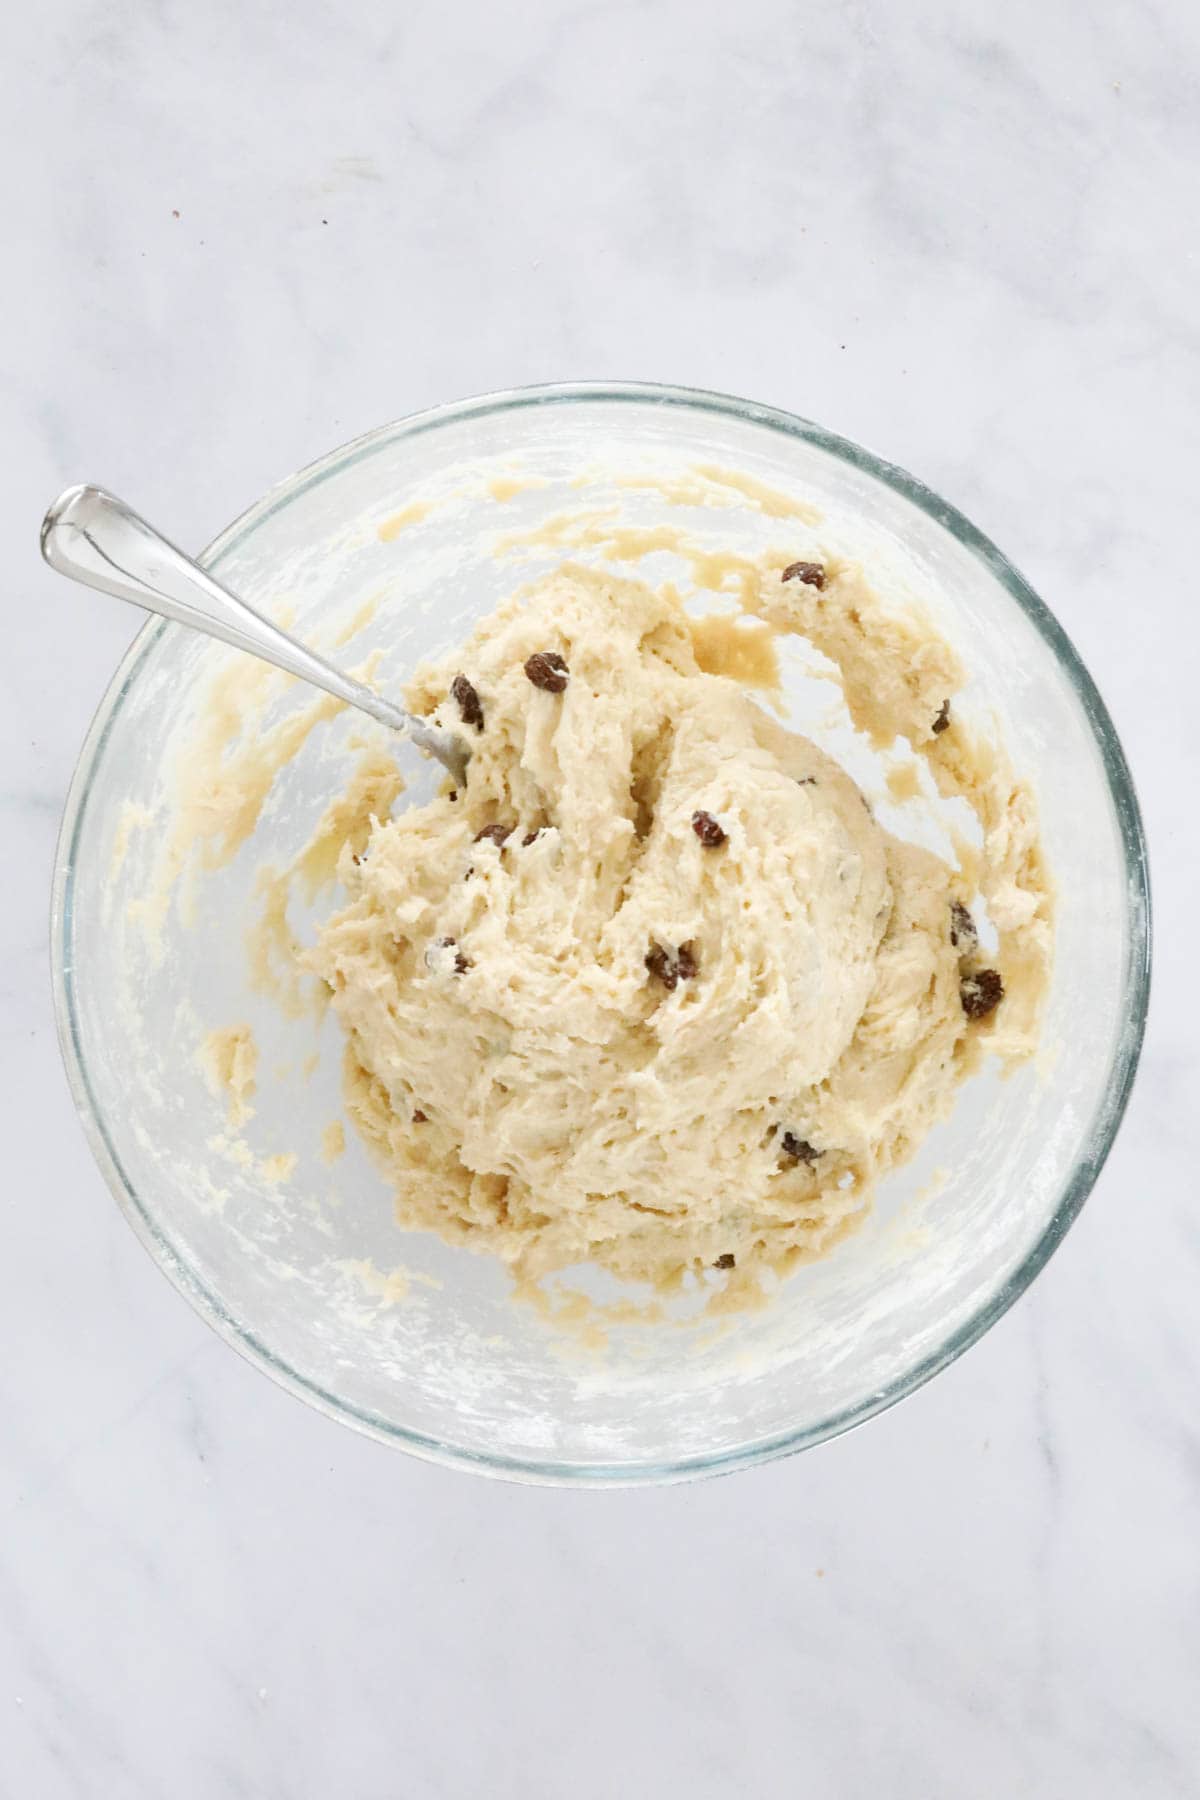
- Step 2: Make the dough. Rub butter through the flour until it resembles fine breadcrumbs, then stir in the yeast mixture, egg and sultanas until a dough forms.
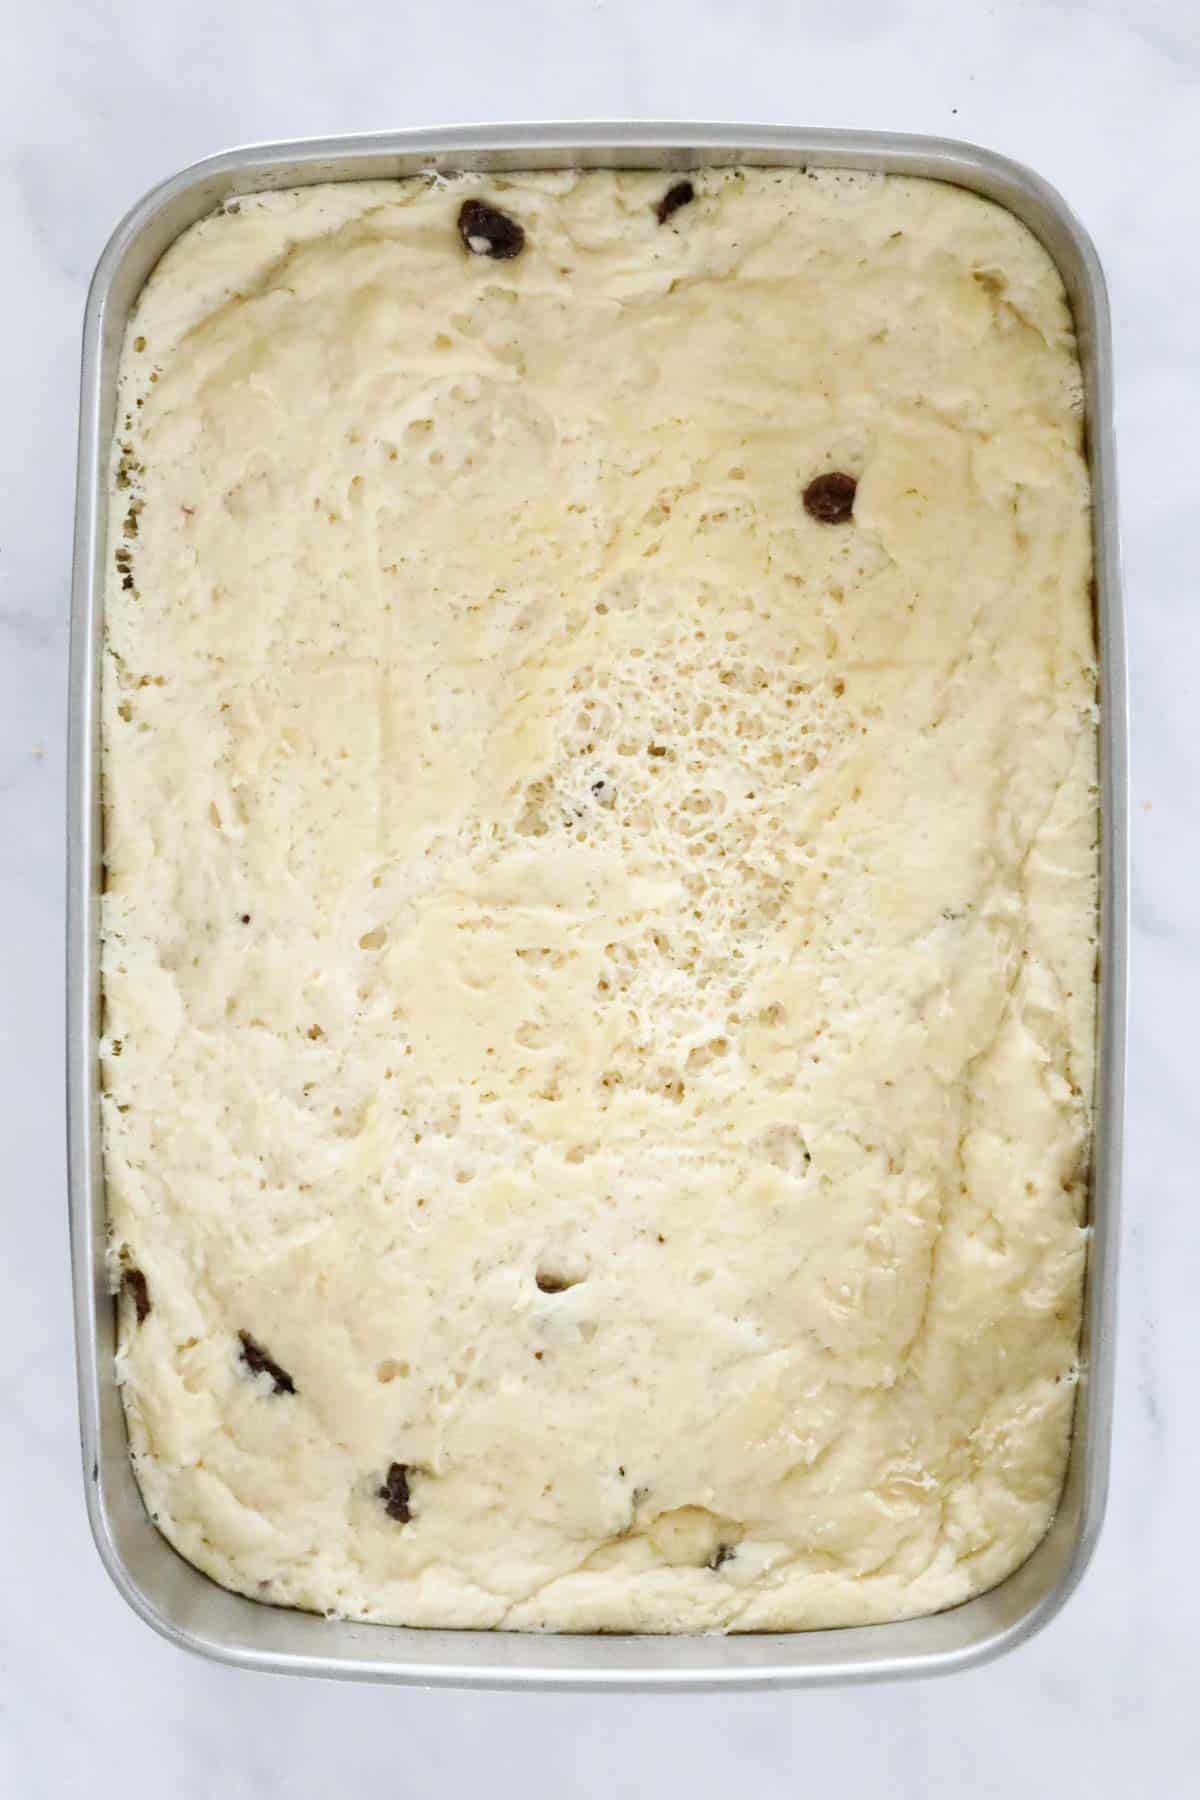
- Step 3: Prove the dough. Cover and leave in a warm spot for 45 minutes or until doubled in size.
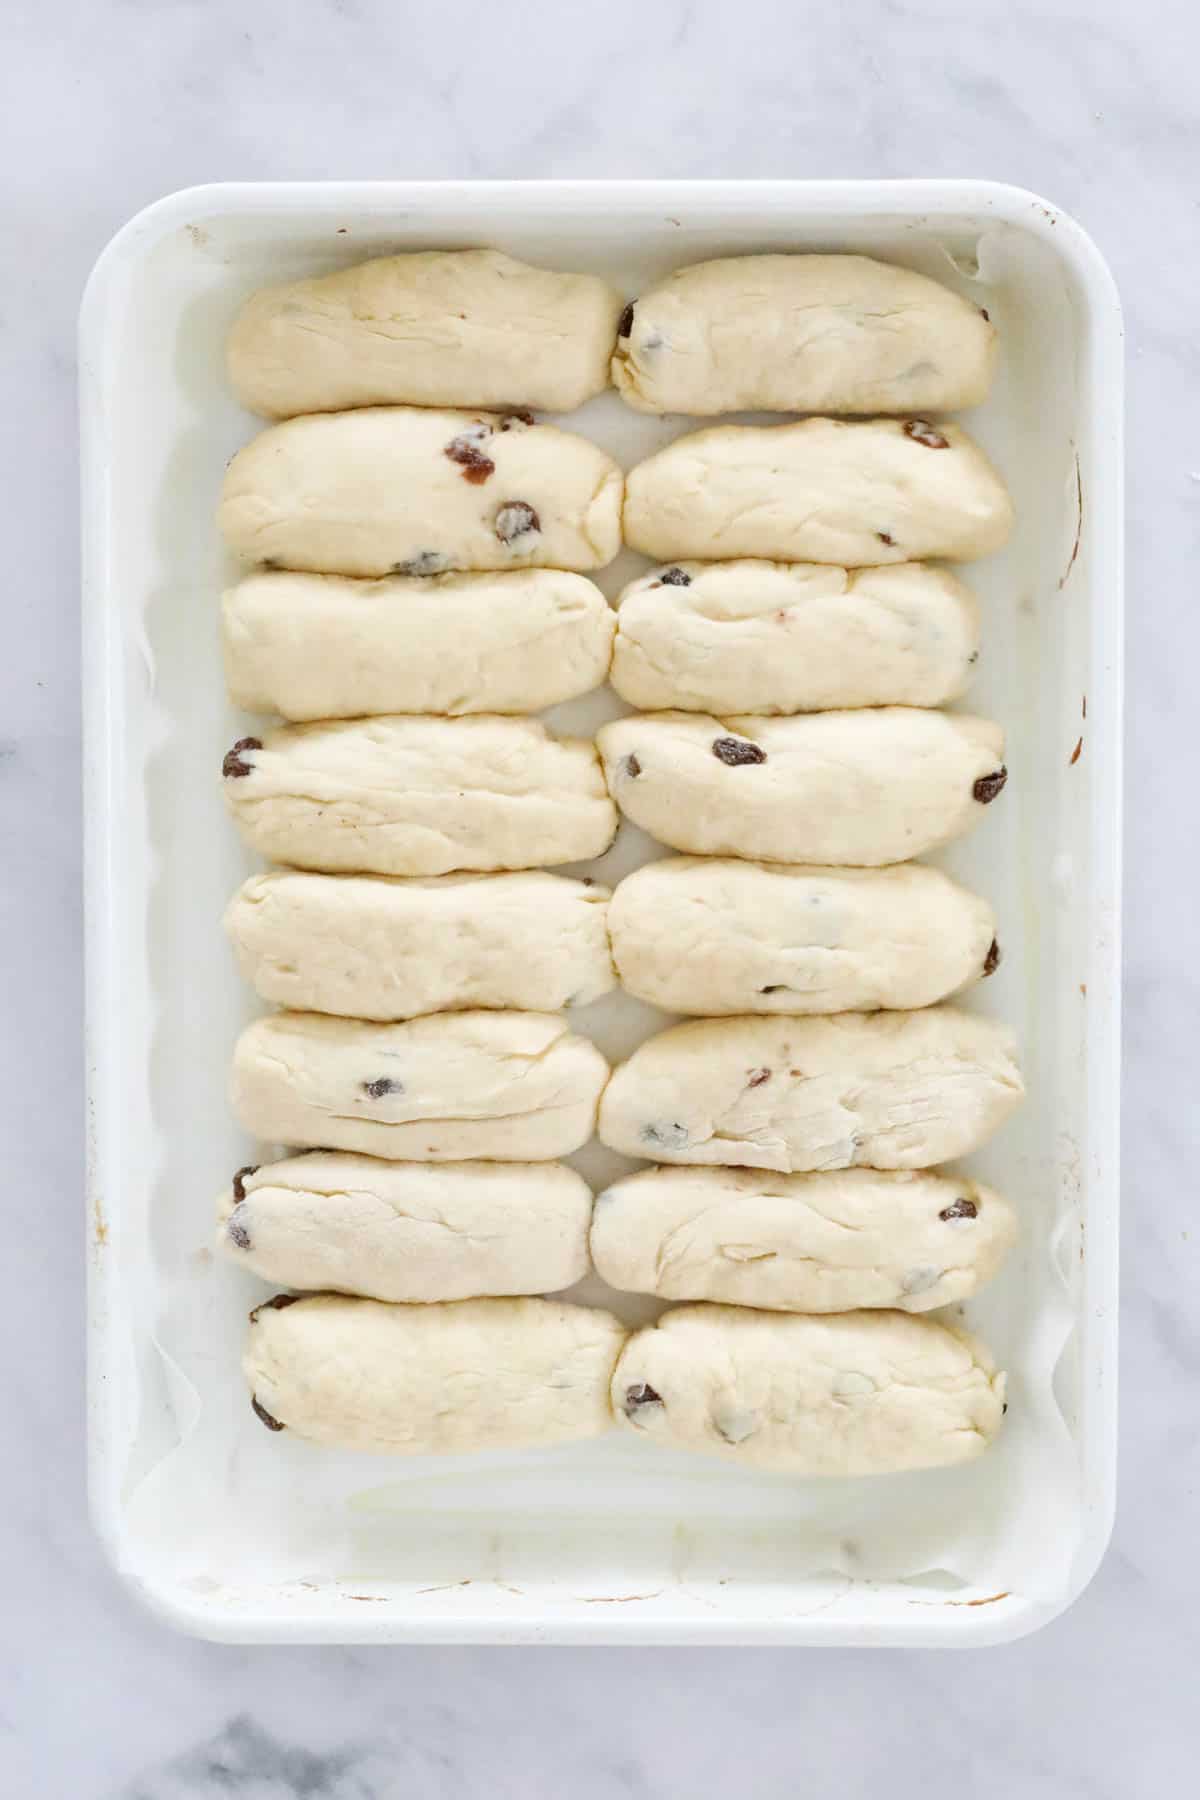
- Step 4: Shape. Knead the dough for 5 minutes, divide into 16 portions and roll into logs. Place on a lined tray and prove for a further 10 minutes.
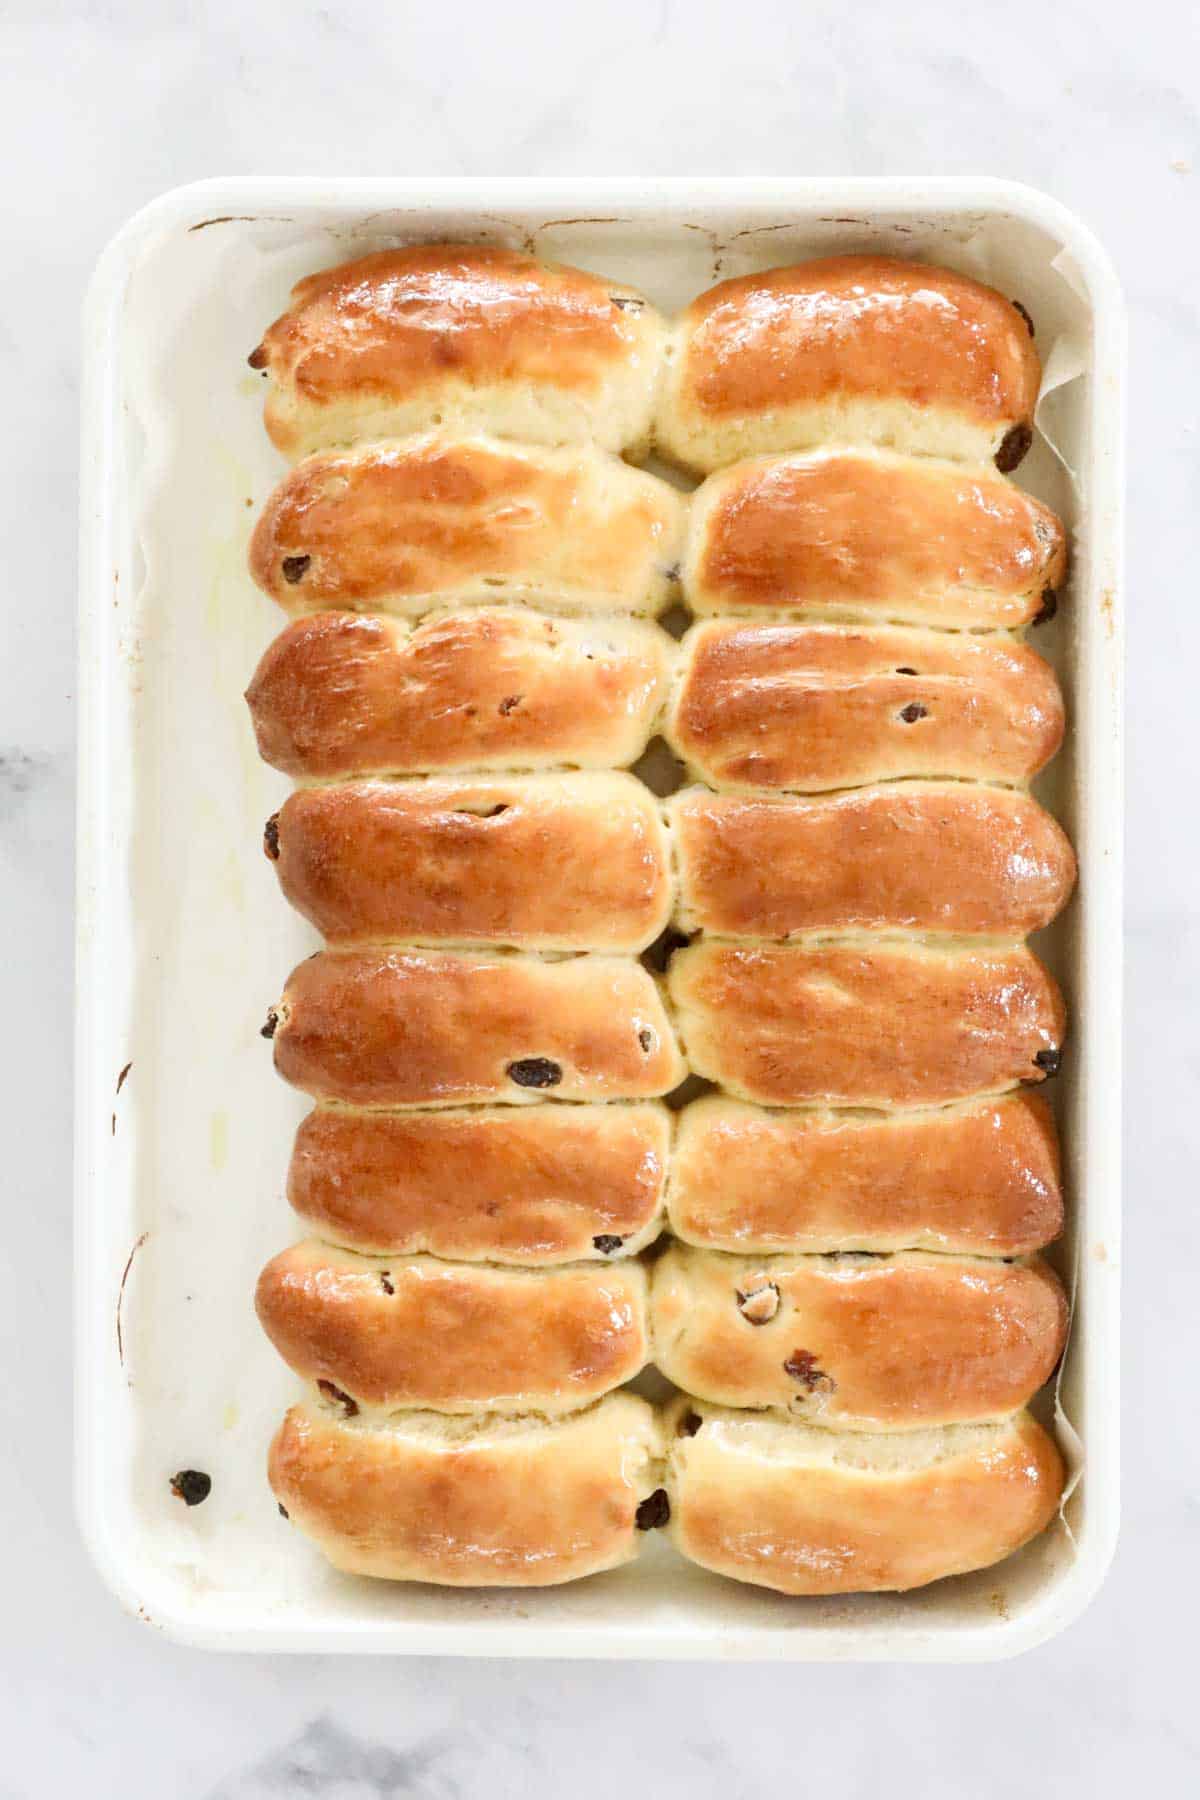
- Step 5: Bake and glaze. Bake for 12 minutes until golden and hollow-sounding when tapped. While still warm, brush over the gelatine glaze and allow to cool.

- Step 6: Ice and decorate. Whisk together the icing sugar, butter, boiling water and pink food colouring. Spread over the buns and decorate with coconut or sprinkles.
Recipe Tips
- Top tip: make sure your yeast is in date and still active, and mix it with warm (not hot) milk to help it activate. It's ready when frothy.
- Warm places for proving: a sunny spot, a switched-off oven that's been briefly warmed, on top of a hot water bottle, or near a warm heater.
- Leaving the dough to rise properly is essential - don't rush this step, it needs to double in size.
- Glaze the buns while still warm for the best sticky, glossy finish.
- Storage: store at room temperature in an airtight container for up to 3 days, they're best on the day they're made.
- Freezing: freeze in an airtight container for up to 1 month, ideally un-iced, though freezing with icing works too. Defrost before reheating or serve at room temperature.
Finger Buns FAQs
Gently tap the top of the buns, if they sound hollow, they're cooked.
Yes, freeze in an airtight container for up to 1 month. It's best to freeze them un-iced if possible, but it's fine to freeze with the icing on too.
No, the dough is an enriched dough containing butter, sugar and egg, which creates a soft, fluffy, sweet and buttery texture rather than a plain bread dough.
Yes. This dough is very forgiving and the step-by-step tips for proving make it a great first bread recipe, even complete beginners have had great results.
More Classic Sweet Treats
For more classic sweet treats loved by all the family, check out these other popular recipes:



Finger Buns
Ingredients
For The Finger Buns
- 14 g (4 tsp) dried yeast
- 55 g (¼ cup) caster sugar
- 375 ml (1 ½ cups) warm milk
- 600 g (4 cups) bread flour or plain flour
- 60 g butter chopped, room temperature
- 1 egg lightly beaten
- 80 g (½cup) sultanas optional
For the glaze:
- 1 tbs caster sugar
- 1 tsp gelatine powder
- 1 tbs hot water
For the icing:
- 240 g (1 ½ cups) pure icing sugar
- 15 g butter softened
- 2 tbs boiling water
- 1-2 drops pink food colouring
- desiccated coconut or 100s and 1000s to decorate
Instructions
- Place the dried yeast, caster sugar and warm milk into a bowl. Whisk to combine. Allow to sit in a warm place for 10 minutes or until frothy. If using a Thermomix: Place milk, yeast and caster sugar into the Thermomix bowl and mix for 1 minute, 37 degrees, Speed 1.
- In a large bowl, sift the flour. Rub the butter through the flour until the mixture resembles fine breadcrumbs. If using a Thermomix: Add flour, butter and egg and mix for 6 seconds, Speed 7.
- Pour in the yeast mixture, the whisked egg and the sultanas. If using a Thermomix: Knead for 2-3 minutes on Interval/Kneading function. Add the sultanas and combine for 10 seconds, Reverse, Speed 5.
- Stir together until the mixture forms a round dough ball.Grease a bowl with cooking spray and place the dough ball into the bowl.
- Cover with a tea towel and leave in a warm spot to rise for 45 minutes or until doubled in size (see notes).
- Preheat oven to 200 degrees celsius (fan-forced).
- On a lightly floured board, place the dough and knead for 5 minutes.
- Divide the dough into 16 equal sized portions and roll each portion into a log-shaped bun.
- Place the logs onto a large 30cm x 45cm greased baking tray. Set aside for a further 10 minutes to prove.
- Bake the buns for 12 minutes or until golden and they sound hollow when tapped on top.
- While the buns are still warm, place the caster sugar, gelatine powder and water into a bowl. Heat on 50% power in the microwave for 30 seconds or until the gelatine has dissolved. Stir the glaze.Brush the glaze over the top of the buns. Allow the buns to cool before making the icing.
- To make the icing, sift the icing sugar into a bowl. Add the softened butter, boiling water and 1-2 drops of pink food colouring. Whisk until smooth and combined. If using a Thermomix: place the icing sugar into the Thermomix bowl and sift for 10 seconds, Speed 8. Scrape down the sides of the bowl and add the butter, boiling water and 1-2 drops of pink food colouring. Mix for 6 seconds, Speed 6. Scrape down the sides of the bowl and repeat for a further 5 seconds or until combined.
- Spread the icing over the buns and decorate with coconut or 100s and 1000s.
Notes
- a sunny spot in the house
- heat an oven on low temperature and then turn off - allow the oven to cool until only just warm and place the bowl inside
- pour boiling water into the bowl and leave for 5 minutes - drain the bowl, grease lightly and place the dough inside
- place the bowl on top of a hot water bottle
- place the bowl near a warm heater.
- Make sure that your yeast is in date and still active.
- Mix the yeast with warm milk to help it dissolve and activate. You'll know it's ready when it becomes frothy.
- Leaving the dough in a warm place is essential for it to rise and double in size. See my tips above for proving dough.
- Glaze the cooked finger buns while they're still warm.
- Store in an airtight container at room temperature for up to 3 days (they are at their very best the day they are made).
- Freeze the buns in an airtight container for up to 1 month. Allow to defrost before reheating or alternatively, serve at room temperature once defrosted.
Oky Verlo says
A good recipe for a novice; made them as a surprise for my mum, and only slightly bungled the measurements (I was going by weight but my scale died T~T)
Libby says
This is the best finger bun recipe I have tried. For my oven I only used 180 degrees. Easy and tasty.
Doog says
Wow, amazing, what an orsm recipe. They look and taste like the real deal, but so so much better. Thank you for your orsmness. Ps did replace the egg for a duck egg
Novice baker says
Loved this recipe and the kids loved it more. Is there an alternative to using egg? I want to cook for a birthday party but a class mate has an allergy
Lucy says
Hi there, you could try using a chia egg or apple puree instead.
Carrie says
These are super easy and everyone LOVED them! Making more today x
Jodie says
Delicious and easy to make even more beginners who aren’t that experienced with using yeast.
The only thing I wish it had was the yummy thick icing they put on fingers buns at woolies and bakers delight!