
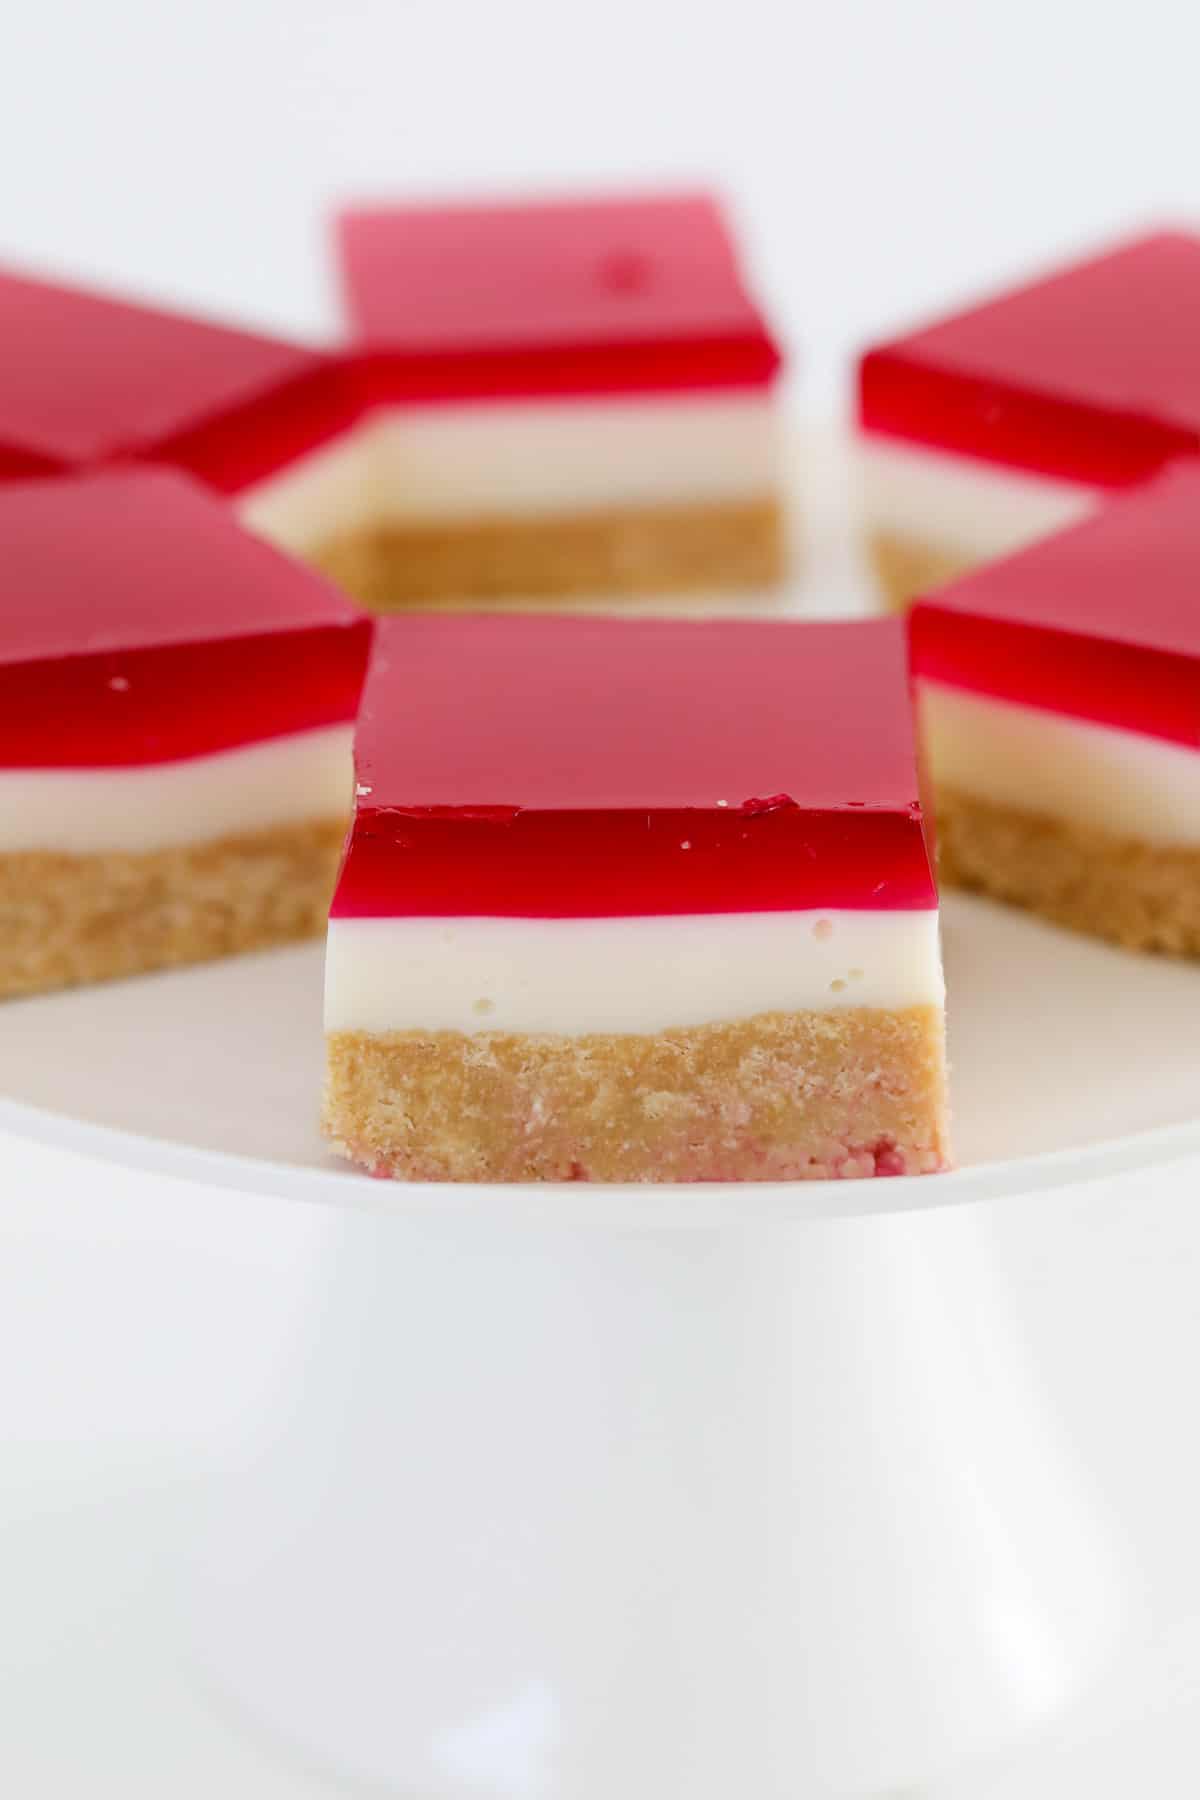
Bright, sweet and nostalgic, Jelly Slice is the ultimate no-bake Aussie treat. With its colourful layers and creamy filling, it’s perfect for parties, afternoon tea or a simple sweet fix. If you love classic slices, then don’t miss my Chocolate Caramel Slice or Mars Bar Slice – both guaranteed crowd-pleasers!
This recipe was perfect, exactly how I remember it growing up!
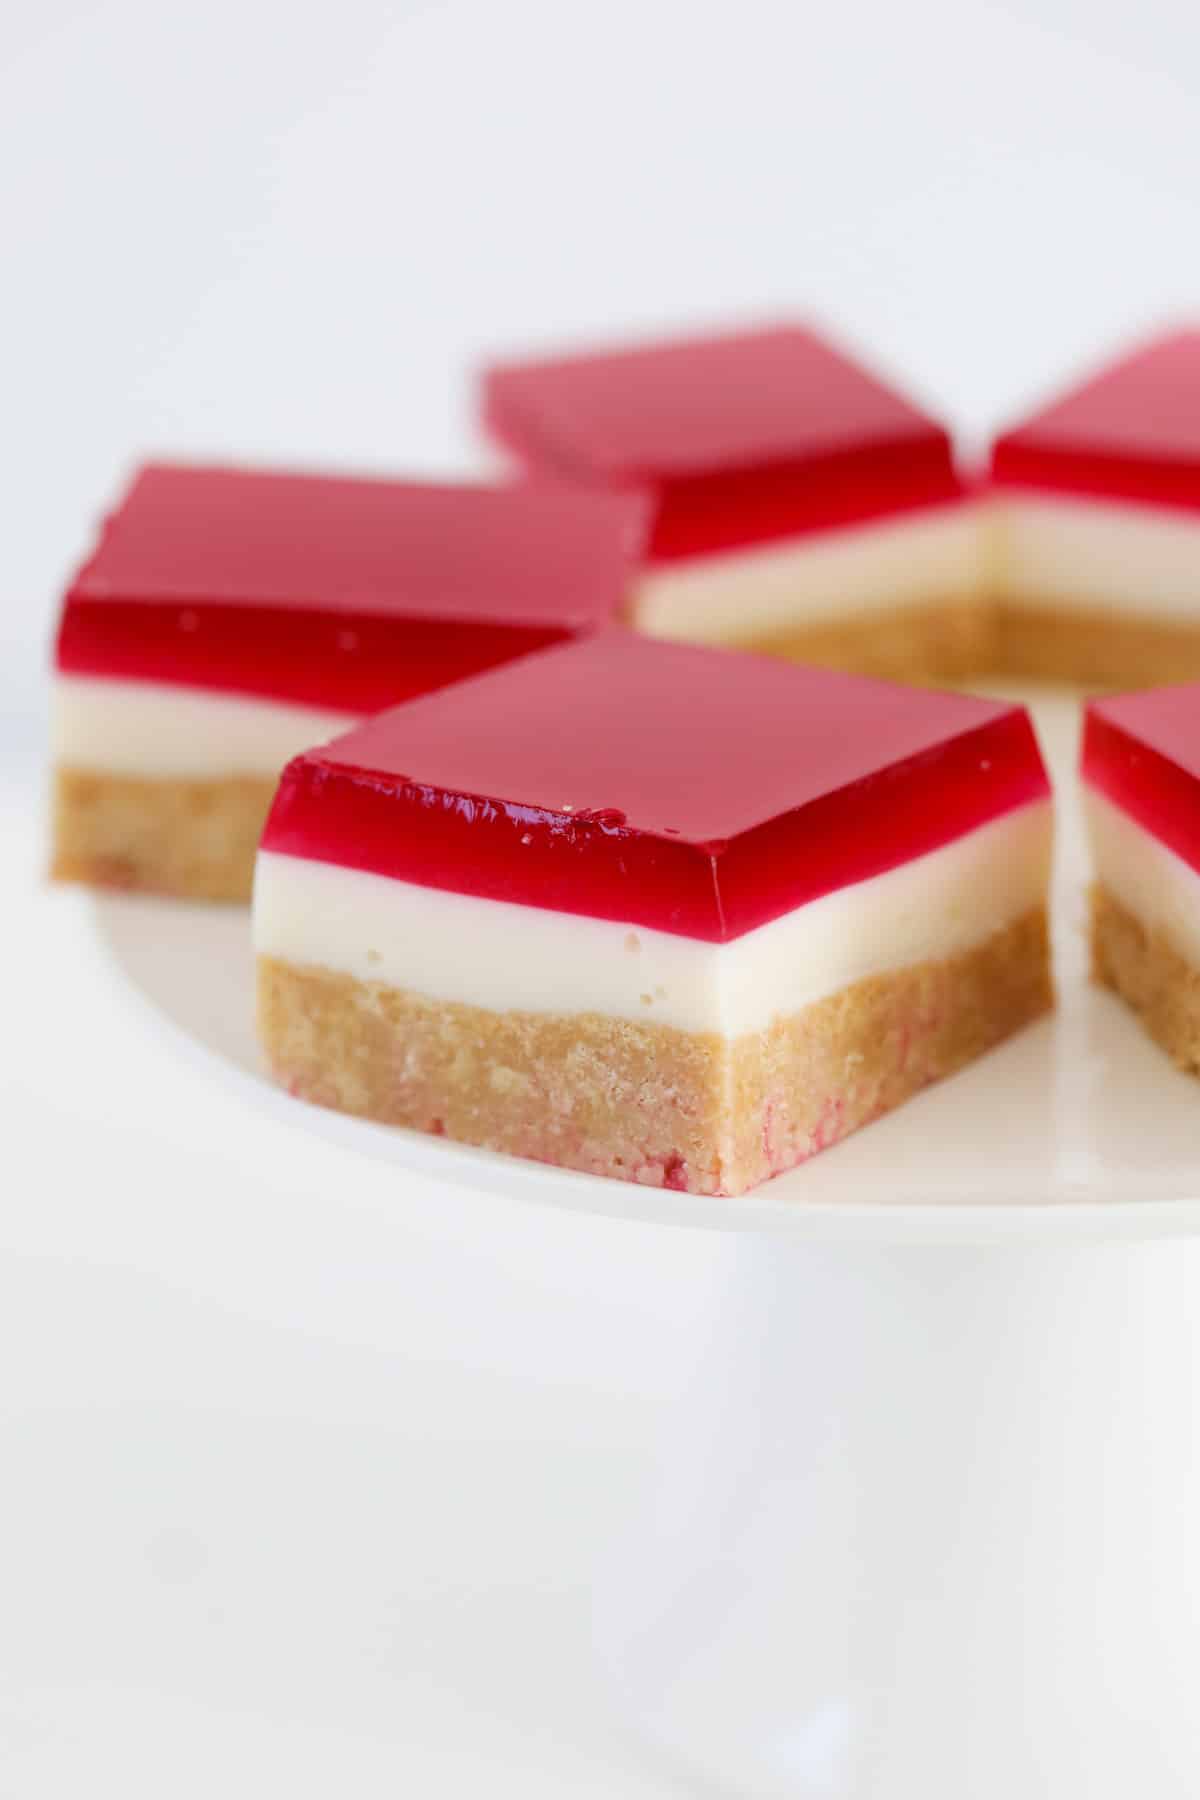
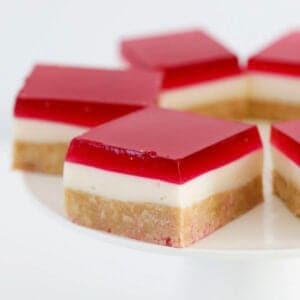
It has nice even layers and both the condensed milk and jelly layers set really well.
- Michelle
Bright, sweet and nostalgic, Jelly Slice is the ultimate no-bake Aussie treat. It's the one you remember from school fetes and Nanna's fridge — and it's always the first to disappear at a party!
Just like vanilla custard slice, lemon coconut slice, easy chocolate brownies, chocolate coconut slice, and Clinkers slice, the jelly slice is easy to make and is loved by kids and adults alike.
Why You're Going To Love This Recipe
Classic Jelly Slice is still just as loved today as it was when Nanna made it. It’s timeless, colourful, and always disappears fast!
- No oven required – Just 15 minutes of prep and your fridge does the rest.
- Looks impressive, but secretly easy – The layers make it look fancy, but it’s seriously foolproof.
- Perfect for entertaining – Make it ahead, cut into perfect little squares, and serve straight from the fridge.
- Fun to customise – You can mix and match biscuit bases or use different jelly flavours.
- A hit with all ages – Kids love the jelly, grown-ups love the nostalgia!
Jump to:
Slice Ingredients
Classic Jelly Slice is made using just 6 ingredients...
Note: Scroll to the recipe card at the bottom for the ingredients quantities and full detailed method.
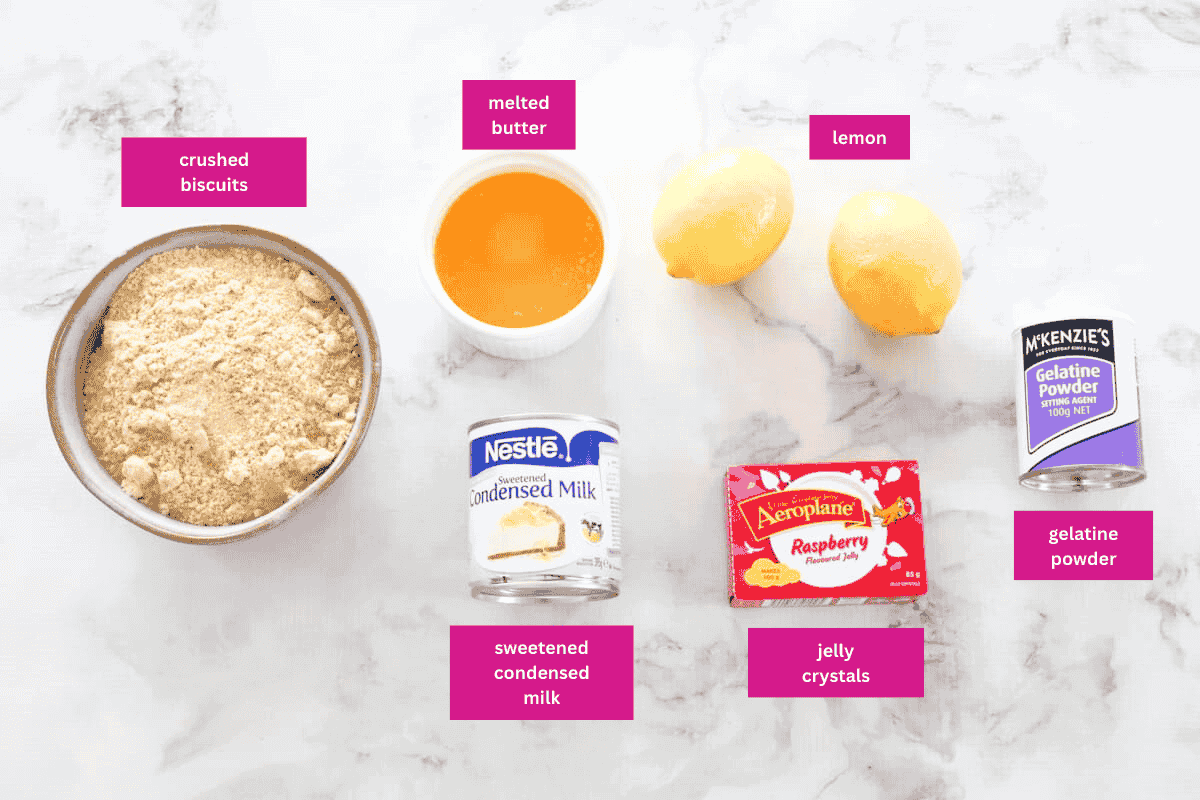
- Plain sweet biscuits – I use Arnott’s Marie biscuits, but any plain biscuit will do. If you're not in Australia, try Digestives or Graham crackers.
- Sweetened condensed milk – Go full-fat here for the best set and creaminess.
- Lemon juice – The acidity thickens the condensed milk. Fresh or bottled both work fine.
- Gelatine – You’ll need powdered gelatine (not leaves), dissolved properly so your filling sets up firm but creamy.
- Jelly crystals – I love using raspberry or strawberry for that classic look. Aeroplane is my go-to.
Variations
- Gluten-Free Jelly Slice – Swap the biscuits for a gluten-free variety (like Leda or Arnott’s GF range).
- Citrus twist – Add orange zest to the filling for a zesty flavour boost.
- Tropical vibe – Use mango or pineapple jelly and a coconut biscuit base for a summery twist.
- Layered colours – Make two different jelly layers for a rainbow party effect (just be sure each layer sets before adding the next).
How To Make Jelly Slice
This recipe only takes about 15 minutes of hands-on prep — the fridge does the rest! All you need is a little patience while the layers set up just right.
Note: Scroll to the recipe card at the bottom for the ingredients quantities and full detailed method.
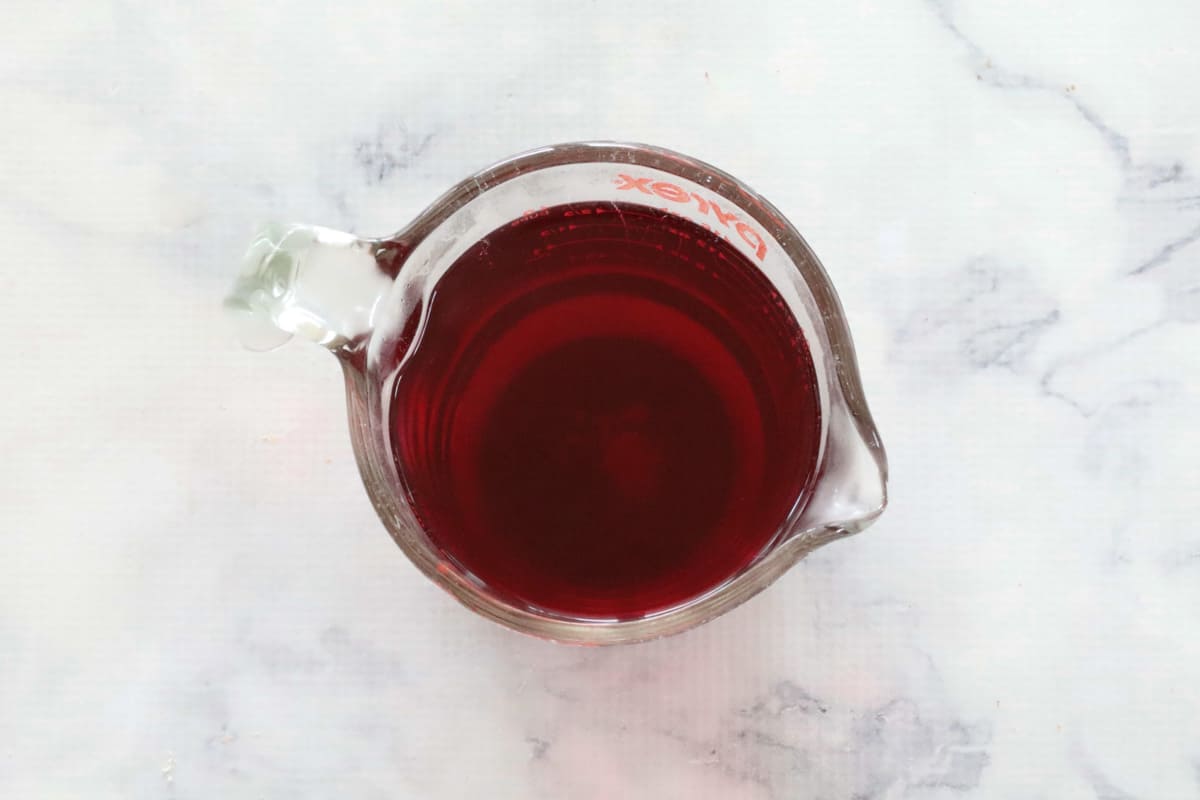
- Step 1: Make the jelly first – Prepare jelly according to packet instructions, then leave it on the bench to cool (don’t refrigerate yet).
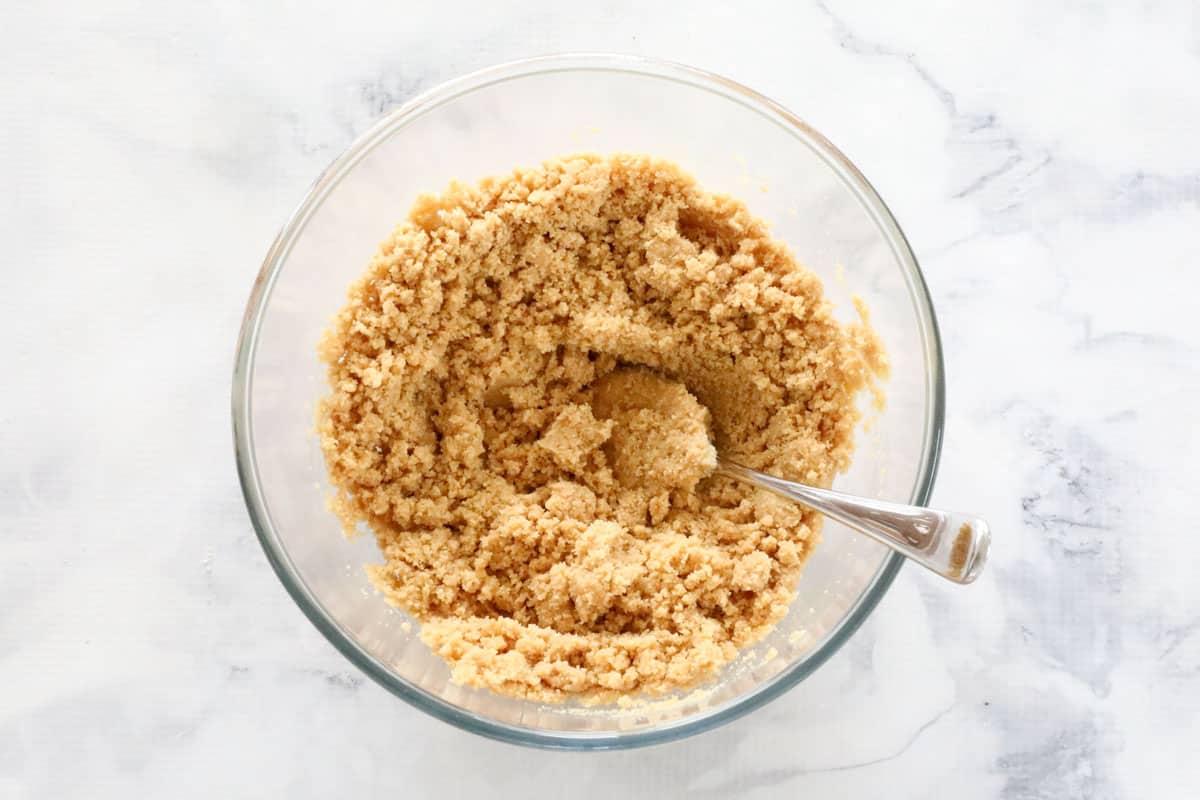
- Step 2: Crush the biscuits – Blitz in a food processor or bash with a rolling pin. Mix with melted butter.
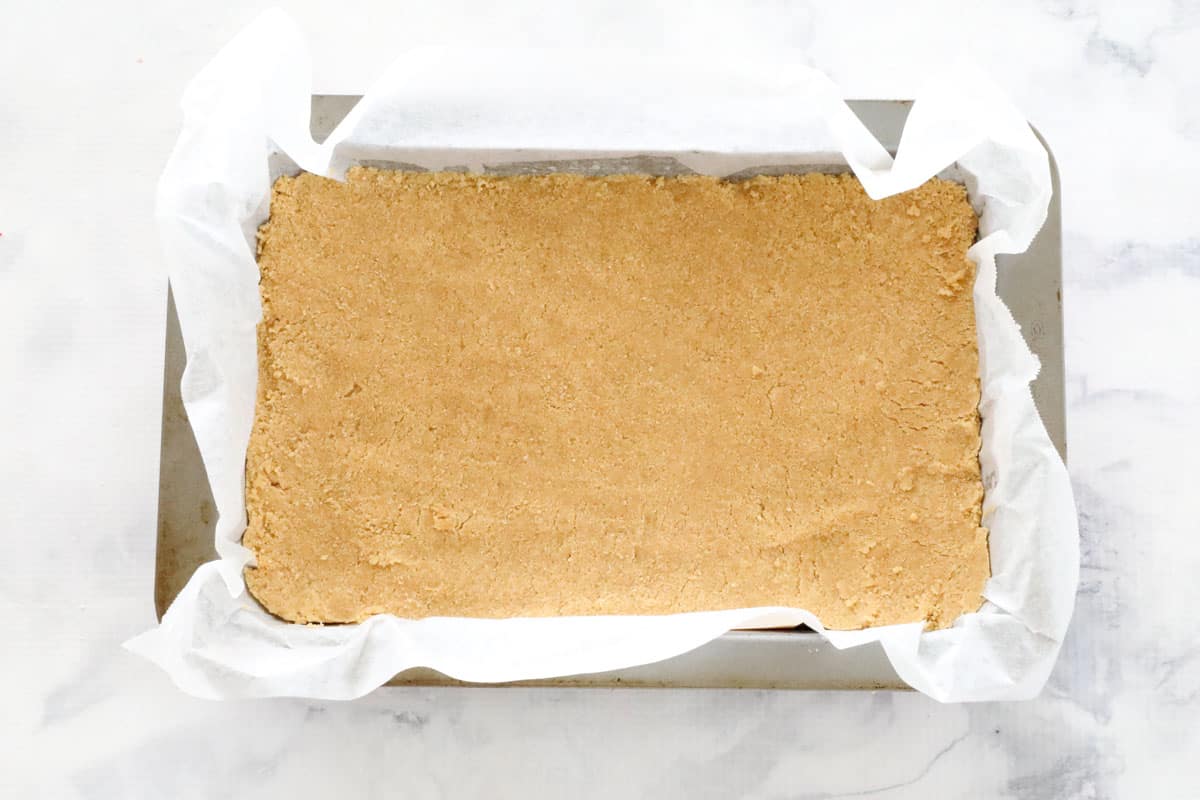
- Step 3: Make the base – Press the biscuit mixture firmly into your lined tin. Pop into the fridge to set.
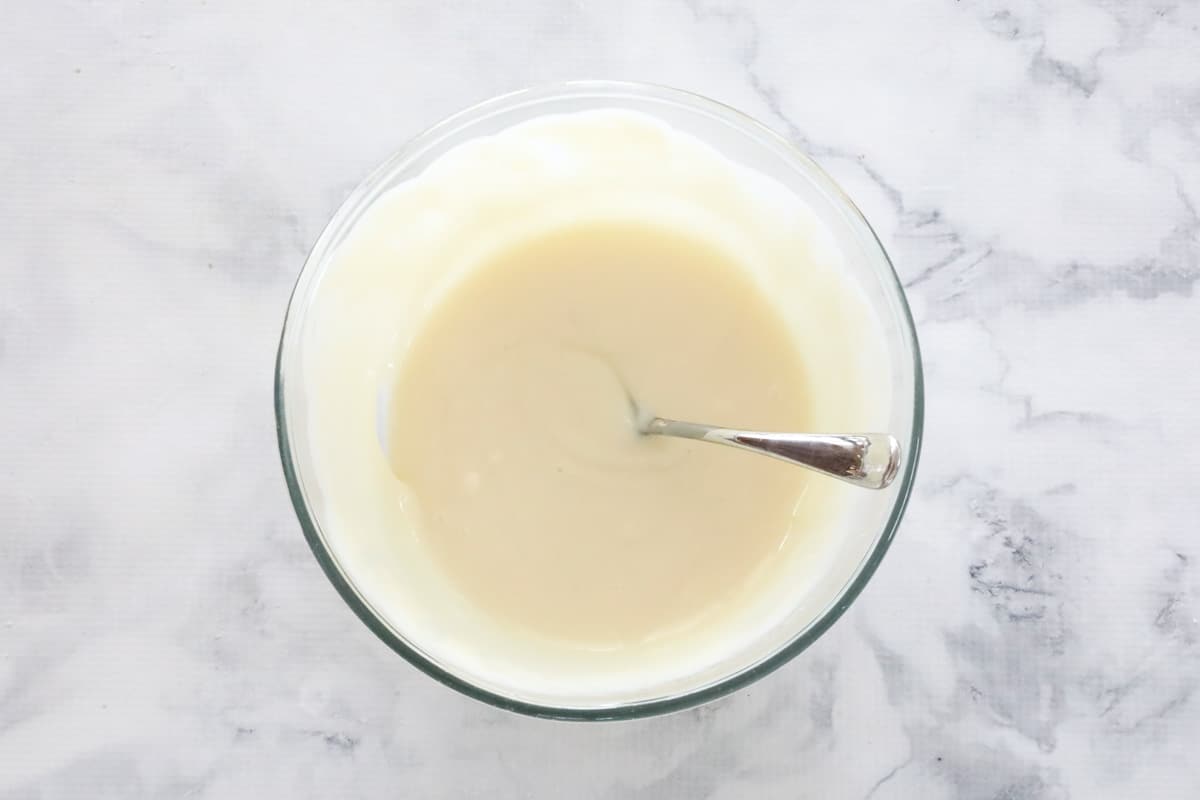
- Step 4: Mix the creamy filling – Whisk sweetened condensed milk, lemon juice and dissolved gelatine until combined and slightly thickened.
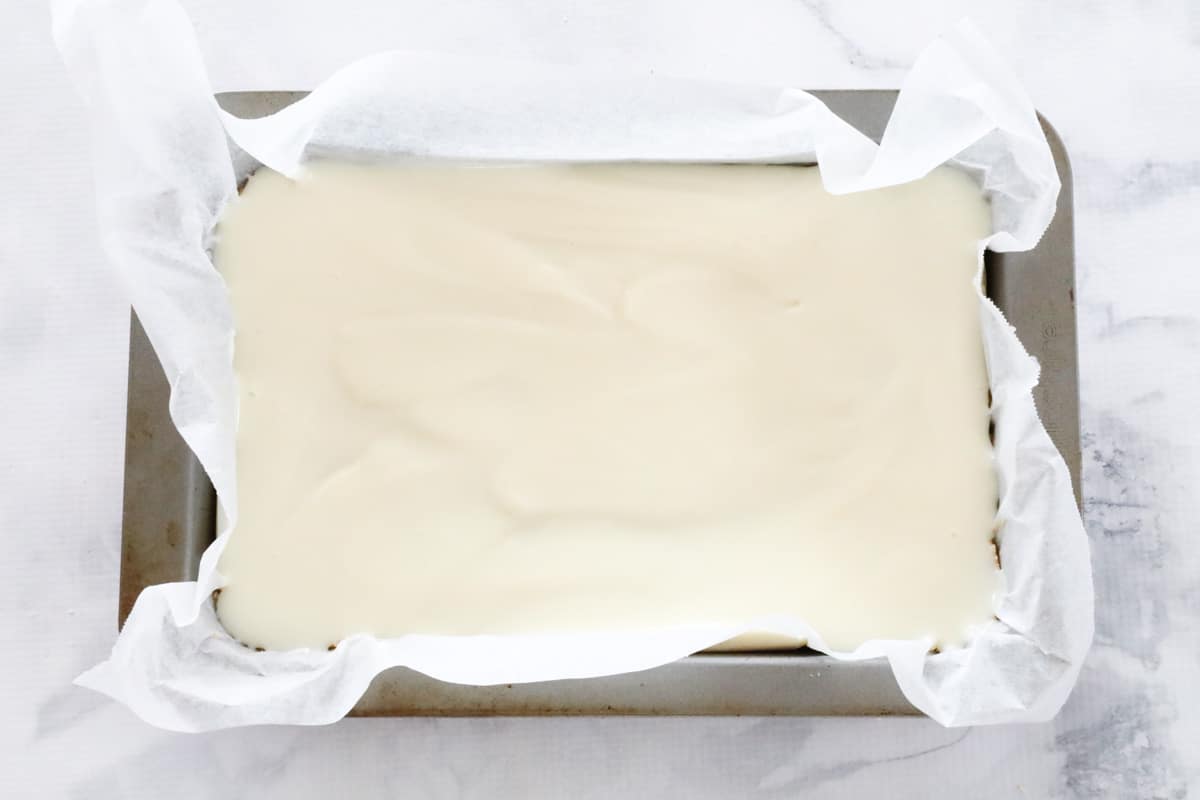
- Step 5: Pour and chill – Pour the filling over the base and chill for about 1 hour, or until set.
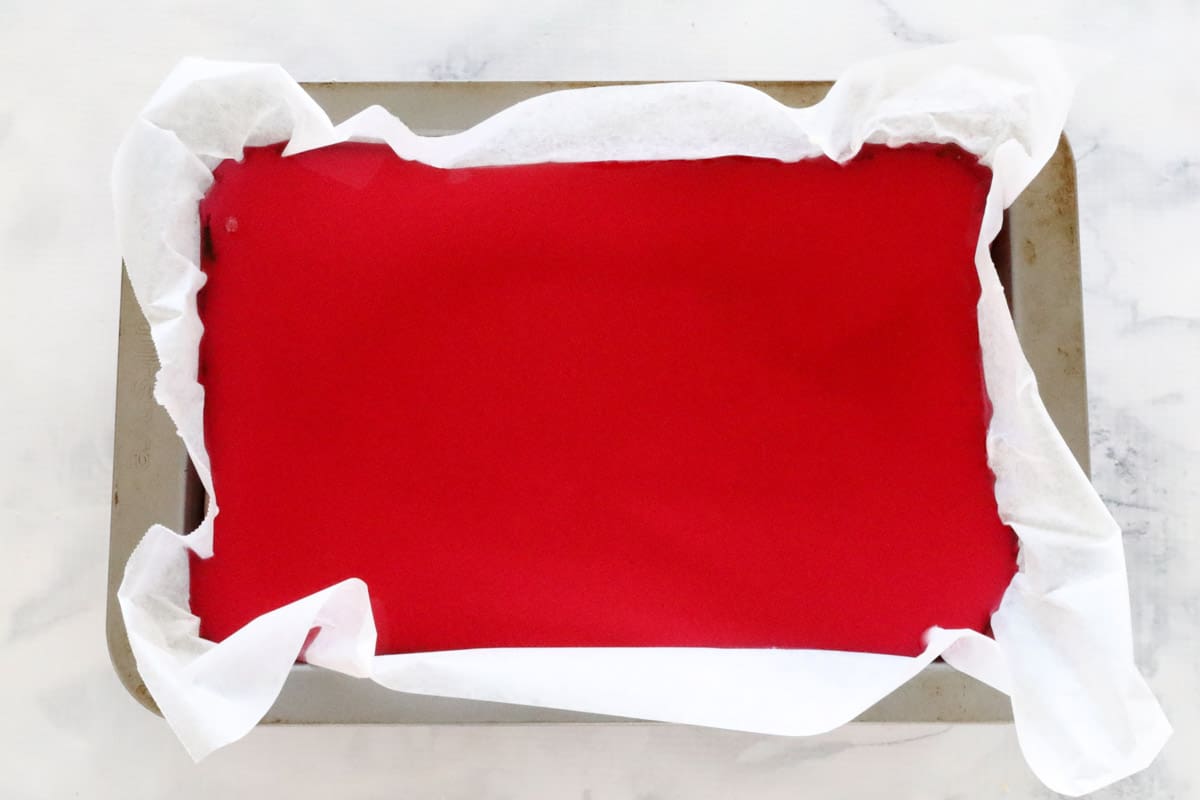
- Step 6: Add the jelly layer – Gently pour the cooled jelly over the filling. Refrigerate for 5+ hours or overnight.
Recipe Tips
- Don’t rush the layers – let each one set properly to avoid mixing.
- Dissolving the gelatine - sprinkle the gelatine over cold water and let it sit for 5 minutes to bloom. Then place the bowl in a larger bowl of hot water and stir until the gelatine has dissolved.
- Always cool the jelly before pouring – warm jelly can melt the creamy layer.
- Use a warm knife for slicing – dip in hot water and wipe between cuts.
- Press the base firmly – this helps it stay intact when slicing.
- Chill on a flat surface – so your jelly sets evenly.
- Store in the fridge in an airtight container for up to 3 days.
- Not freezer-friendly – the texture of the jelly changes once frozen.
- For easy removal – use baking paper with overhanging sides.
Jelly Slice FAQs
All your Jelly Slice recipe questions are answered...
Not for this version – the gelatine helps the creamy layer set without baking.
Yes! Raspberry, strawberry, orange, or even lime – all work well.
The jelly may have been too warm when poured or not measured correctly. Make sure it cools to room temp first.
Absolutely – it’s best made a day in advance so it sets overnight.
Yes! You can use your Thermomix for the base and the filling.
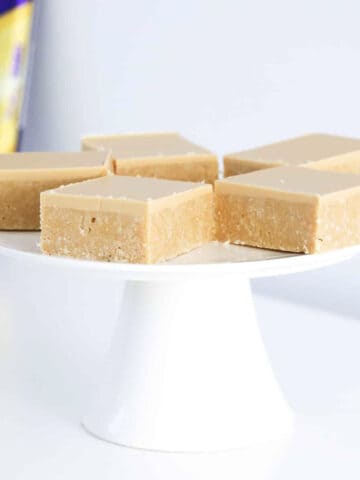
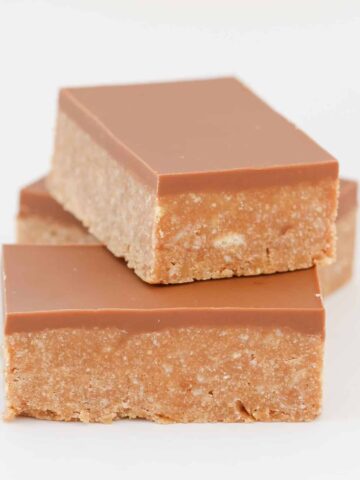
More No-Bake Slice Recipes
Simple, no-fuss, no-bake slices that the whole family will love!
WANT EVEN MORE DELICIOUS RECIPES? Subscribe to my newsletter or follow along on Facebook or Instagram. And if you love baking, then please come and join my Facebook cooking club group or subscribe to my YouTube channel.
Jelly Slice
Ingredients
- 85 g packet jelly crystals like Aeroplane jelly
- 250 g plain sweet biscuits/cookies like Arnott's Mare biscuits
- 175 g melted butter
- 85 g (⅓ cup) water see notes
- 3 teaspoon gelatine powder see notes
- 395 g sweetened condensed milk full fat (not skim or light)
- juice of 2 lemons
Instructions
Conventional Method
- Line a 18cm x 28cm rectangular slice tin with baking paper and set aside.
- Prepare jelly according to the packet instructions and set aside on the bench to cool. Do not place the jelly in the fridge as you don't want it to set just yet.
- Crush the biscuits/cookies in a food processor and place into a separate bowl.
- Add the melted butter and mix until well combined.
- Firmly press the mixture into the bottom of the prepared tin and then place into the fridge while you prepare the filling.
- Place the sweetened condensed milk and lemon juice into a separate bowl. Add the dissolved gelatine mixture (see tips below) and mix using a whisk until completely combined.
- Pour the mixture over the prepared base and place into the fridge until set (approximately 1 hour).
- Gently pour the cooled jelly over the top of the slice and place into the fridge for 5 hours or until set.
- Cut into slices and store in an airtight container in the fridge for up to 3 days.
Thermomix Method
- Line a 18cm x 28cm rectangular slice tin with baking paper and set aside.
- Prepare jelly according to the packet instructions and set aside on the bench to cool. Do not place the jelly in the fridge as you don't want it to set just yet.
- Place the butter into the Thermomix bowl and melt for 2 minutes, 80 degrees, Speed 2. Add the biscuits/cookies and mix for 8 seconds, Speed 8 (you may need to scrape down the sides of the bowl partway through). Firmly press the mixture into the bottom of the prepared tin and then place it into the fridge while you prepare the filling.
- Place the sweetened condensed milk and lemon juice into a clean Thermomix bowl. Add the dissolved gelatine mixture (see tips below) and mix for 15 seconds, Speed 4.
- Pour the mixture over the prepared base and place into the fridge until set (approximately 1 hour).
- Gently pour the cooled jelly over the top of the slice and place into the fridge for 5 hours or until set.
- Cut into slices and store in an airtight container in the fridge for up to 3 days.
Notes
- Don’t rush the layers – let each one set properly to avoid mixing.
- Dissolving the gelatine - sprinkle the gelatine over cold water and let it sit for 5 minutes to bloom. Then place the bowl in a larger bowl of hot water and stir until the gelatine has dissolved.
- Always cool the jelly before pouring – warm jelly can melt the creamy layer.
- Use a warm knife for slicing – dip in hot water and wipe between cuts.
- Press the base firmly – this helps it stay intact when slicing.
- Chill on a flat surface – so your jelly sets evenly.
- Store in the fridge in an airtight container for up to 3 days.
- Not freezer-friendly – the texture of the jelly changes once frozen.
- For easy removal – use baking paper with overhanging sides.


Leanne says
Hi, this jelly slice tasted beautiful but I hit the same problem twice.
The jelly ran down through the corners and under the slice. I made sure i had the exact measurements and also made sure the filling was set and the baking paper was high enough all around the baking tin
Any idea what I'm doing wrong?
Lucy says
Hi Leanne, I was going to say to make sure the filling was completely set but you had already done that! So I would suggest making sure that the biscuit base is spread right to the very edges and that the filling layer is too. Also, try to make sure that your baking paper has no grooves/gaps in the sides as this would definitely allow the liquid to seep down. Good luck!
Loretta says
Hi. My husband is a vegetarian and can’t have gelatine.Will the condensed milk and lemon juice still set without it? OR...What can I substitute for the gelatine, please?
Loretta
Lucy says
Hi Loretta, it wont be enough to set it firm unfortunately. This recipe recipe does need gelatine to work sorry!
Kristin says
The jelly has gelatine in it as well.
Kylie says
First time making jelly slice and followed the recipe exactly and my husband said it was perfect. Just how he remembers having it growing up.
Michelle says
This recipe was perfect, exactly how I remember it growing up!
I had nice even layers and both the condensed milk and jelly layers set really well.
Lucy says
Oh I'm so thrilled to hear that!
Tim says
Hi Lucy,
Lovely simple recipe for a great australian classic. However your pictured example has an obscene biscuit-to-jelly ratio. My wife and I have an on going argument about whether there should be a thicker jelly or condensed milk layer (I say condensed milk) but your picture has shown us that it doesn't really matter as long as the biscuit layer isn't the size of the other two layers combined. You may have saved our marriage.