

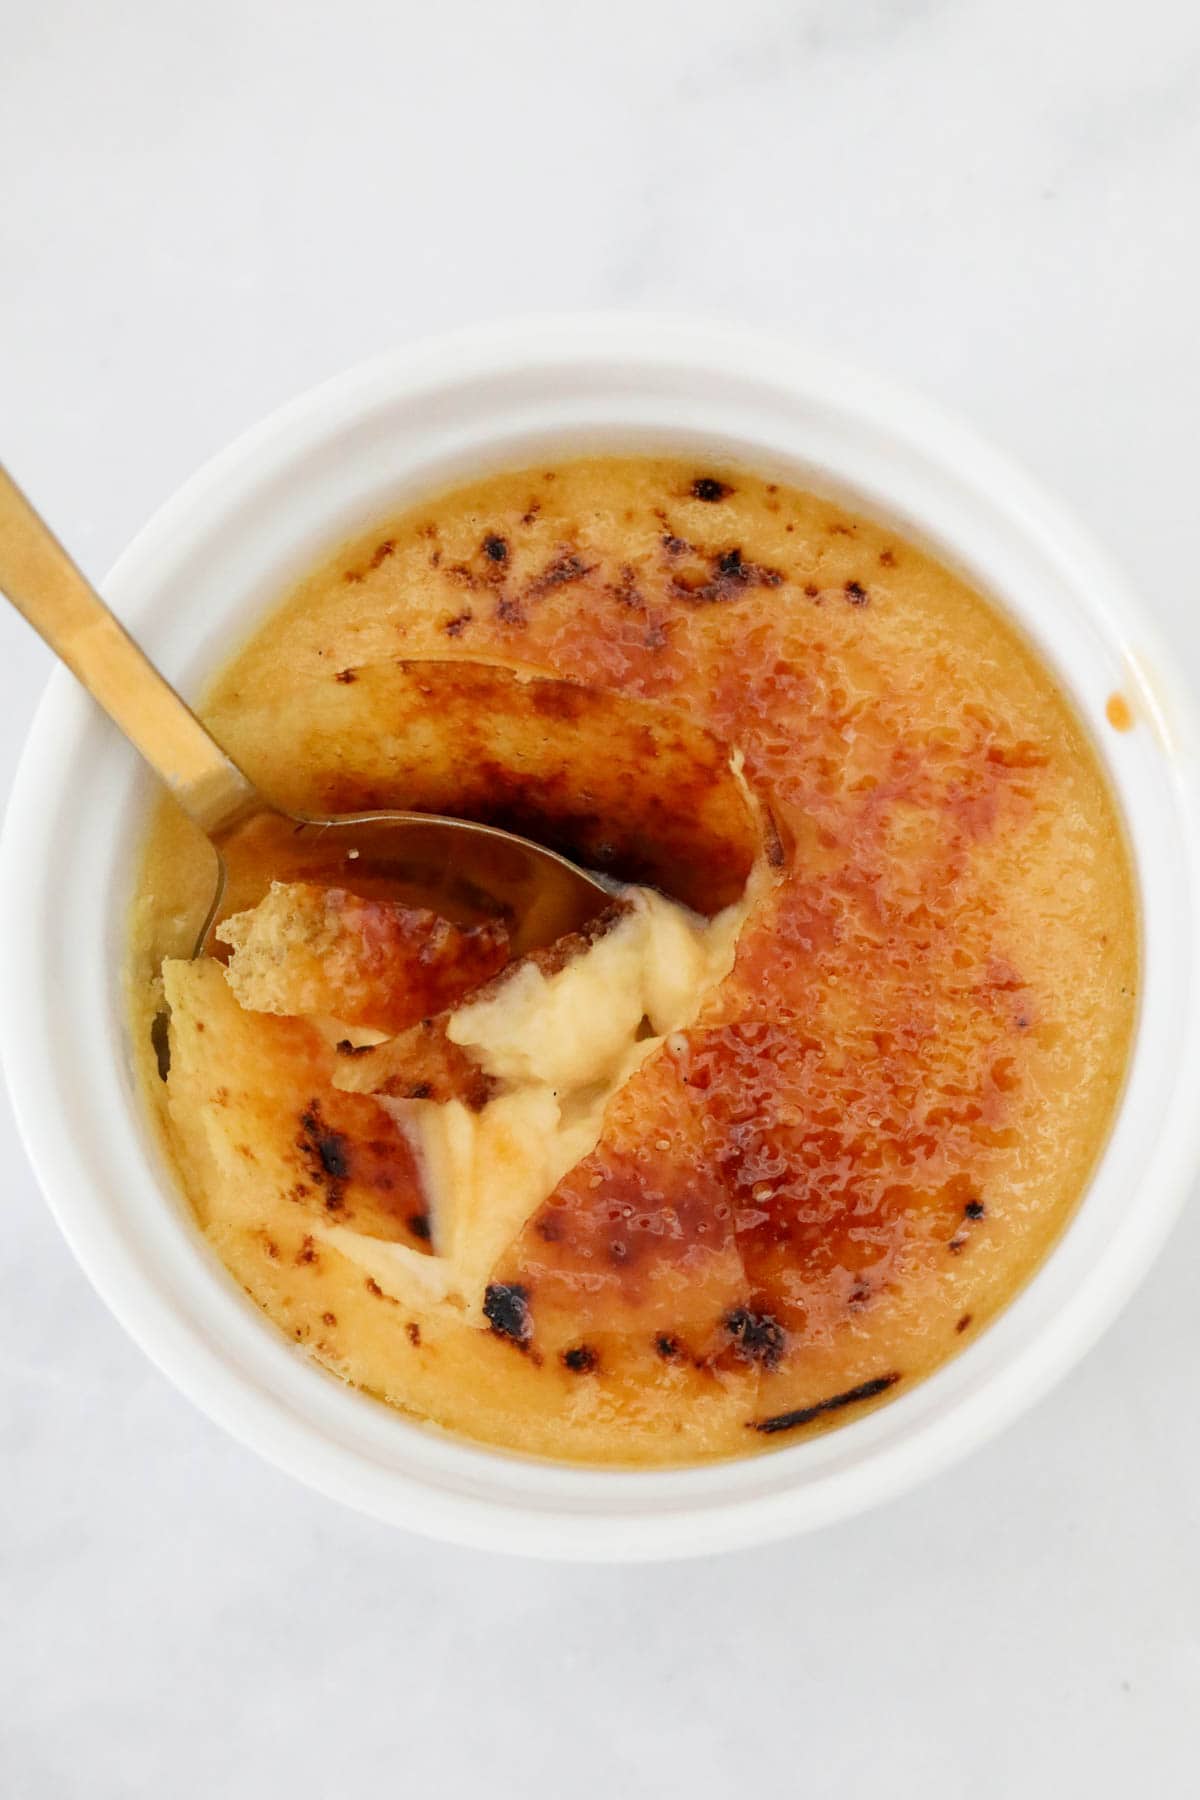
If you've ever paid $18 for a restaurant Crème Brûlée and thought "surely I can't pull that off at home"… good news: you absolutely can! This is my no-fuss, four-ingredient version with a silky vanilla custard and that iconic tap-tap-crack caramel top - and you can make it either on the stovetop or in the Thermomix.
If you're planning a little dinner party moment, pop these on your dessert menu alongside my Lemon Delicious or a classic Apple Crumble - both are total crowd-pleasers and feel "special" without being stressful.
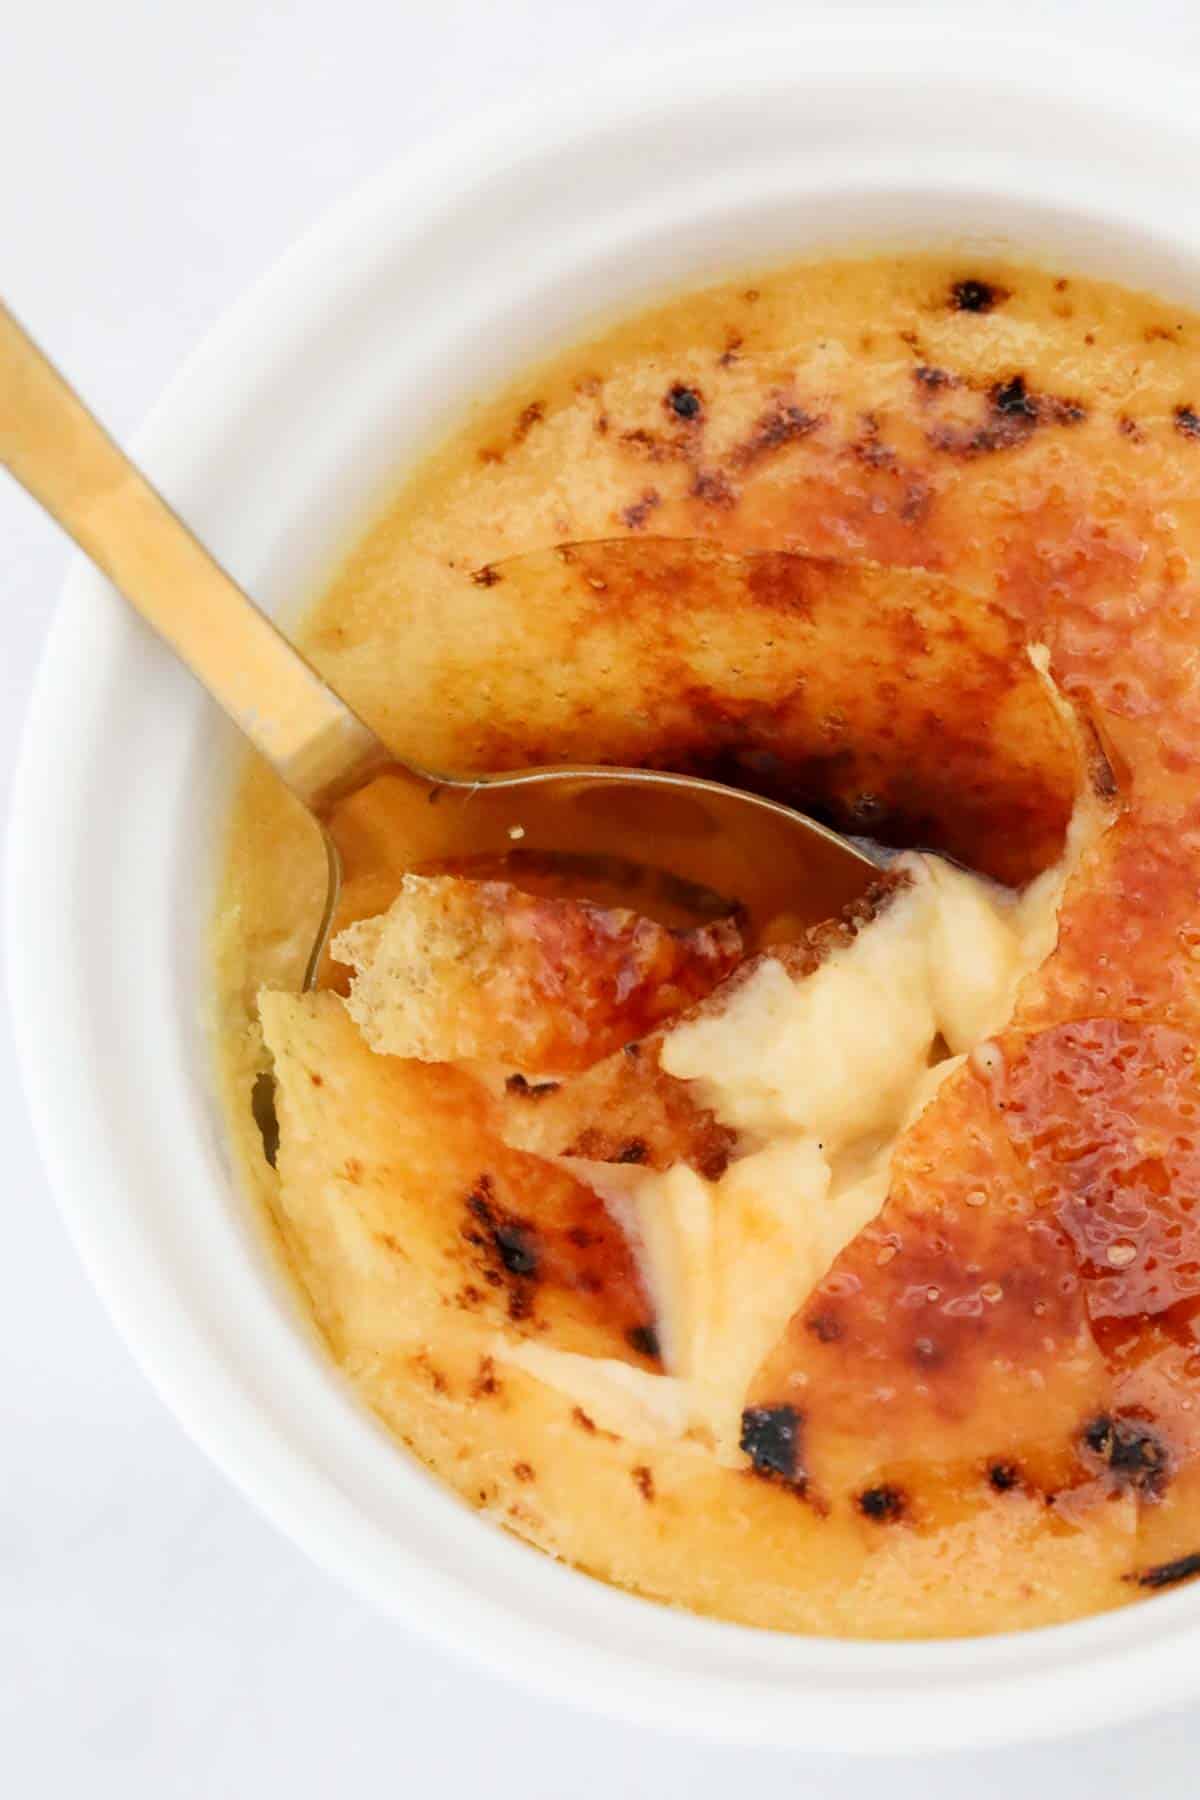
Crème brûlée literally translates to "burnt cream" - a rich baked custard topped with a thin layer of sugar that's caramelised until glassy and golden. The magic is the contrast: cold, creamy custard underneath and warm, crackly sugar on top.
There are a couple of make-or-break details (and the reason this recipe stays beginner-friendly):
- Use heavy cream and egg yolks: key ingredients for a luxurious, velvety Crème brûlée.
- A water bath: baking the ramekins in hot water keeps the heat gentle and moist, helping prevent rubbery custard and cracked tops.
If you love classic custardy desserts, you'll also want to try my Homemade Custard (a staple recipe) and my classic Vanilla Custard Slice - both are cosy, comfort-food favourites that always hit the spot.
Why You're Going To Love This Recipe
- Restaurant vibes at home (without restaurant effort)
- Only 4 ingredients - nothing fancy, just smart technique.
- Make-ahead perfection (bake the day before, torch right before serving).
- Ideal for entertaining - there's something a little special about individual desserts, and this classic dessert easily matches restaurant quality.
- Stovetop or Thermomix - whatever suits your life today, both methods in the recipe card below.
Jump to:
Brulee Ingredients
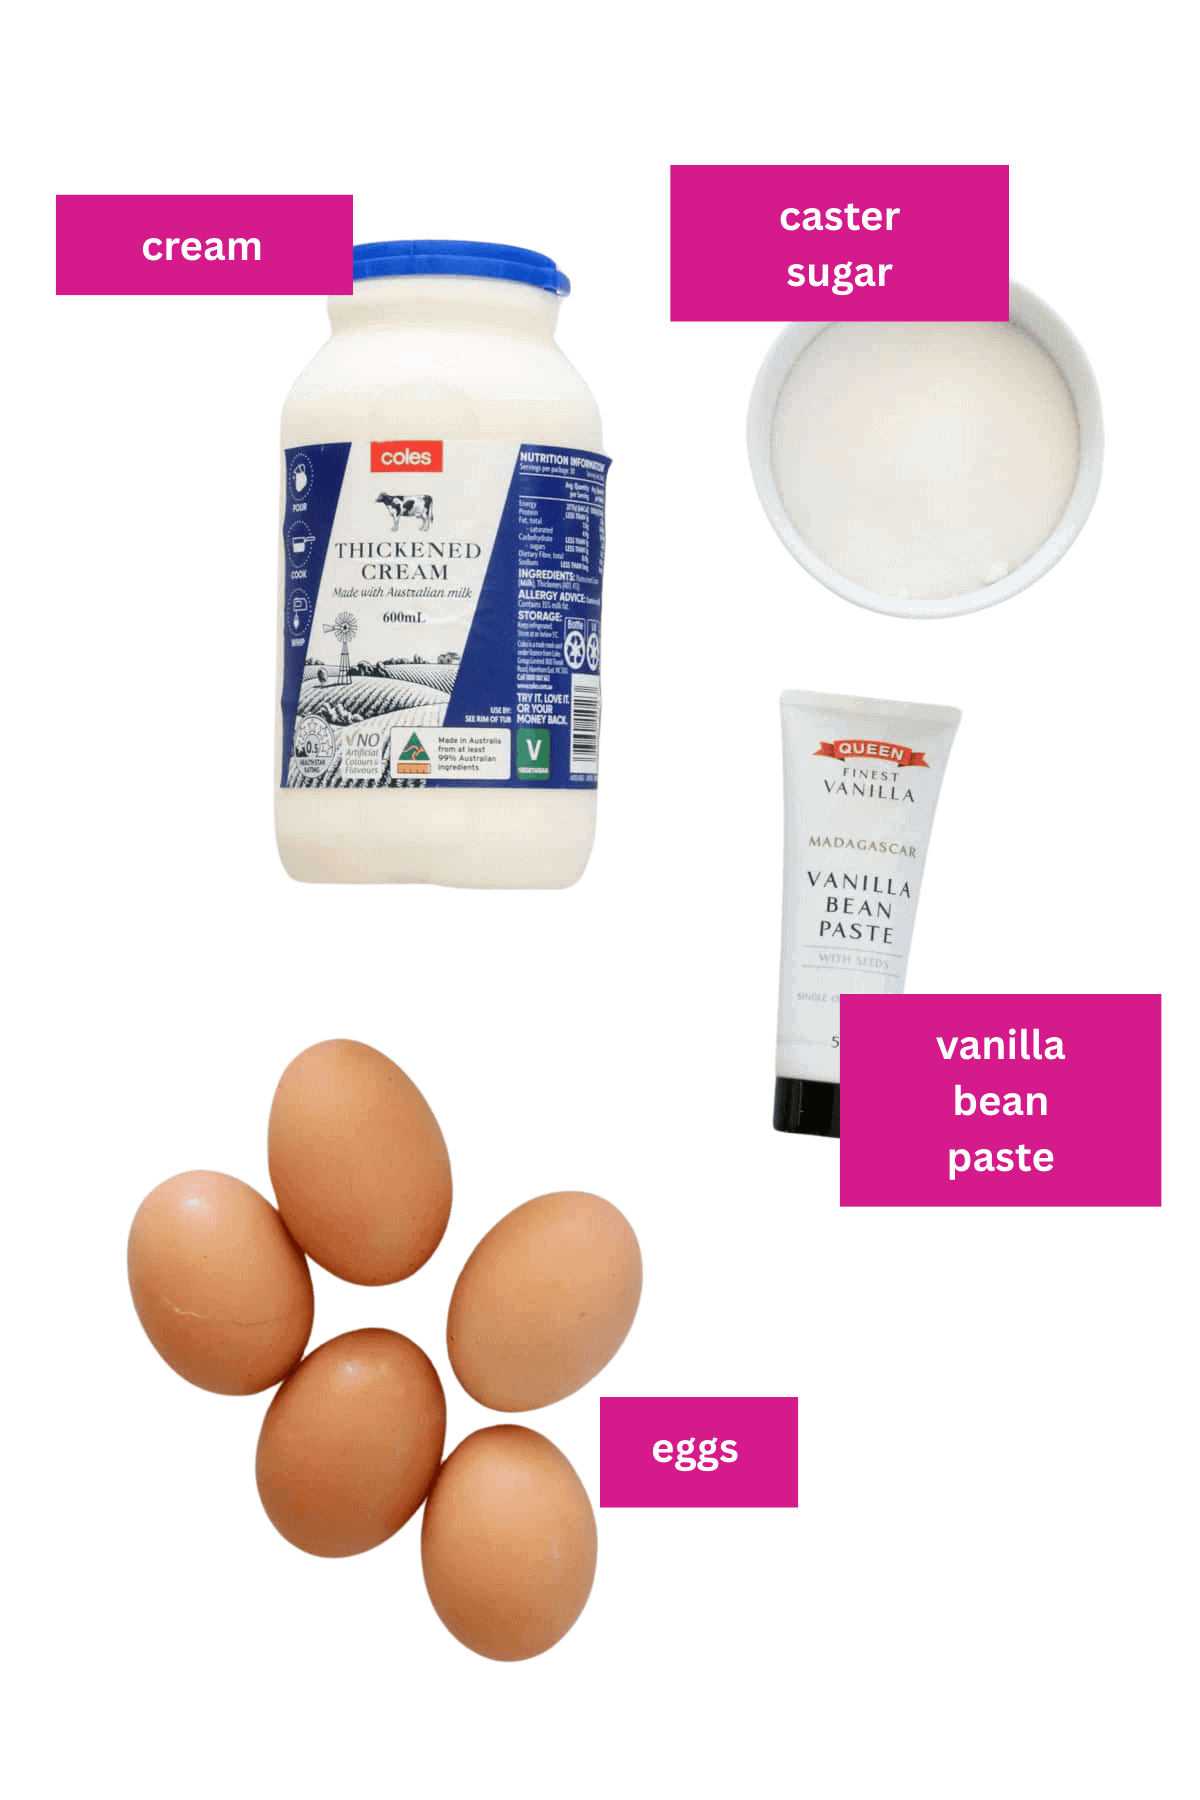
Chances are, you will already have the simple ingredients needed to make this vanilla Crème Brûlée in your kitchen!
Note: Scroll to the recipe card at the bottom for the ingredients quantities and full detailed method.
- Cream (full-fat): Don't skimp here - full-fat heavy/pouring/pure cream gives you that rich, properly set custard.
- Vanilla bean paste/extract: Paste = intense flavour; plus you get those gorgeous specks of vanilla seeds, without the need for expensive vanilla beans/vanilla pod. Vanilla extract or essence just doesn't give the depth of flavour.
- Egg yolks (room temp): Helps prevent curdling for a smooth custard.
Variations
- Citrus Crème Brûlée (GF): Add finely grated orange or lemon zest to the cream as it warms (strain before baking).
- Espresso Vanilla Brûlée (GF): Stir in a small pinch of espresso powder for a subtle coffee flavour.
- Salted Caramel-ish Brûlée (GF): Add a tiny pinch of salt to the custard base to boost flavour (not salty, just "wow").
- Dairy-free (not classic, but doable): Swap to a full-fat coconut cream (results will taste coconutty and set a little differently, though).
Need To Substitute An Ingredient?
Ask ChatGPT for suggestions on how to substitute the particular ingredient:
Special Equipment Required
- Blow torch/butane torch/kitchen torch - for creating that distinctive burnt sugar crust. You can pick up a butane torch from kitchen specialty stores or most department stores, and a basic one for occasional home use usually costs around $25-$40.
- Note: if you don't have a butane torch, you can use an oven grill/broiler to caramelise the sugar instead.
- Individual ramekins - those little single-serve pots are part of what makes crème brûlée feel so special.
How To Make Crème Brûlée
Whilst it is a restaurant favourite, Crème Brûlée is actually SO easy to make at home!
Note: Scroll to the recipe card at the bottom for the ingredients quantities and full detailed method.
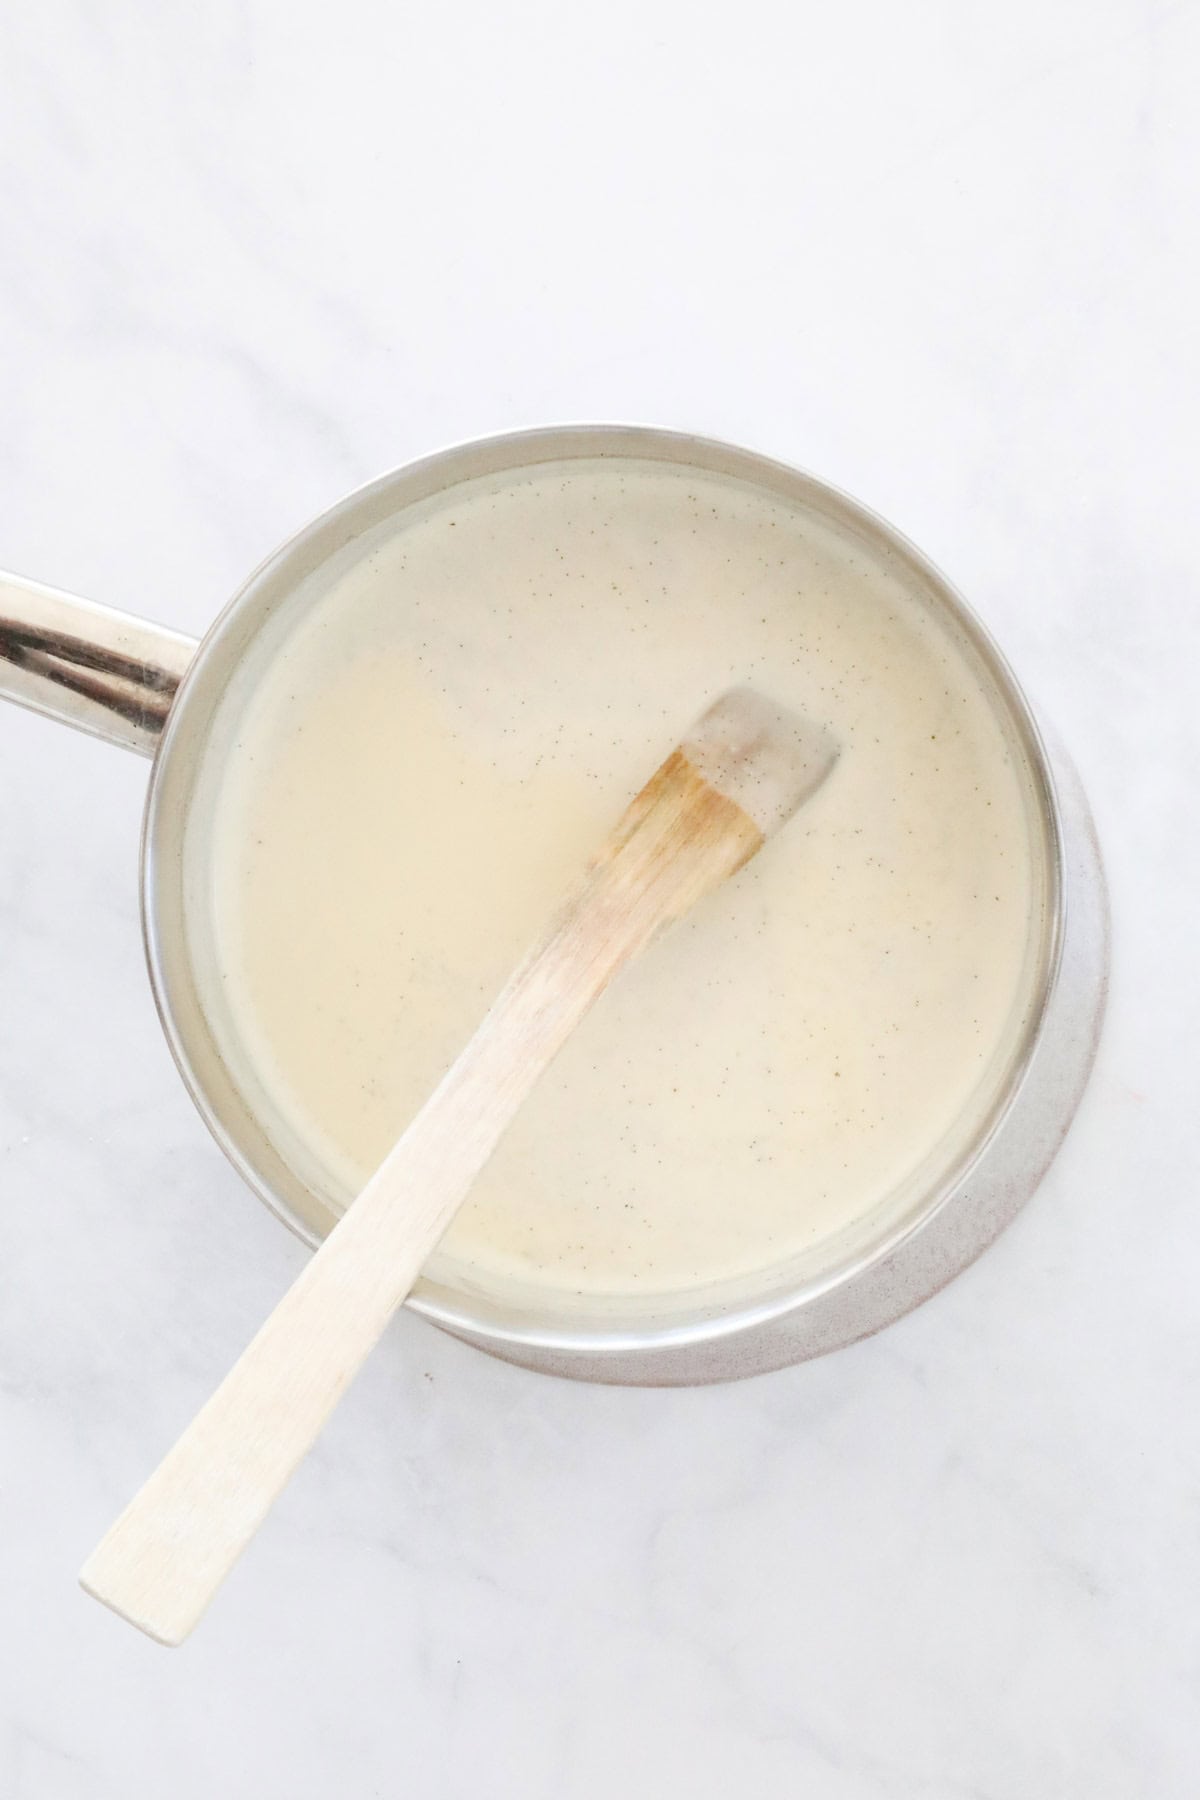
- Infuse cream & vanilla: Warm cream + vanilla on medium-low until just simmering (not boiling) and stir for 5 minutes. Remove the hot cream from the heat and cool to room temperature.
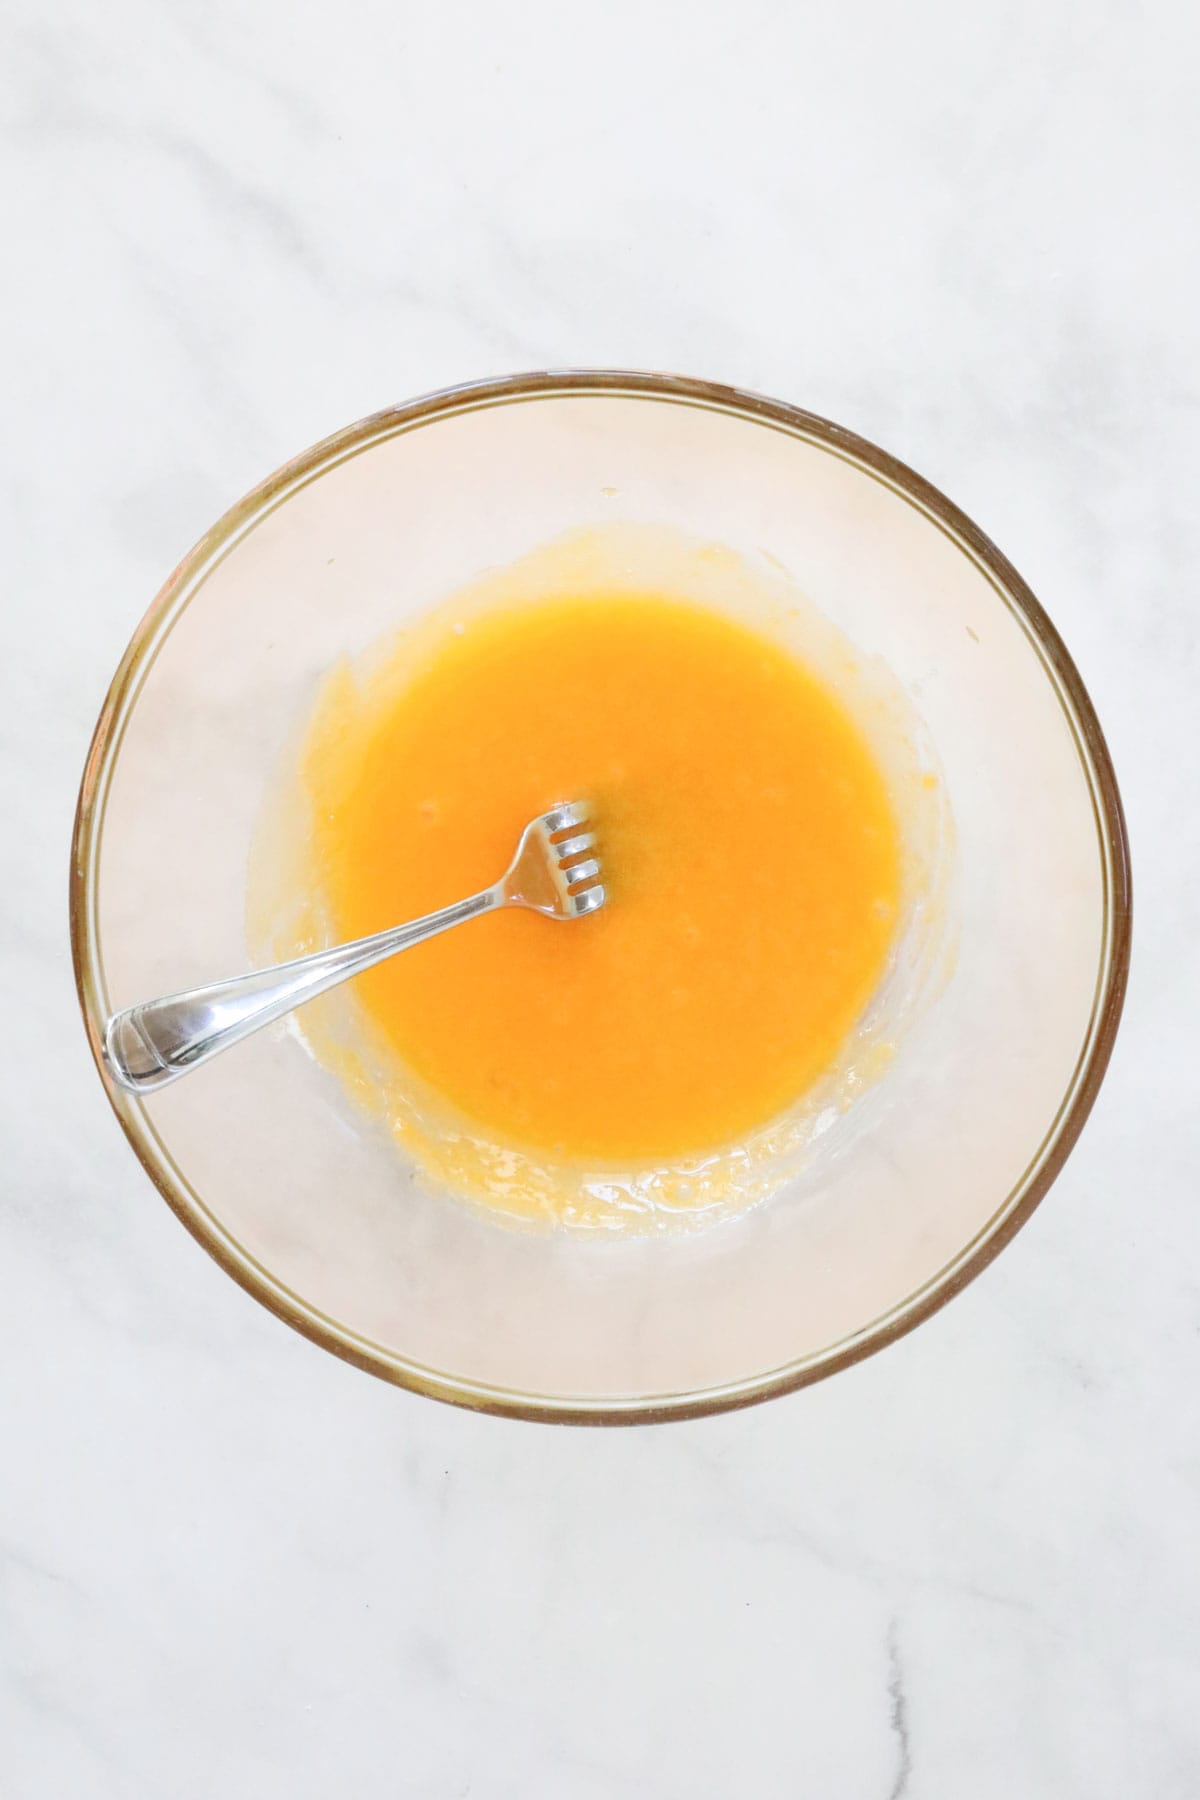
- Whisk eggs & sugar: In a large bowl, whisk egg yolks and sugar gently until combined-no need to froth.
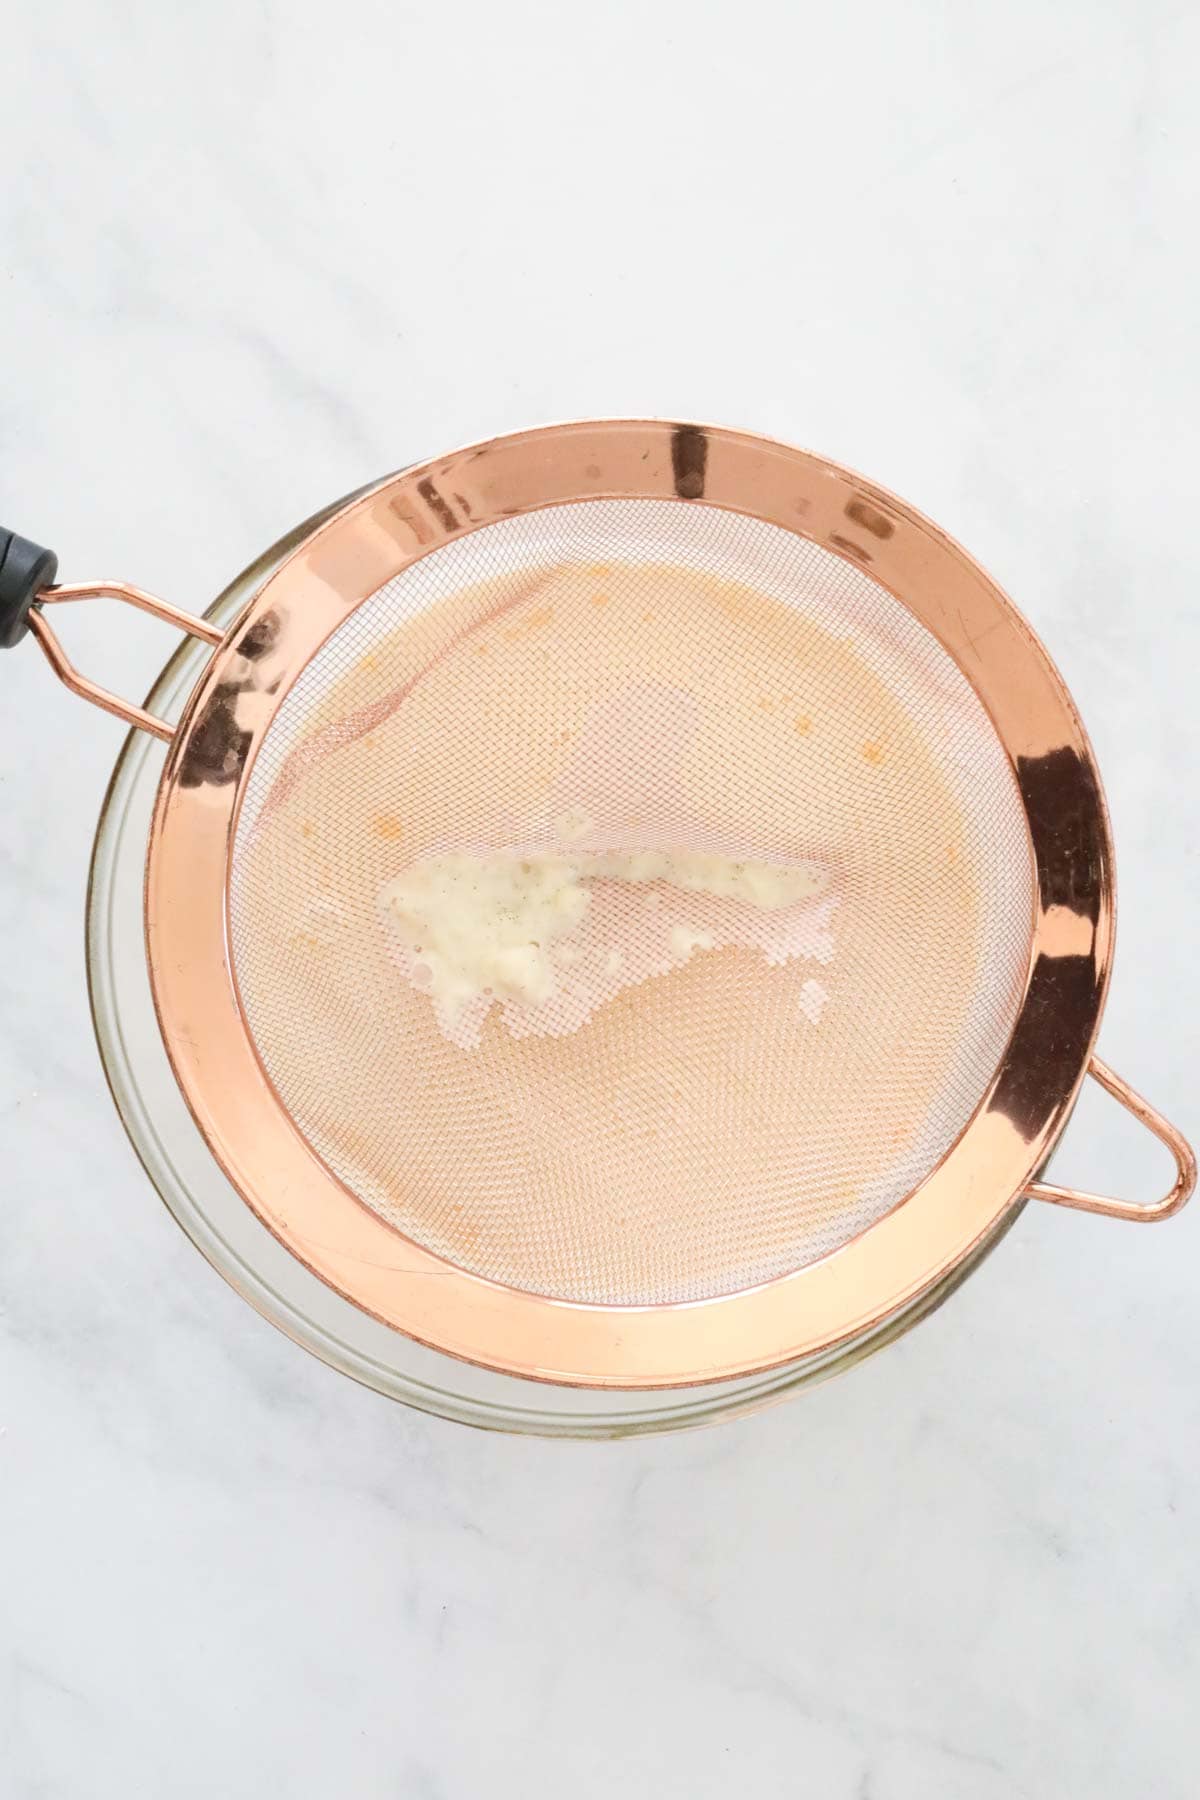
- Strain & combine: Slowly pour the cream and vanilla bean mixture through a fine mesh strainer onto the whisked sugar egg yolk mixture. Mix gently to combine: helps avoid bubbles.
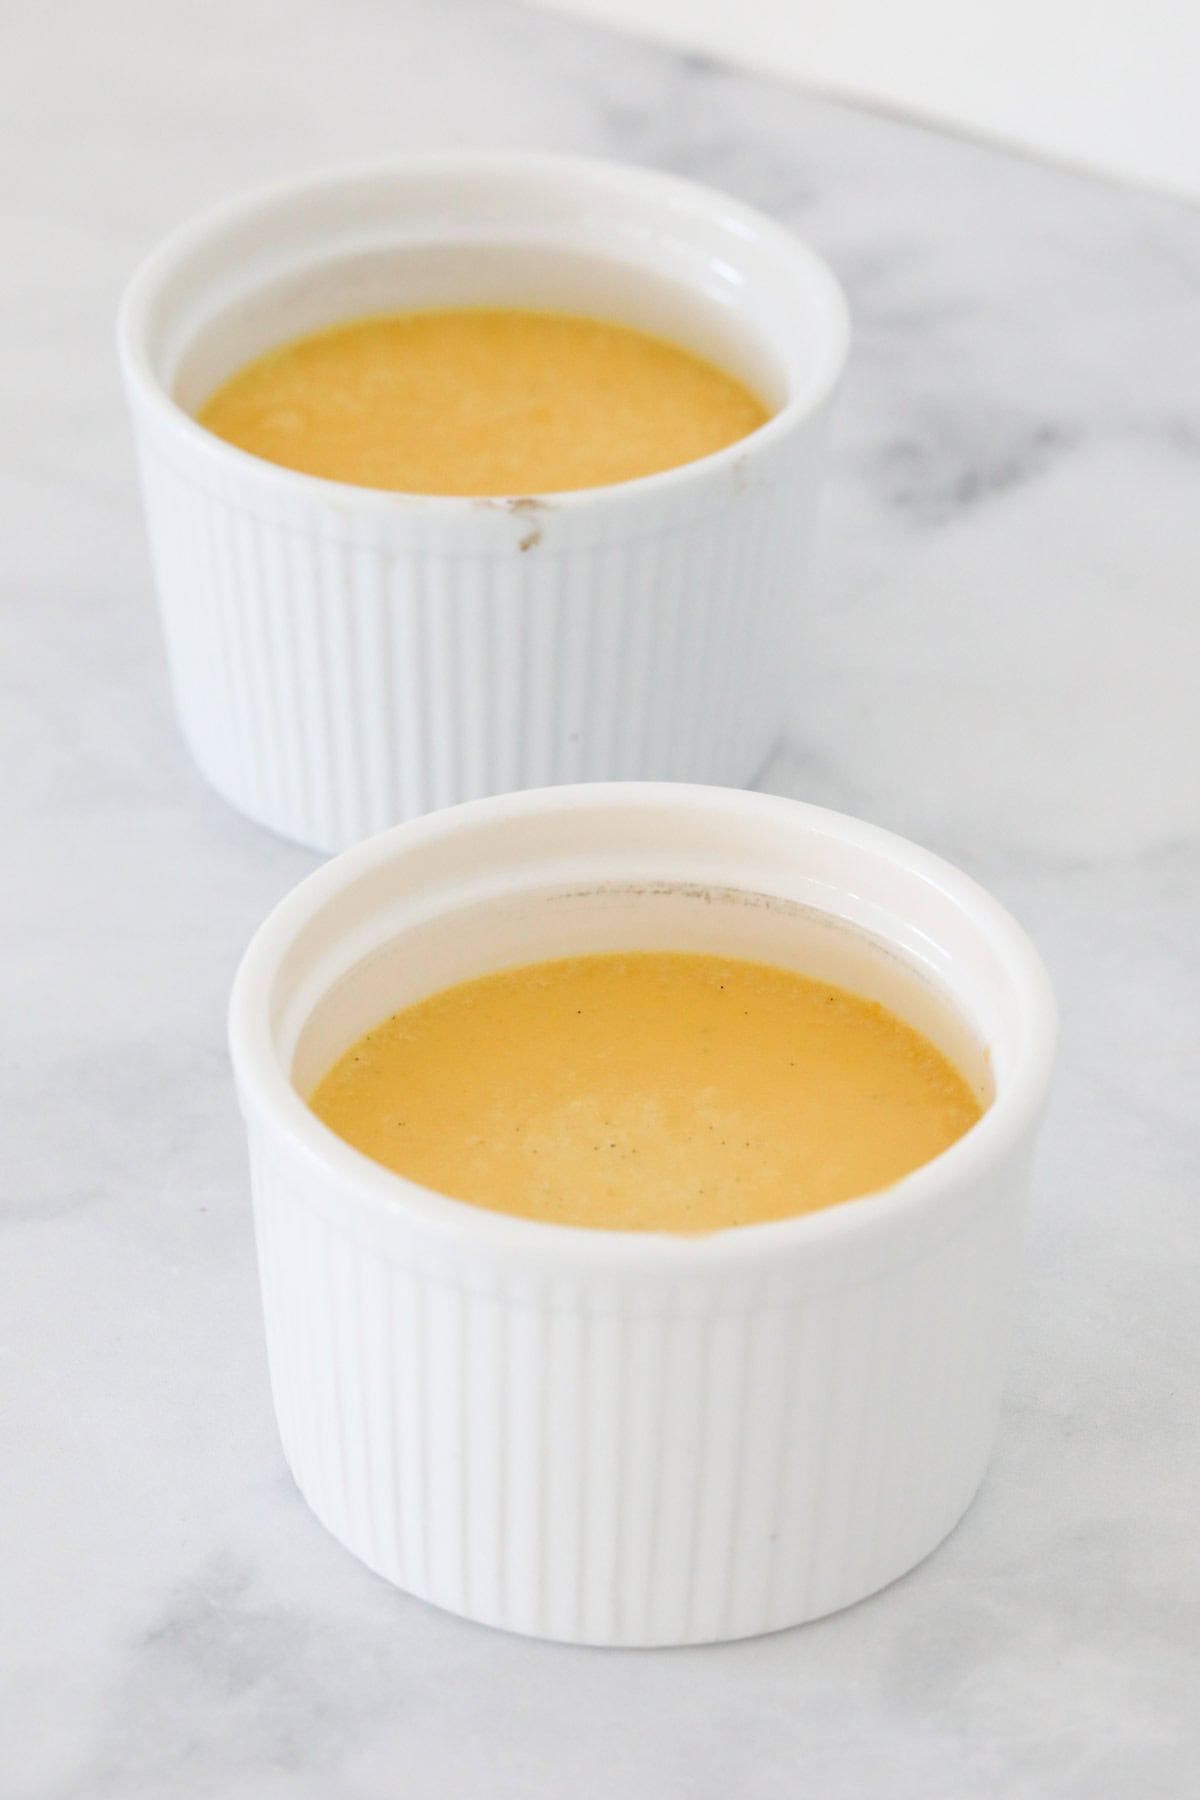
- Pour into ramekins: Place small ramekins in a large baking dish and divide custard evenly between them. Carefully pour boiling water into the tray (taking care not to splash custard) so it comes halfway up the ramekins. Bake until the edges are set, and the middle wobbles like jelly.
- Bake then cool: Bake about 40 minutes, until the edges are set, and the middle wobbles like jelly. Then cool, cover, then refrigerate at least 6 hours (overnight is even better).
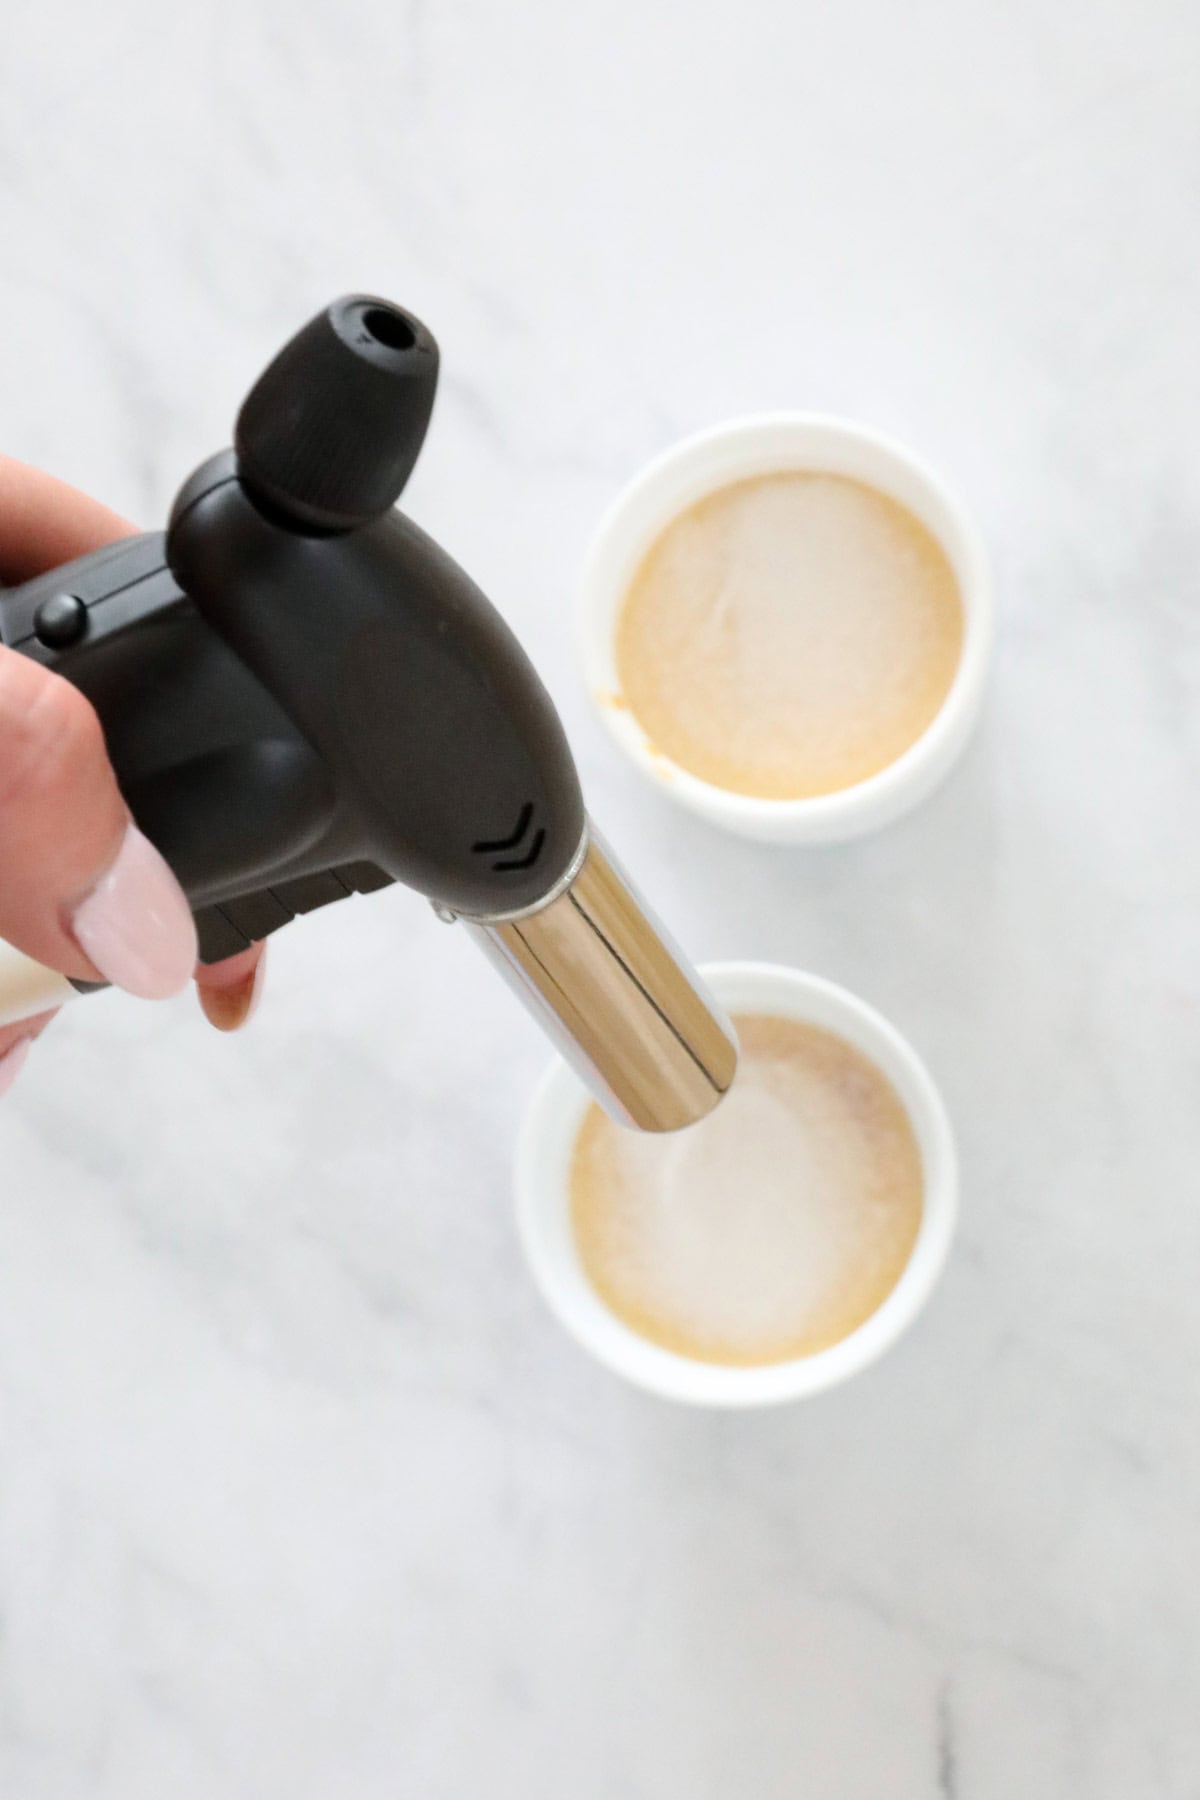
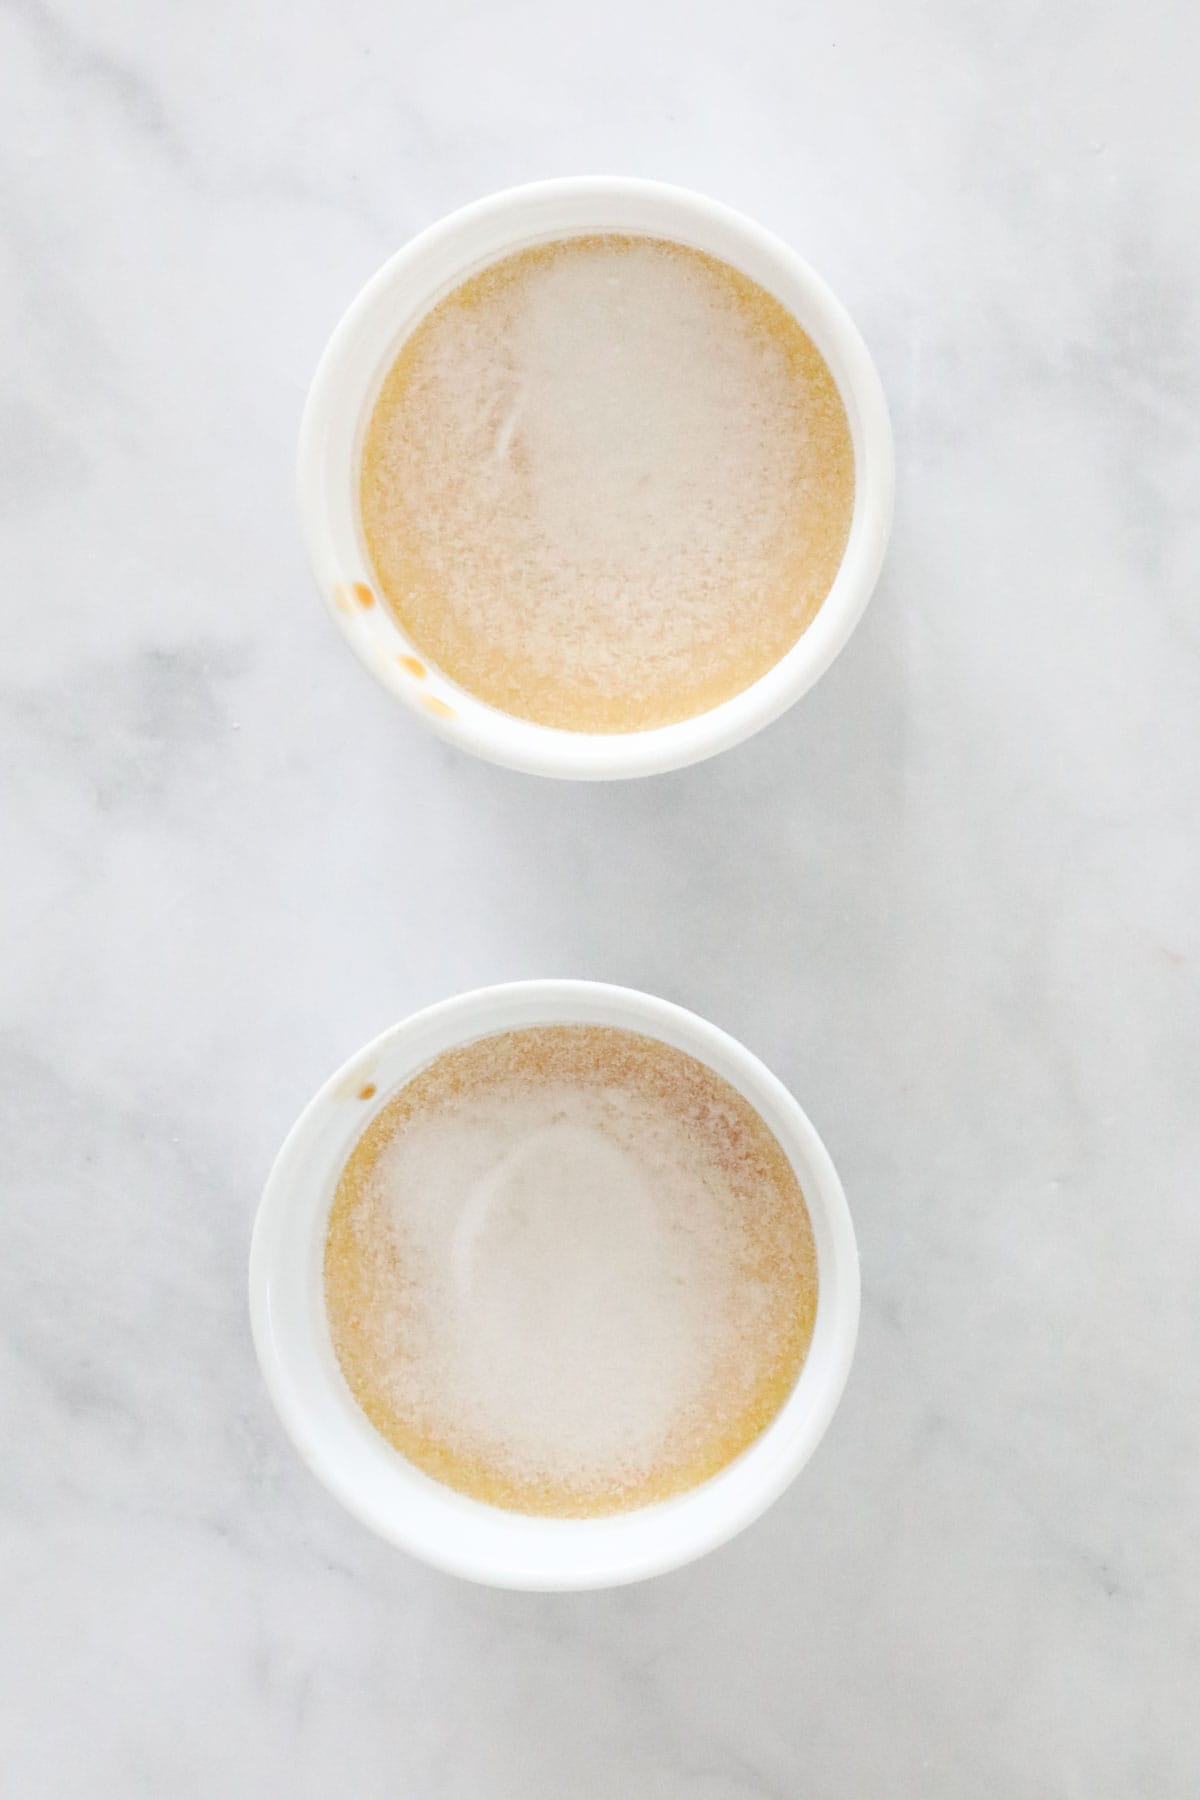
- Brûlée the top right before serving: Sprinkle sugar in a thin, even layer over the top, then torch until deep golden. Serve immediately.
Recipe Tips
- Don't boil the cream. A gentle simmer is enough - boiling can affect texture.
- Cool the cream before mixing with eggs. This is the #1 way to avoid curdling.
- Strain if you want "restaurant smooth." Especially if you see any little lumps
- Use a water bath every time. It's not optional if you want that silky texture.
- Don't overbake. The centre should have a slight jiggle; it will continue to set as it cools.
- Chill properly before torching. A minimum of 6 hours, overnight is even better.
- Caramelized sugar cover is non-negotiable. Try to leave no bare custard patches when sprinkling sugar over, or the custard can curdle under the heat.
- No blow torch? Use a hot grill or oven broiler, and watch carefully (it can go from golden to burnt very quickly!).
- Storage: Keep baked custards (no sugar topping yet) covered in the refrigerator for up to 3 days; add sugar and brûlée right before serving for the best crunch.
- Freezing: Not suitable for freezing - the custard texture changes once thawed.
- Leftover egg whites - add to omelettes, use in pavlova/meringues, macaroons etc.
Crème Brûlée FAQs
Cold custard (or cool, room-temperature) with a freshly torched warm top is the dream combo!
Most commonly: underbaked, too-deep ramekins, or the oven temp running low. It's baked when you can see set edges + jiggly centre, not "fully firm."
The cream was too hot when it hit the yolks, or it was added too fast. Combine cream and egg mixes slowly and gently.
I prefer caster sugar as it is finer and caramelises easily; however, you can use granulated sugar too - what matters most is an even, complete layer across the whole surface.
Absolutely! I have included both the conventional (stovetop) method and the Thermomix method in the recipe card below.
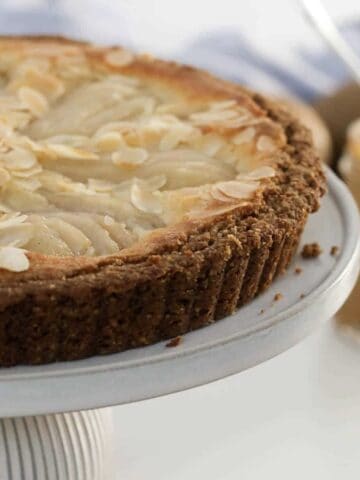
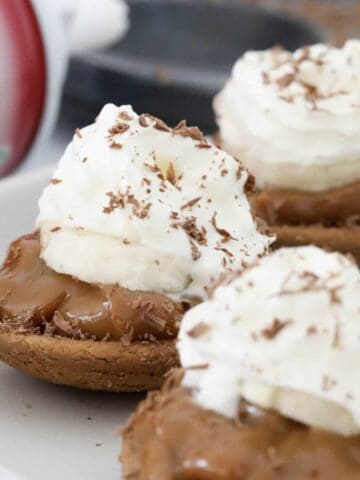
More Classic Dessert Recipes
For extra special desserts that make the perfect ending to any dinner party, have a look at these other delicious recipes:
WANT EVEN MORE DELICIOUS RECIPES? Subscribe to my newsletter or follow along on Facebook or Instagram. And if you love baking, then please come and join my Facebook cooking club group or subscribe to my YouTube channel.

Creme Brulee
Ingredients
- 480 g (2 cups) cream heavy, pouring or pure, full fat
- 2 teaspoon vanilla bean paste
- 5 egg yolks
- 55 g (¼ cup) caster sugar
Instructions
- Preheat the oven to 140 degrees celsius (fan-forced).
- Place the cream and vanilla bean paste into a saucepan over medium heat. Bring the mixture just to a simmer and stir for 5 minutes (do not let it boil).Allow the mixture to cool to room temperature. If using a Thermomix: Place the cream and vanilla bean paste into a clean and dry Thermomix bowl. Heat for 5 minutes, 90 degrees, Speed 2.
- In a separate bowl, use a fork to lightly whisk the egg yolks and sugar together. Pour the cooled cream mixture through a sieve onto the egg mixture. Stir gently to combine. If using a Thermomix: Add the sugar and mix for 20 seconds, Speed 2. Turn the Speed up to Speed 3. With the blades turning, add the egg yolks one at a time through the MC hole until combined.
- Place 4 ramekins into a large and deep ovenproof dish. Divide the mixture equally between the ramekins.Pour boiling water into the dish, around the ramekins (the water should go halfway up the side of the ramekins).
- Bake for 40 minutes or until slightly firm on the top but still wobbly in the centre.
- Allow to cool before placing into the fridge for a minimum of 6 hours (preferably overnight).
- When ready to serve, sprinkle a layer of caster sugar (approximately 1 tsp) over the top of the Crème Brûlée and use a blow torch to caramelise the sugar into a hard layer.
- Serve immediately.
Notes
- Don't allow the cream to boil. A gentle simmer is enough - boiling can affect texture.
- Cool cream before mixing with eggs.This is the #1 way to avoid curdling.
- Strain for "restaurant smooth." Especially if you see any little lumps.
- Use a water bath every time. It's not optional if you want that silky texture.
- Don't overbake. The centre should still jiggle; it will continue to set as it cools.
- Chill properly before torching. A minimum of 6 hours, overnight is better.
- Sugar cover is non-negotiable. Try to leave no bare custard patches when sprinkling sugar over, or the custard can curdle under the heat.
- No blow torch? Use a hot grill or oven broiler, and watch carefully (it can go from golden to burnt very quickly!).
- Storage: Keep baked custards (no sugar topping yet) covered in the fridge for up to 3 days; add sugar and brûlée right before serving for best crunch.
- Freezing: Not suitable for freezing - the custard texture changes once thawed.
- Unused egg whites - add to omelettes, use in pavlova/meringues, macaroons etc.


Leave a Reply