

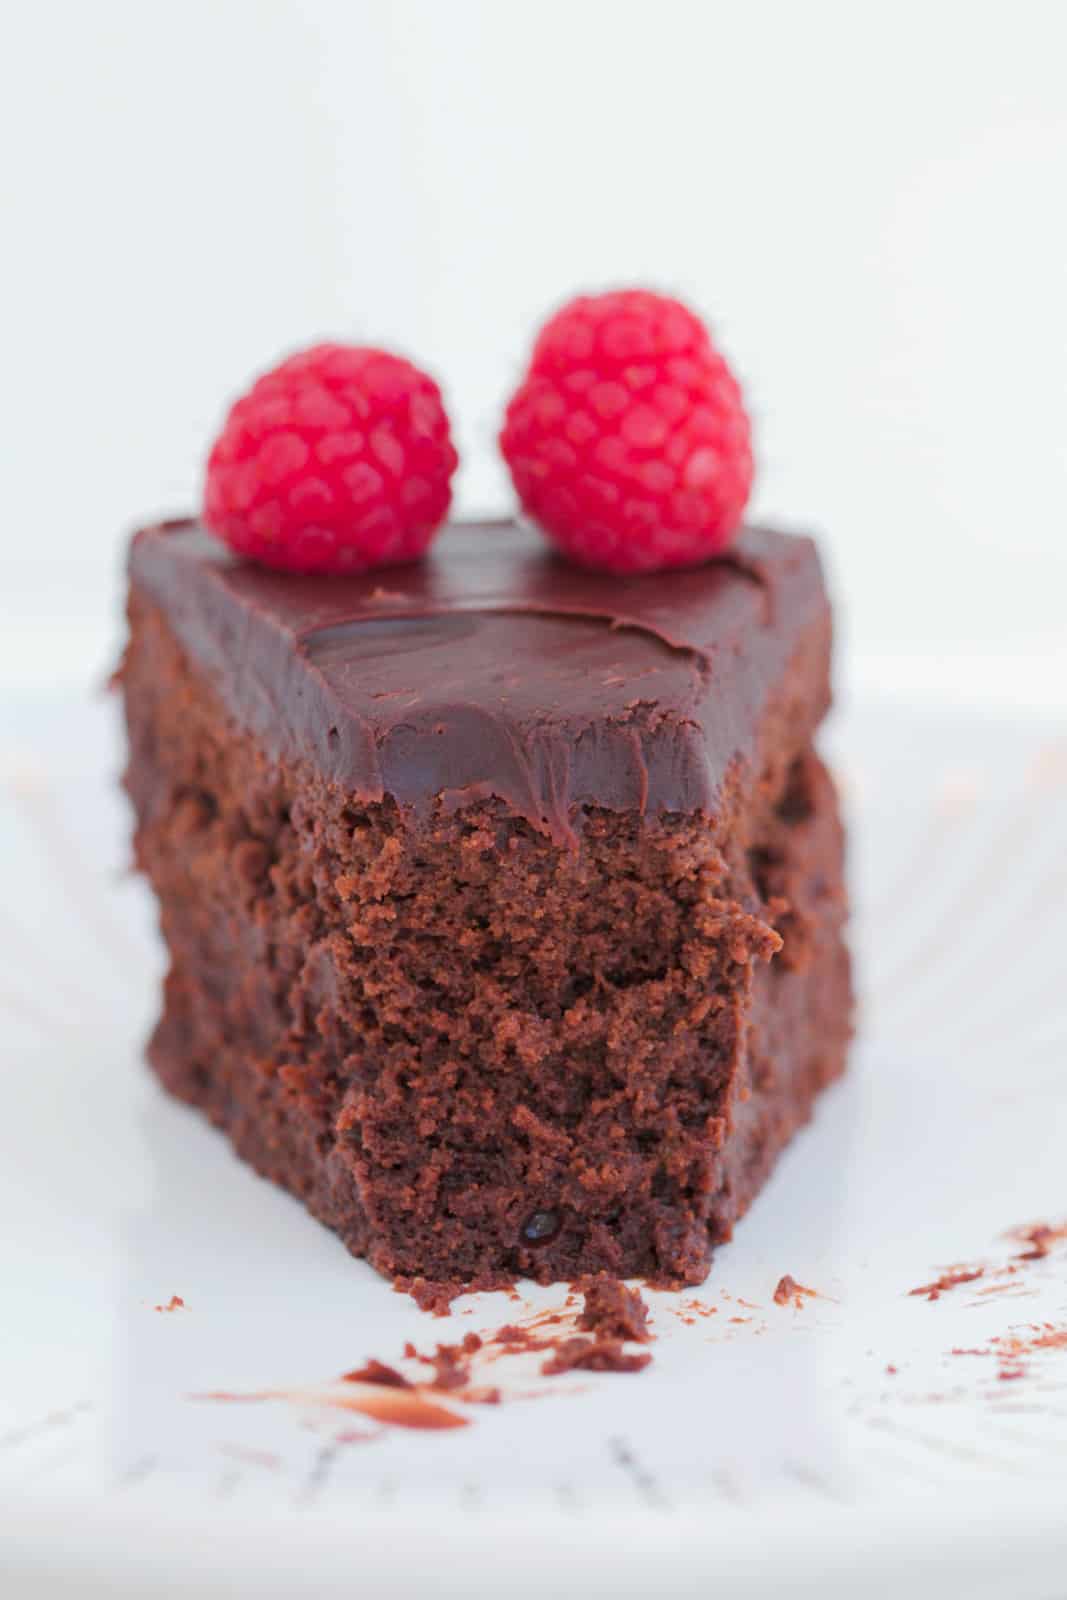
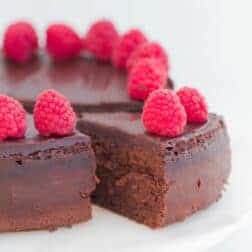
A simple 3 ingredient flourless chocolate cake made from just eggs, dark chocolate and butter! An irresistibly rich and fudgy mousse-style dessert cake that everyone will love.
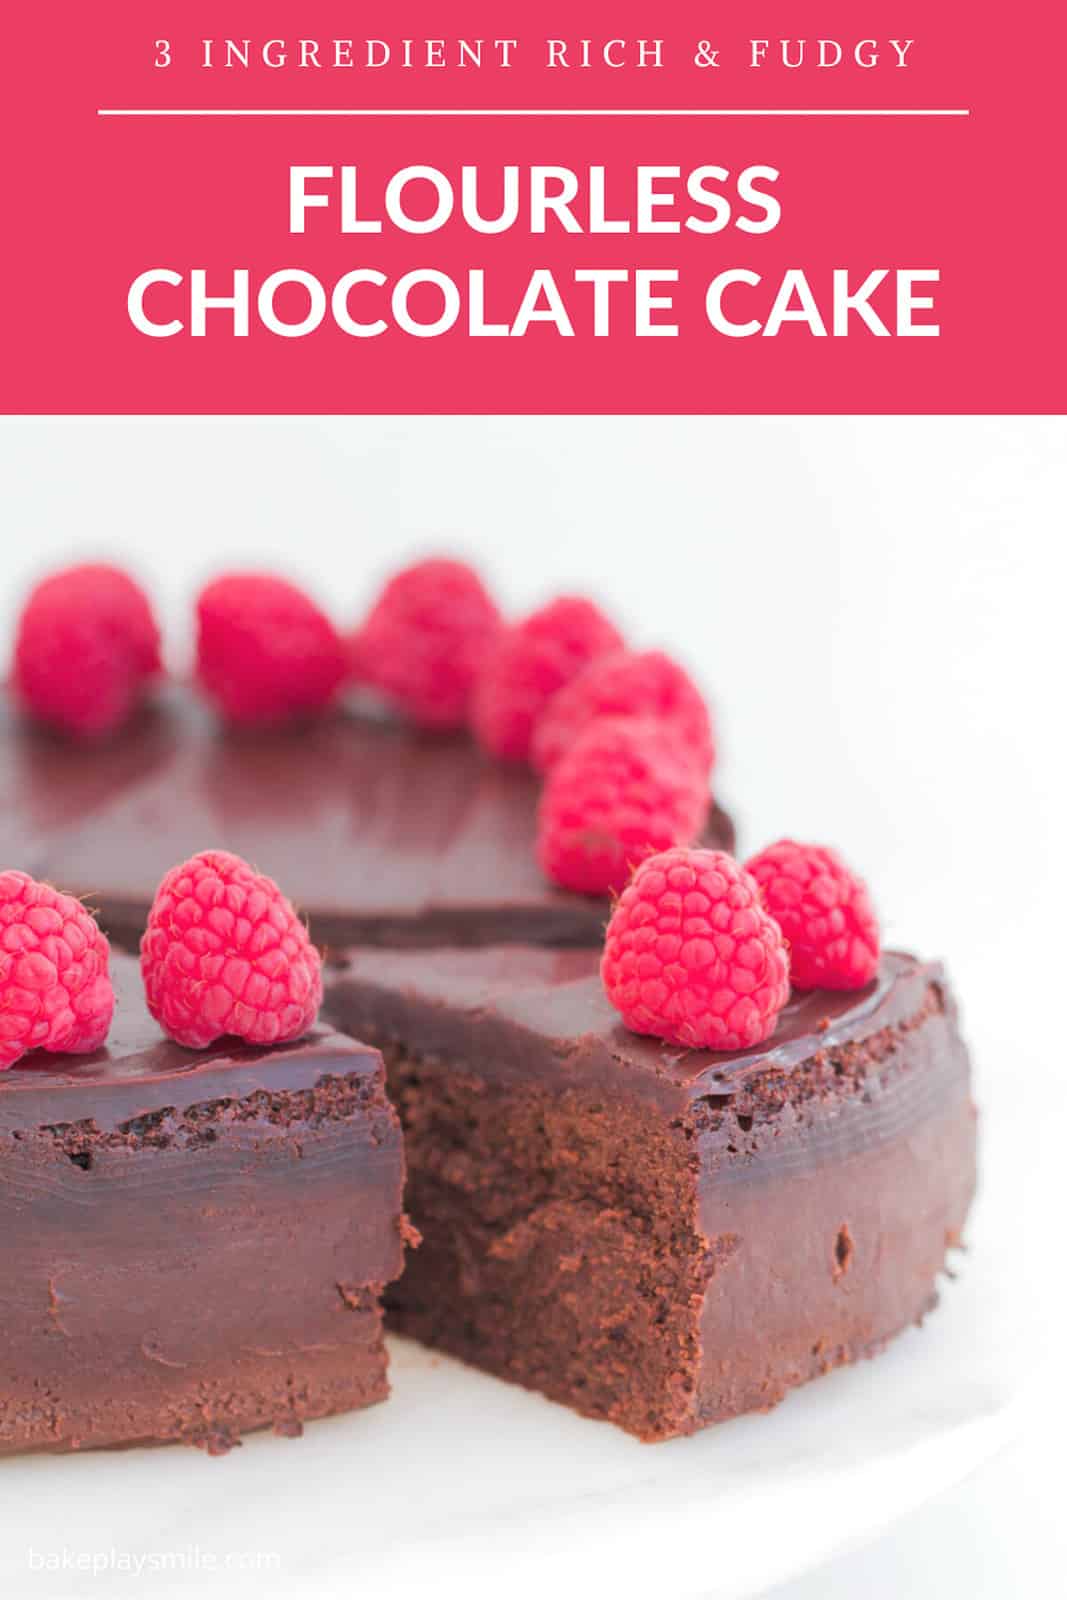
CHOCOLATE + BUTTER + EGGS
Those 3 basic ingredients are all you need to make this super decadent, rich and mousse-like gluten-free dessert!
Excited? Me too! This is one of my all-time favourite desserts!
When it comes to the very best chocolate desserts, this AMAZINGLY RICH chocolate cake is right up there with my favourite chocolate mud cake, toblerone cheesecake, chocolate ripple cake and chocolate self-saucing pudding.

Why You're Going To Love This Recipe
Once you've made this chocolate cake, it's going to become your 'go-to' dessert recipe whenever you're having friends over dinner, need a gluten-free option or you just have a craving for a fudgy, rich chocolate cake.
Here's why you're going to love it so much:
- it's made from just 3 basic ingredients... there's a good chance you already have them at home!
- it takes just a few minutes to prepare
- the method of baking in a water bath in the oven ensures that your cake is super moist and mousse-like... plus it won't crack!
- it's a great gluten-free option
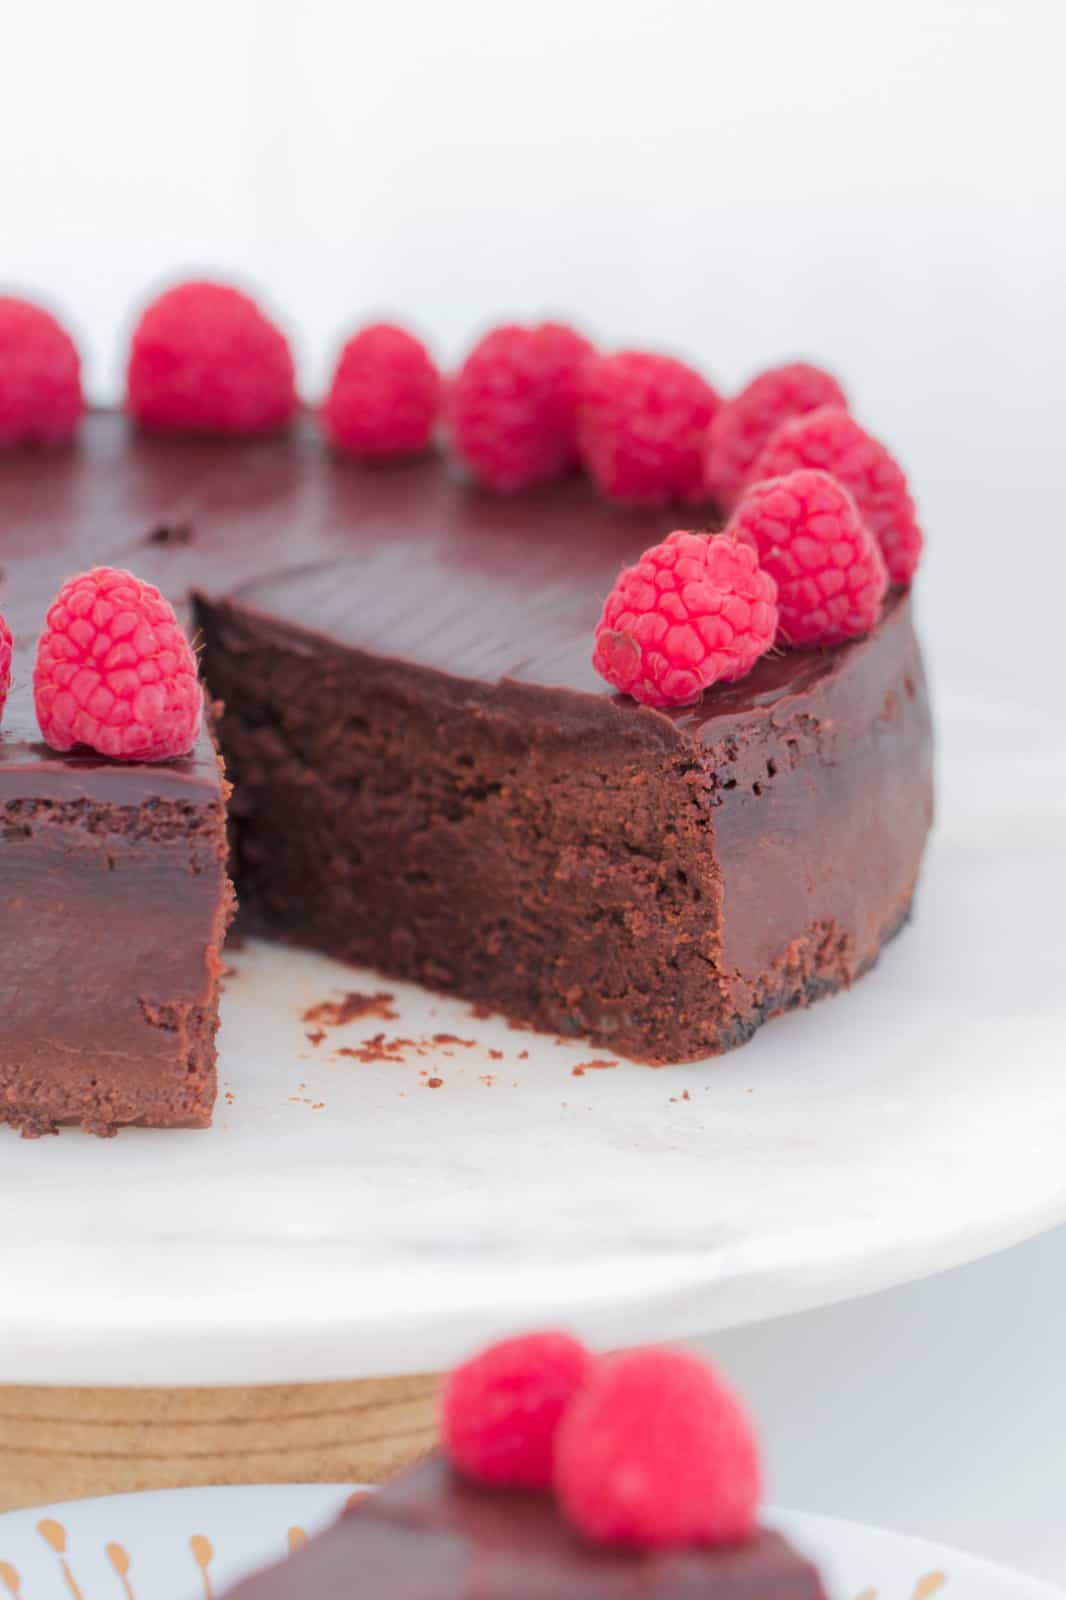
- it serves a lot of people (perfect for dinner parties or feeding a crowd) - this flourless chocolate cake is rich, so you only need a small slice!
- it's foolproof - by baking the cake in a water bath, you're guaranteed a fudgy, rich result! It's almost impossible to 'overcook' this cake!
3 Ingredient Chocolate Cake
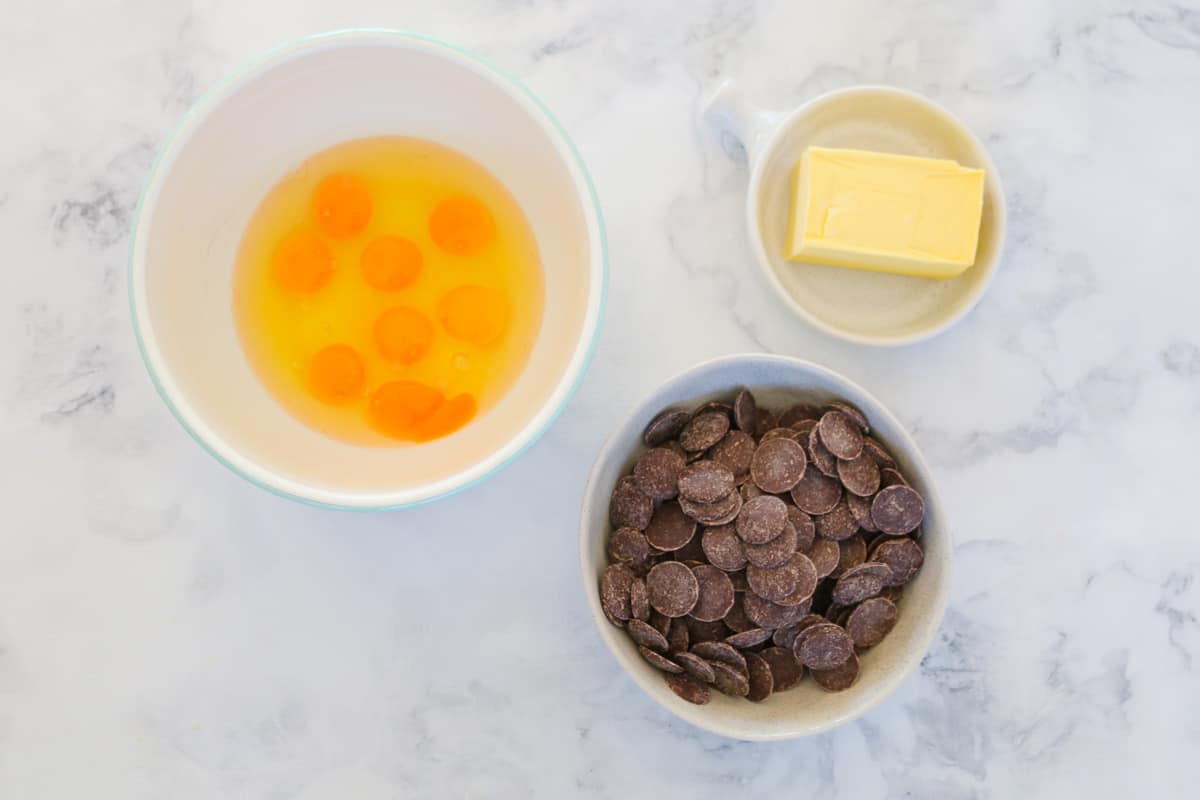
It doesn't get any easier than this super easy flourless chocolate cake. All you need is:
- eggs - use large eggs (approximately 55g)
- butter - use unsalted butter for this recipe
- dark chocolate - use a good quality dark cooking chocolate (you can buy cooking chocolate from the baking section of the supermarket). I like Cadbury, Nestle or Lindt brands - but you can use any good quality brand you like. Note: cooking chocolate melts easier than regular chocolate making it a perfect option for this dessert!
That's it... just 3 basic ingredients!!!
3 Step Recipe
Note: Scroll to the recipe card at the bottom of the post for ingredient quantities and the full detailed method.
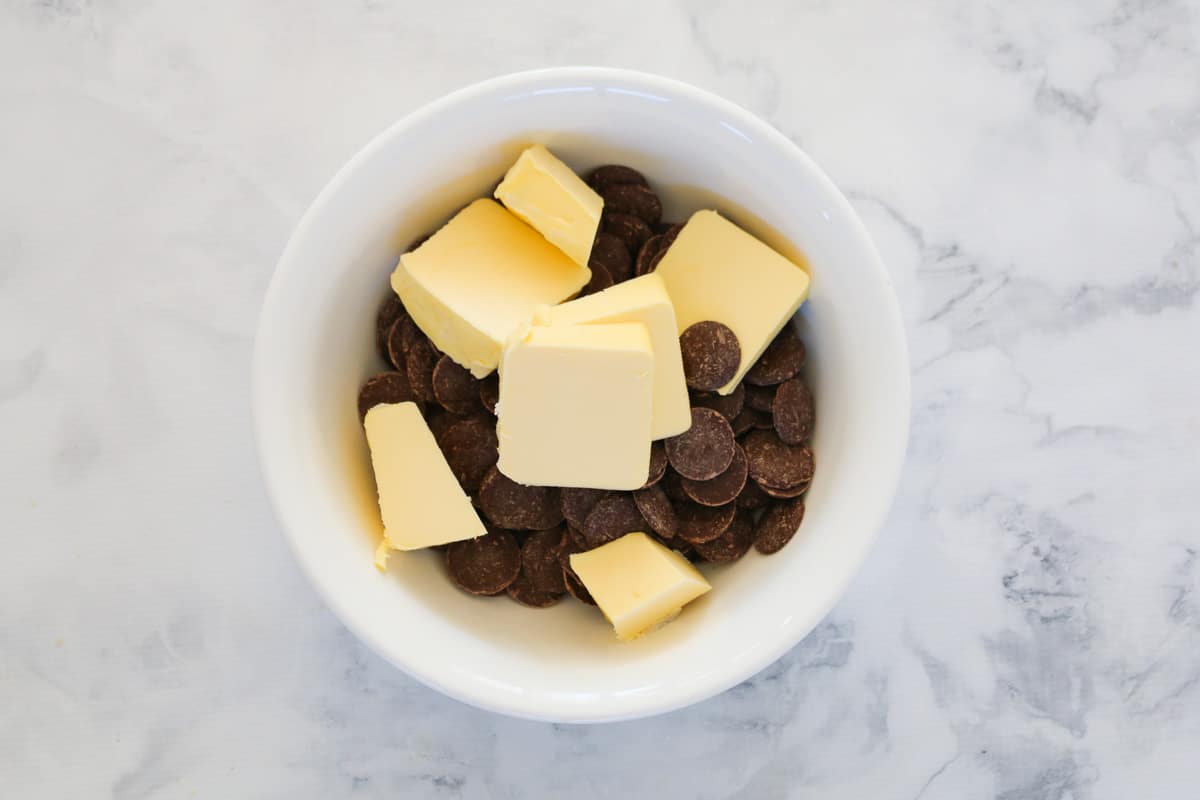
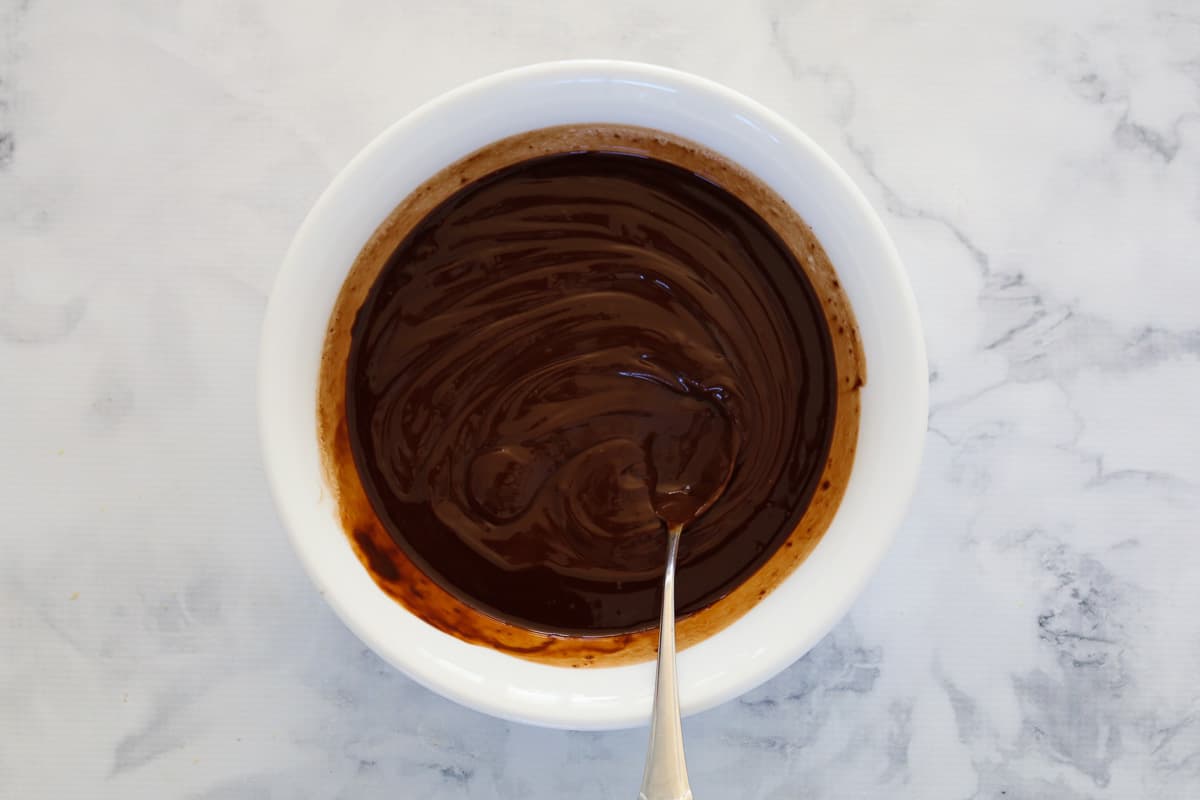
Step 1 - Melt The Butter And Dark Chocolate
Use a microwave, Thermomix or stove-top to melt the butter and chocolate together. Do not overcook - heat until just melted and smooth.
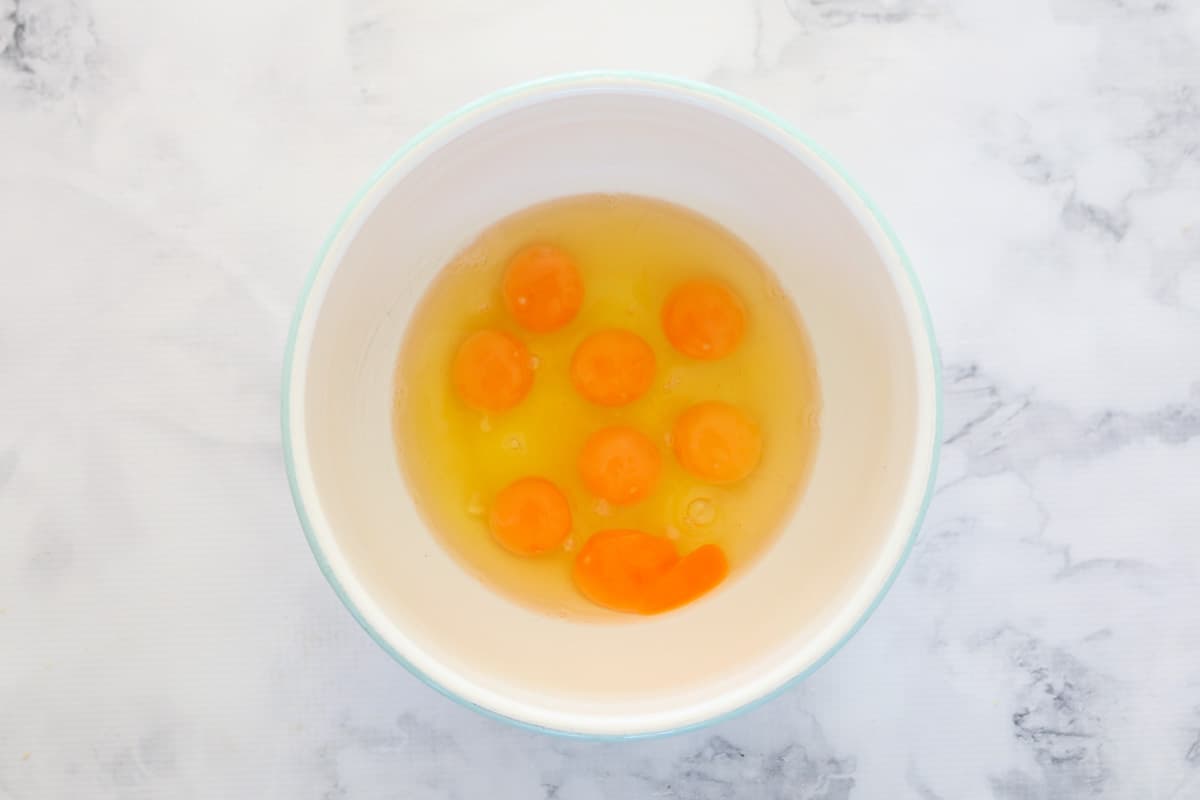
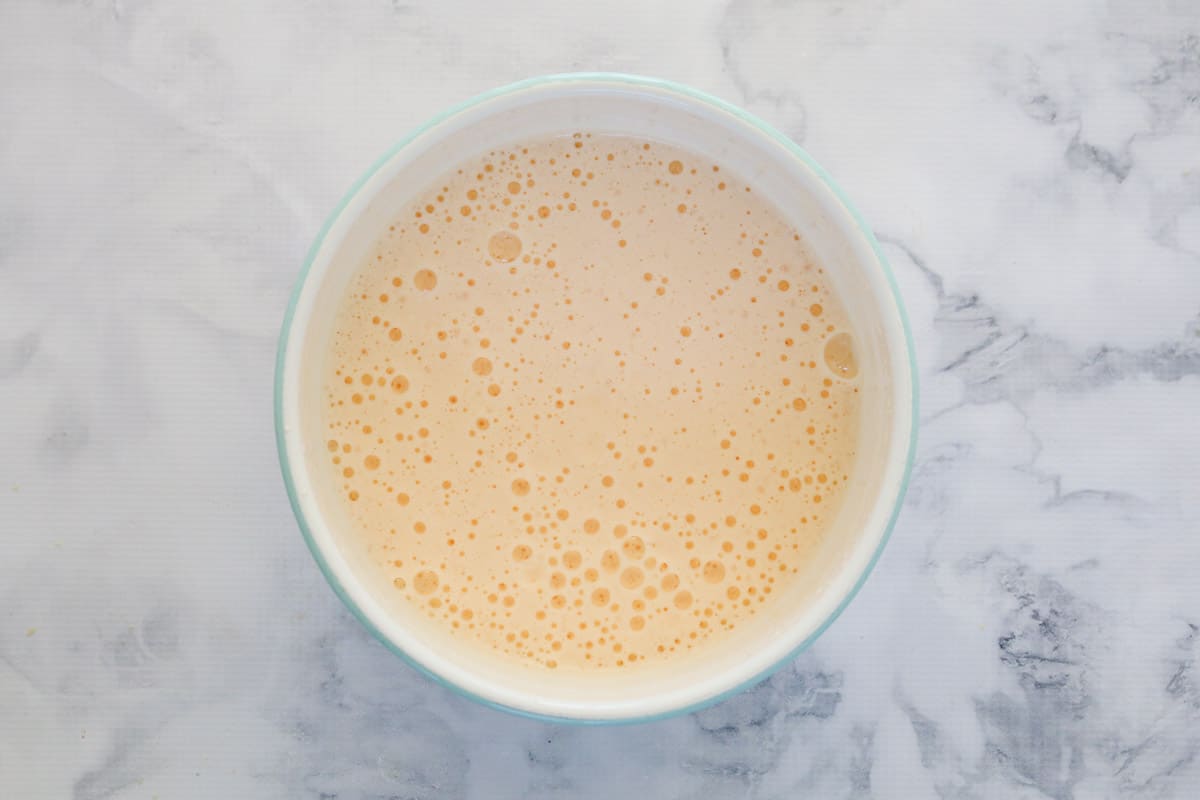
Step 2 - Beat The Eggs
Use hand-held beaters, a stand-mixer or a Thermomix to beat the eggs until pale, creamy and doubled in size. This will take approximately 5 minutes.
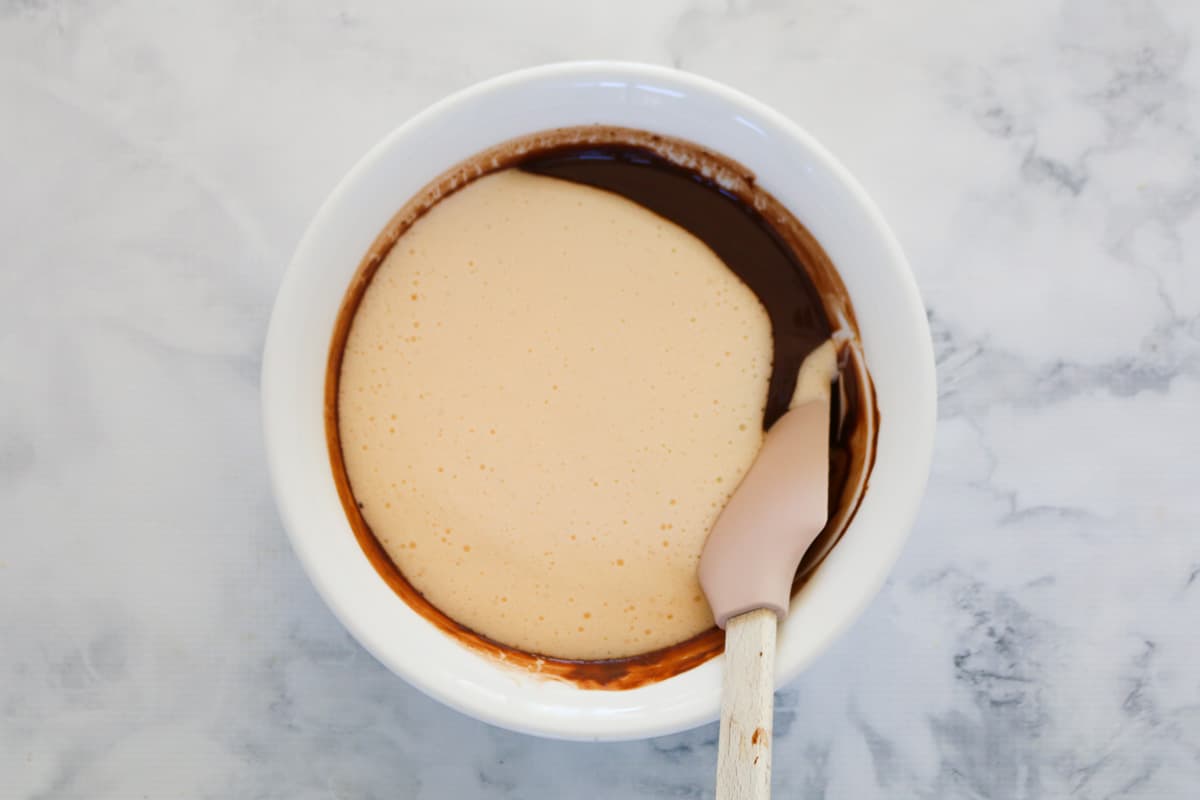
Step 3 - Fold The Eggs Through
Use a rubber spatula to gently fold the egg mixture through the melted chocolate (¼ of the egg mixture at a time).
How To Cook A Cake In A Water Bath
A water bath is a method of adding liquid to an oven during baking to ensure a moist cooking environment.
There are 2 different ways of cooking with a water bath in an oven.
- Placing a tray of water on the bottom shelf of the oven while your recipe bakes on the shelf above. This method keeps the oven moist resulting in beautifully moist recipes that don't crack.
- Placing the dish directly into a tray of water and allowing the heat of the water combined with the moist hot oven to bake the recipe.
In this recipe - we use option 2 as it's the BEST way to get that amazing mousse-like texture in your flourless chocolate cake.
Preparing The Tin
It's important to prepare the tin properly to ensure perfect cooking and easy removal of the cake.
- Lightly grease the base and sides of a 20cm round springform tin.
- Cut out a circle of baking paper and line the base of the tin.
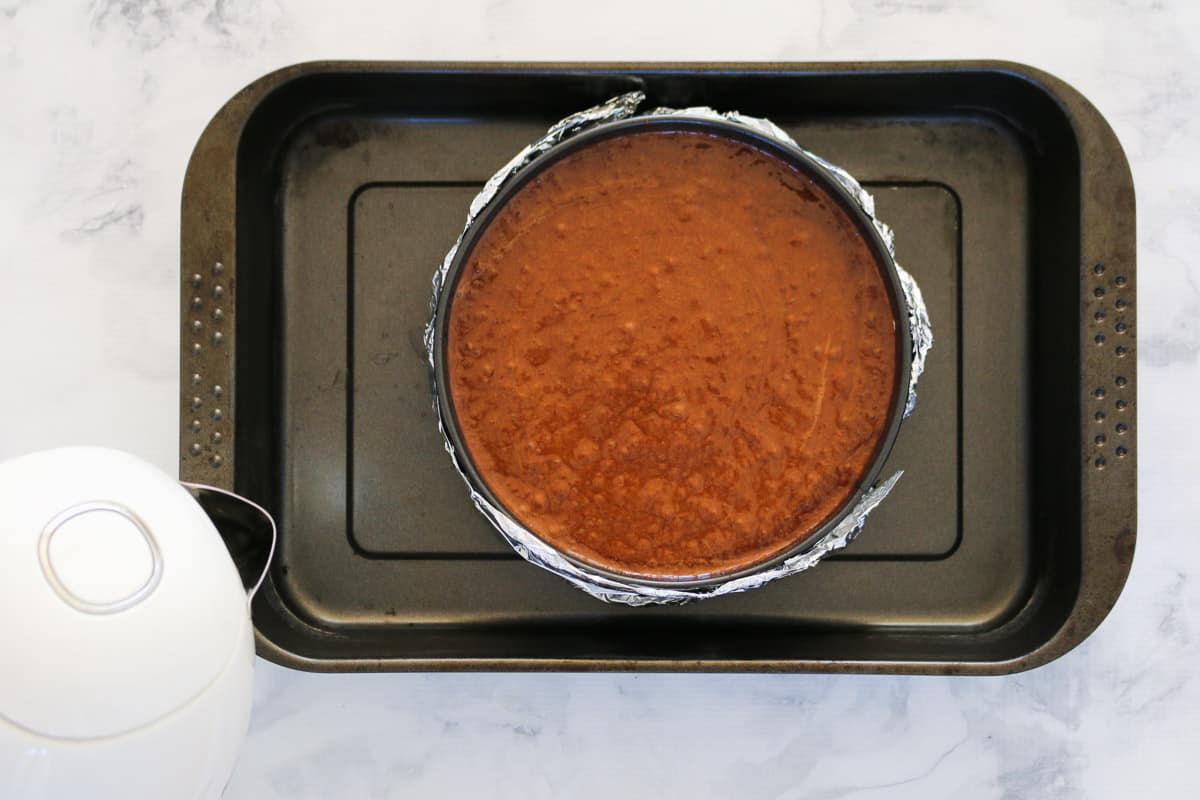
- Wrap foil around the outside edges of the tin (ensuring that the join at the base is well covered - to avoid water seeping in).
- Place the tin into a large deep baking dish.
- Once the mixture has been added to the tin, very carefully pour boiling hot water into the large baking dish so that it goes ⅔ of the way up the side of the springform tin (ensure no water gets into the springform tin).
Baking In A Water Bath
- Very carefully place the large baking dish into the oven.
- The heat of the moist oven and hot water will slowly cook the cake, while retaining a very moist, rich and mousse-like texture.
- Once the cake begins to set around the outside edges (the middle should not be set), remove the large baking dish from the oven.
- When safe to do so, gently remove the springform tin from the baking dish and set aside to cool completely at room temperature (the middle of the cake will continue to cook during this stage).
- Place the cake (still in the tin) into the fridge overnight before serving.
Tips For Making This Recipe
Use a good quality dark cooking chocolate - this ensures a beautifully smooth and rich flourless chocolate cake. I recommend Cadbury, Nestle or Lindt brands.
Bake the cake in a water bath - refer to my tips above. This ensures a very rich, moist and mousse-style dessert cake.
Only bake until the edges have set - don't overcook this cake. Simply bake until the outside edges have set (the middle will continue to cook and set once removed from the oven).
Storing - this cake can be stored in the fridge for 1-2 days. Note: the cake will harden slightly in the fridge so allow to come to room temperature before serving.
Freezing - this cake can be frozen in an airtight container for up to 3 months. Allow to defrost in the fridge overnight before serving.
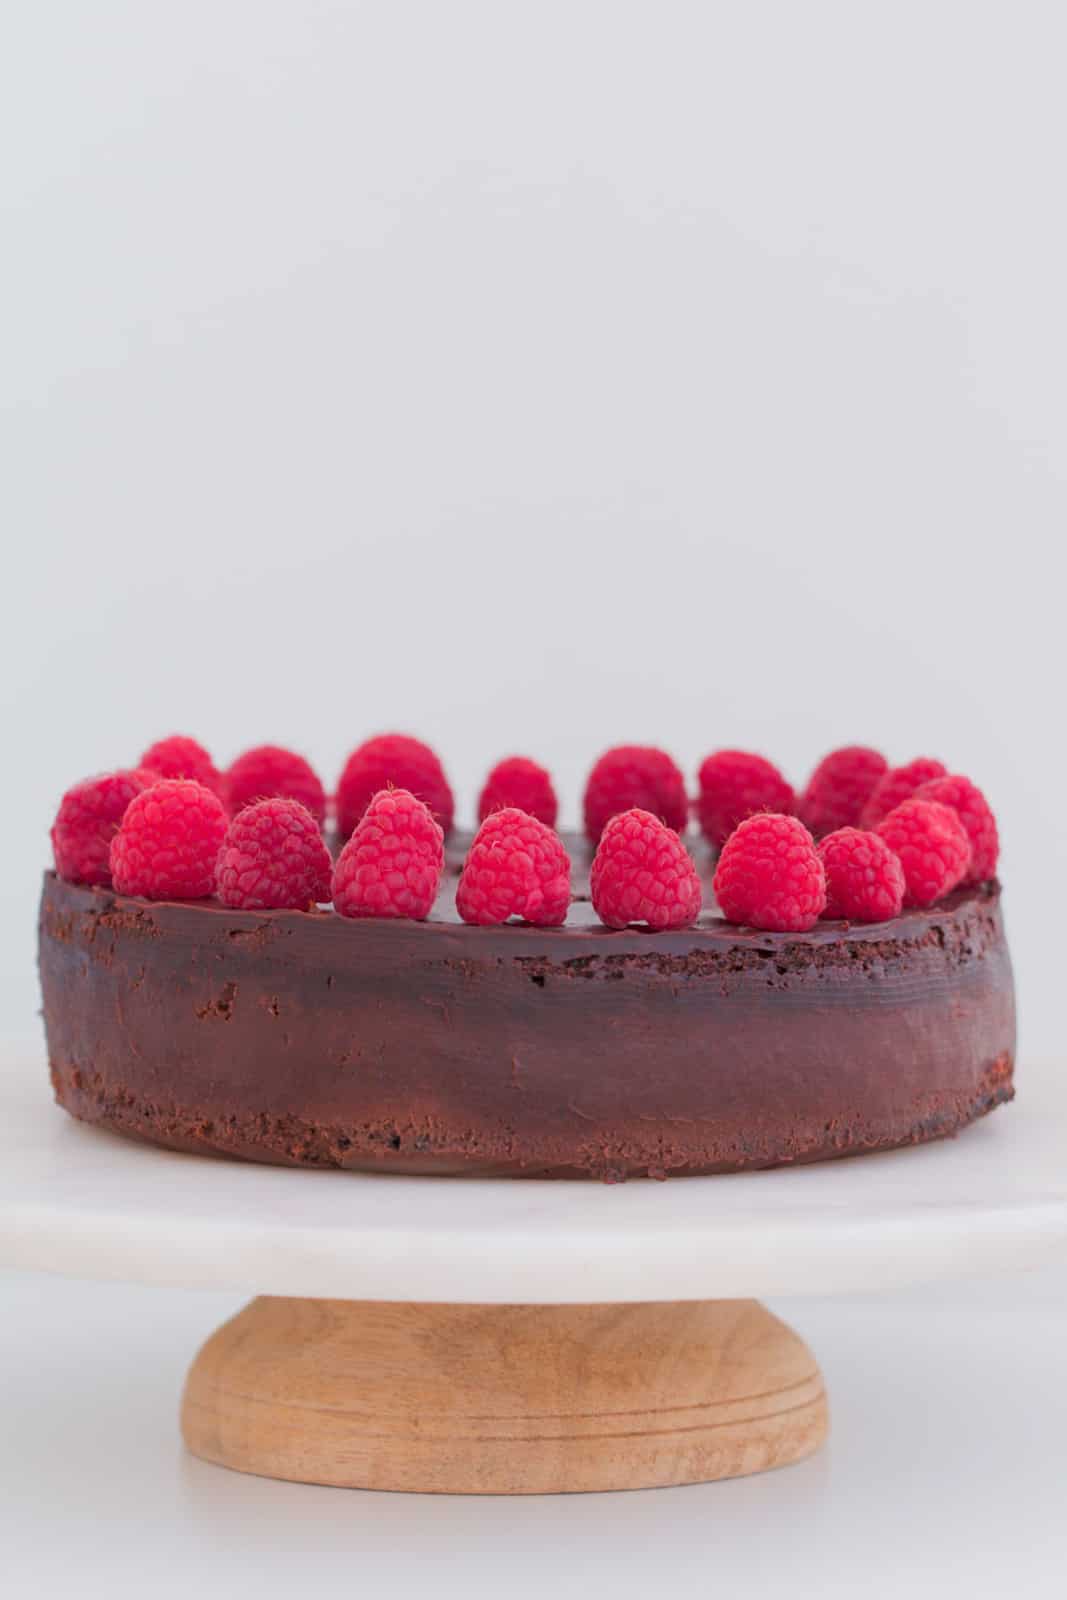
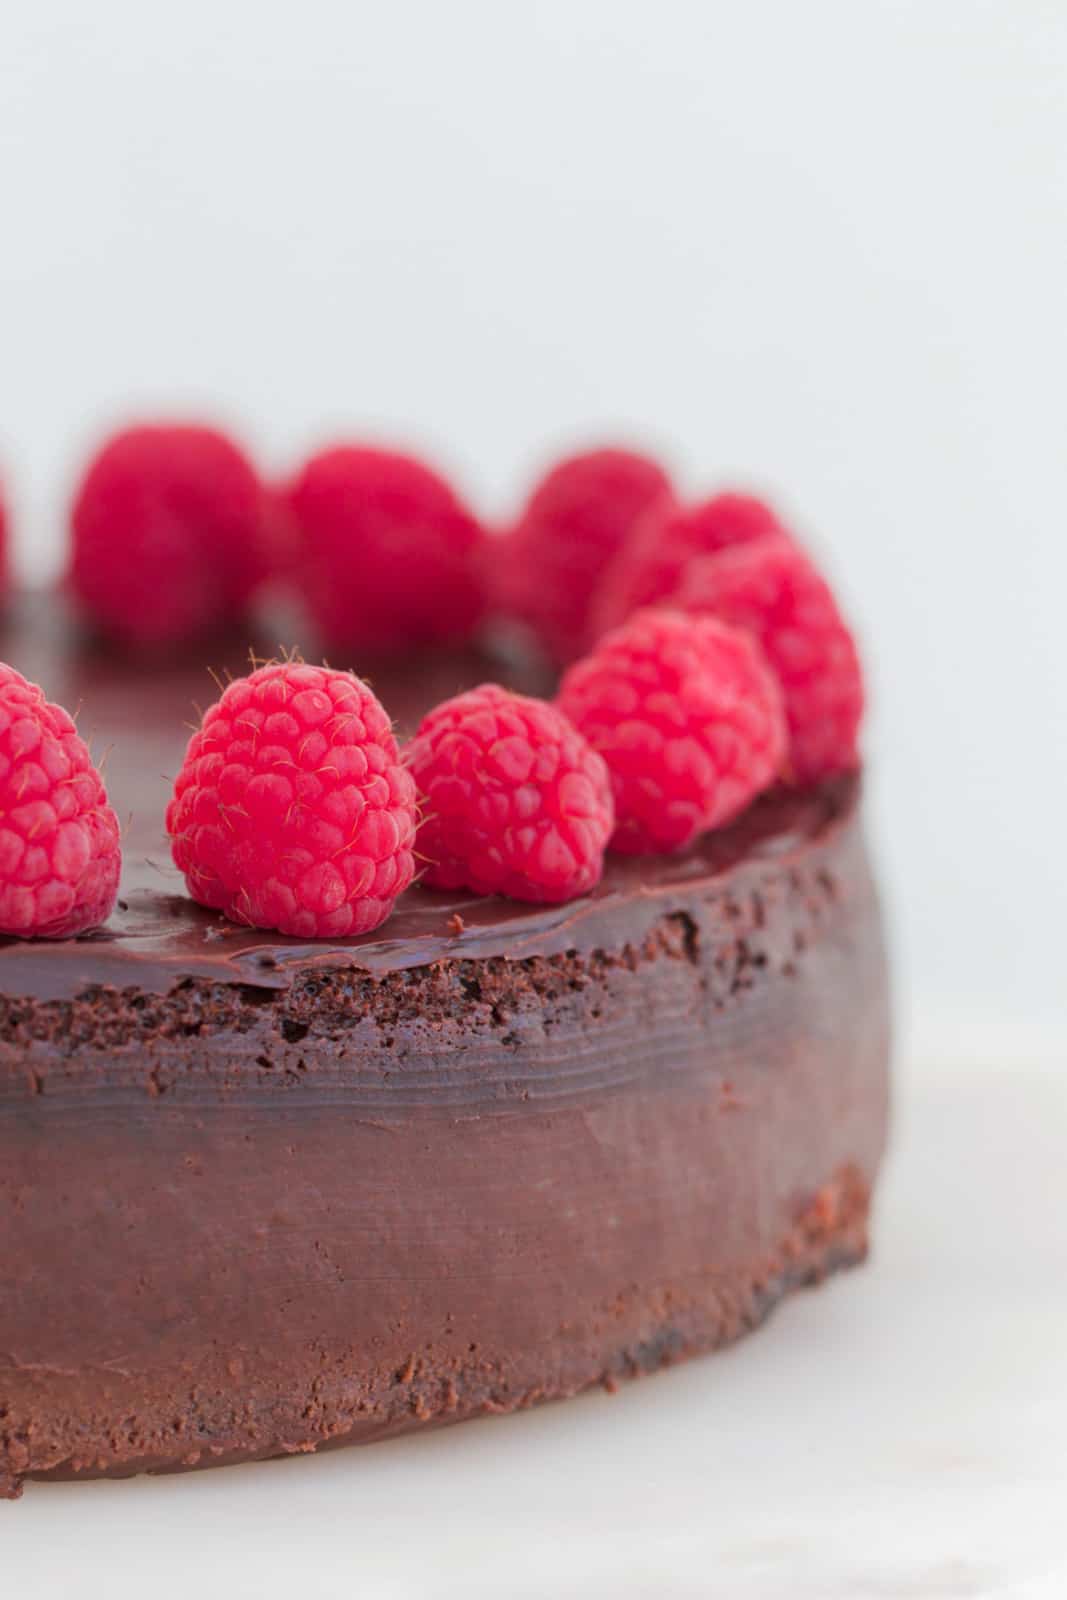
Serving suggestions - Decorate with chocolate ganache, icing sugar, fresh berries, whipped cream or sifted cocoa powder or icing sugar.

More Gluten-Free Dessert Recipes
If you're after some more delicious gluten-free desserts, then these recipes are guaranteed showstoppers too!
- Flourless Orange & Almond Cake - the ultimate classic gluten-free cake!
- Flourless Lemon Cake - perfectly zesty and delicious!
- Gluten-Free Almond & Coconut Cake - super popular and incredibly yummy!
- Gluten-Free Lemon, Ricotta & Almond Cake - a moist and rich gluten-free dessert
WANT EVEN MORE DELICIOUS RECIPES? Subscribe to my newsletter or follow along on Facebook or Instagram. And if you love baking, then please come and join my Facebook cooking club group or subscribe to my YouTube channel.
3 Ingredient Flourless Chocolate Cake | Gluten-Free
Ingredients
- 8 eggs large
- 225 g unsalted butter
- 450 g dark cooking chocolate
Instructions
Conventional Method
- Preheat the oven to 160 degrees celsius (fan-forced).
- Grease the base and sides of a 20cm springform tin very well. Line the base with baking paper. Cover the outside of the tin with foil.
- Place the springform tin into a baking tray that is large enough to fit the cake tin (sitting flat).
- Place the eggs into a bowl and beat with a stand mixer or beaters on high for at least 5 minutes or until the eggs have doubled in size.
- Break the chocolate into pieces and place into a microwave safe bowl. Chop the butter into chunks and add to the chocolate.
- Melt on 50% power in the microwave on 30 second bursts for 2-3 minutes or until the chocolate and butter has melted (stir every 30 seconds with a dry metal spoon). You can use a double-boiler on the stovetop if you prefer.
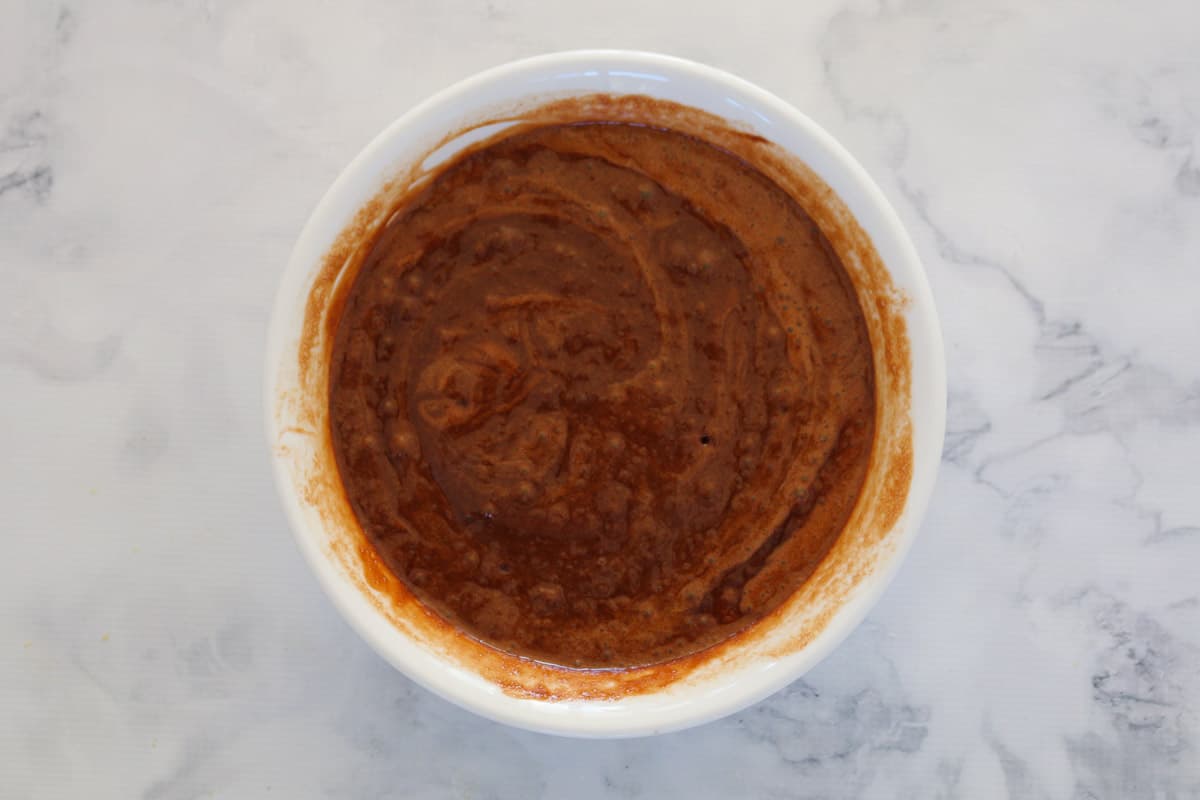
- Gently fold ¼ of the egg mixture into the chocolate. Repeat 3 more times with the remaining egg mixture.
- When the mixture is completely combined, pour it into the prepared springform tin.
- Boil water and carefully pour it into the large baking tray until it covers ⅔ of the sides of the springform pan.
- Bake in the oven for approximately 30-35 minutes or until the chocolate cake begins to set on the outside edges (not in the middle).
- Remove the pan from the oven and set aside until the boiling water has cooled slightly.
- When it's safe to do so, carefully remove the springform tin from the water bath and set aside to cool completely.
- Place the cake (still in the tin) into the fridge and leave until it's completely cold. For best results, leave in the fridge overnight. Allow to come to room temperature before serving.
- Before serving, carefully remove the cake from the springform tin and discard and baking paper. Decorate with chocolate ganache, icing sugar, fresh berries, whipped cream or sifted cocoa powder or icing sugar.
Thermomix Method
- Preheat the oven to 160 degrees celsius (fan-forced).
- Grease the base and sides of a 20cm springform tin very well. Line the base with baking paper. Cover the outside of the tin with foil.
- Place the springform tin into a baking tray that is large enough to fit the cake tin (sitting flat).
- Insert the butterfly into the Thermomix bowl. Add the eggs and beat for 8 minutes on Speed 4, 37 degrees. Pour the eggs into a separate bowl and set aside.
- Clean and dry the Thermomix bowl. Add the chocolate to the Thermomix and grate on Speed 8 for 10 seconds. Scrape down the sides of the bowl.
- Add the chopped butter and melt for 5 minutes on Speed 3, 50 degrees.
- Using a rubber spatula, gently fold ¼ of the egg mixture into the chocolate mixture. Repeat 3 more times with the remaining egg mixture.
- When the mixture is completely combined, pour it into the prepared springform tin.
- Boil water and carefully pour it into the large baking tray until it covers ⅔ of the sides of the springform pan.
- Bake in the oven for approximately 30-35 minutes or until the chocolate cake begins to set on the outside edges (not in the middle). Remove the pan from the oven and set aside until the boiling water has cooled slightly.
- When it's safe to do so, carefully remove the springform tin from the water bath and set aside to cool completely.
- Place the cake (still in the tin) into the fridge and leave until it's completely cold. For best results, leave in the fridge overnight. Allow to come to room temperature before serving.
- Before serving, carefully remove the cake from the springform tin and discard and baking paper. Decorate with chocolate ganache, icing sugar, fresh berries, whipped cream or sifted cocoa powder or icing sugar.
Notes
- eggs - use large eggs (approximately 55g)
- butter - use unsalted butter for this recipe
- dark chocolate - use a good quality dark cooking chocolate (you can buy cooking chocolate from the baking section of the supermarket). I like Cadbury, Nestle or Lindt brands - but you can use any good quality brand you like. Note: cooking chocolate melts easier than regular chocolate making it a perfect option for this dessert.


Rosie says
Could you half the size?
Lucy says
Sure! Just reduce the cooking time accordingly!
Kaidyn G. says
It came out exactly how it said it would and I love it! It's a small bit on the bitter side but that is what makes it even better. I did add some sugar to the mix to sweeten it, but other than that, 10/10. I am so going to me making this again!
Lucy says
Fantastic!