
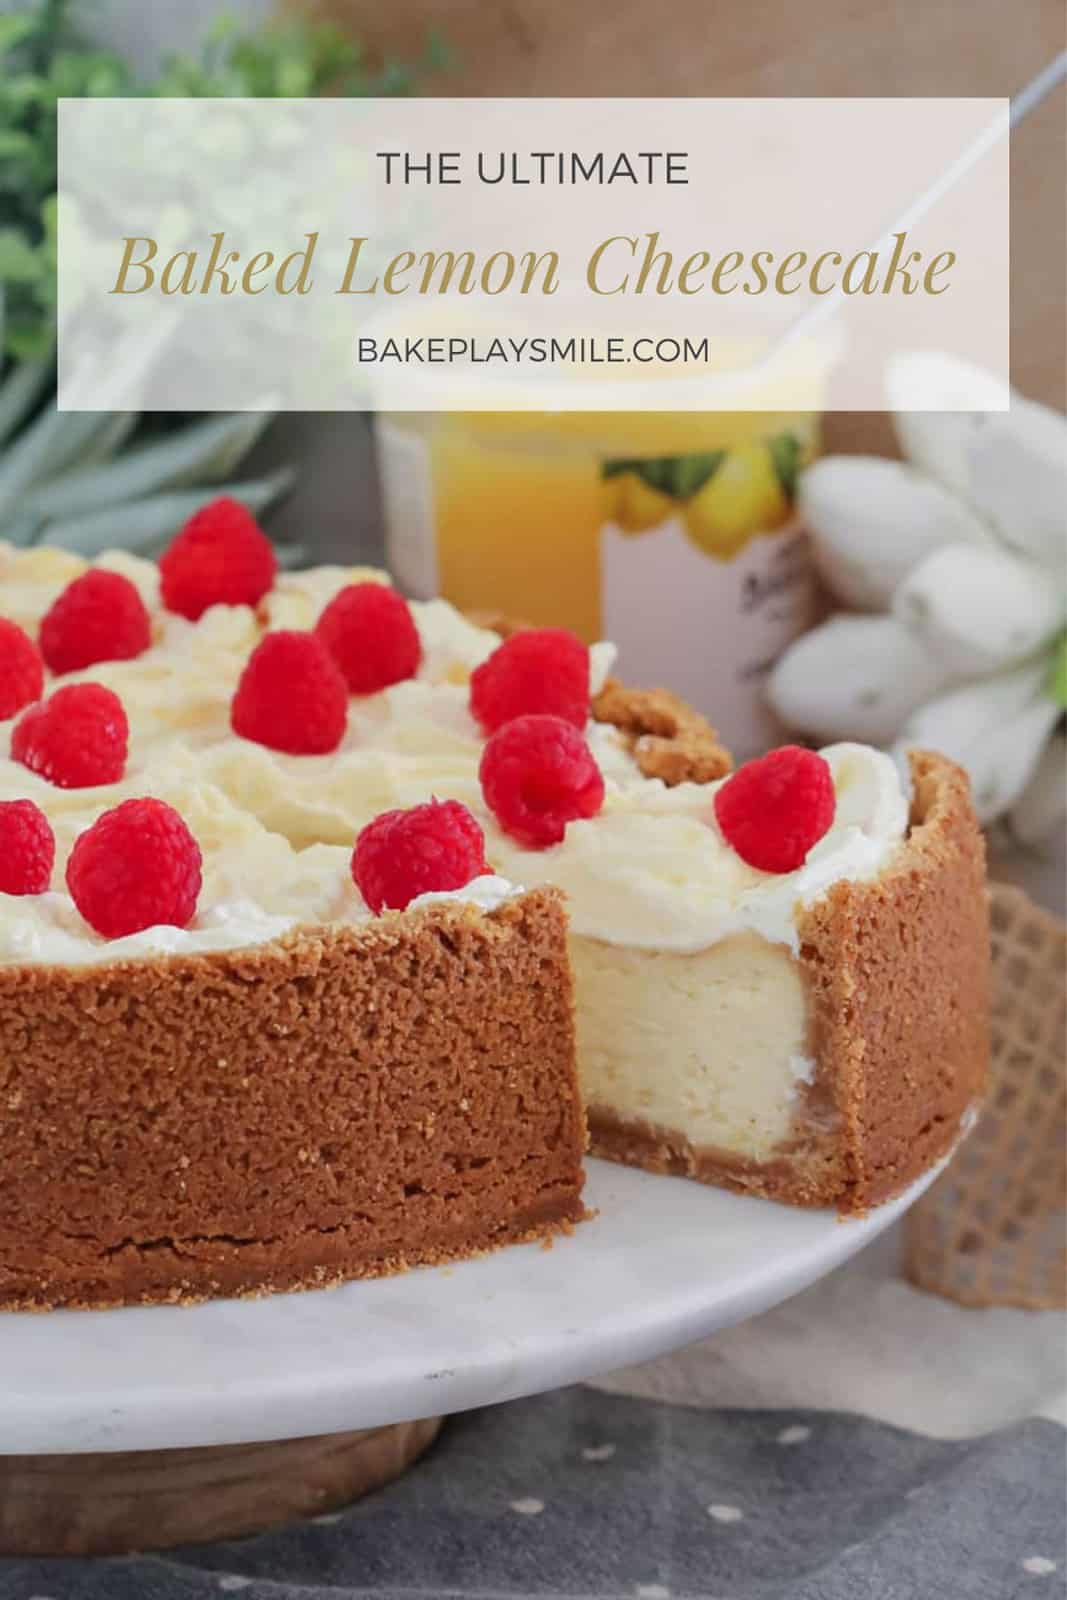
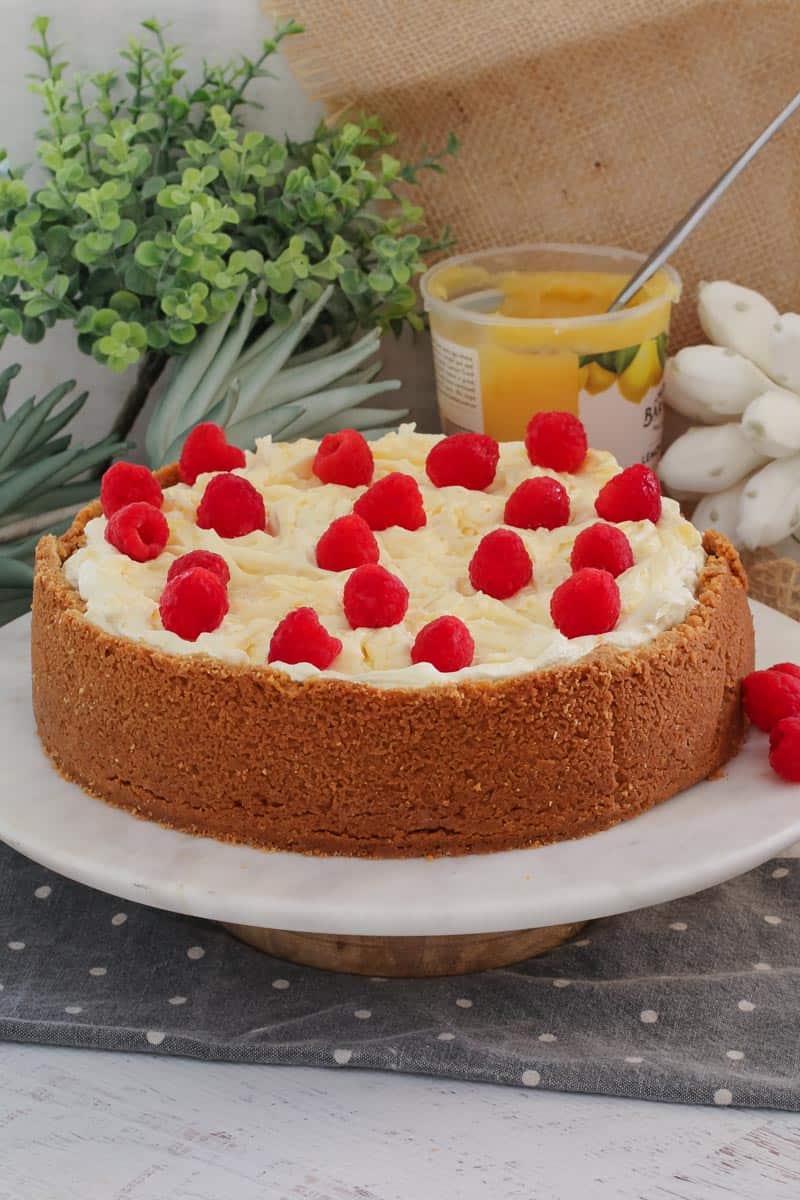
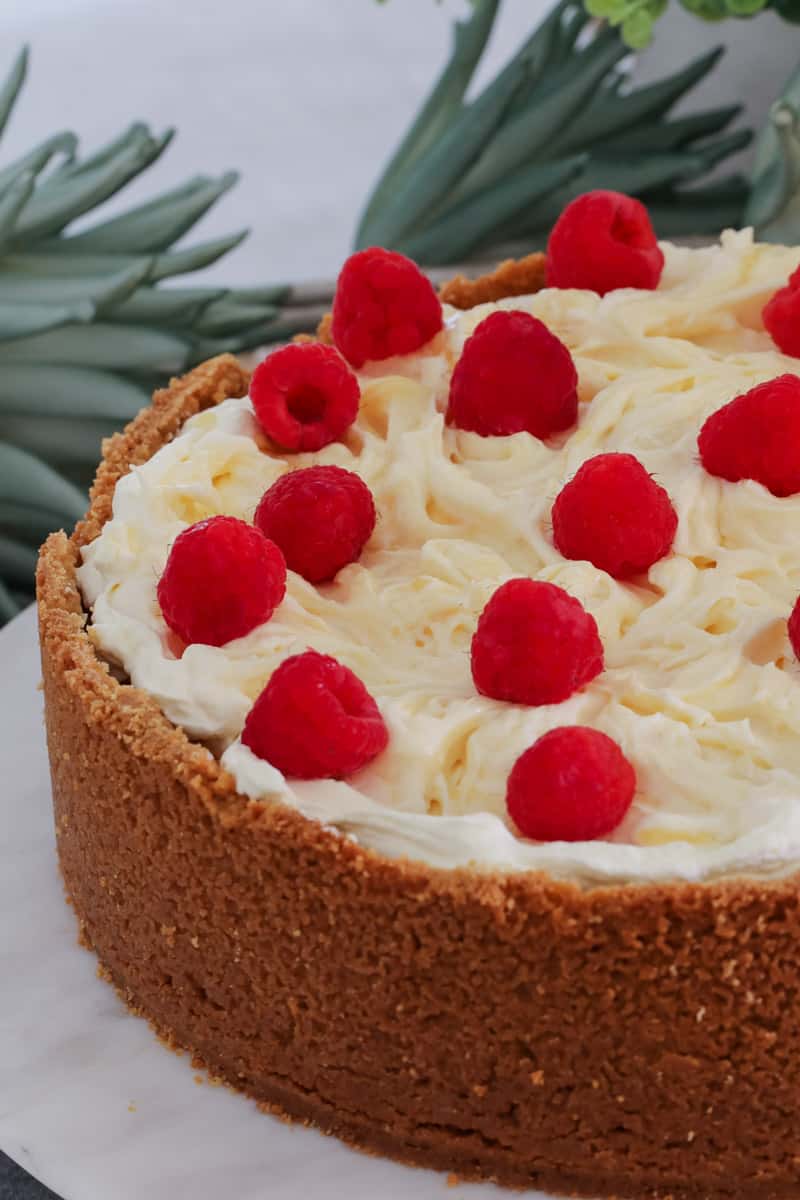
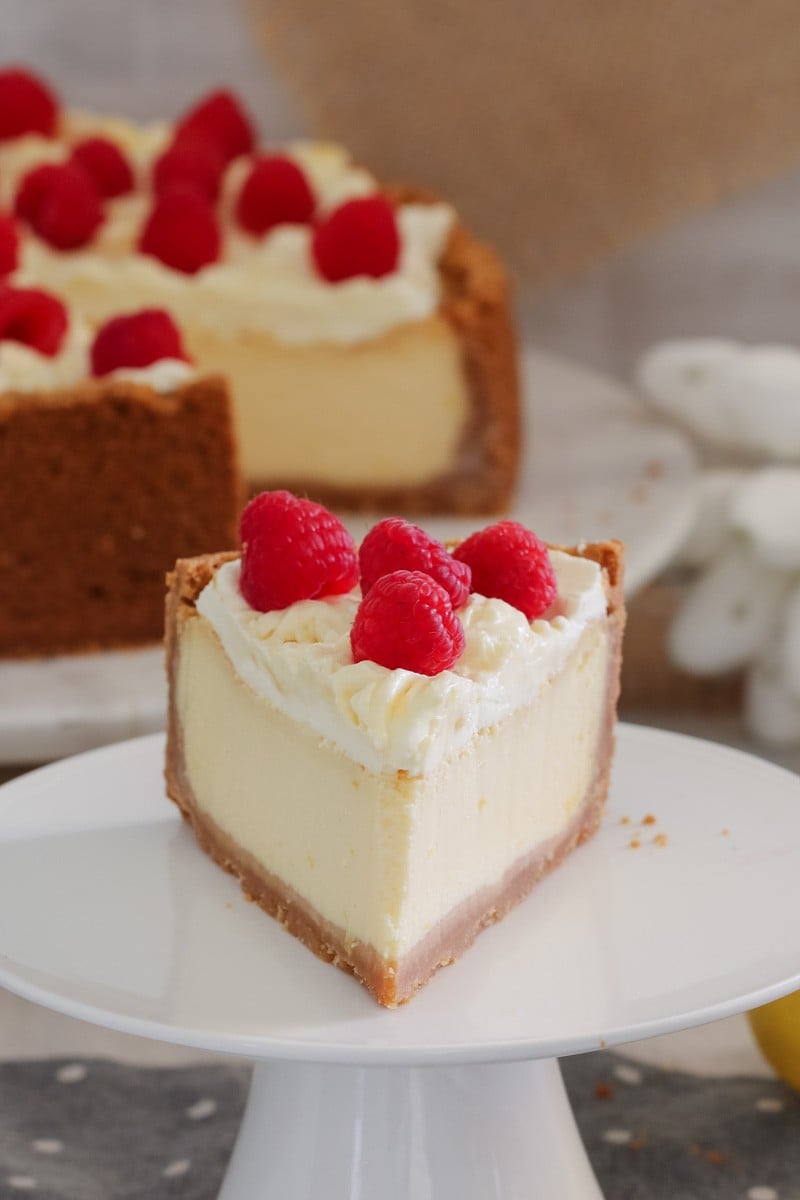
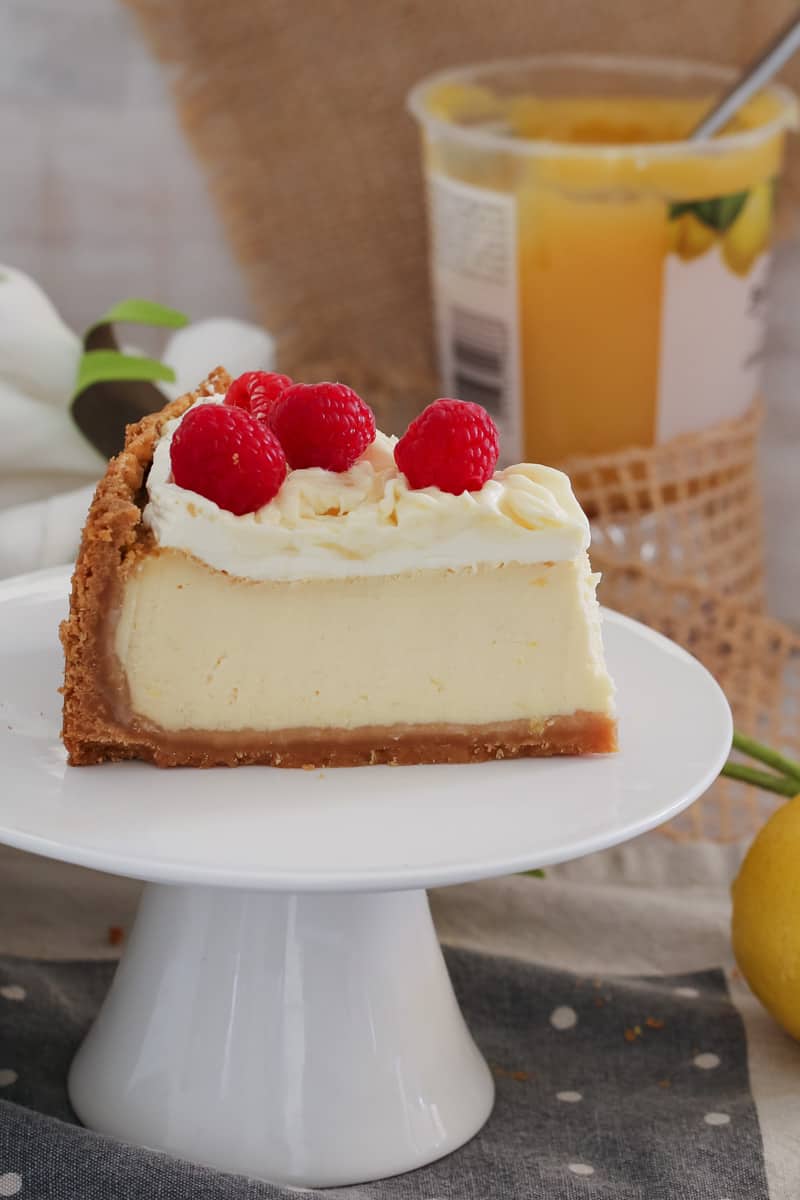
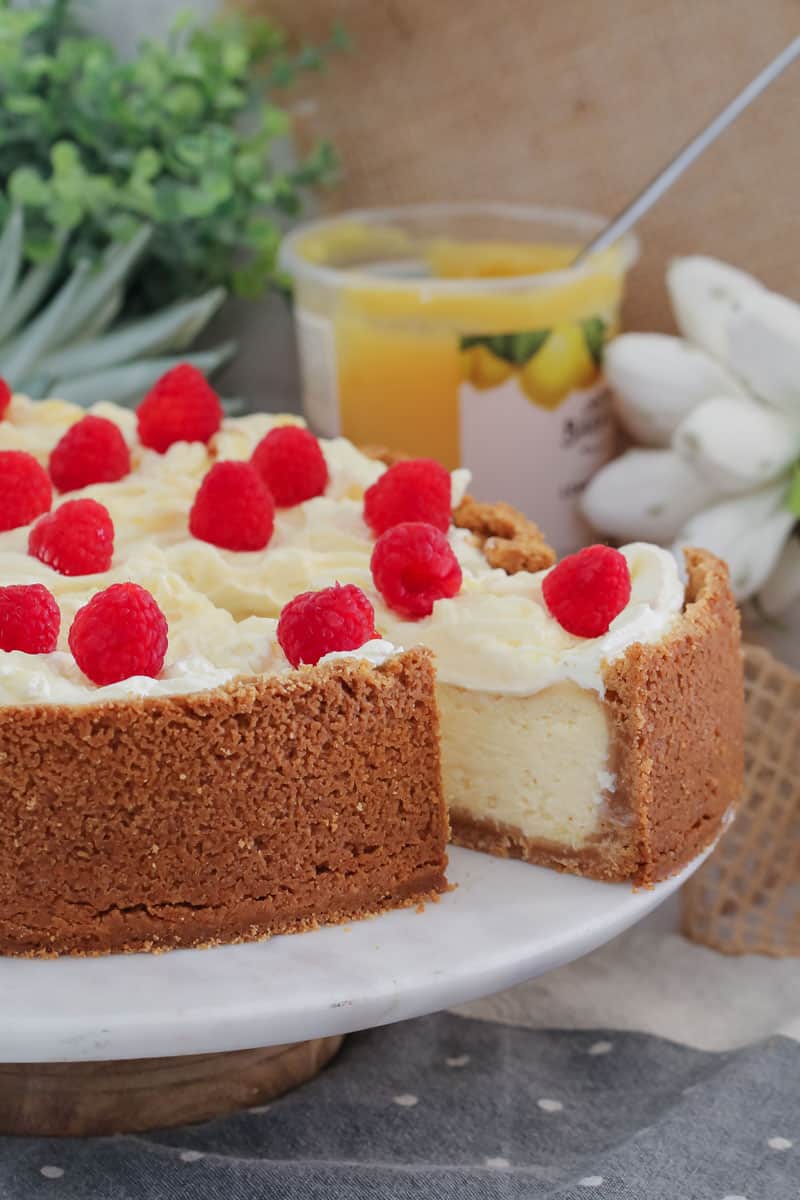
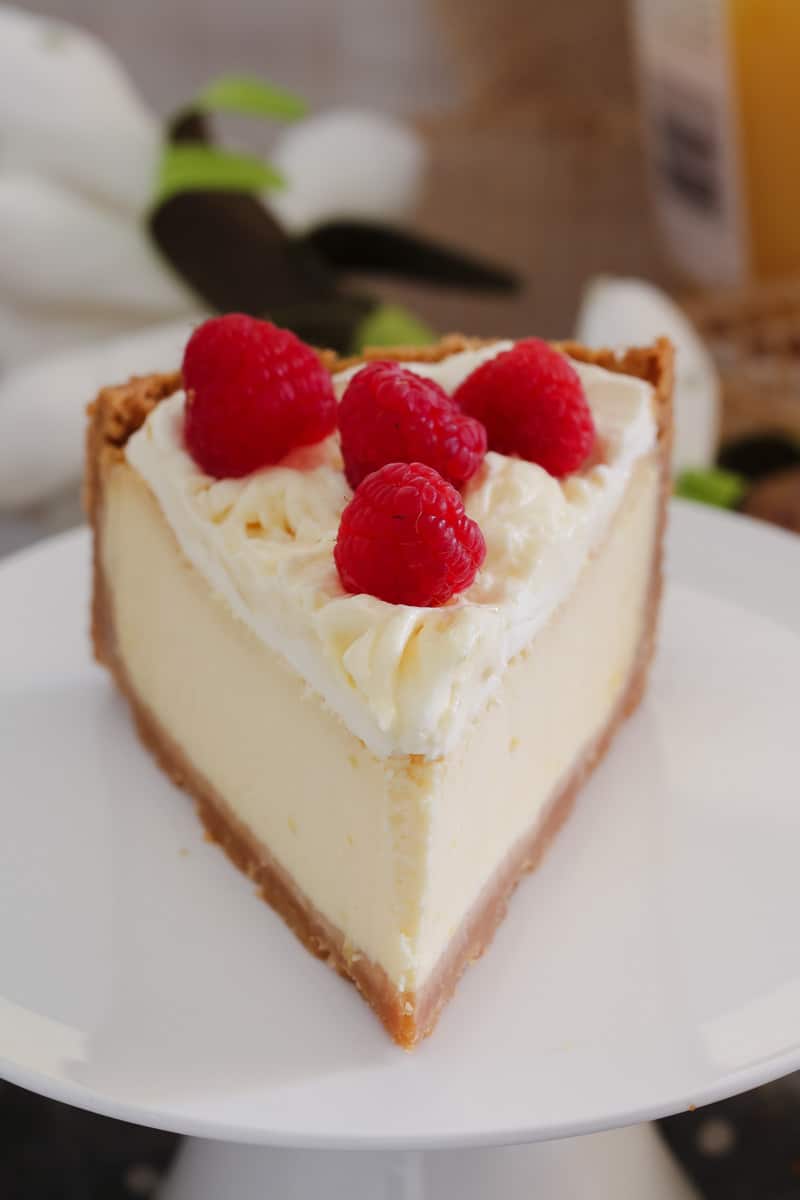
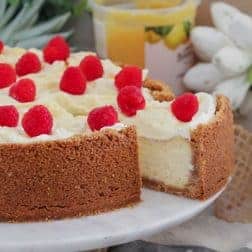
The ultimate classic Baked Lemon Cheesecake... a delicious cookie crumb base filled with creamy, tangy lemon cheesecake and topped with whipped cream, swirls of lemon curd and fresh raspberries.
It's no secret that a New York Baked Cheesecake is by far the most well known baked cheesecake recipe... but a baked lemon cheesecake is equally as delicious (if not even more so!).
For years I've been making baked cheesecakes using both my Thermomix and my good old hand-held beaters, and there really is no better dessert.
While a baked cheesecake can seem quite daunting (no-one wants an undercooked, cracked or sunken cheesecake!), if you follow my simple tips for baking a cheesecake you'll avoid all those issues and have the MOST AMAZING baked cheesecake ever!
Baked Vs No-Bake Cheesecake
The main difference between a baked cheesecake and a no-bake cheesecake is that a baked cheesecake contains eggs and is cooked with a water bath in the oven and then chilled in the fridge.
On the other hand, a no-bake cheesecake does not contain any eggs and is placed directly into the fridge to set.
A baked cheesecake has a lighter texture, whereas a no-bake cheesecake is very dense.
Why You're Going To Love This Recipe
This classic lemon baked cheesecake is AMAZING.
Here's just a few things that makes it so incredible:
- it's rich and creamy (so, soooo good!)
- it makes enough to feed a crowd - perfect for parties
- it looks amazing... but between us, is actually so simple
- it's the ultimate dessert
- 5 star recipe - "Thank you for this great recipe! I followed your instructions and it turned out perfectly. Looked just like your picture. Tasted great!!" - Amanda
What You Need
Note: scroll to the printable recipe card at the bottom of the post for ingredient quantities and the full detailed method
Ingredients Info
- plain sweet biscuits - known as cookies in the US. I like to use Arnott's Nice biscuits - however any plain sweet biscuits/cookies (such as digestives) are fine.
- butter - I recommend using unsalted butter for this recipe.
- cream cheese - like with all of my cheesecake recipes, I recommend using full fat cream cheese (not light) as it has a better texture and sets firmer. For a smooth cheesecake, ensure the cream cheese is at room temperature before using. I like to use Philly cream cheese (Philadelphia) brand.
- caster sugar - also known as superfine sugar
- finely grated lemon rind - from approximately 3 lemons
- lemon juice - either fresh or store-bought is absolutely fine to use
- plain flour - also known as all-purpose flour. This helps to thicken the filling.
- eggs - use large eggs (approximately 55g each) at room temperature.
- sour cream - I recommend using full fat (not skim or light) sour cream. For a smooth cheesecake, ensure the sour cream is at room temperature before using.
- whipped cream, lemon curd and fresh raspberries - for serving (optional)
Recipe Tips
Tip 1. Have ALL of your ingredients at room temperature before you start cooking
If you want a perfectly smooth, creamy and delicious cheesecake, this is a must!!! For this baked cheesecake, it's important to have the eggs, cream cheese, sour cream and lemon juice at room temperature before using.
Tip 2. Don't over-beat your ingredients
Mix the ingredients together on low speed to avoid the cheesecake from cracking when cooked.
Tip 3. Grease and line your pan properly
Grease the base and sides of a springform pan and then line them with baking paper (leaving an overhang to allow for easy removal).
Tip 4. Use full fat ingredients
Lets face it....if you're on a diet, cheesecake is not your thing. To get the best result and the most amazing tasting cheesecake, use full fat cream cheese and full fat sour cream... steer away from the light versions!
Tip 5. Do NOT open the oven while it's cooking
As tempting as it is to do so, do NOT open the oven at all while the cheesecake is cooking. Cook it for the recommended time, then turn the oven off and leave the cheesecake in there (door still closed) for 2 hours or until it's completely cooled. If you open the oven door while your cheesecake is cooking or while the oven is still hot, it will crack and sink. Even if you're worried that your cheesecake isn't cooked, trust that it is and leave it!!! It will continue to cook as the oven cools.
Tip 6. Do not put the cheesecake in the fridge until it has cooled completely
As per Tip 5, any sudden change in temperature will cause your cheesecake to crack. Allow to cool completely before transferring to the fridge.
Tip 7 - Place the springform pan onto a baking tray
In order to avoid any messes or spills (especially from the melted butter in the base) it's important to place the cheesecake springform pan directly onto a flat baking tray. By doing so, the tray will catch any spills or liquid from the cheesecake.
Tip 8. Add a tray of water to the bottom of your oven while your cheesecake is cooking
Filling a baking tray with water and placing it on the bottom shelf of your oven (with the cheesecake on the shelf above it), will help to keep your cheesecake soft and creamy. It's not entirely necessary, but it definitely helps!
Storing, Serving & Freezing
Storing
A baked lemon cheesecake can be stored for 5 days in an airtight container in the fridge.
Serving
A baked lemon cheesecake is best served at room temperature. Remove it from the fridge 1 hour before slicing and serving.
If you're decorating your cheesecake with whipped cream, lemon curd and raspberries, do so immediately before serving.
Freezing
You can freeze the cheesecake for up to 1 month (freeze without the optional whipped cream, lemon curd and raspberries on top).
Simply wrap in foil and then place into an airtight container.
Remove the cheesecake from the freezer the night before you plan to use it and allow it to defrost in the refrigerator overnight.
More Cheesecake Recipes
If you LOVE cheesecake (and lets face it... who doesn't!), then please browse my collection of cheesecake recipes. From Oreo cheesecake to Toblerone cheesecake, salted caramel to Bailey's chocolate cheesecake and so much more!
WANT EVEN MORE DELICIOUS RECIPES? Subscribe to my newsletter or follow along on Facebook or Instagram. And if you love baking, then please come and join my Facebook cooking club group or subscribe to my YouTube channel.
Baked Lemon Cheesecake
Ingredients
- 375 g crushed plain sweet biscuits cookies (see notes)
- 250 g (2.2 sticks) unsalted butter melted
- 750 g full fat cream cheese room temp
- 215 g (1 cup) caster sugar superfine sugar
- finely grated lemon rind from 3 lemons
- 65 g (¼ cup) lemon juice
- 2 tbs plain flour all purpose flour
- 4 eggs room temp
- 300 ml full fat sour cream room temp
- 300 g whipping cream thickened or heavy cream
- 100 g lemon curd
- 125 g fresh raspberries
Instructions
Conventional Method
- Preheat oven to 160°C (140 degrees if using fan-forced).
- Grease and then line the base and sides of a 23cm springform pan with non-stick baking paper (see tips for details).
- Finely crush the biscuits in a food processor and then place into a large bowl.
- Add the melted butter and mix thoroughly until well combined.
- Spoon half of the biscuit crumbs onto the base of the prepared tin.
- Use a glass to press the mixture down evenly (you will also need to use a spoon to press the edges down firmly).
- Press the remaining half of the mixture firmly up the sides of the pan (leaving a small 1cm gap near the top).
- Chill in the fridge for 30 minutes.
- Beat the cream cheese, sugar, lemon juice and lemon rind with electric beaters until just combined (don't over-beat).
- Gently beat in the flour followed by the eggs (1 at a time). Beat until just combined.
- Stir through the sour cream.
- Gently pour the cream cheese mixture into the base of the tin.
- Add a tray of water onto the bottom shelf of your oven.Place the the round springform pan onto a baking tray and place onto the middle shelf in the oven. Bake for 1 ¼ hours or until just set in the centre. Do not open the oven during the cooking time or the cheesecake will crack and sink.
- Turn the oven off and leave the cheesecake in the oven, with the door closed for 2 hours.
- Place the cheesecake onto the bench until completely cooled before placing into the fridge (still in the baking tin).
- After a minimum of 4 hours in the fridge (preferably overnight), carefully remove the cheesecake from the baking tin and take off the baking paper.
- Top with whipped cream, swirls of lemon curd and fresh raspberries.
Thermomix Method
- Preheat oven to 160°C (140 degrees if using fan-forced). Grease and line the base and sides of a 23cm springform pan with non-stick baking paper.
- Place the butter (chopped) into the Thermomix bowl and melt for 3 minutes, 80 degrees, Speed 2 (or until melted). Add the biscuits and mix for 10 seconds, Speed 8, or until completely combined.
- Spoon half of the biscuit crumbs onto the base of the prepared tin. Use a glass to press the mixture town evenly (you will also need to use a spoon to press the edges down firmly).
- Press the remaining half of the mixture firmly up the sides of the pan (leaving a small 1cm gap near the top). Chill in the fridge for 30 minutes.
- In a clean and dry Thermomix bowl, set the Thermomix to 37 degrees, 25 minutes, Speed 3. Note: it will NOT take 25 minutes, but by setting it for this long will keep it at the right temperature while you add in the other ingredients). With the blades turning, place the cream cheese into the TM bowl and mix well.
- Slowly add in the caster sugar, followed by the flour and eggs and mix until just combined.
- Place the butterfly attachment into the bowl (with the cream cheese mixture in it). Turn onto Speed 3 and slowly add in the grated lemon rind, lemon juice and sour cream. Scrape down the sides of the bowl and mix until completely smooth (don't over mix).
- Gently pour the cream cheese mixture into the base of the tin.
- Add a tray of water onto the bottom shelf of your oven.Place the the round springform pan onto a baking tray and place onto the middle shelf in the oven. Bake for 1 ¼ hours or until just set in the centre. Do not open the oven during the cooking time or the cheesecake will crack and sink.
- Turn the oven off and leave the cheesecake in the oven, with the door closed for 2 hours. Place the cheesecake onto the bench until completely cooled before placing into the fridge (still in the baking tin).
- After a minimum of 4 hours in the fridge (preferably overnight), carefully remove the cheesecake from the baking tin and take off the baking paper.
- Top with whipped cream, swirls of lemon curd and fresh raspberries.
Notes
- plain sweet biscuits - known as cookies in the US. I like to use Arnott's Nice biscuits - however any plain sweet biscuits/cookies (such as digestives) are fine.
- butter - I recommend using unsalted butter for this recipe.
- cream cheese - like with all of my cheesecake recipes, I recommend using full fat cream cheese (not light) as it has a better texture and sets firmer. For a smooth cheesecake, ensure the cream cheese is at room temperature before using. I like to use Philly cream cheese (Philadelphia) brand.
- caster sugar - also known as superfine sugar
- finely grated lemon rind - from approximately 3 lemons
- lemon juice - either fresh or store-bought is absolutely fine to use
- plain flour - also known as all-purpose flour. This helps to thicken the filling.
- eggs - use large eggs (approximately 55g each) at room temperature.
- sour cream - I recommend using full fat (not skim or light) sour cream. For a smooth cheesecake, ensure the sour cream is at room temperature before using.
- whipped cream, lemon curd and fresh raspberries - for serving (optional)
- Have ALL of your ingredients at room temperature before you start cooking
- Don't over-beat your ingredients
- Grease and line your pan properly
- Use full fat ingredients
- Do NOT open the oven while it's cooking
- Do not put the cheesecake in the fridge until it has cooled completely
- Place the springform pan onto a baking tray in order to avoid any messes or spills (especially from the melted butter in the base that may drip out)
- Add a tray of water to the bottom of your oven while your cheesecake is cooking


Carol Jacob says
What an amazing cheesecake recipe the details that are provided are terrific giving the theory behind cooking the cheesecake I have made this many times now as it is a favourite birthday cake choice for many of my family iI also make 2 for our big Christmas evening meal none is left over if not eaten there then taken home for later consumption Thank you so much for this delightful recipe!
Lucy says
Hi Carol, I am so incredibly thrilled you like this cheesecake! And thank you for your lovely feedback!
Caz Jacob says
Thank you for recipe this has become a must for our family Christmas dinners I have also been asked to make it for my nieces 18th Birthday party .You make it so easy to follow explaining clearly the why & how so well . You also take it into account that not all people live in America & so can have different measurements & ingredients .You are great at this please continue .
Lucy says
Thank you so much Caz, you've absolutely made my day!!!!
Elaine says
Excellent recipes!