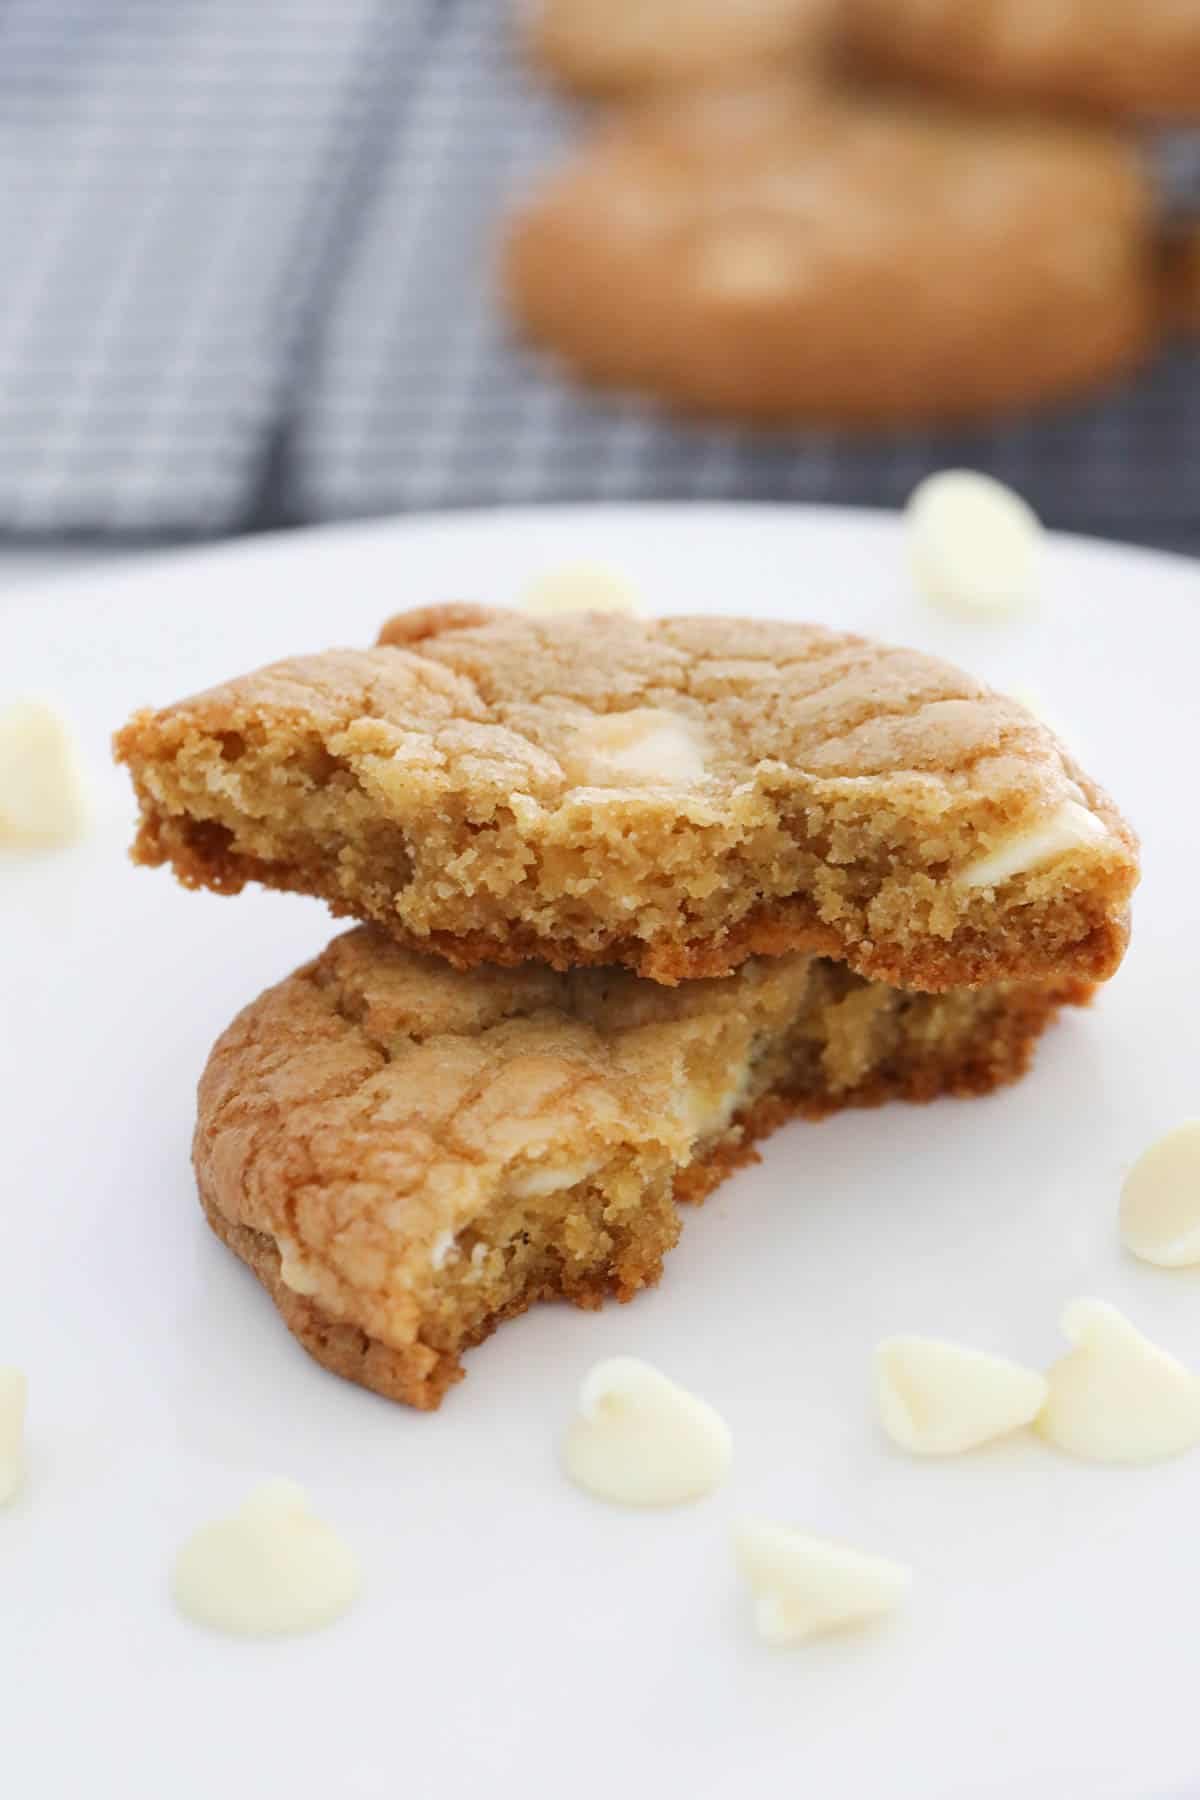
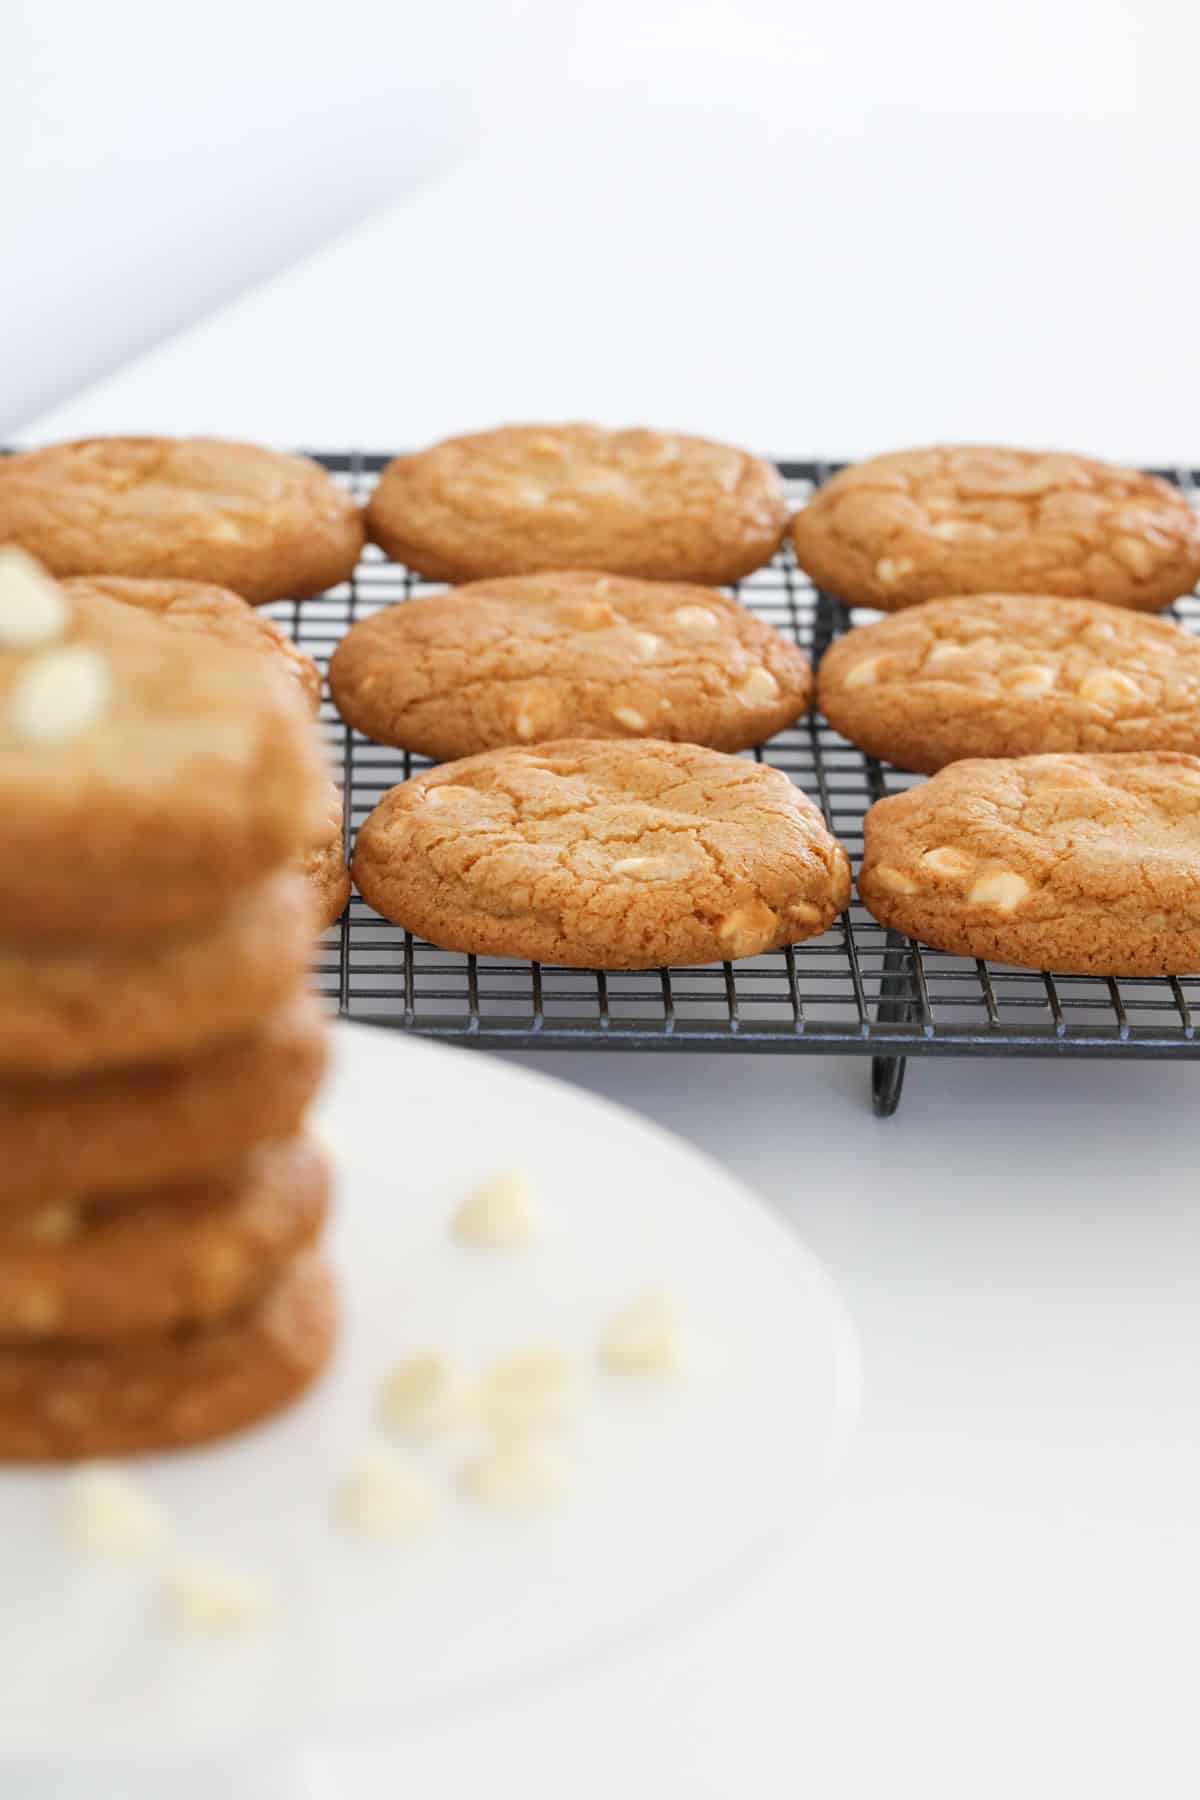
You will absolutely LOVE these dreamy white chocolate chip cookies, made from scratch. They are crispy on the edges, chewy on the inside and filled to the max with white chocolate chips! Made with melted butter, they are rich and sweet, super easy to make and perfect served warm with a glass of ice-cold milk!
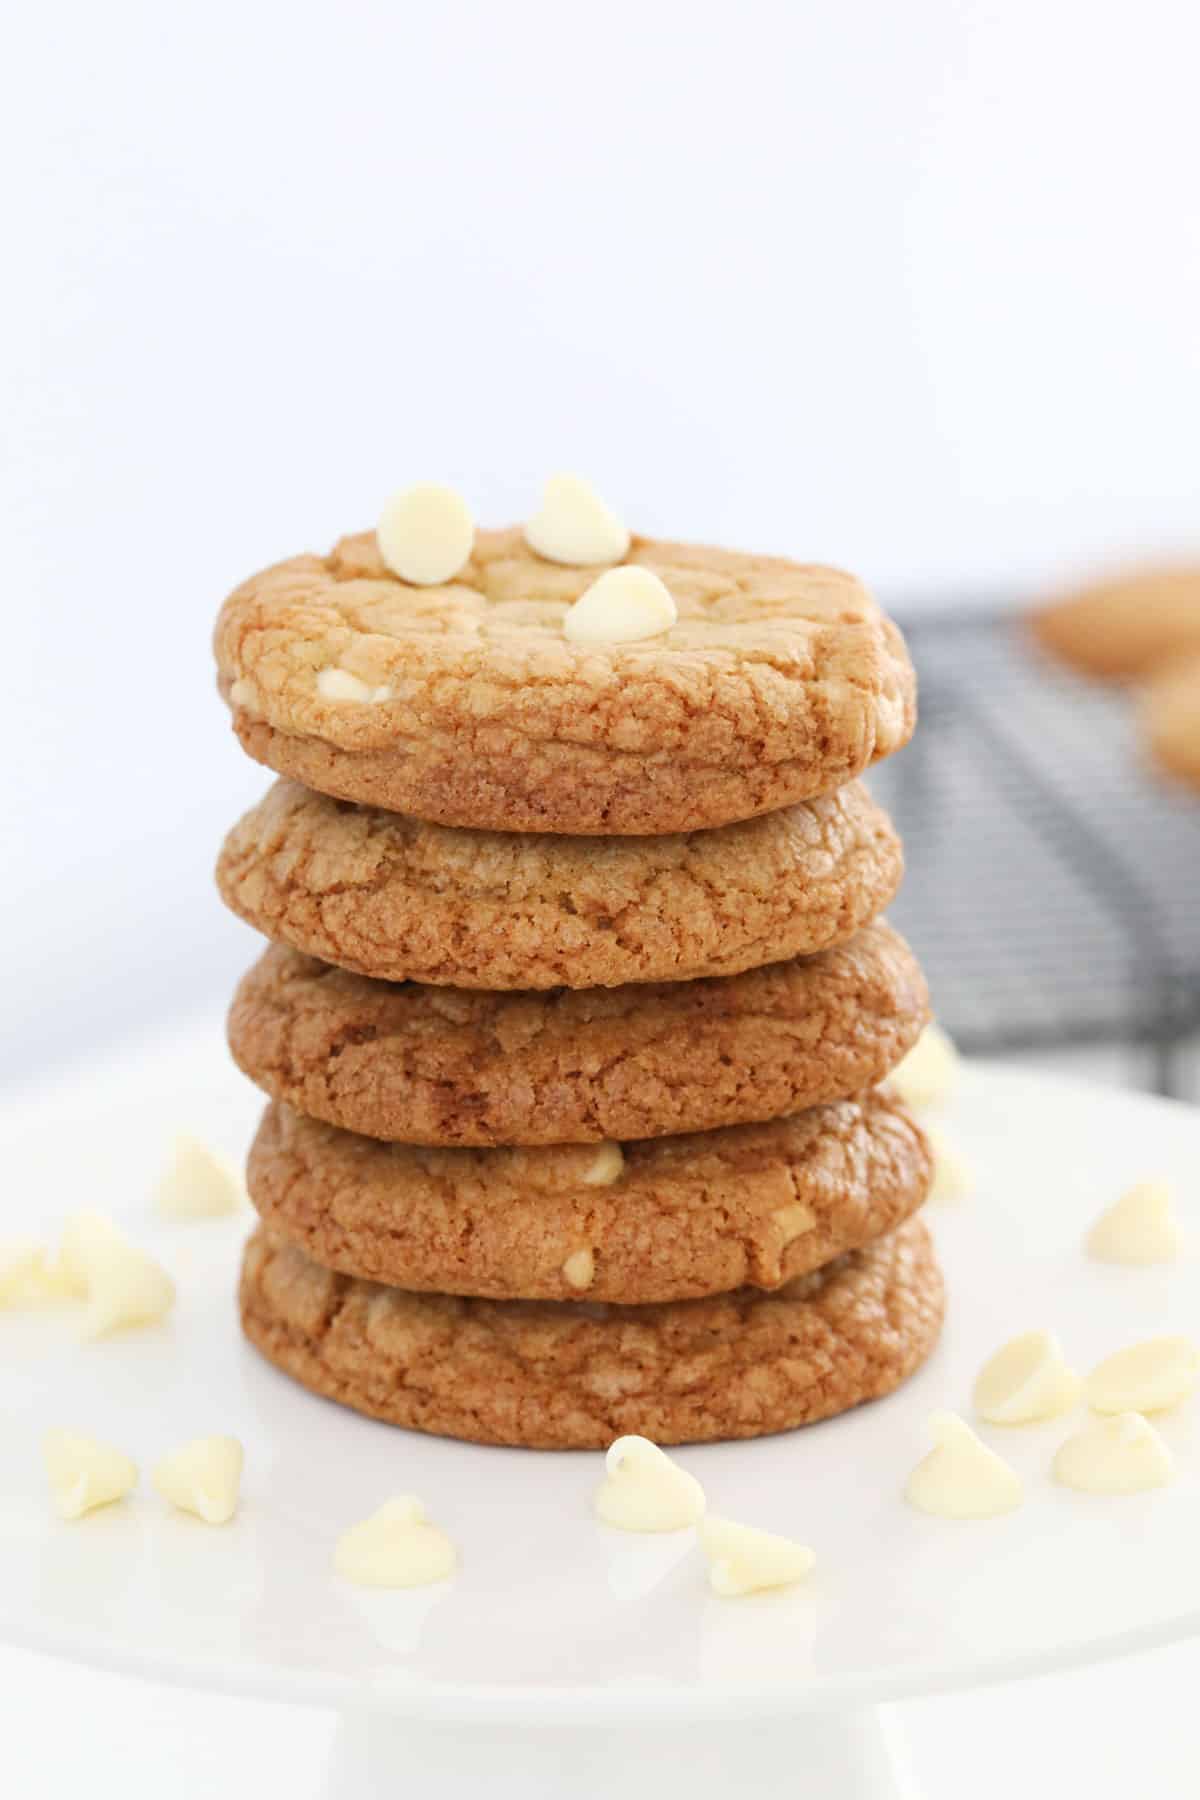
If you LOVE white chocolate, then you will adore these gorgeous, chewy white chocolate chip cookies! Filled with your favourite white chocolate chunks, they are thick, chewy and completely addictive.
They are the perfect lunchbox treat, cookie jar filler or afternoon tea favourite!
Is there anything better than a warm cookie, straight from the oven? Serve them with a glass of cold milk for the ultimate indulgence!
If you're a cookie lover like me, you'll also love these double chocolate chip cookies, hokey pokey biscuits or this famous 100 cookie recipe!
Why You're Going To Love This Recipe
- Easy - a handful of simple pantry ingredients and about 10 minutes hands-on time are all you need. Making your own cookies from scratch is so easy and you know exactly what goes into them!
- Crispy edges - and a deliciously chewy centre. Everything you want in a white chocolate chip cookie!
- Major chunks - loaded with white chocolate chips.
- SUPER rich and buttery - classic, comforting flavours.
- Freezer friendly - you can freeze the dough or freeze the baked cookies, so that either can be ready at a moment's notice.
- Conventional and Thermomix - this recipe can be made conventionally or in a Thermomix. You will find both the conventional and Thermomix methods in the recipe card at the bottom of the post.
What You Need
Just a handful of simple pantry ingredients are needed to make these wonderfully chewy white chocolate chip cookies from scratch.
Note: Please scroll to the recipe card at the bottom for ingredient quantities and the full detailed method.
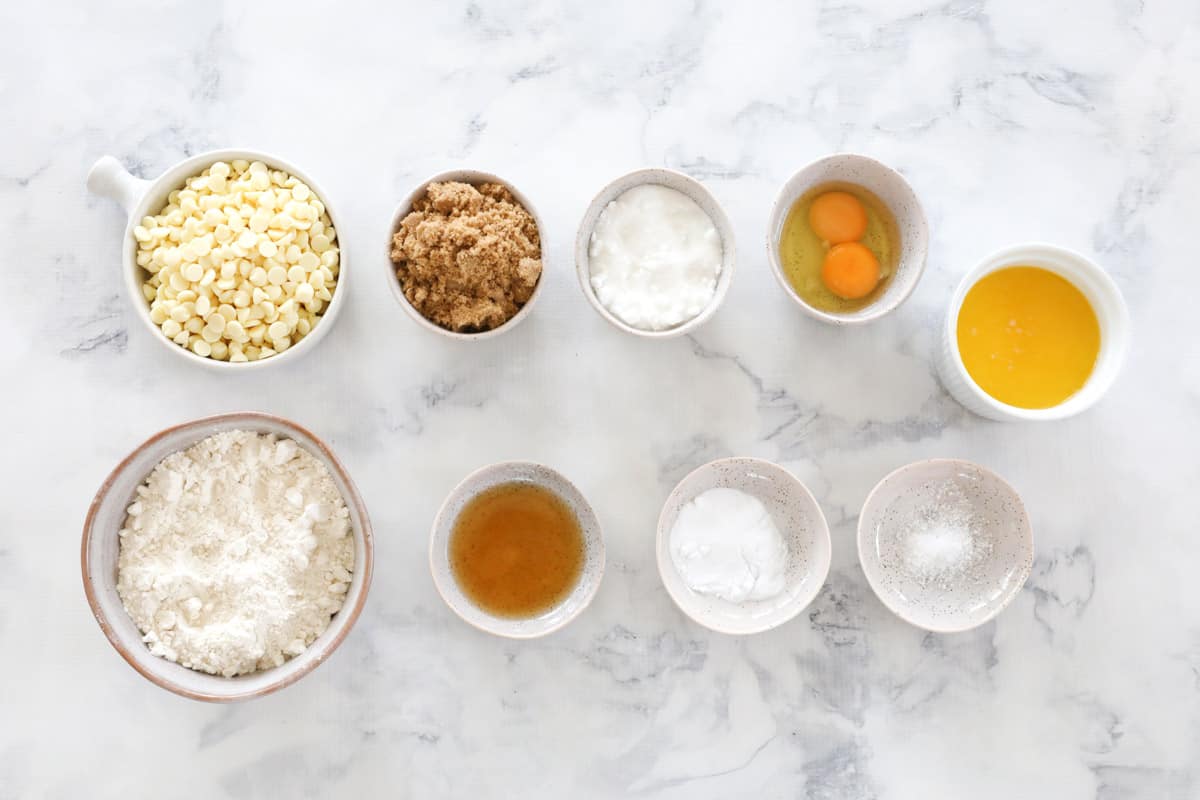
- Plain flour - also known as all-purpose flour.
- Bi-carbonate soda - also called baking soda, bicarb soda gives the cookies a chewy, coarse texture and a little rise. Check the expiry on your packet to make sure that it is fresh, and make sure that it is stored in a cool, dry place.
- Salt - fine table salt is recommended rather than coarse salt flakes or sea salt. Although you can sprinkle some salt flakes over the top once the cookies are ready for a little extra salt hit if you like!
- Butter - use regular, unsalted butter so that you can control the salt content. The butter is melted to produce a softer cookie.
- Caster sugar - for sweetness and crispy edges.
- Brown sugar - gives the best moisture and chewiness.
- Vanilla - use vanilla bean paste or extract rather than vanilla essence, for the best flavour.
- Eggs - one egg, plus an extra yolk, for moisture. Make sure the eggs are at room temperature first.
- White chocolate chips - use good quality white chocolate chips. Or, chop up your favourite white chocolate blocks/bars and add chocolate chunks instead. Chocolate chips can be purchased from the baking section of any supermarket. Some brands I recommend are; Cadbury, Nestlé or Hersheys. Alternatively, you could replace them with M&Ms or Smarties.
Step by Step Instructions
It couldn't be easier to make these white chocolate chip cookies!
Note: Scroll to the recipe card at the bottom for the ingredients quantities and full detailed method.
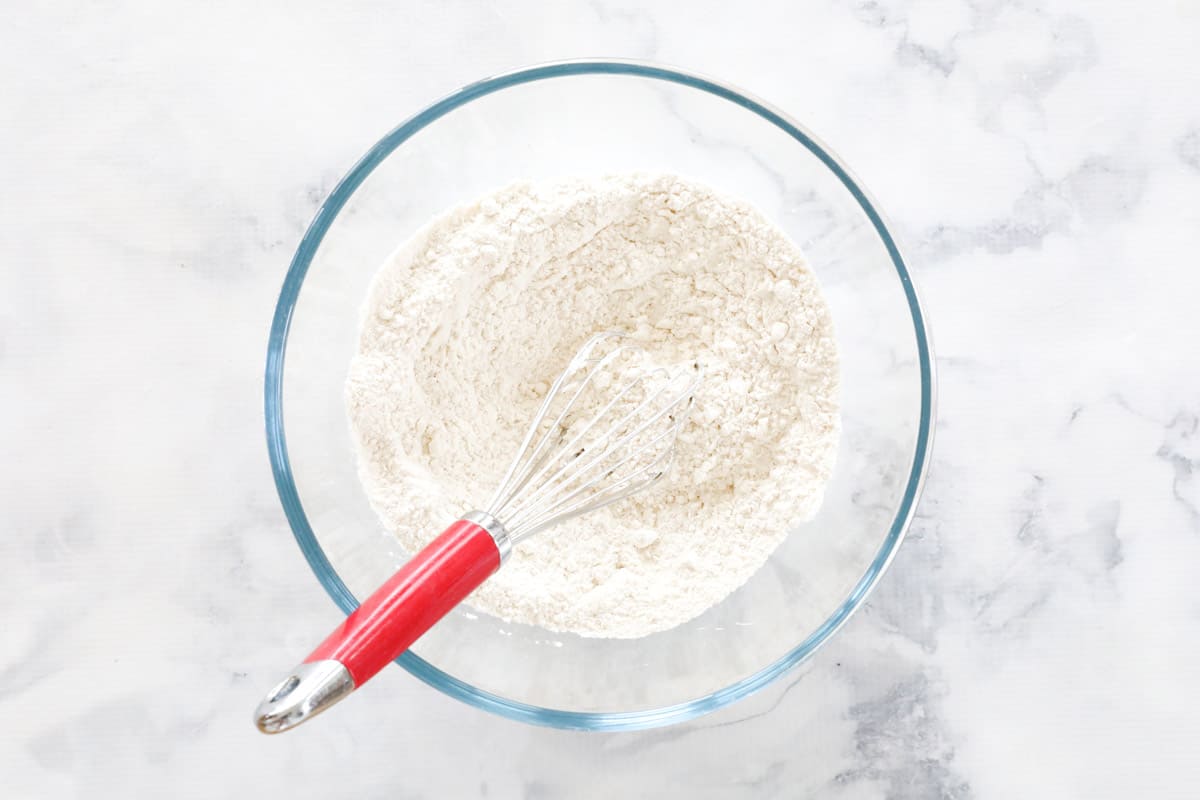
Step 1 - Mix Dry Ingredients
Sift the plain flour, bi-carbonate soda and salt into a large bowl. Whisk together to combine. Set aside.
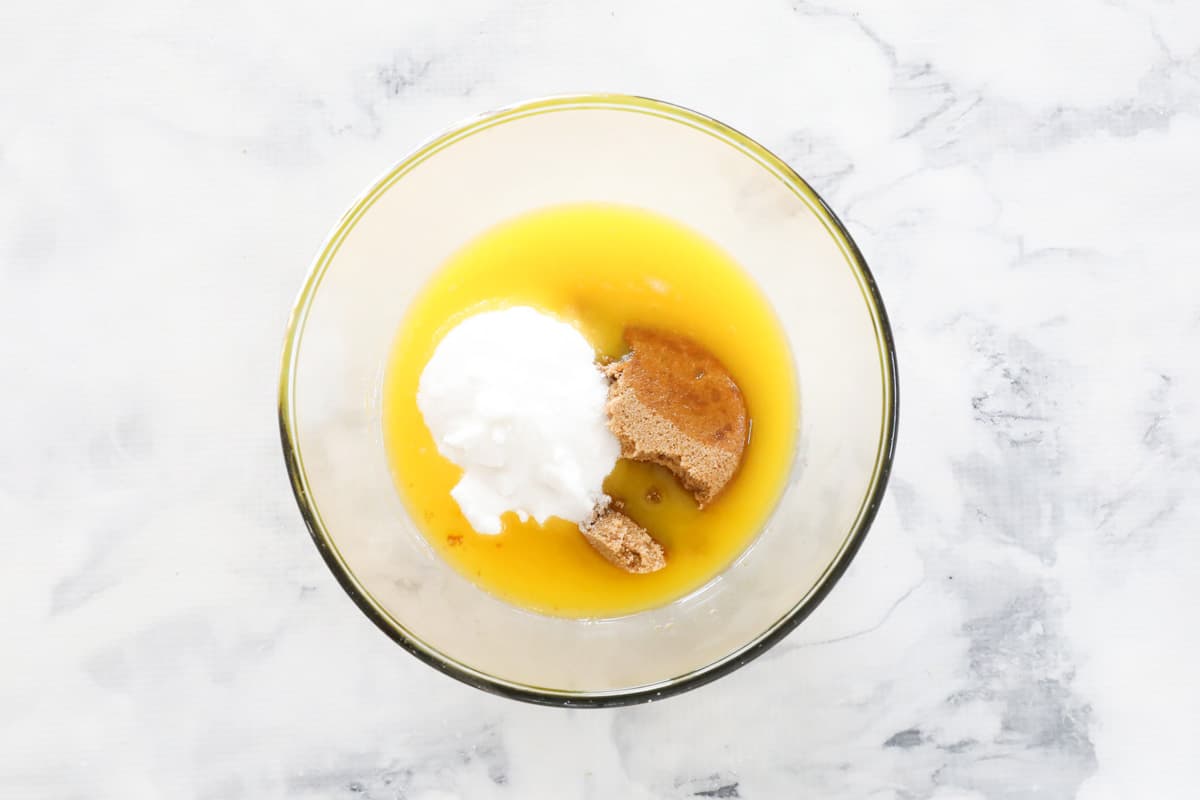
Step 2 - Mix Wet Ingredients Separately
In a separate, large bowl, whisk the melted butter, caster sugar, brown sugar and vanilla extract together. Continue whisking until the mixture is smooth and free of lumps.
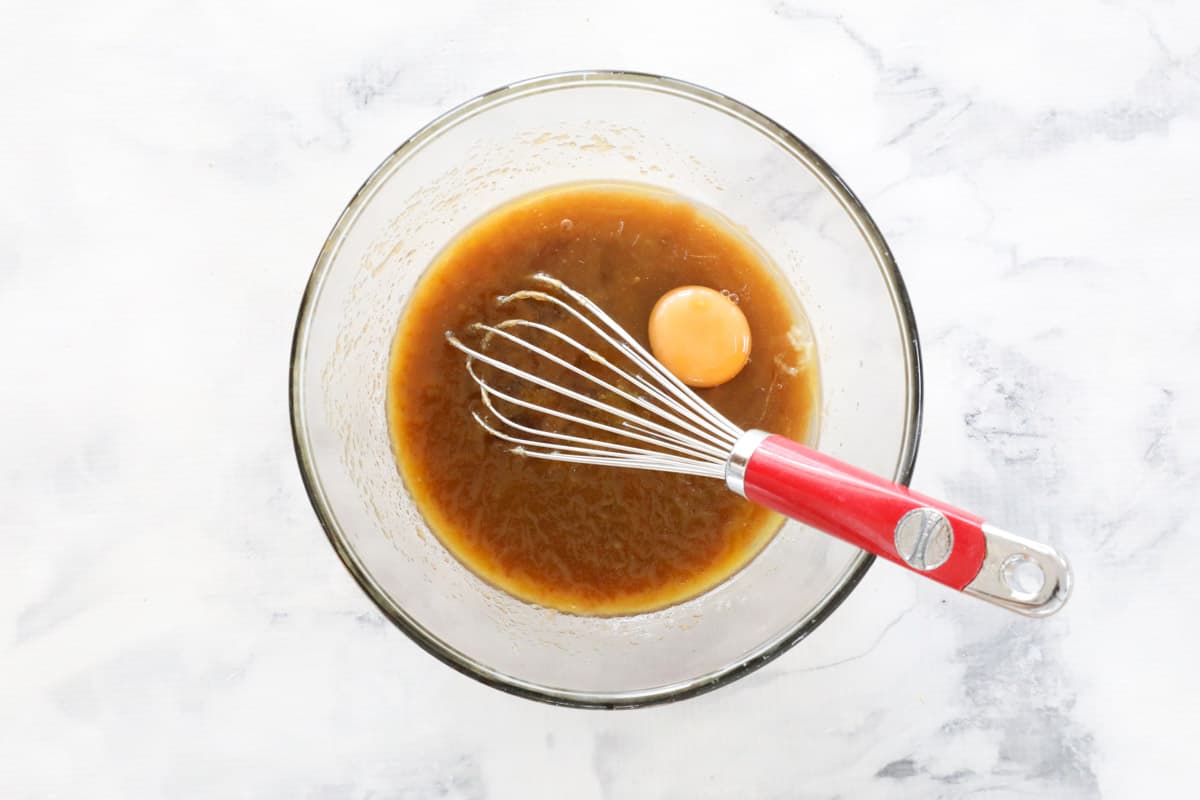
Add the egg and whisk until combined and smooth. Add the extra egg yolk and whisk again.
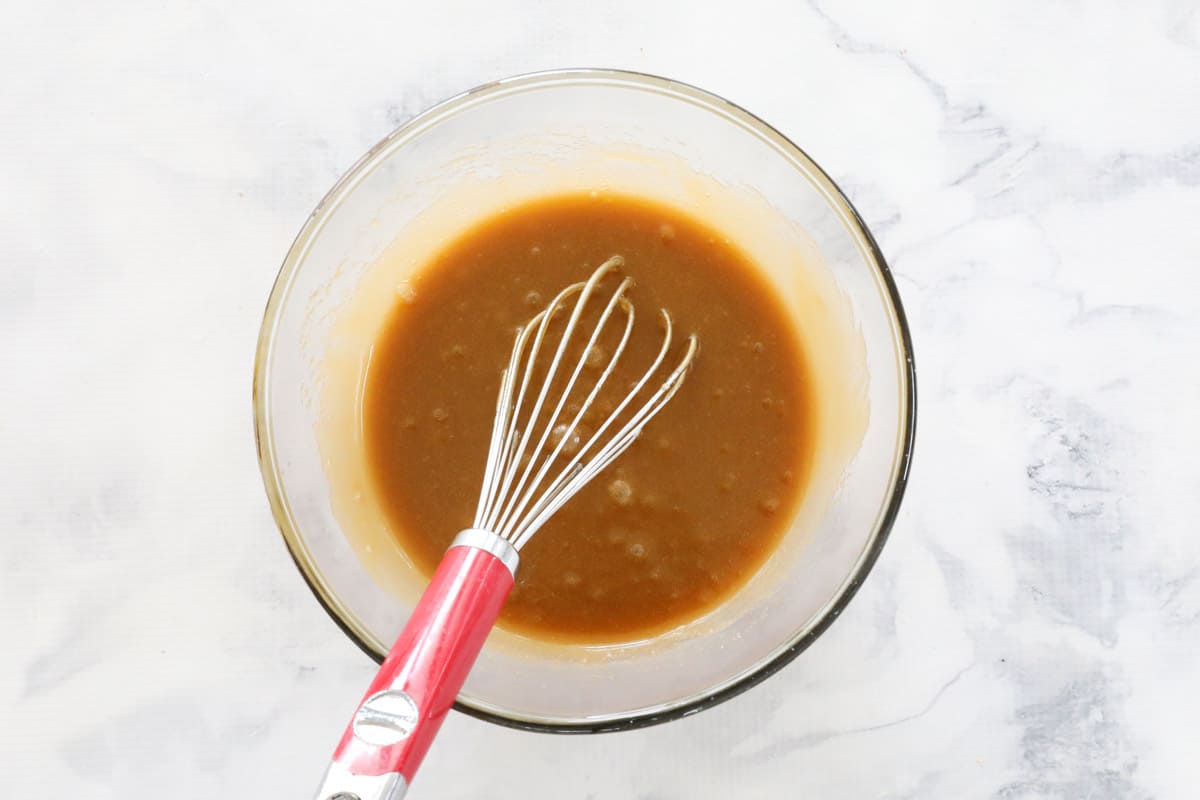
Step 3 - Mix Wet And Dry Ingredients Together
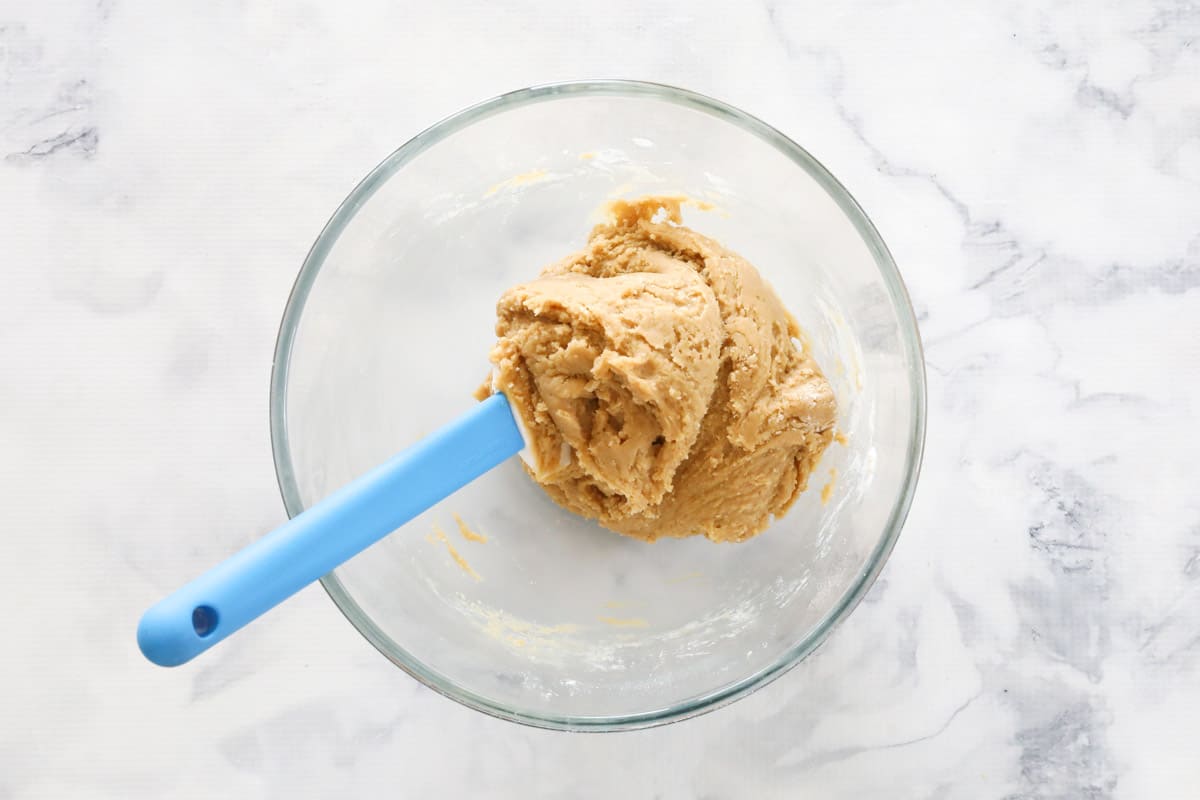
Pour the wet ingredients over the dry ingredients and combine using a spatula or large spoon. Note: the mixture will be sticky at this stage.
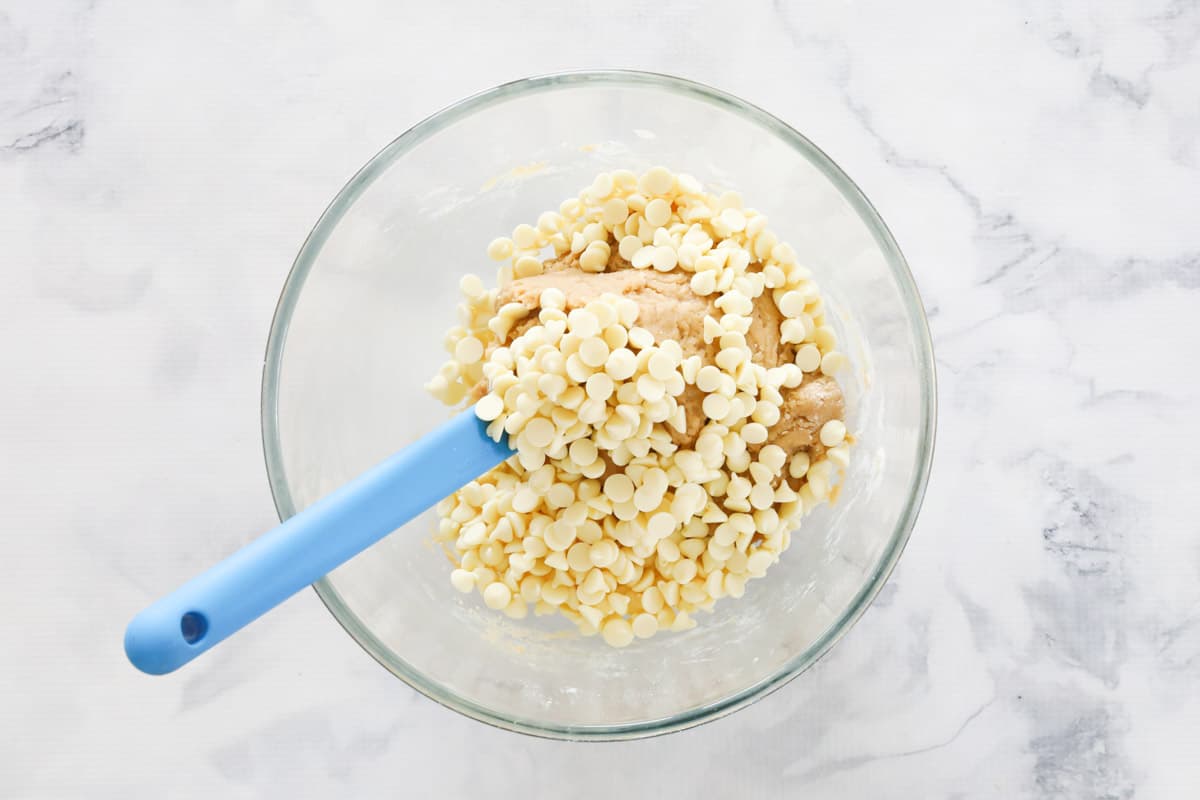
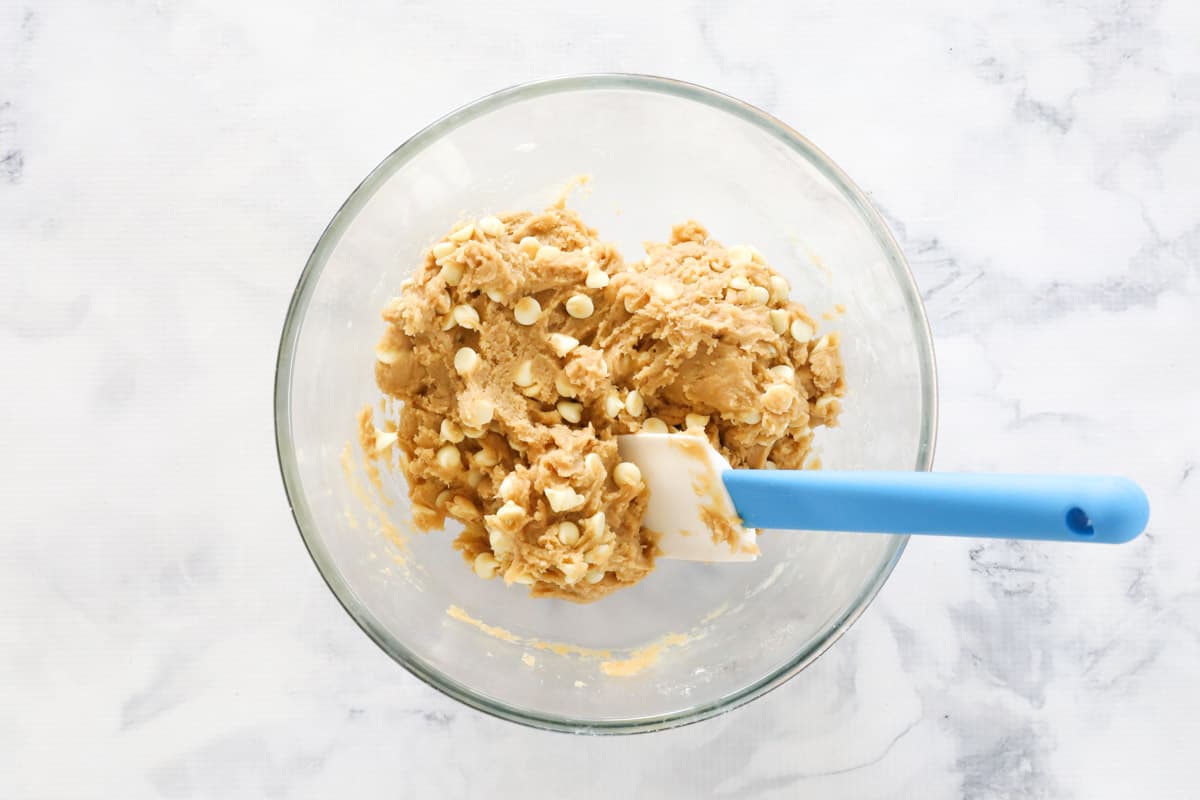
Fold through the white chocolate chips.
Step 4 - Chill The Cookie Dough
Place the white chocolate chip cookie dough into the fridge for 2 hours. Note: this is not an optional step - the dough requires chilling to prevent over-spreading.
Step 5 - Bake
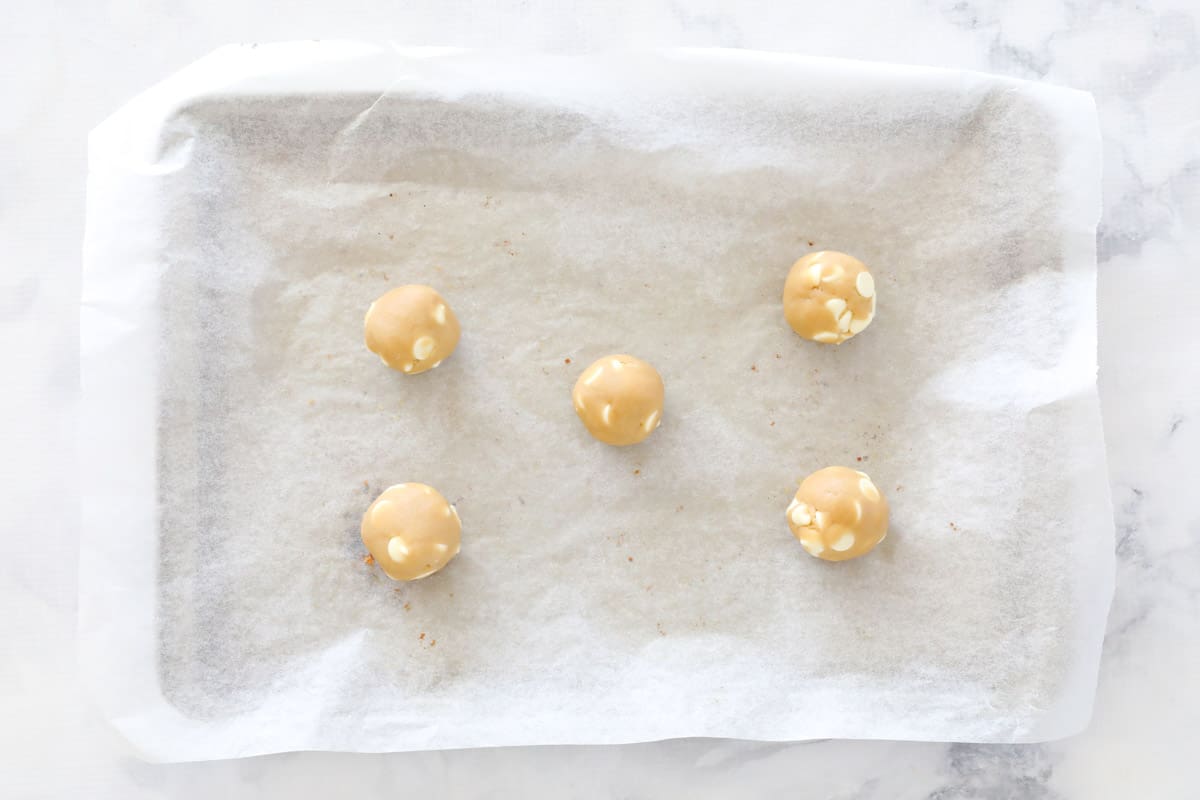
Roll the chilled dough into tablespoon (or small cookie scoop) sized balls and place onto the prepared trays. Be sure to leave at least 6cm gaps between each ball, as the cookies will spread while baking.
Cook for 10 minutes or until just lightly golden around the edges.
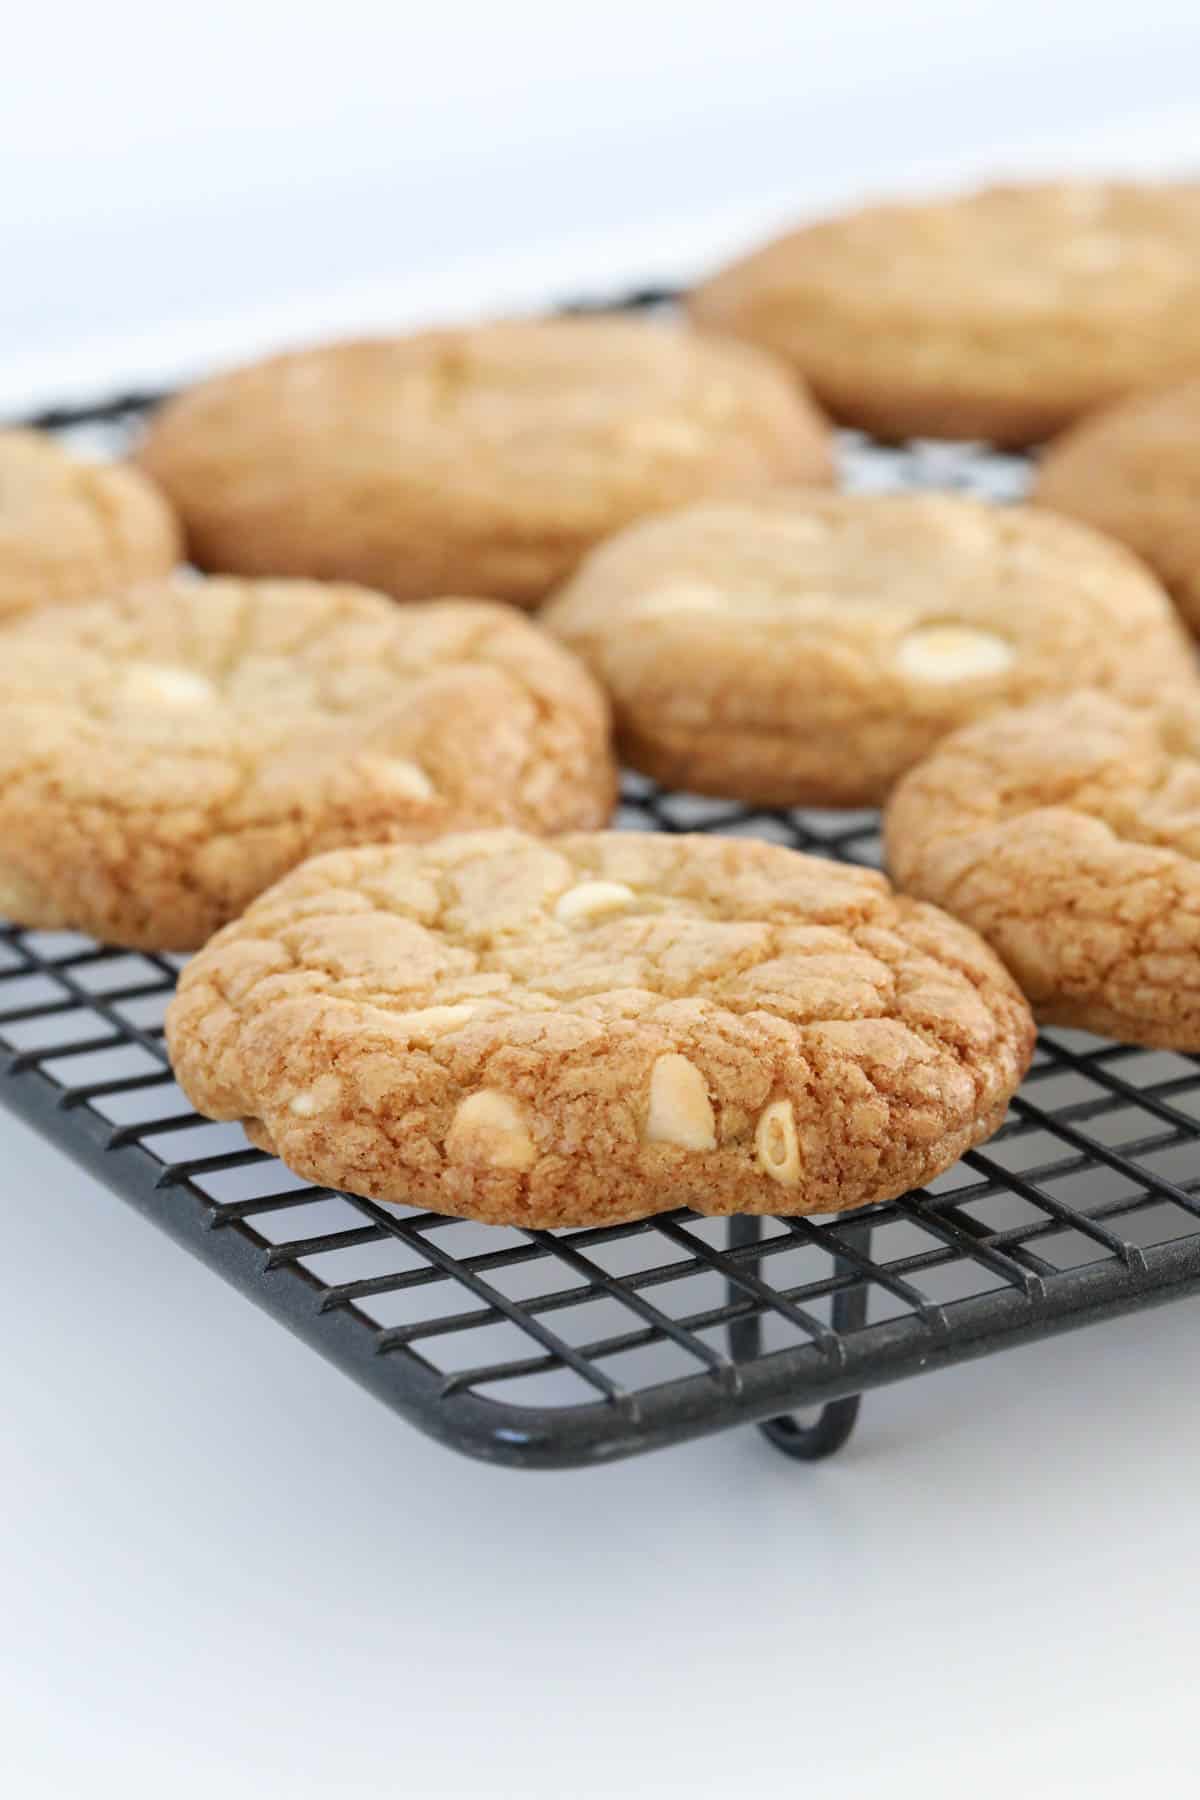
Allow the finished cookies to cool slightly on the baking trays before transferring to a wire rack to cool completely.
Expert Tips
White chocolate chip cookies are so easy to make and while this recipe is foolproof, here are some tips to ensure perfect cookies, every time;
- Sift the flour, baking soda and salt together so that everything is evenly mixed.
- Make sure to keep the cookies at least 6cm apart on the baking tray, as they will spread while baking. If they are too close together, the cookies will merge and stick together.
- Use a silicone baking mat or baking/parchment paper so that the bottom of the cookies don't stick to the tray.
- The cookies will be soft when removed from the oven, so allow them to cool slightly on the baking trays before transferring them to a wire rack to cool completely.
- Weigh the flour. The amount of flour used is important in the success of your cookies. Too much or too little can affect the outcome. Weigh the flour (or spoon and level it) for accurate results.
- Chill the cookie dough. Chilling the cookie dough, especially when using melted butter, solidifies the fat in the dough and helps to control the spread. As the cookies bake, the fat in the chilled dough takes longer to melt than room-temperature dough, preventing the cookies from turning into a puddle. The result will be less spread and sturdier cookies.
- Can be made ahead. The cookie dough can be made ahead and stored in the fridge for up to 5 days (or frozen), ready to add to the oven when you are ready to eat.
- Don't overbake. The cookies will still be soft when you remove them from the oven, but as long as the edges have turned golden and the tops look dry, they will continue to harden on the tray as they cool.
You can also check out these tips here for baking the perfect cookies!
FAQ's
Yes! Baked cookies freeze really well. To freeze baked cookies, allow them to cool to room temperature. Then, store in an airtight container in the freezer for up to 1 month. To thaw, sit them at room temperature until thawed. You can also heat the cookies in the oven or air fryer, until warmed through.
To freeze the cookie dough - after the dough has chilled in the refrigerator, portion out the dough and roll it into balls. Chill the balls in the fridge for an hour. Then, transfer the dough to a freezer bag or airtight container and place in the freezer for up to 3 months, until you are ready to bake. When it's time to bake, preheat the oven according to the recipe instructions and place the balls onto a lined baking tray. Add 1-2 minutes to the cooking time, since the balls are frozen.
This white chocolate chip cookie recipe can easily be doubled and stored in the fridge or freezer for a cookie emergency. That way, you can have some now and some later!
You can reduce the quantity of white chocolate chips by ½ cup and add ½ cup of chopped macadamia nuts or crushed peanuts, for extra texture and flavour.
These white chocolate chip cookies are best eaten in the first day or two of being made, but will last up to 5 days in an airtight container at room temperature.
Related Recipes
Need some more cookie recipes to fill up the jar? Give these a try!

Chewy White Chocolate Chip Cookies from Scratch
Ingredients
- 280 g (2 ¼ cups) plain flour
- 1 teaspoon bi-carbonate soda baking soda
- ¼ teaspoon salt
- 170 g butter melted and cooled
- 100 g (½ cup) caster sugar
- 150 g (¾ cup) brown sugar
- 2 teaspoon vanilla extract paste or essence
- 1 egg
- 1 extra egg yolk
- 225 g white chocolate chips
Instructions
Conventional Method
- Preheat oven to 160 degrees celsius (fan-forced) or 325 degrees fahrenheit. Line two large baking trays with greaseproof paper and set aside.
- Sift the plain flour, bi-carbonate soda and salt into a large bowl. Whisk together to combine. Set aside.
- In a separate large bowl, whisk the melted butter, caster sugar, brown sugar and vanilla extract together. Continue whisking until the mixture is smooth and free of lumps.
- Add the egg and whisk through. Add the extra egg yolk and whisk again.
- Pour the wet ingredients over the dry ingredients and combine using a spatula or large spoon. Fold through the white chocolate chips. Note: the mixture will be sticky at this stage.
- Place the dough into the fridge for 2 hours (this is NOT an optional step - the dough requires chilling).
- Roll into tablespoon sized balls and place onto the prepared trays (leave a 6cm gap between each cookie to allow for spreading).
- Cook for 10 minutes or until just lightly golden around the edges.
- Allow to cool slightly on the baking trays before transferring to a wire rack to cool completely.
Thermomix Method
- Preheat oven to 160 degrees celsius (fan-forced) or 325 degrees fahrenheit. Line two large baking trays with greaseproof paper and set aside.
- Place the plain flour, bi-carbonate soda and salt in to the Thermomix bowl. Sift by mixing for 10 seconds, Speed 8. Set the dry mixture aside in a seperate bowl.
- Chop the butter and place into the Thermomix bowl. Melt for 3 minutes, 60 degrees, Speed 2. Allow to cool slightly.
- Add the caster sugar, brown sugar and vanilla extract. Mix for 20 seconds, Speed 4. Scrape down the sides of the bowl.
- Set the machine to Speed 2 and add the egg through the MC hole. Once combined, add the extra egg yolk and continue to mix until combined.
- Add the dry mixture to the bowl. Mix for 10 seconds, Speed 4. Scrape down the sides of the bowl and repeat for a further 10 seconds.
- Fold the white chocolate chips through with the spatula.
- Place the dough into the fridge for 2 hours (this is NOT an optional step - the dough requires chilling).
- Roll into tablespoon sized balls and place onto the prepared trays (leave a 6cm gap between each cookie to allow for spreading).
- Cook for 10 minutes or until just lightly golden around the edges.
- Allow to cool slightly on the baking trays before transferring to a wire rack to cool completely.
Notes
- Weigh the flour - the amount of flour used is important in the success of your cookies. Weigh the flour (or spoon and level it) for accurate results.
- Sift the flour, baking soda and salt together so that everything is evenly mixed.
- Chill the cookie dough - especially when using melted butter, chilling solidifies the fat in the dough and helps to control the spread. The result will be less spread and sturdier cookies.
- Make sure to keep the cookies at least 6cm apart on the baking tray, as they will spread while baking. If they are too close together, the cookies will merge and stick together.
- Use a silicone baking mat or baking/parchment paper so that the bottom of the cookies don't stick to the tray.
- Don't overbake - the cookies will still be soft when removed from the oven, so allow them to cool slightly on the baking trays before transferring them to a wire rack to cool completely.
- Storage - the cookies are best eaten in the first day or two of being made, but will last up to 5 days in an airtight container at room temperature.
- Freezing baked cookies - allow them to cool to room temperature. Then, store them in an airtight container in the freezer for up to 1 month. To thaw, sit them at room temperature until thawed.
- Freezing the cookie dough - after the dough has chilled in the refrigerator, portion out the dough and roll it into balls. Chill the balls in the fridge for an hour. Then, transfer the dough to a freezer bag or airtight container and place in the freezer for up to 3 months, until you are ready to bake. When it's time to bake, preheat the oven according to the recipe instructions and place the balls onto a lined baking tray. Add 1-2 minutes to the cooking time, since the balls are frozen.








Mel says
This recipe is the ABSOLUTE BEST!!!! super yummy and never fails!!! Thank you
Lucy says
Thank you!!
Maggie Davie says
Such a great recipe
Lucy says
Thank you!