


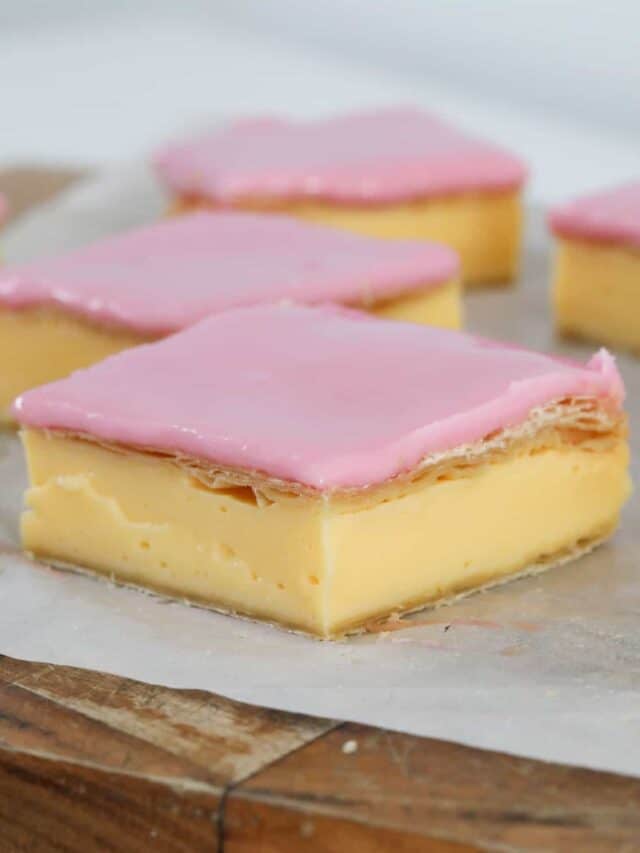
This vanilla custard slice tastes exactly like the bakery classic, flaky pastry, thick creamy custard and that sweet pink icing on top.
If you love an old-school bakery treat as much as I do, my Iced Vovo Biscuits and ANZAC Slice are also worth a go.
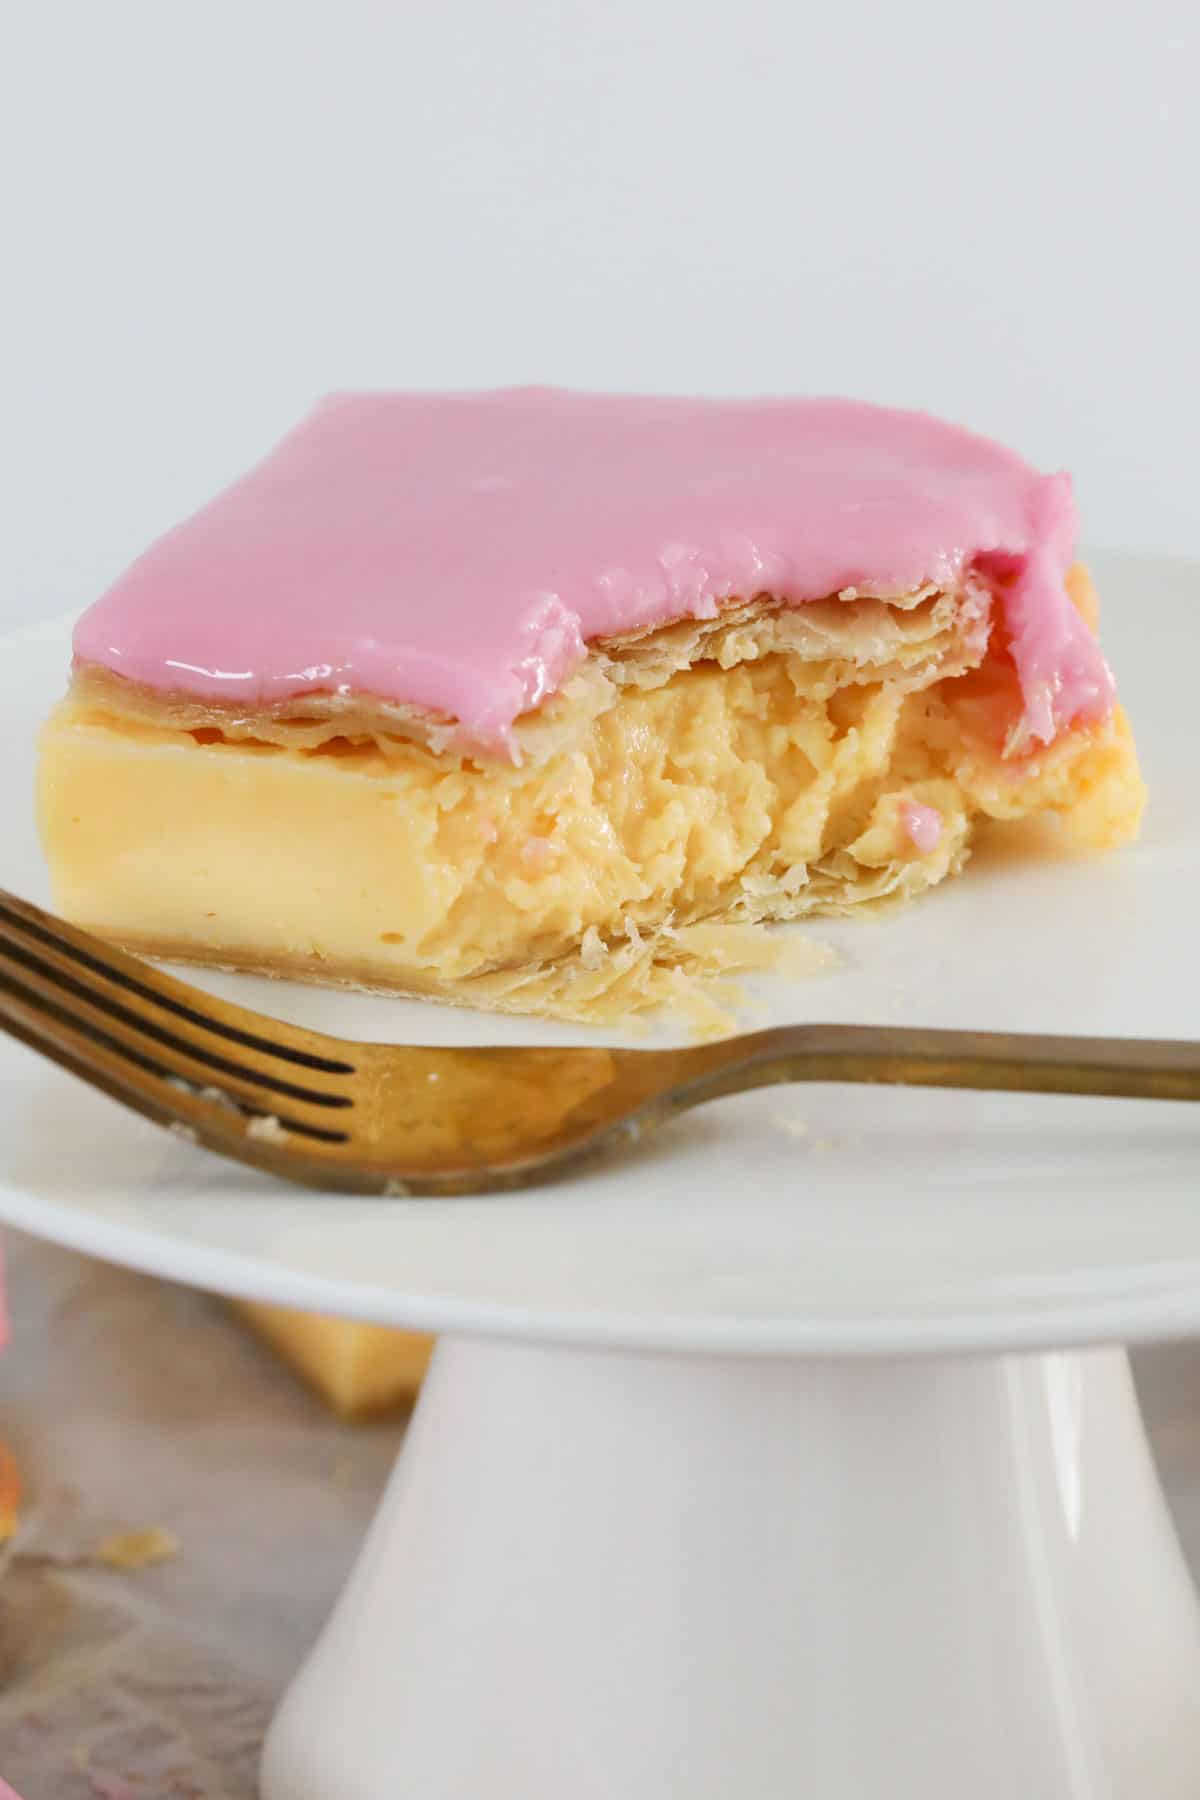
A Quick Look At The Recipe
✅ Recipe Name: Vanilla Custard Slice
🕒 Ready In: 4 hours 40 minutes (mostly chilling time)
👪 Serves: 9
🔥 Calories: 309kcal per serve
🥣 Main Ingredients: puff pastry, custard powder, milk, icing sugar
🌿 Dietary: vegetarian, egg-free, can be made gluten-free
⭐ Why You'll Love It: A nostalgic bakery classic made from a handful of pantry staples, no eggs or tricky tempering required.
SUMMARIZE & SAVE THIS CONTENT ON
I'm on my 3rd time with this recipe (in the UK) in a week. I'm rubbish at baking, but this recipe is so simple and delicious that even I can get fantastic results. Thank you (my waist-line doesn't...!).
- Vince
Vince isn't the only one who's made this on repeat. If you're partial to a good custard fix, my Custard Cake and Vanilla Custard Tarts are both worth bookmarking, and if you want the full lowdown on the custard powder itself, check out my How To Make Custard Powder guide.
Jump to:
Why You're Going To Love This Recipe
- No Eggs, No Fuss - a thick, creamy custard made from just custard powder and milk, no tempering yolks required.
- Tastes Like The Bakery (Minus The Queue) - that nostalgic pink icing and flaky pastry combo, made at home for a fraction of the price.
- Make-Ahead Friendly - it actually gets better the longer it chills, perfect for prepping the day before a party.
- Endlessly Customisable - swap the icing for lemon or passionfruit, or dial up the vanilla; see my Variations below.
Vanilla Slice Ingredients
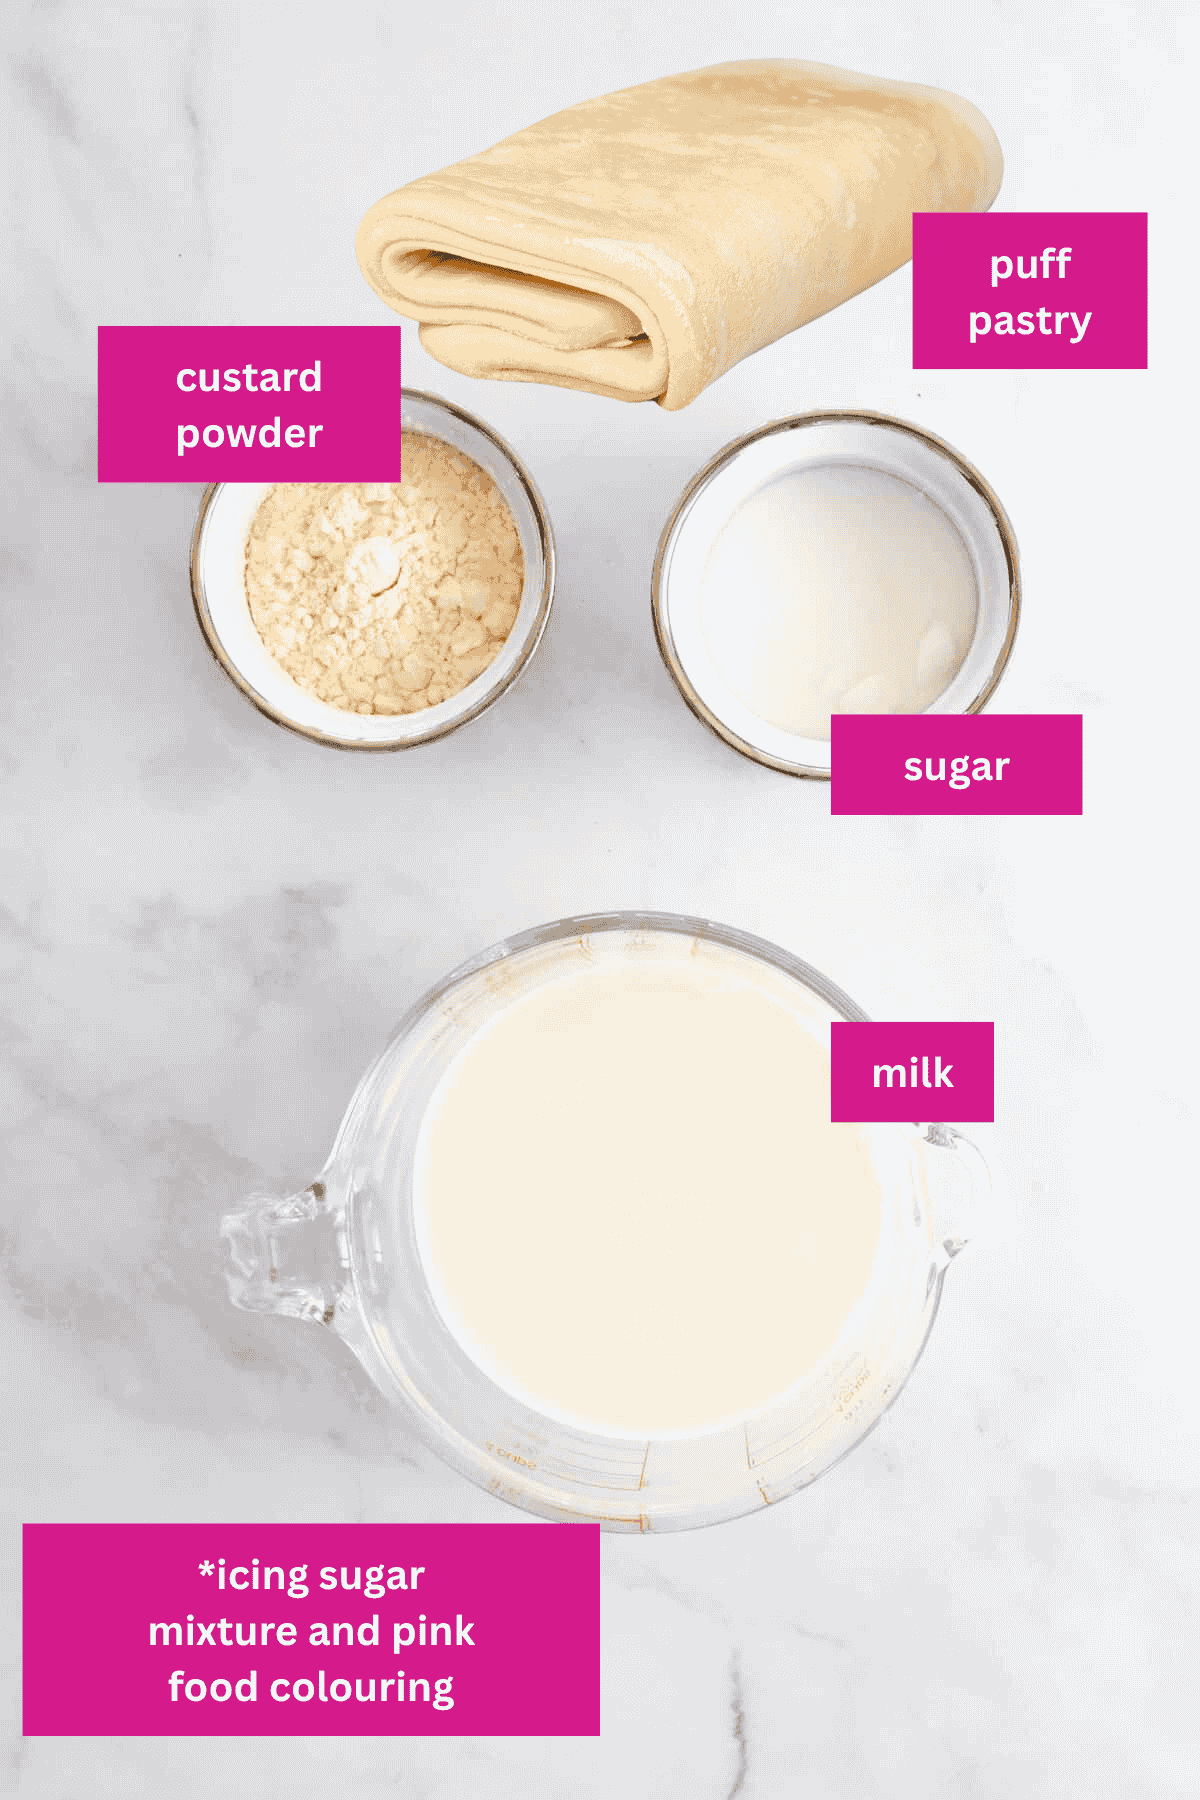
Note: Scroll to the recipe card at the bottom for the ingredient quantities and full detailed method.
Most of this is basic pantry stuff, but here are the ones worth a mention:
- Custard powder - I use Foster Clark's or Lion brand; both work well. Don't try swapping it for plain cornflour; custard powder has the vanilla flavour and colour built right in, and skipping it changes both the taste and how well the custard sets.
- Puff pastry - bake it weighed down between two trays so it stays flat instead of puffing up into a mess. If you need it gluten-free, see my Variations below.
- Icing sugar mixture - this is the ingredient most readers trip up on. Add the water 1 tablespoon at a time. Too much too fast and your icing turns thin and runny instead of a thick, spreadable bakery finish.
- Pink food colouring - totally optional, just a couple of drops for that bakery look. Skip it for a plain white icing, or check the Variations below for other options.
Variations
- Gluten-free - swap the puff pastry for a good quality GF version; it works a treat.
- Passionfruit icing - skip the pink and use fresh passionfruit pulp instead of water for a tangy, tropical twist. My Passionfruit Cheesecake is another good one if you love that combo.
- Vanilla bean custard - stir 1 teaspoon of vanilla bean paste into the custard for a stronger vanilla flavour.
- Lemon icing - swap the water for fresh lemon juice in the icing for a zingy finish.
- Tompouce twist - one of my readers, Nelleke, folds softly whipped cream through the cooled custard for a lighter, creamier filling (the Dutch call this a tompouce). Worth a try if you want something a bit less dense.
How To Make Vanilla Custard Slice
Just 5 easy steps and you've got a proper bakery-style slice chilling in the fridge.
Note: Scroll to the recipe card at the bottom for the ingredient quantities and full detailed method (plus the Thermomix version).
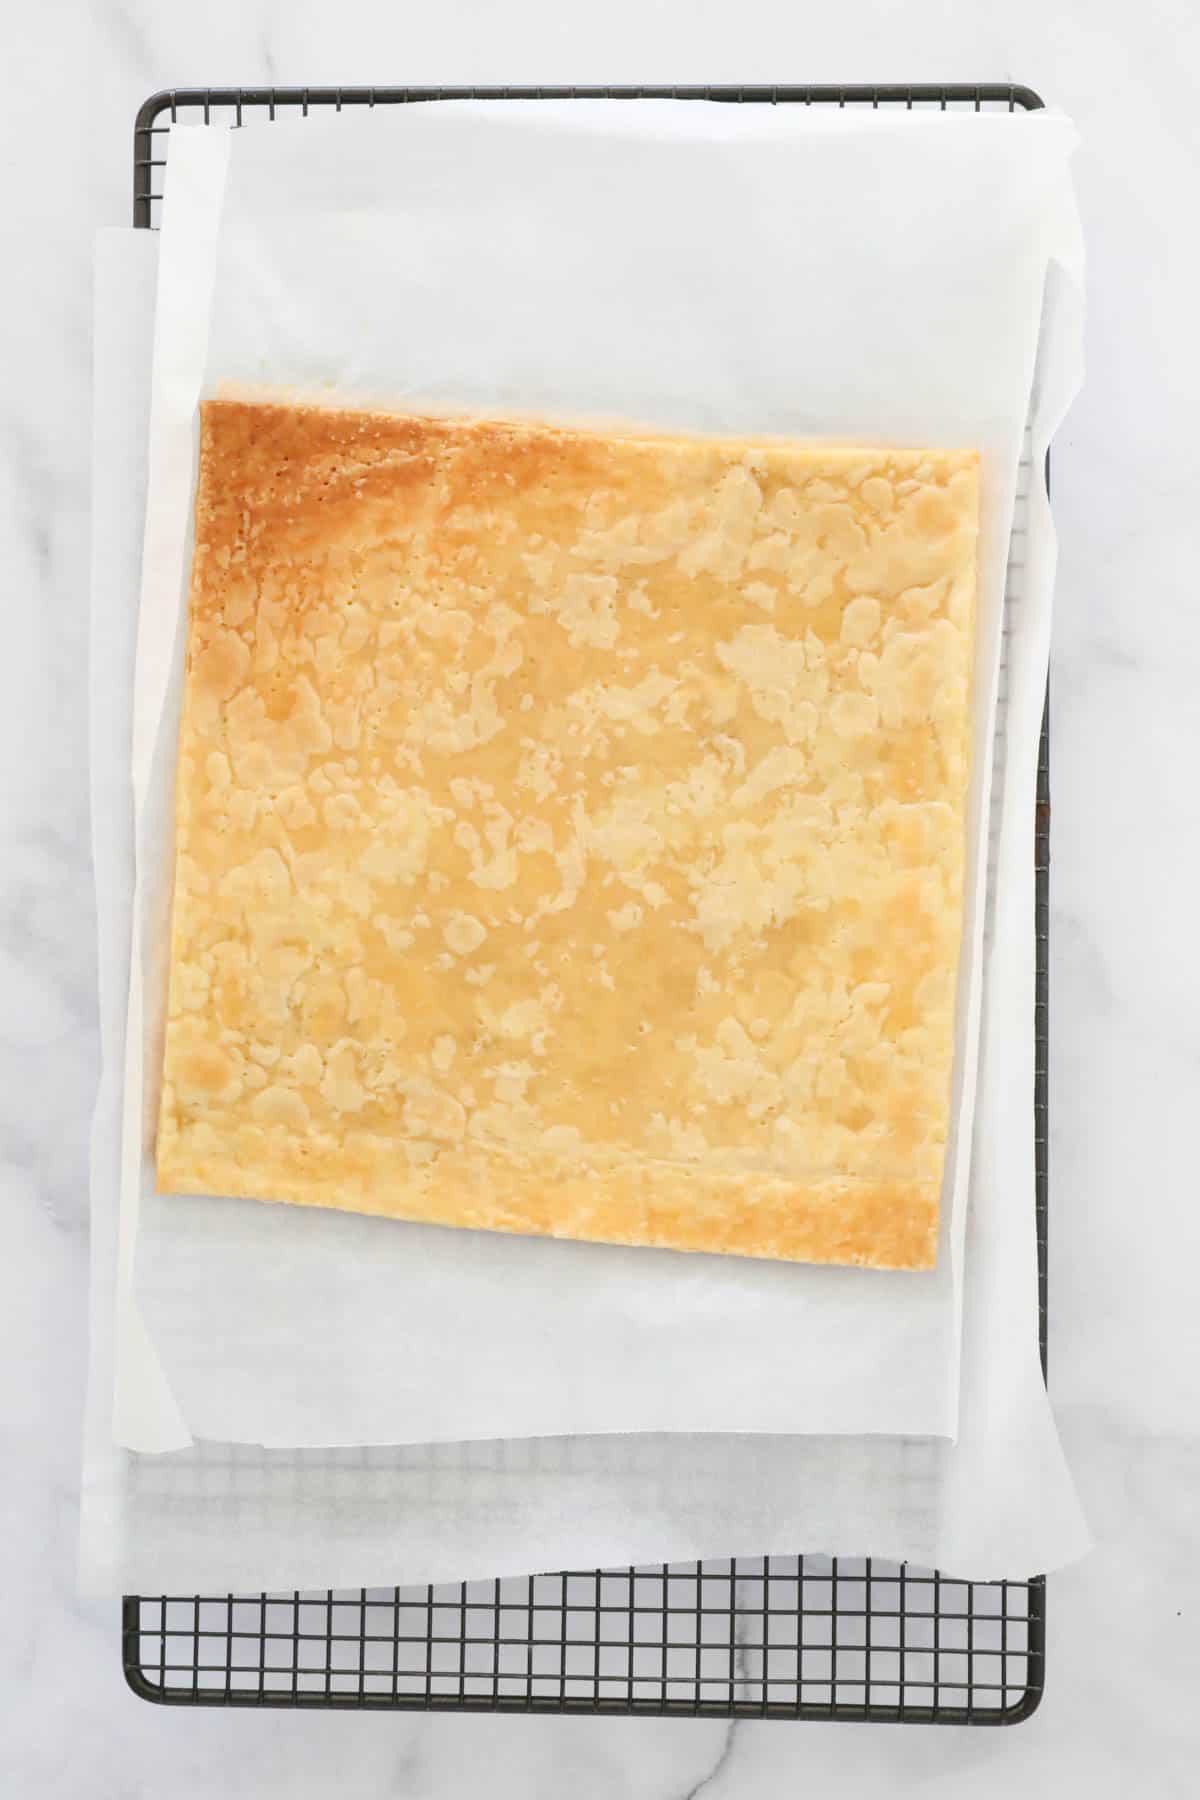
- Step 1: Bake the pastry. Prick both pastry sheets all over with a fork, sandwich each one between two sheets of baking paper and two trays (the top tray weighs it down so it stays flat), then bake at 180°C (fan-forced) for 20-25 minutes until golden. Cool completely, then trim to fit your 20cm square tin.
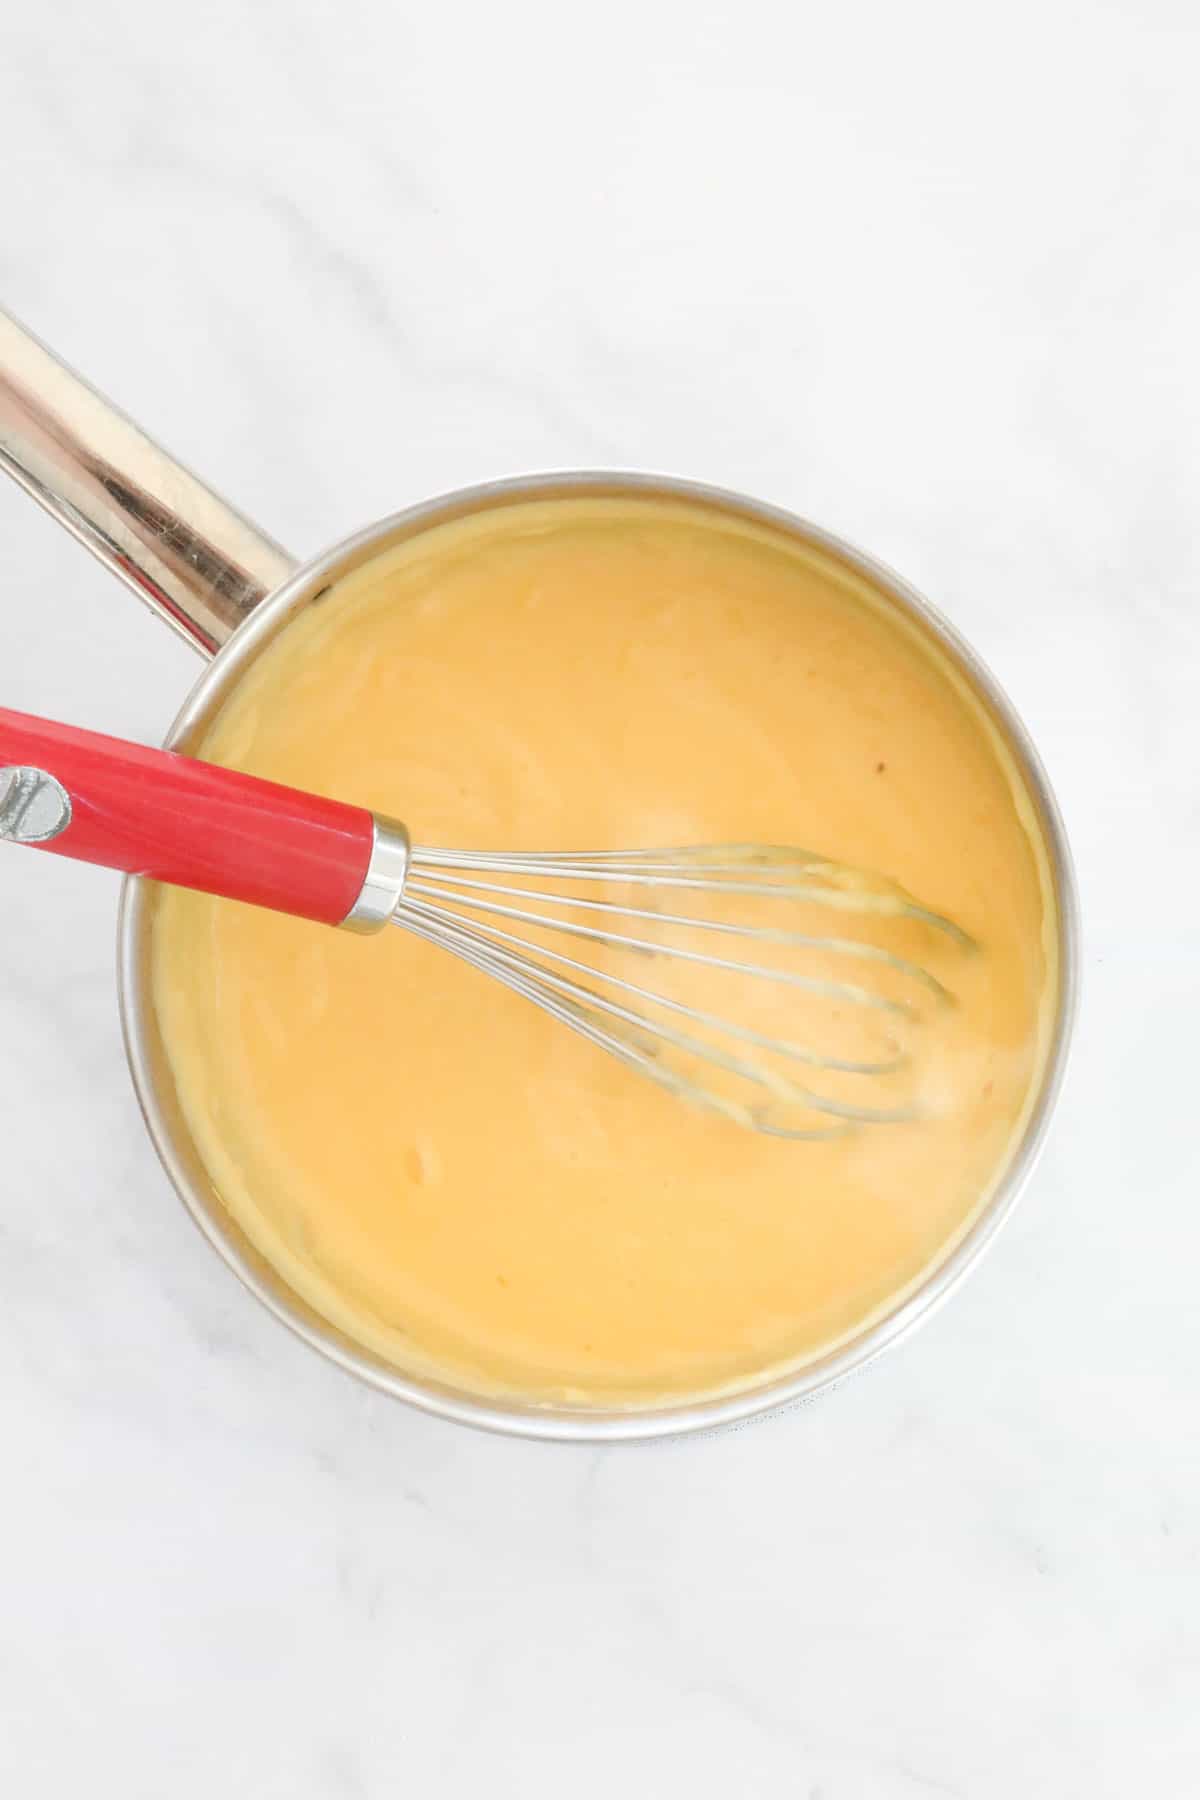
- Step 2: Make the custard. Whisk the custard powder with a little of the milk in a saucepan until smooth, then add the rest of the milk and the caster sugar. Whisk continuously over medium heat for around 7 minutes, until it comes to the boil and turns very thick.
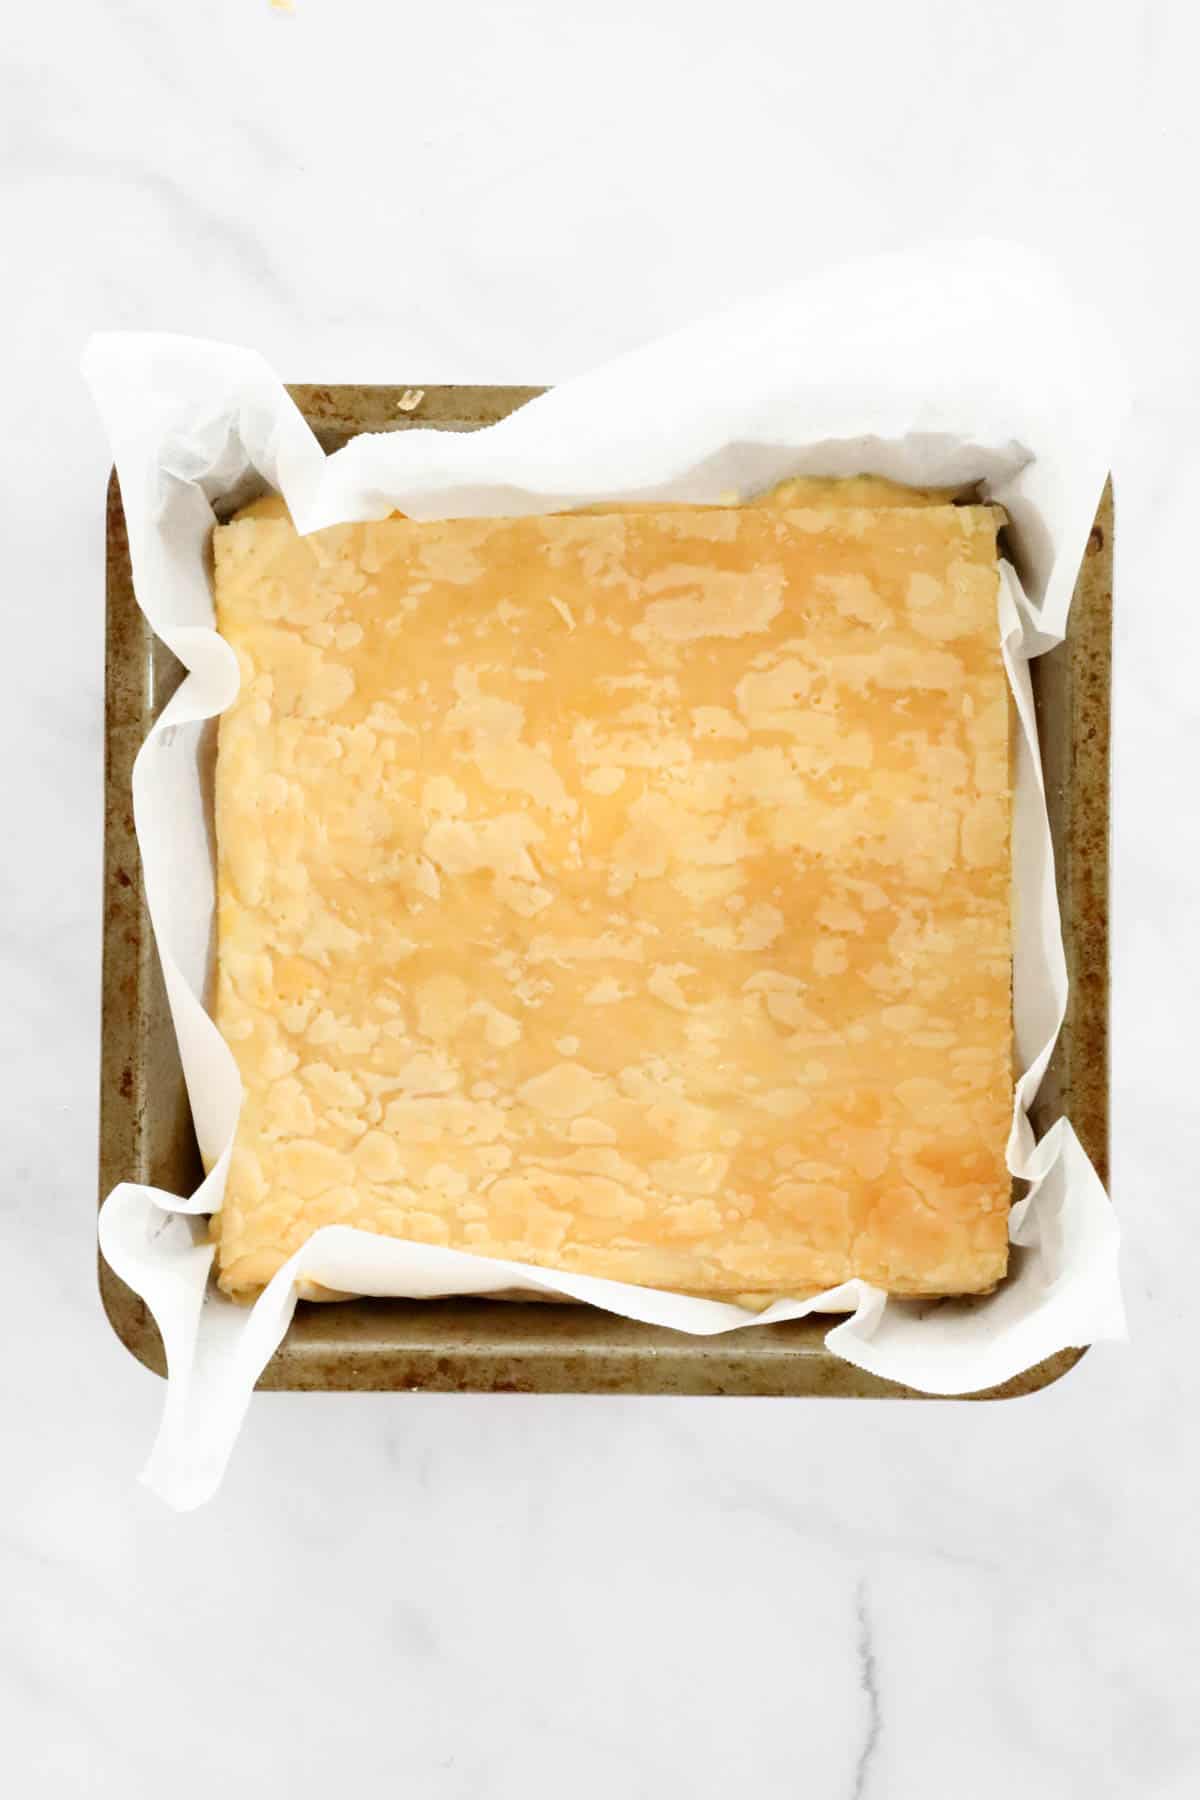
- Step 3: Assemble the base. Line the tin with baking paper, place one pastry sheet in the base, then spread over the slightly cooled custard. Top with the second pastry sheet and press down gently.
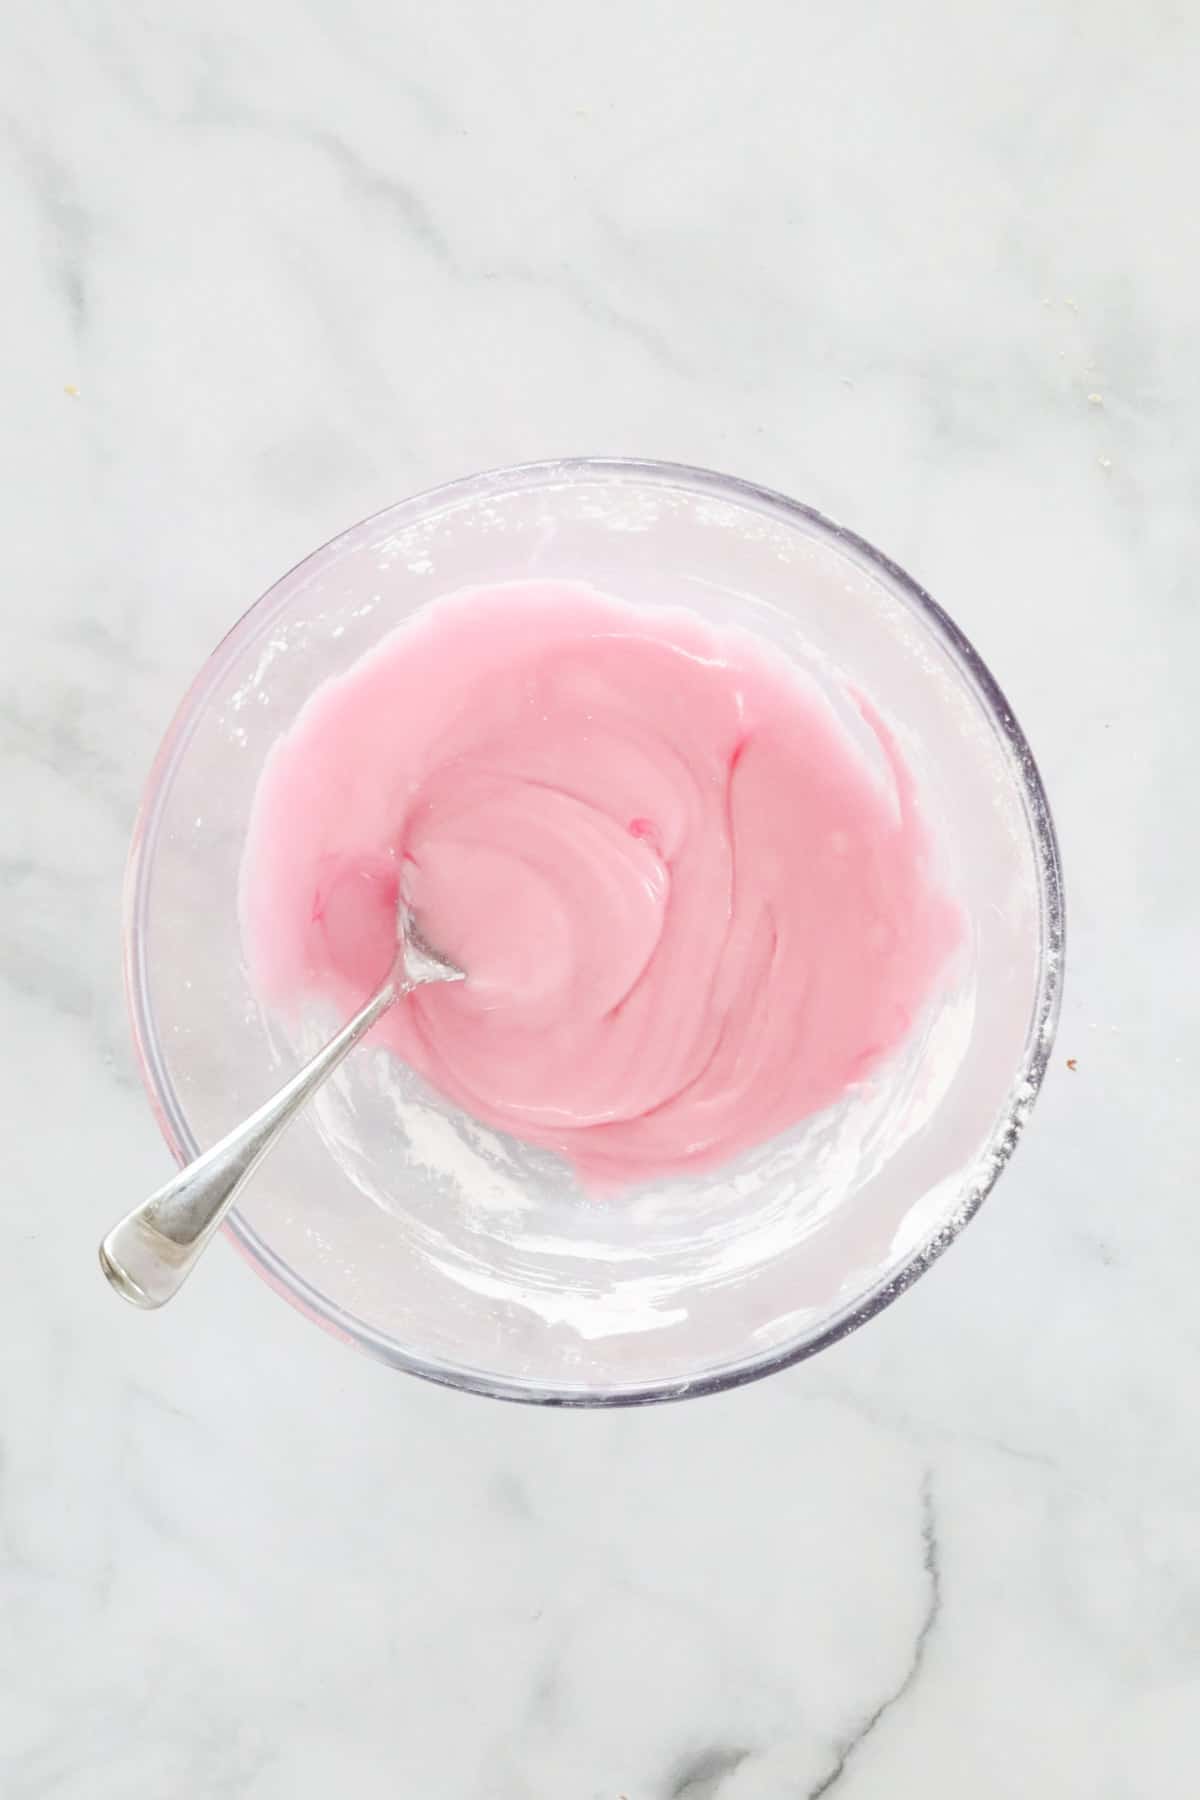
- Step 4: Make the icing. Sift the icing sugar into a bowl with the food colouring, then add the water 1 tablespoon at a time until you have a smooth, thick paste that's spreadable but not runny.
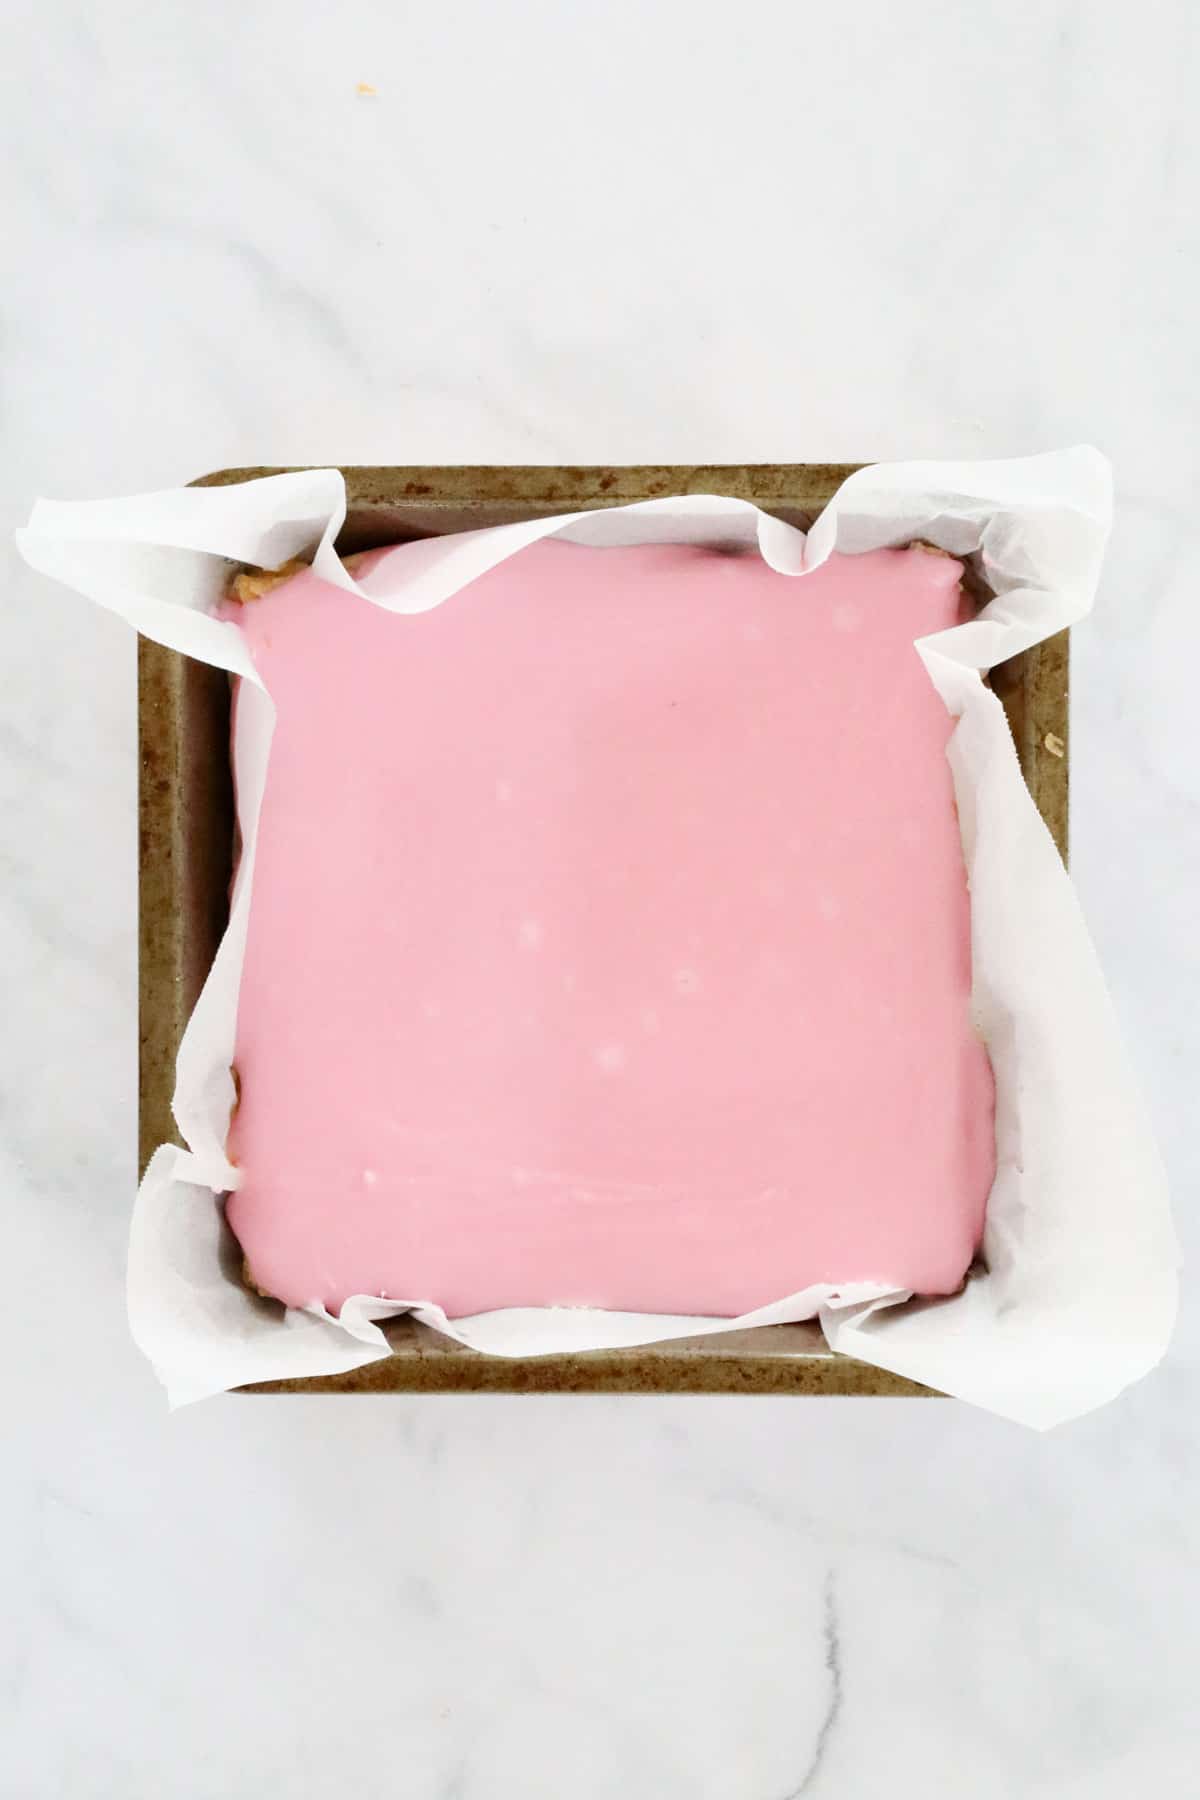
- Step 5: Ice, chill and slice. Spread the icing over the top pastry sheet and refrigerate for at least 4 hours (overnight is best). Use a small serrated knife (or scissors) to cut through the top pastry layer first, then a large flat knife to press straight down through the rest.
Recipe Tips
- Cook the custard until it's properly boiling and thick - this is the difference between a custard that sets firm and one that oozes everywhere when you cut into it. If it doesn't hold a trail from the whisk, keep cooking.
- Get clean slices - use a small serrated knife (or a clean pair of kitchen scissors) to cut through the top pastry layer first, then swap to a large flat knife to press straight down through the custard. Chilling overnight makes a massive difference here too.
- Don't rush the icing - add the water 1 tablespoon at a time. Too much too fast and it turns thin and runny instead of a thick, spreadable paste (ask me how I know).
- Storage - keep in an airtight container in the fridge for 3-4 days. The pastry will soften a little the longer it sits, but it'll still taste great.
- Freezing - I wouldn't recommend it, the custard filling doesn't hold its texture once thawed and turns watery. If you want to get ahead, make the custard up to a day in advance and store it covered in the fridge, then assemble the slice fresh.
Vanilla Custard Slice FAQs
Yes, in fact it's even better made the day before. Chill it overnight so the custard sets fully and the flavours settle, then slice just before serving.
It almost always means it hasn't been cooked long enough. Keep whisking over the heat until it's properly boiling and very thick, it should hold a trail when you lift the whisk out.
Yes, if you've got a favourite egg-based custard recipe, you can use that instead; just make sure it's cooked thick enough to hold its shape when sliced.
This usually comes down to adding the water too quickly. Add it just 1 tablespoon at a time, mixing well between each addition, until you get a thick paste that's spreadable, not pourable.
I wouldn't recommend it, the custard doesn't freeze well and turns watery once thawed. Instead, make the custard a day ahead and assemble the slice fresh.
More Slice & Custard Recipes
If you're partial to a nostalgic bakery-style treat, these are some of my other favourites.

Vanilla Custard Slice
Ingredients
- 2 sheets puff pastry thawed
- 65 g (½ cup) custard powder
- 610 g (2 ½ cups) milk
- 55 g (¼ cup) caster sugar
- 500 g (2 ½ cups) icing sugar mixture
- 50-75 g (4-5 tbs) water (see notes)
- 1-2 drops pink food colouring optional
Instructions
Conventional Method
- Preheat the oven to 180 degrees celsius (fan-forced). Place the pastry sheets on flat baking trays lined with baking paper. Use a fork to prick holes all over the pastry. Add an extra sheet of baking paper on top of each pastry sheet and place an extra baking tray on top as a weight.
- Bake for 20-25 minutes or until golden. Allow to cool completely on a wire rack.
- Place a 20cm square baking tin on top of the cooked pastry sheets and use a serrated knife to carefully trim the sheets to the size of the tin.
- Grease and line the 20cm square baking tin with baking paper (allowing it to overhang). Place one of the pastry sheets in the base of the tin and set aside.
- Place the custard powder into a saucepan with ¼ cup of the milk. Stir until all of the custard powder has dissolved. Add the remaining 2 ¼ cups of milk and the caster sugar. If using a Thermomix: Place the custard powder, milk and caster sugar into the Thermomix bowl. Cook for 9 minutes, 90 degrees, Speed 4. If the custard is too runny, cook for a further minute.
- Whisking continuously, heat the custard over a medium heat for 5 minutes or until it has started to thicken. Once the custard starts to boil, continue whisking for a further 2 minutes or until very thick. Place a sheet of glad wrap over the custard to stop it forming a 'skin' and allow to cool for 20 minutes.
- Spread the cooled custard over the pastry and top with the extra sheet of cooked puff pastry.
- To make the icing, sift the icing sugar into a bowl and add the food colouring. Add the water 1 tablespoon at a time and stir until you have a smooth paste (that can be spread). If using a Thermomix: place the icing sugar into a clean and dry Thermomix bowl. Sift by pressing Turbo for 2-3 seconds. Add the pink food colouring and 3 tbs water. Mix for 10 seconds, Speed 6. Scrape down the sides of the bowl and mix for a further 5 seconds. If the mixture is too thick and can't be spread, add 1 more tablespoon and mix again (it should be a thick paste).
- Spread the icing over the slice and place into the fridge for 3-4 hours (overnight is best).
- Use a small, serrated knife to cut through the top pastry sheet before using a large, flat knife to press down firmly to cut into slices.
Notes
- Use a fork to prick holes over each pastry sheet before baking, to make it extra crispy.
- Bake each pastry sheet between two sheets of baking paper and two baking trays to cook flat and avoid it puffing up.
- It's important to continue to cook the custard (while continuously whisking) until it is very thick - this will ensure it sets firm.
- Glaze - only add water a little at a time, just enough to make the glaze spreadable. Too much water will make the glaze too runny, and soften the pastry on top which you want to stay crispy and flaky.
- Pink food colouring - optional. You only need a teeny-tiny drop of food colouring - don't overdo it!
- Passionfruit icing - to make passionfruit glaze, omit the pink food colouring and water and replace with passionfruit pulp (use just enough to get a spreadable thick paste).
- Cutting the slice - for best results, leave the slice in the fridge overnight and cut whilst still in the tin. Use a small, sharp serrated knife to cut through the top layer of the puff pastry. Then use a large flat knife to press through the custard and base layers.
- Storing - vanilla custard slice can be stored in the fridge for 3-4 days, however the pastry layers will soften the longer the slice is in the fridge.
- Freezing - this slice is not suitable for freezing.
JUDITH WHISH says
SAO biscuits work really well for this recipe too 😉
Tania| My Kitchen Stories says
Yum this takes me back. What a great recipe.
Lucy says
Thank you Tania! xxx
Sara Cunha says
This is also my favourite as a child and adult! I used to buy them at Migros when I lived in Switzerland. So simple and so good. It is a 3 component recipe that is the perfect combination, not too sweet and so heavenly eye appealing and soft to the mouth!
Lucy says
I'm so glad you liked it! Thank you!
Emma says
Would like a copy of the recipe please
Lucy says
Hi Emma, if you scroll to the bottom of the post, you'll find the recipe card with all of the info you need xx
Kerrie Okely says
First time making vanilla slice so easy
Lucy says
Fantastic!!