

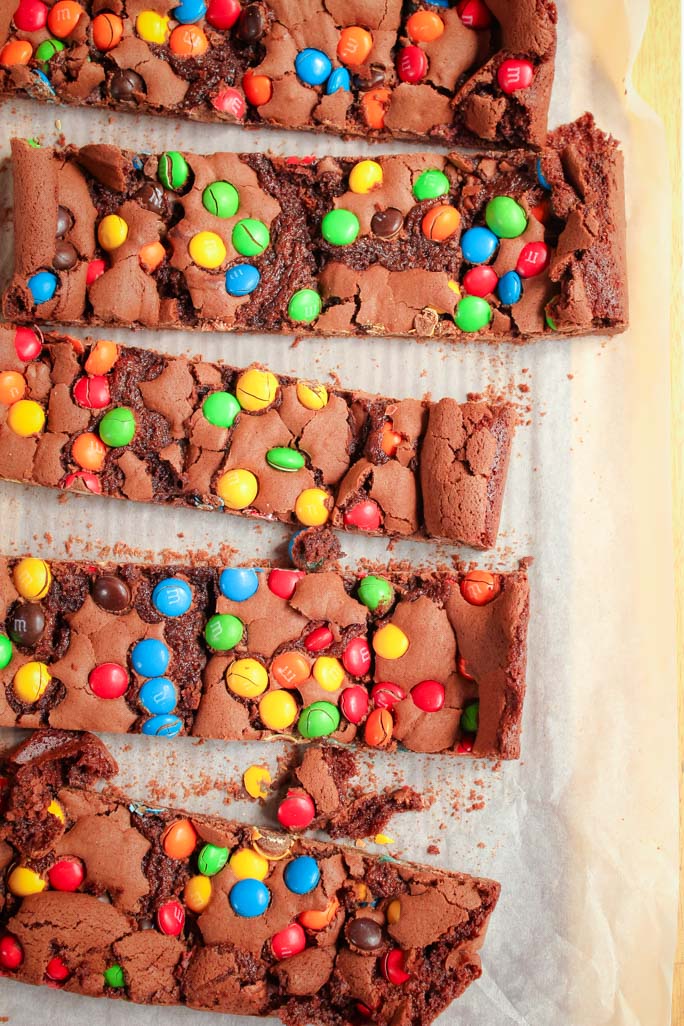
This chewy chocolate M&M Brownie Slice recipe is packed full of crunchy chocolate M&M's and is simply delicious! Made entirely from scratch, these easy brownies are ready to eat in just 35 minutes.

Perfectly crunchy and flaky on the top and with a soft and chewy centre, these M&M Brownies are easy to make (and even easier to eat!)
Just like my classic chocolate brownies that take only 5 minutes to prepare, these M&M Brownies prove that making a brownie slice from scratch (without a box mix) is just as easy... but the homemade version is a zillion times better!
And if you are looking for some more fun M&M recipes to try, then be sure to check out my peanut butter cookies with M&Ms, super easy M&M chocolate cake, or this giant cookie cake recipe.
Why You're Going to Love This Recipe
- Freezer-friendly - if you are hoping to save some of these M&M Brownies for a later date, then this recipe is perfect! You'll love being able to freeze these brownies and then grab them out for a quick on-the-go snack.
- Quick & easy - baked in less than 30 minutes, this simple fool-proof brownie slice recipe is super quick and uses minimal ingredients! With just a few simple steps, you'll be eating a gooey chocolate brownie in no time.
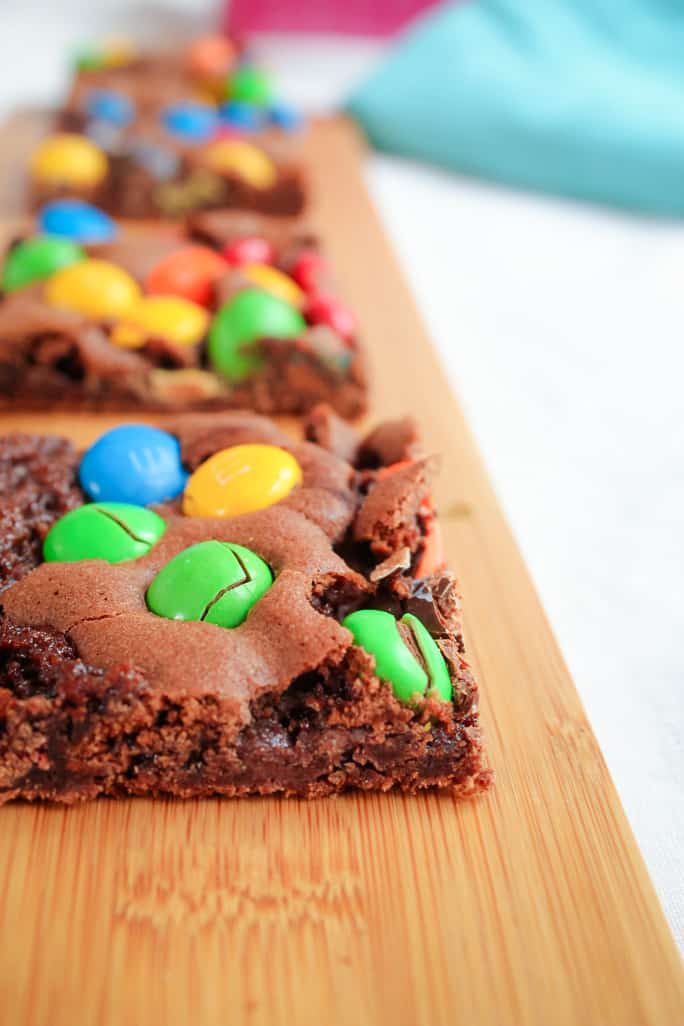
- Delicious - chewy and soft in the centre, this brownie slice is the perfect treat for when you need to satisfy that chocolate craving.
What You Need
I wouldn't be surprised if you find that you already have these ingredients sitting in your pantry or fridge (especially if you're a fan of M&Ms like we are!)
Note: Please scroll to the recipe card at the bottom of the post for ingredient quantities and the full detailed method.
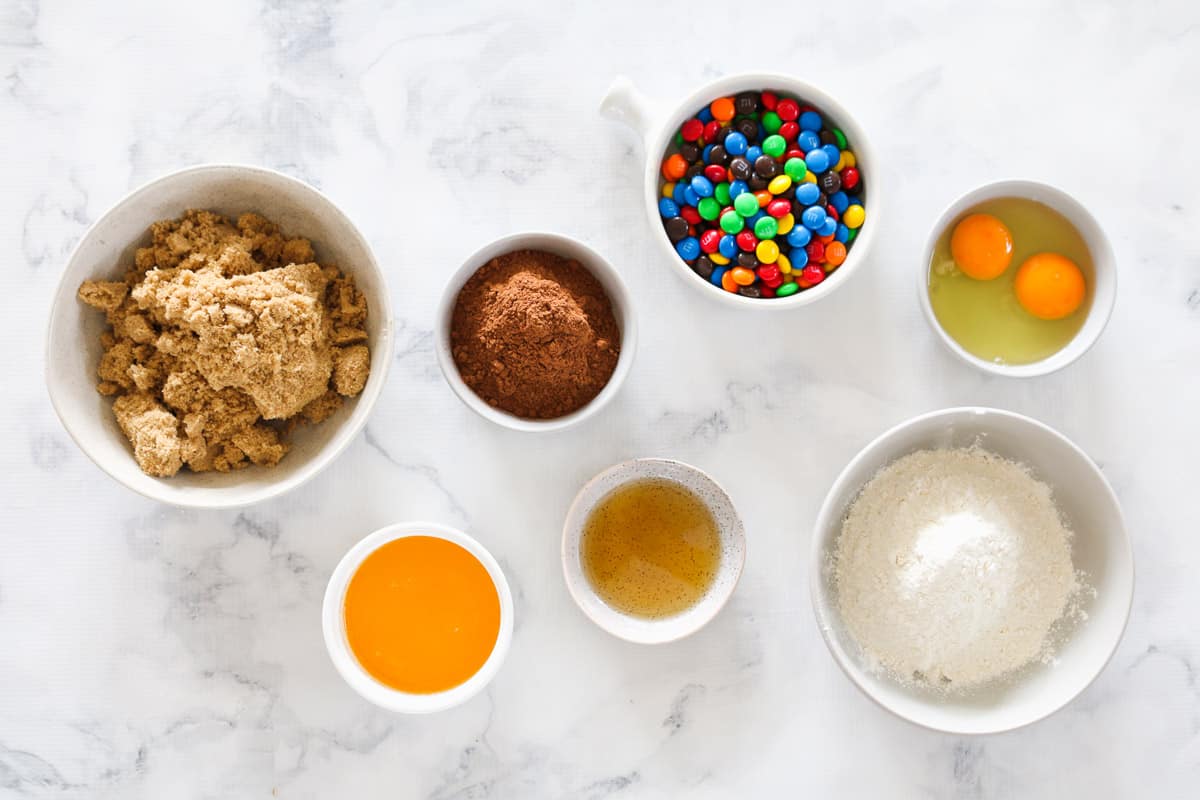
- butter - either salted or unsalted butter can be used for this recipe
- brown sugar - light or dark brown sugar is fine to use
- cocoa powder - if you prefer, you can use cacao powder
- vanilla extract - or vanilla essence
- eggs- these make the brownies moist and chewy! Choose large eggs (approximately 60g each) and have at room temperature
- self-raising flour - use store-bought self-raising flour or make your own by sifting 2 teaspoons of baking powder through every 1 cup of plain flour
- M&Ms- chocolate M&Ms can be bought in all major supermarkets. Alternatively they can be substituted for any hard candy covered chocolates, such as Smarties.
Step By Step Instructions
Note: Please scroll to the recipe card at the bottom of the post for ingredient quantities and the full detailed method.
Step 1 - Preheat Oven
First, preheat the oven to 160 degrees Celsius (fan-forced) or 320 degrees Fahrenheit. If using non fan-forced, increase the temperature by 10-20 degrees. Grease and line your baking tin.
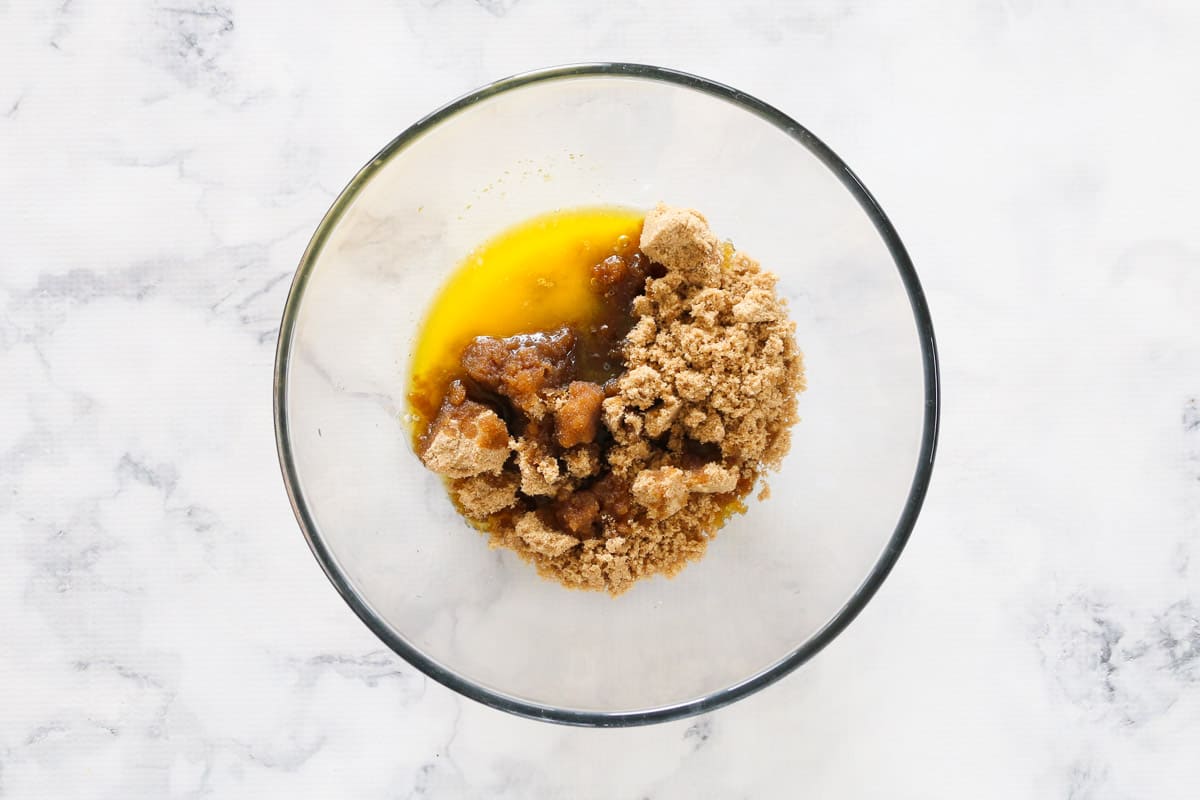
Step 2 - Cream Butter And Sugar
Melt the butter, add the brown sugar and whisk together. Add the cocoa powder and vanilla extract.
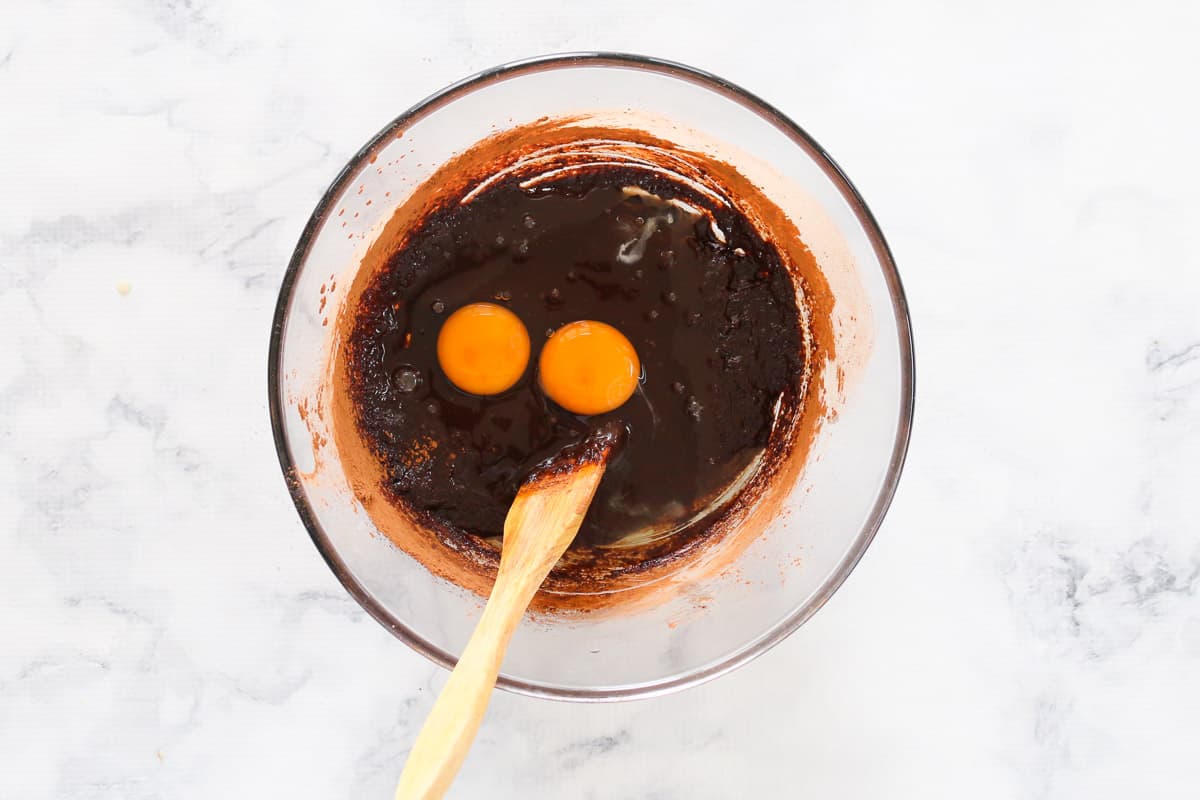
Step 3 - Add Eggs
Add the eggs to the mixture and beat until combined.
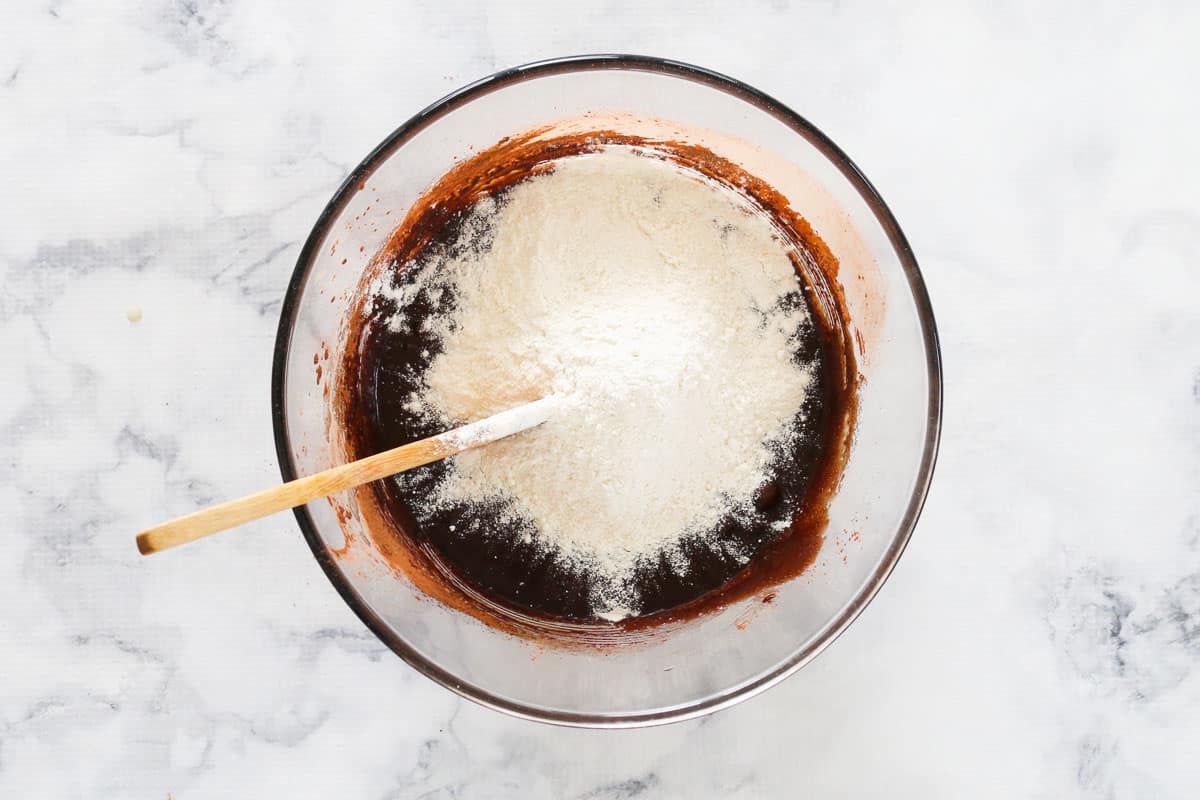
Step 4 - Sift The Flour
Fold in the sifted flour.
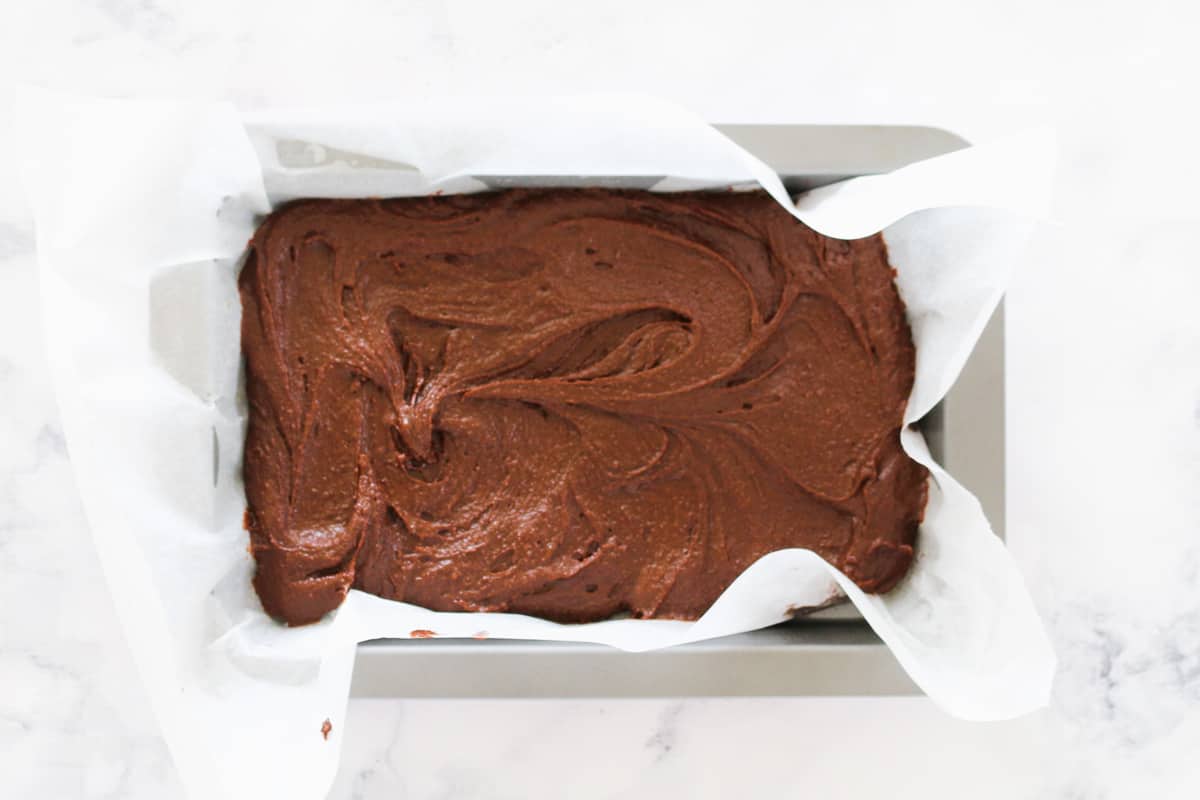
Step 5 - Transfer To Pan
Transfer the brownie mixture to a prepared pan.
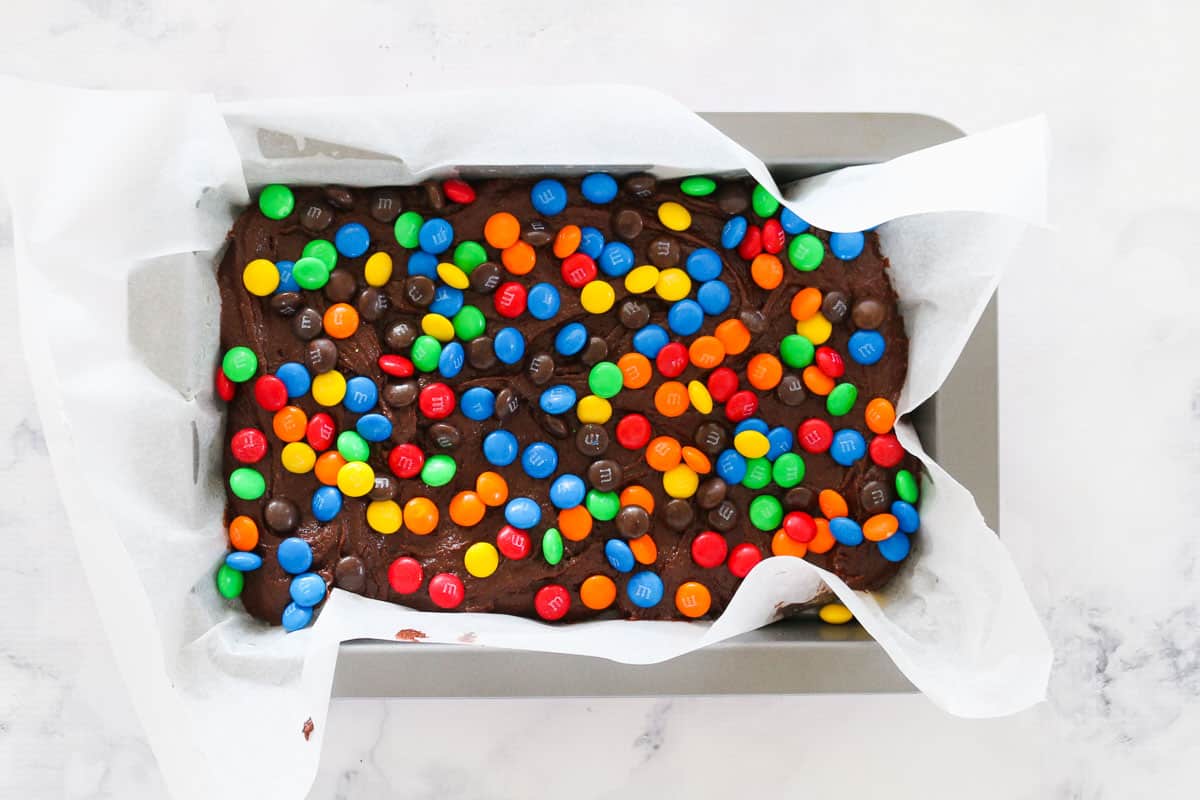
Step 6 - Bake The Brownies
Sprinkle the M&Ms over the top and bake for 20-25 minutes.
Step 7 - Cool Completely
Allow the brownies to cool before slicing and removing from pan.

Expert Tips & FAQ's
Store the brownies at room temperature in an airtight container for up to five days.
If you would like to freeze these M&M Brownies, then be sure to store them in a freezer-safe bag or container and freeze for up to three months.
Of course! Any type of M&Ms can be used for baking. Alternatively, you can use any hard candy covered chocolates, such as Smarties.
What makes brownies so fudgy is the ratio of fat (butter) and chocolate (cocoa) in the brownie recipe. The more fat butter and cocoa brownies have, the richer and more decadent they will be.
The secret to good brownies is to use quality ingredients and to measure the flour correctly. If you end up with too much flour or an over-mixed batter, then the brownies may come out a little dry.
If you want chewy brownies, then under-bake them just a little! The secret is to pull the brownies out right before they are done so they can set firm but stay moist.
Related Recipes
If you are a fan of this M&M Brownie slice recipe, you're going to love these recipes below!
Here are some of my favourite chocolate recipes:
- Chocolate Brownie Trifle - made with a splash of Bailey's Irish Cream, this decadent chocolate brownie trifle has layers of whipped cream, chocolate brownie, and vanilla and chocolate custards.
- White Chocolate and Macadamia Nut Brownies - fudgy, gooey brownies with chunks of white chocolate and nutty macadamias throughout!
- Chocolate Cupcakes with Frosting - perfect for birthday parties and super moist, these easy chocolate cupcakes are indulgent and topped with a sweet fudge frosting.
- Easy Chocolate Slice - made with chocolate sprinkles, this chocolate slice recipe is a familiar symbol of my childhood and perfectly chewy and sweet!
- Gluten-Free Brownies - gluten-free and rich in chocolate flavours for the ultimate brownie recipe: this one is delightful!
- Chocolate Chip ANZAC Slice - made with oats, chocolate chips, and coconut, these yummy ANZAC slices are always a lunchbox favourite.

WANT EVEN MORE DELICIOUS RECIPES? Subscribe to my newsletter or follow along on Facebook or Instagram. And if you love baking, then please come and join my Facebook cooking club group or subscribe to my YouTube channel.

M&M Chocolate Brownie Slice
Ingredients
- 125 grams butter melted
- 2 cups (350 grams) brown sugar lightly packed
- ½ cup (45 grams) cocoa powder
- 1 teaspoon vanilla extract
- 2 eggs
- 1 cup (130 grams) self-raising flour
- 180 grams (1 cup) M&Ms
Instructions
Conventional Method
- Preheat oven to 160 degrees celsius (fan-forced).
- Grease and line a 18cm x 26cm rectangular slice tray with baking paper and set aside.
- Melt the butter and use a whisk or electric beaters to mix the butter and brown sugar together until smooth and creamy.
- Add the sifted cocoa powder and the vanilla extract and beat through.
- Add the eggs to the mixture and beat together well.
- Sift the self-raising flour over the top and gently fold through.
- Spoon the mixture into the prepared tin (it will be thick) and spread out evenly.
- Sprinkle the M&Ms over the top.
- Bake for 20-25 minutes or until the top has hardened with a crust and the centre is soft (but not gooey).
- Allow to cool completely in the tin before cutting into slices.
- Serve warm or cold.
- Store in an airtight container for up to 5 days.
Thermomix Method
- Preheat oven to 160 degrees celsius (fan-forced). Grease and line a 18cm x 26cm rectangular slice tray with baking paper and set aside.
- Place the butter into the Thermomix bowl and melt for 2-3 minutes, 80 degrees, Speed 2, (or until melted).
- Add the brown sugar and cocoa powder and mix for 10 seconds, Speed 4. Scrape down the sides of the bowl and repeat for a further 10 seconds.
- Add the vanilla extract and eggs and mix for 10 seconds, Reverse, Speed 4. Scrape down the sides and repeat.
- Add the self-raising flour and mix for 5 seconds, Speed 4. Scrape the sides of the bowl and repeat.
- Spoon the mixture into the prepared tin (it will be thick) and spread out evenly. Sprinkle the M&Ms over the top.
- Bake for 20-25 minutes or until the top has hardened with a crust and the centre is soft (but not gooey).
- Allow to cool completely in the tin before cutting into slices. Serve warm or cold.
- Store in an airtight container for up to 5 days.


Emma s says
Delicious. Our 12 year old made them and they were so good I asked her for the recipe!
Lucy says
Fantastic!
Juri says
Brownie was delicious! I reduced sugar to 250g.
Thank you for your recipe.
Lucy says
Fantastic!
Johanna says
Easy to make and yummy too! I followed the recipe and it turned out well. I'm sure it will be a hit!
Lucy says
Fantastic!
Johanna says
It all got eaten at the party I went to, so I’m making it again today (to take with me when I go to a friends house over the weekend)! Thankyou for the recipe!
Lucy says
That's so great to hear!