• Skip to primary navigation
  • Skip to main content
  • Skip to primary sidebar
Bake Play Smile
MENUMENU
  • Home
  • Shop
  • About Me
    • Meet Lucy
    • Work With Me
  • Contact me
  • Recipes
  • Main Dishes
  • Savoury Breads & Muffins
  • Salads & Sides
  • Soups
  • Bars Brownies & Slices
  • Cakes & Cupcakes
  • Christmas
  • Cookies
  • Desserts
  • Easter
  • Drinks
  • Healthy Treats
  • Sweet Breads & Muffins
  • Thermomix Recipes
  • Thermomix Cookies
  • Thermomix Bars Brownies & Slices
  • Thermomix Cakes & Cupcakes
  • Thermomix Chistmas Recipes
  • Healthy Thermomix Recipes
  • Thermomix Desserts
  • Thermomix Breads & Muffins
  • Thermomix Easter Recipes
  • Thermomix Lunch Box Recipes
  • Thermomix Main Meals
  • Thermomix Sides & Salads
  • Thermomix Soups
  • Recipes for Toddlers & Kids
  • Family Dinners
  • Healthy Snacks
  • Kids Parties
  • Freebies
  • Lunch Box Ideas
  • Sweet Treats
  • Extras
  • Baking 101 - Tips & Tricks
  • Blogger Resources
  • Recipe Videos
    • Facebook
    • Instagram
    • Pinterest
    • YouTube
menu icon
go to homepage
subscribe
search icon
Homepage link
  • Recipes
  • Thermomix Recipes
  • Shop
  • About
  • Contact
    • Facebook
    • Instagram
    • Pinterest
    • YouTube
  • ×

    Home » Baking 101 - Tips & Tricks » How To Perfectly Melt Chocolate In The Microwave

    How To Perfectly Melt Chocolate In The Microwave

    Published: Apr 14, 2015 · Modified: May 5, 2020 by Lucy · This post may contain affiliate links · 33 Comments

    Welcome to my first ever Baking 1o1 post. Each week I'm going to be sharing a 'how to' post with little baking tips and tricks. And being the major chocoholic that I am, I thought it was only fitting that I kick off this new series with a fun little lesson on how to perfectly melt chocolate in the microwave.

    Chocolate balls sprinkled with finely grated chocolate, and the words \'How to perfectly melt chocolate in the microwave\'

    Recipe: Oreo Truffles

    It might seem like an easy thing to do, but trust me, things can go wrong! I've had my fair share of overcooked, seized up chocolate to know that melting chocolate is not as simple as it may appear. So how do you melt chocolate perfectly? Well my favourite method is to use the microwave. Yes, it's true that you can also use a double-boiler on the stove, but this brings in the chance that you may get water into your chocolate... and that will be the end of it. So seriously, stick with the microwave - it's quicker, easier and far simpler!

    Squares of licorice all-sort slice with a milk chocolate topping and a no-bake filling combined with chopped licorice all-sorts

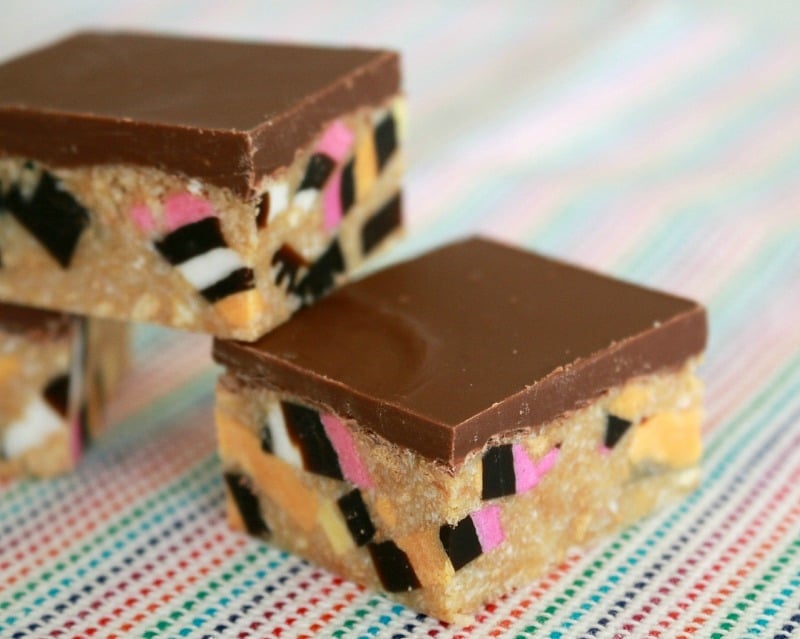
    Recipe: Licorice Allsort Slice

    Pieces of a chocolate Malteser slice with a white chocolate topping and decorated with Maltesers on top

    Recipe: Malteser Slice

    How To Perfectly Melt Chocolate In The Microwave...

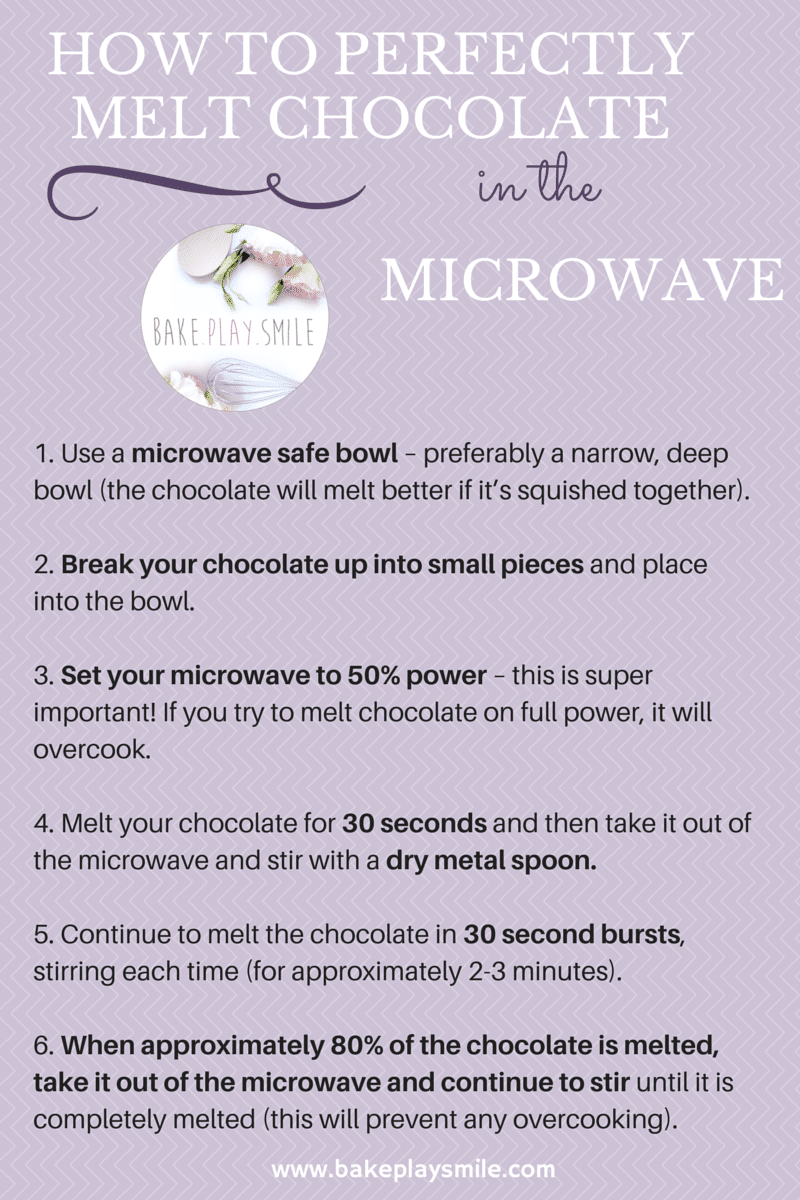
    1. Use a microwave safe bowl - preferably a narrow, deep bowl (the chocolate will melt better if it's squished together).

    2. Break your chocolate up into small pieces and place into the bowl.

    3. Set your microwave to 50% power - this is super important! If you try to melt chocolate on full power, it will overcook. You definitely need to melt chocolate on 50% power.

    4. Melt your chocolate for 30 seconds and then take it out of the microwave and stir with a dry metal spoon. It's so important that the spoon is completely dry - if the tiniest bit of water gets into your chocolate it will seize up and you'll have to start from scratch again... unfortunately, you can't rescue seized up chocolate!

    5. Continue to melt the chocolate in 30 second bursts, stirring each time.

    6. When about 80% of the chocolate is melted, take it out of the microwave and continue to stir until it is completely melted (this will prevent any overcooking).


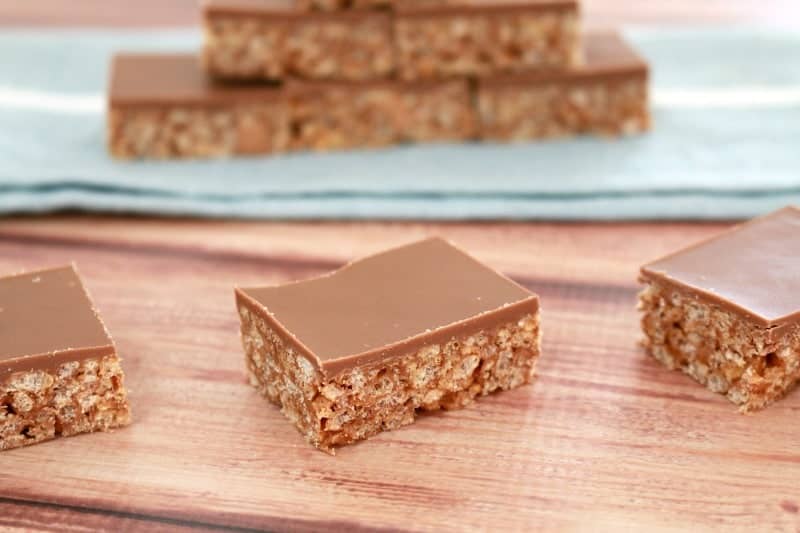
    If you are melting chocolate to pour over the top of a slice, I would highly recommend adding in 1-2 tablespoons of coconut oil (or copha) to the chocolate before you melt it. This will make it much easier to spread over the slice and will help you to cut perfect little pieces once it's set.

    A stack of pieces of chocolate slice with a milk chocolate topping

    Recipe: Caramello Slice

    And that's it! A simple, fool-proof guide to melting chocolate in the microwave. Oh and one more thing... once you're finished melting the chocolate, you must, must, MUST lick the spoon!

    A piece of rice bubble slice with a chocolate topping on a bench

    Recipe: Mars Bar Slice


    Love these tips? 'Pin It' for later!

    How to perfectly melt chocolate in the microwave


    « The BEST Chocolate Chip Cookies
    How To Make Salted Caramel Frosting »

    Reader Interactions

    Comments

    1. Gwen Malone

      March 26, 2016 at 8:32 pm

      I always melt about 50grams of copha in the microwave and then just stir in the chocolate (cut fine). The heat of the copha is enough to melt the chocolate.
      When cutting slices, I use a metal ruler to make impressions in the chocolate or icing to help me cut straight lines.

      Reply
      • AdThrive24

        March 27, 2016 at 12:08 am

        Great tips!!

        Reply
    2. Zoe

      April 17, 2015 at 7:29 am

      Far Out! (I was born in the 70s and still use this). Although I do use some words of profanity for good measure!

      How do you set the microwave to 50%?

      Reply
      • Bake Play Smile

        April 20, 2015 at 8:22 am

        Hahahaha I love that Zoe!! It's different on all microwaves but I know on mine I type in the length of time (i.e.. 2 mins) and then press Power and then 5 (which on mine is half).

        Reply
    3. Dannielle @ Zamamabakes

      April 16, 2015 at 11:27 pm

      Such a great post and a great collection of recipes to practice with!

      Reply
      • Bake Play Smile

        April 17, 2015 at 6:49 am

        Thanks hun xx

        Reply
    4. Kylie Purtell - A Study in Contradictions

      April 15, 2015 at 2:29 pm

      I've always been too scared to do it in the microwave for fear of it seizing, so I've always done it in a bowl over some hot water on the stove. Never had a problem with it, although it does seem to take an age when you have a large amount to melt! Definitely going to give the microwave a go next time though, now that i know to reduce the power!

      Reply
      • Bake Play Smile

        April 17, 2015 at 6:53 am

        I used to use a double boiler too, but it's such a pain and you always worry you're going to get water in or let the bottom of the bowl touch the water. The microwave is so simple!

        Reply
    5. Renee at Mummy, Wife, Me

      April 14, 2015 at 10:40 pm

      Well hello baking 101! You created this series just for me, didn't you? 😉 It is seriously what I need. So many times I've stuffed up the melting of chocolate. I think it was your weetbix slice and another one that I was making and I went through a truckload of chocolate because it kept going all crazy like on me. Now I know what to do. Thank you!

      Reply
      • Bake Play Smile

        April 15, 2015 at 9:46 am

        Hehe I'm so glad you enjoyed Baking 101 Renee!!

        Reply
    « Older Comments
    Newer Comments »

    Leave a Reply Cancel reply

    Your email address will not be published. Required fields are marked *

    Recipe Rating


    Primary Sidebar

    I’m Lucy! A mum, a wife, a food blogger and a lover of all things to do with food! I love creating delicious, no-fuss Thermomix and conventional recipes the whole family will love. Classic baking favourites, lunch box snacks, quick and easy family dinners and more!

    More about me →

    Popular Kids Recipes

    • Milo Balls | 4 Ingredient Recipe
    • The Famous 100 Cookie Recipe | Condensed Milk Cookies
    • Easy Banana Muffins
    • Easy Jelly Slice
    • The BEST Chocolate Chip Cookies
    • Chocolate Hedgehog Slice | No-Bake

    BBQ Favourites

    • Chicken Rissoles
    • Spinach Cob Loaf
    • Cream Cheese Dip
    • Beef Rissoles
    Names of brands that Bake Play Smile has had recipes featured in.

    Summer Salads

    • Creamy Broccoli Salad With Bacon
    • Chang's Crispy Noodle Salad
    • Cypriot Grain Salad | Chef Recipe
    • Creamy Bacon, Egg & Potato Salad

    Thermomix Cookbooks

    Browse our range of Thermomix cookbooks.

    Footer

    ↑ back to top

    About

    • About
    • Privacy Policy
    • Work With Me
    • Accessibility
    • Terms Of Use

    Newsletter

    • Sign Up! for emails and updates

    Contact

    • Contact
    • Shop the store

    Copyright © 2021 Bake Play Smile

     
    Manage Cookie Consent
    To provide the best experiences, we use technologies like cookies to store and/or access device information. Consenting to these technologies will allow us to process data such as browsing behavior or unique IDs on this site. Not consenting or withdrawing consent, may adversely affect certain features and functions.
    Functional Always active
    The technical storage or access is strictly necessary for the legitimate purpose of enabling the use of a specific service explicitly requested by the subscriber or user, or for the sole purpose of carrying out the transmission of a communication over an electronic communications network.
    Preferences
    The technical storage or access is necessary for the legitimate purpose of storing preferences that are not requested by the subscriber or user.
    Statistics
    The technical storage or access that is used exclusively for statistical purposes. The technical storage or access that is used exclusively for anonymous statistical purposes. Without a subpoena, voluntary compliance on the part of your Internet Service Provider, or additional records from a third party, information stored or retrieved for this purpose alone cannot usually be used to identify you.
    Marketing
    The technical storage or access is required to create user profiles to send advertising, or to track the user on a website or across several websites for similar marketing purposes.
    Manage options Manage services Manage vendors Read more about these purposes
    View preferences
    {title} {title} {title}