
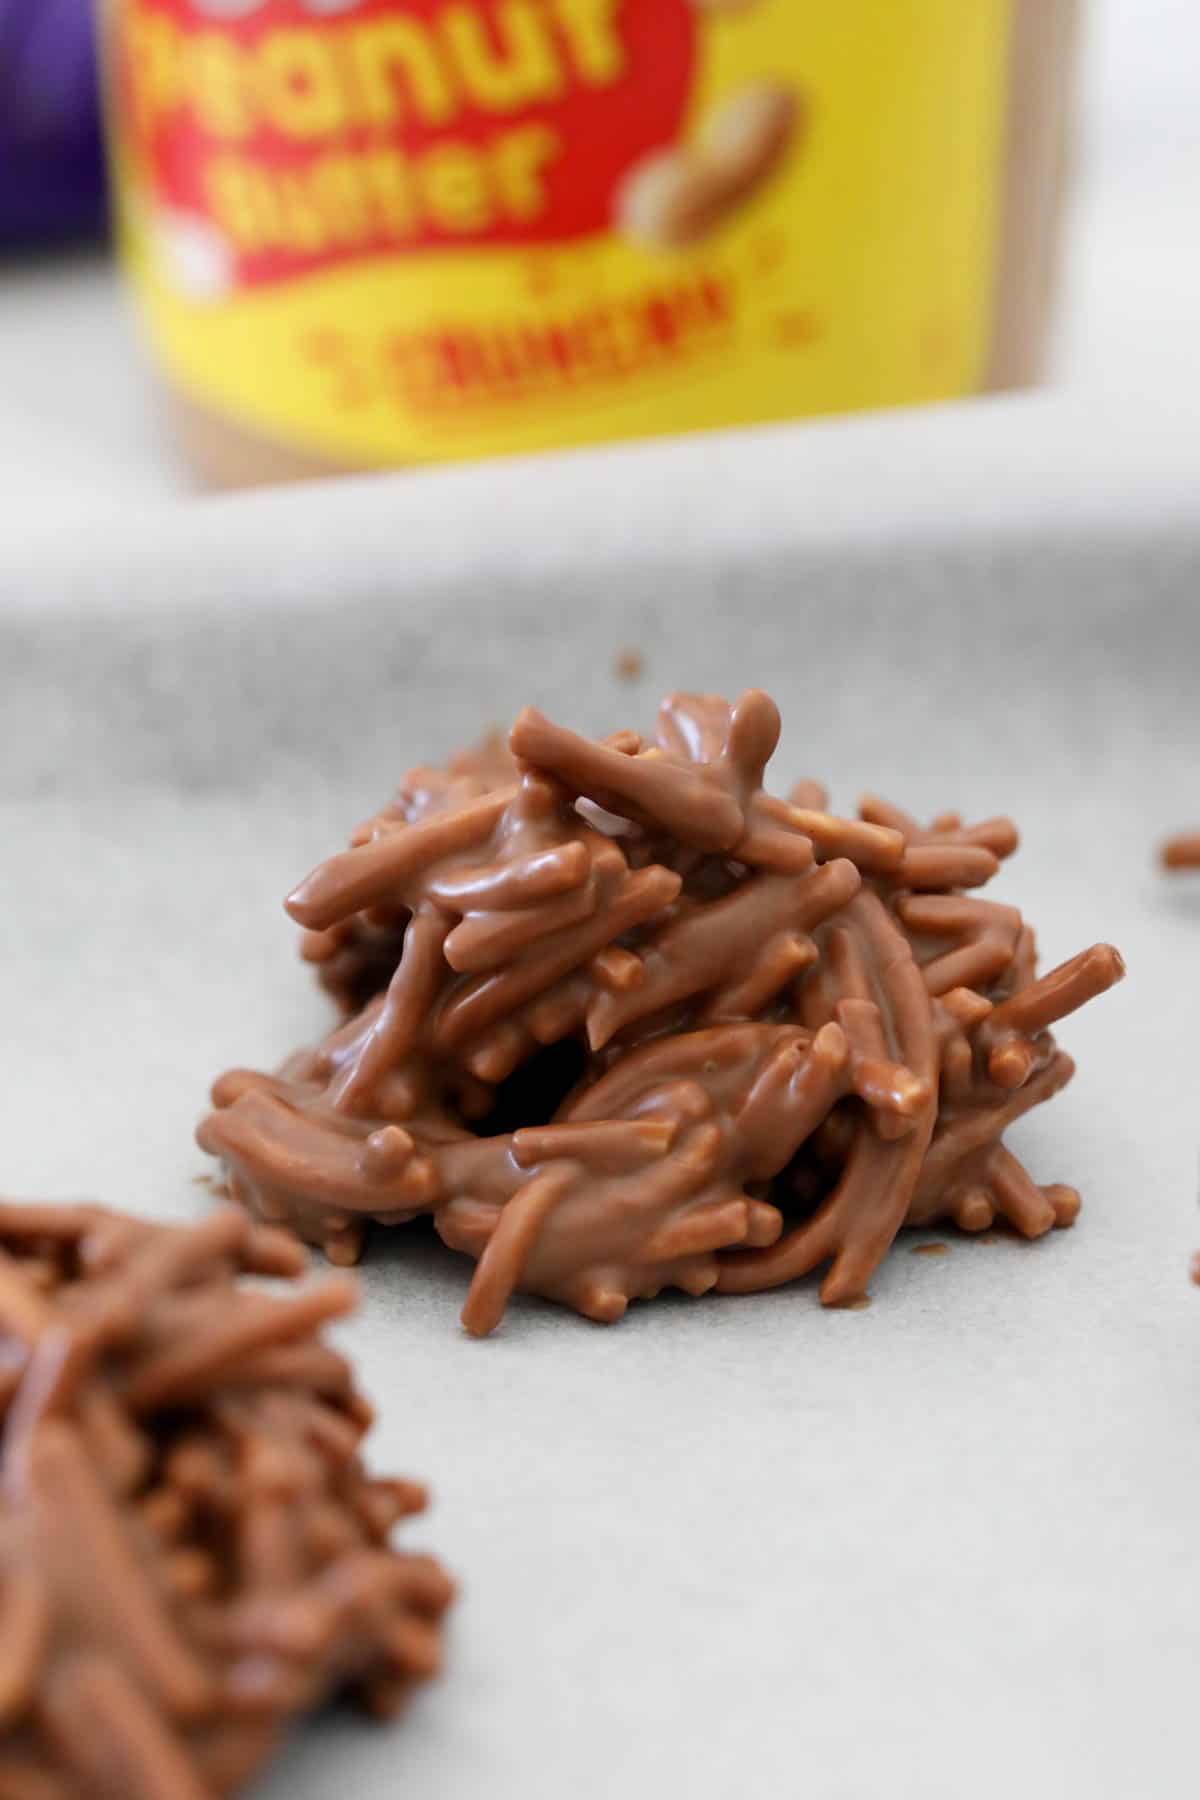
Nothing says Aussie party food like a tray of chocolate spiders! These no-bake classics need just three ingredients-chocolate, fried noodles and peanut butter-and are ready in under 10 minutes. Perfect for birthdays, Halloween, or anytime you need a quick sweet treat.
For more quick and old-fashioned party recipes, try my Chocolate Crackles or Honey Joys.

If you grew up in Australia, chances are you've seen a plate of these crunchy little critters at a birthday party or on a Christmas table. This chocolate spiders recipe has stood the test of time-originally made famous with Chang's fried noodles, chocolate and peanut butter-but has endless variations now (think white chocolate spiders, Nutella spiders or even gluten-free chocolate spiders).
They're a fantastic make-ahead option because they set firm in the fridge and store beautifully in an airtight container. Perfect for Halloween trays, school bake sales, or even as a cheeky addition to the Christmas dessert table.
If you love easy no-bake recipes like Milo Balls or my Mars Bar Slice, then these will be right up your alley.
Jump to:
Why You're Going To Love This Recipe
- Only 3 ingredients - no oven required, no fuss.
- Ready in minutes - less than 10 minutes prep, then chill.
- Crunchy + creamy combo - that salty-sweet magic everyone loves. You just can't beat the combination of peanut butter and chocolate!
- Party-perfect - ideal for birthday parties, Halloween platters, special occasions or bake sales.
- Customisable - make them gluten-free, swap peanut butter for Nutella, or use white chocolate.
Spiders Ingredients
You'll only need three pantry staples for these chocolate peanut butter spiders.
- Fried noodles - I recommend Chang's crispy fried noodles (the classic choice). They hold their crunch without going soggy.
- Peanut butter - use a creamy supermarket brand for best results. Avoid natural peanut butters, as they can cause the chocolate to split.
- Chocolate - choose a high-quality melting chocolate (such as Cadbury baking melts) for a smooth, glossy finish.

Variations
- Gluten-Free Chocolate Spiders - swap Chang's noodles for a certified gluten-free alternative such as rice noodles or gluten-free pretzel sticks.
- Chocolate Spiders Without Peanut Butter - replace with Nutella or Biscoff spread for a nut-free option.
- White Chocolate Spiders - substitute white chocolate for milk chocolate for a fun Christmas version.
- Halloween Chocolate Spiders - add candy eyes or pipe little legs with melted chocolate for a spooky platter.
How To Make Chocolate Spiders
This recipe couldn't be easier! Here's how to make these chocolate spiders with noodles in just a few steps.
Note: Scroll to the recipe card at the bottom for the ingredients quantities and full detailed method.
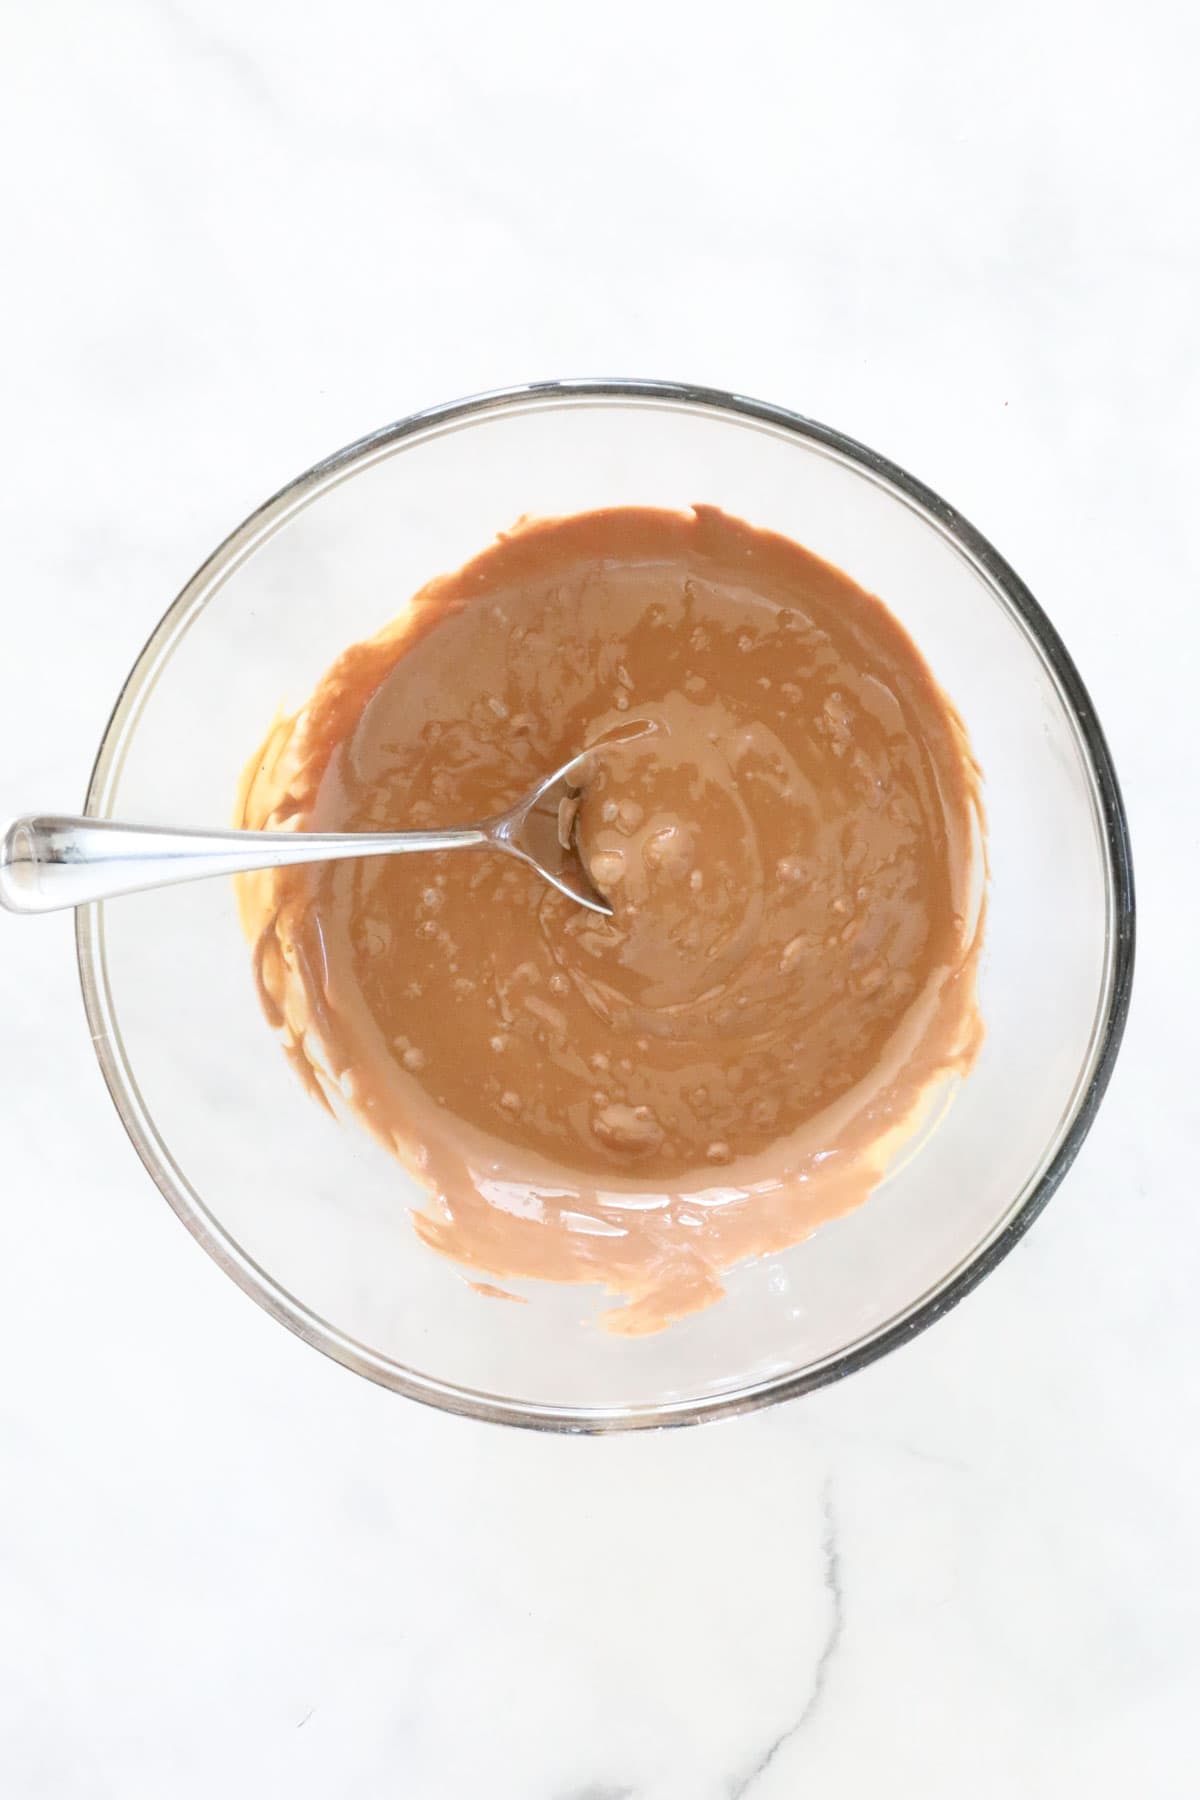
- Step 1: Place chocolate and peanut butter in a microwave-safe bowl. Heat on 50% power for 2-3 minutes, stirring in 30-second intervals, until the mixture is melted and smooth.
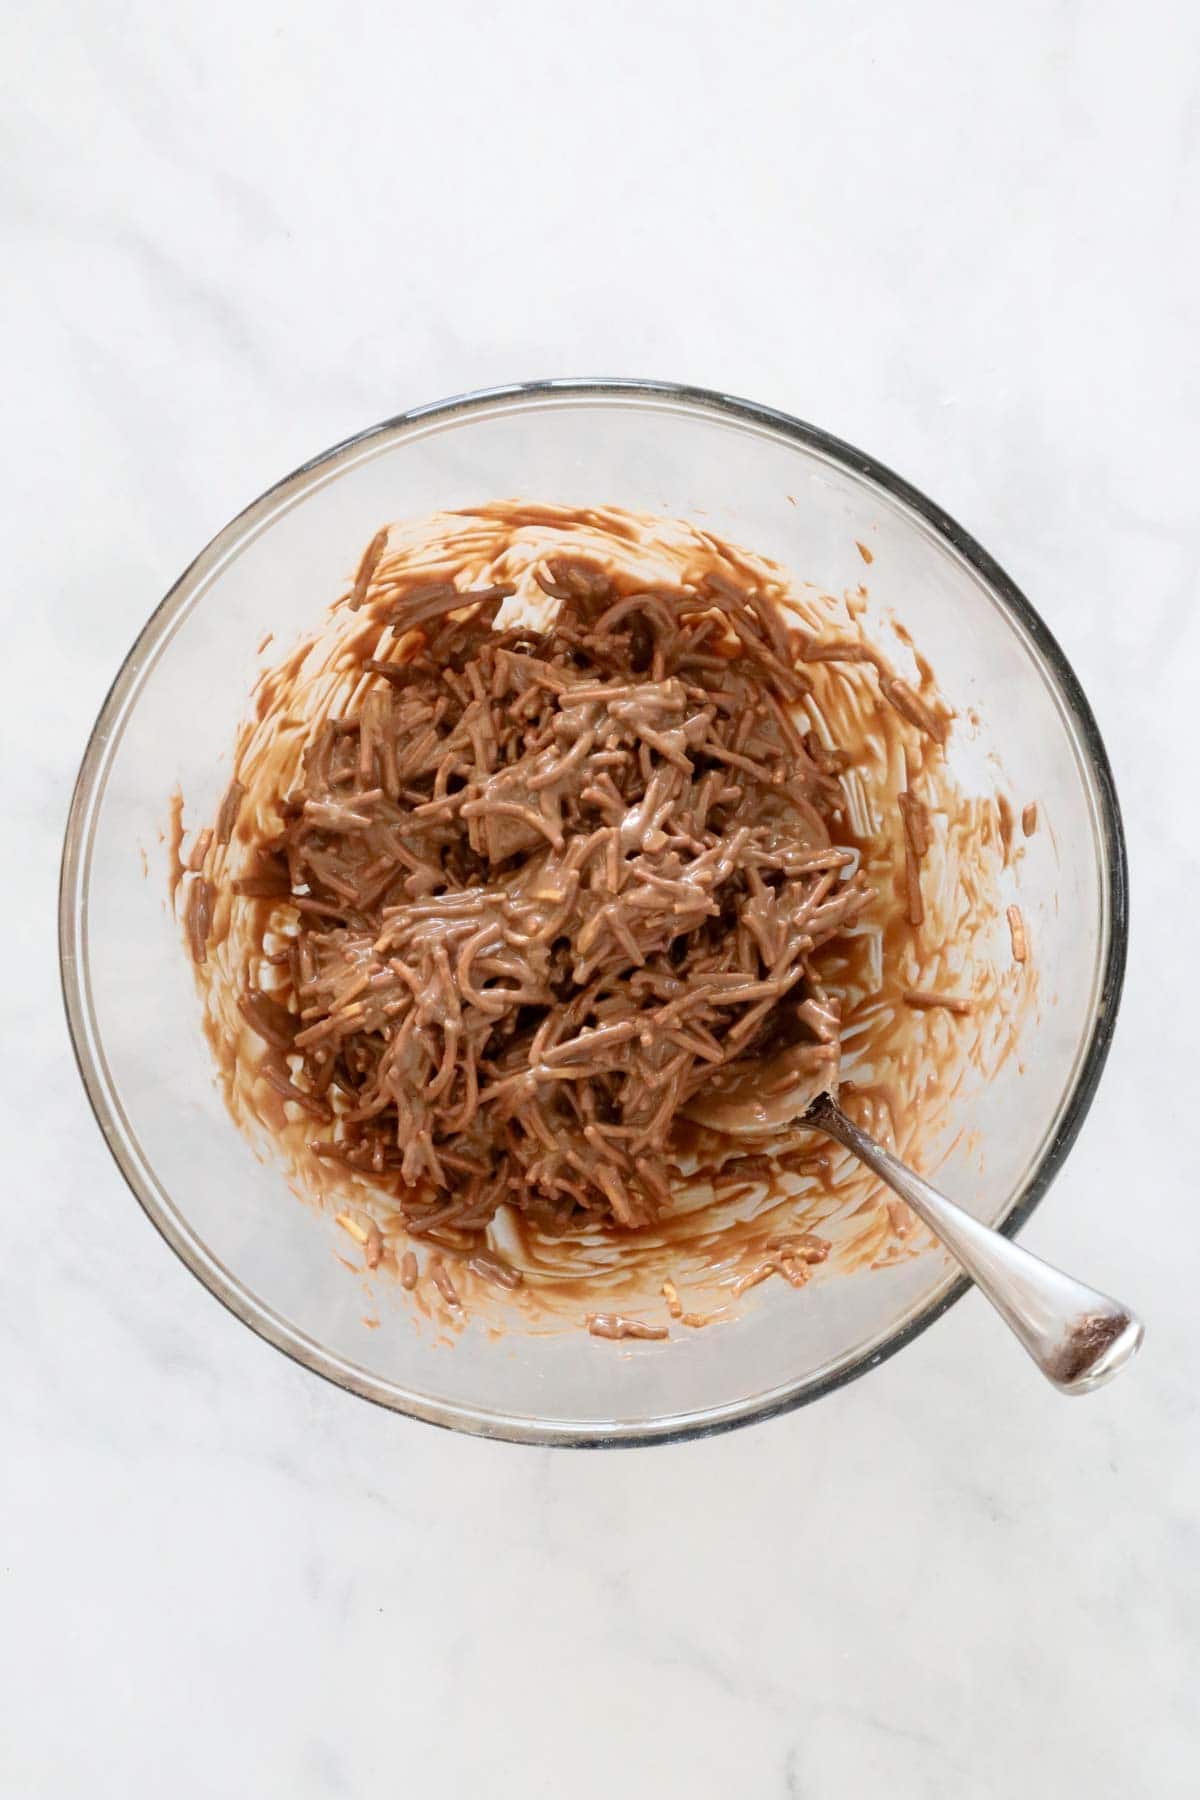
- Step 2: Stir through fried noodles until well coated.
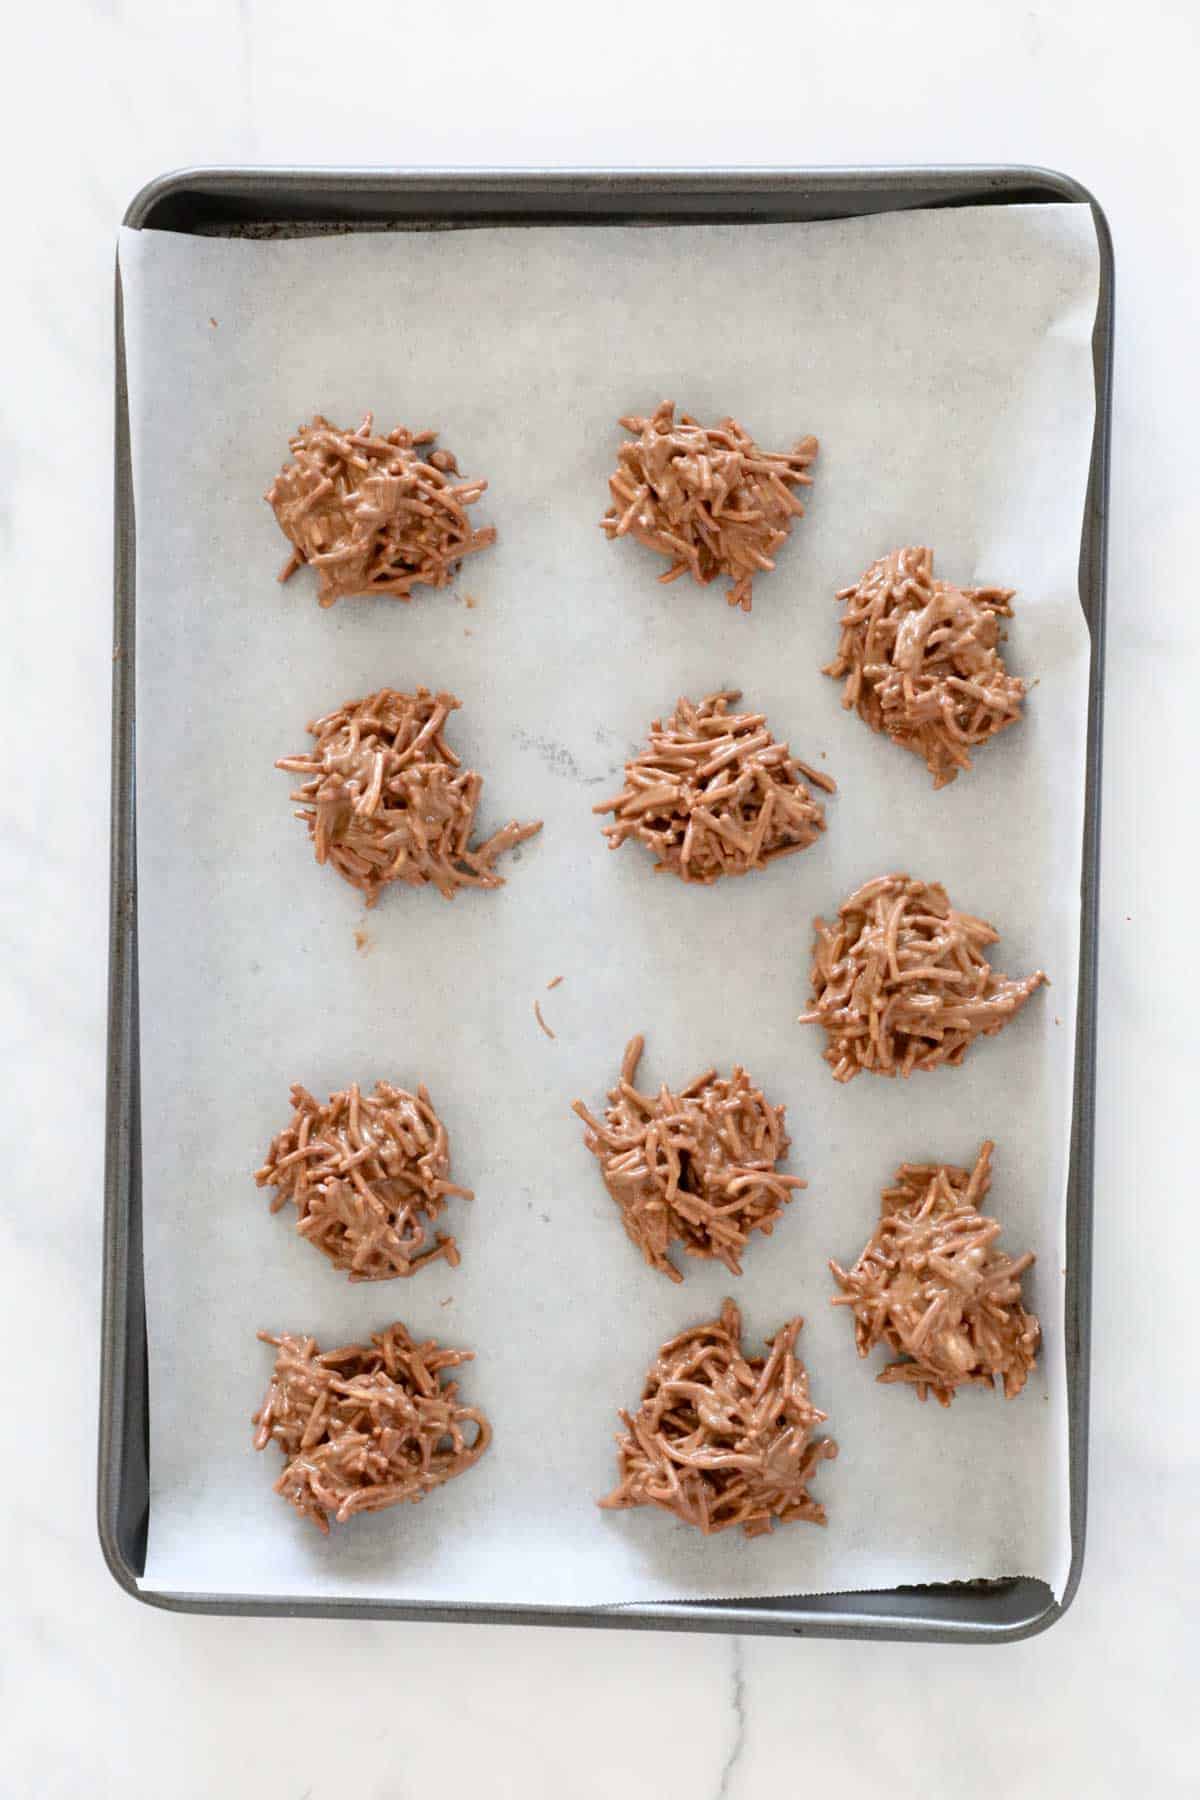
- Step 3: Drop spoonfuls of the mixture onto a prepared tray lined with parchment paper.
- Step 4: Chill in the fridge for 30 minutes or until set.
Top Tip
The better the chocolate, the better your spiders will taste-so pick a good brand!
Recipe Tips
- Use good quality chocolate - Cadbury baking melts or Nestlé are designed for smooth melting.
- Microwave gently - always melt chocolate at half power and stir often to prevent seizing.
- Stick to creamy peanut butter - crunchy or natural peanut butters can make the mix lumpy or oily.
- Spoon onto baking paper - makes it easy to remove once set.
- Storage - keep in an airtight container in the fridge for up to 1 week.
- Freezing - freeze for up to 1 month. Thaw in the fridge before serving.
- Portion control - use a tablespoon, heaped teaspoon or small cookie scoop for even-sized spiders.
- Decorating - for kids' parties or Halloween, add candy eyes or sprinkles before chilling.

Chocolate Spiders FAQs
Yes! Swap it for Nutella, Biscoff spread, or even leave it out entirely and just use chocolate and noodles.
Chang's fried noodles are the traditional choice in Australia. You can also use chow mein noodles or pretzel sticks for a similar crunch.
They'll keep in the fridge in an airtight container for up to a week, or freeze for up to a month.
Absolutely. White chocolate spiders are popular at Christmas, while dark chocolate gives a richer flavour.
Not with Chang's noodles, but you can substitute with a gluten-free option, such as GF pretzels, for some salty pretzel goodness!
More Party Food Recipes
Here are four other recipes you'll love if you're making chocolate spiders:


WANT EVEN MORE DELICIOUS RECIPES? Subscribe to my newsletter or follow along on Facebook or Instagram. And if you love baking, then please come and join my Facebook cooking club group or subscribe to my YouTube channel.

Chocolate Spiders
Ingredients
- 200 g milk chocolate
- 40 g (2 tbs) creamy peanut butter
- 100 g fried noodles see notes
Instructions
Conventional Method
- Place the chocolate and peanut butter into a microwave safe bowl. Melt on 50% power for 2-3 minutes (stirring every 30 seconds) or until just melted.
- Stir through the fried noodles.
- Place tablespoonfuls of the mixture onto a baking paper lined tray.
- Place into the fridge for 30 minutes or until set.
- Store in an airtight container in the fridge for up to 1 week.
Thermomix Method
- Place the chocolate and peanut butter into the Thermomix bowl. Melt for 3-4 minutes, 50 degrees, Speed 2.
- Add the fried noodles and mix for 5-10 seconds on Reverse, Speed 2 (or until combined). Use the spatula to help mix.
- Place spoonfuls of the mixture onto a baking paper lined tray.
- Place into the fridge for 30 minutes or until set.
- Store in an airtight container in the fridge for up to 1 week.
Notes
- Use quality chocolate - Cadbury baking melts or Nestlé are designed for smooth melting.
- Microwave gently - always melt chocolate at half power and stir often to prevent seizing.
- Stick to creamy peanut butter - crunchy or natural peanut butters can make the mix lumpy or oily.
- Spoon onto baking paper - makes it easy to remove once set.
- Storage - keep in an airtight container in the fridge for up to 1 week.
- Freezing - freeze for up to 1 month. Thaw in the fridge before serving.
- Portion control - use a tablespoon or small cookie scoop for even-sized spiders.
- Decorating - for kids' parties or Halloween, add candy eyes or sprinkles before chilling.


Leave a Reply