
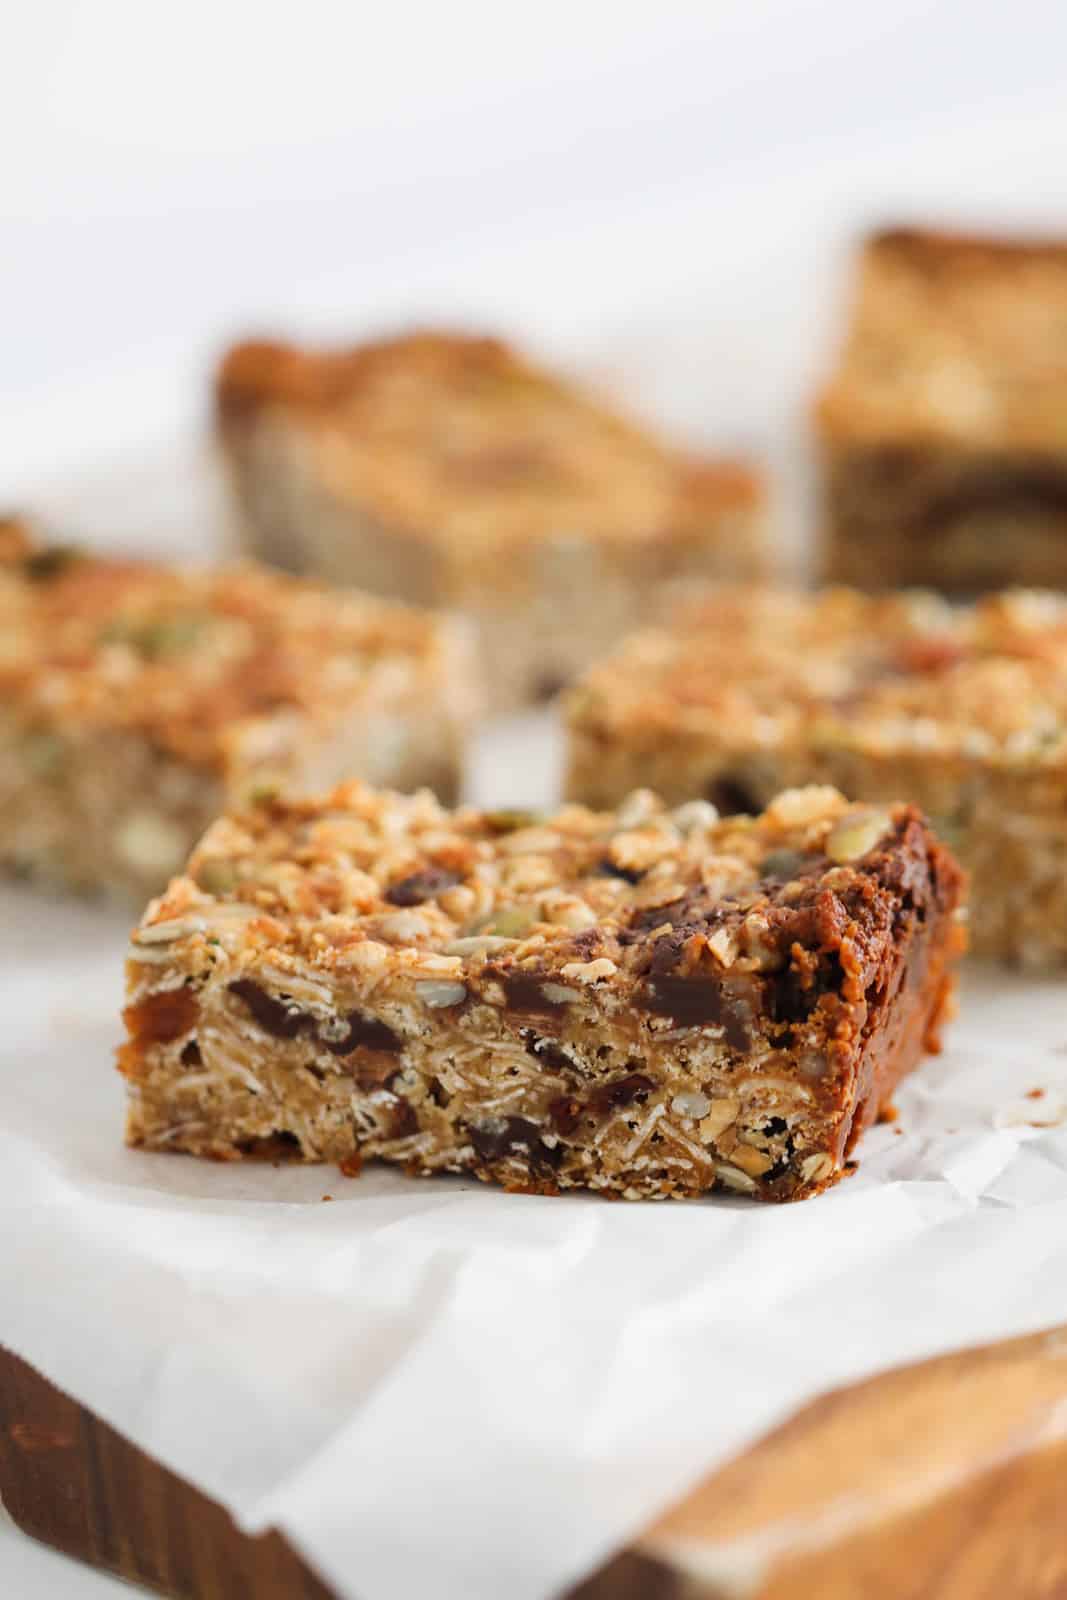
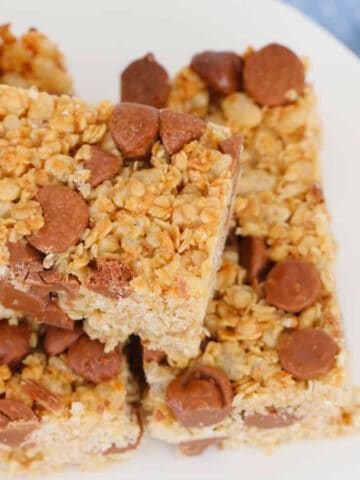
If you're after the best homemade muesli bars - soft, chewy, a little crunchy, and full of flavour - you're in the right spot. Packed with oats, puffed rice, nuts, seeds, dried fruit, and just enough chocolate chips, they've earned over 110 five-star reviews from even the fussiest snack critics.
Perfect for lunchboxes, after-school snacks, or a cuppa break, with both conventional and Thermomix methods included. Love these? Try my Lemon Coconut Slice or a batch of Chocolate Hedgehog Slice for the freezer.
I've been making these for several months now, and they are just the best, and so much nicer than store-bought. These bars are my favourite out of all my baking.
- Phillipa
This healthy muesli bar recipe ticks every box - made from scratch, keeps well in the fridge, and is endlessly customisable. The secret? The perfect balance of oats, puffed rice, and a honey-nut butter "glue" pressed firmly into the tin, baked until golden, then cooled for that chewy-meets-crunchy texture.
It's my go-to kid-friendly muesli bar recipe, loved by grown-ups too, and you can swap the trail mix for any combo of nuts, seeds, or dried fruit. For a school-safe twist, try my Nut-Free Muesli Bars, Strawberry Pancakes or Weet-Bix Slice.
Why You're Going To Love This Recipe
- Over 110 ★★★★★ reviews - tried, tested, and loved by families everywhere.
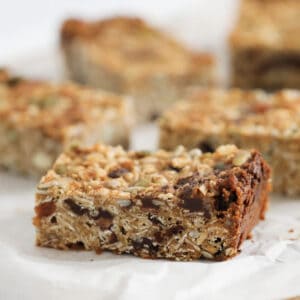
- Soft & chewy texture with a little crunch - the perfect texture combo that the kids (big and little!) will love.
- Both conventional & Thermomix methods included - no matter your style, I've got you covered.
- Make-ahead friendly - store in the fridge or freezer for grab-and-go snacks.
- Easily customisable - swap in your favourite nuts, seeds, or dried fruits.
- No preservatives - you control exactly what goes in.
Jump to:
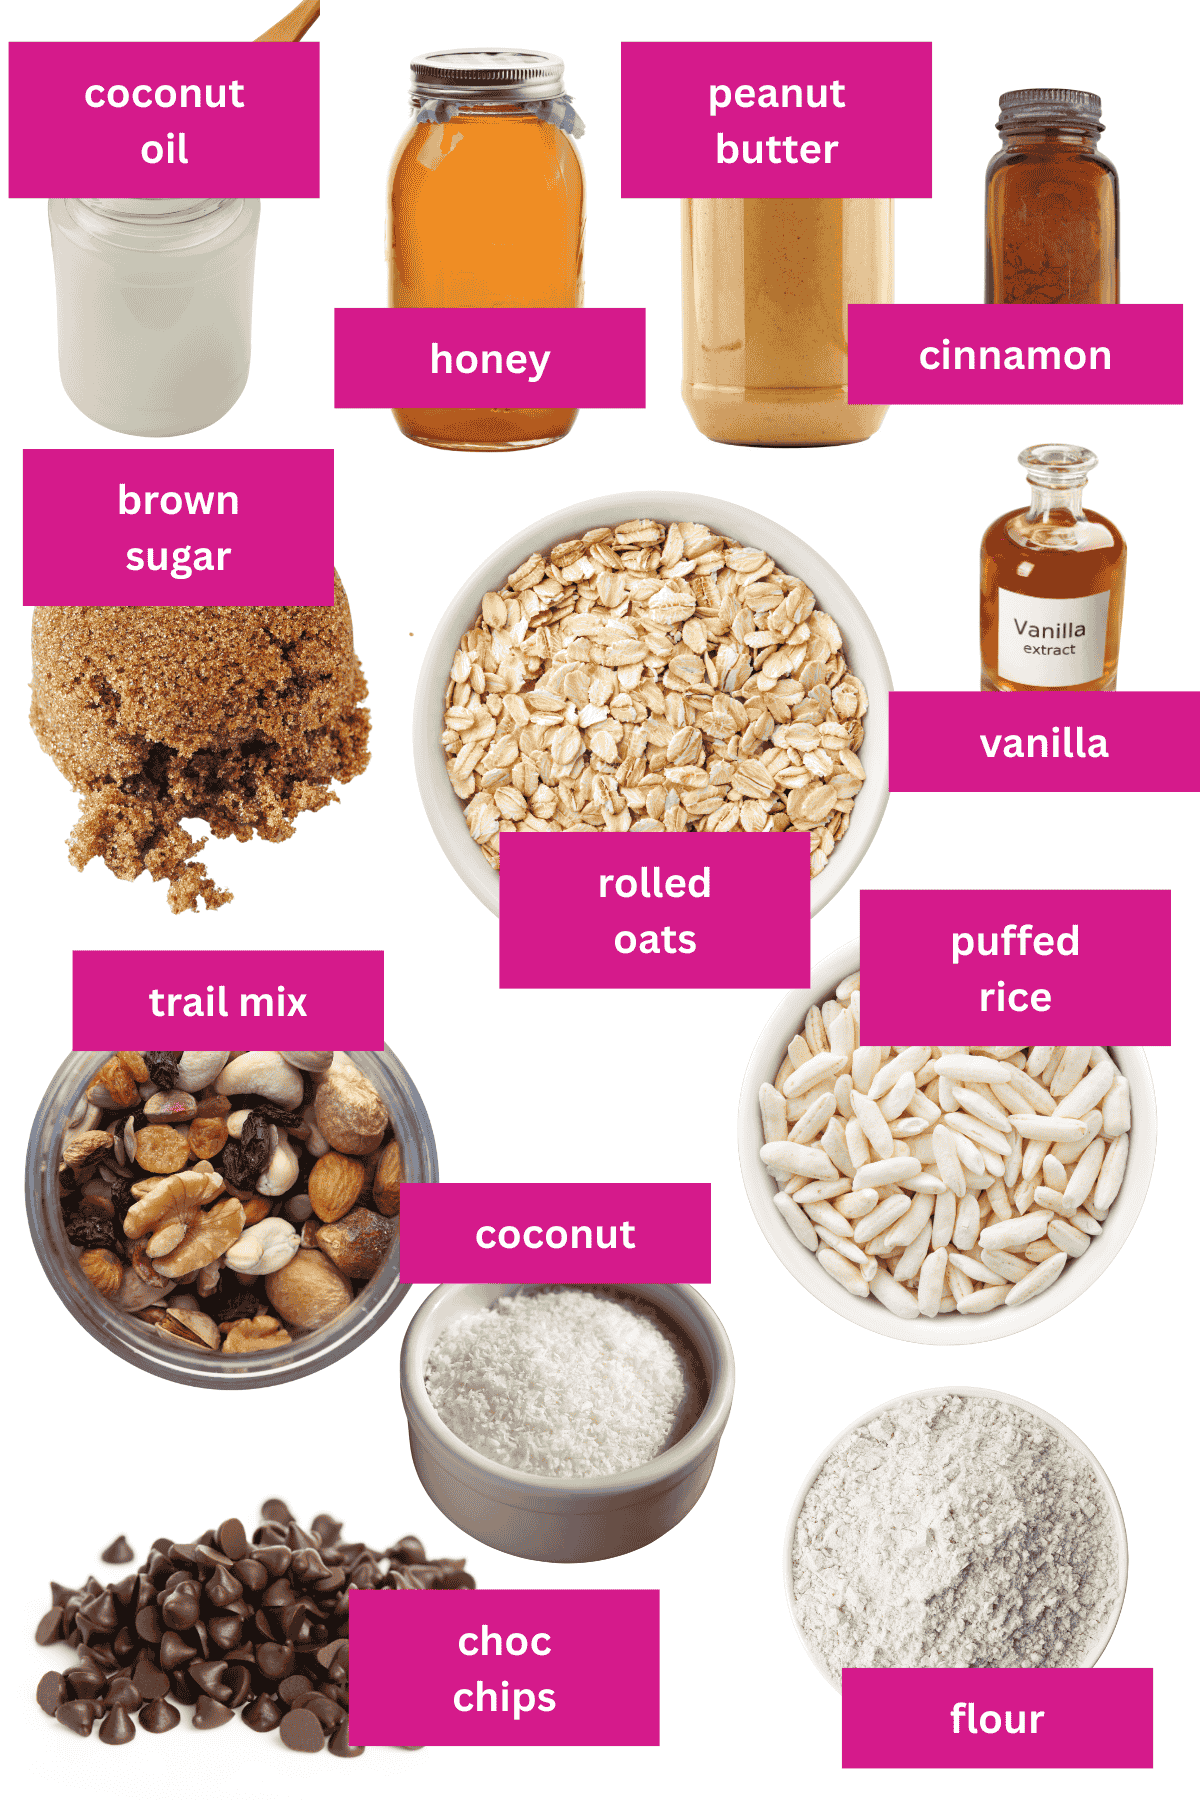
Bar Ingredients
Here's what you'll need to make this simple muesli bar recipe. The full list and quantities are in the recipe card below, but here are a few notes for success:
- Coconut oil - gives the bars their delicious crunch and holds them together. I don't recommend swapping it for butter or vegetable oil.
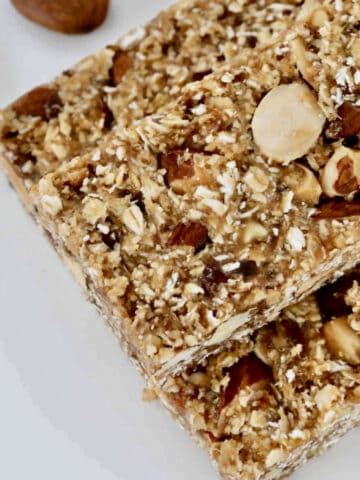
- Trail mix - choose one with a good mix of nuts, seeds, and dried fruit for maximum flavour and texture.
- Puffed rice - Rice Bubbles, Rice Krispies, or similar. Adds lightness and crunch.
- Chocolate chips - make sure the mixture has cooled slightly before stirring through, so you get little chunks instead of melted streaks.
Variations
- Gluten-Free Muesli Bars - use certified GF oats (or quinoa flakes) and gluten-free flour. You can also swap in pumpkin seeds, sunflower seeds, or sesame seeds for added crunch.
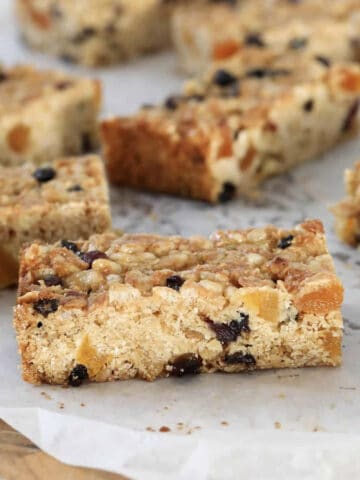
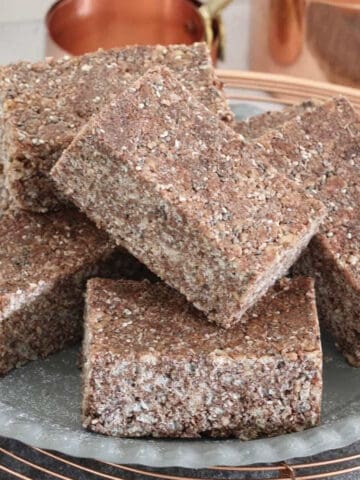
- No-Bake Muesli Bars - press the mixture into the tin and chill instead of baking for a softer, chewier bar. Great with dried fruits like apricots, raisins, cranberries, sultanas, or blueberries mixed through.
- Nut-Free Muesli Bars - to cater for nut allergies swap peanut butter for seed butter (such as sunflower seed butter) and choose a nut-free trail mix. Include extras like sesame seeds or pumpkin seeds for texture without the nuts.
- Muesli Bar Recipe Using Packet Muesli - replace the oats, coconut, and trail mix with the same weight of your favourite packet muesli. Boost the flavour by adding chopped hazelnuts, walnuts, cashews or almonds (if not nut-free).
- Honey-Free Option - substitute the honey with pure maple syrup for a slightly different sweetness and flavour.
How To Make Homemade Muesli Bars
Making these muesli oat bars is easier than you might think and they're SO much tastier than store-bought bars! Here's the basic process (full step-by-step in the recipe card below):

- Step 1: Melt - coconut oil, honey, and peanut butter together in a large bowl until smooth. Stir in cinnamon, vanilla, salt, and sugar.
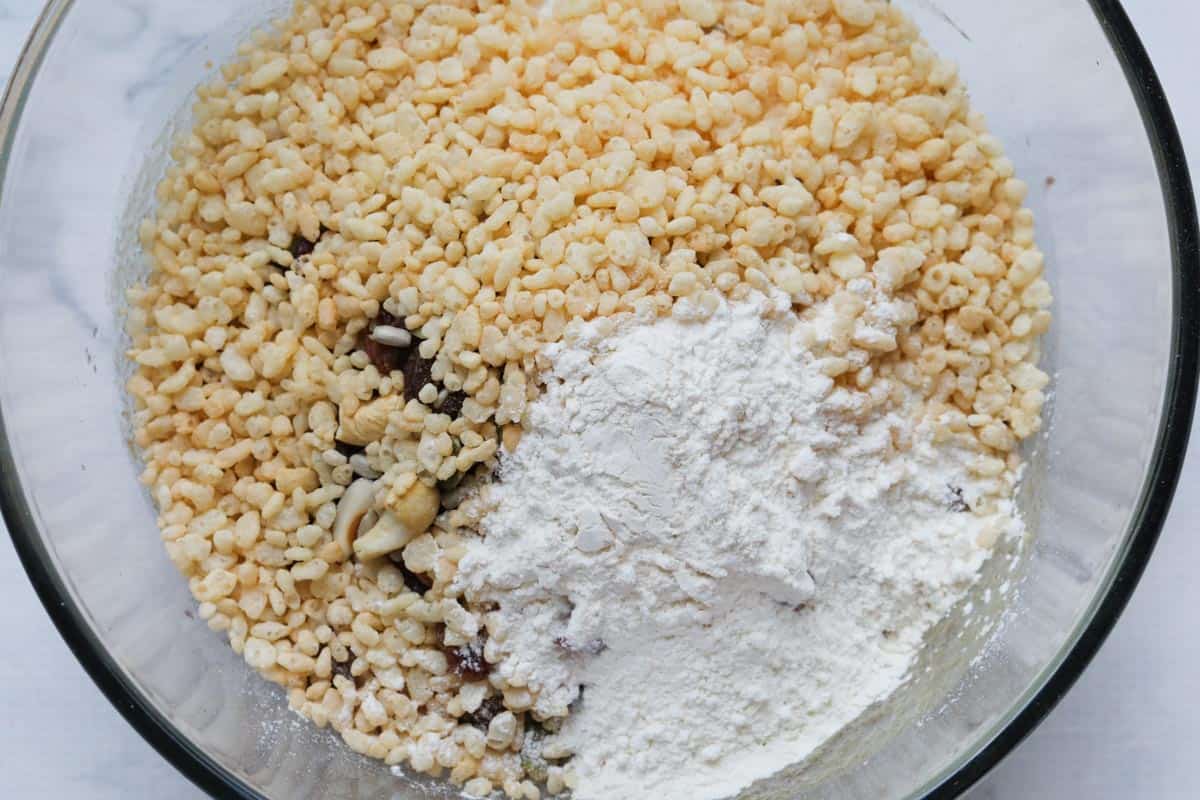
- Step 2: Add the dry ingredients - oats, coconut, trail mix, flour, and puffed rice. Mix well.
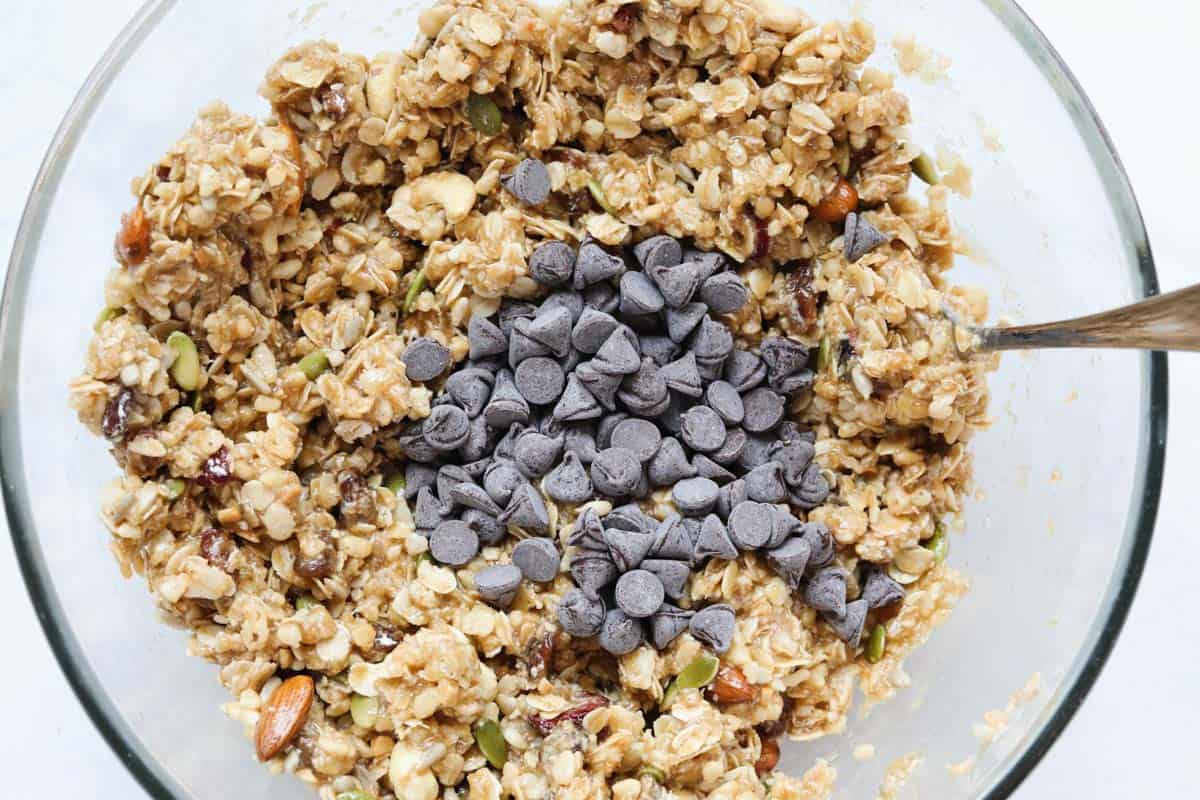
- Step 3: Cool & add chocolate - let the mixture cool slightly, then stir through the choc chips.
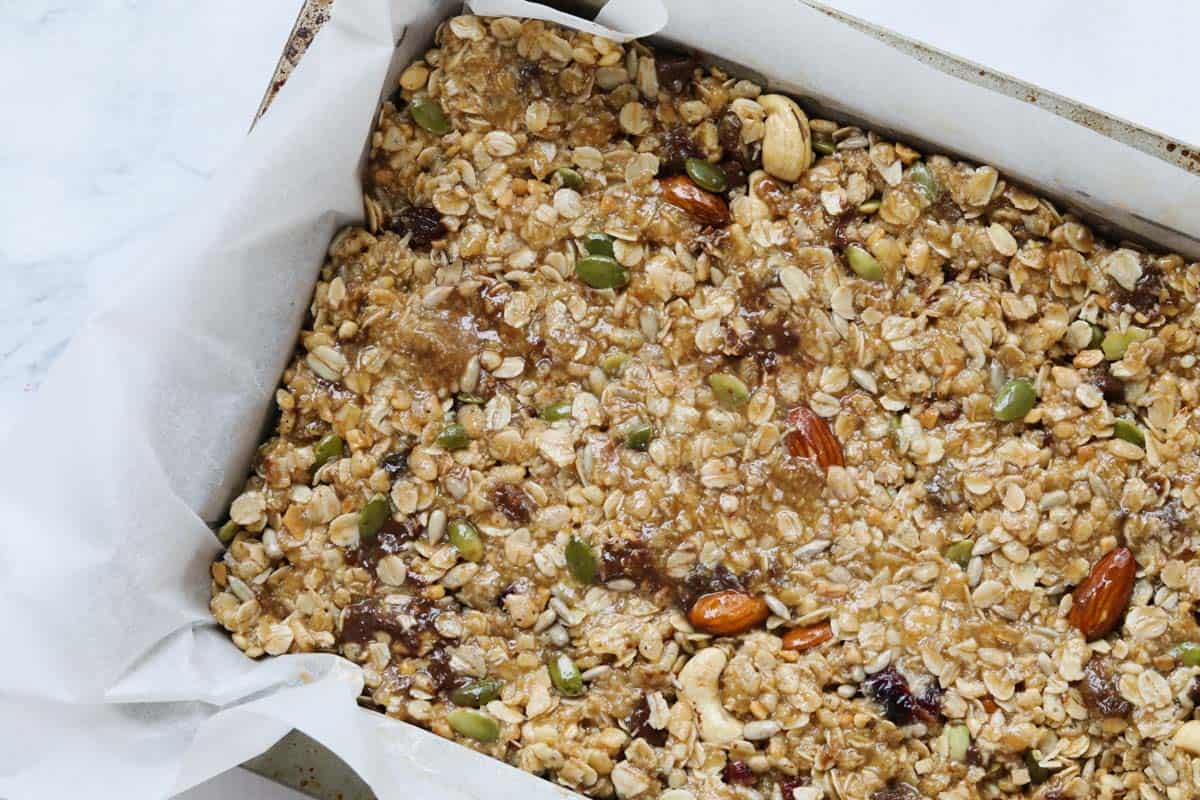
- Step 4: Press & bake - press mixture firmly into the baking tray and bake until lightly golden.
Top Tip
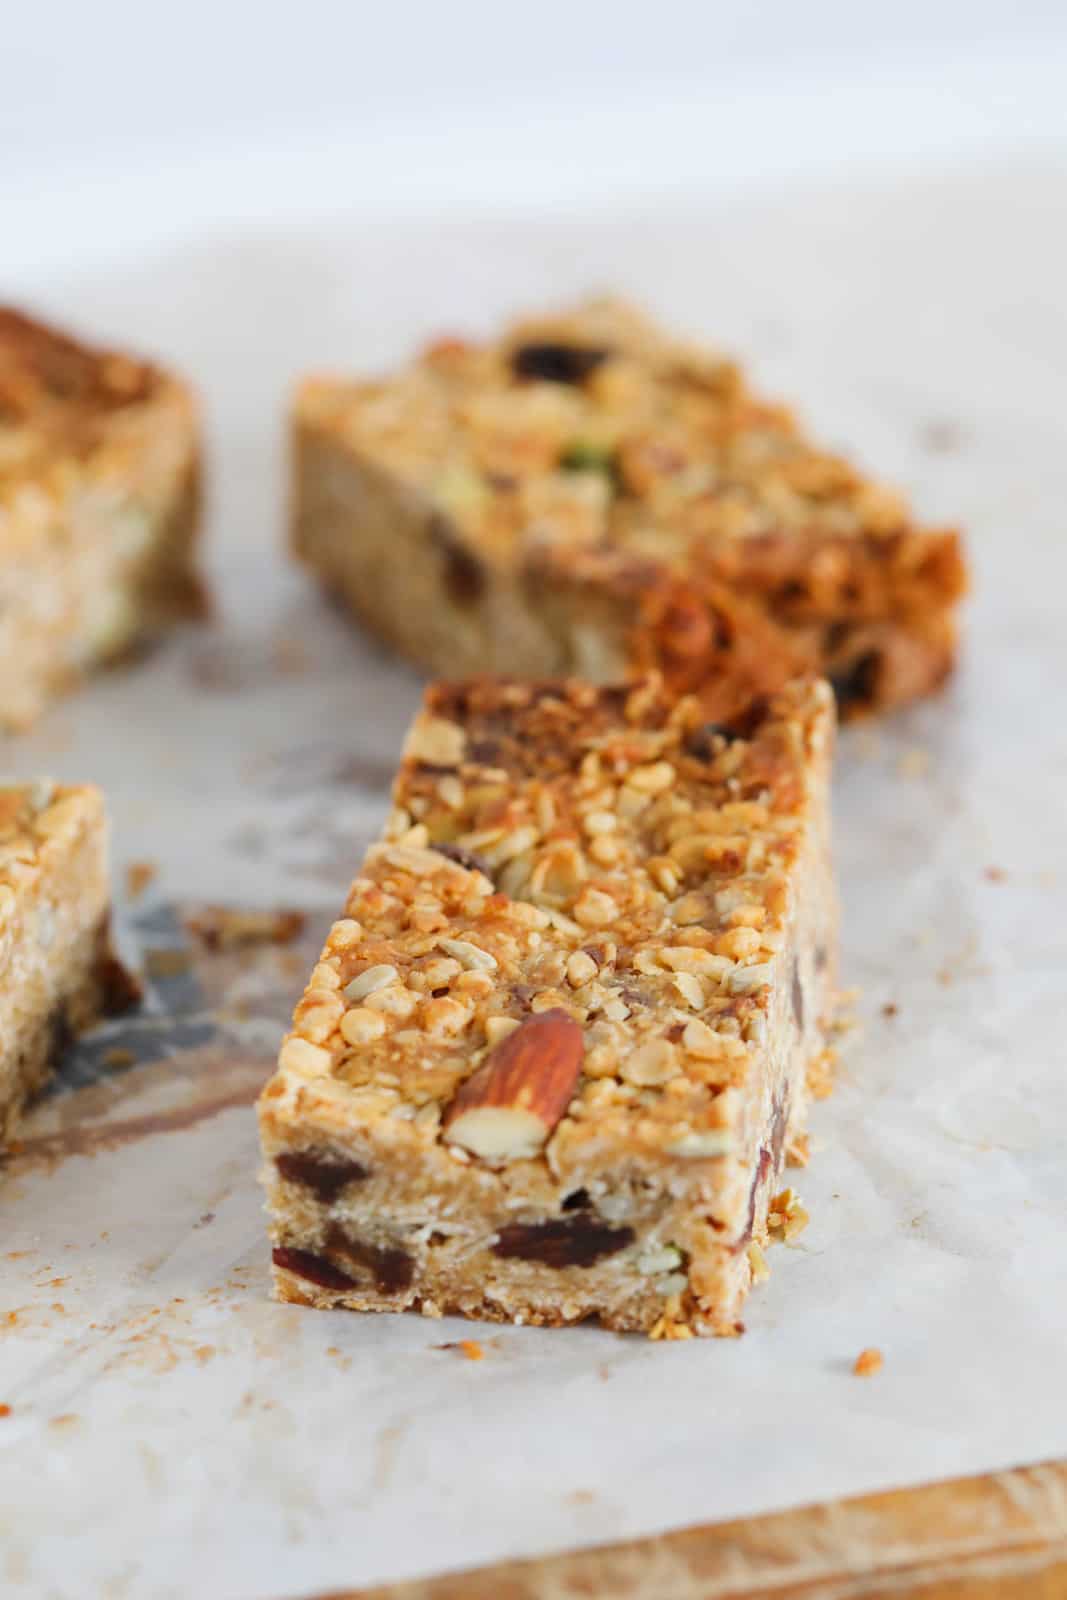
Cool completely - this is key! Cool in the tin before slicing for perfect bars.
Recipe Tips
- For the chewiest bars, press the mixture down firmly with the back of a spoon or the bottom of a glass before baking.
- Cool before slicing - for neat slices, refrigerate for several hours or overnight before cutting.
- Press firmly - the tighter the mixture is packed, the better it holds together.
- Customise your mix - swap trail mix for any combo of nuts, seeds, and dried fruits you like.
- For a healthier twist - use cacao nibs instead of chocolate chips.
- Storage - store in an airtight container in the fridge for up to 1 week.
- Freezing - freeze for up to 3 months. Thaw at room temp for a few minutes before eating.
- Chewier texture - bake for the shorter end of the time; bake longer for a crunchier bar.
- School-safe - swap nut butter for seed butter and choose a nut-free mix.
Muesli Bars FAQs
Yes! Just use seed butter instead of peanut butter and a nut-free trail mix.
This usually happens if the mixture isn't pressed firmly enough into the tin or if the "glue" (coconut oil, honey, and nut butter mix) wasn't cooked long enough to thicken. Make sure to press the mixture down really well, and let the bars chill completely - preferably overnight - before cutting.
Absolutely - just replace the oats, coconut, and trail mix with the same weight of your favourite muesli.
Yes - press into the tin and chill instead of baking. They'll be softer but still delicious.
They can be - just use GF oats (or quinoa flakes) and gluten-free flour.
WANT EVEN MORE DELICIOUS RECIPES? Subscribe to my newsletter or follow along on Facebook or Instagram. And if you love baking, then please come and join my Facebook cooking club group or subscribe to my YouTube channel.
Muesli Bars
Ingredients
- 100 g (½ cup) coconut oil (liquid)
- 170 g (½ cup) honey
- 125 g (½ cup) peanut butter or any nut butter
- ¼ teaspoon cinnamon
- 1 teaspoon vanilla extract
- ½ teaspoon salt
- 135 g (⅔ cup) brown sugar
- 150 g (1 ⅔ cups) rolled oats
- 50 g (½ cup) desiccated coconut
- 180 g (1 ¼ cups) trail mix (mix of nuts, seeds and dried fruit)
- 40 g (⅓ cup) plain flour
- 25 g (1 cup) puffed rice (rice bubbles, rice krispies or similar)
- 85 g (½ cup) chocolate chips see notes
Instructions
Conventional Method
- Preheat oven to 160 degrees celsius (fan-forced). Grease and line a 28cm x 20cm rectangular slice tin with baking paper.
- Place the coconut oil, honey and peanut butter into a microwave-safe bowl. Heat on 50% power for up to 3 minutes or until just melted. Stir.
- Add the cinnamon, vanilla extract, salt and brown sugar and mix together.
- Add the rolled oats, coconut, trail mix, plain flour and puffed rice. Mix together. Allow the mixture to cool slightly.
- Add the chocolate chips and mix to combine.
- Pour the mixture into the prepared tray and press down firmly and evenly.
- Bake for 25-30 minutes or until just golden. Allow to cool completely before cutting into slices.
Thermomix Method
- Preheat oven to 160 degrees celsius (fan-forced). Grease and line a 28cm x 20cm rectangular slice tin with baking paper.
- Place the coconut oil, honey and peanut butter into the Thermomix bowl. Melt or 2 minutes, 90 degrees, Speed 2 (or until melted).
- Add the cinnamon, vanilla extract, salt and brown sugar and mix for 5 seconds, Speed 4.
- Add the rolled oats, coconut, trail mix, plain flour and puffed rice. Mix for 10 seconds, REVERSE, Speed 2. Scrape down the sides of the bowl and repeat. Allow to cool slightly.
- Add the chocolate chips and mix with the spatula to combine.
- Pour the mixture into the prepared tray and press down firmly and evenly.
- Bake for 25-30 minutes or until just golden. Allow to cool completely before cutting into slices.
Notes
- For the chewiest bars, press the mixture down firmly with the back of a spoon or the bottom of a glass before baking.
- Cool before slicing - for neat slices, refrigerate for several hours or overnight before cutting.
- Press firmly - the tighter the mixture is packed, the better it holds together.
- Customise your mix - swap trail mix for any combo of nuts, seeds, and dried fruits you like.
- For a healthier twist - use cacao nibs instead of chocolate chips.
- Storage - store in an airtight container in the fridge for up to 1 week.
- Freezing - freeze for up to 3 months. Thaw at room temp for a few minutes before eating.
- Chewier texture - bake for the shorter end of the time; bake longer for a crunchier bar.
- School-safe - swap nut butter for seed butter and choose a nut-free mix.


Janene says
Fabulous.
Ritika says
These are very delish !!
Just want to check what you have down as the calories, is that per portion or is that total calories ?
Lucy Mathieson says
Per large portion 🙂
Kate says
These are delicious and a hit with my kids! I tried a number of other muesli bar recipes and these are by far the best.