
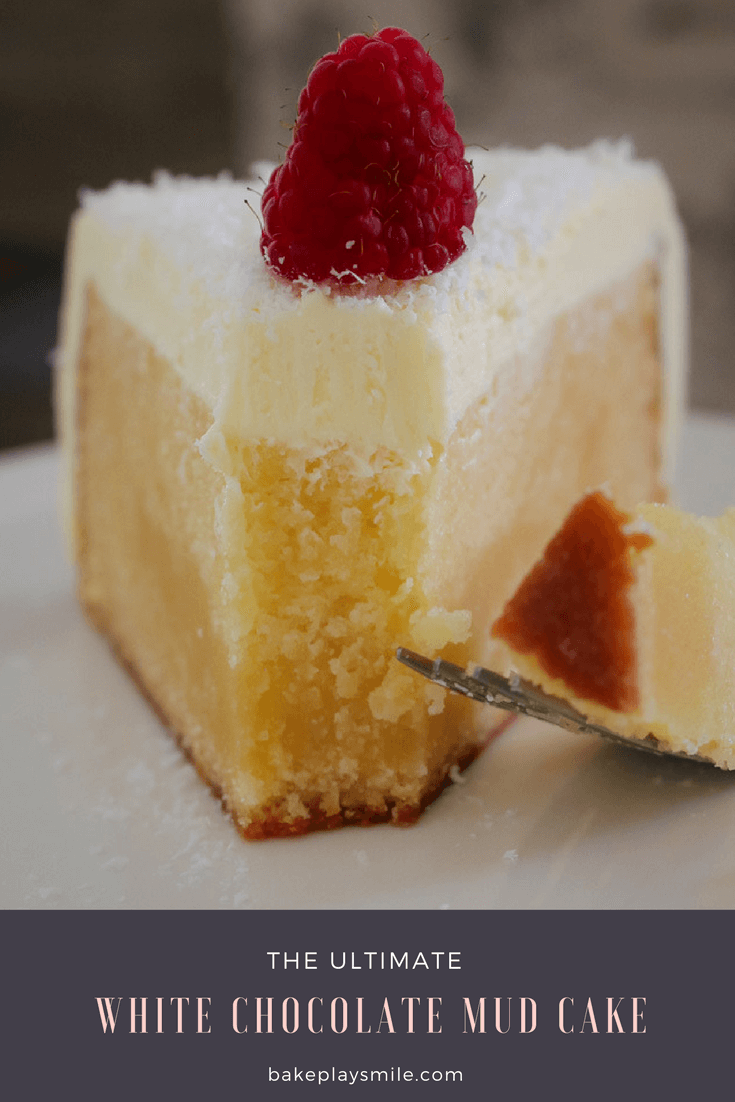
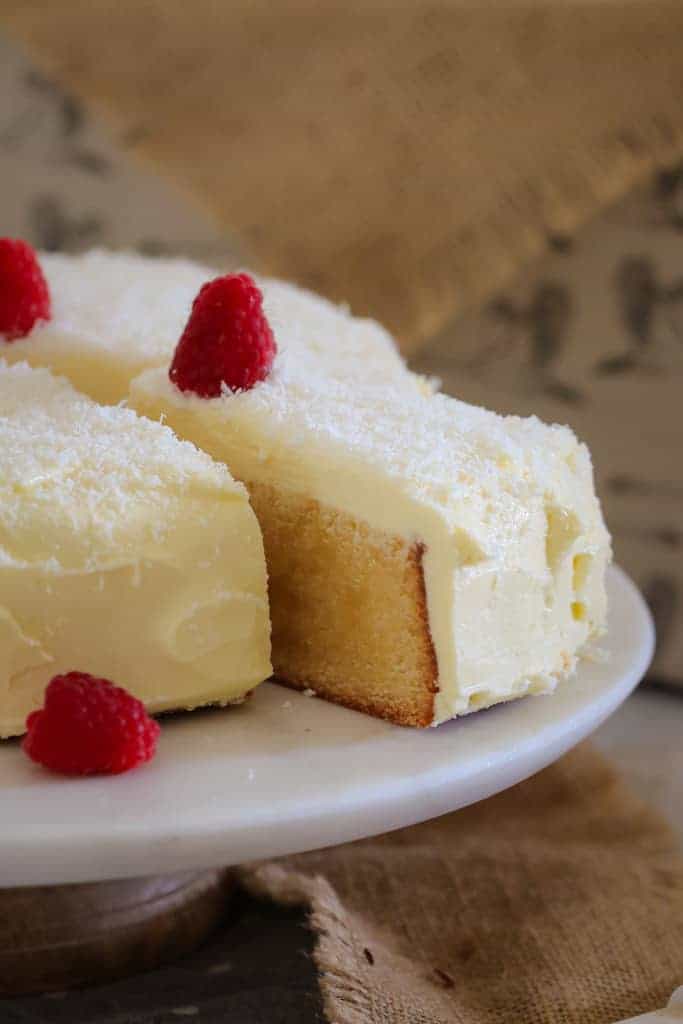
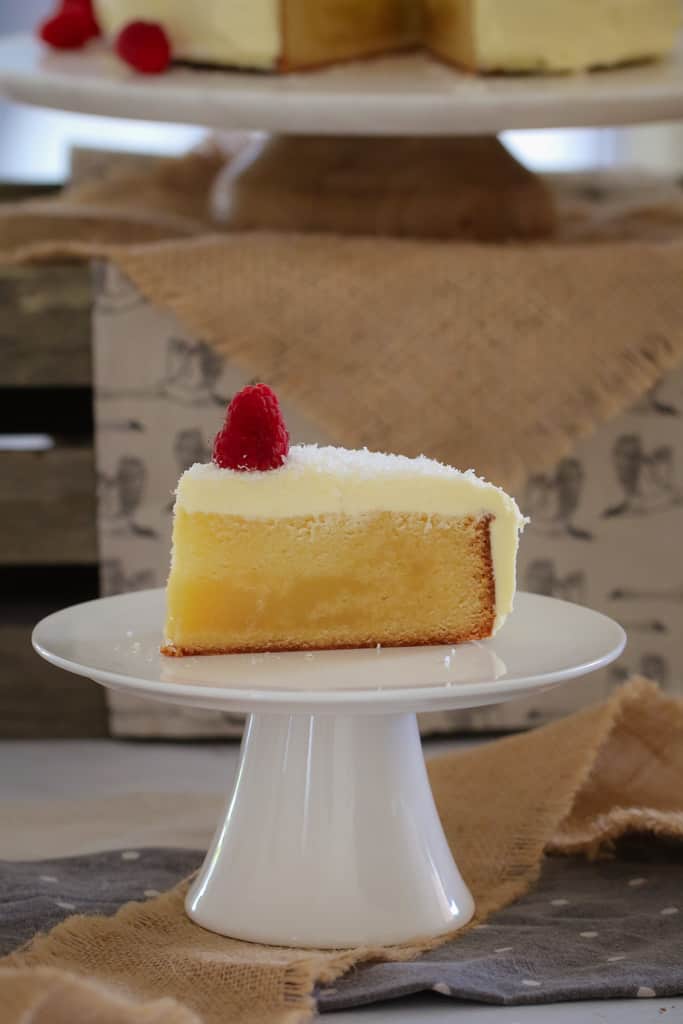
This White Chocolate Mud Cake is made with a deliciously smooth and creamy white chocolate buttercream. A simple, sweet cake recipe, this dessert is perfect for any birthday celebration or special occasion!
When it comes to baking cakes you need a few basic recipes up your sleeve...
- like a totally delicious chocolate mud cake
- or simple vanilla cupcakes
- and definitely some yummy chocolate cupcakes
- plus the most basic chocolate cake ever
...and of course, this moist and rich white chocolate mud cake.
The Best White Chocolate Mud Cake
This white chocolate mud cake with a simple homemade white chocolate buttercream is the perfect cake for birthdays, weddings, celebrations... In fact, it's a great go-to cake recipe for absolutely any time or place!
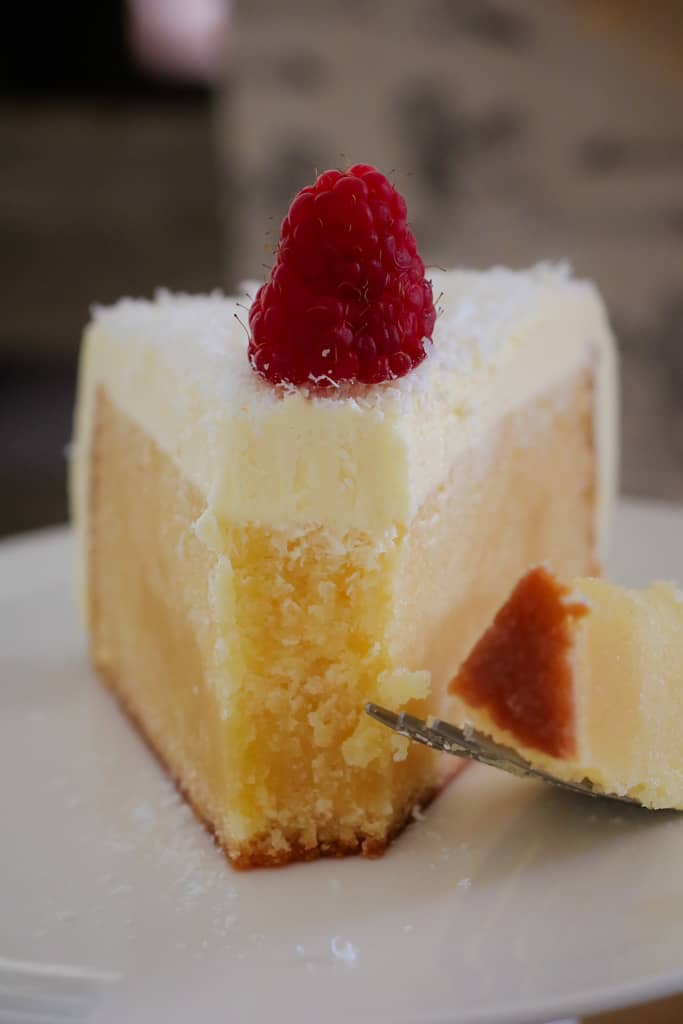
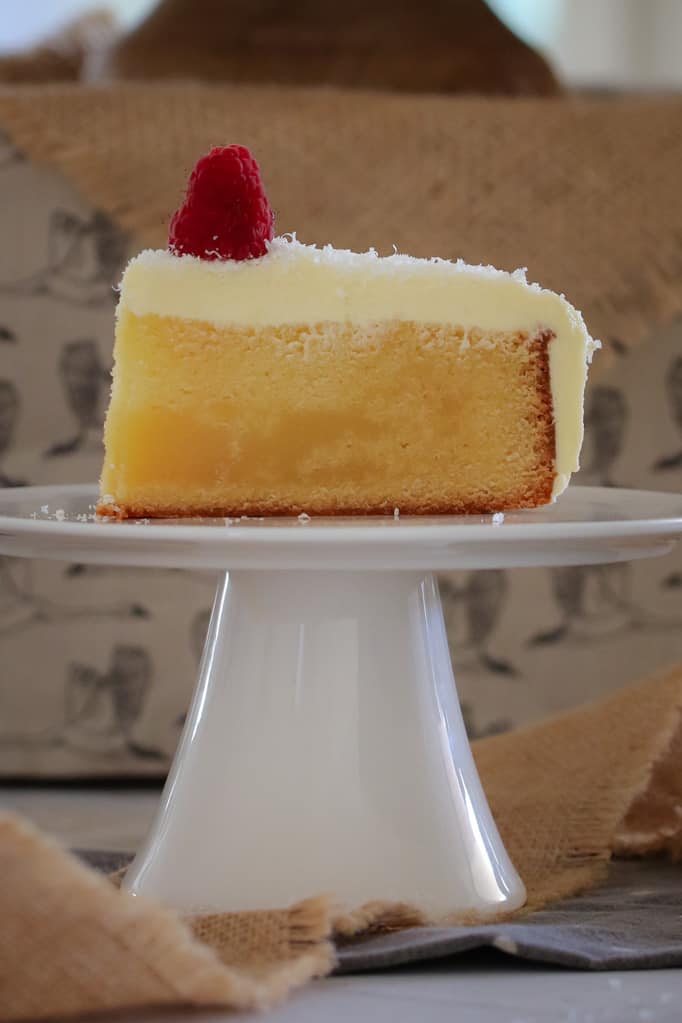
My white chocolate cake is rich, decadent and the perfect canvas for decorating. It's also super simple while also being an elegant dessert. Not to mention the homemade buttercream icing is pure, creamy goodness.
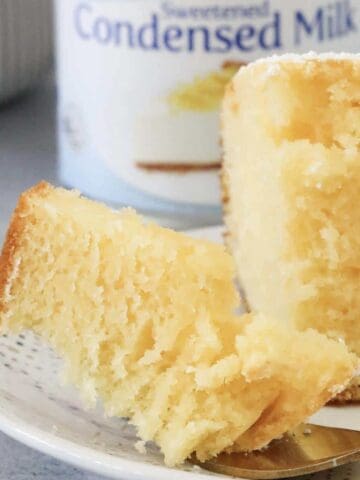
The trick to baking mud cakes is to cook them low and slow -- this recipe definitely requires some patience. If the cake begins browning too much while it's in the oven, simply pop a loose piece of foil over the top of the baking pan and continue cooking. This isn't a recipe you want to throw in the oven and check on when you hear the timer -- for the best white chocolate mud cake, be patient and keep a close eye on your masterpiece!
Why You're Going To Love This White Chocolate Mud Cake Recipe
- Choose your level of sweet - Need more sweetness in this tasty cake? You can always cut the cake into two layers and add some more of the homemade buttercream icing in between each layer.
- Make it your own - Looking for a sweeter, more rich icing? Change things up and make a raspberry buttercream or a chocolate frosting instead.
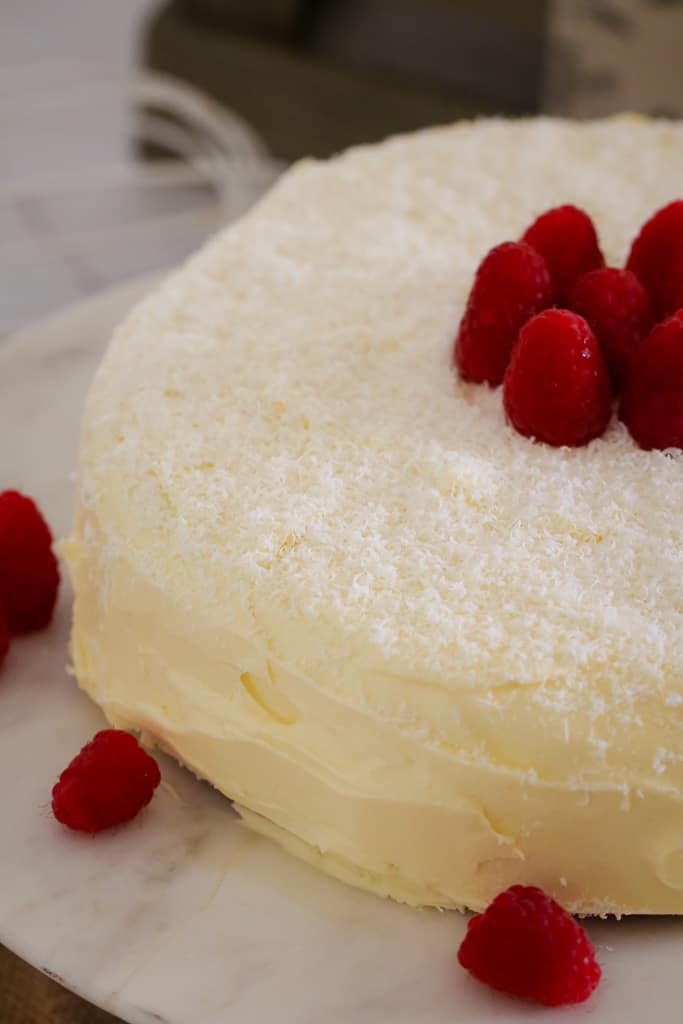
- Elegant (Yet Easy) - Personally, when it comes to white chocolate mud cake, I'm a simple gal! Give me a basic white chocolate buttercream and fresh raspberries any day. It maintains its elegance and is appropriate for any special occasion, but it doesn't require you to slave away over the oven all day long.
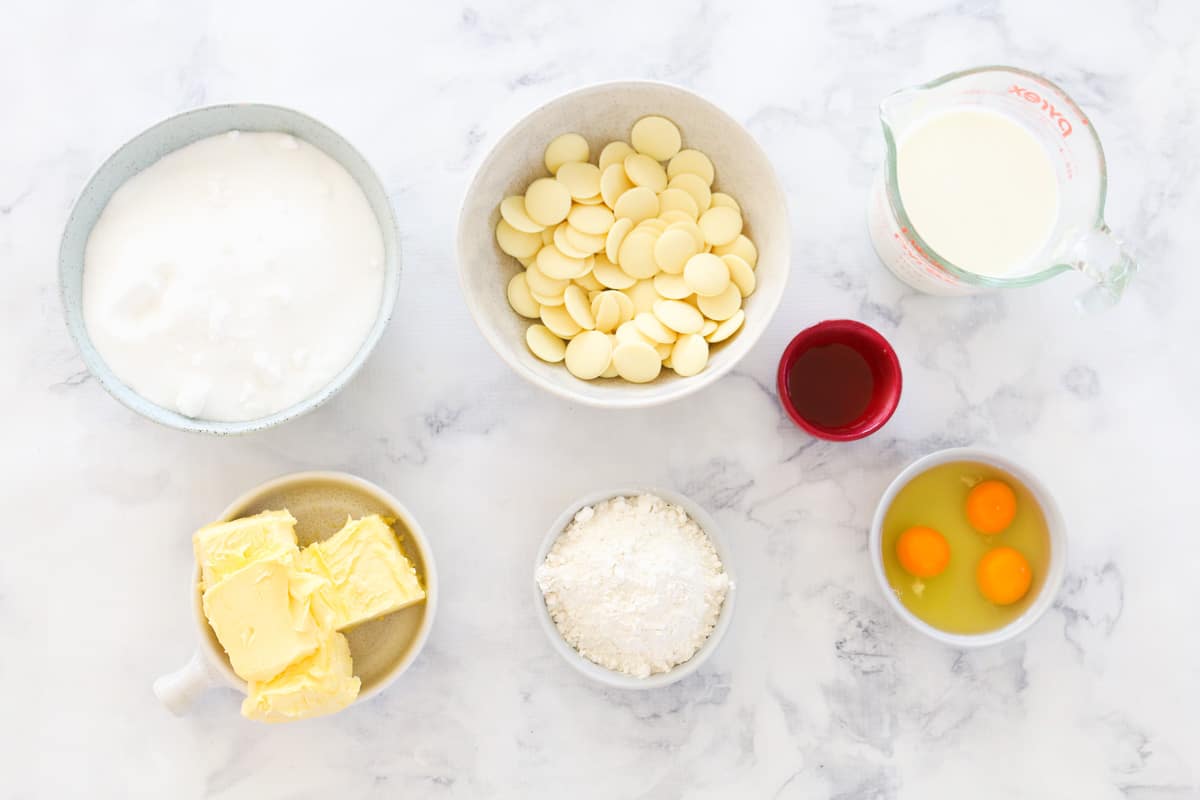
What You Need
Note: Scroll to the recipe card at the bottom for the ingredients quantities and full detailed method.
- White chocolate - You can't have a white chocolate mud cake without plenty of white chocolate! You can use baking melts, chocolate melts or a bar of chocolate broken into pieces.
- Sugar - I used both caster sugar (superfine sugar) and icing sugar for this recipe.
- Butter - Sometimes its best to use unsalted butter when baking so you can control the flavour and salt level.
- Baking Basics - Milk, flour, vanilla extract and eggs are also needed to make this simple but decadent cake.
How To Make A White Chocolate Mud Cake
Note: Scroll to the recipe card at the bottom for the ingredients quantities and full detailed method!
Step 1 - Prep
First, preheat your oven to 140 degrees celsius (fan-forced) or 325 degrees F, then grease and line the base and sides of a 23cm (9-inch) round cake pan and set aside.
Step 2 - Melt Chocolate
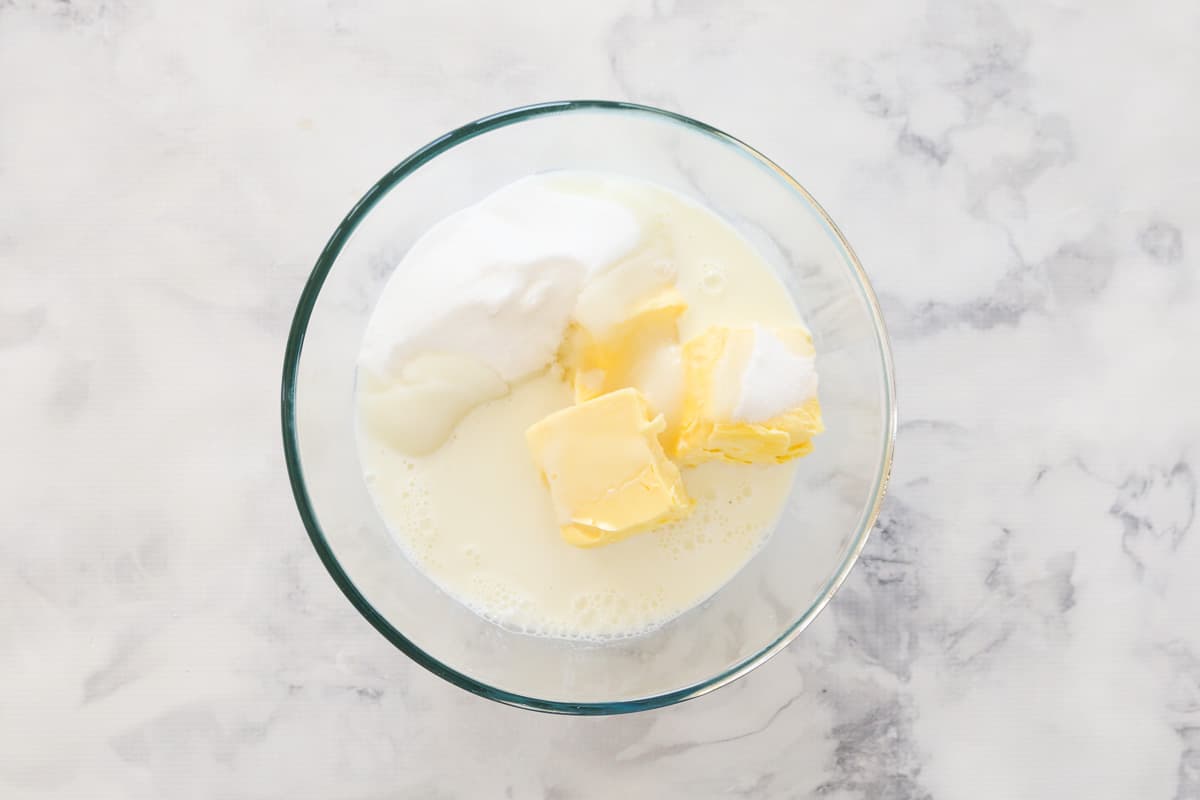
Next, place the white chocolate, butter, caster sugar and milk into a microwave-safe bowl. Now, melt on 50% power for 3-4 minutes (stirring every minute) until melted and smooth. Then set aside to cool.

Step 3 - Add Dry Ingredients
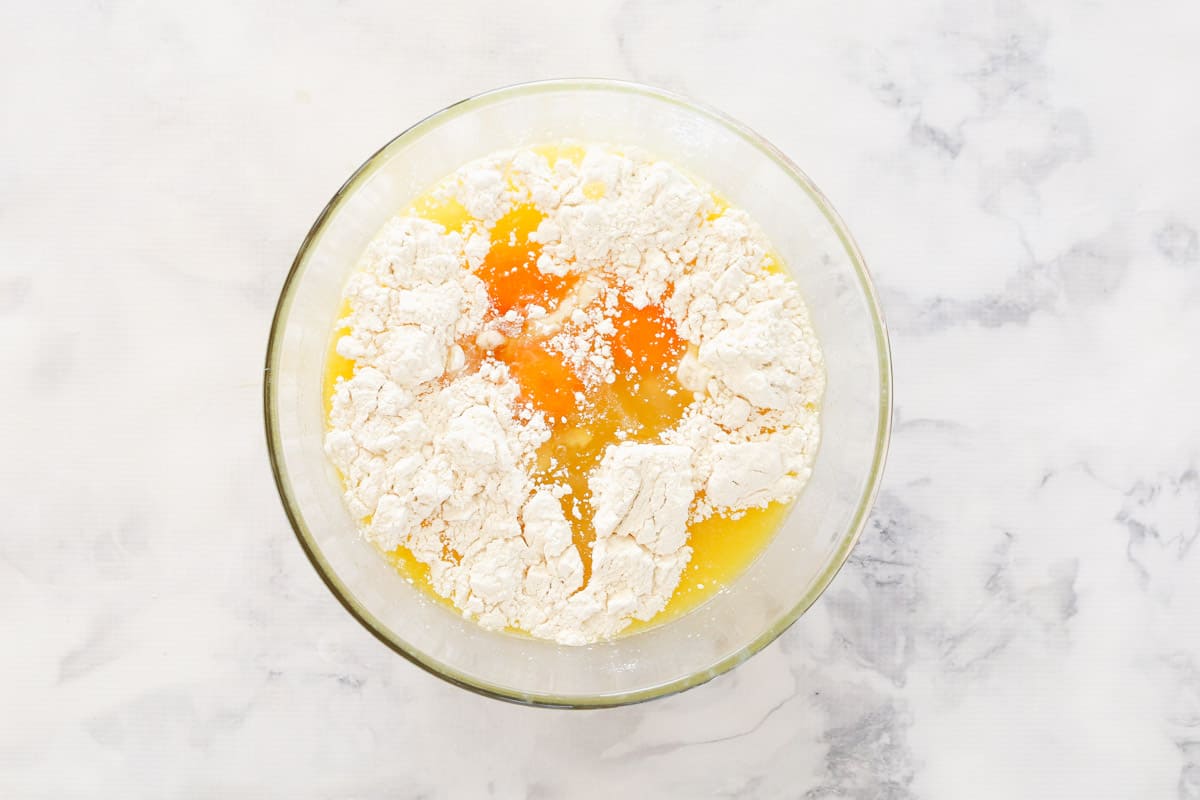
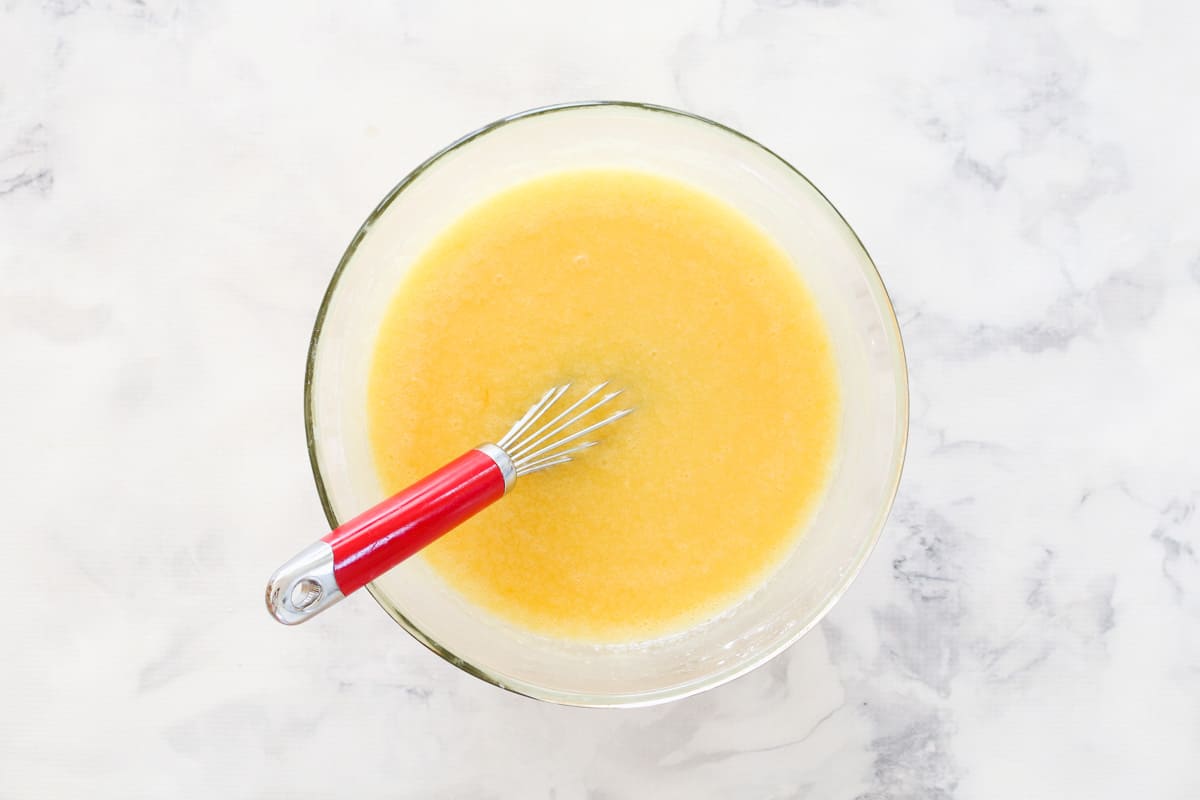
After that, whisk through the plain flour, self-raising flour, eggs and vanilla extract.
Step 4 - Bake
Now, pour the batter into the prepared cake pan and bake for approximately 1 hour and 45 minutes or until a skewer inserted into the middle comes out clean (see notes).
Step 5 - Make the Buttercream Icing
While your white chocolate mud cake is in the oven, you can make your homemade buttercream icing!
First, using hand-held beaters, a stand-mixer or Thermomix, beat the room-temperature butter until pale, smooth and creamy. Next, add the icing sugar (1 tbs) at a time and continue to beat until completely combined. Then, very slowly beat through the cooled (room temperature) white chocolate until smooth, creamy and spreadable (see notes).
Set your buttercream icing aside until the cake has fully cooled.
Step 6 - Cool and Ice White Chocolate Mud Cake
When the cake is fully baked, remove it from the oven and allow it to cool completely in the baking pan. It's important to wait for the cake to be cool before icing it!
Once it has cooled, remove your cake from the tin, place it on a serving plate, then spread the buttercream over the sides and top of the mud cake.
Recipe Tips and FAQ
If you notice that the mud cake is browning too much while cooking, loosely place a sheet of foil over the top and continue cooking.
If you find that your frosting is too thick to spread, simply add a small amount of milk and beat through.
No - your melted white chocolate needs to be cooled to room temperature before adding to the frosting (to ensure a smooth result).
Please, please, please store this cake at room temperature! If you put it in the fridge, it's going to dry out and lose it's moistness. Keep it at room temperature in an airtight container and it will be perfect.
Absolutely!! Allow it to cool completely, then wrap in a layer of plastic wrap followed by a layer of foil. Allow to defrost in the freezer overnight before adding the buttercream.
Alternatively, you can freeze frosted leftover pieces in an airtight container in the freezer for up to 3 months.
More Cake Recipes
Once your try this white chocolate mud cake, you'll be wanting to make more and more delicious cake recipes!
Here are my most popular cake recipes:
- Lemon & Ricotta Cake - gluten-free and absolutely delicious!
- Easy Banana Cake with Cream Cheese Frosting - everyone's favourite cake with the BEST frosting.
- Black Forest Cake | Chocolate, Cherries & Cream - the ultimate trio of rich chocolate cake, sweet cherries and cream... plus the added sweetness of grated chocolate.
- The Best Chocolate Mud Cake - The BEST and only mud cake recipe you'll ever need!
- Ultimate Baked Lemon Cheesecake - Ever wanted to nail a baked cheesecake recipe? Follow my tips and you'll do exactly that!
So there it is... my very favourite white chocolate mud cake recipe. Simple and oh-so-yum (just the way cakes should be!!)
WANT EVEN MORE DELICIOUS RECIPES? Subscribe to my newsletter or follow along on Facebook or Instagram. And if you love baking, then please come and join my Facebook cooking club group or subscribe to my YouTube channel.

White Chocolate Mud Cake with White Chocolate Buttercream
Ingredients
- 200 g white chocolate broken into pieces
- 350 g unsalted butter
- 590 g caster sugar
- 375 ml (1 ½ cups) milk
- 300 g (2 cups) plain flour
- 100 g (⅔ cup) self-raising flour
- 3 eggs
- 2 teaspoon vanilla extract or essence
- 200 g white chocolate broken into pieces
- 250 g unsalted butter
- 250 g icing sugar
Instructions
Conventional Method
- Preheat oven to 140 degrees celsius (fan-forced). Grease and line the base and sides of a 23cm round cake tin and set aside.
- Place the white chocolate, butter, caster sugar and milk into a microwave-safe bowl. Melt on 50% power, 3-4 minutes (stirring every minute) until melted and smooth. Set aside to cool.
- Whisk through the plain flour, self-raising flour, eggs and vanilla extract.
- Pour into the prepared tin and bake for approximately 1 hour and 45 minutes or until a skewer inserted into the middle comes out clean (see notes).
- Allow the cake to cool completely in the tin before removing to a serving plate.
- Once the cake has completely cooled, make the buttercream by melting the white chocolate (on 50% power, 2-3 minutes in the microwave - stirring every 30 seconds). Allow the chocolate to cool to room temperature.
- Using hand-held beaters, beat the room temperature butter until pale, smooth and creamy. Add the icing sugar (1 tbs) at a time and continue to beat until completely combined.
- Very slowly beat through the cooled (room temperature) white chocolate until smooth, creamy and spreadable (see notes).
- Spread the buttercream over the sides and top of the mud cake.
Thermomix Method
- Preheat oven to 140 degrees celsius (fan-forced). Grease and line the base and sides of a 23cm round cake tin and set aside.
- Place the white chocolate, butter, caster sugar and milk into the Thermomix bowl. Melt for 6 minutes on 50 degrees, Speed 2 (or until completely melted). Allow to cool.
- Insert the butterfly, and add the eggs and vanilla extract. Mix for 10 seconds, Speed 3.
- Add the plain flour and self-raising flour and mix for 10 seconds, Speed 3. Scrape down the sides of the bowl and repeat for a further 10 seconds or until combined.
- Pour into the prepared tin and bake for approximately 1 hour and 45 minutes or until a skewer inserted into the middle comes out clean (see notes). Allow the cake to cool completely in the tin before removing to a serving plate.
- Once the cake has completely cooled, make the buttercream by melting the white chocolate in a clean and dry Thermomix bowl for 3 minutes on 50 degrees, Speed 2. Allow the chocolate to cool to room temperature.
- In a clean and dry Thermomix bowl, insert the butterfly and add the chopped room temperature butter. Beat for 1 minute on Speed 4, or until pale, smooth and creamy. While the blades are still turning on Speed 4, add the icing sugar (1 tbs at a time) and continue to mix until completely combined. Slowly add the cooled white chocolate through the MC hole and mix on Speed 1 until smooth, creamy and spreadable (see notes).
- Spread the buttercream over the sides and top of the mud cake.


Renee says
Hi I was wondering if you could substitute bitter for oil and if so how much please?
Lucy says
Hi Renee, for the best results I recommend sticking to the ingredients in the recipe 🙂
Tom says
Hi Lucy
If I wanted to slice the cake into two layers, would you recommend trying this with a single batch 23cm cake, or just doubling the recipe and doing 2x 23cm cakes instead?
Thanks
Tom
Lucy says
Hi Tom, you could definitely do it in 1 X 23cm tin and slicing it in half once cooled. Alternatively, try using two smaller cake tins and dividing the batter between them. Or of course, free free to double it and you'll have a huge cake!
Isha says
Hi Lucy
Just wondering if I am wanting to make it in a 18cms tin can I do it in it once for will be too much for the tin.
Lucy says
Hi Isha, unfortunately an 18cm tin will be too small to do this cake in one go! But you could divide the batter and cook it in two batches. 🙂
Josie says
Made this for my brother's birthday. Yummy but veryyyy sweet and super sickly... No one managed to eat a whole slice (in one go that is). It is delicious but I would enjoy it if it was less sweet. Also didn't need all that icing. With some tweaks I think this recipe could be a keeper. Thanks!
joy cameron says
Hi wanting to use this for my son's wedding cake but worried about keeping for a few days before hand as you have said do not refrigerate so how long do you think it will be ok for in sealed container. Thanks cake is delic .
Lucy says
Hi Joy, I would make it, cool it completely then wrap in plastic wrap/foil and freeze. Remove it from the fridge the night before you want to decorate it. xx