
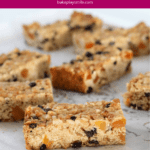
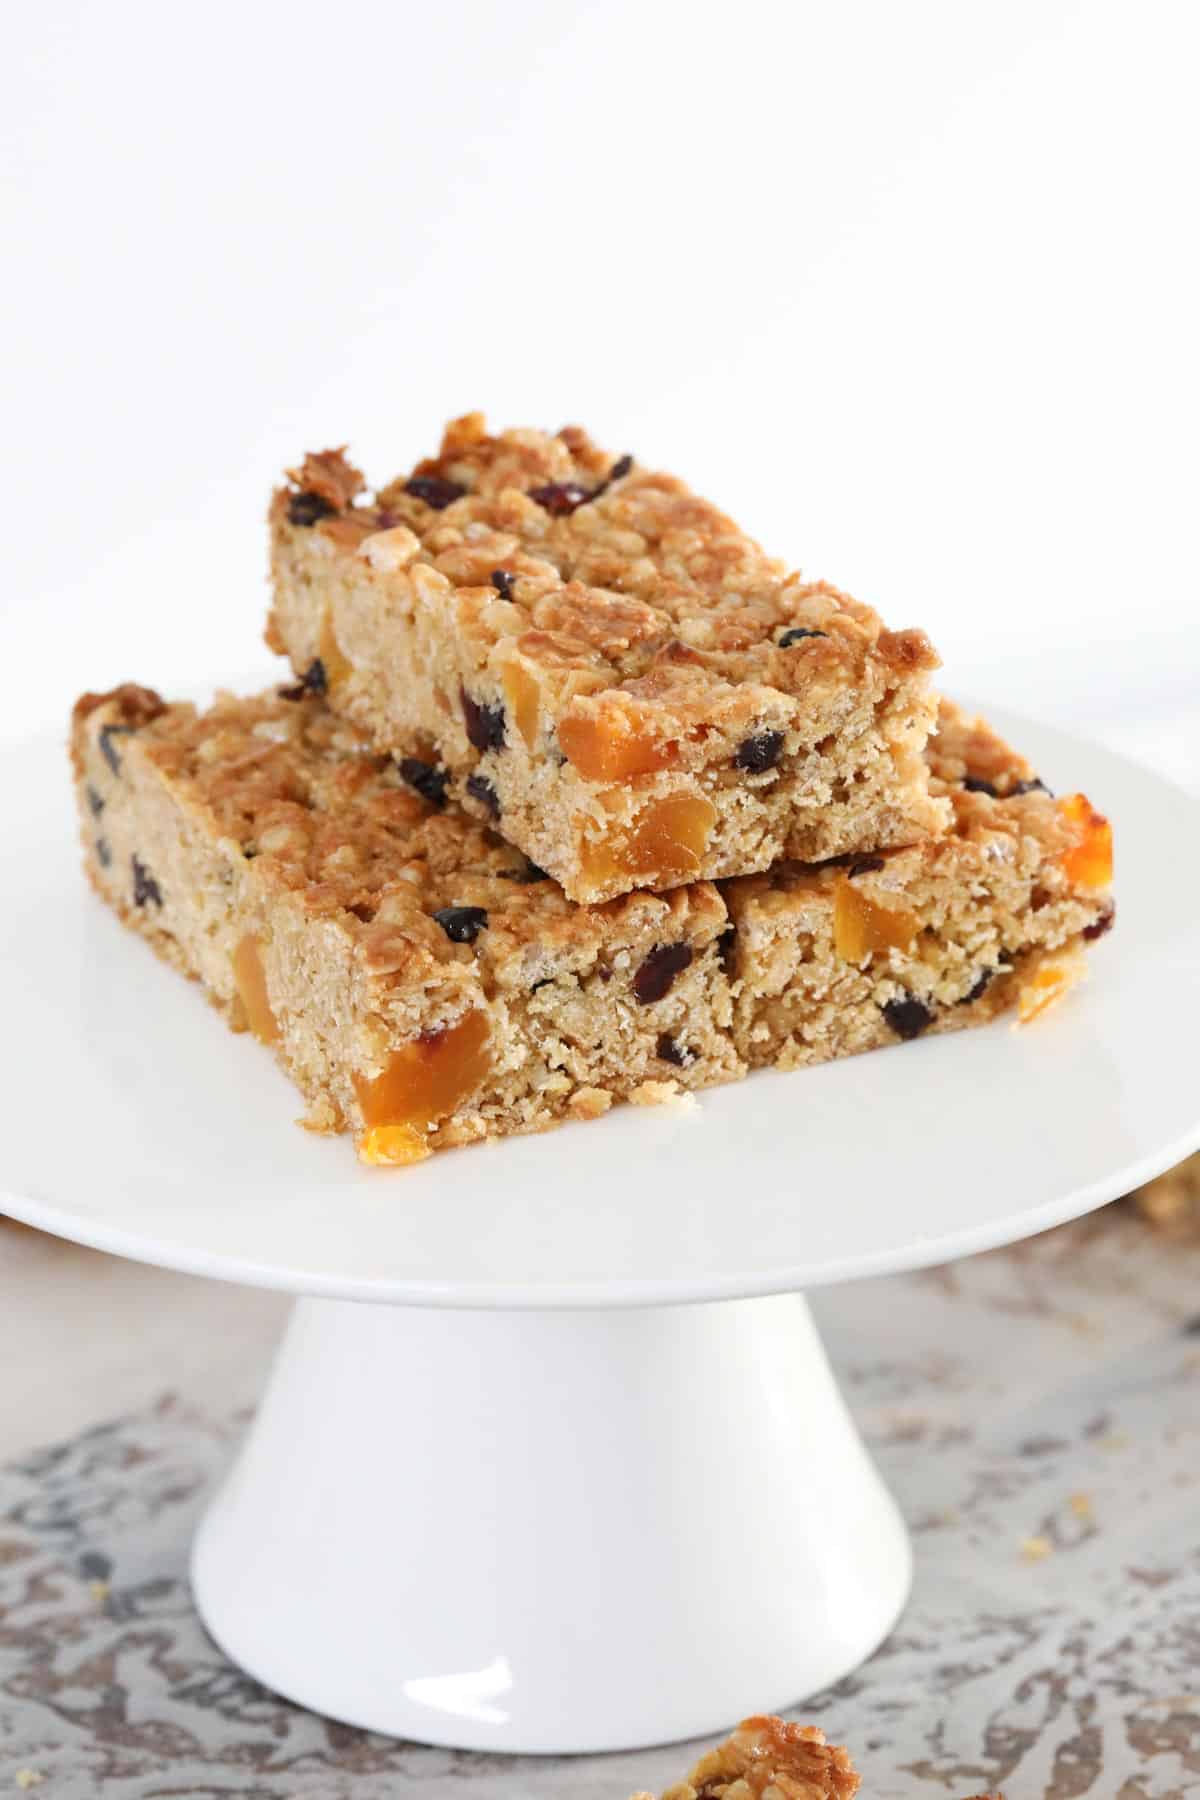
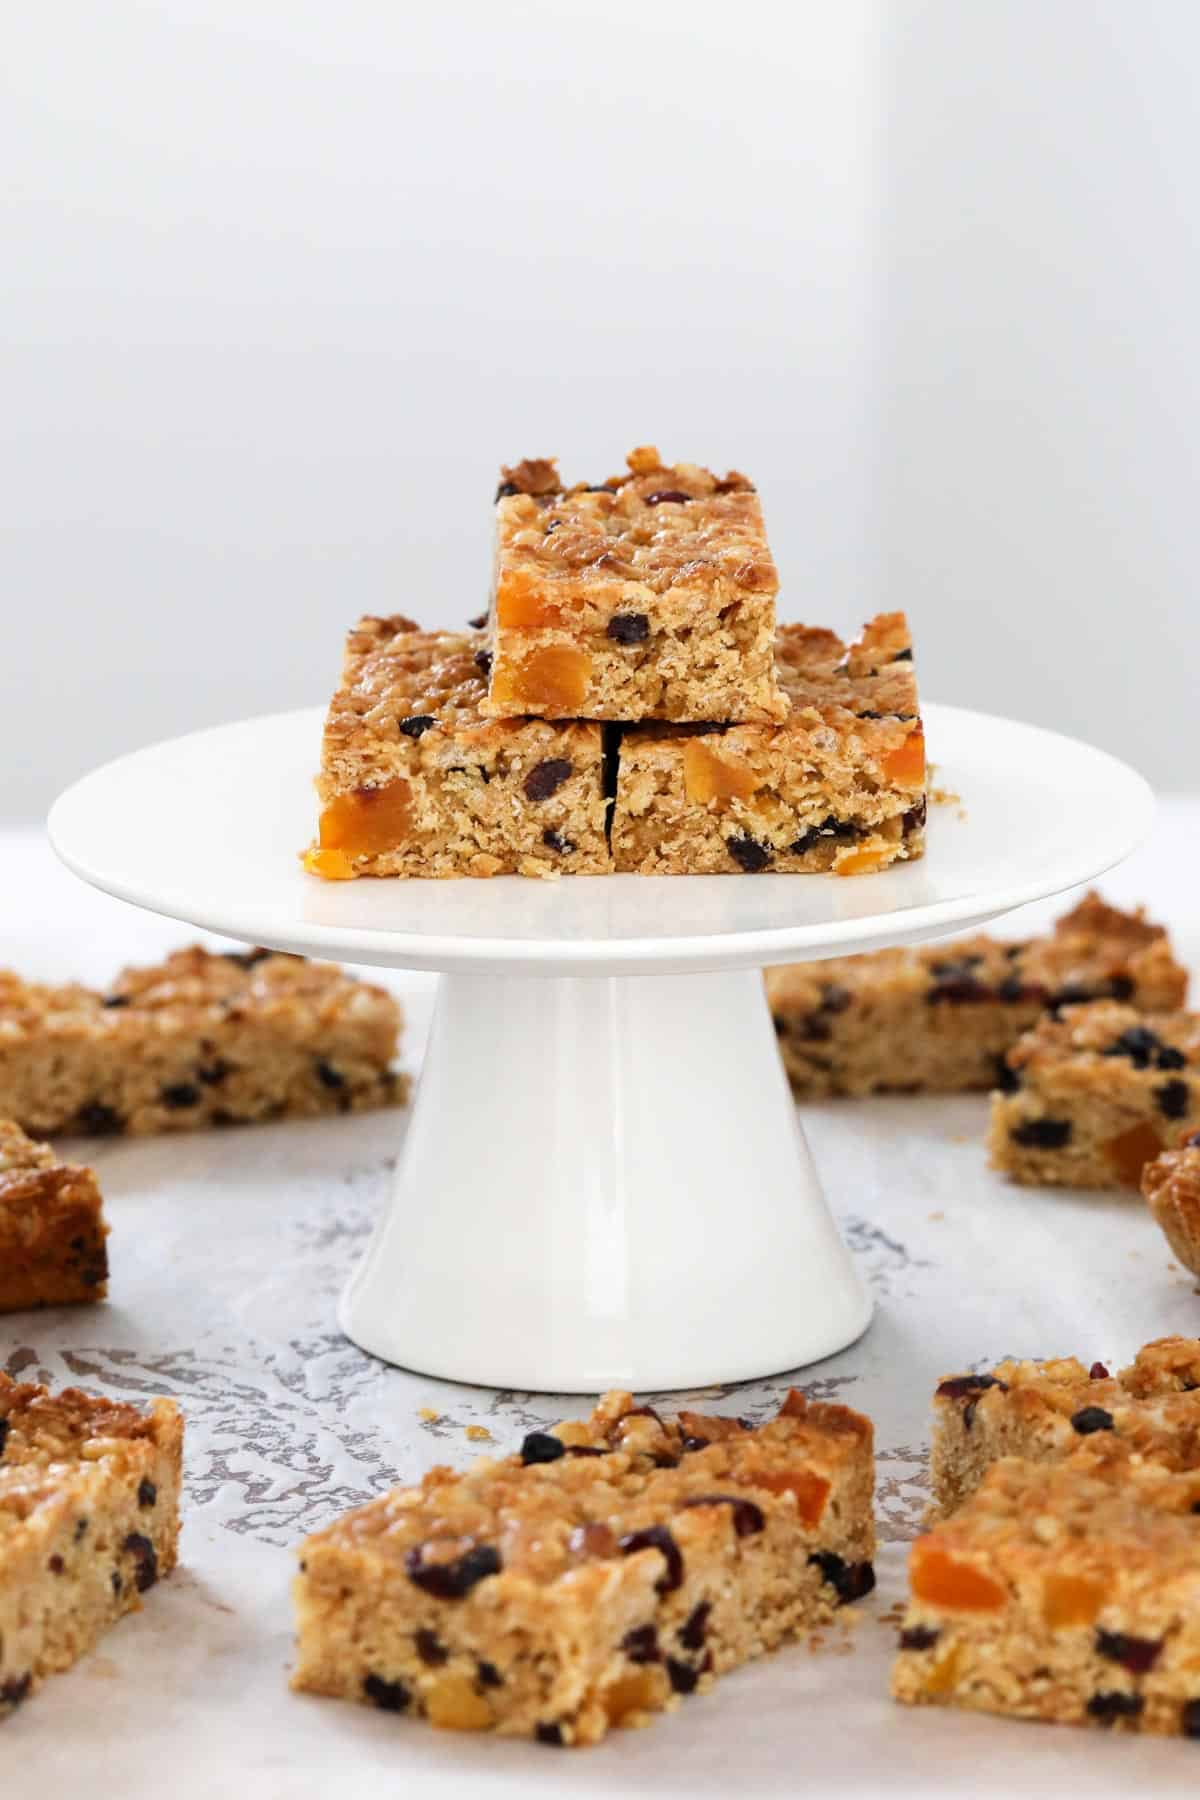
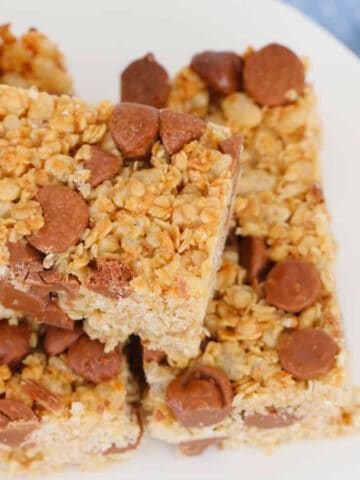
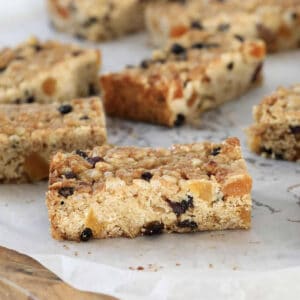
These delicious muesli bars are SO much better than anything you'll find in the store! Chewy and delicious, they are easy to make and are also nut-free and freezer friendly. Just perfect for popping into lunchboxes or an afternoon pick-me-up!

On busy mornings, having a stash of go-to, kid-friendly lunchbox snacks to choose from makes packing school lunches so much easier!
Along with my chocolate chip muesli bars, best ever homemade muesli bars and salted caramel bliss balls, these nut-free muesli bars are one of those easy grab-and-go snacks that you will want to make over and over.
Aside from being totally delicious, they make a convenient handheld snack that can be made in batches and stored in the fridge or freezer for any time you need a snack in a hurry.
The are chewy, delicious and completely satisfying. Once you try them, you'll never go back to store-bought again!
Why You're Going To Love This Recipe
- Affordable and delicious - making your own bars from scratch is WAY cheaper than buying individually packaged, store bought bars. You can make a whole tray for just a couple of dollars.
- Jam-packed with chewy dried fruits - they make the perfect snack for the whole family!
- Customise to suit - make your own flavour variations by mixing and matching your favourite fruits.
- Quick and easy - one bowl, a slice tin and 10 minutes of prep time is all that you need!
- Better than store bought - making your own muesli bars from scratch means you know EXACTLY what goes into them.
- Versatile - they are perfect for lunchboxes, a portable snack food, afternoon snacks or a mid-morning pick-me-up.
- Nut-free - safe to use in schools with a nut allergy policy.

What You Need
While it may look like a lot of ingredients, it's really only basic pantry staples required to make these delicious bars.
Note: Please scroll to the recipe card at the bottom for ingredient quantities and the full detailed method.
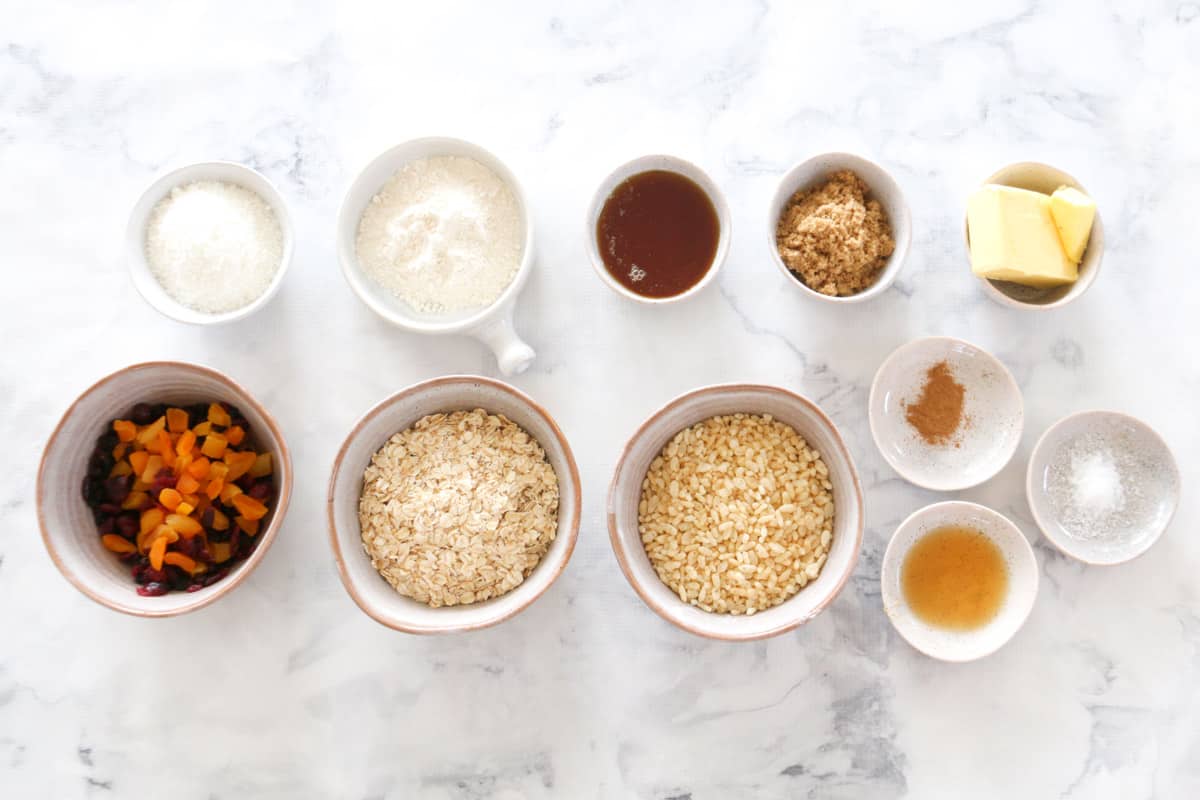
- Butter - butter is used to provide moistness and also to bind the bars together. I recommend using plain, unsalted butter rather than margarine or butter substitutes for best results.
- Honey - provides sweetness and a warm flavour to the bars, as well as being a binding agent.
- Brown sugar
- Cinnamon - only ¼ teaspoon but enough to give a warm, spiced flavour.
- Vanilla extract - vanilla essence or paste can also be used.
- Salt
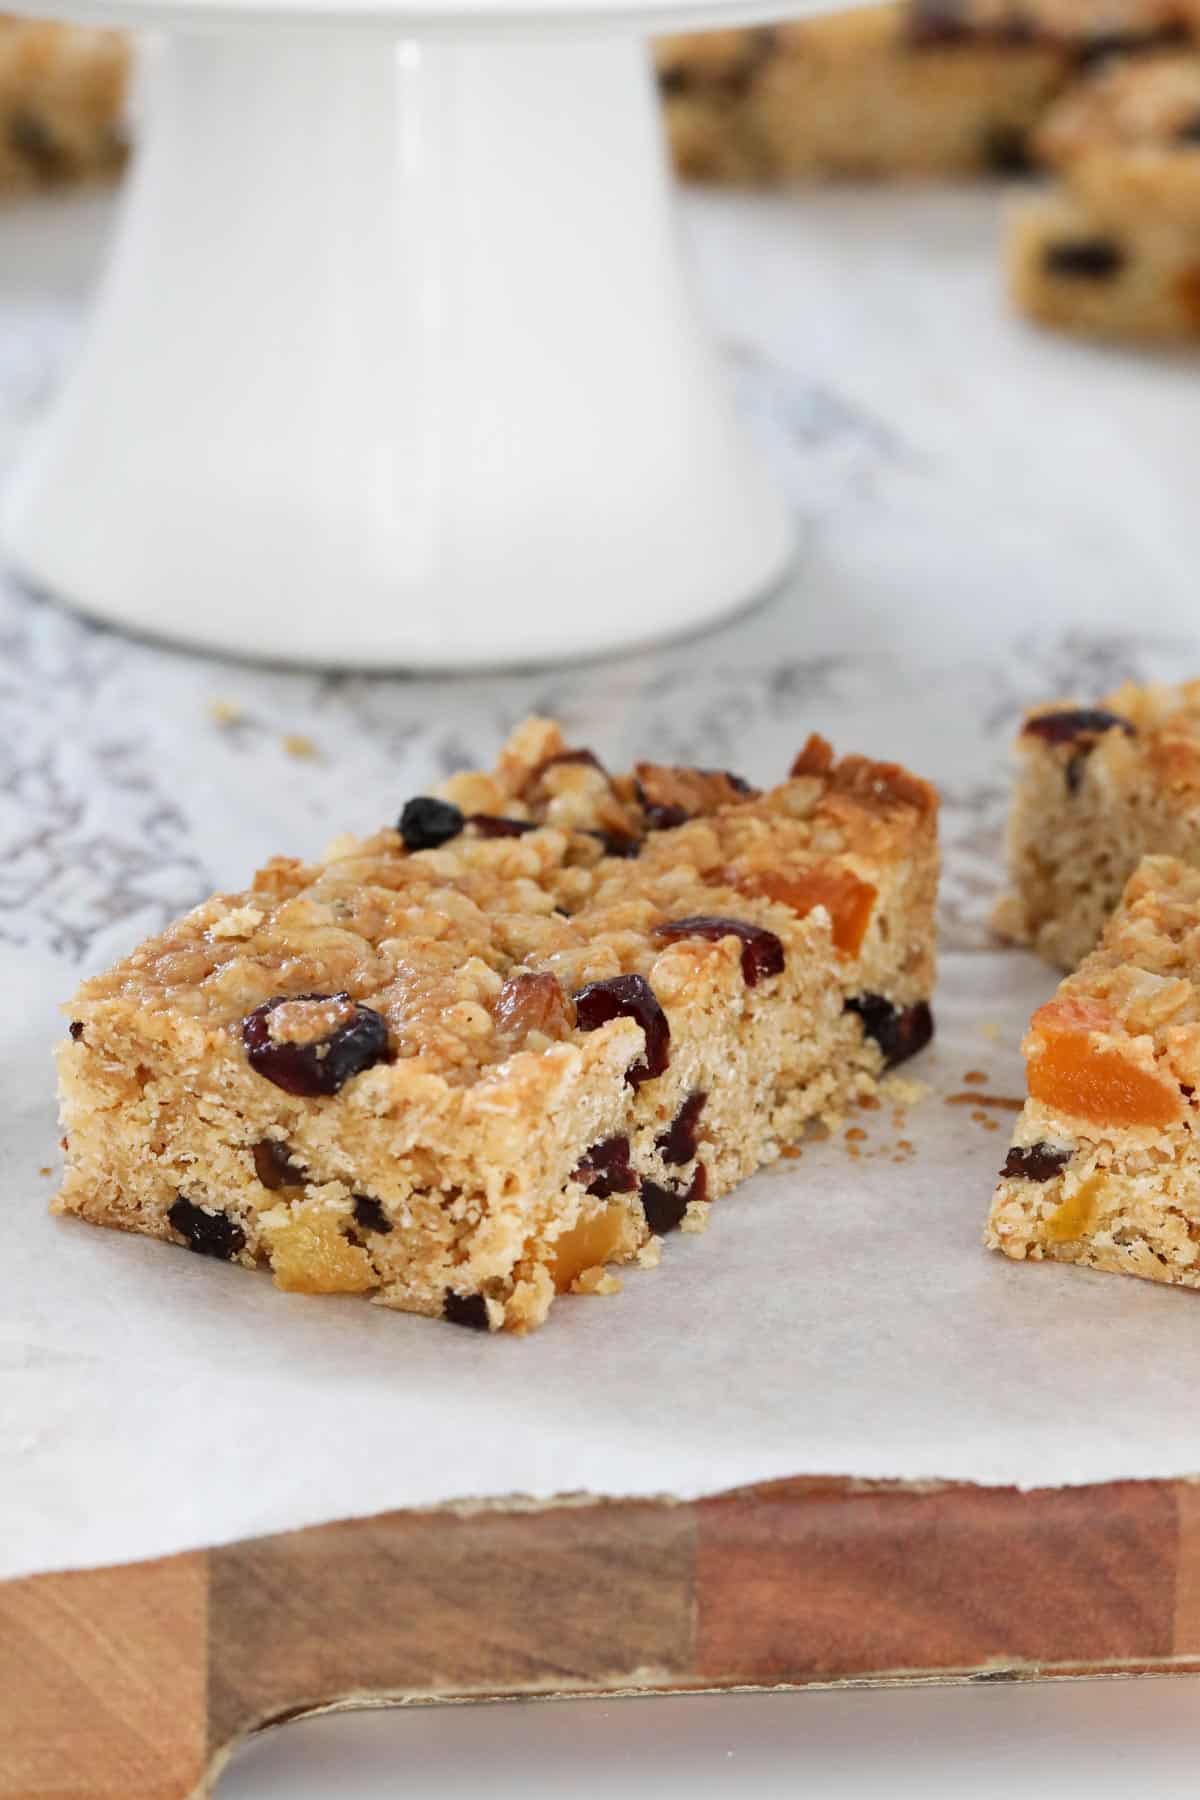
- Rolled oats - use plain rolled oats rather than steel-cut or quick oats. Along with the flour, the oats make the bars lovely and soft, but still chewy.
- Desiccated coconut - this is finely grated and dried coconut.
- Flour - use plain flour, also known as all-purpose flour.
- Dried fruit - I generally use a mix of chopped apricots and sultanas in my bars, but you can add whatever dried fruit you have on hand. See Expert Tips.
- Puffed Rice - are types of puffed grain made from rice that are popular for breakfast or snack foods. It can be found in supermarkets and health food stores and can be swapped for Rice Bubbles, Rice Krispies or their equivalent, if preferred.
Step By Step Instructions
I just LOVE how easy it is to make these nut-free muesli bars.
Just 10 minute prep and a handful of simple pantry staples is all you need! The oven will do the rest.
Note: Please scroll to the recipe card at the bottom of the post for ingredient quantities and the full detailed method.
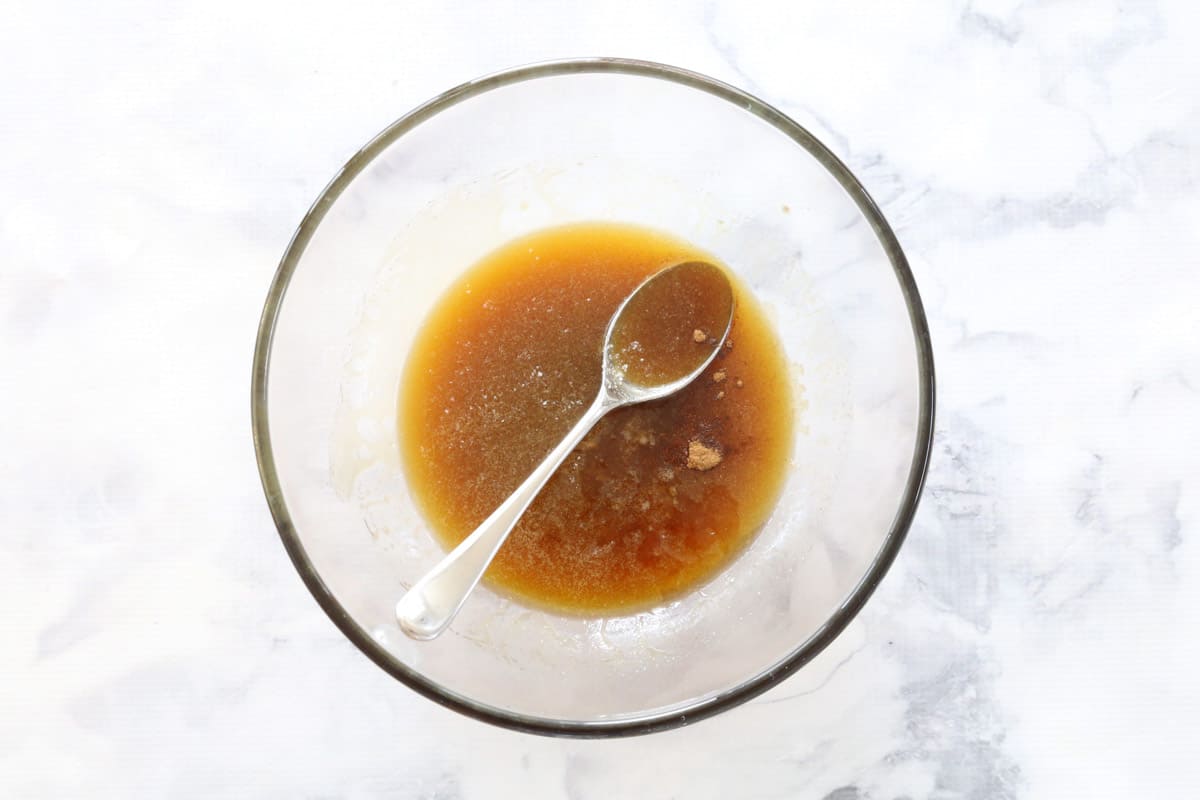
Step 1 - Make the Butter, Honey And Sugar Mix
Place the butter, honey and brown sugar into a microwave-safe bowl. Stirring every 30 seconds, heat on medium power until the mixture has just melted.
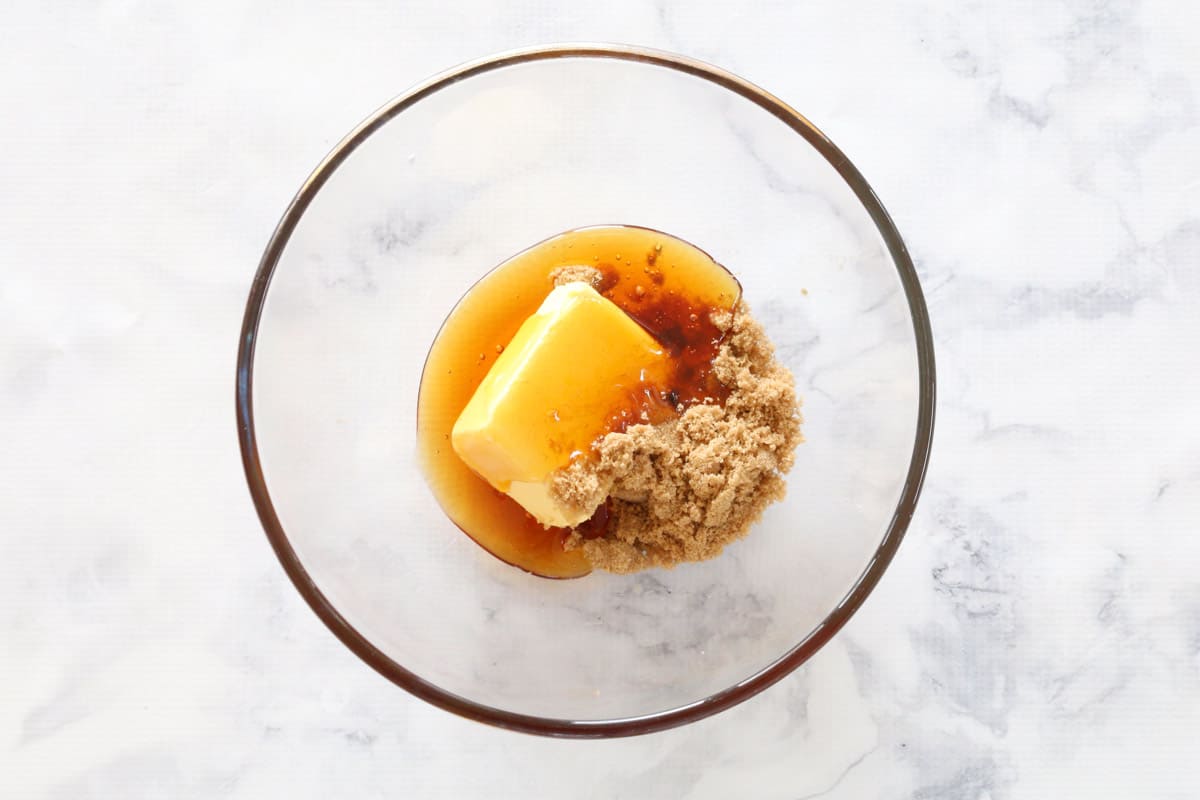
Add the cinnamon, vanilla and salt and mix well.
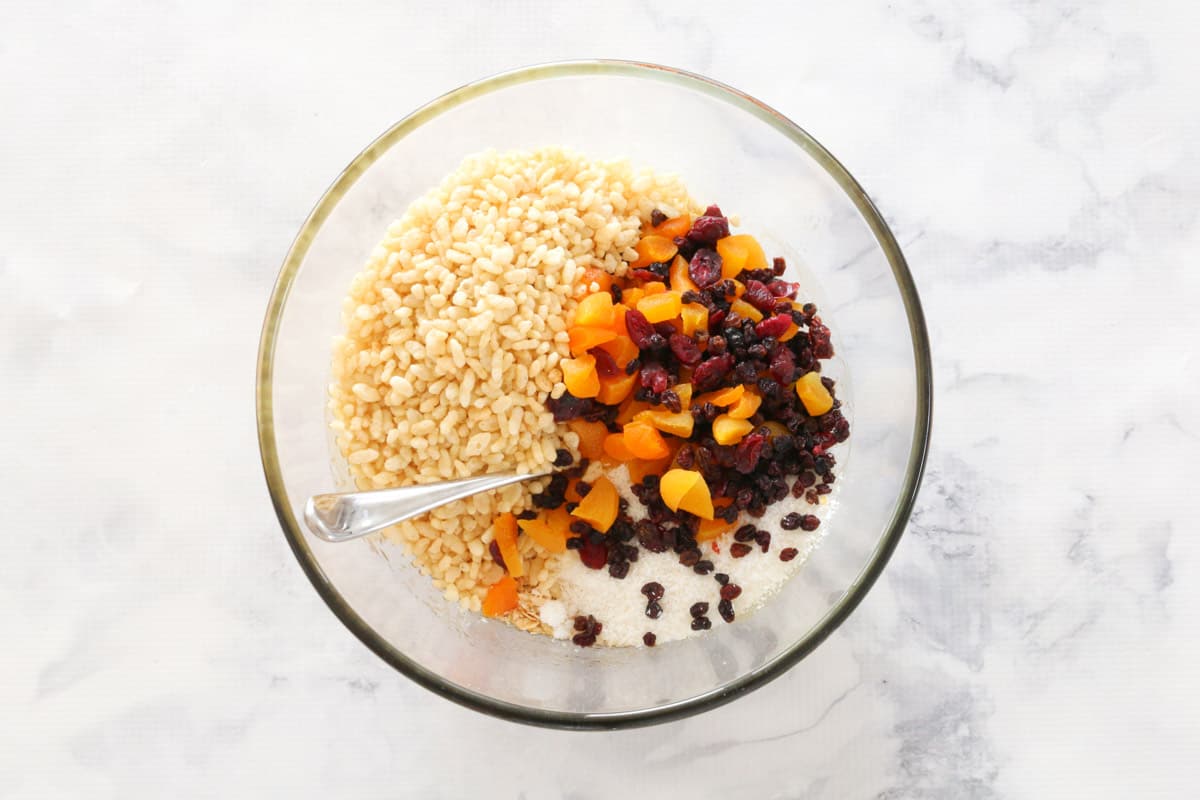
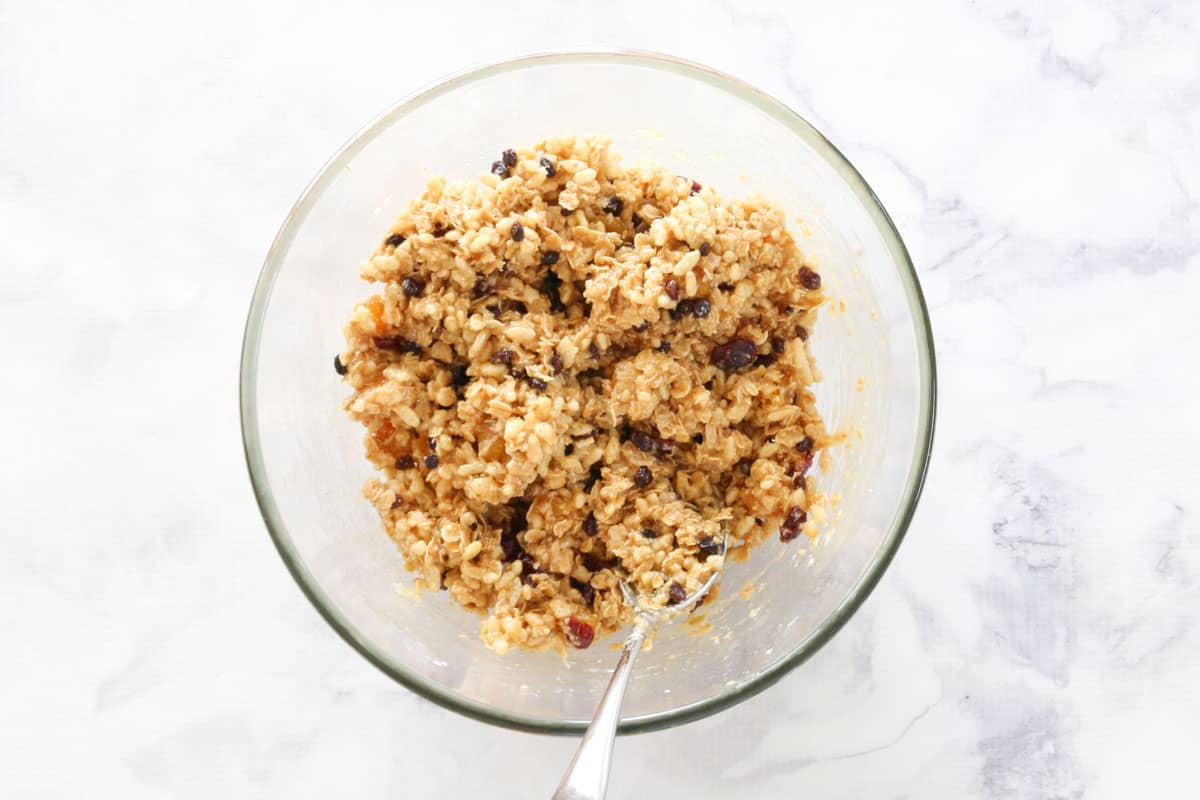
Step 2 - Add the Dry Ingredients
Add the rolled oats, desiccated coconut, plain flour, dried fruit and puffed rice. Mix all ingredients together well.
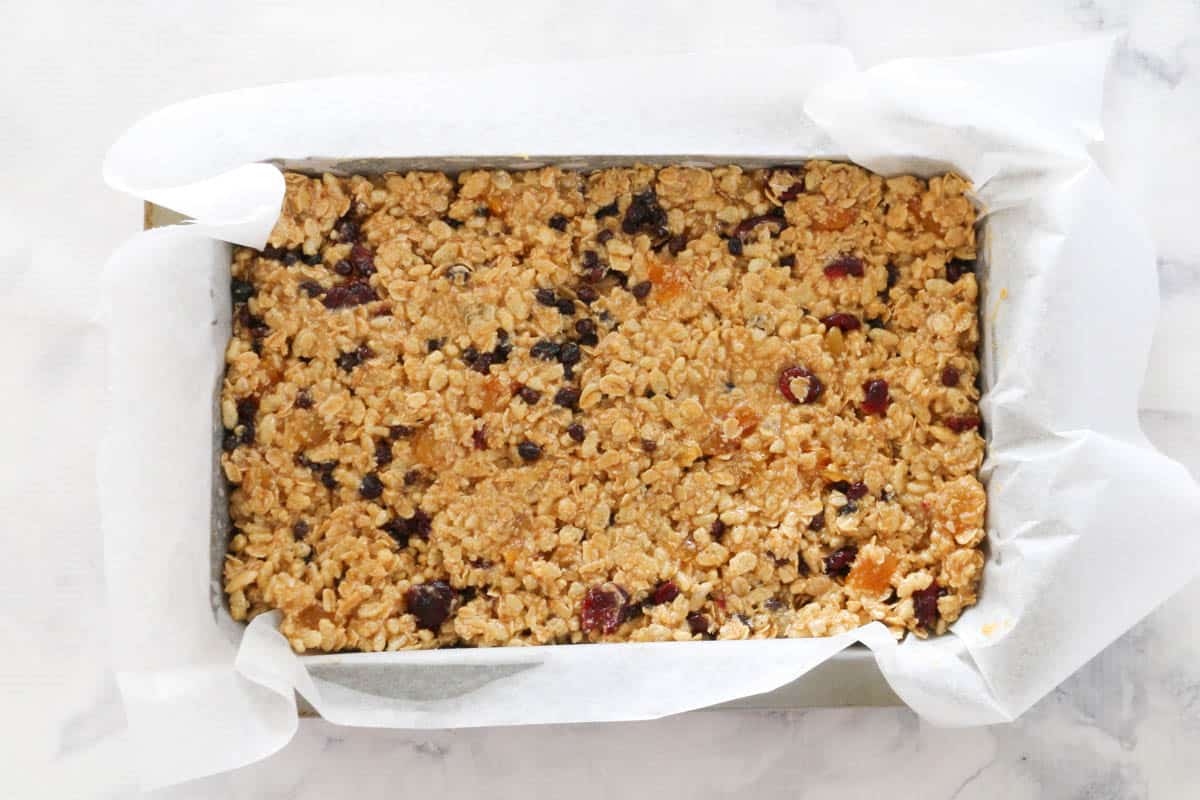
Step 3 - Press Into Tray
Spoon the mixture into the prepared tray and press down firmly and evenly.
Step 4 - Bake
Bake until the top of the slice is just golden. Allow to cool completely before cutting into slices.
Expert Tips And FAQs
The options are endless. Some suggestions are dried cranberries, dried apple, dried pear, chopped dates, or goji berries and chia seeds (for extra crunch!)
These bars can go from cooked to overcooked quite quickly. Start checking them around the 20 minute mark, they will be ready when they start to turn a light golden colour on top.
These bars are bound with butter, honey and brown sugar, as well as the plain flour and oats, which all bind together while baking. Once cooled, the bars will hold together nicely but still need to be handled with care.
When removed from the oven, the slice will still be quite soft. Attempting to cut it right away will result in broken pieces. Let it cool completely before attempting to slice.
Muesli bars are best eaten in the first 3 days, but will keep in an airtight container in the fridge for up to one week.
Yes! First, let the bars cool completely on a rack before slicing them into ready-to-grab bars. Place the bars into an airtight container and separate any layers with baking paper to prevent them from sticking together. Freeze for up to 3 months. To thaw, leave the bars in the fridge overnight or leave them at room temperature for an hour.
Related Recipes
For more muesli bar recipes, check out these ones that we love;

For more great lunch box recipes, check out our Thermomix Lunch Box Cookbook (and FREE eBook) filled with sweet and savoury lunch box recipes that are easy to prepare, freezer-friendly, school-friendly… and of course, kid-approved! FREE SHIPPING available to Australia and New Zealand.
Nut-Free Muesli Bars
Ingredients
- 125 g butter
- 170 g (½ cup) honey
- 70 g (⅓ cup) brown sugar
- ¼ teaspoon cinnamon
- 1 teaspoon vanilla extract
- ½ teaspoon salt
- 110 g (1 cup) rolled oats
- 45 g (½ cup) desiccated coconut
- 50 g (⅓ cup) plain flour
- 150 g (1 cup) dried fruit chopped apricots, sultanas, raisins etc
- 25 g (1 cup) puffed rice rice bubbles or similar
Instructions
Conventional Method
- Preheat oven to 160 degrees celsius (fan-forced). Grease and line a 28cm x 20cm rectangular slice tin with baking paper.
- Place the butter, honey and brown sugar into a microwave-safe bowl. Heat on 50% power until just melted and stir together (stir every 30 seconds).
- Add the cinnamon, vanilla extract and salt and mix together well.
- Add the rolled oats, coconut, plain flour, dried fruit and puffed rice. Mix all together.
- Pour the mixture into the prepared tray and press down firmly and evenly.
- Bake for 20-25 minutes or until just golden. Allow to cool completely before cutting into slices.
Thermomix Method
- Preheat oven to 160 degrees celsius (fan-forced). Grease and line a 28cm x 20cm rectangular slice tin with baking paper.
- Place the butter, honey and brown sugar into the Thermomix bowl. Heat for 3 minutes, 80 degrees, Speed 3 (or until melted).
- Add all remaining ingredients and mix for 8 seconds, Reverse Speed 4. Scrape down the sides of the bowl and repeat for a further 5 seconds or until well combined (you'll need to use the spatula to help mix).
- Pour the mixture into the prepared tray and press down firmly and evenly.
- Bake for 20-25 minutes or until just golden. Allow to cool completely before cutting into slices.
Notes
- Variations - the options are endless. Some suggestions are dried cranberries, dried apple, dried pear, chopped dates, or goji berries and chia seeds (for extra crunch!)
- Baking time - these bars can go from cooked to overcooked quite quickly. Start checking them around the 20 minute mark, they are ready when they start to turn a light golden colour on top.
- Cutting into bars - when removed from the oven, the slice will still be quite soft. Attempting to cut it right away will result in broken pieces. Let it cool completely before attempting to slice.
- Storage - nut free muesli bars are best eaten in the first 3 days, but will keep in an airtight container in the fridge for up to one week.
- Freezing - let the bars cool completely on a rack before slicing them into ready-to-grab bars. Place the bars into an airtight container and separate any layers with baking paper to prevent them from sticking together. Freeze for up to 3 months. To thaw, leave the bars in the fridge overnight or leave them at room temperature for an hour.


Hayley says
Hi Lucy,
I love this recipe! First batch I used apricot and date and now using sultanas for cost effectiveness.
I’m fed up with paying exuberant prices for muesli bars - the size now is ridiculous and the cost is only going up!
I’m a regular visitor to your website for thermomix recipes. I recently made the carrot cake w/ cream cheese frosting. I think it will be my new go to cake! It was beyond amazing.
Lucy says
Yay! That's absolutely fantastic to hear! I'm so glad you're enjoying the recipes!
Nina says
I have made three batches of these now, and the kids (and grown ups) can't resist them. I've made a couple of variations with dried blueberries and another version with dried mango. So happy to have found this recipe! Thank-you, its a keeper 🙂
Lucy says
Oh that is SO amazing! Thank you for your lovely feedback!
Melissa says
Hi, made these today as per the recipe. Found the slice yummy but quite sweet. Can I reduce either the honey or brown sugar to reduce sweetness or will this impact the slice holding together? Could I sub rice malt syrup for the honey? Thank you!
Lucy says
Absolutely!! It's a very versatile recipe so feel free to reduce the sugar slightly to your liking. And yes - rice malt syrup can be used too!
Karen says
Delicious, family have requested to be made again.
Lucy says
Fantastic!
Bridget says
Yum! I'm vegan, so I made these with golden syrup instead of honey and nuttelex instead of butter and they turned out delish! Will definitely be making again!
Lucy says
Fantastic!