
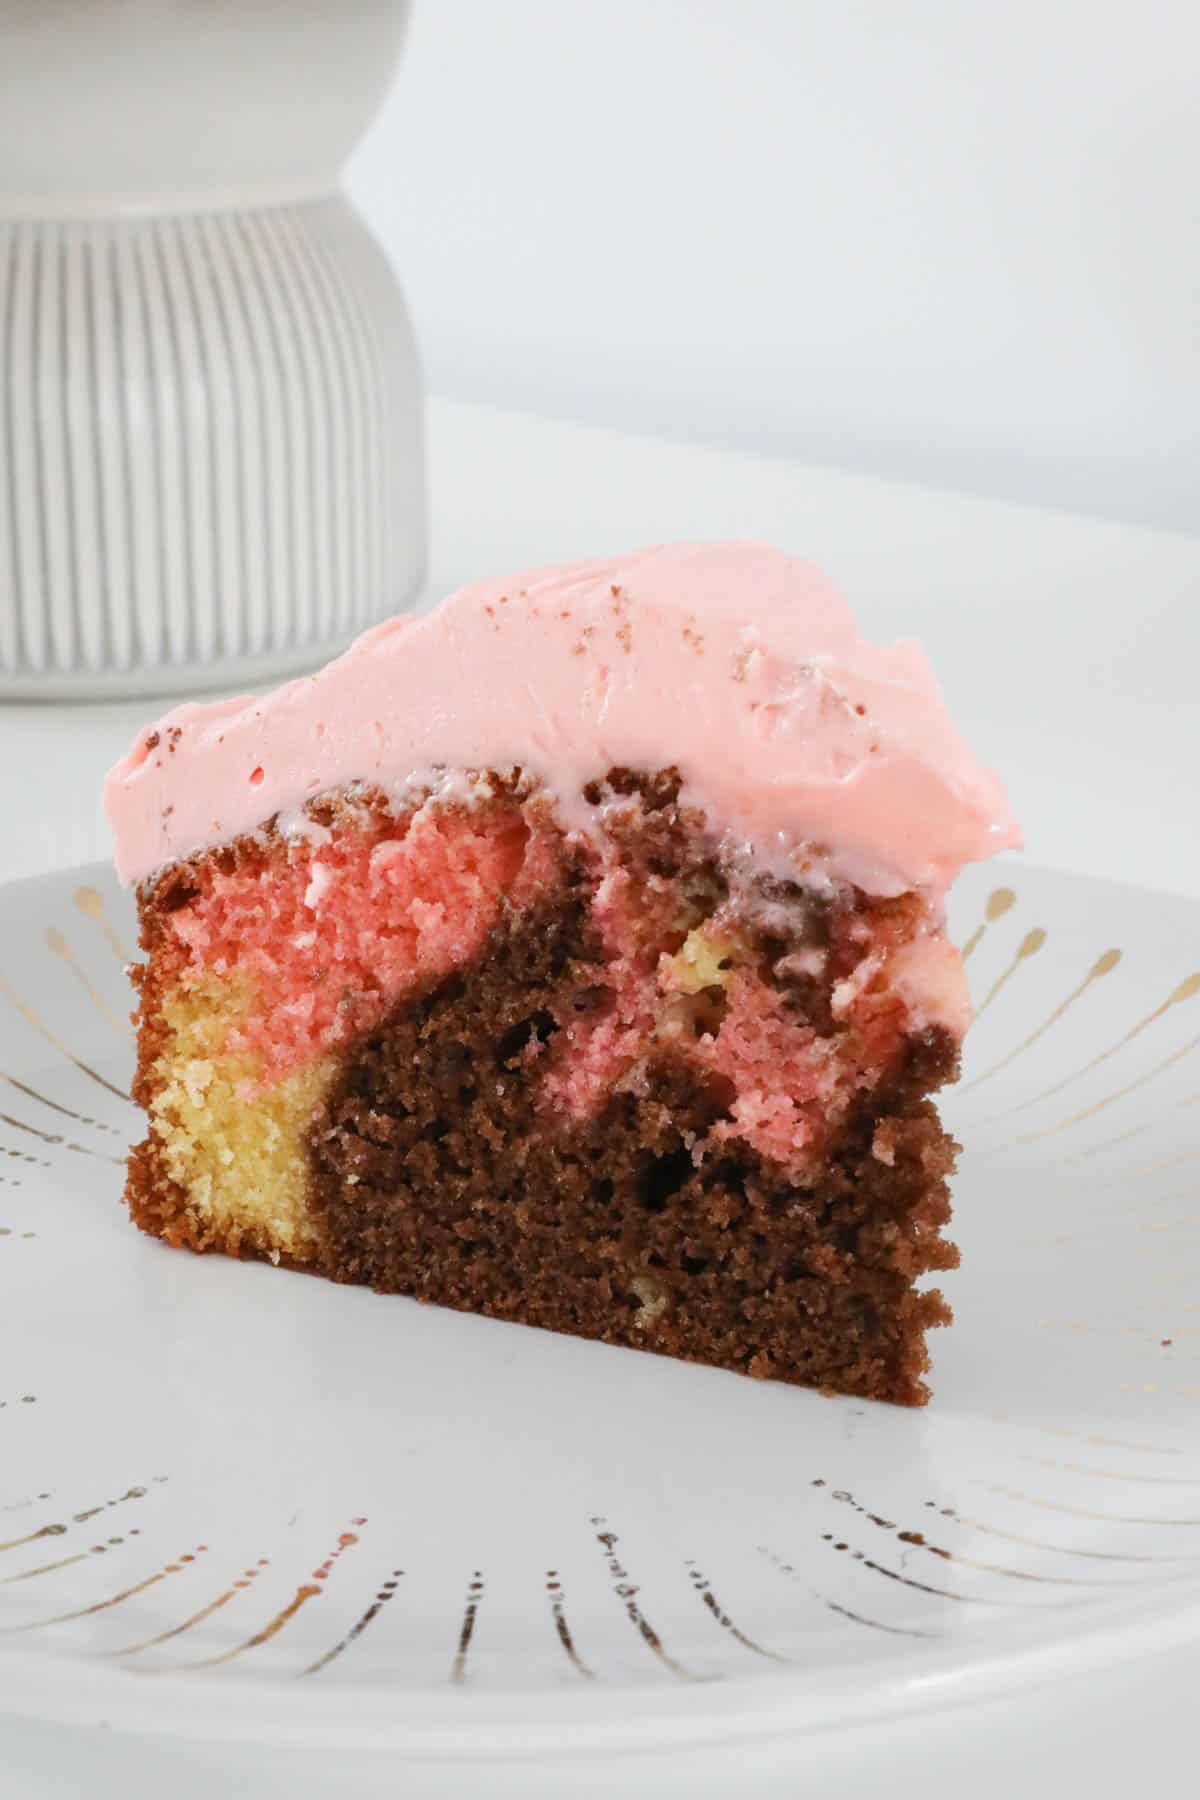
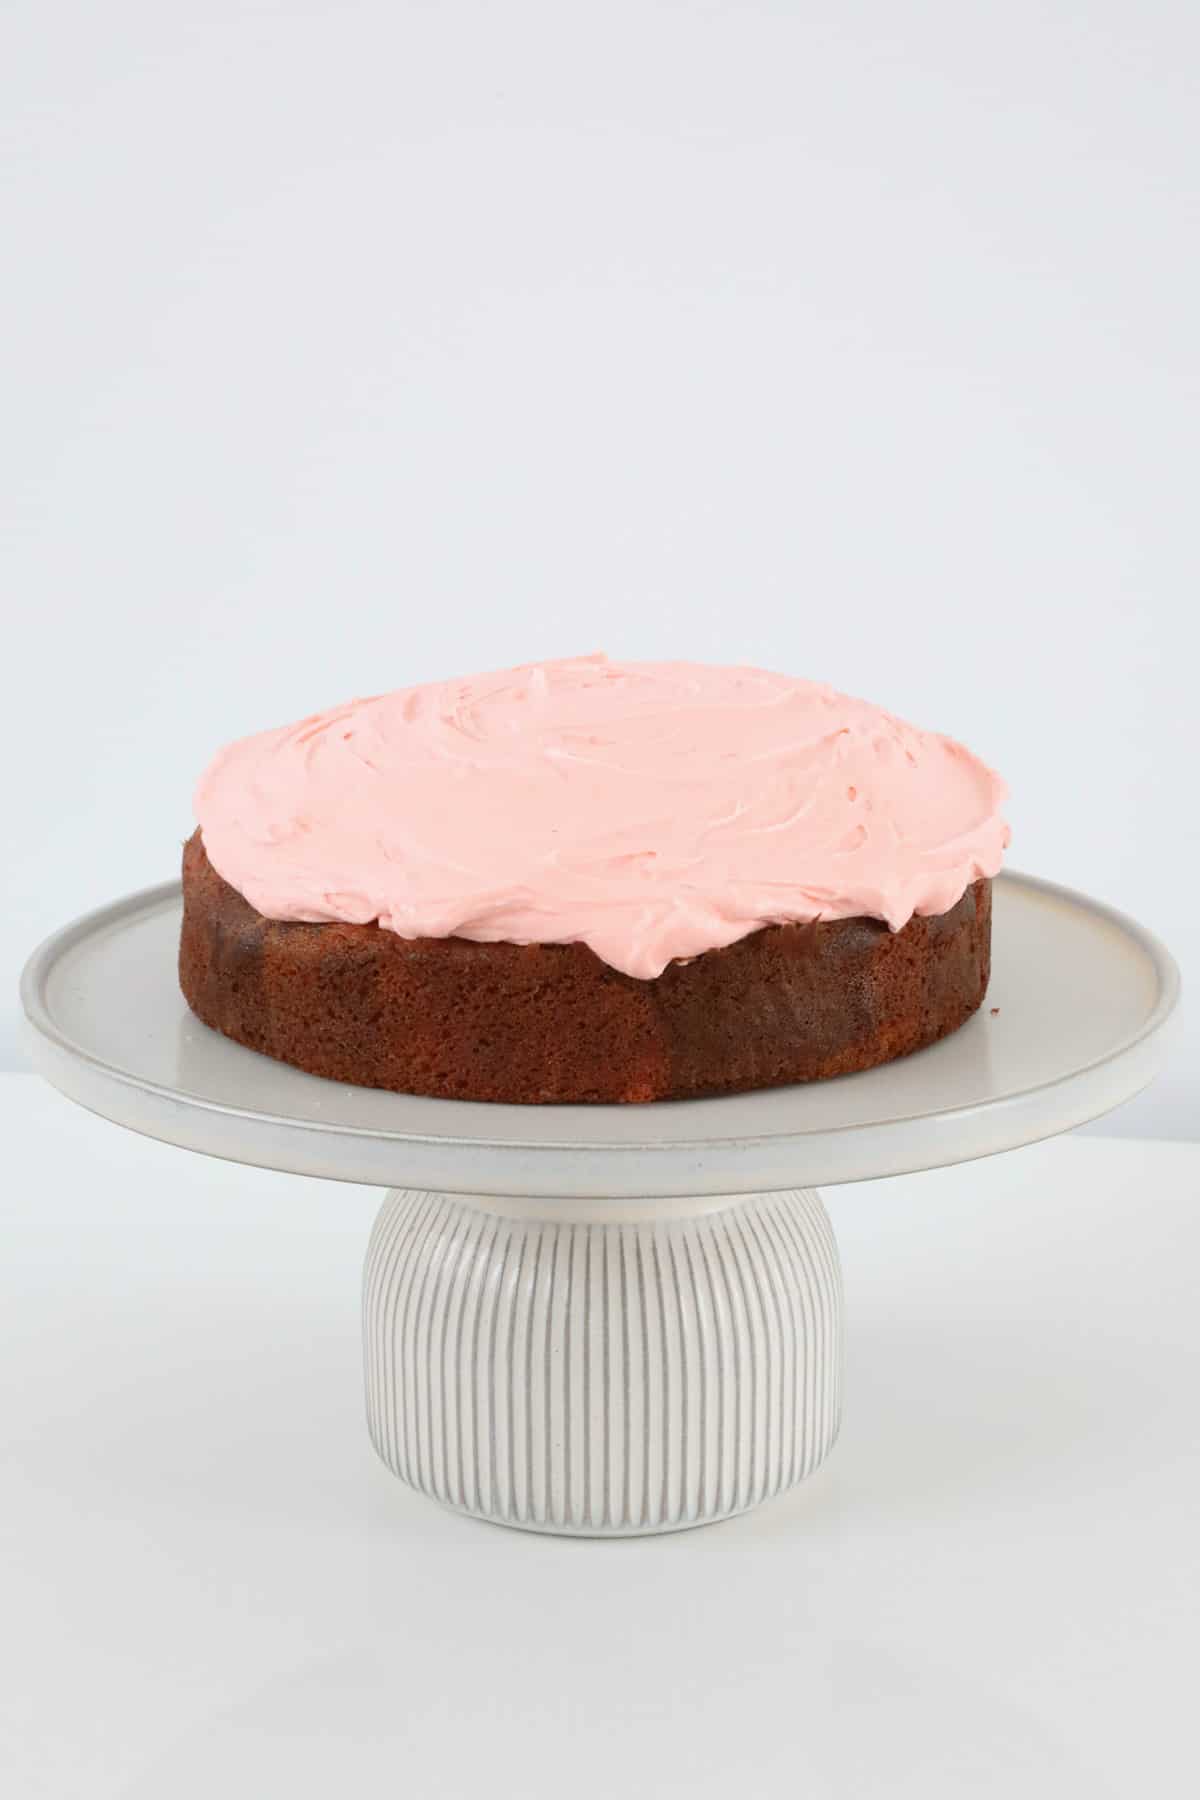
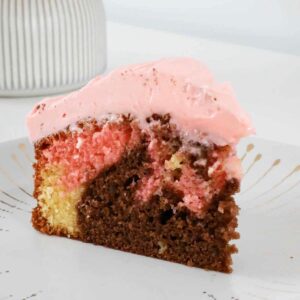
A fluffy and moist, old fashioned three colour Marble Cake topped with luscious pink buttercream!
This classic favourite is made from simple ingredients and takes just 15 minutes to prepare.
This easy marbled cake is perfect for kids parties and birthdays, celebrations, bake sales or for a pretty addition to an afternoon tea party.
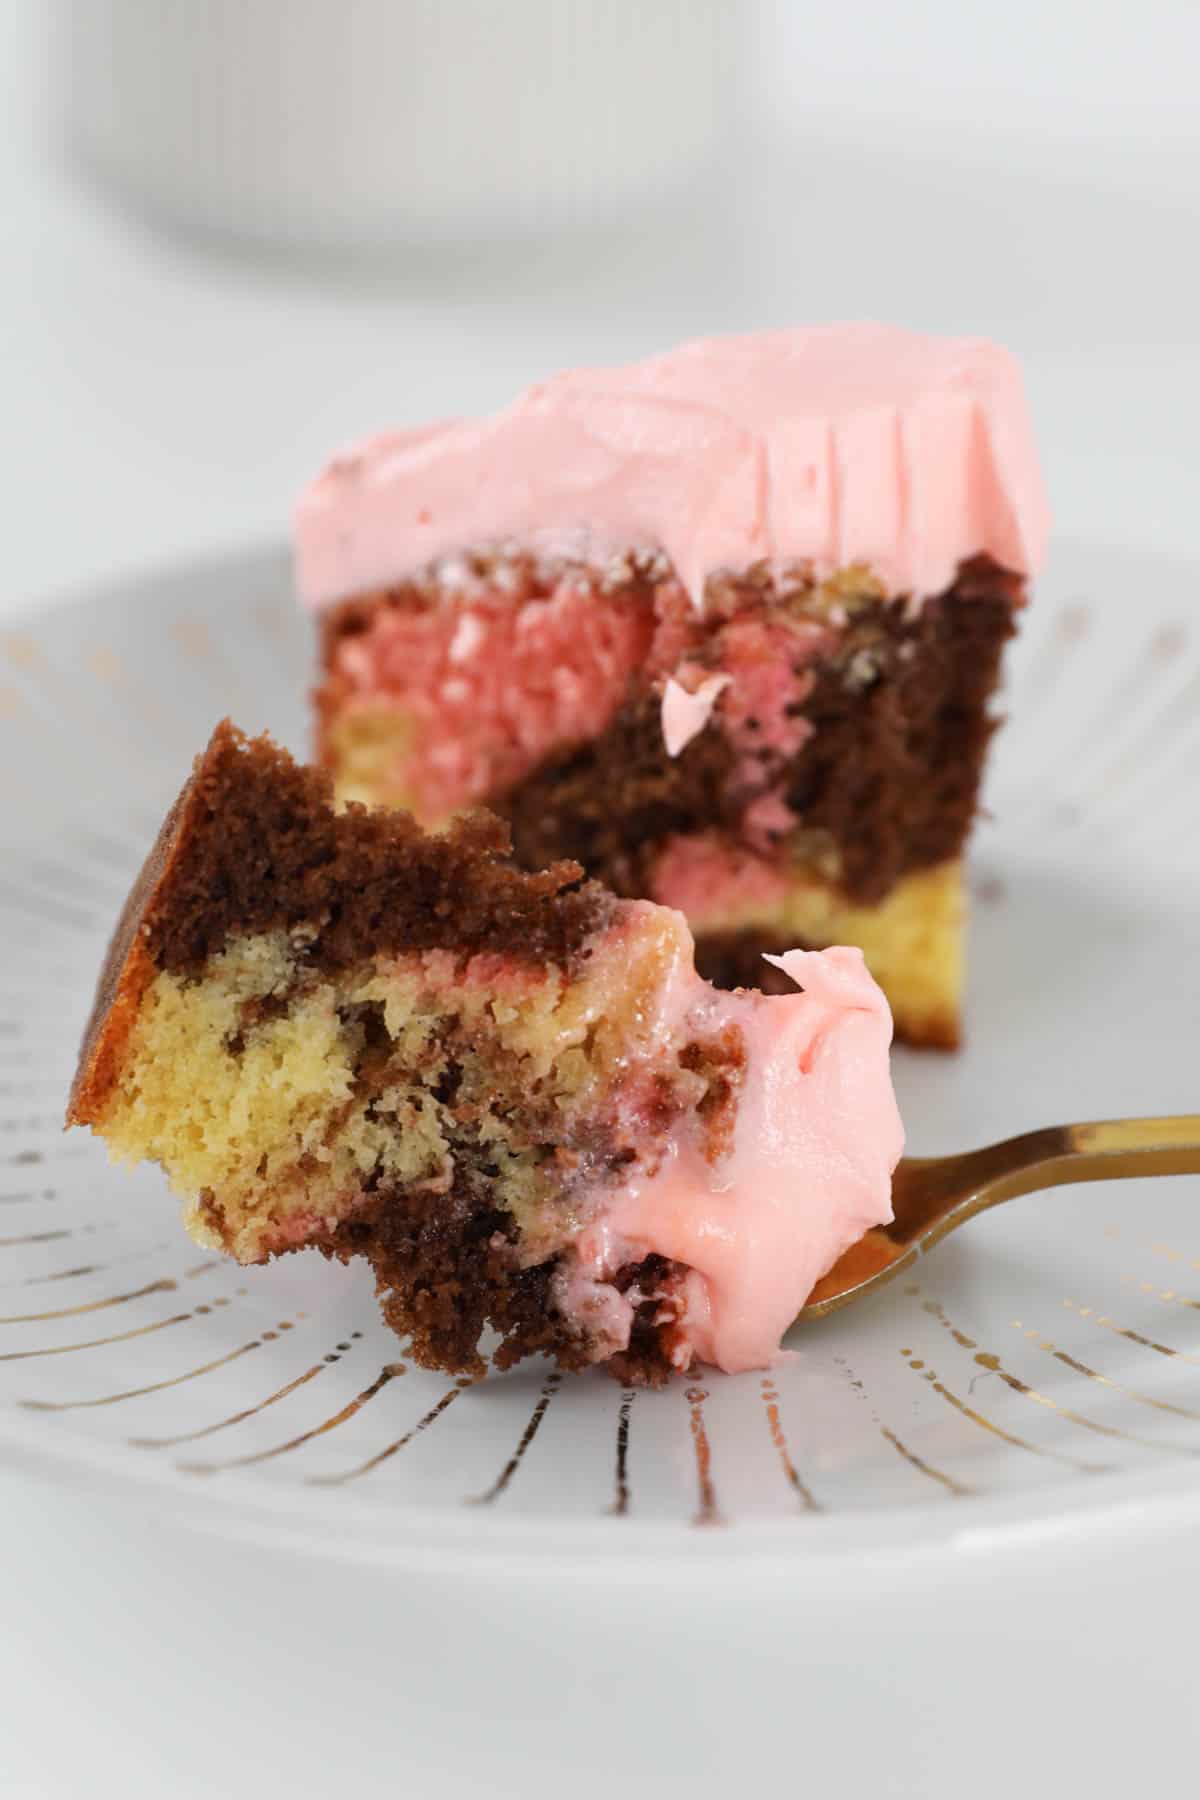
Loved by young and old, this swirl cake combines three colours of soft butter cake and is topped by the most delicious light and fluffy pink buttercream.
Jump to:

Why You're Going To Love This Recipe
- Easy recipe - a marble cake is not at all complicated, despite it's quite striking appearance.
- Store cupboard ingredients - marble cake is made from basic ingredients that you probably already have in your kitchen!
- Kid-friendly - this cake is a fun recipe to make with kids, they'll love swirling the batter to create the marble effect!
- Three cakes in one - if you can't decide between making a chocolate cake, a pretty pink cake or vanilla butter cake, then this is the cake for you!
- Conventional or Thermomix - this recipe can be made conventionally or in a Thermomix. You will find both methods is the recipe card at the bottom of the post.
What You Need
Whip up this beautiful marble cake using ingredients you probably already have in your pantry and fridge!
Note: Scroll to the recipe card at the bottom for the ingredients quantities and full detailed method.
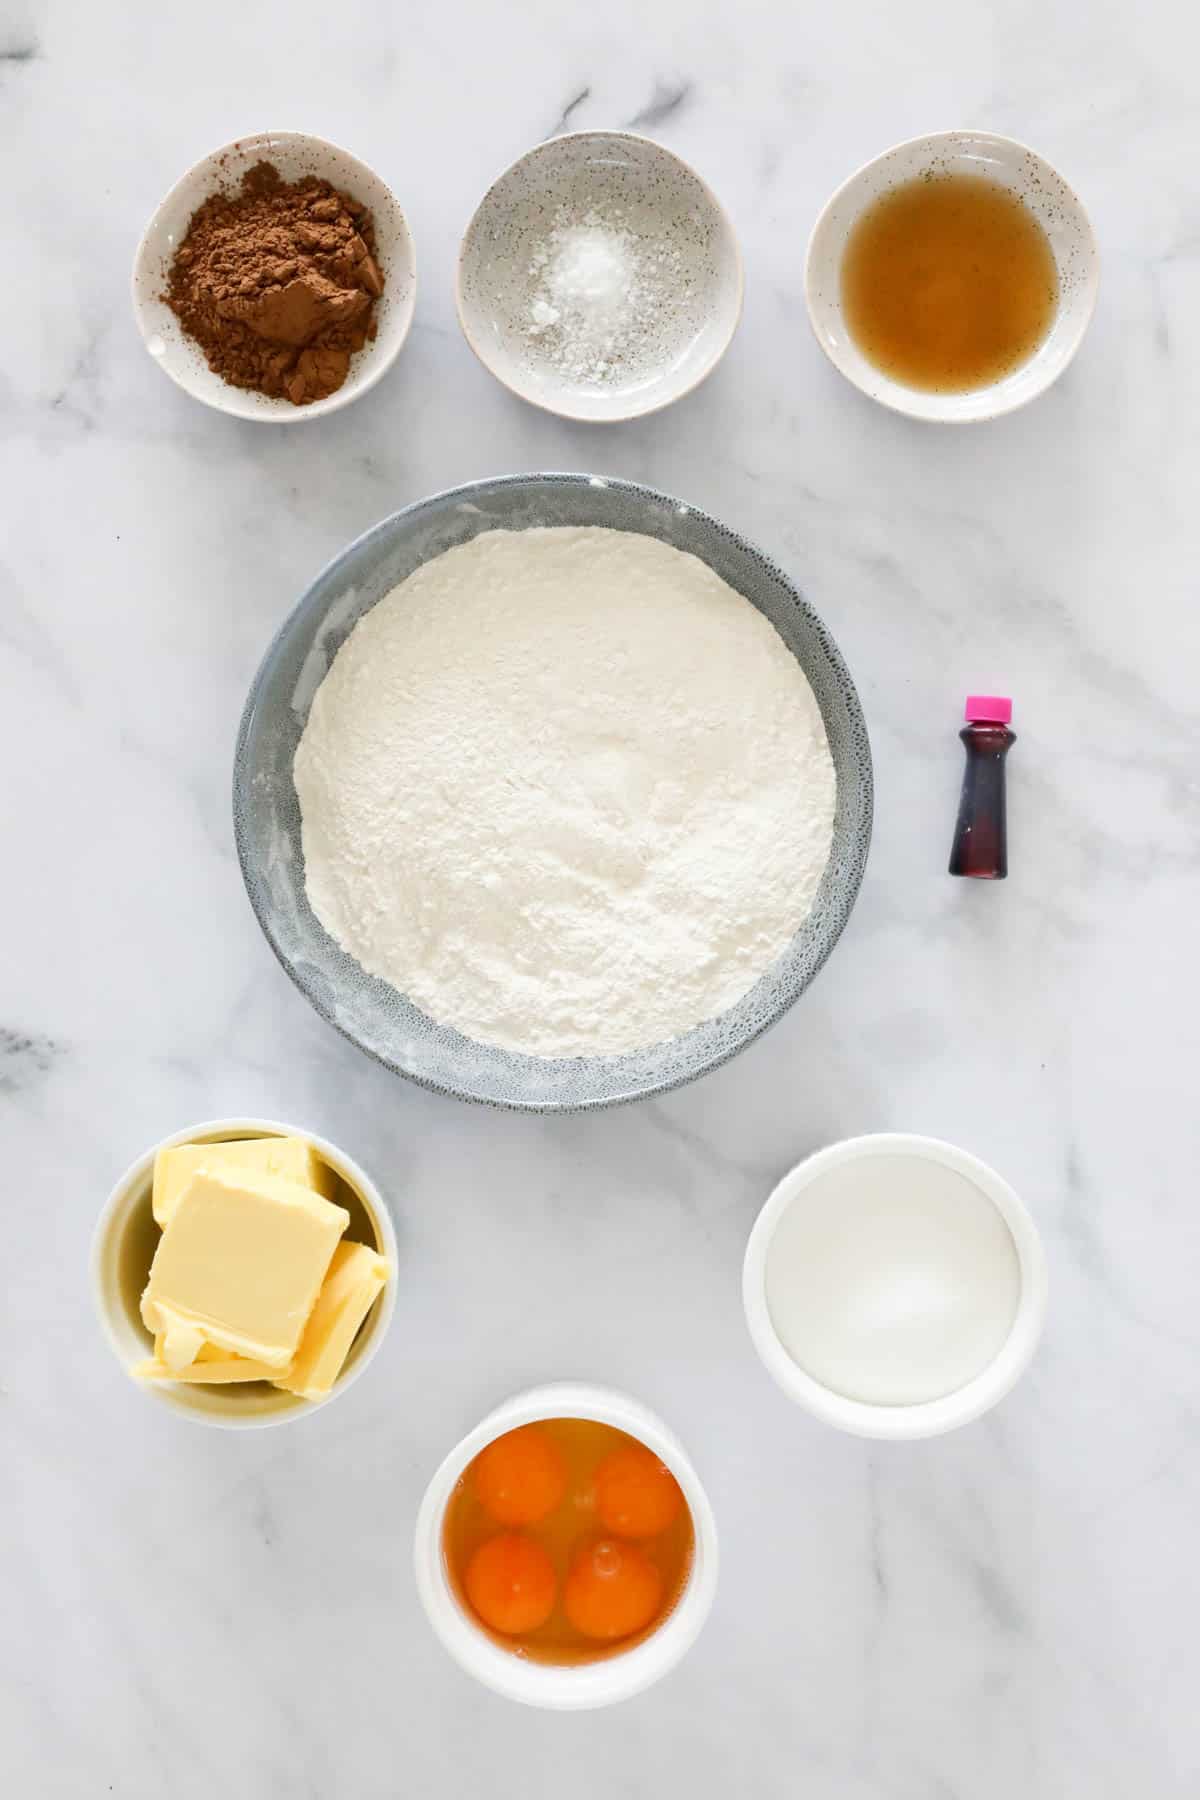
- Cocoa powder - use regular, unsweetened cocoa powder.
- Icing sugar mixture - this has a little cornflour added to it to stop it from forming lumps. Icing sugar mixture sets softer than pure icing sugar (which sets hard!) I recommend using icing sugar mixture when making buttercream as it results in a smooth, soft, creamy and spreadable frosting.
Equipment Required
Simple baking equipment required to make this easy marble butter cake.
- Thermomix, stand mixer or hand-held beaters.
- Round 20cm cake tin - greased and lined.
- Oven - I use a fan-forced oven. If you have a conventional oven, simply increase the temperature by 10-20 degrees celsius.
Step By Step Instructions
It takes just 15 minutes to prepare this pretty cake!
Note: Scroll to the recipe card at the bottom for the ingredients quantities and full detailed method.
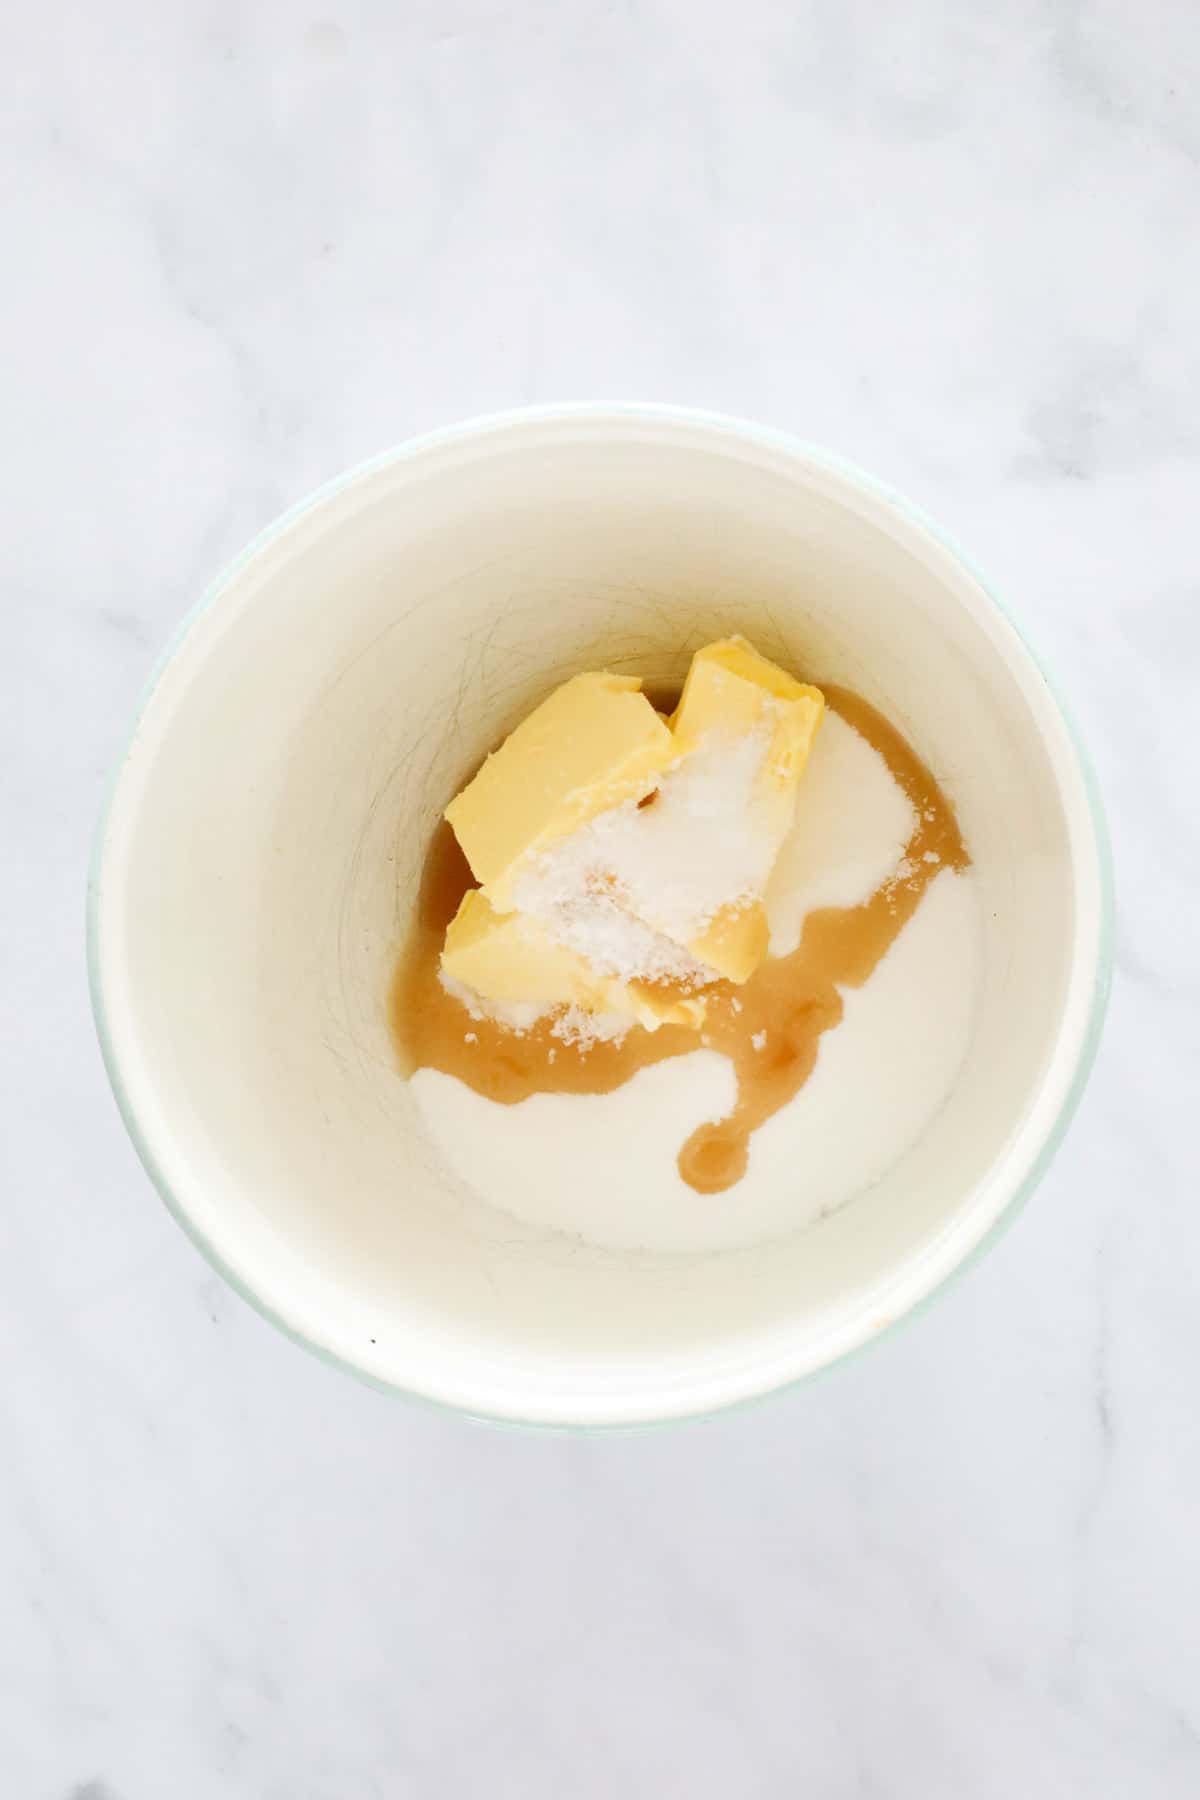
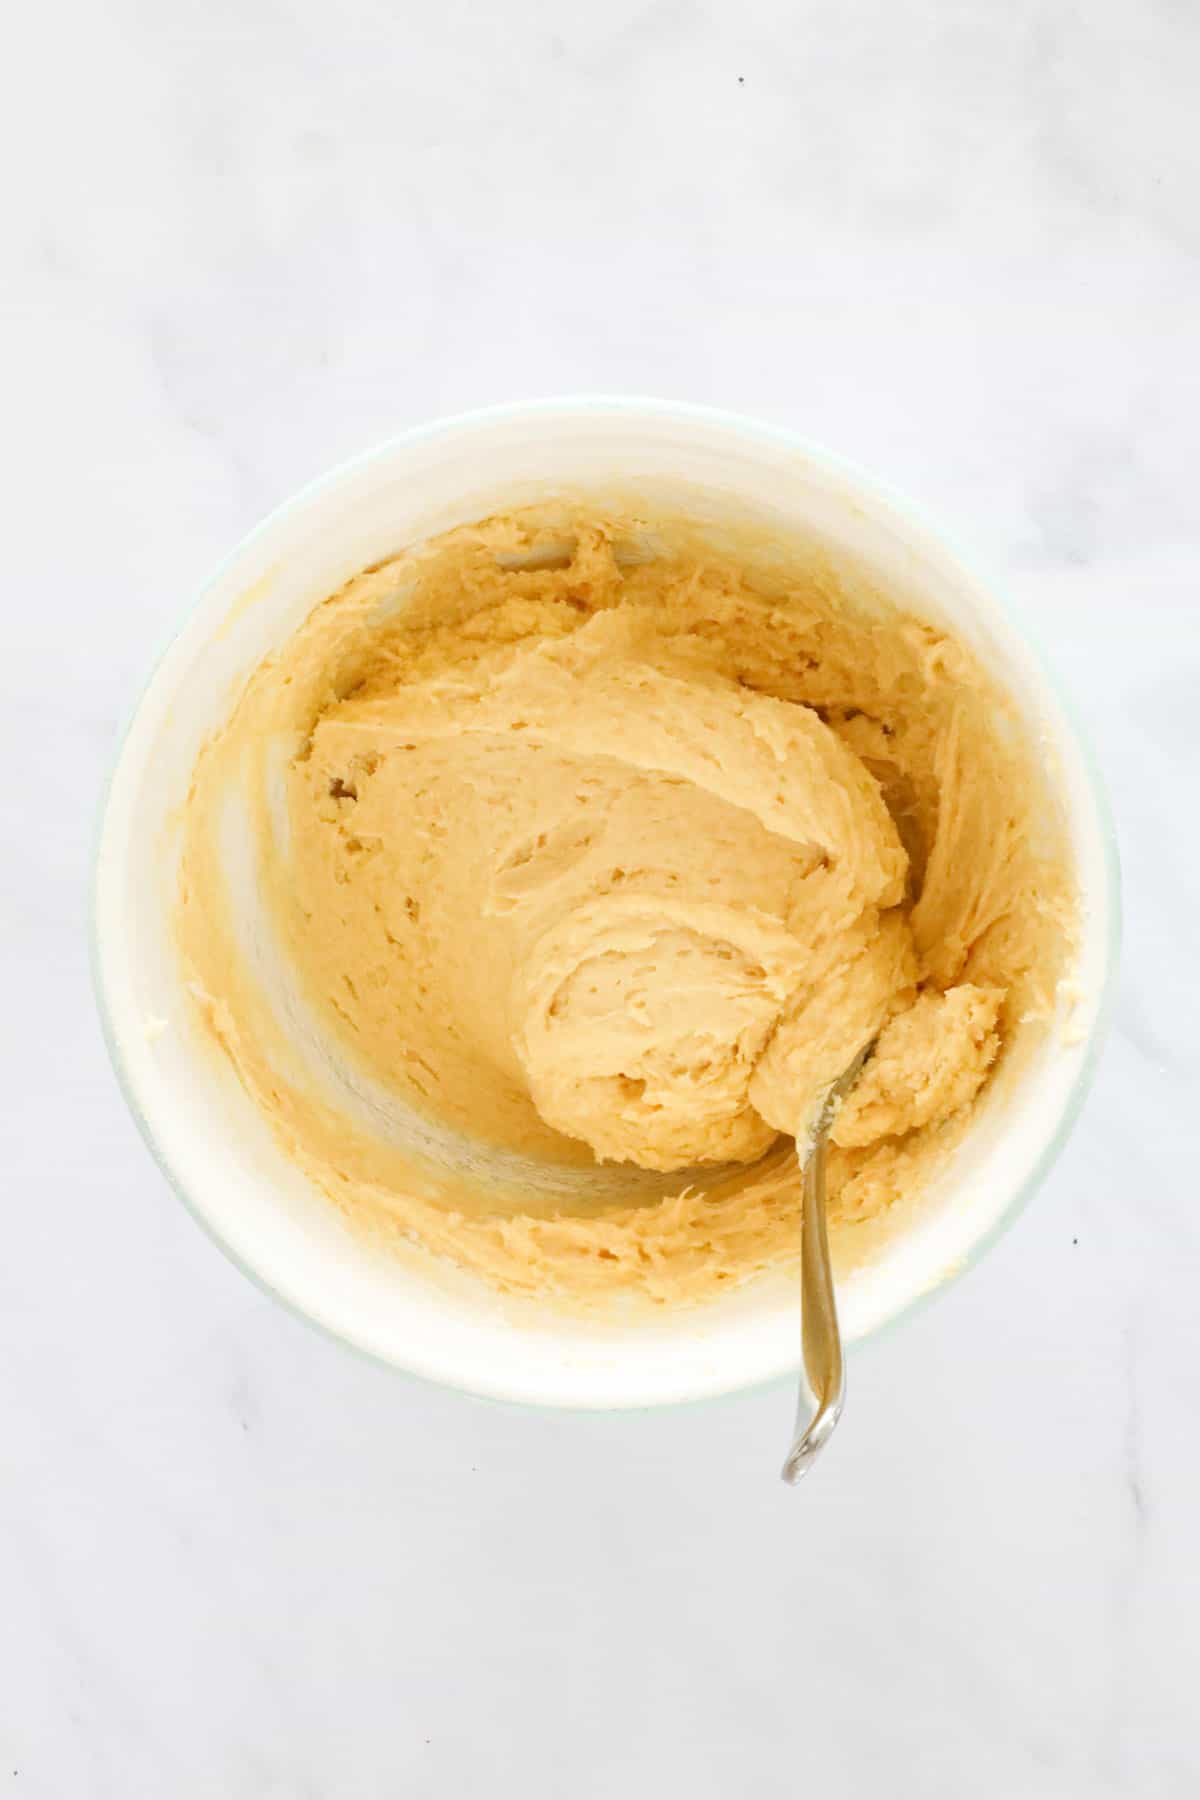
Step 1 - Mix The Wet Ingredients
Preheat oven to 175 degrees celsius (fan-forced). Grease and line a round 20cm cake tin with baking paper.
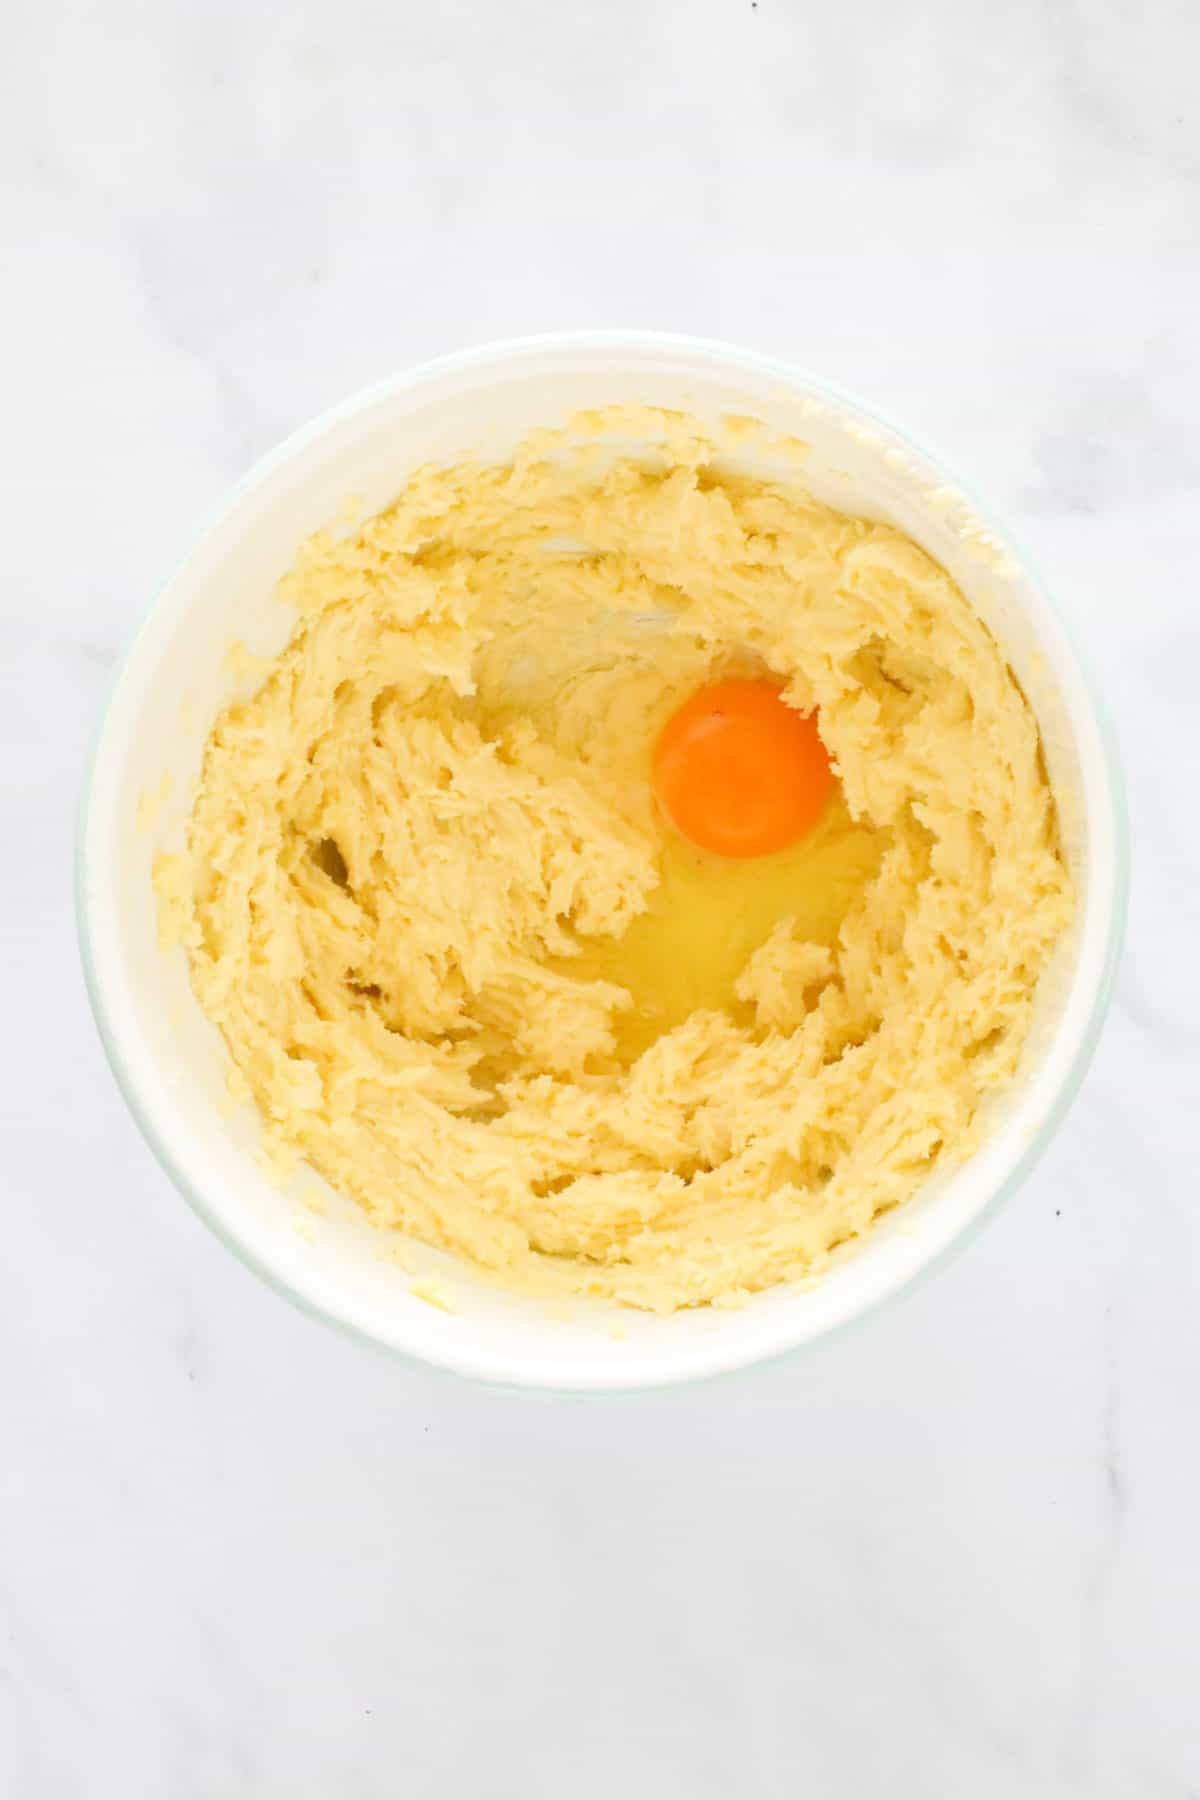
Place the butter, caster sugar, salt and vanilla extract into a bowl. Beat together with a stand-mixer or hand-held beaters until pale and fluffy (approximately 5 minutes). This allows air to enter the ingredients to create a cake with a light texture.
Slowly add the eggs one at a time while continuing to beat through, until completely combined.
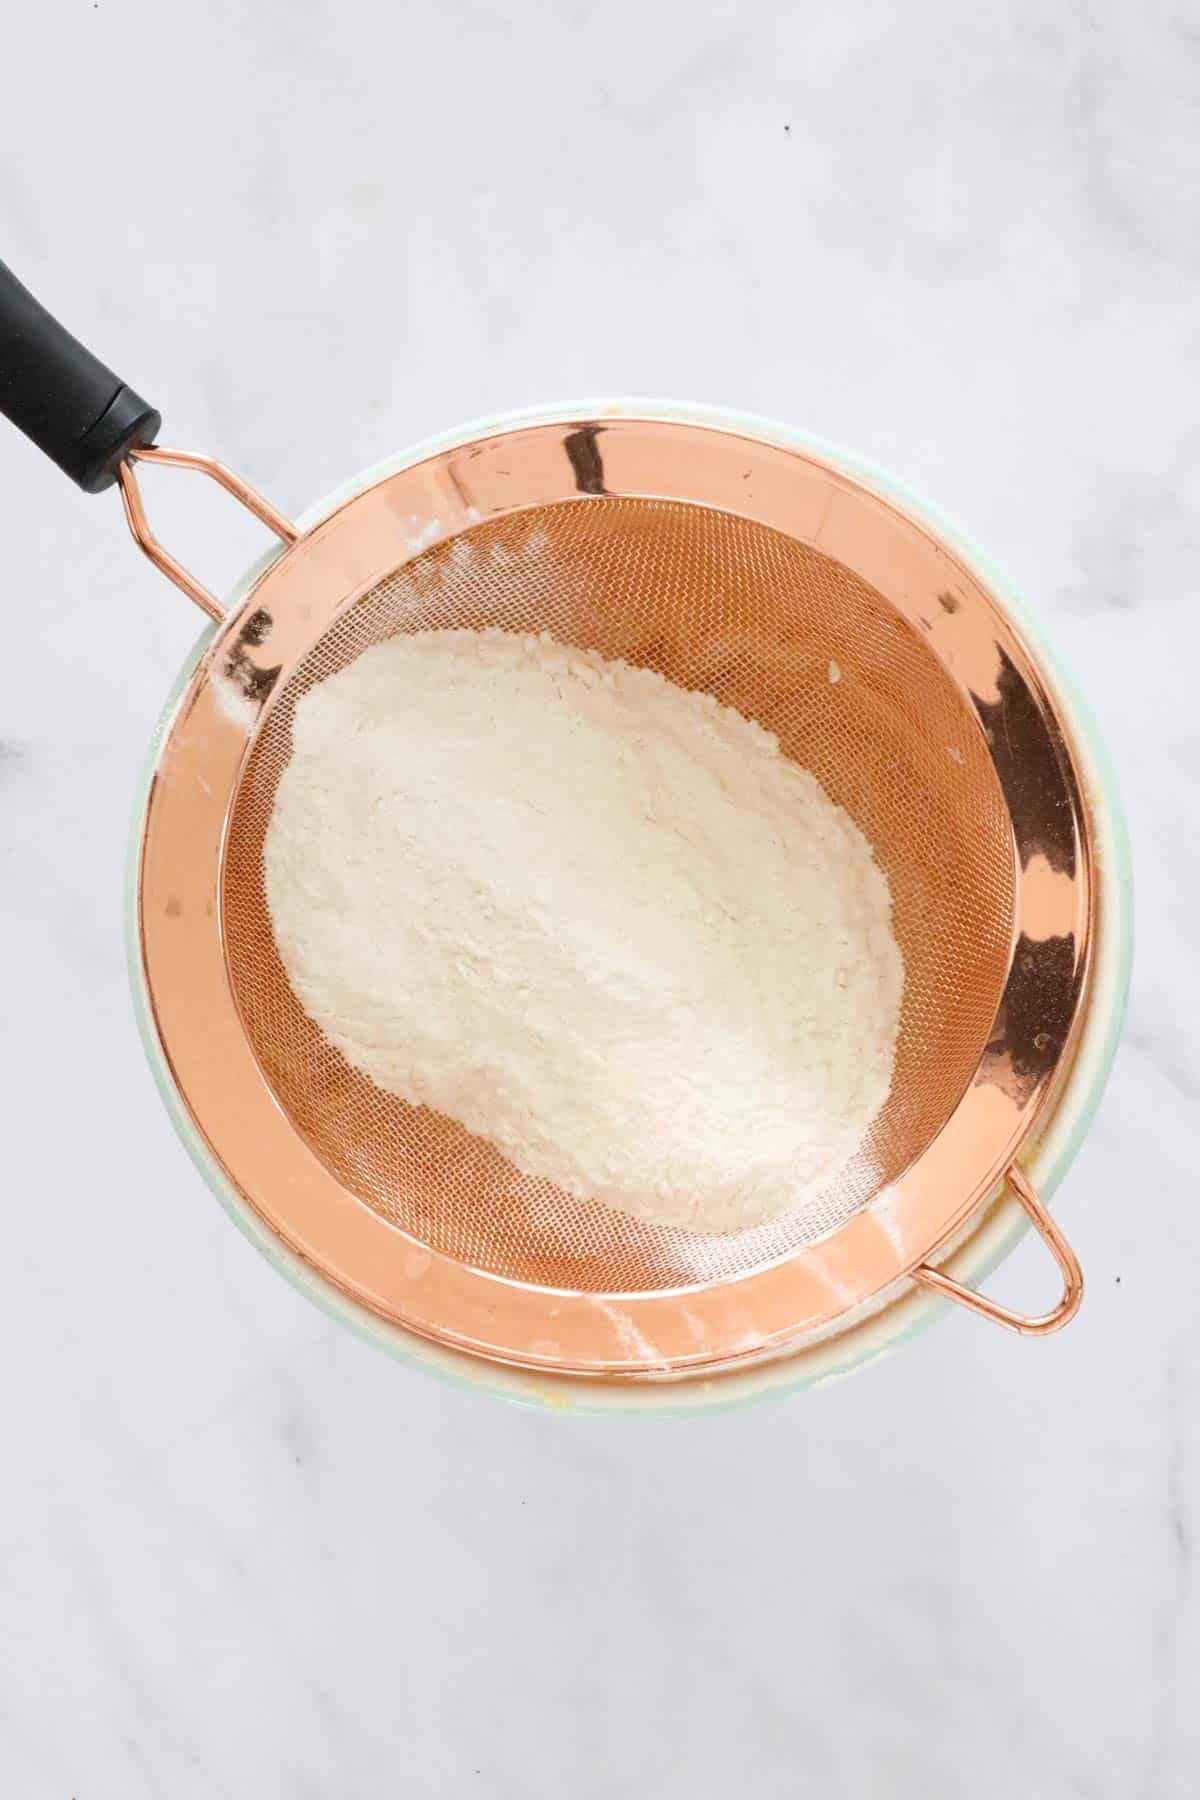
Step 2 - Add The Dry Ingredients
Sift in the self raising flour and gently fold through with a spoon until just combined. Don't over-mix otherwise your cake can turn out heavy.
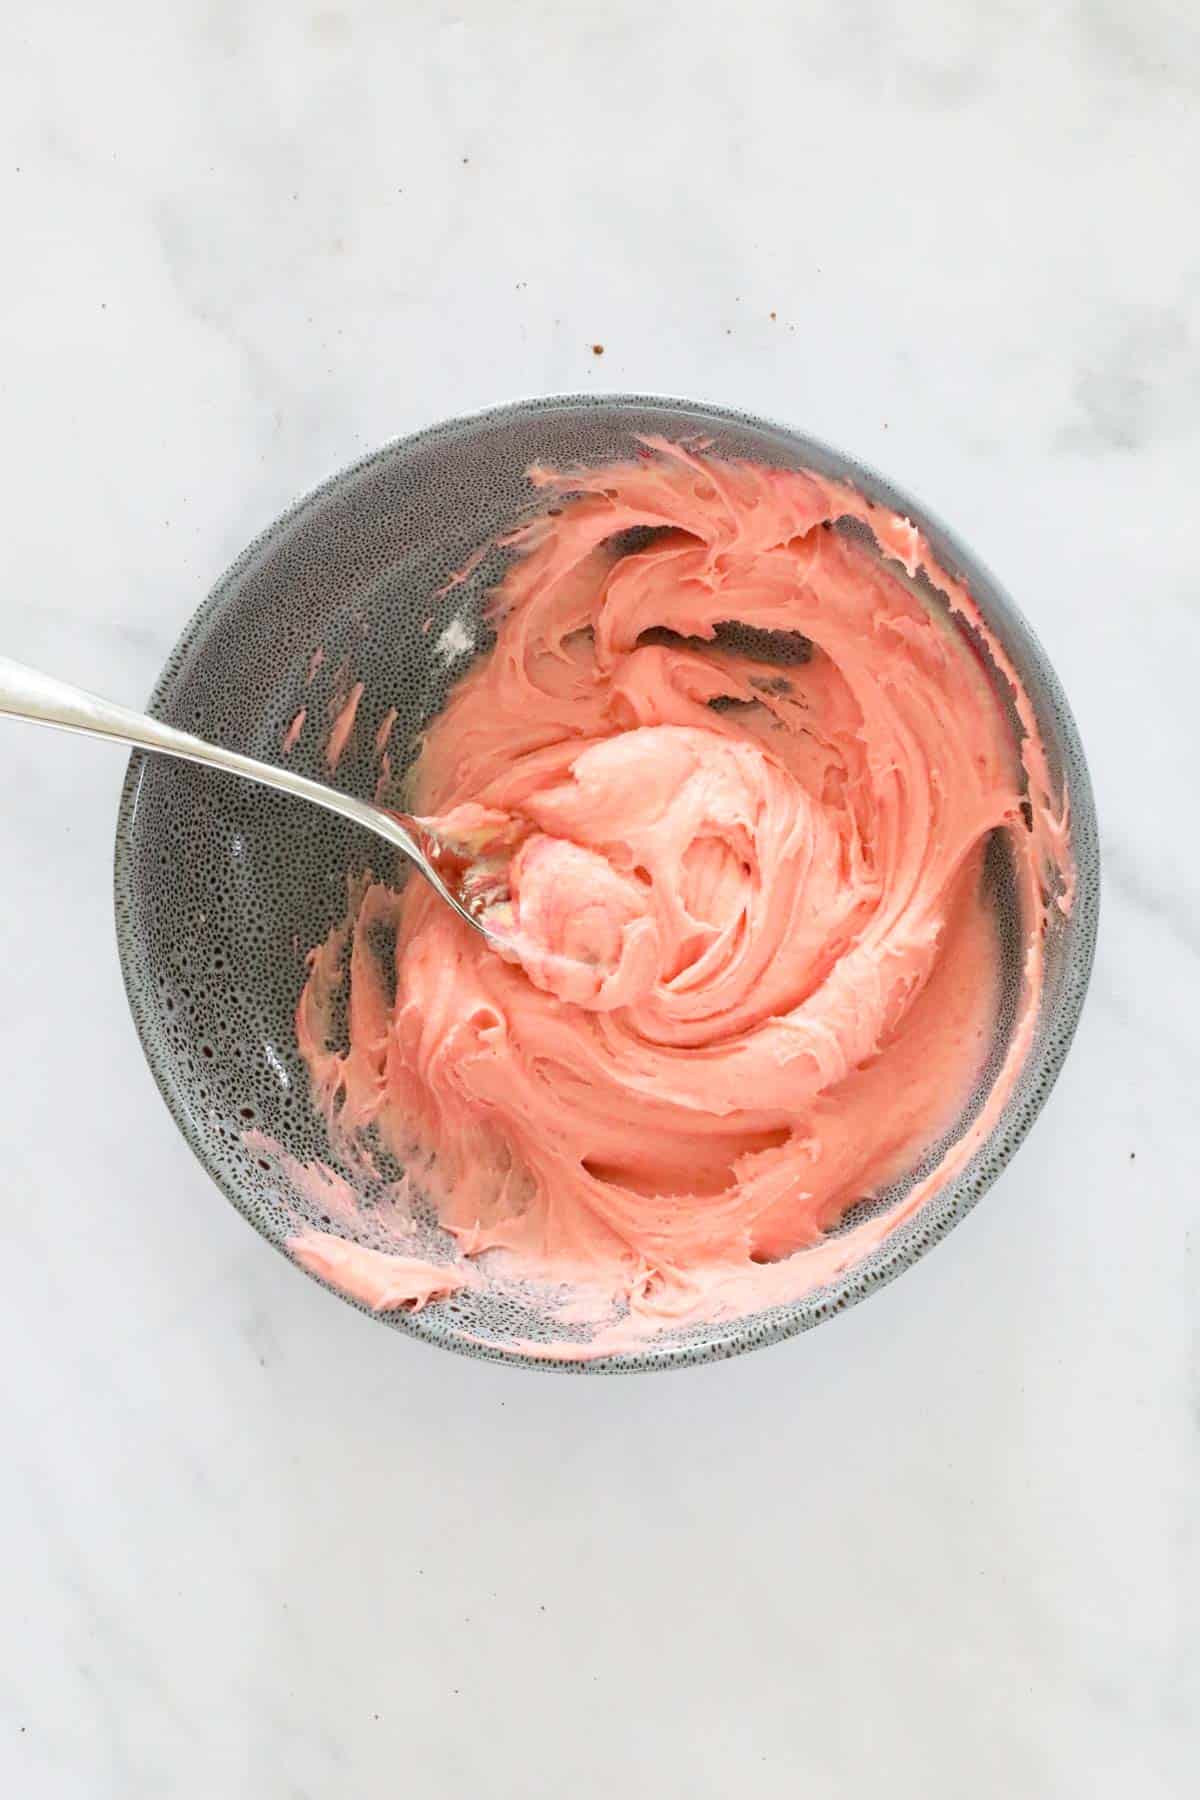
Step 3 - Colour The Cake Batter
Divide the mixture equally between three bowls.
In the first bowl, add one drop of pink food colouring and mix to combine. You only need a small drop of food colouring!
In the second bowl, add the cocoa powder and milk and mix to combine.
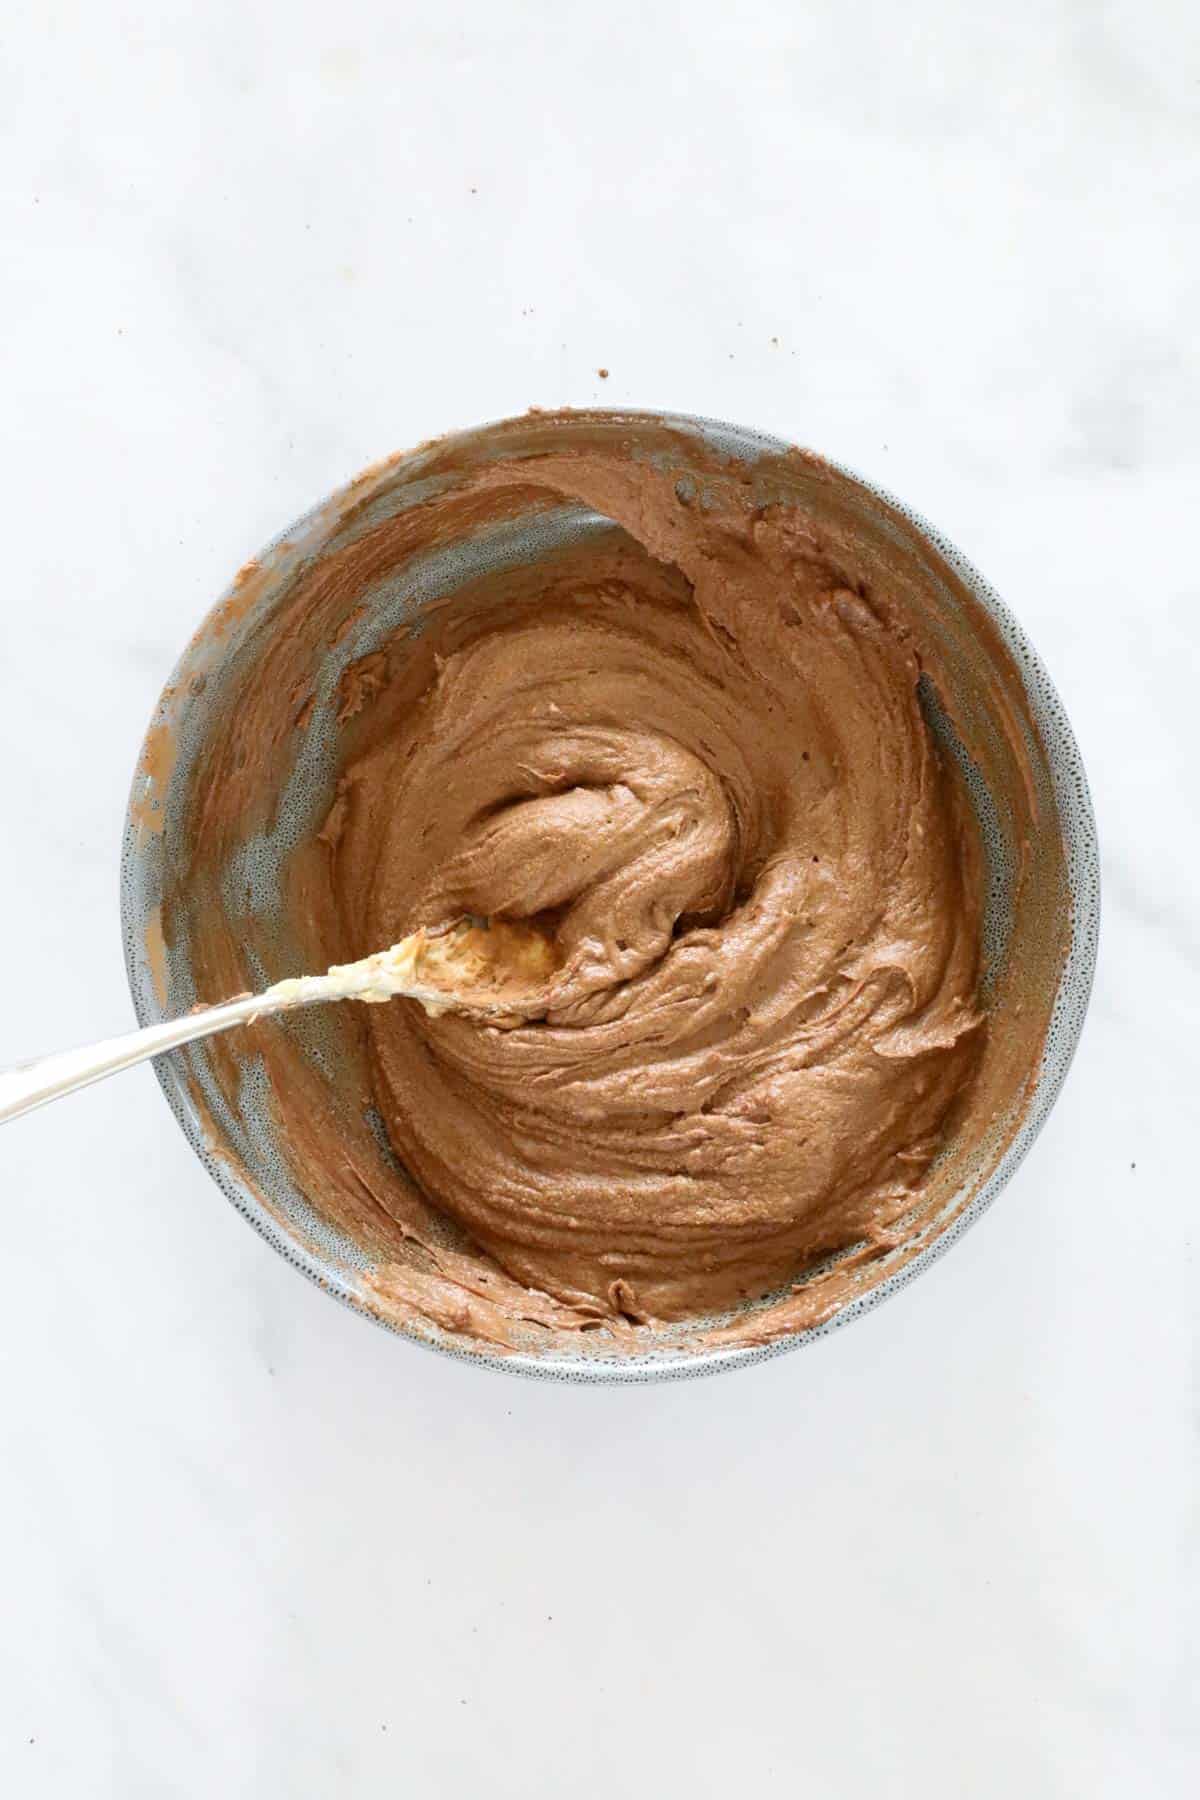
Leave the remaining mixture plain.
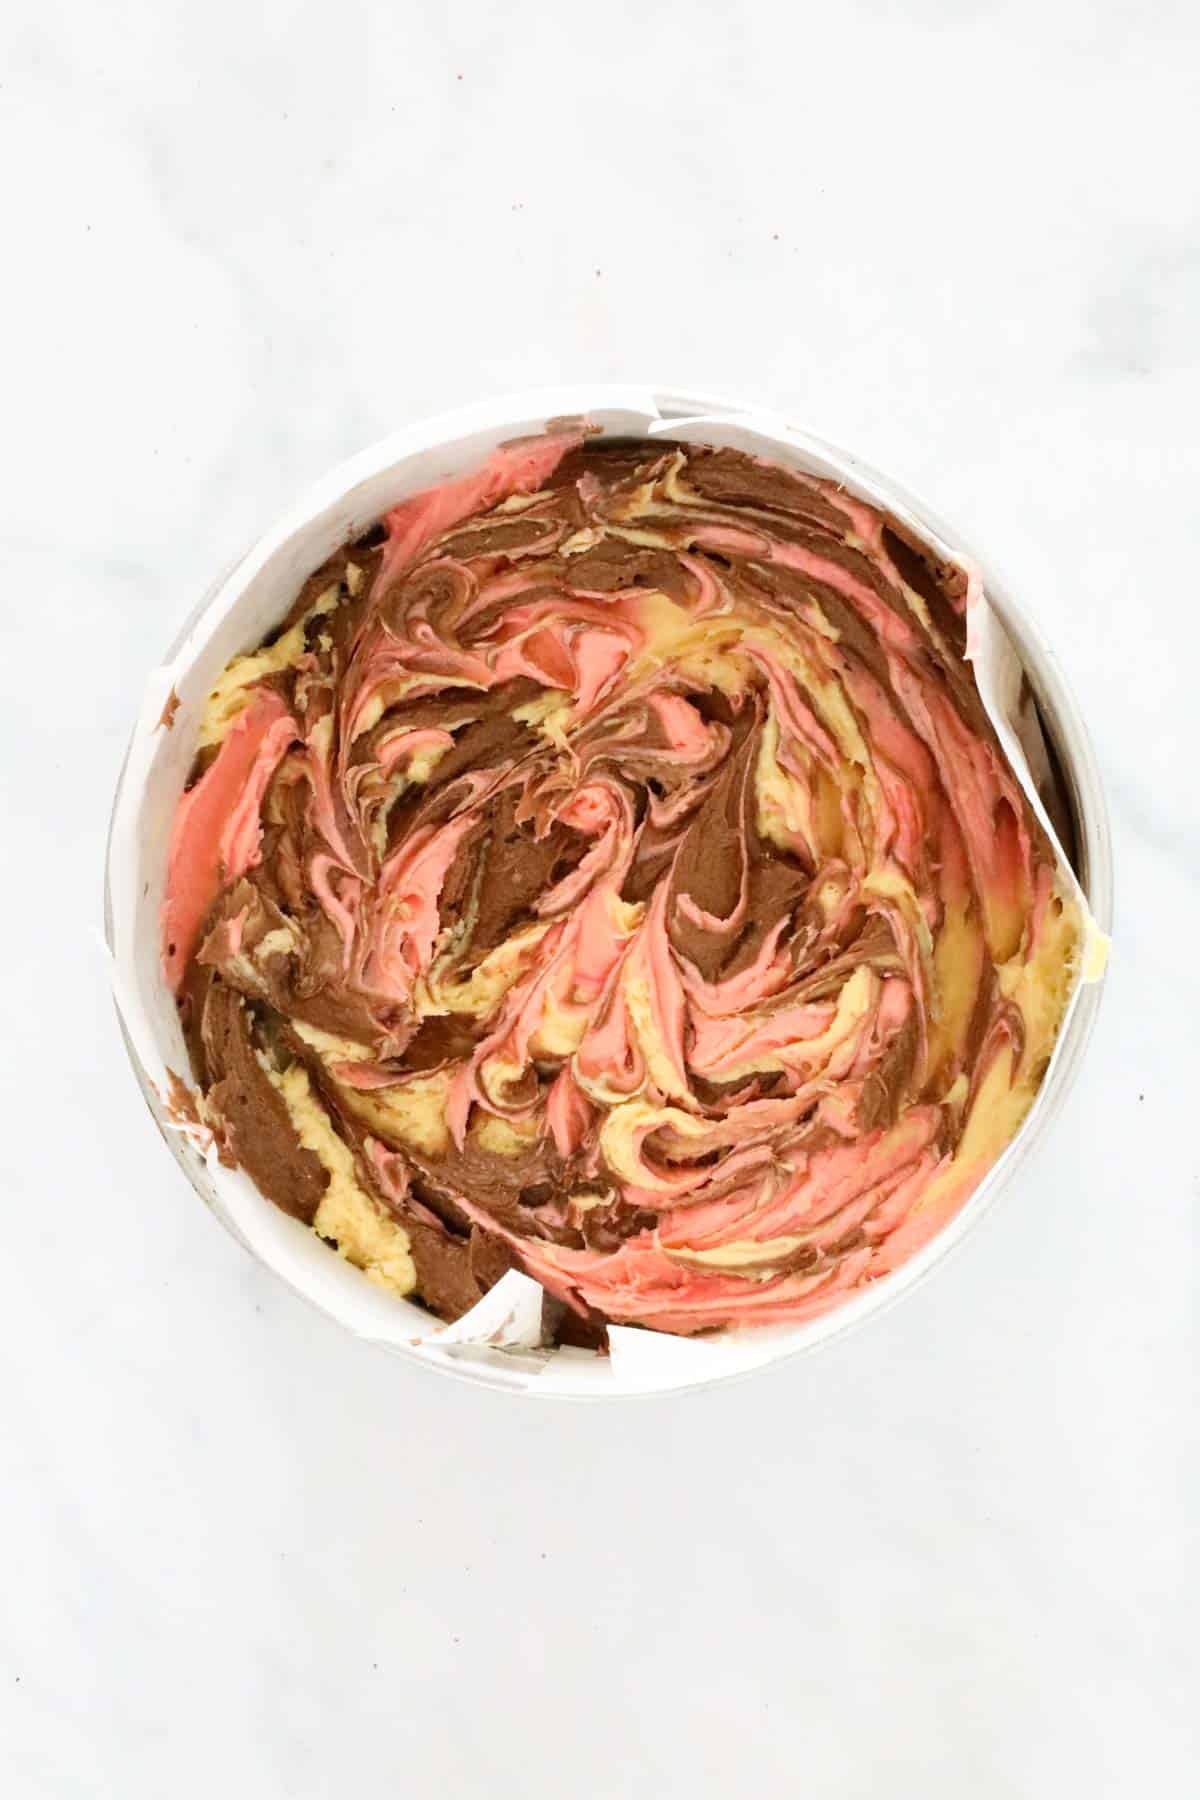
Step 4 - Create The Marble Effect
Place spoonfuls of the mixture into the prepared baking tin.
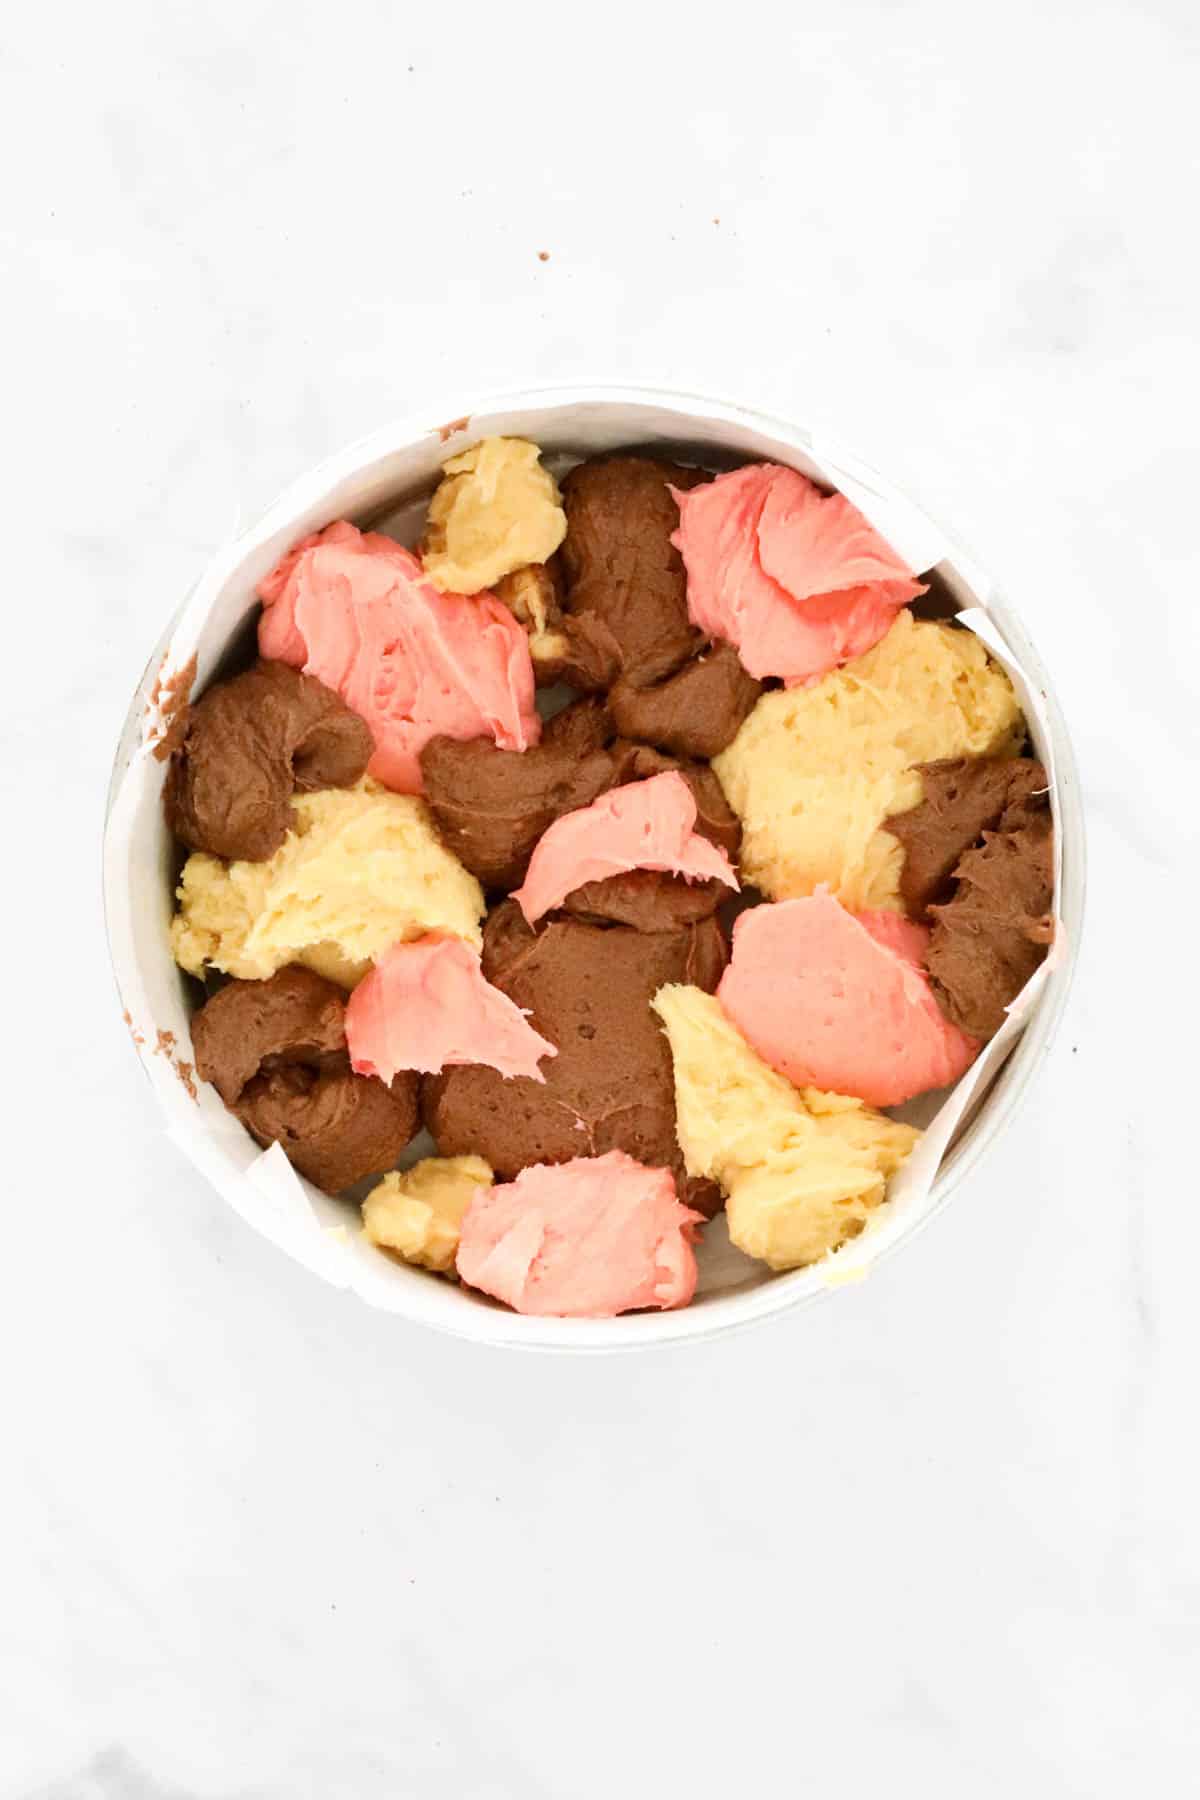
Use a knife to gently swirl the three colours to create a pattern.
Place in the preheated oven and bake for 25-30 minutes or until tested with a skewer.
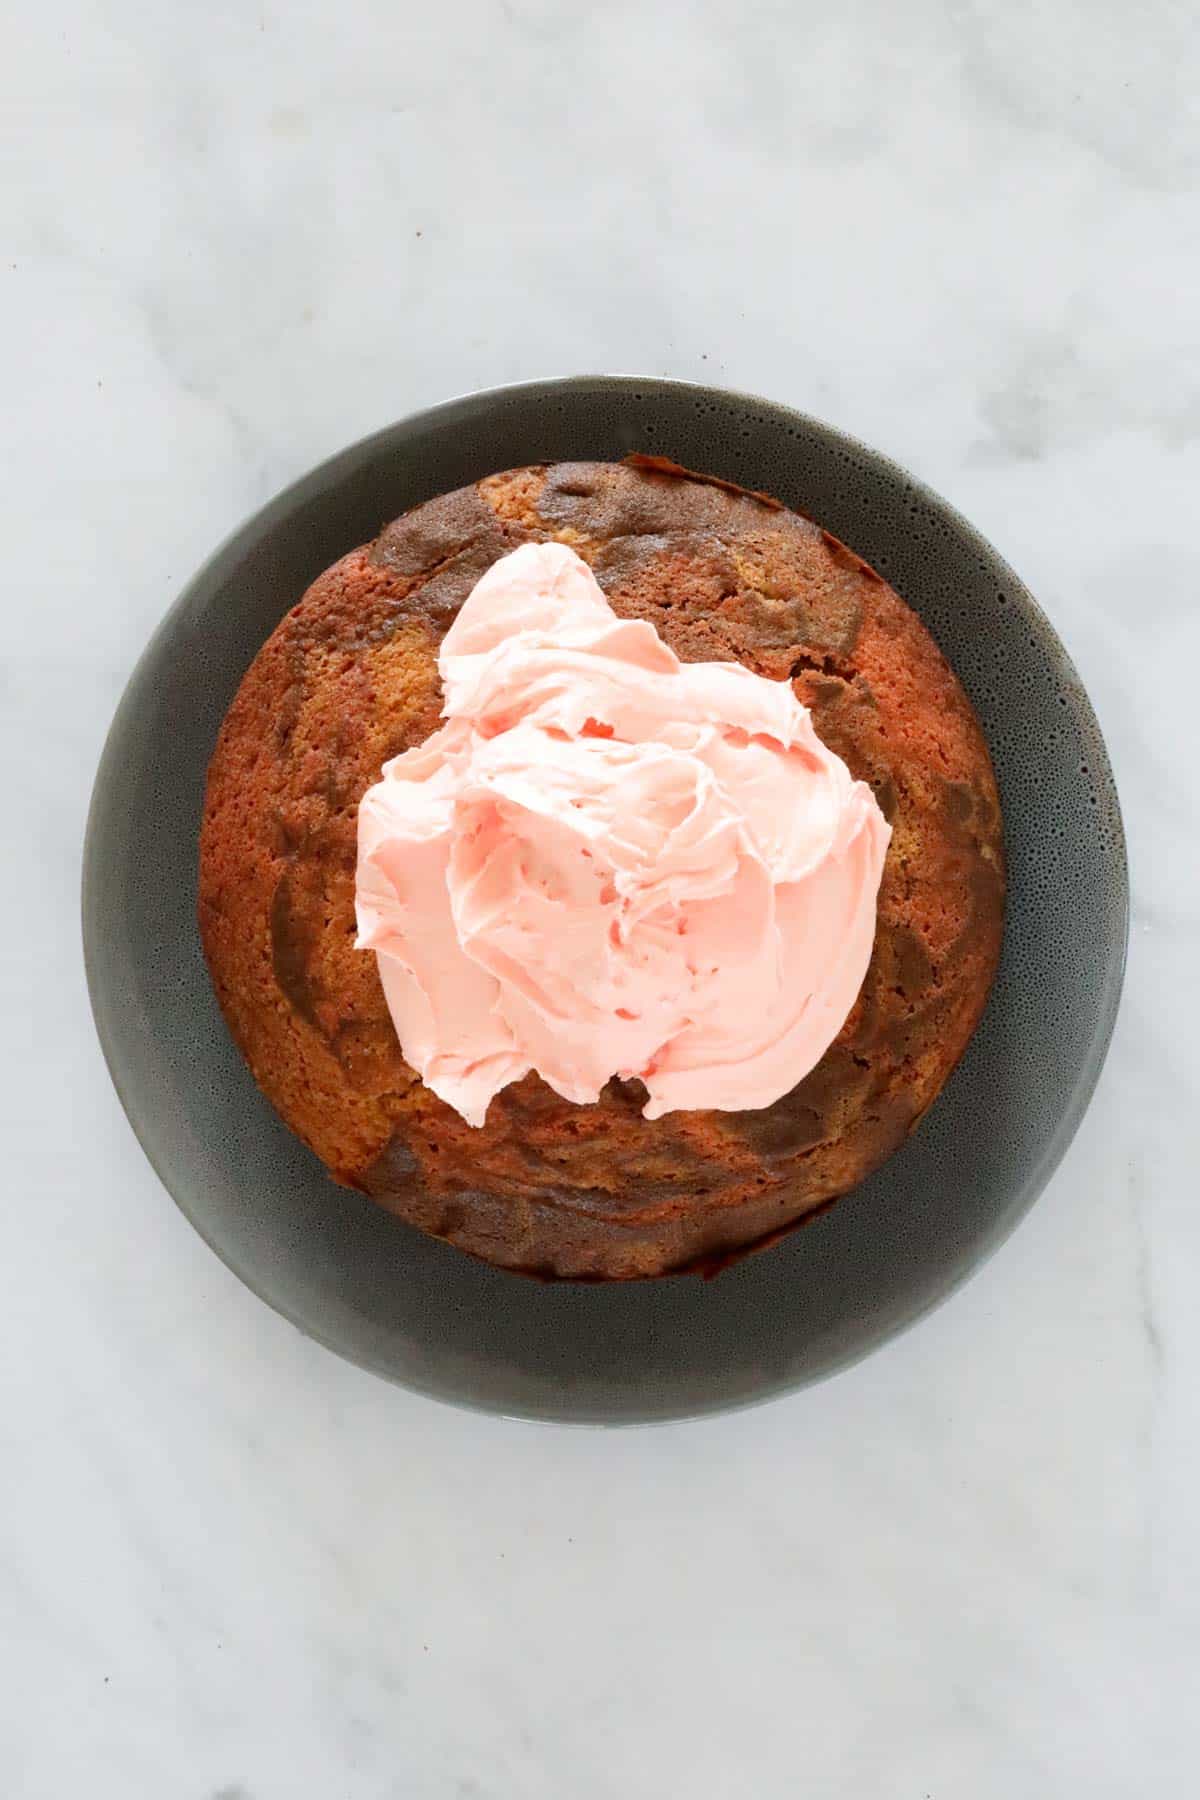
Step 5 - Make The Buttercream Frosting
Beat the butter in a bowl until pale and fluffy (this will take approximately 5 minutes). Scrape down the sides of the bowl every so often to ensure all the butter is beaten.
Slowly add the icing sugar mixture, milk, vanilla extract and 1 drop of pink food colouring and continue to beat until smooth and creamy.
Spread the buttercream frosting over the cooled marble cake.
Expert Tips
- Tips for making a light and moist marble cake - use butter (not margarine) as butter contains more fat which keeps cakes moist when baked. Beat the butter and sugar together thoroughly as this allows air to enter the ingredients. You will need to beat them for approximately 5 minutes. Beat between each addition of the eggs. Don't beat the mixture once you've added the flour - just gently fold it through with a spoon.
- How to check if the cake is cooked - start checking if it's ready approximately 10 minutes before the recipe states. The cake is ready when a skewer inserted into the middle comes out clean.
- If you find that your marble cake is browning too much in the oven - simply place a sheet of foil loosely over the top and continue cooking.
- Tips for making buttercream - beat the butter until it's completely pale, soft and creamy - this will take approximately 5 minutes. Stop every minute or so to scrape down the sides of the bowl to make sure there are no lumps of unbeaten butter. Sift the icing sugar mixture to avoid any lumps.
- Storing marble cake - a marble cake can be stored at room temperature for up to 3 days (it's also fine to leave this cake frosted with buttercream at room temperature for 3 days).
- Freezing marble cake - you can freeze an un-iced butter cake for up to 2 months (wrap in plastic wrap and then cover in two layers of foil).
FAQs
Place spoonfuls of the three different coloured cake mixture into a prepared baking tin. Use a knife to gently swirl the colours together to create a pattern. Don't over mix the colours otherwise you will lose the marble pattern.
Yes, you can! Freeze the un-iced cake for up to 2 months (wrap in plastic wrap and then cover in two layers of foil).
No, I do not recommend storing a marble cake in the fridge as it will dry out. Keep it at room temperature for up to 3 days.
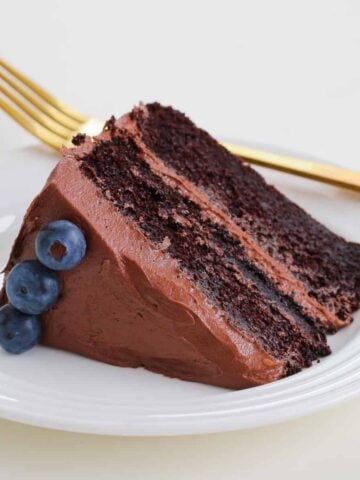
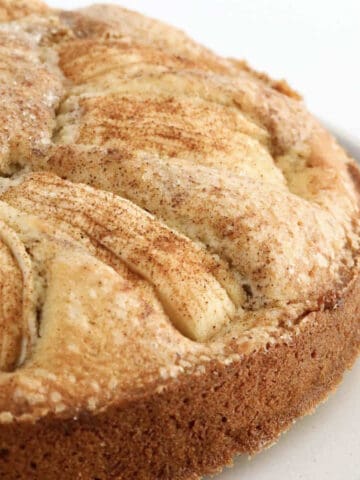
Related Recipes
For more easy and delicious cakes, check out these other popular cake recipes:
WANT EVEN MORE DELICIOUS RECIPES? Subscribe to my newsletter or follow along on Facebook or Instagram. And if you love baking, then please come and join my Facebook cooking club group or subscribe to my YouTube channel.
Marble Cake
Ingredients
- 200 g unsalted butter room temperature
- 200 g (1 cup) caster sugar superfine sugar
- pinch of salt
- 1 teaspoon vanilla extract
- 4 eggs room temperature
- 200 g (1 ⅓ cups) self raising flour
- 1 drop pink food colouring
- 2 tbs cocoa powder sifted
- 2 tbs milk
For the buttercream frosting
- 185 g butter softened
- 2 ¼ cups (300g) icing sugar mixture see notes
- 2 tablespoons milk
- 1 teaspoon vanilla extract
- 1 drop pink food colouring
Instructions
Conventional Method
- Preheat oven to 175 degrees celsius (fan-forced).
- Grease and line a round 20cm cake tin with baking paper and set aside.
- Place the butter, caster sugar, salt and vanilla extract into a bowl. Beat together with a stand-mixer or hand-held beaters until pale and fluffy (approximately 5 minutes).
- Slowly add the eggs (one at a time) while continuing to beat through until completely combined.
- Sift in the self raising flour and stir with a spoon until just combined (don't over-mix).
- Divide the mixture equally between 3 bowls.In the first bowl, add 1 drop of food colouring and mix to combine.In the second bowl, add the cocoa powder and milk and mix to combine. Leave the remaining mixture plain.
- Place spoonfuls of the mixture into the prepared baking tin. Use a knife to gently swirl the three colours to create a pattern.
- Bake for 25-30 minutes or until tested with a skewer (see notes).
- Leave the cake to cool in the tray for 15 minutes before moving to a wire rack to cool completely.
- To make the icing, beat the butter in a bowl until pale and fluffy (approximately 5 minutes).
- Slowly add the icing sugar mixture, milk, vanilla extract and food colouring and continue to beat until smooth and creamy.
- Spread the buttercream frosting over the cooled marble cake and serve.
Thermomix Method
- Preheat oven to 175 degrees celsius (fan-forced). Grease and line a round 20cm cake tin with baking paper and set aside.
- Place sugar and butter into the Thermomix bowl and and mix for 15 seconds, Speed 5.
- Add the eggs, salt, vanilla extract and self-raising flour and mix for 15 seconds, Speed 5. Scrape down sides of mixing bowl with spatula, then mix for a further 10 seconds, Speed 5.
- Divide the mixture equally between 3 bowls.In the first bowl, add 1 drop of food colouring and mix to combine.In the second bowl, add the cocoa powder and milk and mix to combine. Leave the remaining mixture plain.
- Place spoonfuls of the mixture into the prepared baking tin. Use a knife to gently swirl the three colours to create a pattern.
- Bake for 25-30 minutes or until tested with a skewer (see notes).
- Leave the cake to cool in the tray for 15 minutes before moving to a wire rack to cool completely.
- To make the icing, place the icing sugar into the Thermomix bowl and mix for 10 seconds on Speed 9.
- Add the butter, milk, vanilla extract and food colouring to the bowl. Mix for 30 seconds on Speed 4.
- Spread the buttercream frosting over the cooled marble cake and serve.
Notes
- Self-raising flour - store bought or you can make your own self-raising flour by adding 2 teaspoons of baking powder to every 1 cup of plain flour and sifting together.
- Icing sugar mixture - has a little cornflour added to it which stops it from forming lumps. Icing sugar mixture sets softer than pure icing sugar (which sets hard!) I recommend using icing sugar mixture when making buttercream as it results in a smooth, soft, creamy and spreadable frosting.
- Tips for making marble cake - use butter (not margarine) as butter contains more fat which keeps cakes moist when baked. Beat the butter and sugar together thoroughly as this allows air to enter the ingredients. Beat the cream and butter for approximately 5 minutes. Beat between each addition of the eggs. Don't beat the mixture once you've added the flour - just gently fold it through with a spoon.
- How to check if the cake is cooked - start checking if it's ready approximately 10 minutes before the recipe states. The cake is ready when a skewer inserted into the middle comes out clean.
- If you find that your cake is browning too much in the oven - simply place a sheet of foil loosely over the top and continue cooking.
- Tips for making buttercream - beat the butter until it's completely pale, soft and creamy - this will take approximately 5 minutes. Stop every minute or so to scrape down the sides of the bowl. Sift the icing sugar mixture to avoid any lumps. Add 1-2 drops of food colouring if you would like your buttercream to be coloured.
- Storing butter cake - butter cake can be stored at room temperature for up to 3 days (it's also fine to leave a butter cake frosted with buttercream at room temperature for 3 days). Do not store butter cake in the fridge as it will dry out.
- Freezing - alternatively you can freeze an un-iced butter cake for up to 2 months (wrap in plastic wrap and then cover in two layers of foil).


Tanja says
Hi 🙂
I’d love to make this for my twins birthday coming up but they’re allergic to egg. Can you use egg replacement in this? Will it still work??
Or can you recommend any other cake recipes that don’t require eggs?
Lucy says
Hi Tanja, I haven't tried an egg replacement in this particular recipe! You could absolutely try a substitute though! Off the top of my head, I can't think of an egg free cake on my website sorry!
carole says
Hi Lucy was just wondering if i can make this recipe in cupcakes if so how long would they take to cook?
Lucy says
Absolutely! I would start checking them around the 10-12 minute mark!