
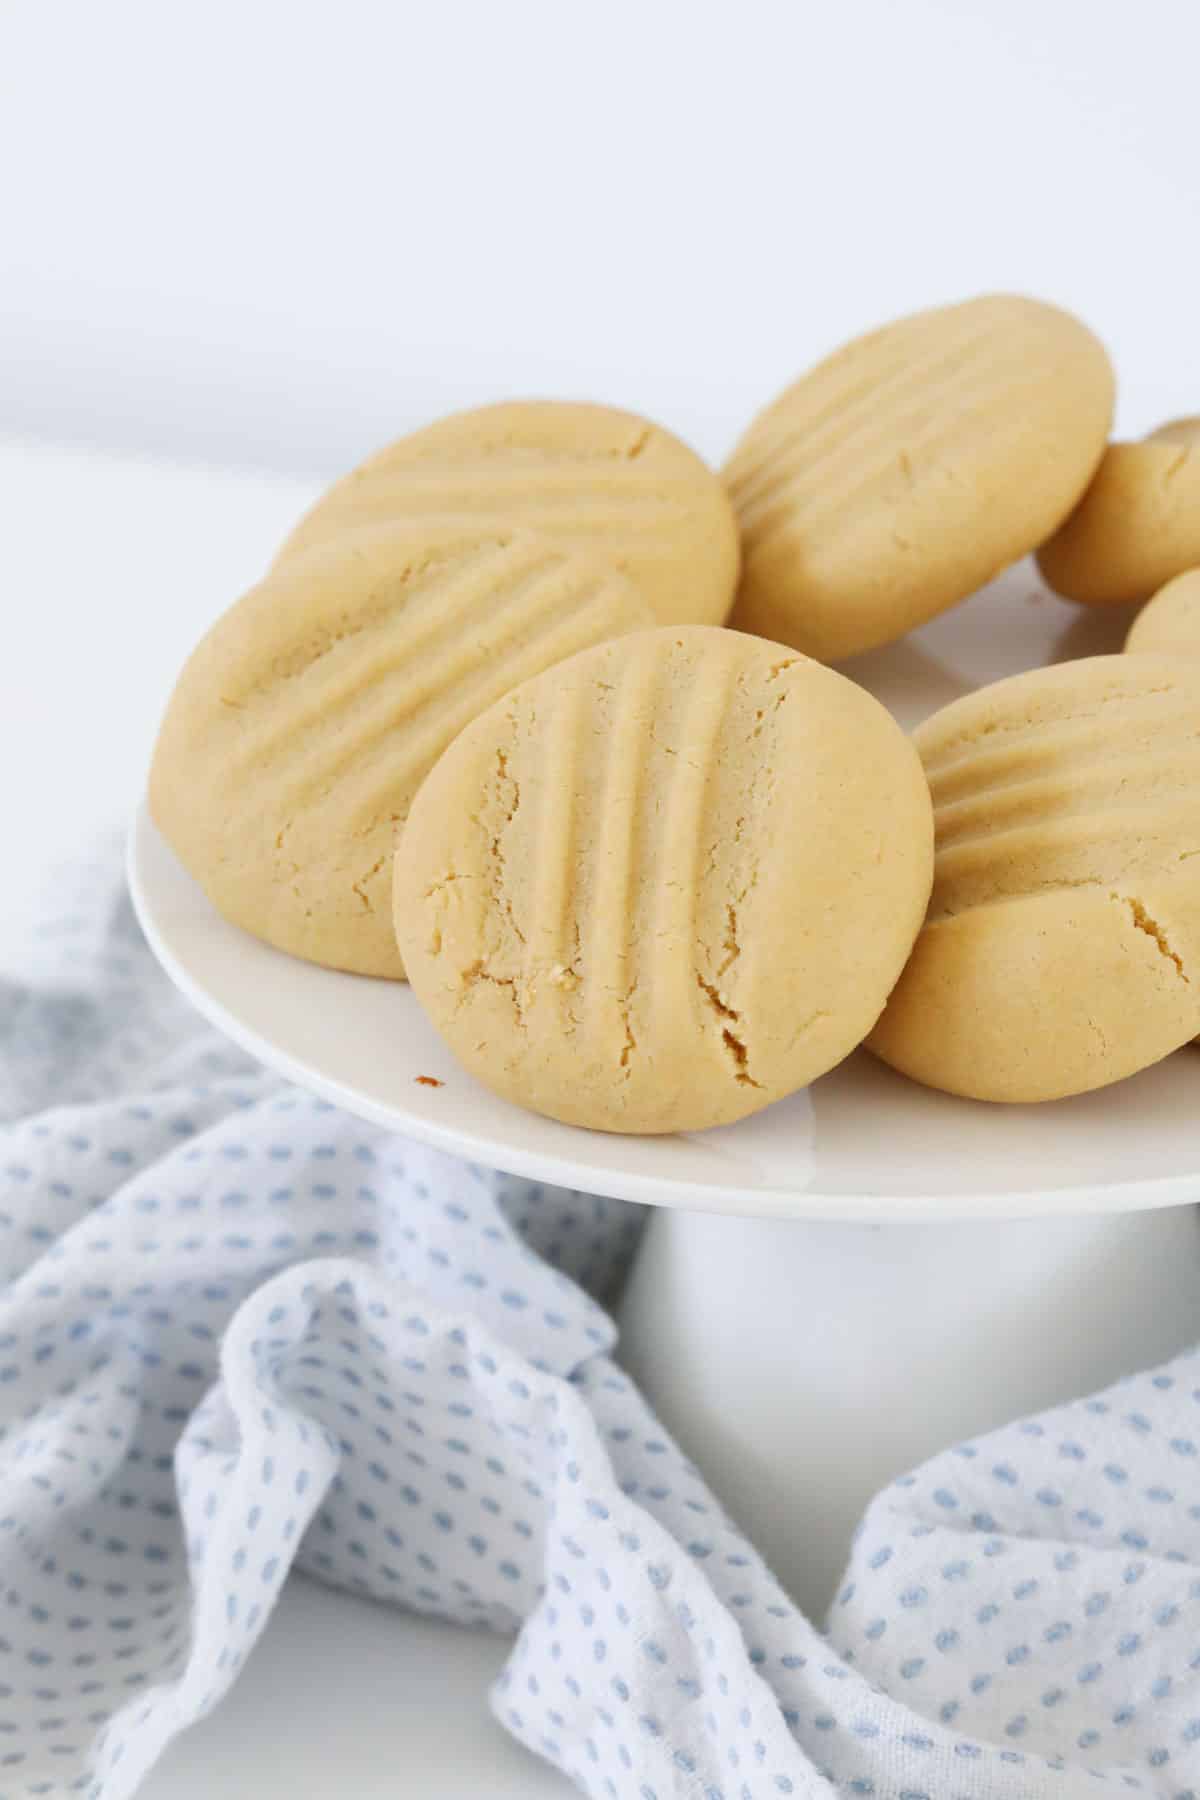
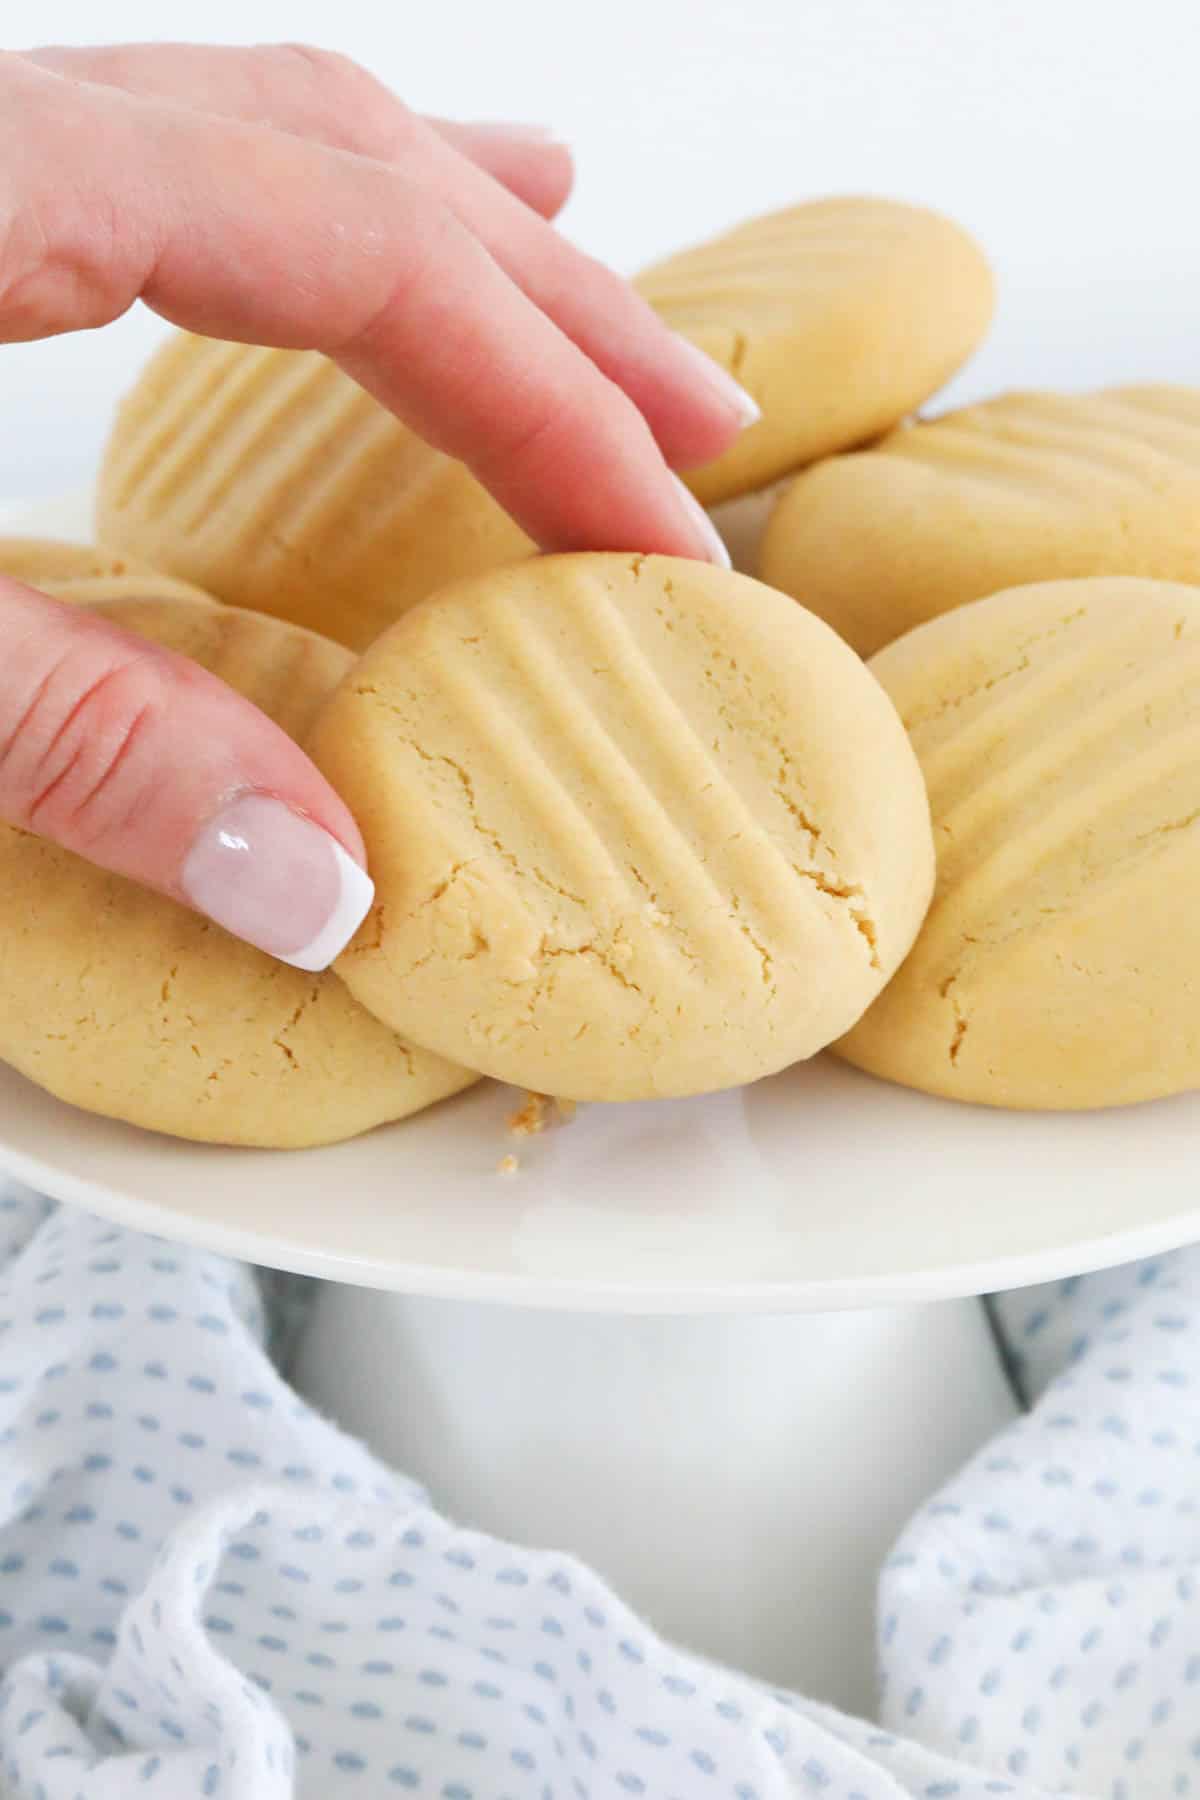
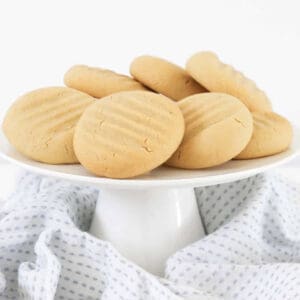
When it comes to classic New Zealand baking, nothing beats a batch of hokey pokey biscuits. Golden, chewy-crisp, and made from just 4 pantry staples, these old-fashioned hokey pokey biscuits are quick, easy, and absolutely delicious. Perfect for after-school snacks, weekend baking with the kids, or popping into lunchboxes, this is a recipe you'll make again and again.
If you love simple, fuss-free baking, you might also like my Classic Anzac Biscuits or my Chocolate Chip Cookies.

Quick and simple recipe, with few ingredients. Just what I was looking for. Didn't change a thing. Worked out perfectly for me to serve to unexpected visitors.
- Anne
These biscuits are a New Zealand classic, dating back generations - the kind of recipe scribbled down on lined paper in old community cookbooks or tucked in grandma's recipe tin. They're famous for their golden syrup sweetness and simple method, producing the perfect balance of crisp edges and slightly soft centres.
While many versions add milk or baking soda/bicarbonate of soda for extra crunch and rise, my recipe keeps it super simple with just four ingredients. Less fuss, less washing up, and you still get that signature golden flavour. Plus, unlike most recipes online, I've included both conventional and Thermomix hokey pokey biscuits methods, so no matter how you bake, you're covered.
If old-fashioned baking is your thing, you'll also love my Vanilla Custard Slice, Apricot Crumble or Mars Bar Slice.
Jump to:
Why You're Going To Love This Recipe
⭐ Only 4 ingredients - butter, golden syrup, brown sugar, and self-raising flour.
⭐ Ready in 20 minutes - this is such an easy recipe... no chilling, no mixers, no fuss.
⭐ Kid-approved - crunchy edges, chewy centres, and perfect for lunchboxes.
⭐ Thermomix & conventional methods - choose whichever suits you.
⭐ Budget-friendly - all ingredients are pantry staples.
Biscuit Ingredients
You'll only need 4 basic ingredients to make these easy hokey pokey biscuits with golden syrup.
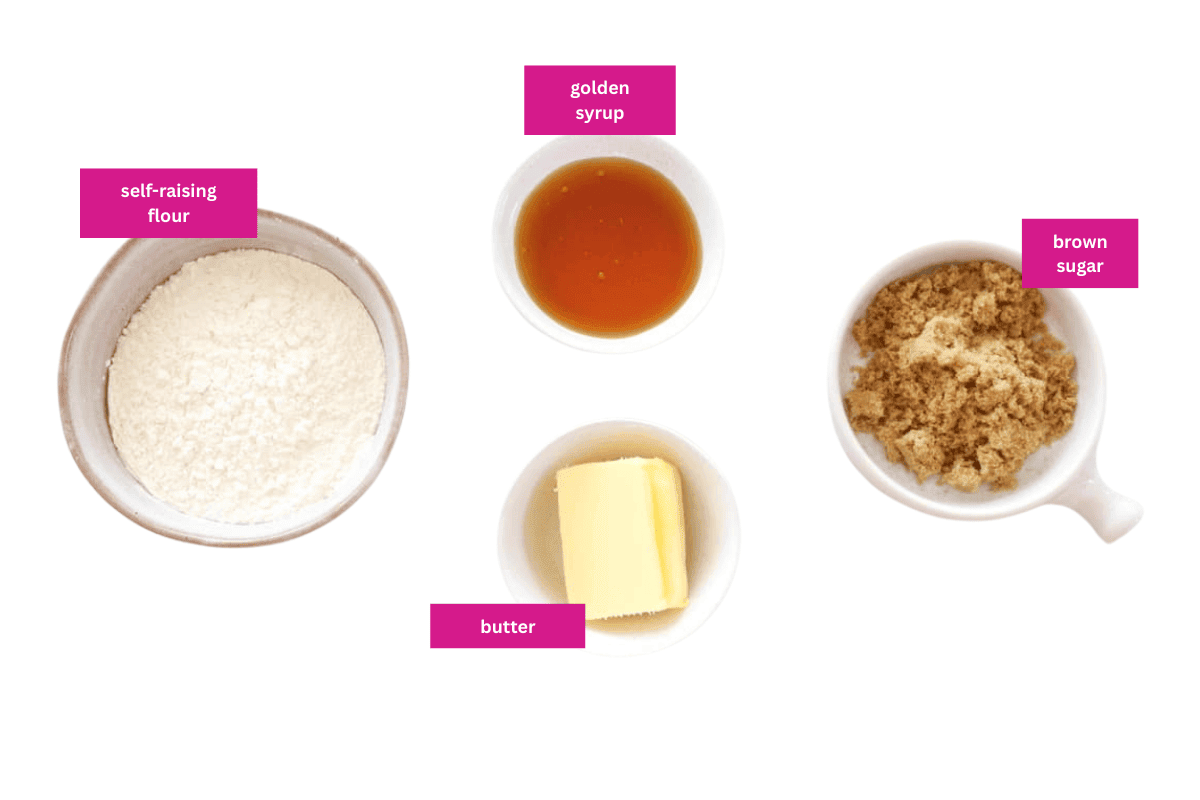
- Golden Syrup - this is what gives hokey pokey its signature flavour and colour. You can substitute with honey, maple syrup or corn syrup in a pinch, but golden syrup is best for that classic taste.
- Self-Raising Flour - gives the biscuits their light, slightly risen texture. Make sure to sift it in for even mixing.
Variations
Gluten Free Hokey Pokey Biscuits - use a gluten-free self-raising flour blend.
Crunchier Biscuits - add ½ teaspoon baking soda and an extra tablespoon of golden syrup for a firmer snap.
Chewy Hokey Pokey Biscuits - bake for 8-9 minutes instead of 10 for a softer middle.
Nutty Twist - fold through ½ cup chopped walnuts or pecans before baking.
How To Make Hokey Pokey Biscuits
Making these biscuits is so quick and easy. Here's how:
Note: Scroll to the recipe card at the bottom for the ingredient quantities and a detailed method.
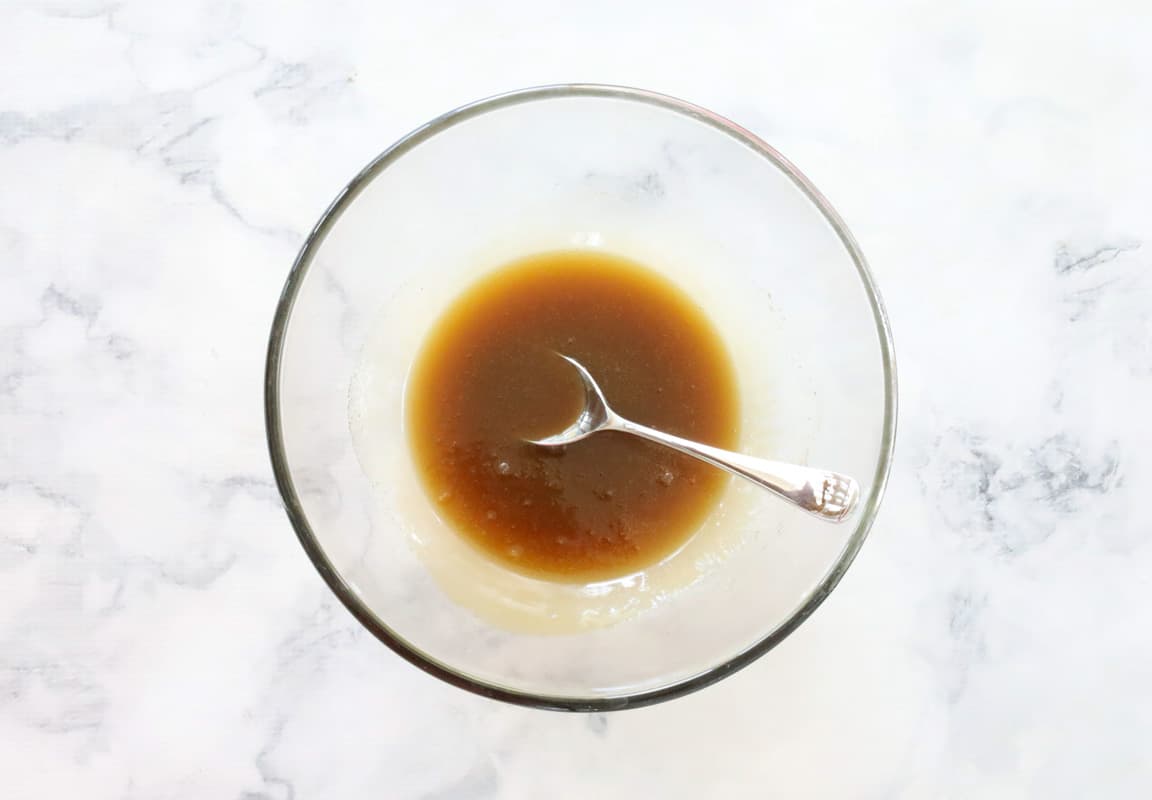
- Step 1: Melt the butter, golden syrup and brown sugar together in the microwave (50% power, stirring every 30 seconds) or in a small saucepan on low heat. Stir until smooth.
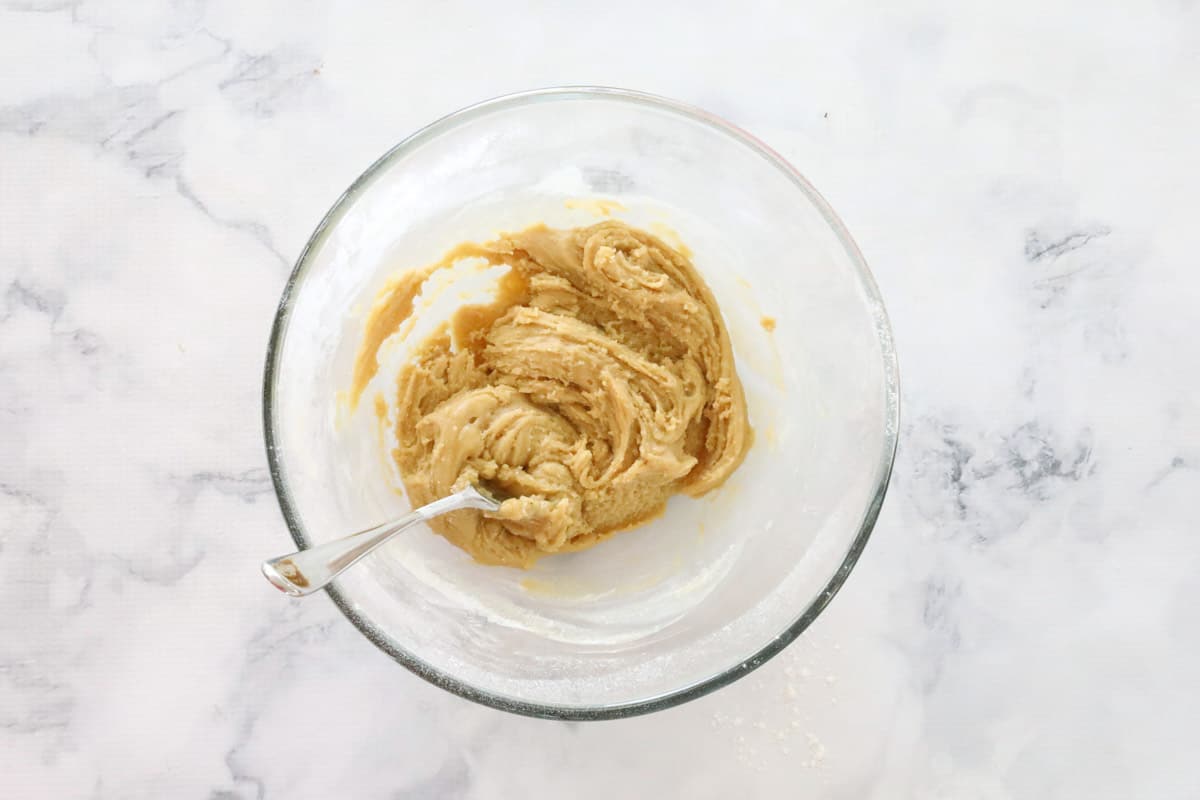
- Step 2: Sift the self-raising flour over the melted mixture. Stir until a soft dough forms.
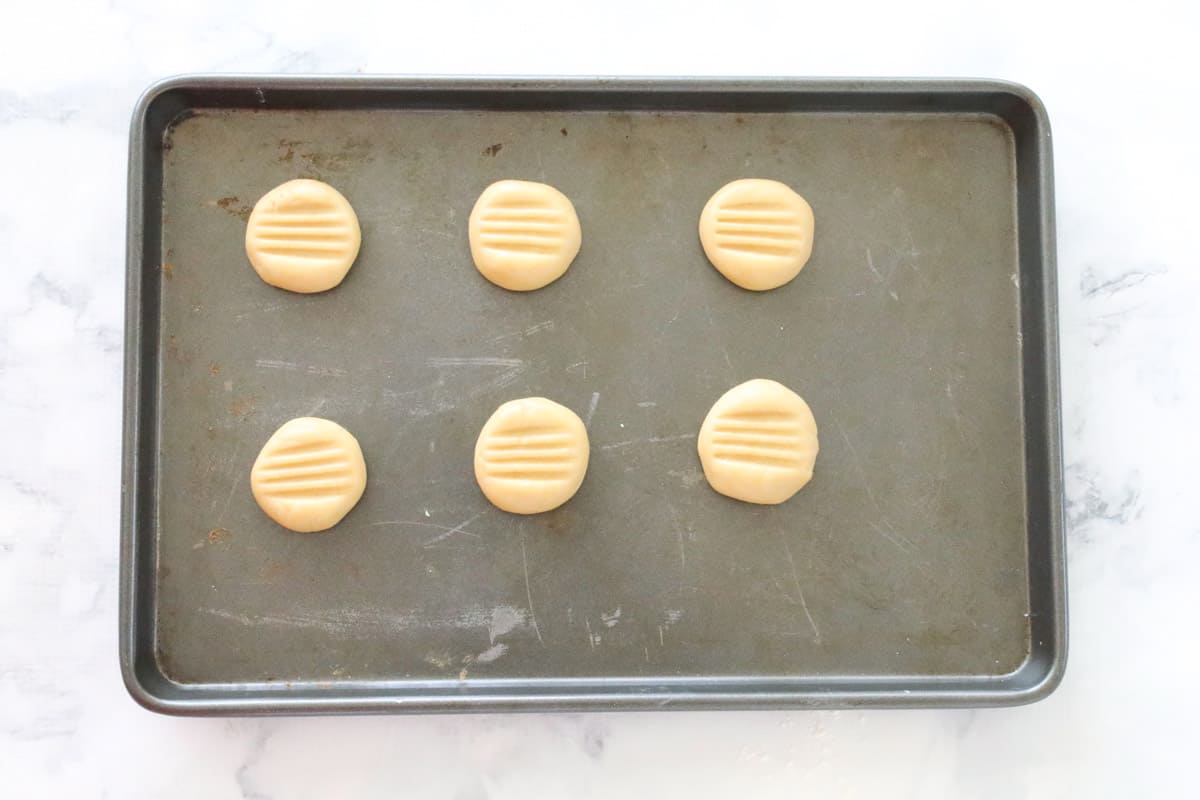
- Step 3: Roll tablespoonfuls of mixture into balls and place on trays. Press lightly with a floured fork.
- Step 4: Bake for 10 minutes or until light golden.
Leave on trays for 5 minutes before transferring to a wire rack to cool.
Top Tip
For crunchy hokey pokey biscuits, bake until golden brown. For chewy hokey pokey biscuits, pull them out while pale gold - they'll firm up as they cool.
Recipe Tips
- Don't overmix the dough - stir until just combined for tender biscuits.
- If your mixture is too soft to roll, add 1-2 tablespoons extra flour.
- Space biscuits apart on trays as they spread a little while baking.
- Store in an airtight container at room temperature for up to 5 days.
- Biscuits will soften slightly over time but remain delicious.
- Freeze baked biscuits in an airtight container for up to 1 month.
- To refresh, pop a biscuit in the oven for 2-3 minutes at 160°C.
- Perfect for school lunchboxes, afternoon teas, or dunking in a cuppa.
Hokey Pokey Biscuits FAQs
They originated as a New Zealand biscuit recipe, but have also become popular across Australia.
Yes - but the flavour will be milder. Golden syrup gives that authentic taste.
They may be under-baked. Bake for an additional minute or two for crispier edges.
Absolutely. Freeze in an airtight container for up to a month.
Not in this recipe. It's a 4-ingredient hokey pokey biscuit recipe that keeps things super simple.
More Easy Biscuit Recipes
Whipping up a batch of biscuits can be so quick and easy, and really, you can't compare store-bought with the flavour of biscuits home-made with love!
Why not try some of these? The kids will love to help!


WANT EVEN MORE DELICIOUS RECIPES? Subscribe to my newsletter or follow along on Facebook or Instagram. And if you love baking, then please come and join my Facebook cooking club group or subscribe to my YouTube channel.
4 Ingredient Hokey Pokey Biscuits
Ingredients
- 60 g unsalted butter
- 115 g (⅓ cup) golden syrup
- 60 g (⅓ cup) brown sugar
- 225 g (1½ cup) self-raising flour sifted
Instructions
Conventional Method
- Preheat oven to 180 degrees celsius (fan-forced). Line 2 baking trays with baking paper and set aside.
- Place the butter, golden syrup and brown sugar into a microwave-safe bowl and melt on 50% power, stirring each 30 seconds, until melted. Stir until all of the sugar has dissolved. Set aside to cool.Note: Alternatively you can melt the ingredients in a saucepan on the stovetop over low heat.
- Sift the self-raising flour on top of the melted butter mixture. Stir until a soft dough forms.
- Form tablespoon sized balls with the dough and place onto the baking trays.Note: If the mixture is too soft to roll into balls, add a little more flour and mix again.
- Press the dough balls down lightly with a fork.
- Bake for 10 minutes or until just golden.
- Leave on the baking trays for 5 minutes before transferring to a wire rack to cool completely.
- Store in an airtight container at room temperature for up to 5 days (the cookies will soften over time but still as delicious!)
Thermomix Method
- Preheat oven to 180 degrees celsius (fan-forced). Line 2 baking trays with baking paper and set aside.
- Place the butter, golden syrup and brown sugar into the TM bowl. Melt for 2 minutes, 80 degrees, Speed 2. Scrape down the sides of the bowl.
- Melt for a further 2 minutes, 80 degrees, Speed 2. Leave to cool slightly.
- Add the self-raising flour to the TM bowl and mix for 20 seconds, Speed 2. Scrape down the sides of the bowl and repeat.
- Form tablespoon sized balls with the dough and place onto the baking trays. Press down lightly with a fork.
- Bake for 10 minutes or until just golden. Leave on the baking trays for 5 minutes before transferring to a wire rack to cool completely.
- Store in an airtight container at room temperature for up to 5 days (the cookies will soften over time but still as delicious!)
Notes
- Don't overmix the dough - stir until just combined for tender biscuits.
- If your mixture is too soft to roll, add 1-2 tablespoons extra flour.
- Space biscuits apart on trays as they spread a little while baking.
- Store in an airtight container at room temperature for up to 5 days.
- Biscuits will soften slightly over time but remain delicious.
- Freeze baked biscuits in an airtight container for up to 1 month.
- To refresh, pop a biscuit in the oven for 2-3 minutes at 160°C.
- Perfect for school lunchboxes, afternoon teas, or dunking in a cuppa.
Tracy says
Hey Bec, helllp! I've run out of brown sugar could I use caster sugar? Ta
Lucy says
Hi Tracy, the brown sugar is what gives these biscuits their chewy caramel flavour! I wouldnt substitute it sorry!
Kelly says
These are delicious!!!
Thanks for the great, easy peasy recipe. I love that there's no beating of butter and sugar!
The mixture was a bit too runny (couldn't form balls), probably because i didn't measure the butter or golden syrup properly, so just added more flour.
First tray i cooked for 10 minutes - perfect!
Second tray i cooked for 15 minutes - also perfect, just harder (which i love) and awesome for dunking.
Next time I'm going to add ginger, as these reminded me of the yummy hard ginger nut biscuits we love.
Thanks for the great, easy peasy recipe. I love that there's no beating of butter and sugar!
Cheers 🙂
Lucy says
That's absolutely fantastic!!! Thanks for the lovely feedback!
Bron says
I’d never tried or heard of hokey pokey biscuits but this is now a well, and regularly used recipe in our home. Thank you Lucy.
We roll them quite small (to fit in bento school lunch boxes) as an added bonus to this, they take no more than 6 minutes in the oven (we also appreciate them more soft).
My littlies help me making the biscuits, their favorite job being to press the fork on top, as such they are affectionately named “stripey biscuits”.
The biscuits freeze remarkably well and we keep the freezer stocked so we can add these little treats easily and quickly over the school term. We do also make larger ones as an even bigger treat by using these for ice cream sandwiches, delicious.
Lucy says
That's absolutely fantastic to hear Bron!! Thank you for all your feedback and tips!
Monica Seet says
So so yummy. We love this recipe with the addition of powdered ginger to give it a bit of a kick.
Lucy says
How delicious!!
Kathryn says
Hi, the NZ recipe uses baking soda to make a hokey pokey type mixture (milk and syrup melted together and then add baking soda and it foams up) that you mix into creamed butter and sugar. I made some this morning, delicious. I haven’t tried this recipe. Yet!