

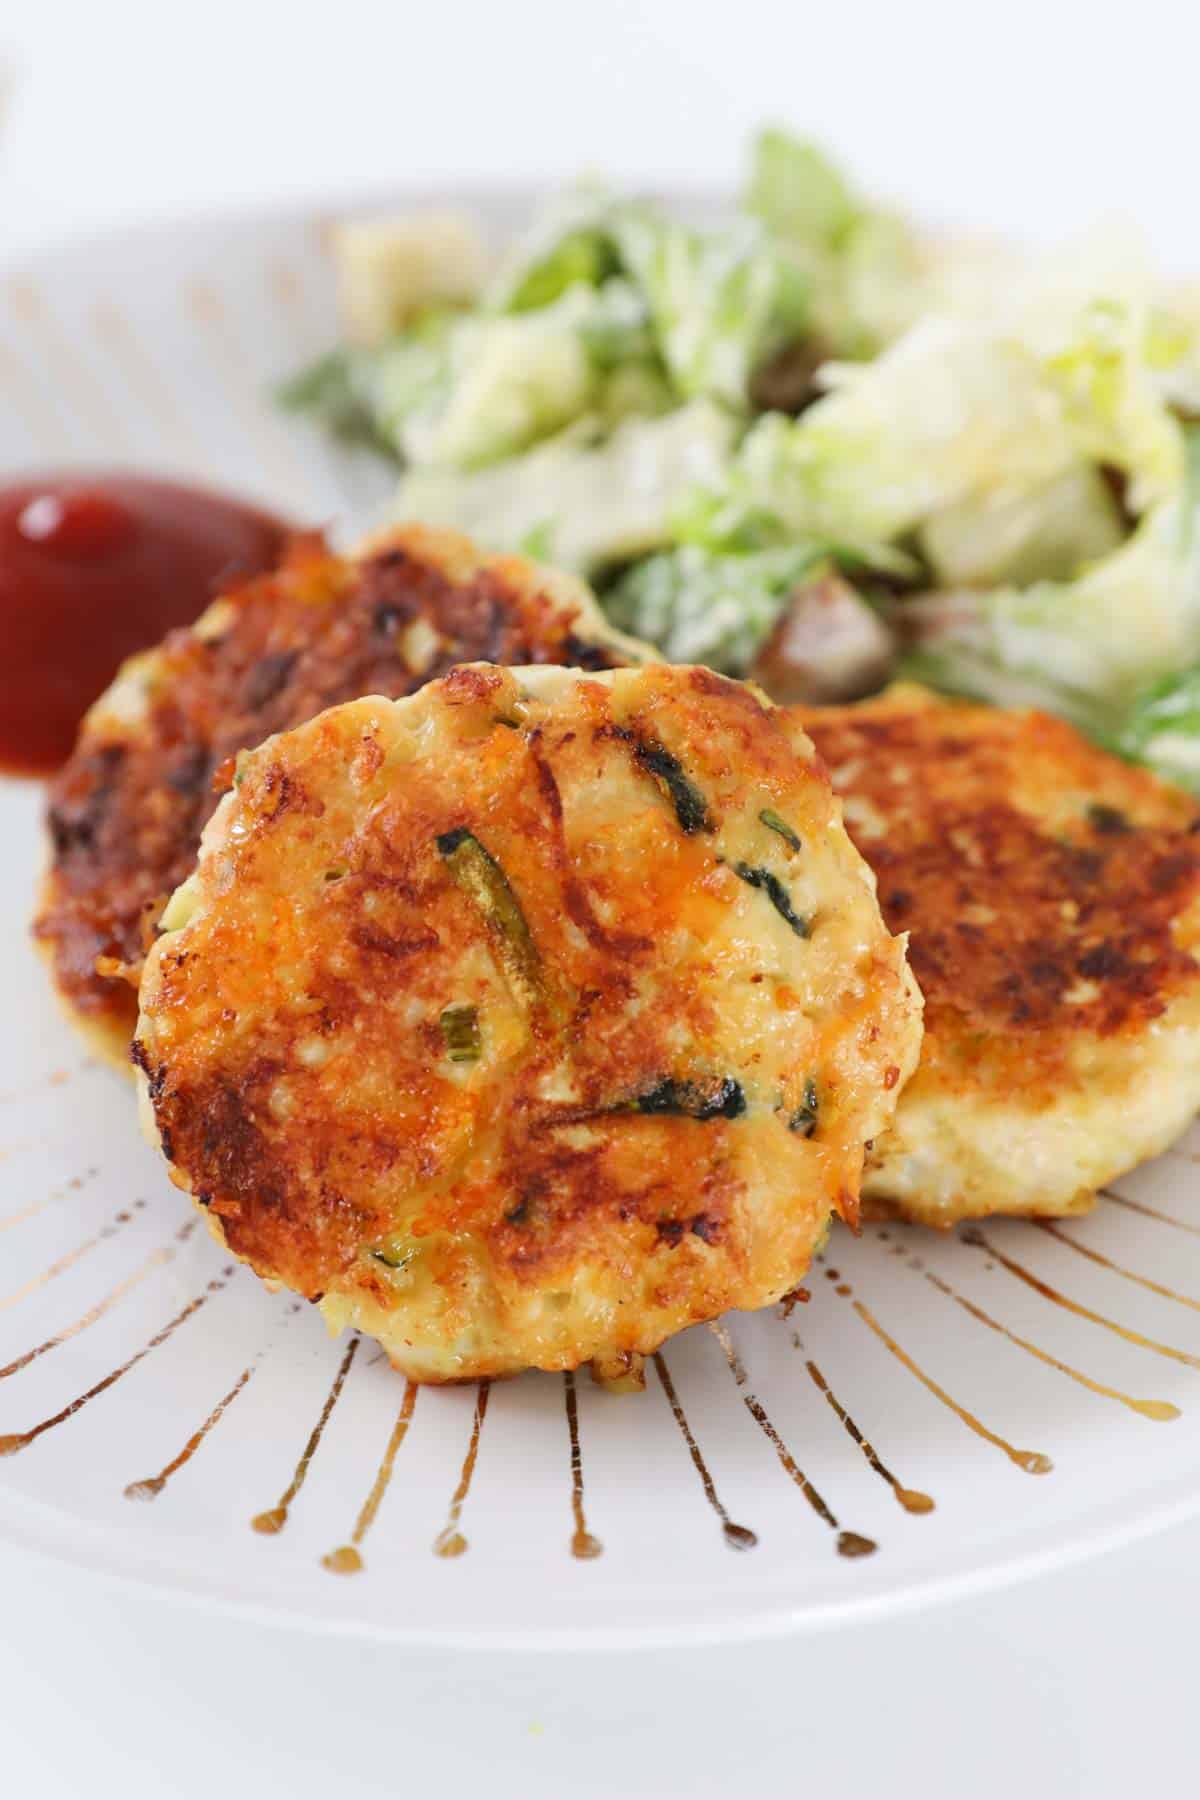
When it comes to fuss-free dinners the whole family will actually eat, nothing beats a batch of chicken rissoles.
If you're into easy family dinners like my Zucchini Slice or Impossible Quiche, these need to be next on your list.
A Quick Look At The Recipe
✅ Recipe Name: Chicken Rissoles
🕒 Ready In: 15 minutes
👪 Serves: Makes about 20 rissoles (serves 4-5 as a main)
🍚 Calories: 78kcal per rissole
🥣 Main Ingredients: Chicken mince, carrot, zucchini, cheddar cheese
📖 Dietary Info: Contains egg, dairy and gluten - easy gluten-free swap included
⭐ Why You'll Love It: Juicy, cheesy chicken patties loaded with hidden veggies, on the table in 15 minutes flat.
SUMMARIZE & SAVE THIS CONTENT ON
Tried these chicken rissoles last night. Absolutely delicious. I rolled them in a little flour before frying.
- Lorraine Calleja
Rissoles are one of those recipes I make on repeat - my Beef Rissoles are the classic version if you want to compare, and if you're after another chicken mince dinner, try my Chicken Piccata Meatballs.
Got leftovers? They're brilliant cold in a sandwich, just like my Coronation Chicken Sandwiches.
Jump to:
Why You're Going To Love This Recipe
- Quick and easy - ready in just 15 minutes, no fancy equipment required.
- Kid-approved. Cheesy, mild and the kind of dinner that doesn't get pushed around the plate.
- So versatile - dinner tonight, lunchbox filler tomorrow, party food on the weekend.
- Freezer-friendly, so a double batch means dinner is basically sorted for next week too.
Rissole Ingredients
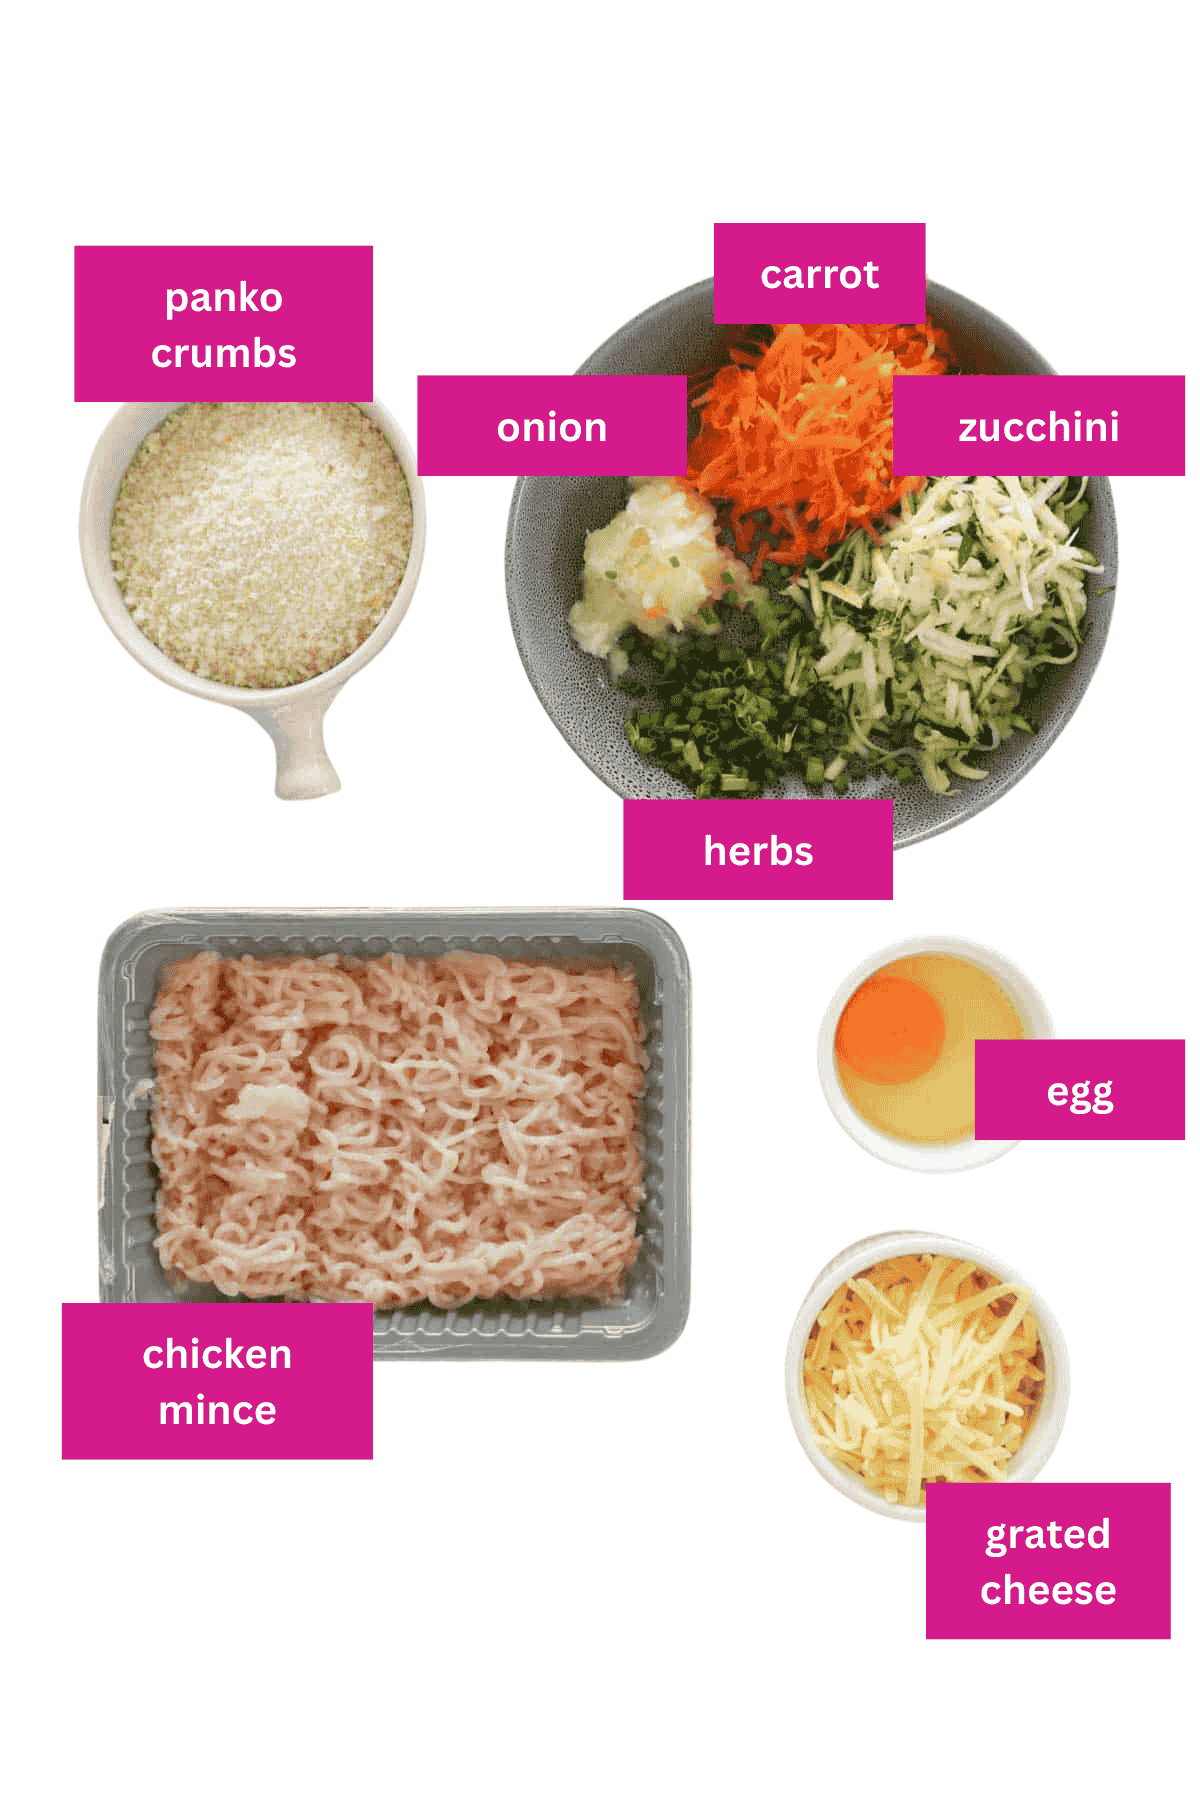
Note: Scroll to the recipe card at the bottom for the ingredient quantities and full detailed method.
- Chicken mince - lean chicken breast mince keeps these juicy without going greasy. One of my regulars, Emily, mentioned she minces her own from breast or thigh in the Thermomix if she's after a bit more flavour.
- Carrot and zucchini, grated - these keep the rissoles moist and basically disappear once cooked, so the kids never clock the veggies. Squeeze the zucchini dry before mixing though, or you'll end up with a soggy mix that won't hold together.
Variations
- Thai Chicken Rissoles - stir through a spoonful of curry paste and some fresh coriander.
- Spinach and Feta Chicken Rissoles - swap the cheddar for crumbled feta and mix through a handful of finely chopped baby spinach. Sounds fancy, tastes even better.
- Want more flavour punch? Crush in a clove of garlic along with the veggies.
- Gluten-Free Chicken Rissoles - swap the panko for gluten-free breadcrumbs. Same method, same result.
- Air Fryer Chicken Rissoles - cook at 200°C for around 12-14 minutes, turning halfway, until golden and cooked through.
- French Onion Chicken Rissoles - mix through a packet of French onion soup mix for that retro flavour everyone secretly loves.
How To Make Chicken Rissoles
Making these chicken rissoles couldn't be easier - just grate, mix, shape and fry.
Note: Scroll to the recipe card at the bottom for the ingredient quantities and full detailed method.
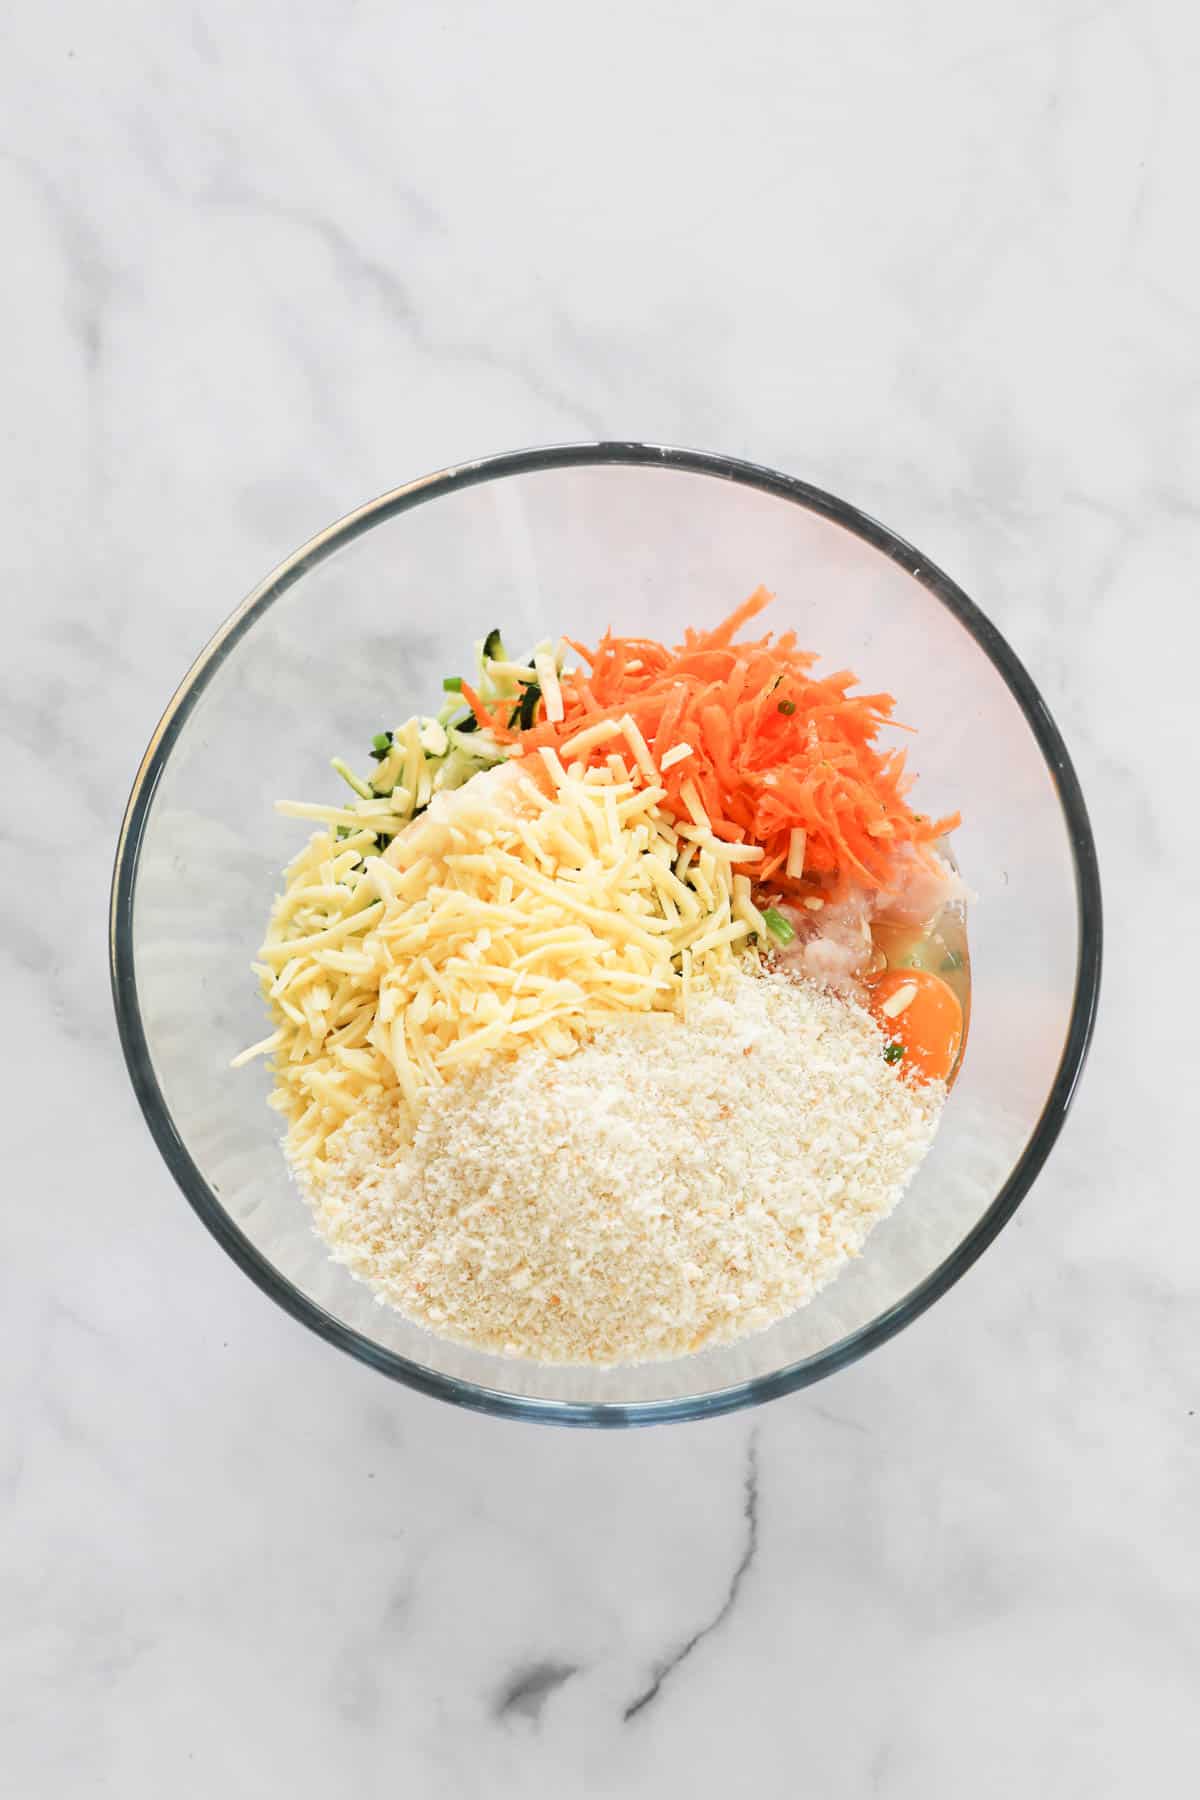
- Step 1: Prep the veggies. Grate the onion, carrot, zucchini and cheese into a large bowl.
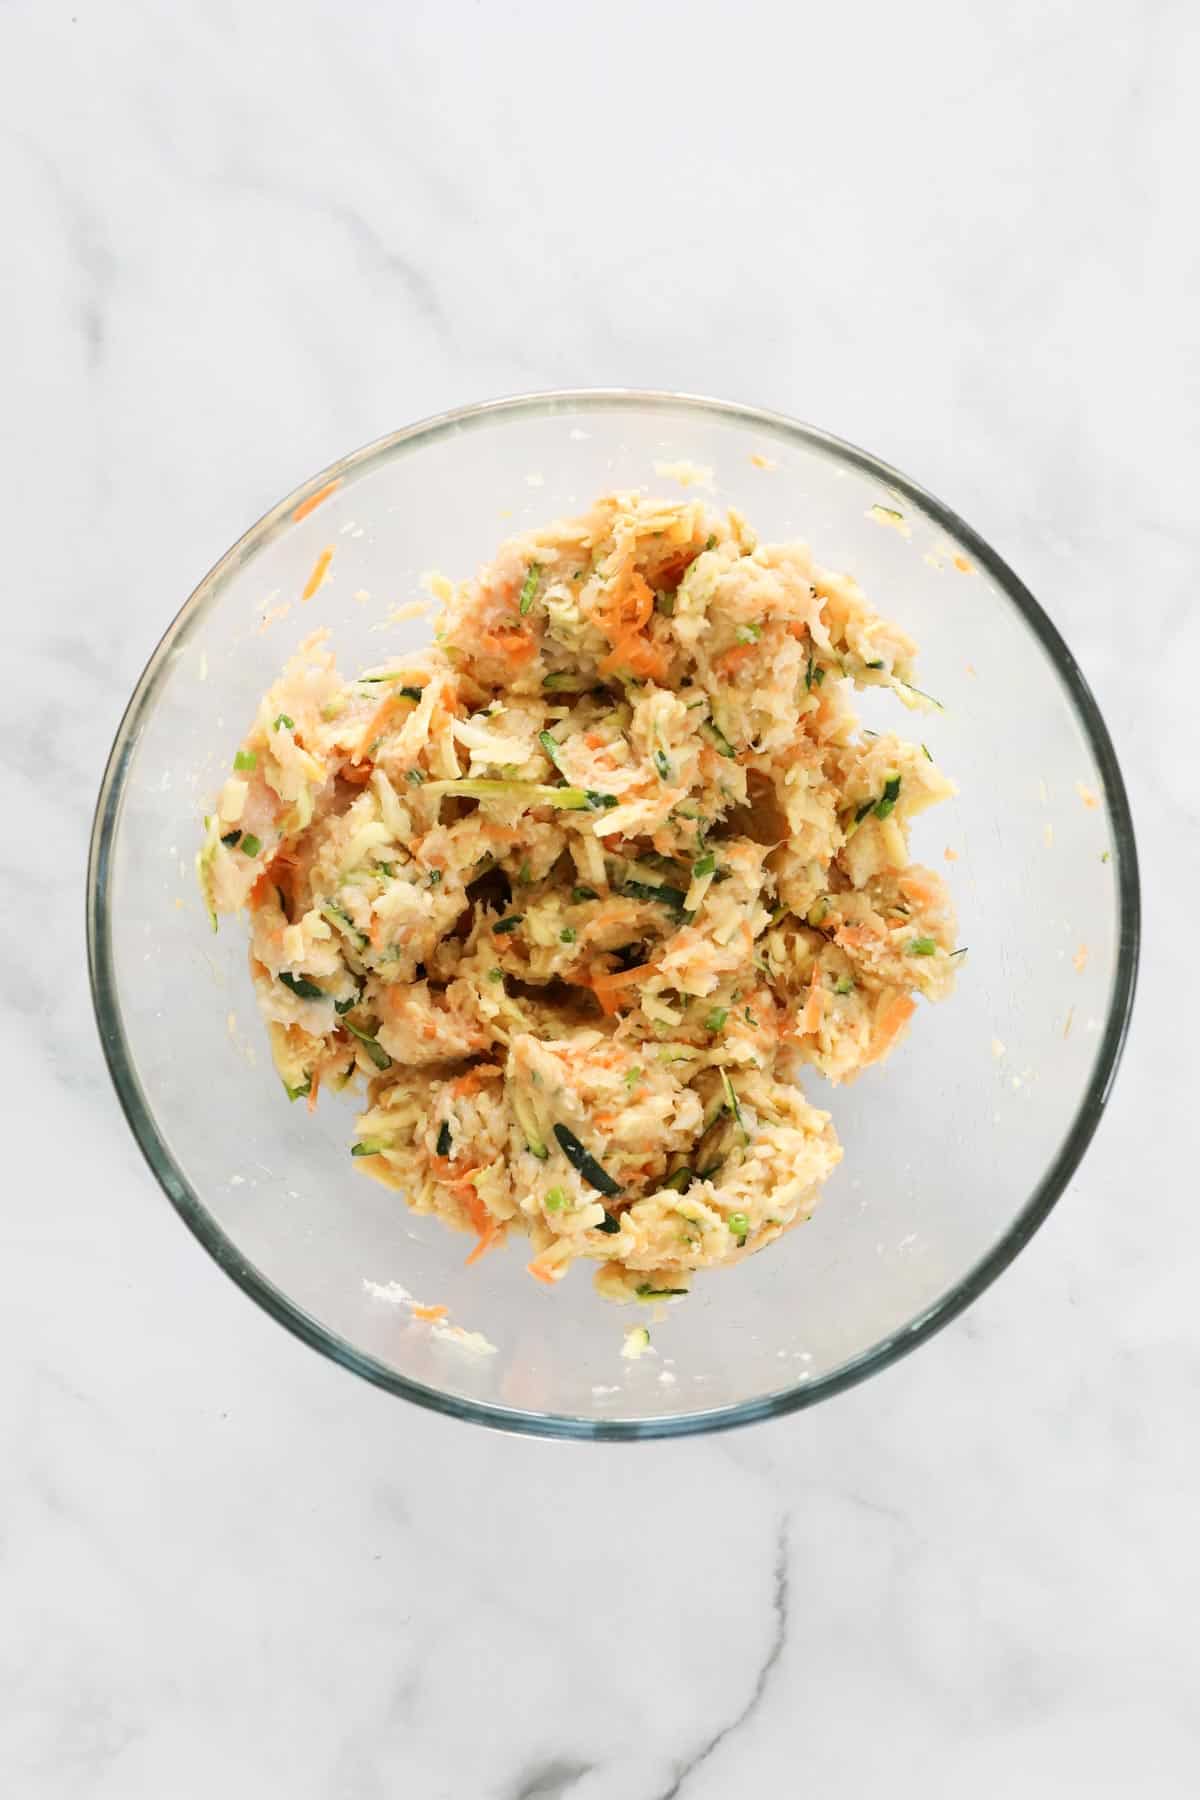
- Step 2: Mix. Add the chicken mince, breadcrumbs, egg, herbs, salt and pepper, then mix well to combine.
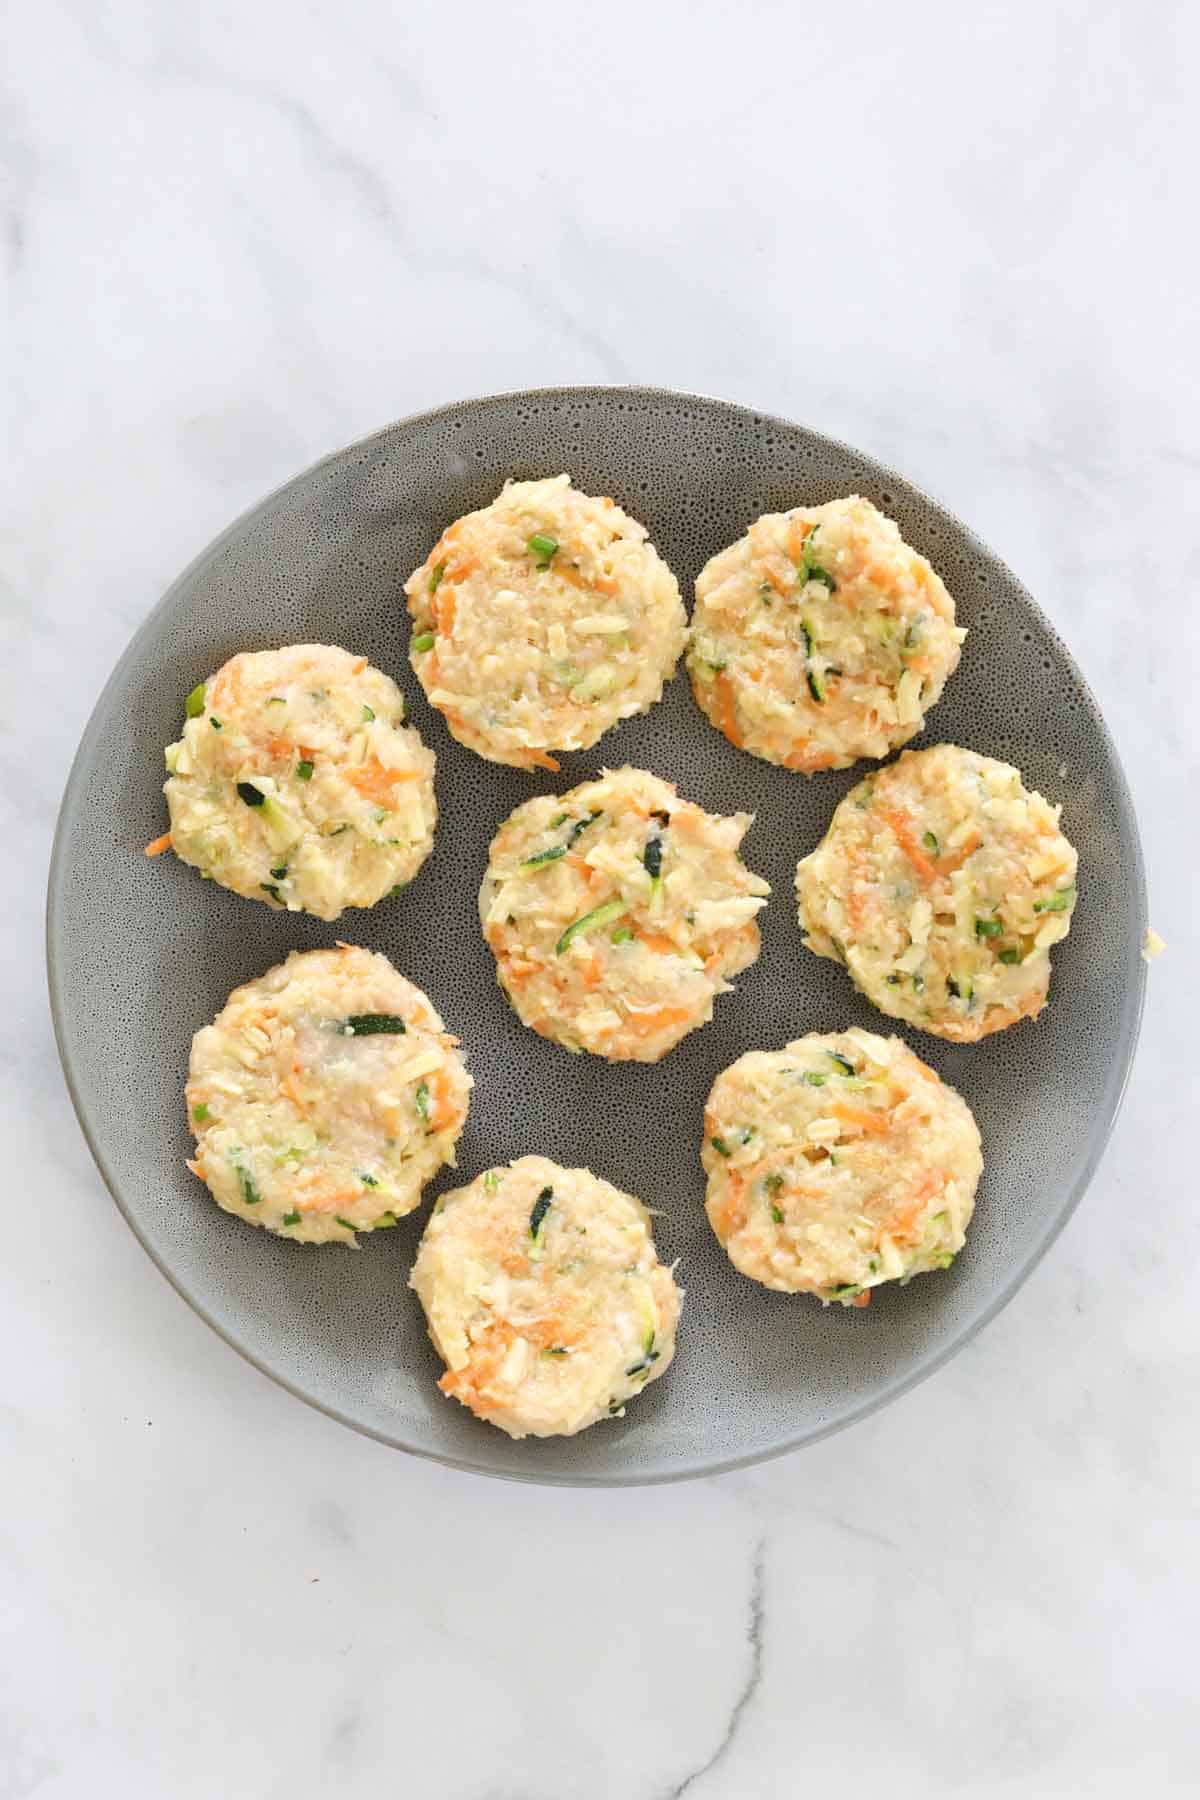
- Step 3: Shape. Scoop up about 2-3 tablespoons of mixture, roll into a ball, then flatten slightly.
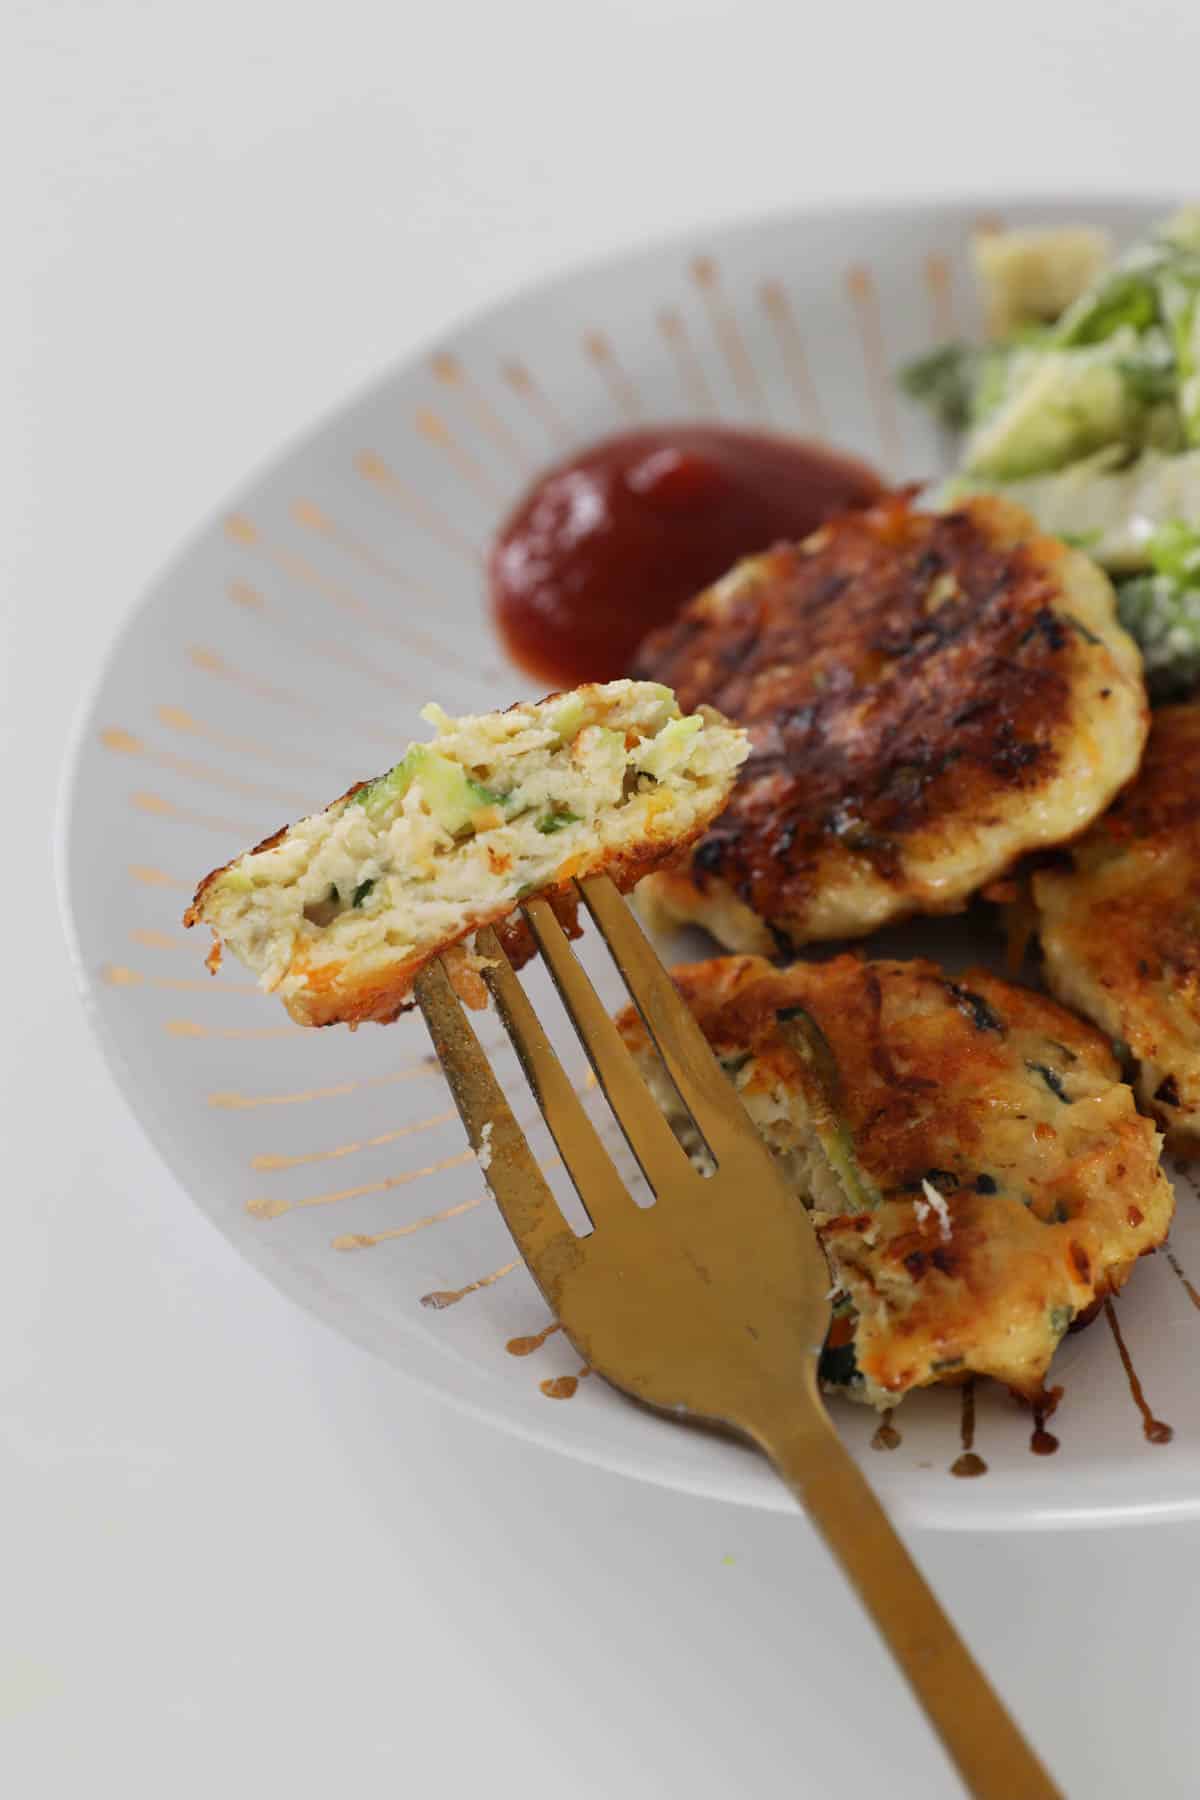
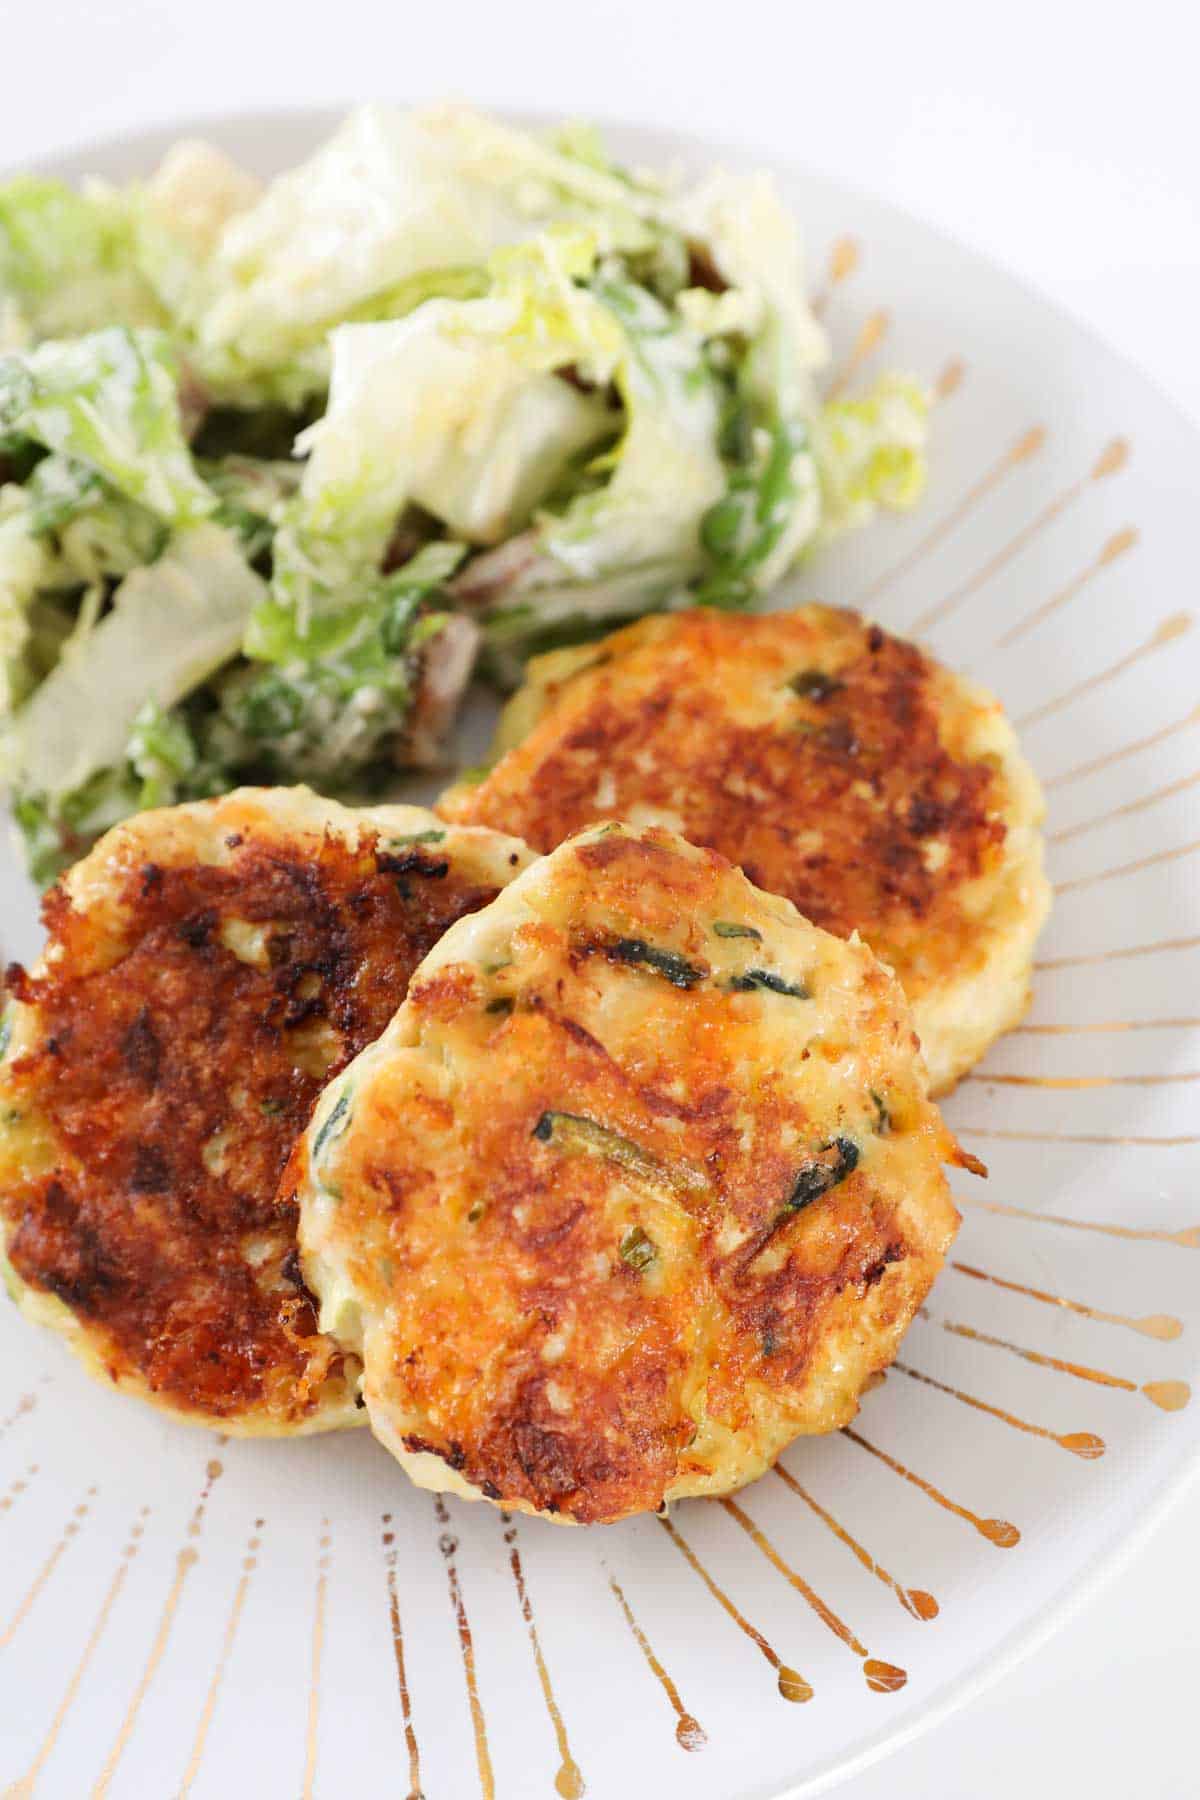
- Step 4: Cook. Heat olive oil in a pan over medium heat and cook the rissoles for 4-5 minutes each side until golden and cooked through. Serve with salad, chips or creamy mash.
Recipe Tips
- Storage - keep cooked rissoles in the fridge for up to 2 days. Great hot or cold in wraps and sandwiches.
- Freezing - freeze cooked or uncooked rissoles for up to 3 months. Freeze uncooked ones between sheets of baking paper so they don't stick, and pack cooked ones into airtight containers. Reheat from frozen in the oven or microwave until piping hot through the middle. Need more freezer wins? My Freezer Meals roundup has plenty more.
- If your mixture feels a bit sloppy, pop the bowl in the fridge for 20-30 minutes before shaping. It firms right up and holds together much better in the pan.
- Wet your hands before shaping so the mixture doesn't stick to your fingers.
- Serve with tomato sauce, aioli or sweet chilli for dunking.
Chicken Rissoles FAQs
Yes. Mix it up, cover and pop it in the fridge for up to a day before shaping and cooking. Chilling it actually helps the rissoles hold their shape better in the pan.
Definitely, cooked or uncooked, for up to 3 months. See the tips above for how to freeze them without everything sticking together.
Nine times out of ten it's too much liquid in the mix. Squeeze the grated zucchini well before adding it, and don't flip the rissoles too early - give them a good 4 minutes on the first side so they've properly sealed before you turn them.
You can - bake at 200°C for 20-25 minutes, turning halfway, until golden and cooked through. They won't get quite the same crispy edge as pan-frying, but they're still good.
Turkey mince works really well if you want something even lighter. Pork mince is good too. I wouldn't swap in beef or lamb mince here though - the seasoning in this recipe is built around chicken, so a red meat rissole needs different flavours (my Beef Rissoles recipe has you covered for that one).
More Easy Chicken Dinner Recipes
Looking for a few more budget-friendly dinners the whole family will actually eat?


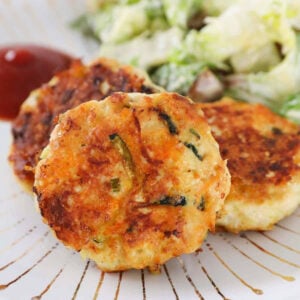
Chicken Rissoles
Ingredients
- 1 brown onion medium sized, grated
- 1 carrot medium, grated
- 1 zucchini small, grated
- 120 g (1 cup) cheddar cheese or tasty, grated
- 500 g chicken mince
- 45 g (¾ cup) panko breadcrumbs or normal breadcrumbs
- 1 egg
- 1 tbs chives or parsley chopped
- salt and pepper to season
- olive oil for cooking
Instructions
- Grate the onion, carrot, zucchini and cheese and place into a large bowl. If using a Thermomix - roughly chop the onion, carrot, zucchini and cheese and place into the Thermomix bowl. Mix for 6 seconds, Speed 8.
- Add the chicken mince, panko breadcrumbs, egg, chopped herbs, salt and pepper. If using a Thermomix - add the remaining ingredients and mix for 10 seconds, Speed 4, Scrape down the bowl and repeat until combined.
- Scoop up small handfuls of the mixture (approx 2-3 tablespoons) and shape into small balls. Flatten slightly.
- Heat olive oil in a frying pan over medium heat. Cook the rissoles for 4-5 minutes on one side before turning over and cooking for a further 4 minutes (or until cooked through).
- Repeat with remaining rissoles.
Notes
- Squeeze the grated zucchini well before mixing - too much liquid will make the rissoles soggy and fall apart.
- Wet your hands when shaping the mixture to stop it sticking.
- Make them small for lunchboxes or finger food, or larger for a main meal.
- Double the batch and freeze cooked or uncooked rissoles for up to 3 months.
- Freeze uncooked rissoles between sheets of baking paper so they don't stick.
- Freeze cooked rissoles in airtight containers, then reheat in the oven or microwave.
- Store leftovers in the fridge for 2 days - enjoy hot or cold in wraps and sandwiches.
- For extra crispy edges, shallow fry in olive oil rather than baking.
- Serve with tomato sauce, aioli or sweet chilli for dipping.

Annie says
Hi there
I have made these before and loved them. I was wondering if these can be put in the air fryer rather than oil fried?
Anyone tried that?
Lucy says
Hi Annie, that should be fine!
Kathryn Monaco says
Soooo good! On repeat in our house.
Lucy says
Yay!
Ruby says
Can I use Ground turkey instead of chicken?
Lucy says
Sure thing!
Mandy says
Using the thermomix way, should I have drained the zucchini first? The mixture was so wet.
Lucy says
Hi Mandy, if you use a bigger zucchini you will have to drain as they have much more liquid - but I usually use smaller sized zucchinis and they're fine (they also give the rissoles moisture).
Jackie says
Love these! I add half a tube of “Gourmet Garden Thai paste” and serve with Asian salad, crushed peanuts and vermicelli. Delicious! Thanks for a great recipe.