

When December hits, and life turns into a whirlwind of concerts, class parties, end-of-year catch-ups and frantic present-wrapping, I'm all about festive shortcuts in the kitchen. These No-Bake Christmas Cheesecakes are my favourite kind of Christmas magic: big on flavour, low on fuss, and guaranteed to make you look like the queen of holiday entertaining.
If you love a dessert that's creamy, minty and fabulously festive, you'll also enjoy a favourite of mine, my Mint Slice No-Bake Cheesecake, or this adorable and super easy Mint Rocky Road Christmas Wreath.
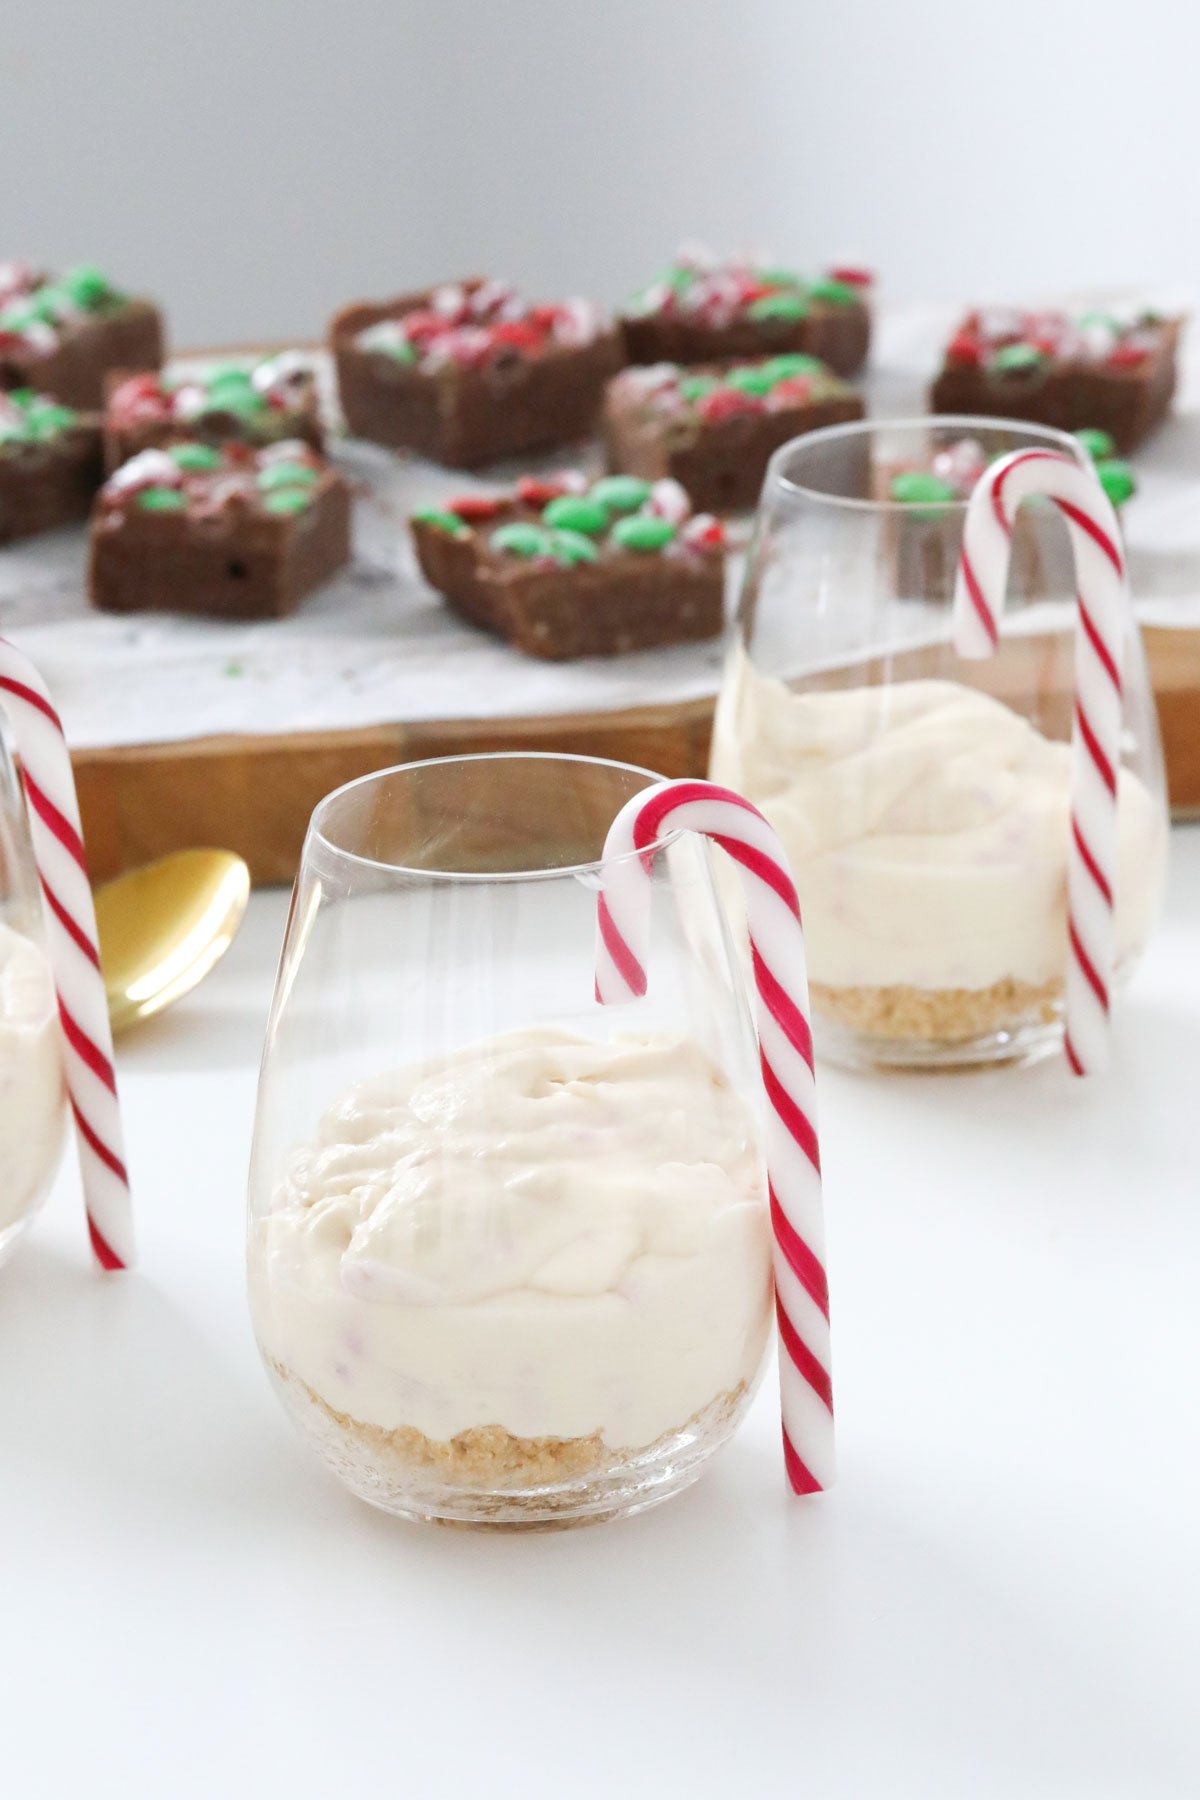
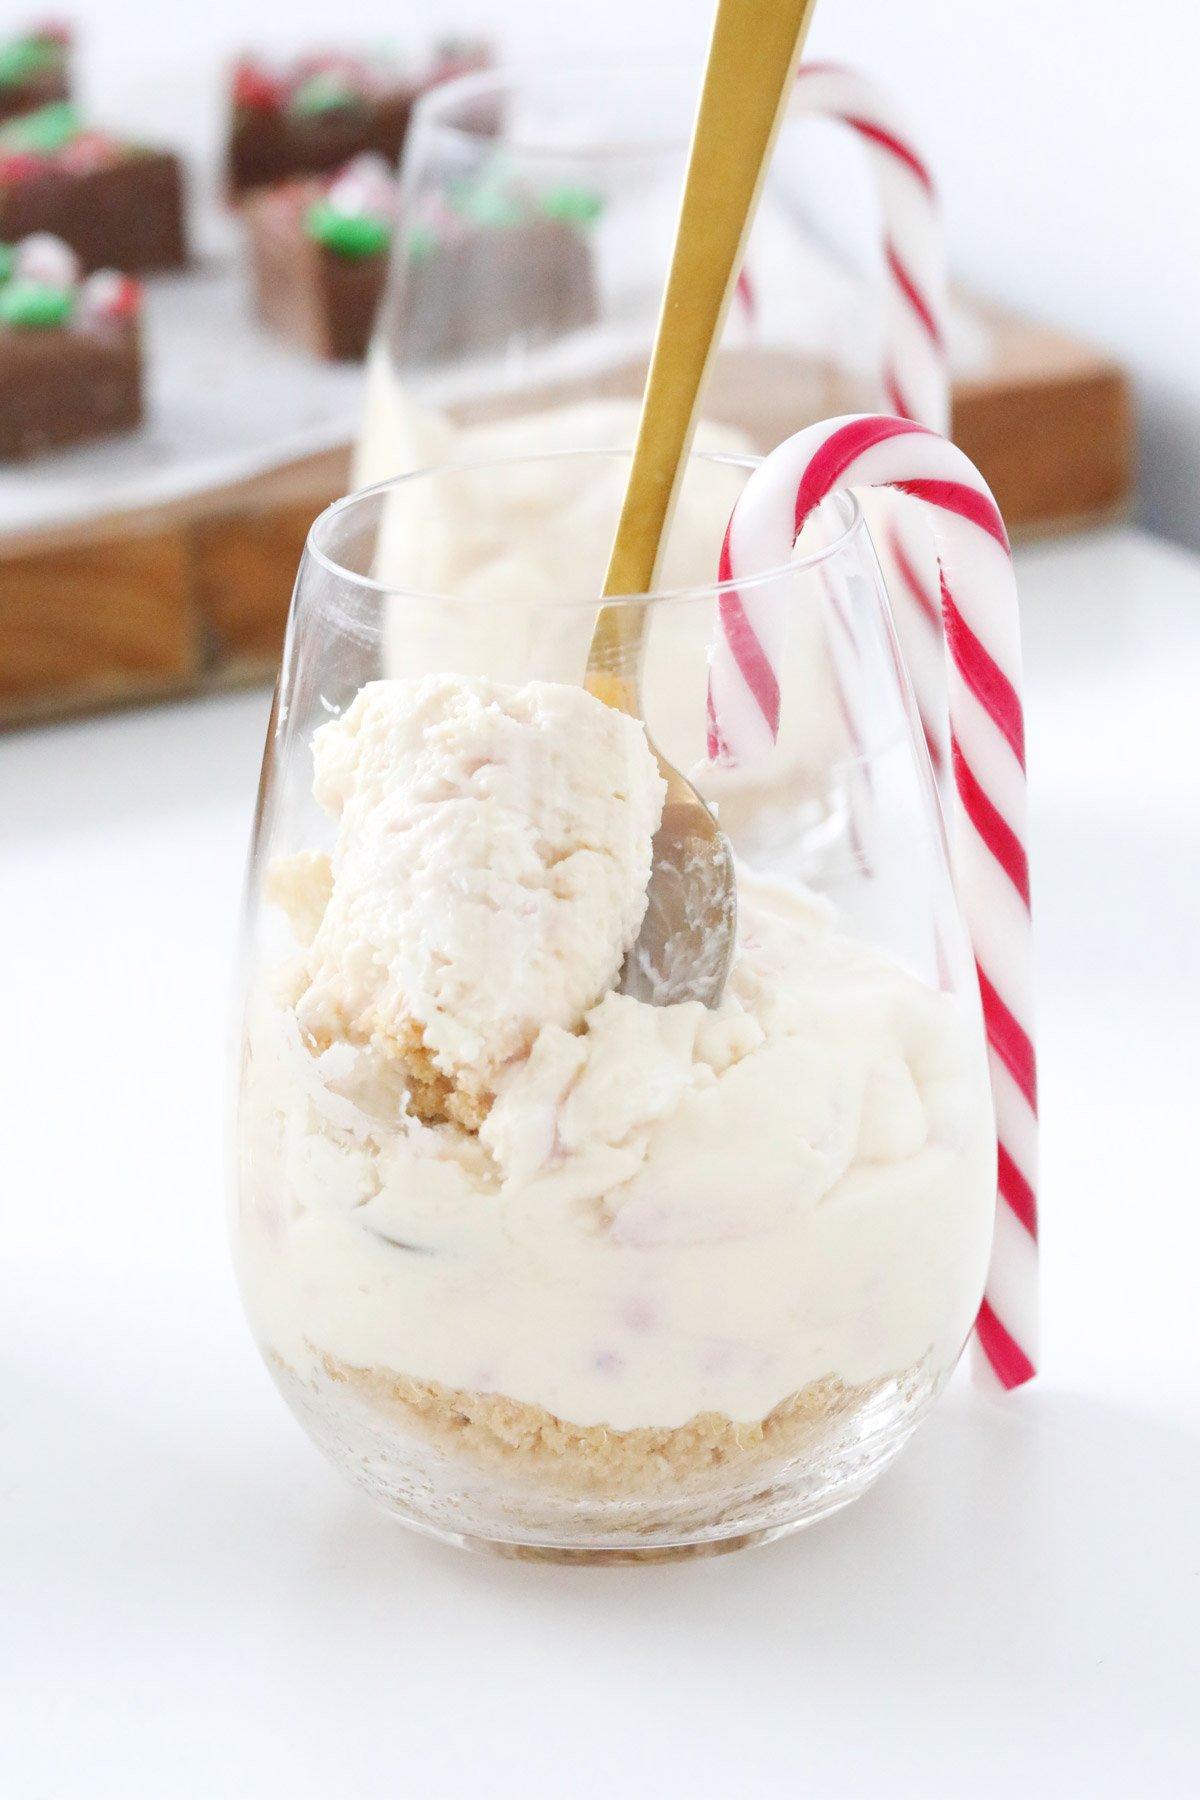
Think of these as the holiday version of a classic no-bake cheesecake - only cuter, quicker, and loaded with a bit of Christmas sparkle. The filling is a dreamy mix of cream cheese, white chocolate, crushed candy canes and just a hint of peppermint. Topped off in individual glasses, they're effortlessly impressive and perfect for preparing ahead of Christmas gatherings.
If you've made my Mini No-Bake Toblerone Cheesecakes or my 'adults only' Baileys Chocolate Brownie Trifle, you already know how much I adore a set-and-forget individual dessert. This Christmas version ticks every box: simple, festive and unbelievably creamy.
Why You're Going To Love This Recipe
- No oven required - perfect for steamy summer Christmases.
- Fuss-free and quick to prep - only 20 minutes of hands-on time.
- Individual servings - so classy for entertaining (and no fighting over slices!).
- Minty and creamy - the candy cane crunch gives that festive touch.
- Make-ahead friendly - ideal when you're juggling a million December tasks.
Jump to:
Individual Cheesecake Ingredients
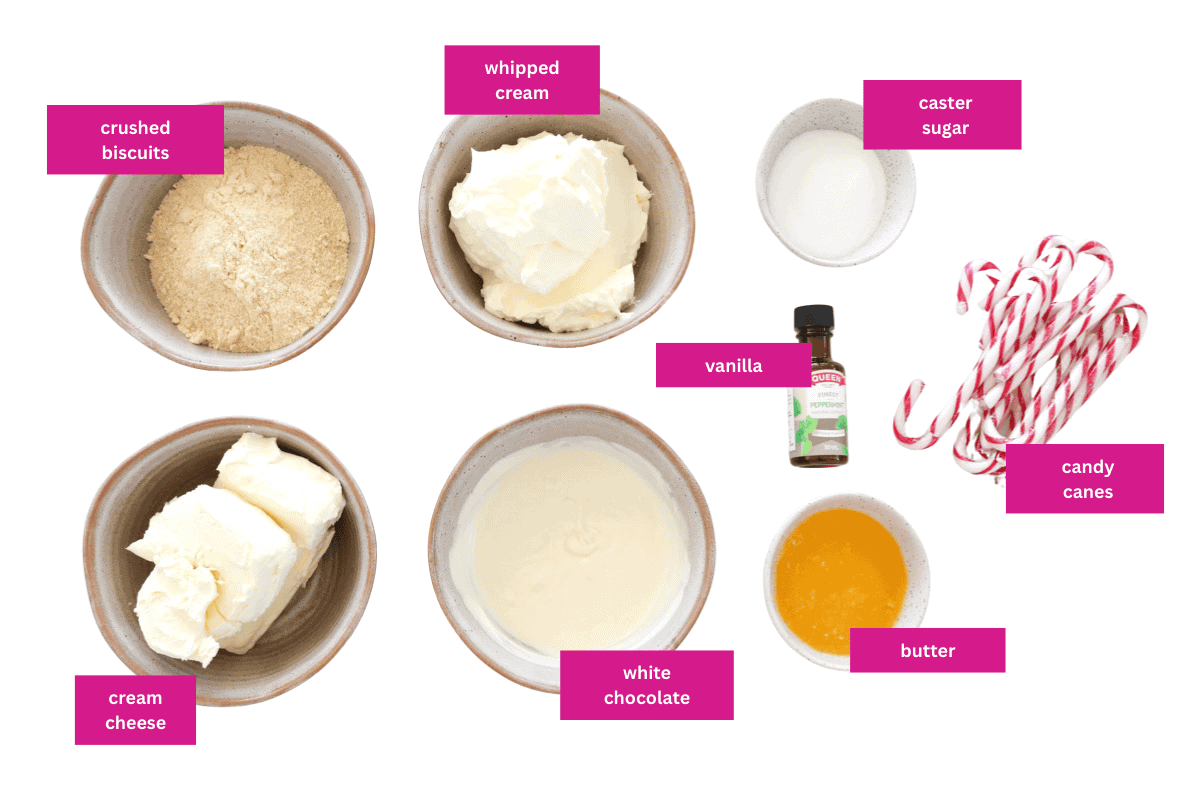
Most ingredients are straightforward basics, so below are the ones worth noting:
Note: Scroll to the recipe card at the bottom for the ingredients quantities and full detailed method.
- Peppermint extract - a little goes a long way; it boosts the minty flavour without overpowering the white chocolate.
- Gelatine powder - gives your cheesecakes that perfect soft-set texture. Make sure it fully dissolves in the boiling water before adding.
- Candy canes - crush them fine for the filling, but keep extras whole for decorating just before serving.
Variations
- Chocolate peppermint - stir through ½ cup mini choc chips or add a layer of chocolate ganache under the filling.
- Strawberry Christmas cheesecakes - swap peppermint extract for vanilla and add crushed freeze-dried strawberries.
- Kid-friendly colour pop - mix in a handful of Christmas sprinkles instead of candy canes.
- Gluten-free - simply swap the plain biscuits for your favourite GF alternative.
How To Make Christmas Cheesecakes
Making these individual Christmas Cheesecakes is wonderfully simple, and you'll have them chilling in the fridge in no time.
Note: Scroll to the recipe card at the bottom for the ingredients quantities and full detailed method.
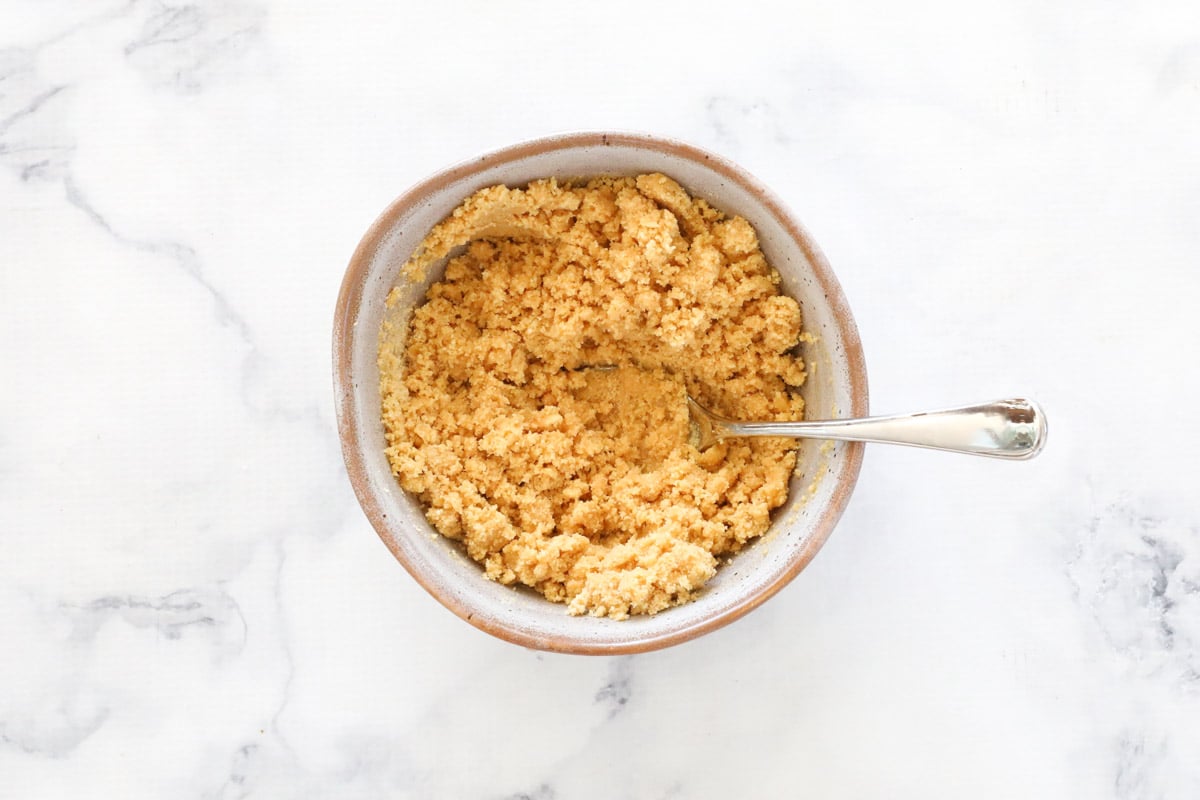
- Crush plain sweet biscuits until fine and stir through melted butter.
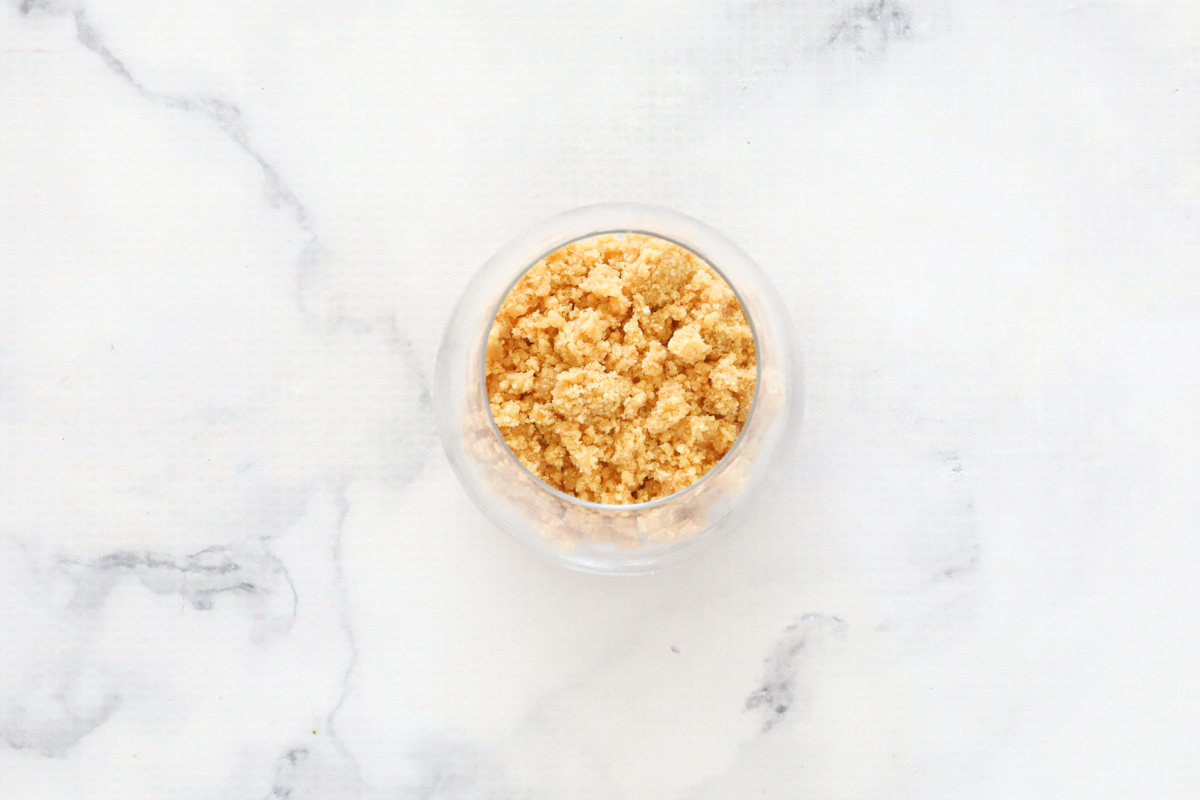
- Spoon biscuit crumbs into the base of six serving glasses. Chill while you make the filling.
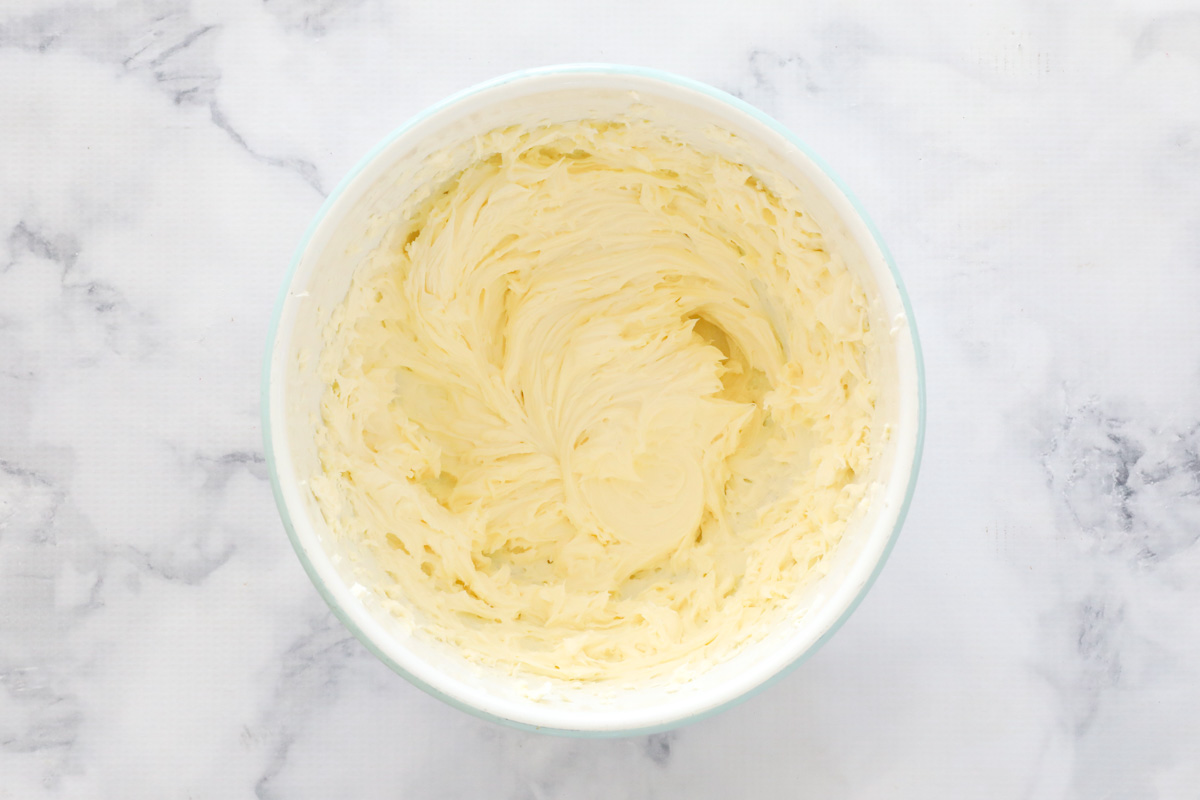
- Beat cream cheese, caster sugar and peppermint extract until smooth.
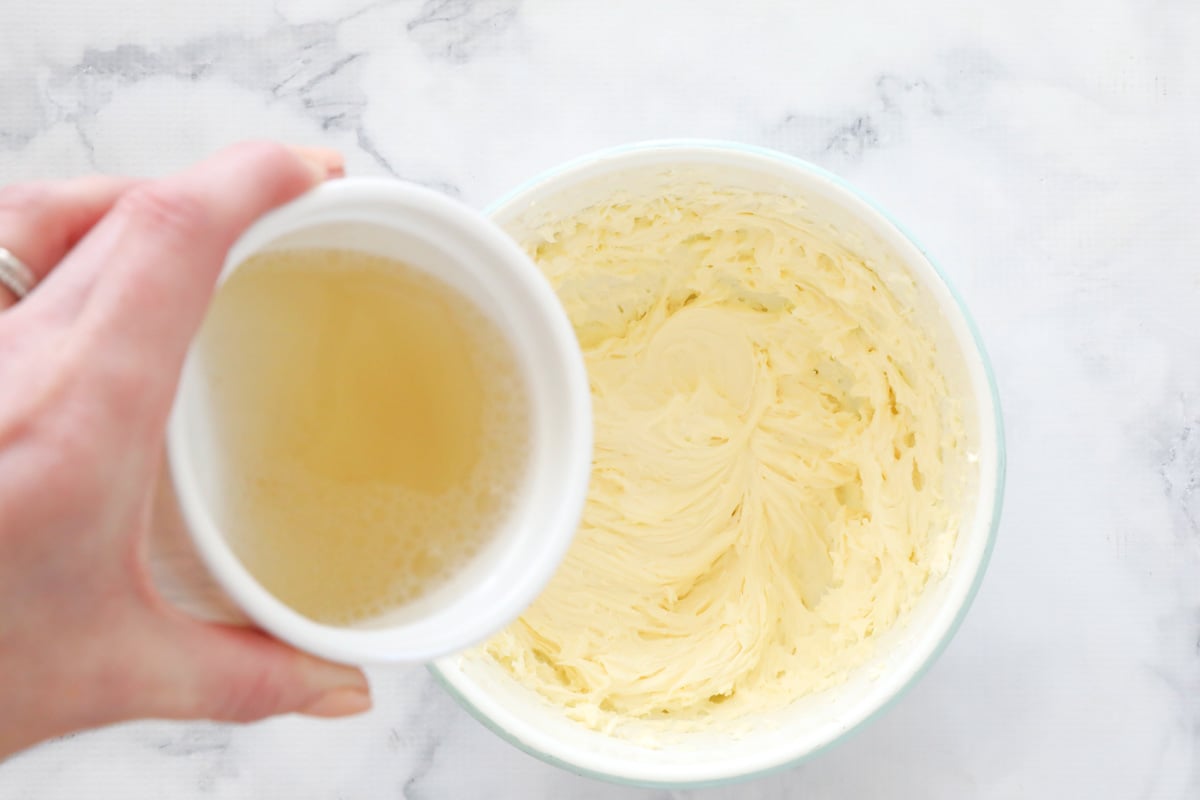
- Dissolve gelatine powder in boiling water. Let it cool slightly, then add to the cream cheese filling and combine well.
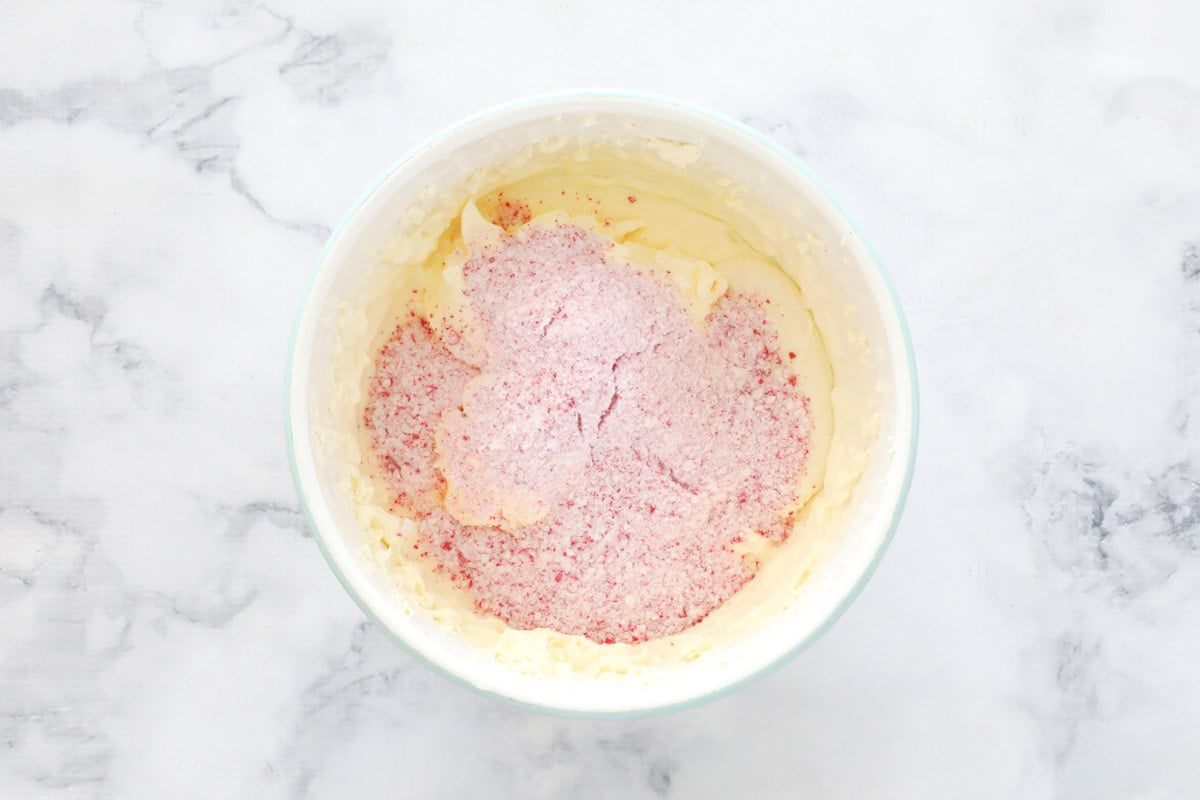
- Fold through the melted white chocolate, lightly whipped cream and finely crushed candy canes.
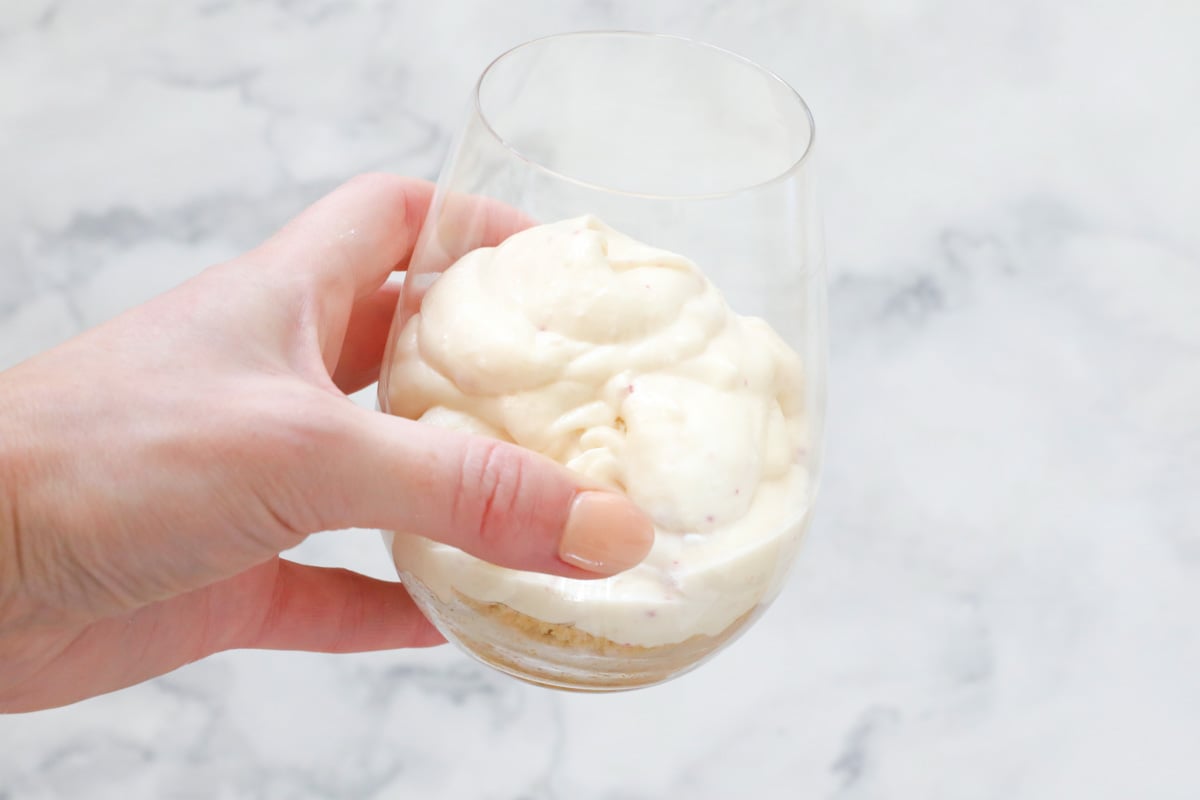
- Spoon the mixture into the glasses and refrigerate for at least 4 hours-overnight is even better for maximum creaminess and flavour.
- Just before serving, add a whole candy cane to the side of each dessert glass.
Recipe Tips
- Room temperature ingredients = silky smooth filling. Make sure your cream cheese is softened to room temperature.
- Crush candy canes just before adding to the base mixture, to keep them fresh and crunchy.
- Don't rush the gelatine - sprinkle over the top of boiling water and ensure it fully dissolves to avoid lumps. Allow to cool slightly before adding.
- The best way to melt the chocolate is to break it into pieces, place it in a dry microwave-safe bowl, and heat it in 30-second bursts, stirring with a dry metal spoon until smooth.
- Make ahead - these are best made 24 hours before serving, giving the flavours time to blend thoroughly. Refrigerate for at least 4 hours.
- Decorate at the last minute - if you're adding extra crushed candy canes on top, sprinkle them on just before serving to stop them softening or the colour bleeding into the cheesecake.
- Storage - keep covered in the fridge for up to 3 days.
Individual Christmas Cheesecake FAQs
You can, however, they won't set as firmly. If you prefer not to use gelatine, you can substitute with 1 teaspoon agar agar (dissolved according to packet instructions).
You can avoid candy canes from softening or becoming sticky by decorating with fresh ones just before serving.
A mix of candy canes and peppermint extract gives these cheesecakes their subtle minty flavour. For extra peppermint lovers, just increase the extract.
More Christmas Dessert Recipes
Choosing a Christmas dessert is half the fun - here are a few delicious ideas to get you started:


WANT EVEN MORE DELICIOUS RECIPES? Subscribe to my newsletter or follow along on Facebook or Instagram. And if you love baking, then please come and join my Facebook cooking club group or subscribe to my YouTube channel.

Christmas Cheesecakes
Ingredients
For the base
- 125 g plain sweet biscuits like Arnott's Marie biscuits
- 80 g butter melted
For the filling
- 375 g cream cheese room temperature
- 55 g (¼ cup) caster sugar
- 1 teaspoon peppermint extract
- ¼ cup boiling water
- 2 teaspoon gelatine powder
- 180 g white chocolate melted
- 300 ml thickened cream lightly whipped
- 200 g candy canes plus 6 extras to decorate
Instructions
Conventional Method
- Set 6 serving glasses or individual bowls aside.
For The Base
- Use a food processor to finely crush the biscuits. Add the melted butter and stir until combined. Divide the mixture between the 6 glasses and place into the fridge.
For The Filling
- Beat the cream cheese, caster sugar and peppermint extract in a large bowl until smooth and creamy.
- Lightly whip the cream and set aside.
- Sprinkle the gelatine powder over ¼ cup of boiling water and stir until completely dissolved. When the mixture has cooled, add it to the cream cheese mixture and beat until combined.
- Crush the candy canes using a food processor or a rolling pin.
- Add the crushed candy canes, melted white chocolate and whipped cream to the cheesecake mixture and fold through.
- Divide the mixture equally between the glasses and place into the fridge for a minimum of 4 hours to set (preferably overnight).
- When ready to serve, add candy canes to the side of each of the glasses to decorate.
Thermomix Method
- Set 6 serving glasses or individual bowls aside.
- Crush the candy canes by pressing Turbo 5-10 times - depending on how chunky or fine you would like them. Set aside.
For The Base
- Place the butter into the Thermomix bowl and melt for 2 minutes, 100 degrees, Speed 2. Add the biscuits and crush for 10 seconds, Speed 10 or until they resemble fine crumbs. Scrape down the sides of the bowl and repeat until completely combined.
- Divide the mixture between the 6 glasses and place into the fridge.
For The Filling
- Place the cream into the Thermomix bowl and beat on Speed 3.5 until peaks are just starting to form (this can be anywhere between 10 seconds and nearly 2 minutes - depending on the freshness of your cream). Set the cream aside in a separate bowl.
- Place the cream cheese, caster sugar and peppermint extract into the Thermomix bowl and mix for for 20 seconds, Speed 5.
- Sprinkle the gelatine powder over ¼ cup of boiling water and stir until completely dissolved. When the mixture has cooled, add it to the cream cheese mixture and mix for a further 20 seconds, Speed 5.
- Add the crushed candy canes, the melted white chocolate and whipped cream to the bowl and mix for 45 seconds, Speed 5 or until smooth.
- Divide the mixture equally between the glasses and place into the fridge for a minimum of 4 hours to set (preferably overnight).
- When ready to serve, add candy canes to the side of each of the glasses to decorate.
Notes
- Room temperature ingredients = silky smooth filling. Make sure your cream cheese is softened to room temperature.
- Crush candy canes just before adding to the base mixture, to keep them fresh and crunchy.
- Don't rush the gelatine - sprinkle over the top of boiling water and ensure it fully dissolves to avoid lumps. Allow to cool slightly being adding.
- The best way to melt the chocolate - is to break it into pieces, place it in a dry microwave-safe bowl, and heat in 30-second bursts, stirring with a dry metal spoon until smooth.
- Make ahead - these are best made 24 hours before serving, giving the flavours time to fully blend. Refrigerate for a minimum of 4 hours.
- Decorate at the last minute - if you're adding extra crushed candy canes on top, sprinkle them on just before serving to stop them softening or the colour bleeding into the cheesecake.
- Storage - keep covered in the fridge for up to 3 days.


Renee says
These look amazing!
Can you recommend any other flavours to add to these though instead of peppermint perhaps?
Bake Play Smile says
You could add caramel sauce instead, or chopped up honeycomb or Cherry Ripes! YUM!
Bianca says
If I wish to make as 1 large one would the recipe be OK for that also I have a large family
Thanks they look so good.
Bake Play Smile says
Absolutely!
Cindy@Your Kids OT says
Popping this onto the Christmas menu now!
Bake Play Smile says
Thanks!