Bake Play Smile

MENUMENU
  • Recipes
  • Thermomix
  • Desserts
  • Shop
  • Subscribe
menu icon
go to homepage
  • Recipes
  • Thermomix
  • Desserts
  • Shop
  • Subscribe
    • Facebook
    • Instagram
    • Pinterest
    • YouTube
  • subscribe
    search icon
    Homepage link
    • Recipes
    • Thermomix
    • Desserts
    • Shop
    • Subscribe
    • Facebook
    • Instagram
    • Pinterest
    • YouTube
  • ×
    Home » Recipes » Desserts

    Classic Chocolate Mousse | 5 Ingredients

    A picture of Lucy the baker from Bake Play Smile.
    Modified: Aug 3, 2020 · Published: Aug 3, 2020 by Lucy · This post may contain affiliate links · 23 Comments
    Jump to Recipe
    A glass bowl filled with chocolate mousse and decorated with edible gold glitter and stars.

    A classic rich and decadent chocolate mousse that's made with just 5 ingredients... it's easy to see why this delicious dessert is always so popular!

    A glass bowl filled with chocolate mousse and decorated with edible gold glitter and stars.

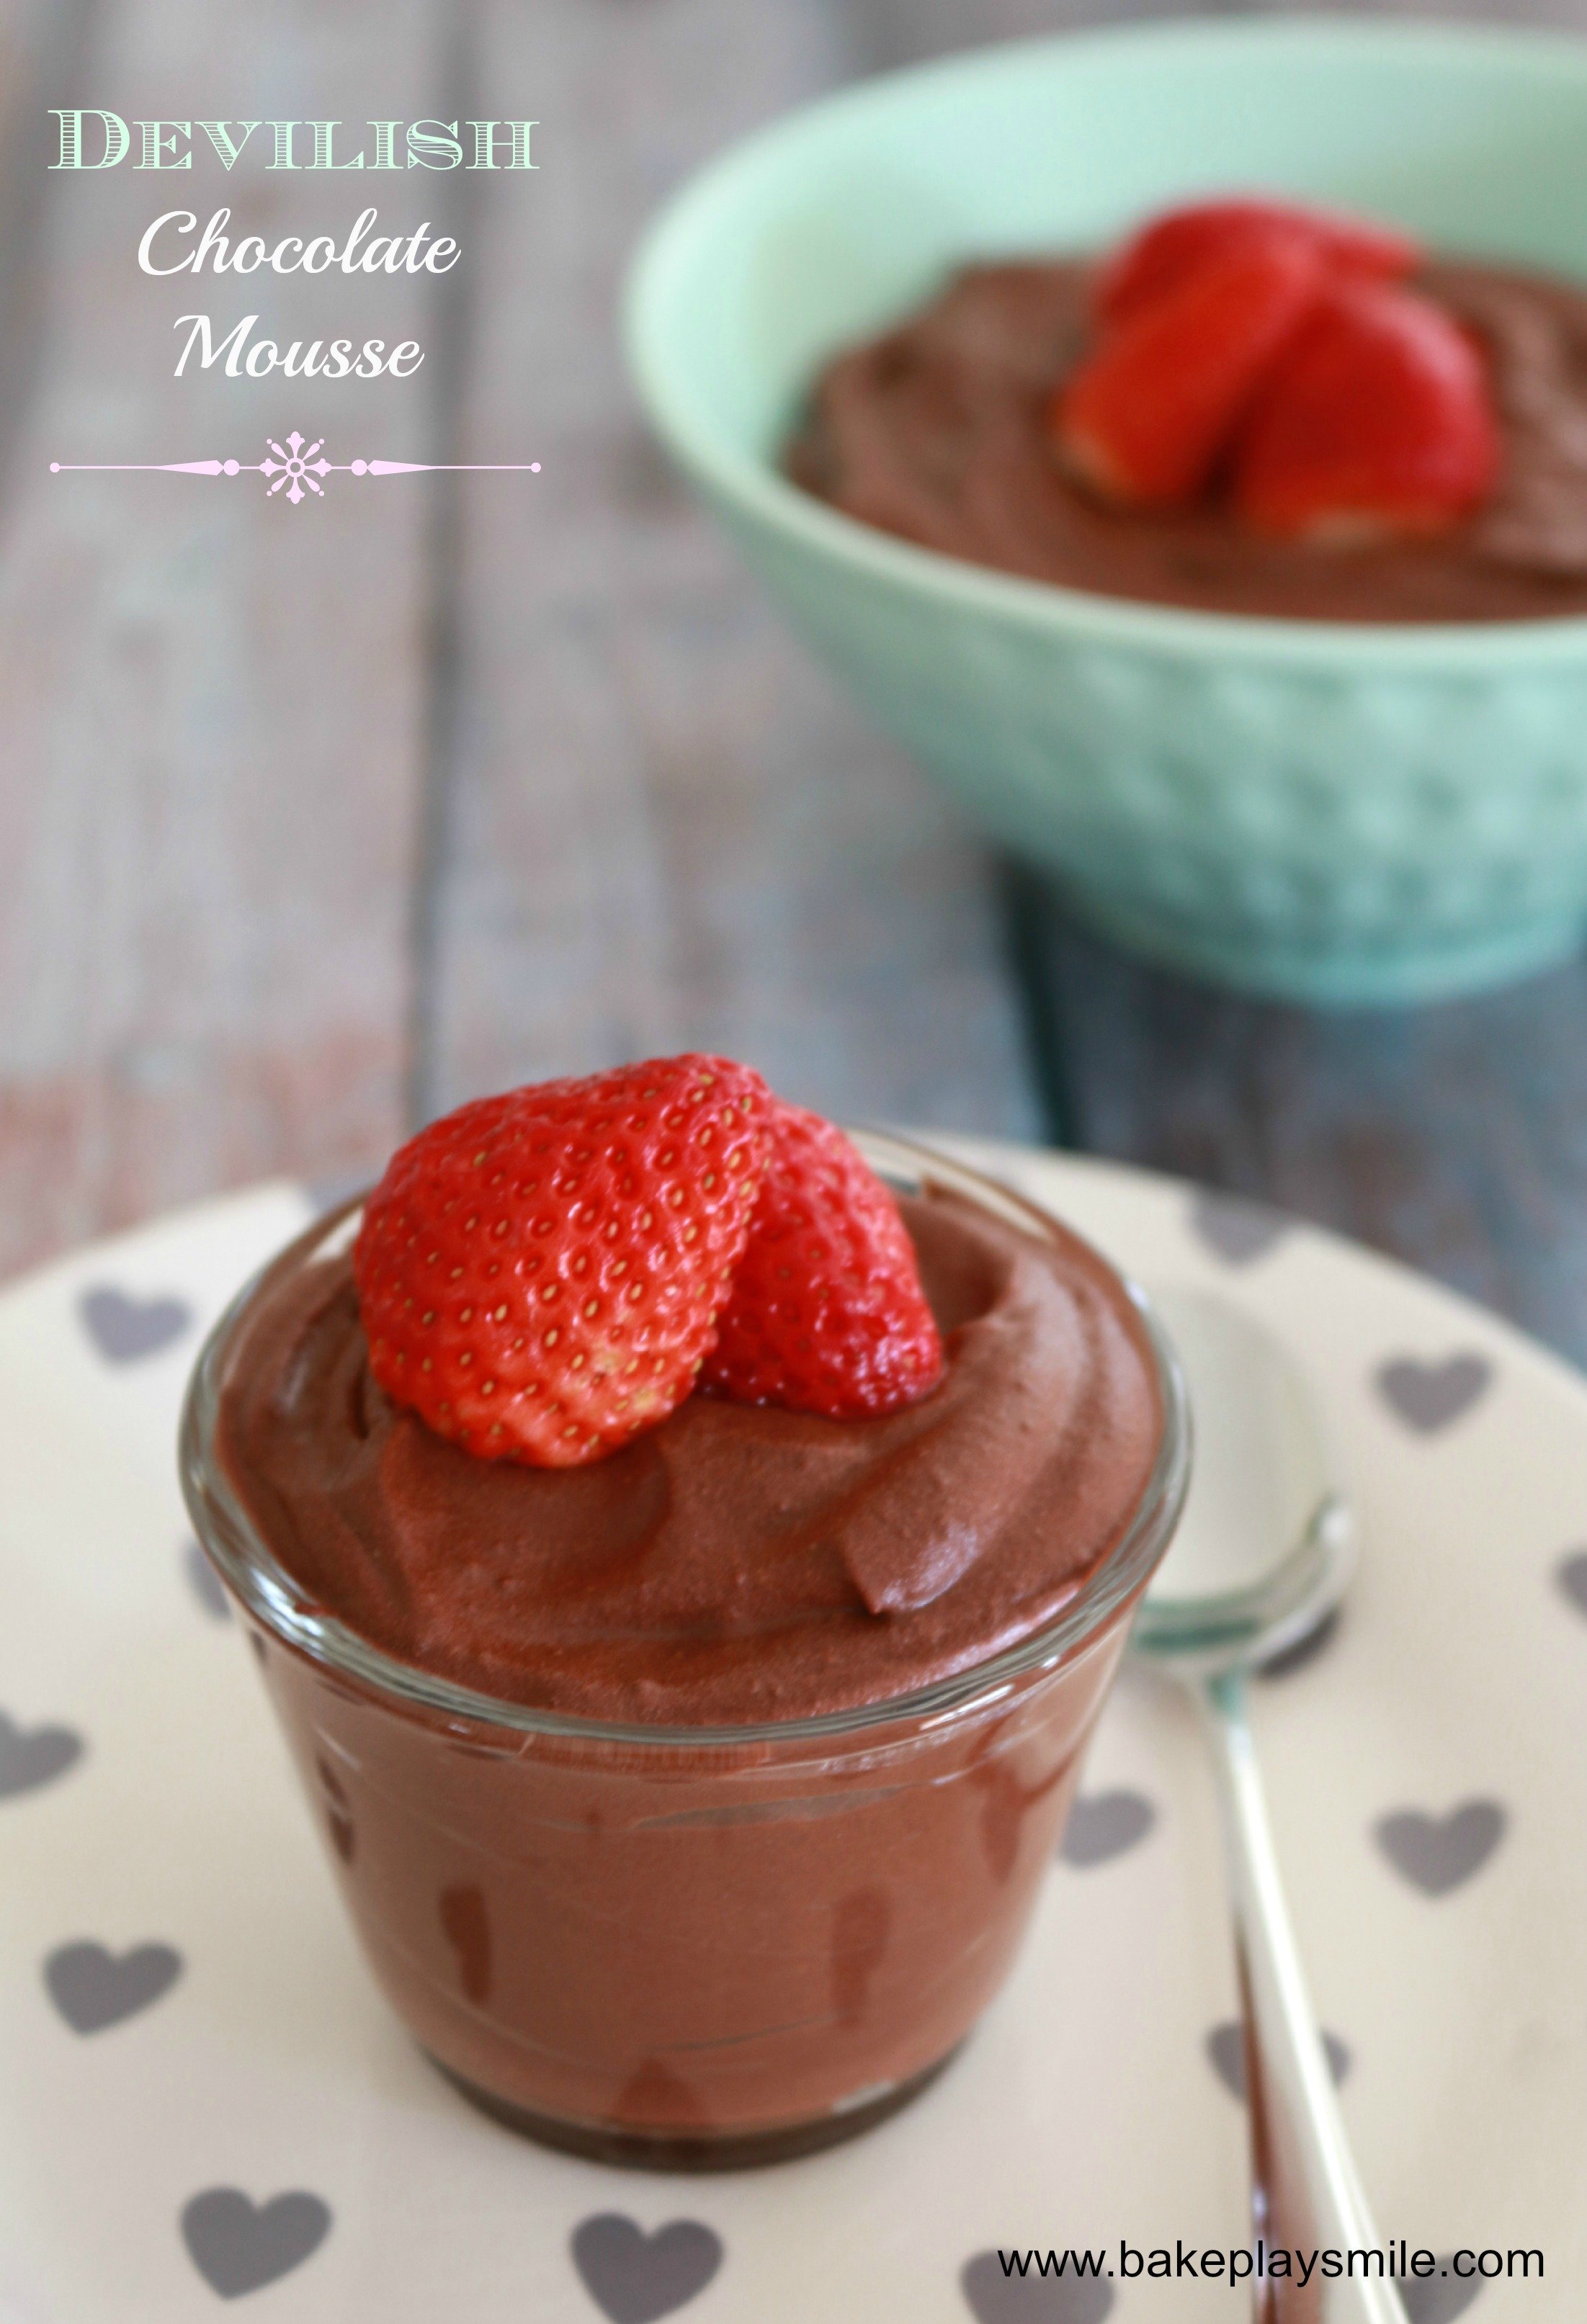
    Calling all chocoholics! If you're after a rich and creamy chocolate mousse, you've come to the right place.

    This classic dessert is always a winner... along with our family favourite desserts - apple crumble, butterscotch pudding and lemon meringue pie!

    Edible gold glitter and stars on top of glass jars of chocolate mousse.

    A Classic Chocolate Dessert

    When it comes to popular desserts, there's no doubt that chocolate mousse is right up there!

    Whether you're after a quick and easy midweek dessert, or the perfect end to a weekend dinner party, this simple chocolate dessert is just the thing.

    A wooden spoon lifting a chocolate mousse dessert out of a glass jar.

    5 Ingredient Mousse

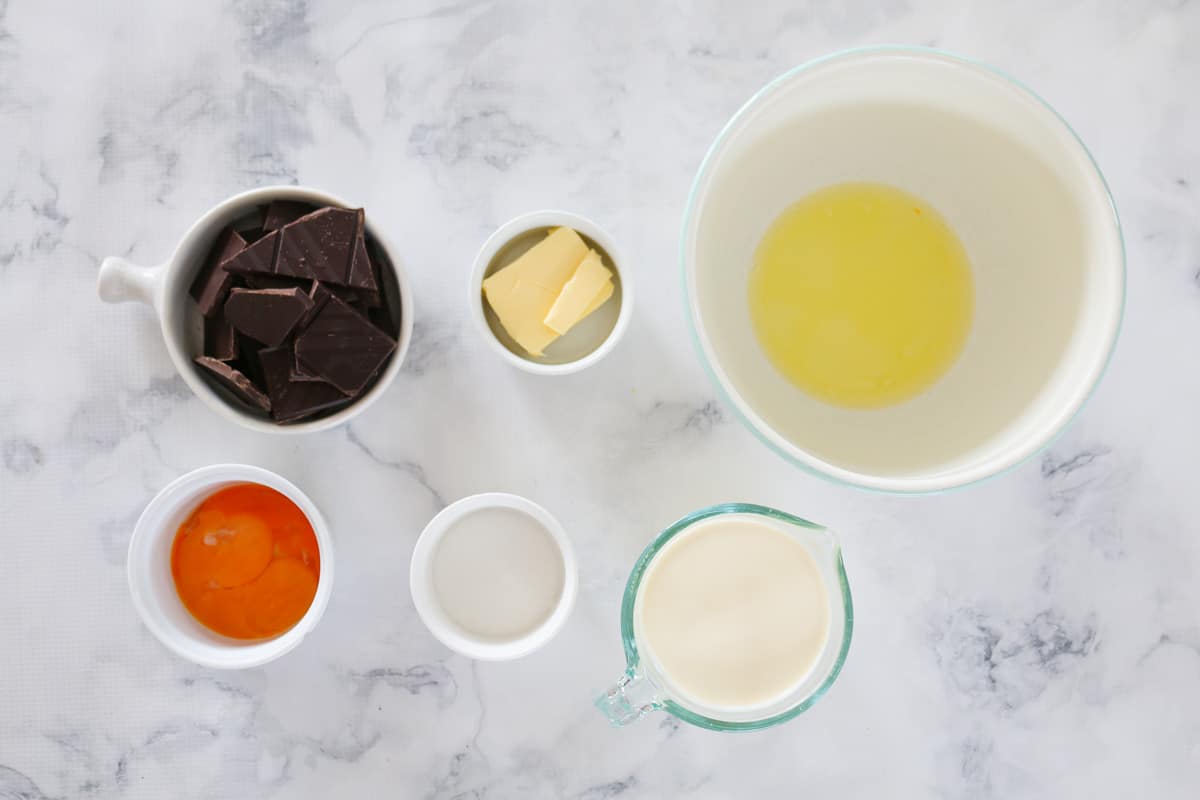
    My classic chocolate mousse recipe is made from just 5 basic ingredients:

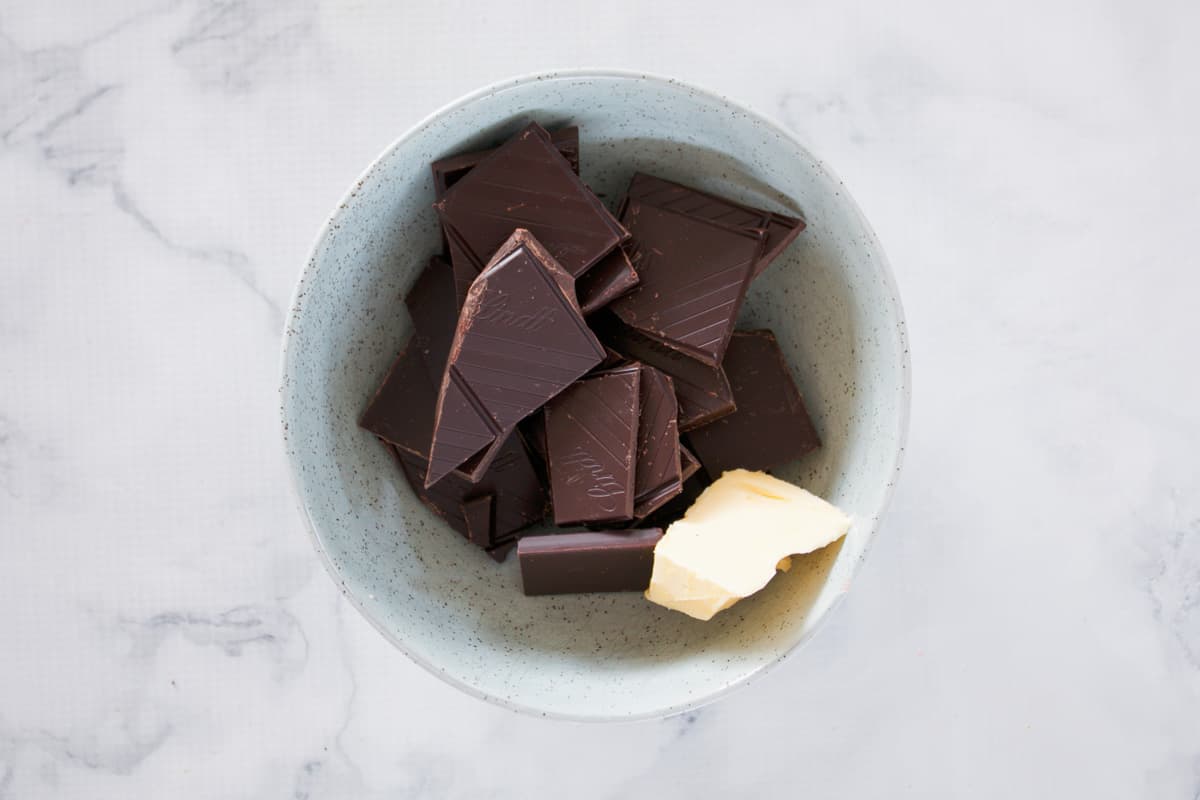
    • dark chocolate - use a good quality cooking chocolate (preferably one that is 70% chocolate).
    • eggs - use large eggs (approximately 55g each)
    • butter - salted or unsalted butter is fine
    • caster sugar - also known as superfine sugar
    • cream - use a cream that can be whipped (ie. thickened, pure or heavy cream)
    Dark chocolate, eggs, butter, caster sugar and cream in bowls on a marble background.

    How To Make Chocolate Mousse From Scratch

    It's surprisingly simple to make homemade chocolate mousse in a few basic steps. Note: scroll to the recipe card at the bottom of the post for the full detailed method.

    Step 1 - Melt the chocolate and butter

    Place the butter and broken chunks of dark chocolate into a microwave-safe bowl. Melt in the microwave (see recipe below for tips) and allow to cool.

    Dark chocolate and butter in a green bowl.
    Melted chocolate in a green bowl.

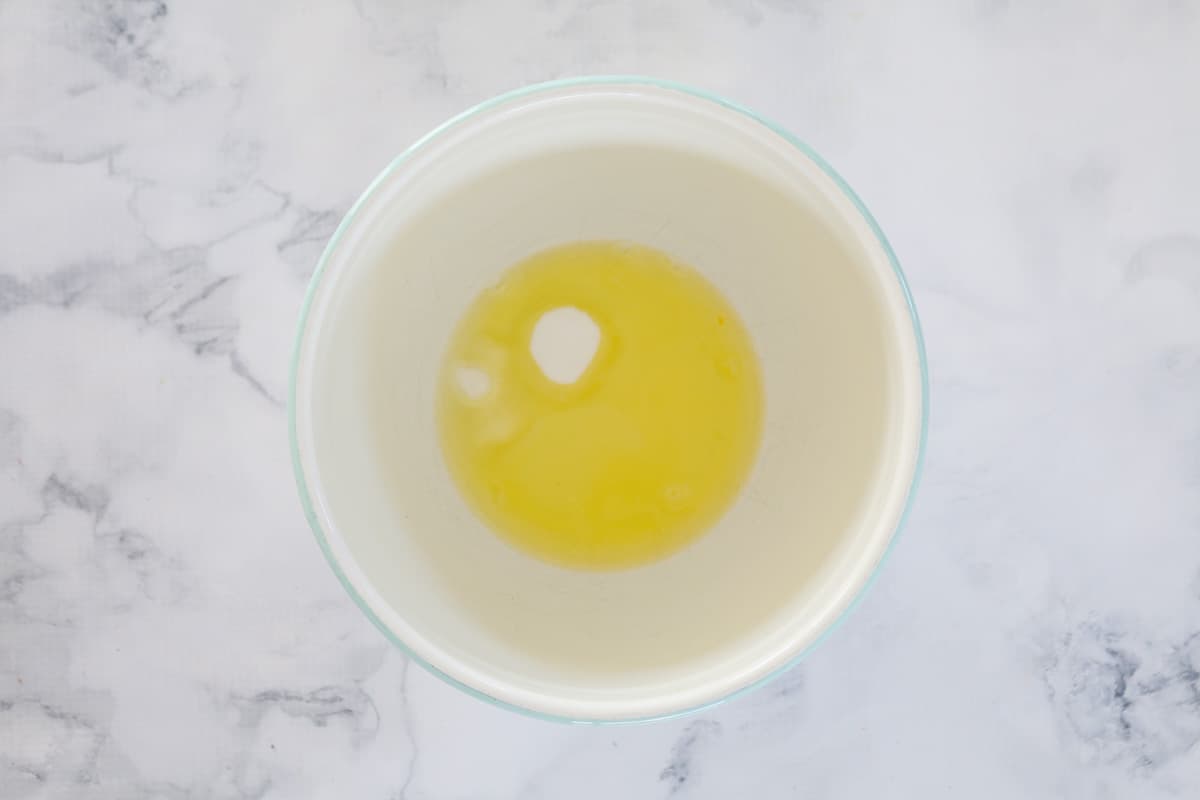
    Step 2 - Beat the egg whites

    Beat the egg whites and sugar until firm peaks form. Use a stand-mixer, Thermomix or hand-held beaters for this step.

    Egg whites and caster sugar in a white mixing bowl.
    Whipped egg whites in a white mixing bowl.

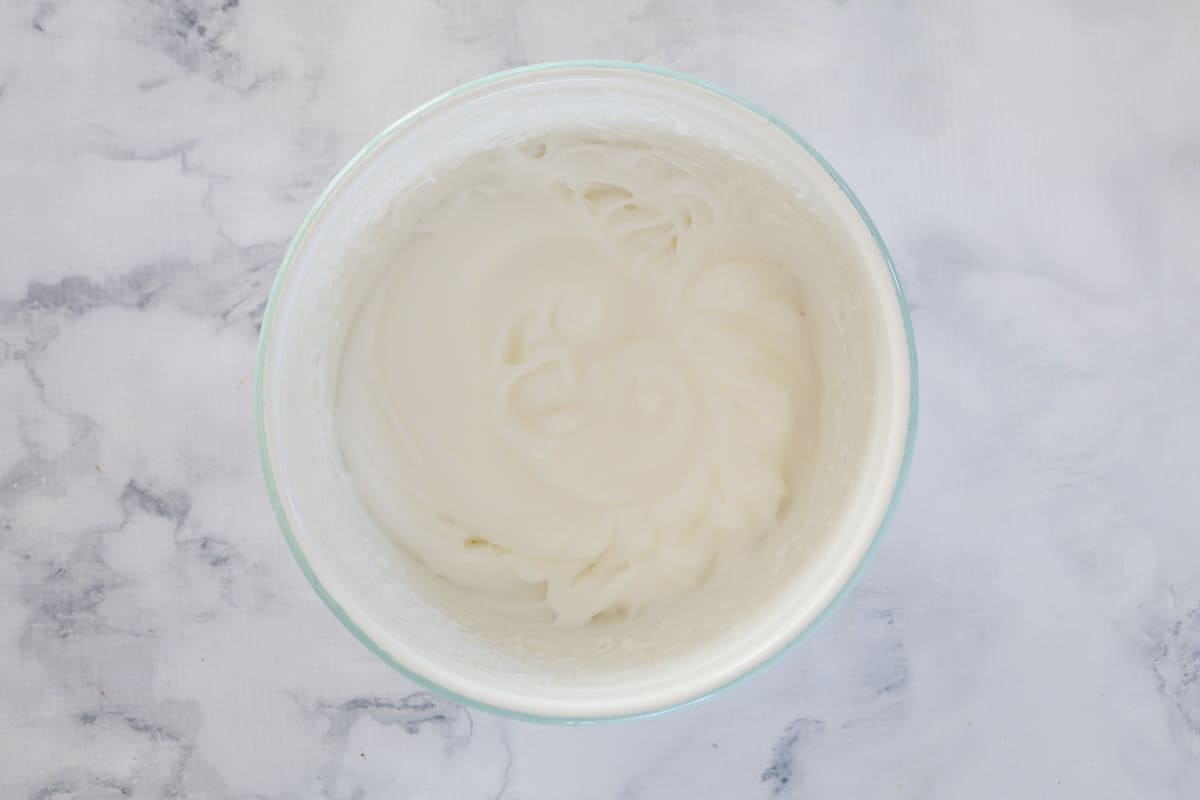
    Step 3 - Whip the cream

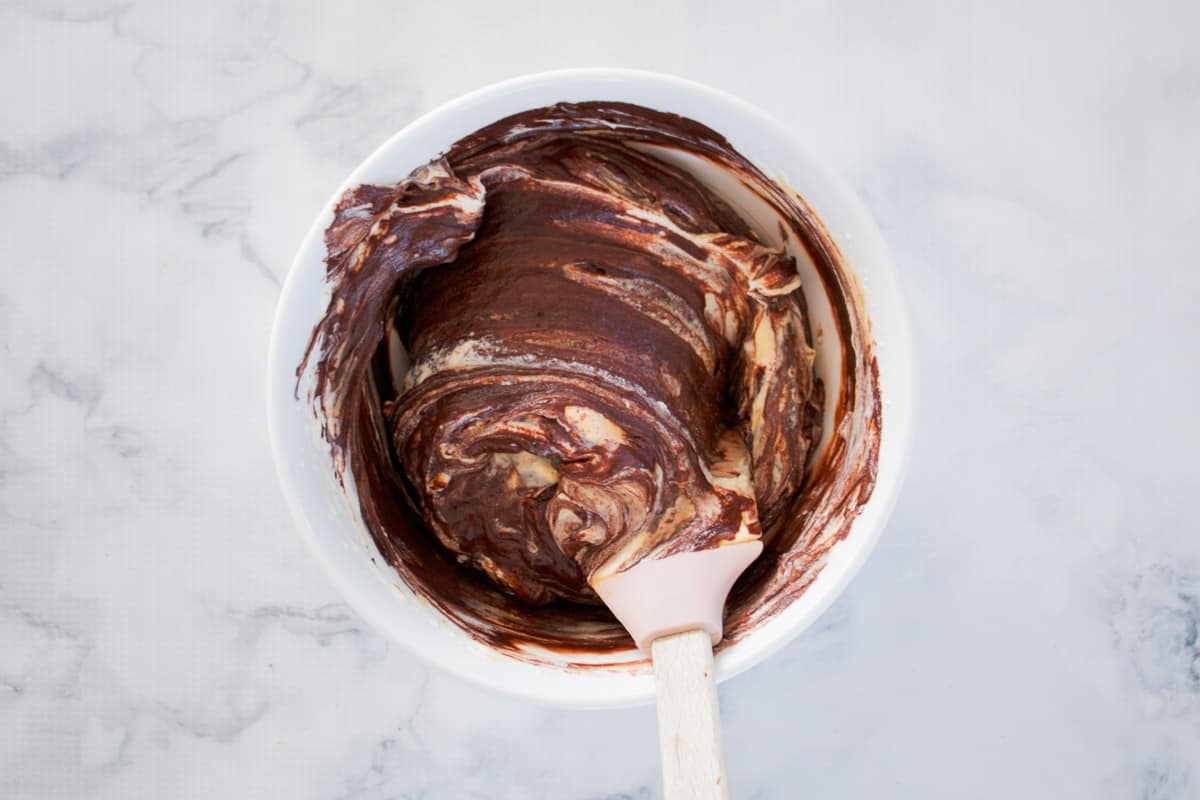
    Whip the cream until stiff peaks form. Use a rubber spatula to gently fold the egg yolks through. There's no need to completely mix it through - streaks of egg yolk through the cream is fine!

    Egg yolks being added to whipped cream.

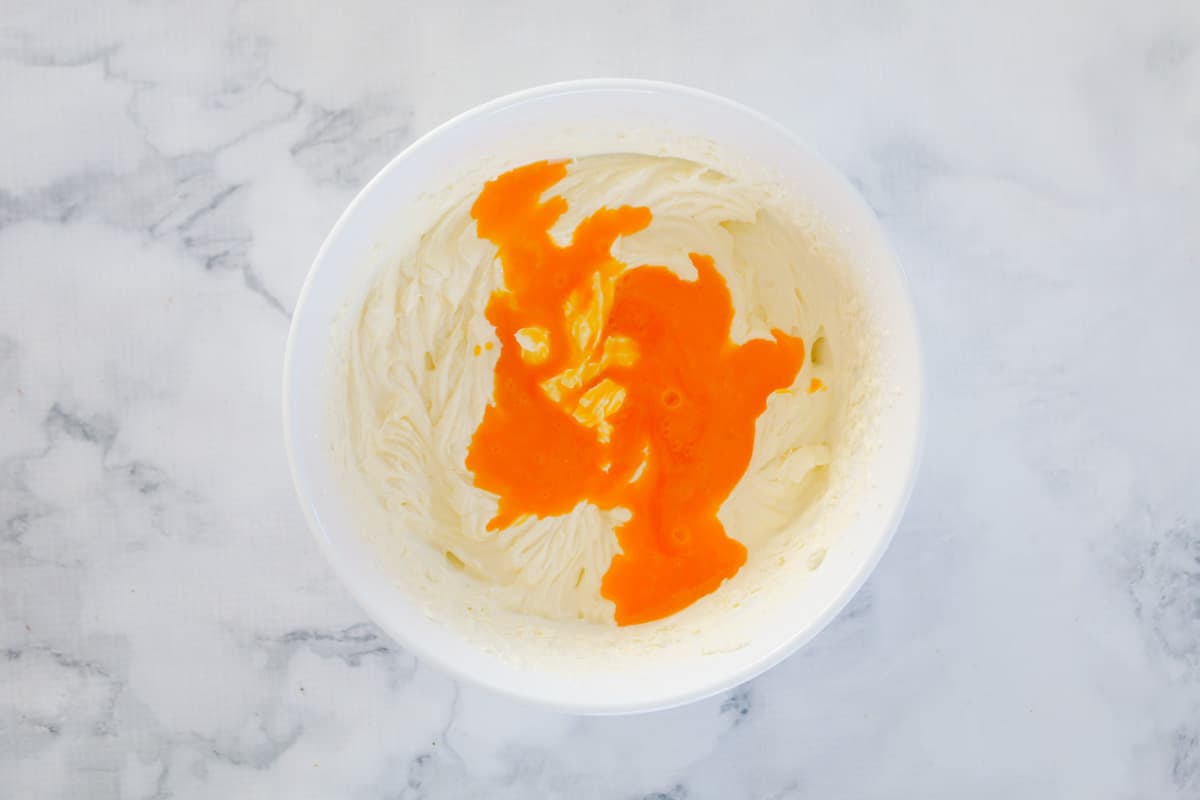
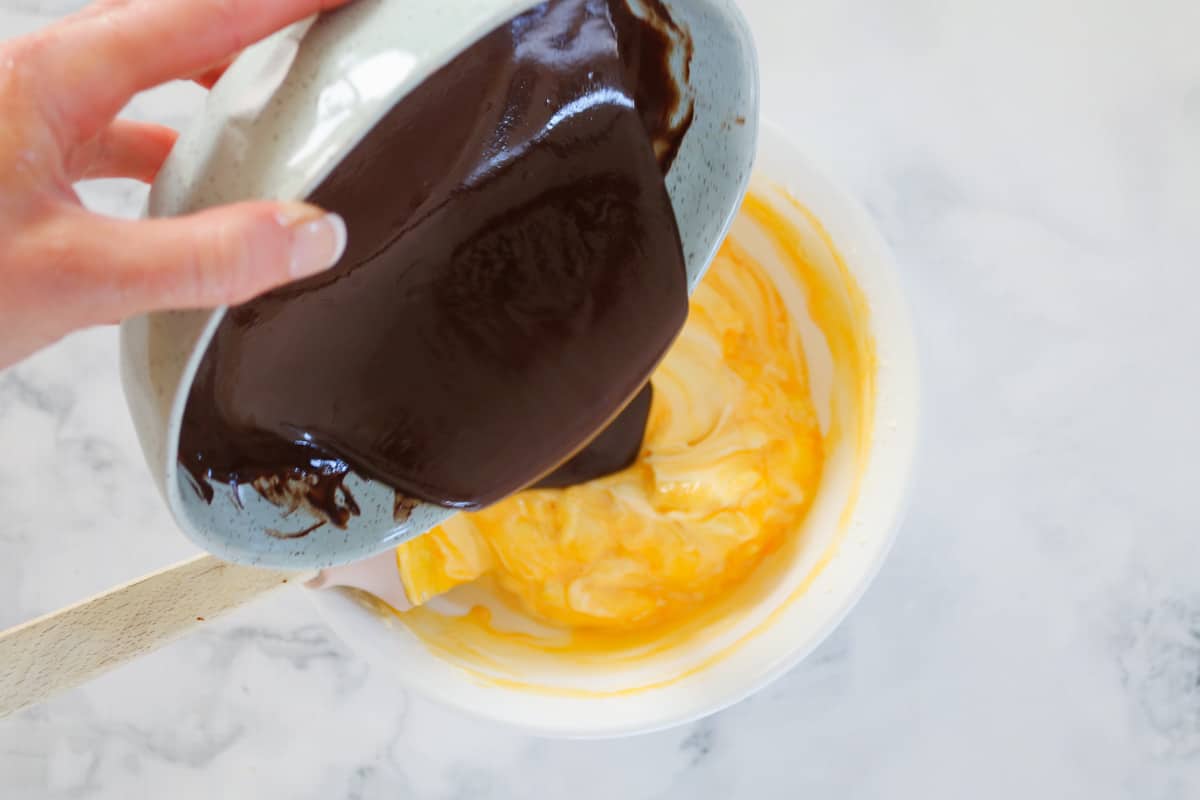
    Step 4 - Fold through the chocolate

    Pour the runny (but cooled) chocolate into the cream/egg mixture. Very gently fold the chocolate through with the same rubber spatula. Don't over-mix - streaky mixture is fine!

    Melted chocolate being poured into a white bowl filled with cream and eggs.
    A spatula folding egg whites through chocolate mixture in a bowl.

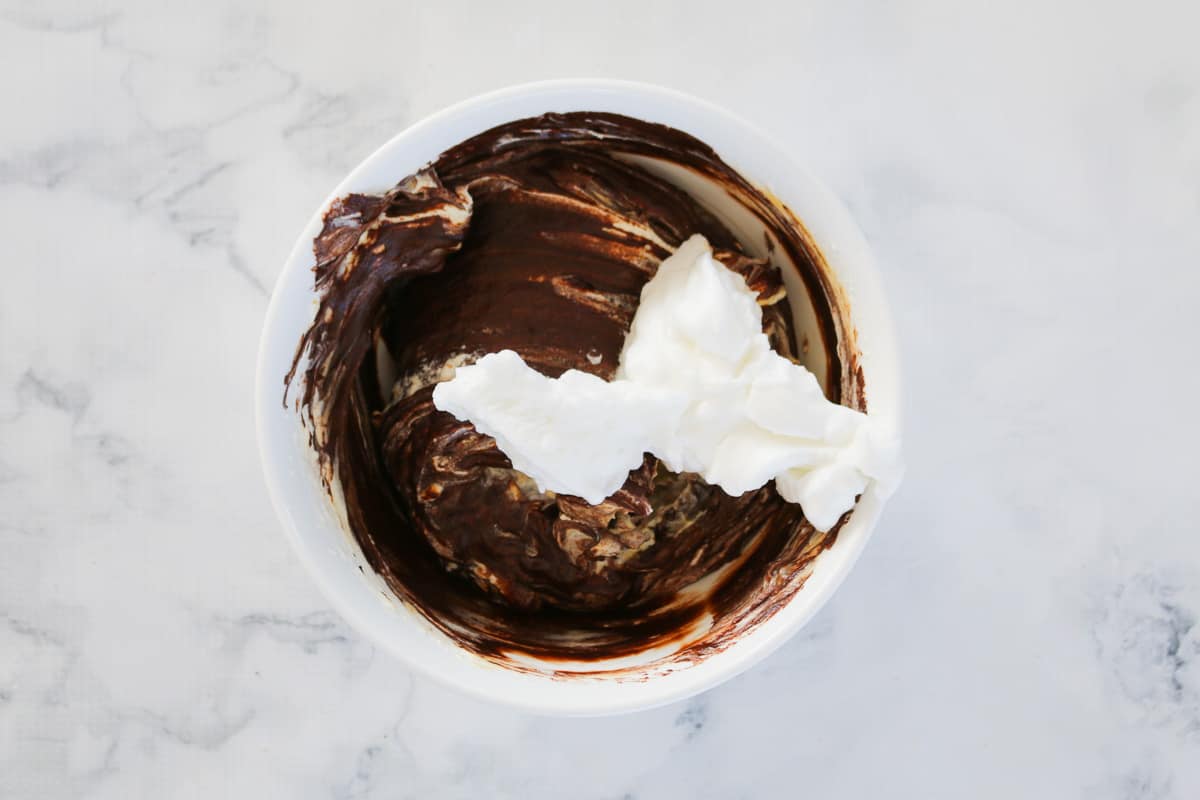
    Step 5 - Fold through the egg whites

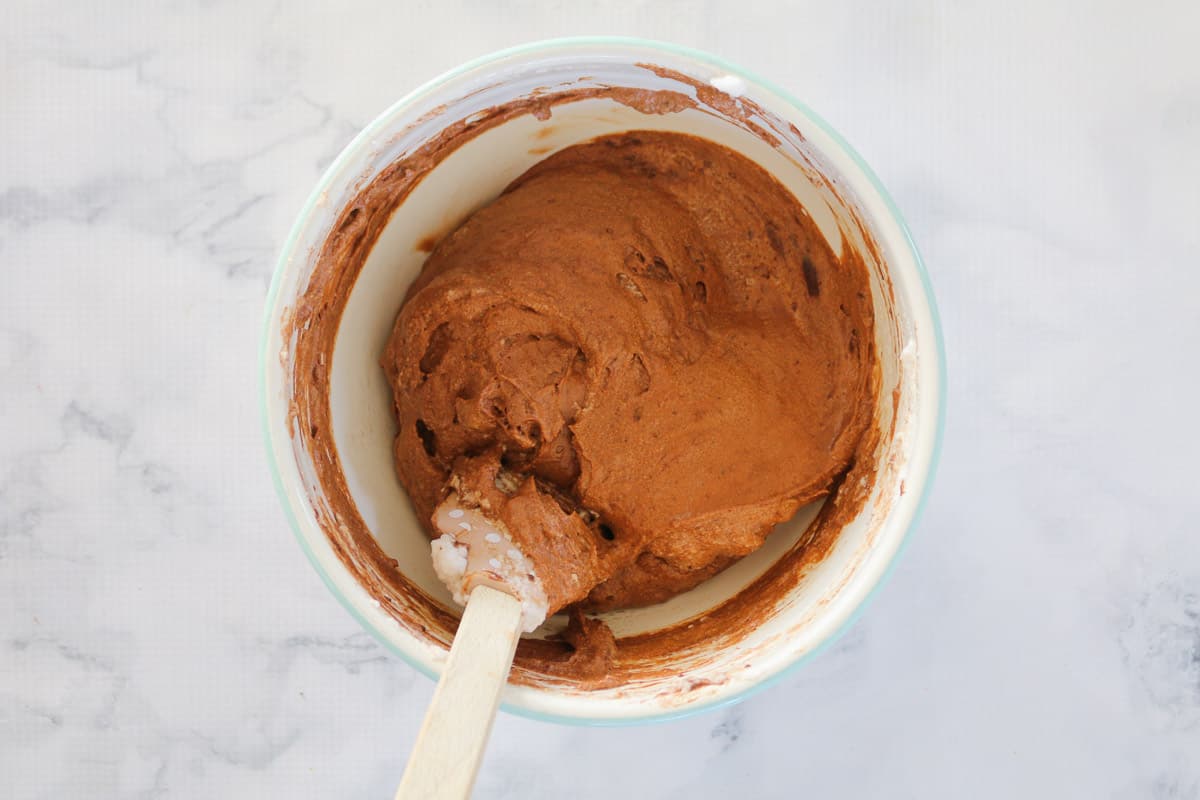
    Fold ¼ of the egg white mixture through the chocolate mixture. Then add the chocolate mixture to the bowl of egg whites and fold through until just combined (don't over-mix).

    Whipped egg whites on top of chocolate mixture in a bowl.
    A spatula folding through a chocolate mousse mixture in a bowl.

    Recipe Tips & FAQ

    Raw egg in chocolate mousse

    Raw eggs are safe to eat if health and safety precautions are followed when preparing. It's important to chill the mousse in the fridge as soon as it's prepared - and only remove when you're ready to serve.

    It is not safe for pregnant women (or immune-compromised people) to eat raw eggs.

    How to make light and fluffy mousse

    The key to light and fluffy mousse is to avoid over-mixing the ingredients. Use a rubber spatula to very gently fold the ingredients through. Don't worry if the mixture is streaky or lumpy during each step - this is totally fine!

    Serving

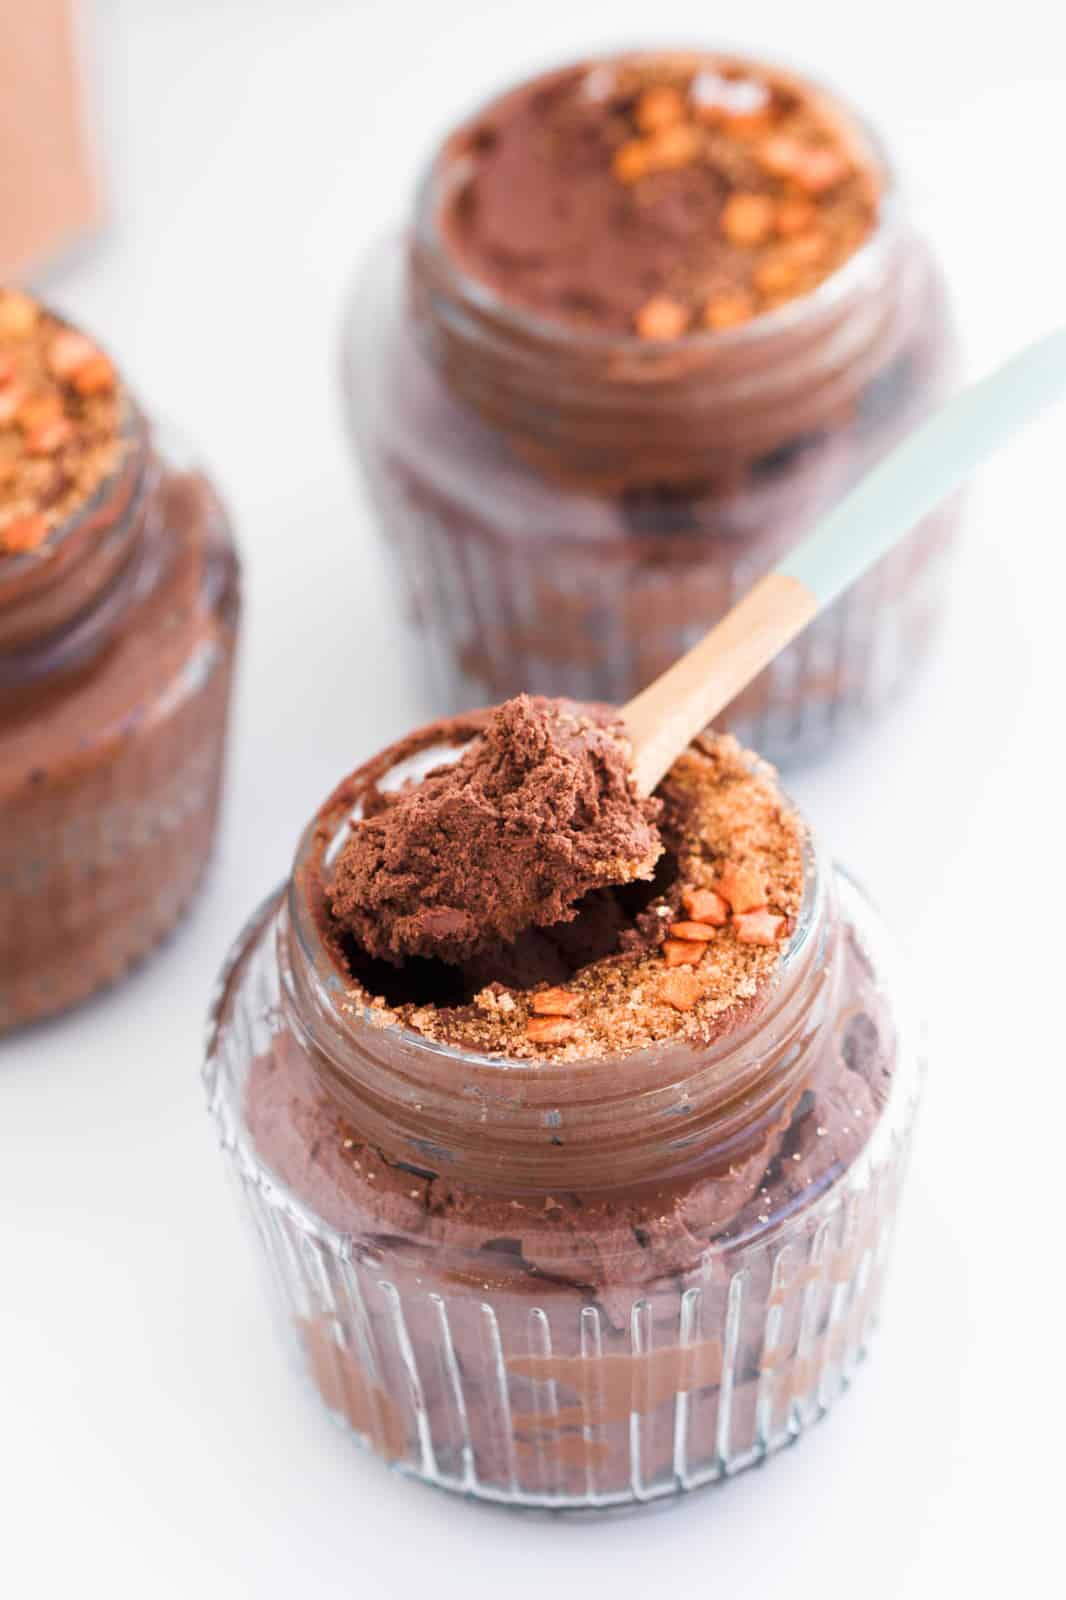
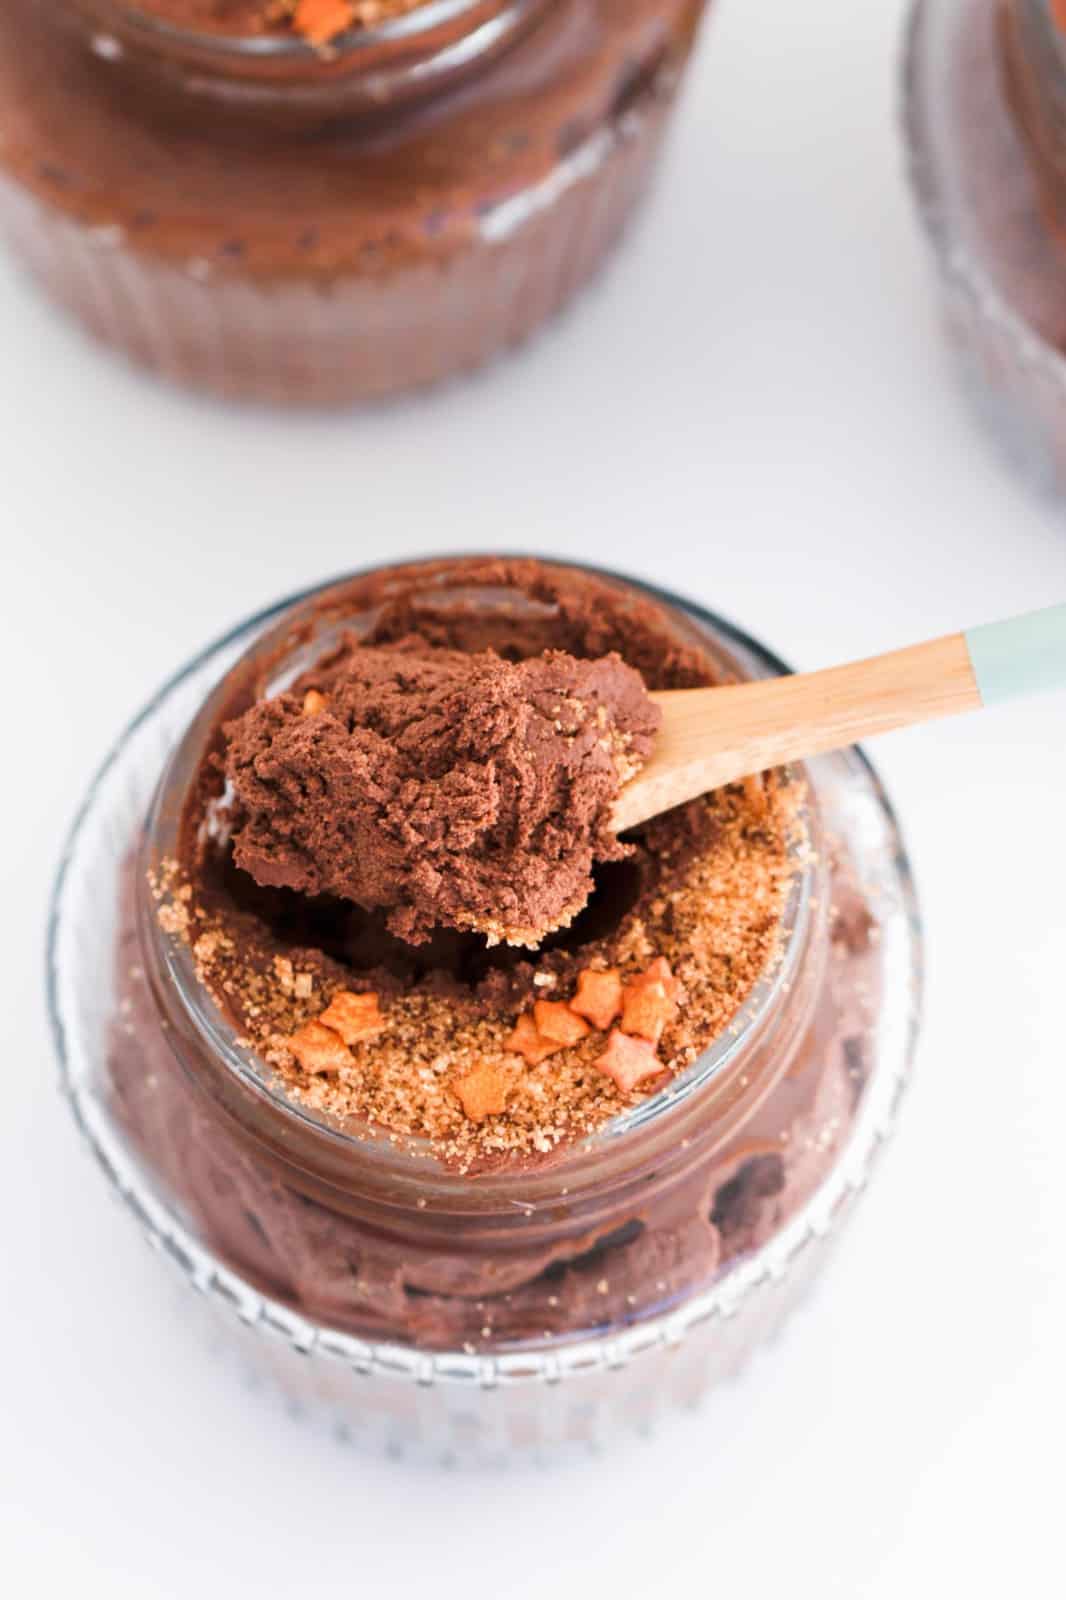
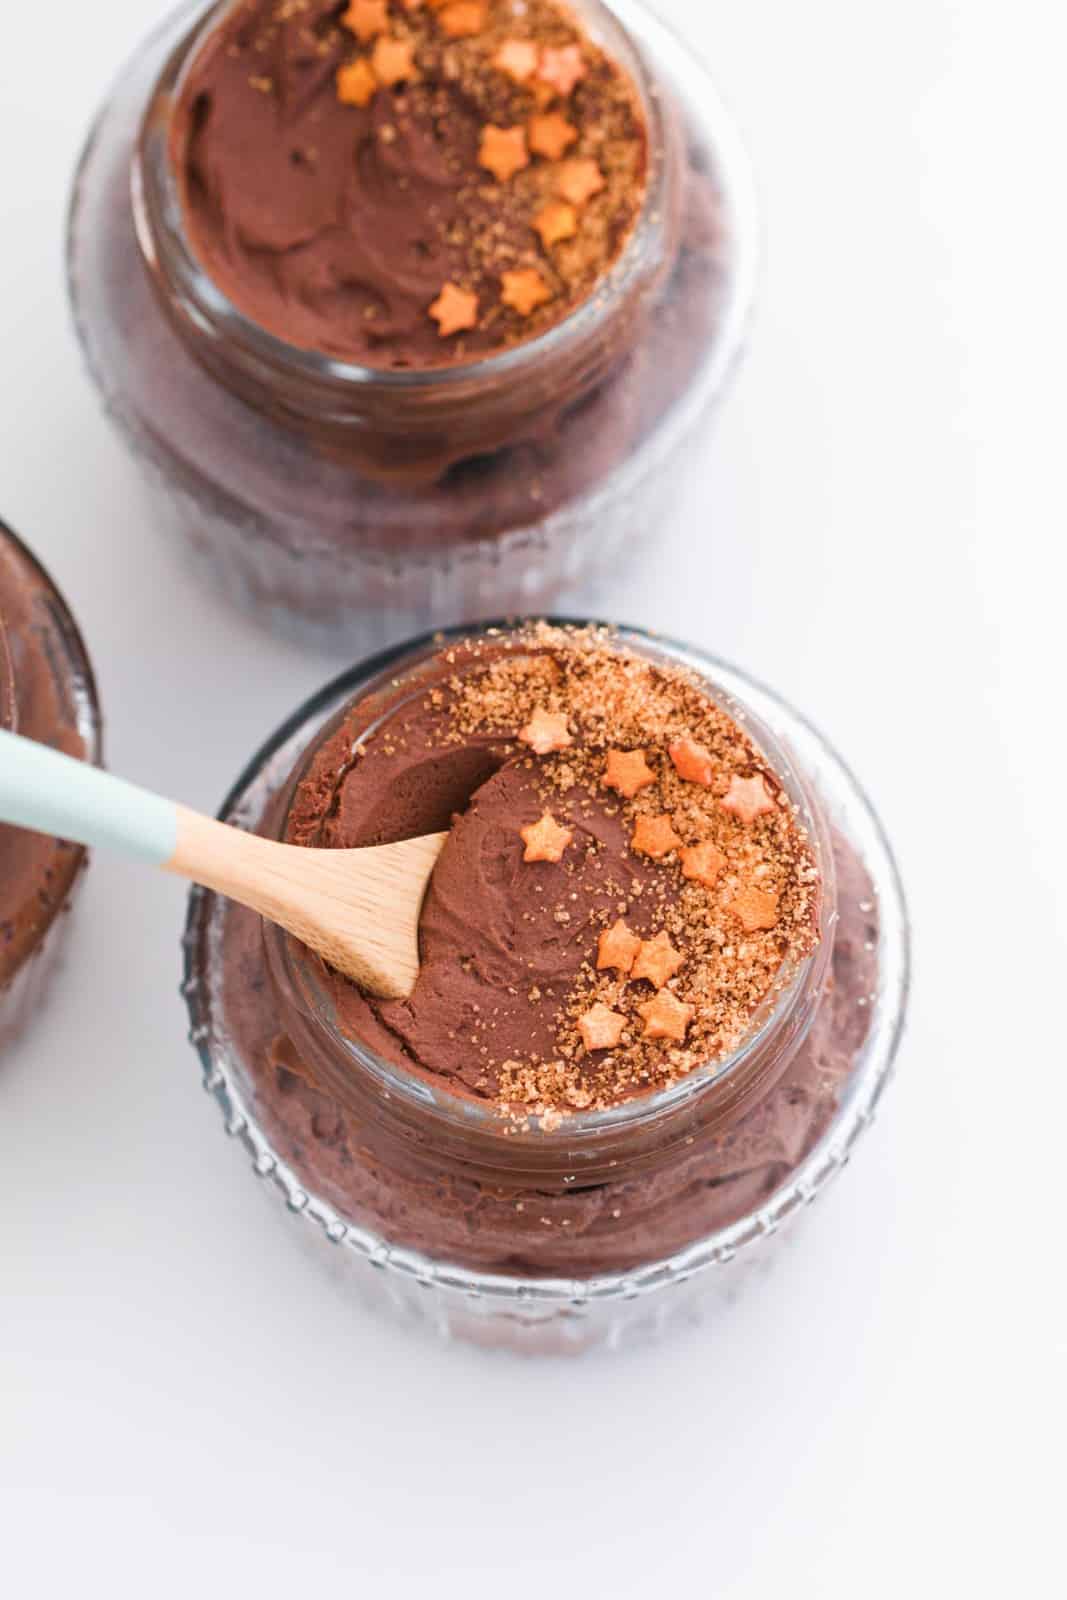
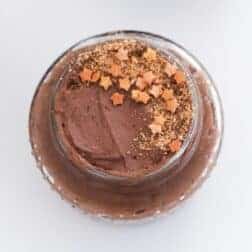
    Chocolate mousse can be served on it's own or topped with whipped cream, berries or chocolate shavings.

    Storing

    Store in the fridge and consume within 2 days. This recipe is not suitable for freezing.

    A spoonful of a fluffy chocolate mousse dessert with gold edible decorations.

    More Chocolate Dessert Recipes

    If you love chocolate, then these are the desserts you need in your life:

    • Oreo Truffles - 3 ingredients dessert!
    • Toblerone Cheesecake - the ultimate chocolate dessert
    • Classic Chocolate Ripple Cake - an Aussie favourite
    • Flourless Chocolate Cake - made with just 3 ingredients
    • Chocolate Self-Saucing Pudding - perfect served with ice-cream, custard or cream
    A spoon being dipped into a glass jar of chocolate mousse with gold decorations.

    WANT EVEN MORE DELICIOUS RECIPES? Subscribe to my newsletter or follow along on Facebook or Instagram. And if you love baking, then please come and join my Facebook cooking club group or subscribe to my YouTube channel. 

    A glass bowl filled with chocolate mousse and decorated with edible gold glitter and stars.

    Classic Chocolate Mousse

    A classic rich and decadent chocolate mousse that's made with just 5 ingredients... it's easy to see why this delicious dessert is always so popular!
    5 from 4 votes
    Print Pin Rate
    Course: Dessert
    Cuisine: French
    Prep Time: 15 minutes minutes
    Chilling time: 4 hours hours
    Total Time: 4 hours hours 15 minutes minutes
    Servings: 4 servings
    Calories: 598kcal
    Author: Lucy - Bake Play Smile

    Ingredients

    • 200 g dark chocolate see notes
    • 20 g butter
    • 3 eggs separated
    • 1 tbs caster sugar
    • 1 cup (250ml) cream whipped

    Instructions

    • Place the butter and chocolate (broken into pieces) into a microwave-safe bowl. Melt on 50% power in 30 second bursts until melted. Allow to cool.
    • Separate the eggs.
    • Beat the egg whites and caster sugar until firm peaks have formed. Set aside.
    • Whip the cream until stiff peaks form. Gently fold the egg yolks through with a rubber spatula - it's fine for the mixture to be streaky (don't over-mix).
    • Pour the runny (but cooled) chocolate into the cream/egg mixture. Very gently fold the chocolate through with the same rubber spatula. Don’t over-mix – again streaky mixture is fine!
    • Fold ¼ of the egg white mixture through the chocolate mixture.
    • Add the chocolate mixture to the bowl of egg whites and fold through until just combined (don’t over-mix).
    • Spoon into serving glasses or bowls and refrigerate until set (at least 4 hours).
    • Decorate with your choice of optional toppings - including chopped strawberries or raspberries, chocolate shavings, whipped cream, crushed peppermint crisp bar, crushed chocolate honeycomb.

    Notes

    RECIPE NOTES & TIPS
    Ingredients Info:
    • dark chocolate – use a good quality cooking chocolate (preferably one that is 70% chocolate).
    • eggs – use large eggs (approximately 55g each)
    • butter – salted or unsalted butter is fine
    • caster sugar – also known as superfine sugar
    • cream – use a cream that can be whipped (ie. thickened, pure or heavy cream)
    More Recipe Tips: 
    Using raw egg - Raw eggs are safe to eat if health and safety precautions are followed when preparing. It’s important to chill the mousse in the fridge as soon as it’s prepared – and only remove when you’re ready to serve. This recipe is not suitable for pregnant women or those who are immune-compromised).
    Light and fluffy mousse - The key to light and fluffy mousse is to avoid over-mixing the ingredients. Use a rubber spatula to very gently fold the ingredients through. Don’t worry if the mixture is streaky or lumpy during each step – this is totally fine!
    Serving - Chocolate mousse can be served on it’s own or with whipped cream, berries or chocolate shavings.
    Storing - Store in the fridge and consume within 2 days. This recipe is not suitable for freezing.

    Nutrition

    Calories: 598kcal | Carbohydrates: 28g | Protein: 9g | Fat: 50g | Saturated Fat: 29g | Cholesterol: 216mg | Sodium: 115mg | Potassium: 447mg | Fiber: 5g | Sugar: 15g | Vitamin A: 1192IU | Vitamin C: 1mg | Calcium: 93mg | Iron: 7mg
    Did you try this recipe?Mention @BakePlaySmileBlog or tag #BakePlaySmile!

    More Easy & Delicious Dessert Recipes

    • A peppermint crisp and cream dessert in a baking dish.
      Peppermint Crisp Tart
    • A gold fork cutting into a piece of fluffy Persian love cake with a sweet glaze and pistachios on top.
      Persian Love Cake
    • A butternut snap biscuit filled with caramel, sliced banana, whipped cream and grated chocolate.
      Mini Banoffee Tarts
    • Two filled bottles with handwritten labels attached.
      Homemade Baileys Irish Cream

    Comments

    1. Jonathan says

      June 26, 2023 at 6:46 am

      Weird question, but how many Oz in each serving?

      Reply
    2. Talita says

      January 05, 2022 at 10:54 pm

      5 stars
      Not sure what I did wrong but the chocolate went all lumpy. It still tastes great, but there are little chocolate chunks through it. Maybe the cream was too cold?

      Reply
      • Lucy says

        January 07, 2022 at 9:17 am

        Hi Talita, yes if your chocolate and cream were much different temperatures before they were mixed then this could cause the chocolate to set and give you the little lumps!

        Reply
    « Older Comments
    5 from 4 votes (3 ratings without comment)

    Leave a Reply Cancel reply

    Your email address will not be published. Required fields are marked *

    Recipe Rating


    I’m Lucy! A mum, a wife, a food blogger and a lover of all things to do with food! I love creating delicious, no-fuss Thermomix and conventional recipes the whole family will love. Classic baking favourites, lunch box snacks, quick and easy family dinners and more!

    More about me →

    ⭐️ Popular Right Now

    • Pieces of Mars Bar slice with chocolate on top stacked together.
      Mars Bar Slice
    • Pieces of moist banana bread with a crunchy sugar top.
      Banana Bread
    • A quick and easy classic dark chocolate hedgehog slice made with crushed biscuits, walnuts, coconut and condensed milk... the perfect melt and mix slice!
      Chocolate Hedgehog Slice
    • A slice of creamy lemon filling in a pie.
      Classic Homemade Lemon Tart

    🥗 Fresh Spring Salads

    • An overhead shot of a broccoli salad with bacon, almonds, cranberries and a creamy dressing.
      Creamy Broccoli Salad With Bacon
    • Salad servers next to a pumpkin and spinach salad.
      Roast Pumpkin Salad with Feta, Pine Nuts & Baby Spinach
    • A rectangular serving dish filled with a pomegranate and yoghurt salad.
      Cypriot Grain Salad | Chef Recipe
    • A halloumi salad with crispy bacon, macadamia nuts, avocado and sweet roast pumpkin tossed with a creamy sesame dressing.
      Halloumi Salad
    Names of brands that Bake Play Smile has had recipes featured in.

    🍱 Lunchbox + Picnic Snacks

    • A sugar-topped muffin with blueberries mixed throughout.
      Blueberry Muffins
    • Pieces of chocolate coconut slice topped with chocolate icing and sprinkled with coconut on a cake stand.
      Chocolate Coconut Slice
    • A Freckle on top of a piece of chocolate slice.
      Weetbix Slice
    • ANZAC oat biscuits cooling on a wire rack.
      ANZAC Biscuits

    Footer

    Subscribe for weekly updates!

    Subscribe
    • Contact
    • Privacy Policy
    • Terms & Conditions
    • Accessibility Policy
    • ↑ back to top

    Copyright © 2025 Bake Play Smile

    ↑ back to top

    Rate This Recipe

    Your vote:


    A rating is required
    A name is required
    An email is required

    Recipe Ratings without Comment

    Something went wrong. Please try again.