A simple triple layer Christmas ice-cream pudding with layers of strawberry, chocolate and vanilla ice-cream filled with chocolate honeycomb, Clinkers, Maltesers, chocolate cookies, sprinkles and more!
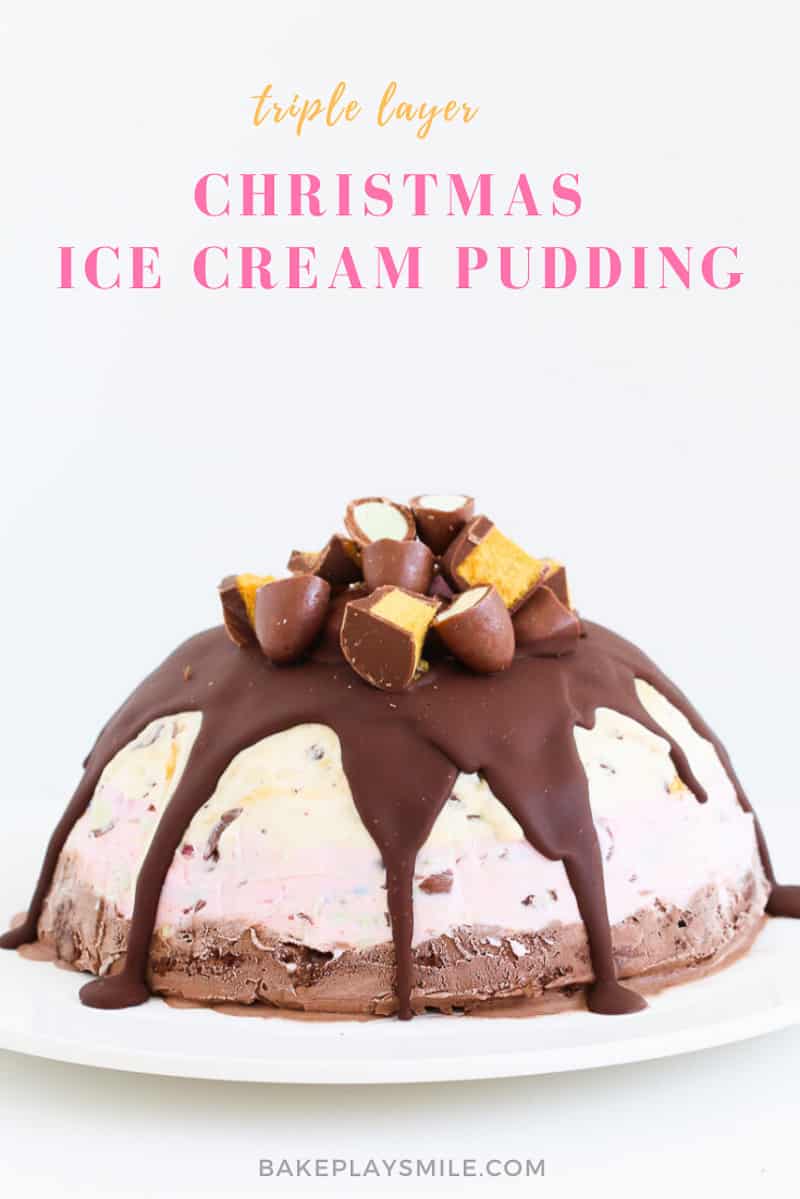
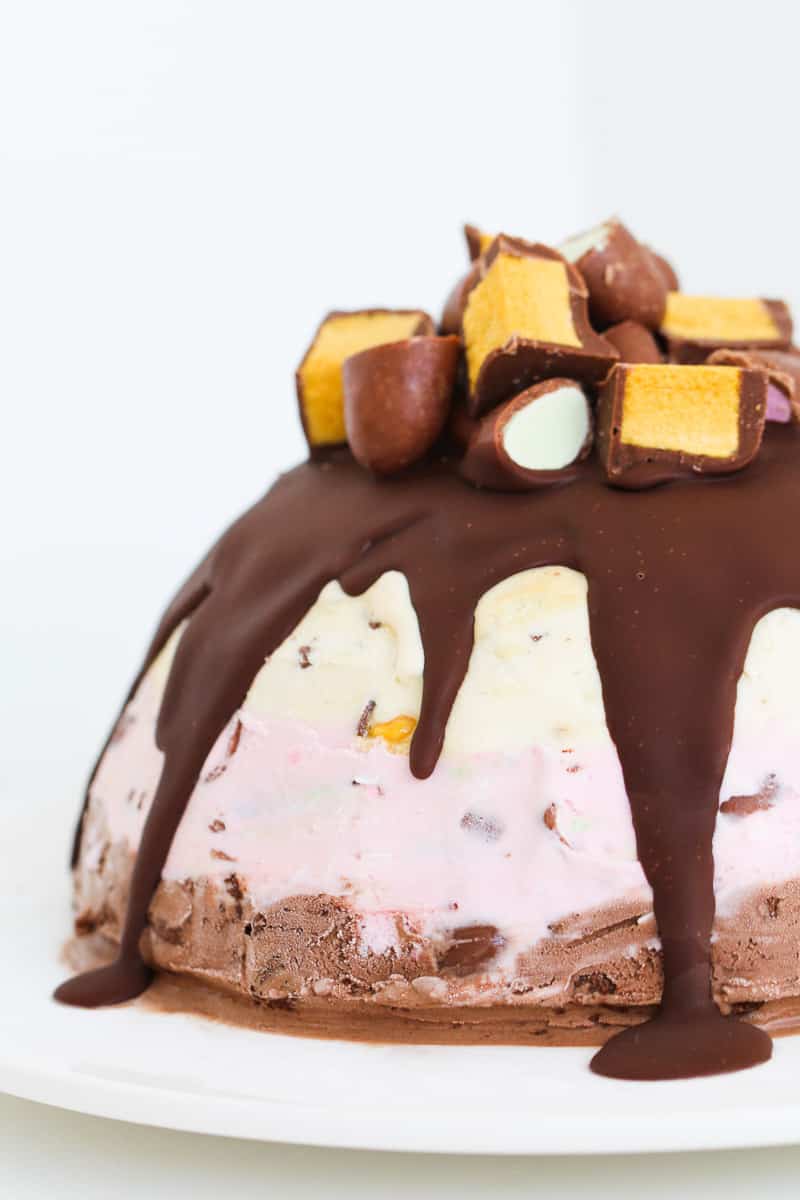
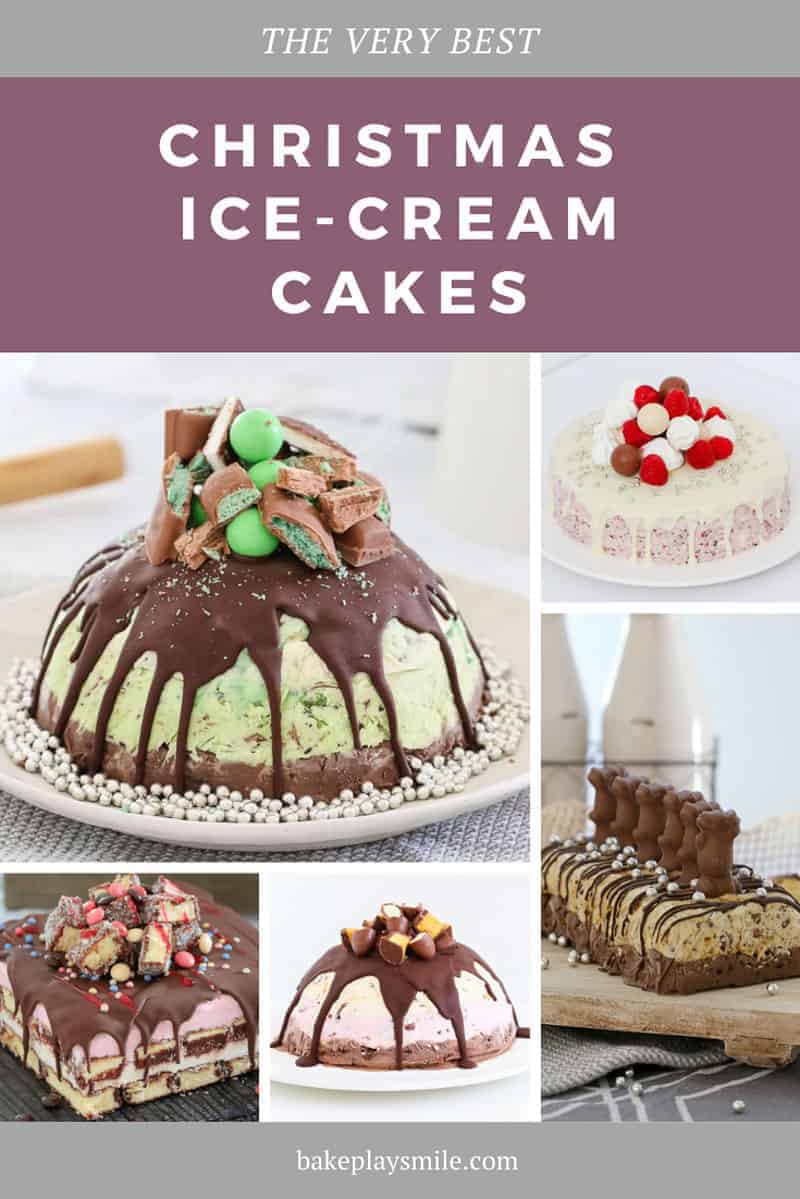
Say hello to the most delicious triple layer ice-cream cake made using a tub of neapolitan ice-cream! Just like our other ice cream cake recipes - including our triple layer mint chocolate ice-cream cake, chocolate & honeycomb cake, and our raspberry and meringue ice-cream cake, this recipe is so simple to make but looks AMAZING!
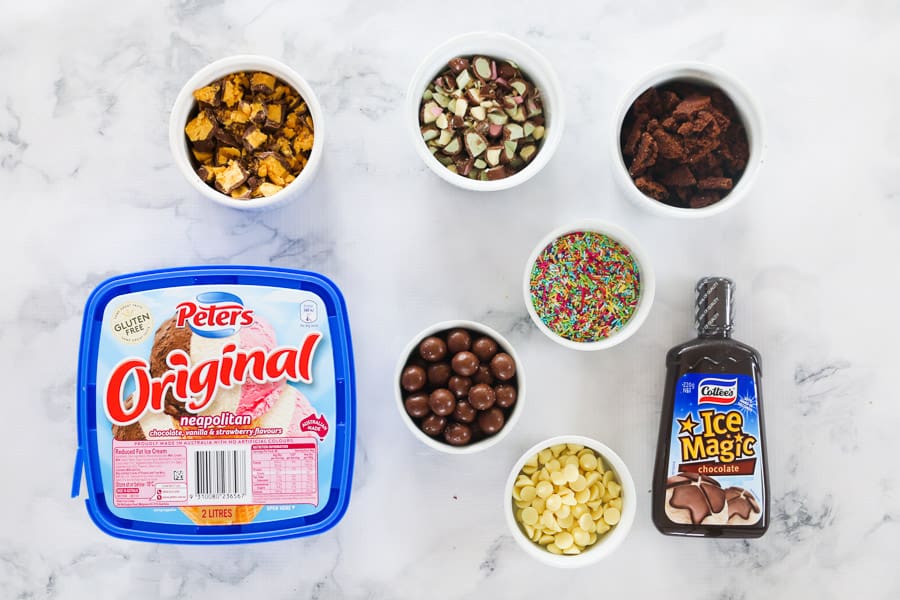
Christmas Ice-Cream Pudding Ingredients
*Please scroll to the printable recipe card at the bottom of this post for ingredient quantities and the full method
- tub of neapolitan ice cream (strawberry, vanilla and chocolate)
- chocolate honeycomb
- Clinkers (see recipe notes below)
- sprinkles (or 100s and 1000s)
- chopped chocolate cookies (I used Arnott's choc ripple biscuits)
- Maltesers (or any malted milk balls like Whoppers)
- white chocolate chips
- Ice Magic or Magic Shell (or make your own with chocolate and coconut oil using this recipe)
Christmas Ice-Cream Pudding Layers
This ice-cream cake is made up of 3 delicious layers... and it's so simple to assemble! The hardest part is waiting for each layer to set in the freezer!
Dividing The Flavours
Remove the ice-cream from the tub and place it onto a flat chopping board - keeping it in it's whole square shape. Using a large knife, divide the ice-cream into 3 slices (1 vanilla, 1 strawberry and 1 chocolate). Place each of the colours into seperate bowls. Place the strawberry and chocolate bowls into the fridge to use later.
Preparing The Bowl
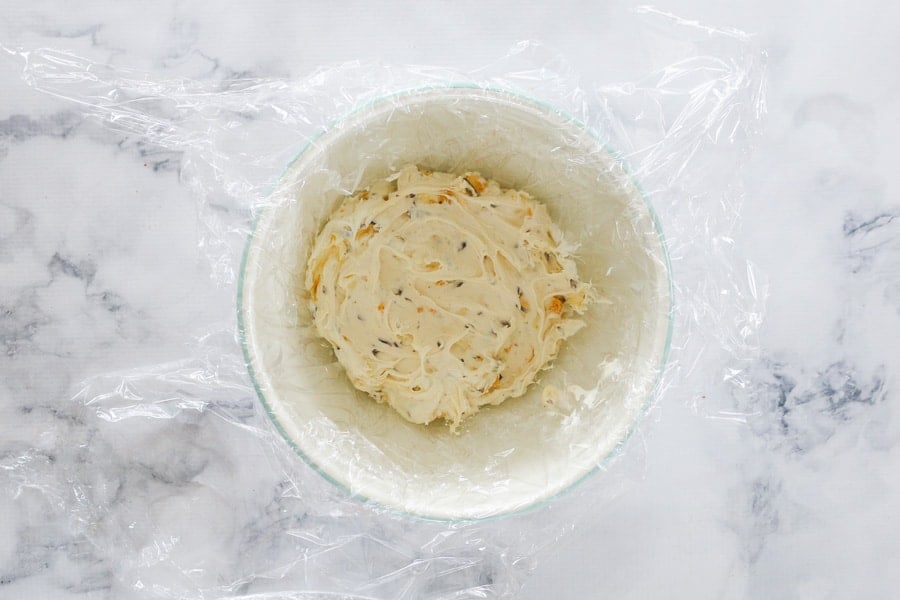
Place 2 long sheets of plastic wrap over the base and sides of a 8 cup capacity bowl (see notes below). Allow the plastic wrap to hang over the edges. Set aside.
The Vanilla Layer
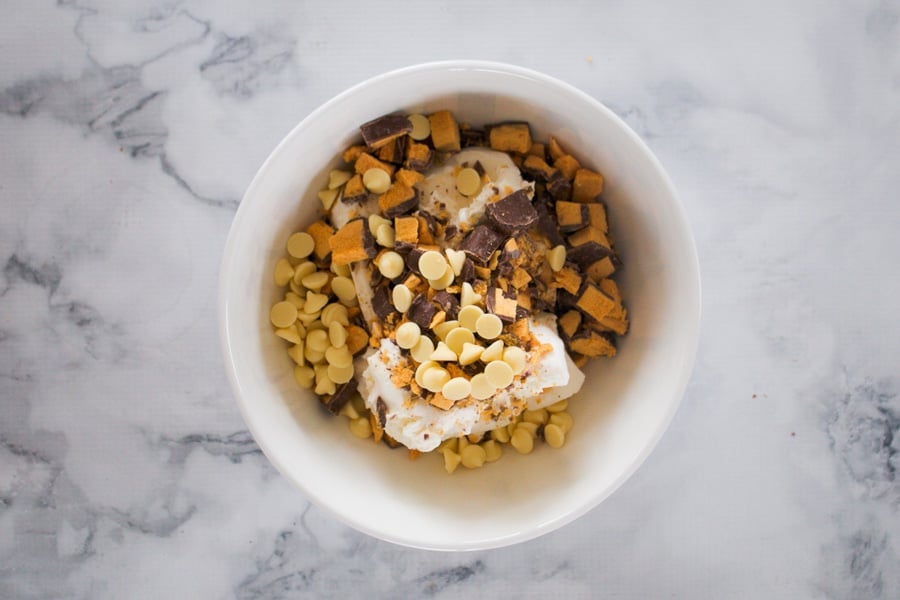
Allow the vanilla ice-cream to soften slightly (but not melt). Add chopped chocolate honeycomb and white chocolate chips and mix until combined. Spoon into the prepared bowl. Spread out and place into the freezer for 30 minutes to set.
The Strawberry Layer
Allow the strawberry ice-cream to soften before mixing through chopped Clinkers and sprinkles. Gently spread the strawberry ice-cream over the vanilla layer and place back into the freezer to set.
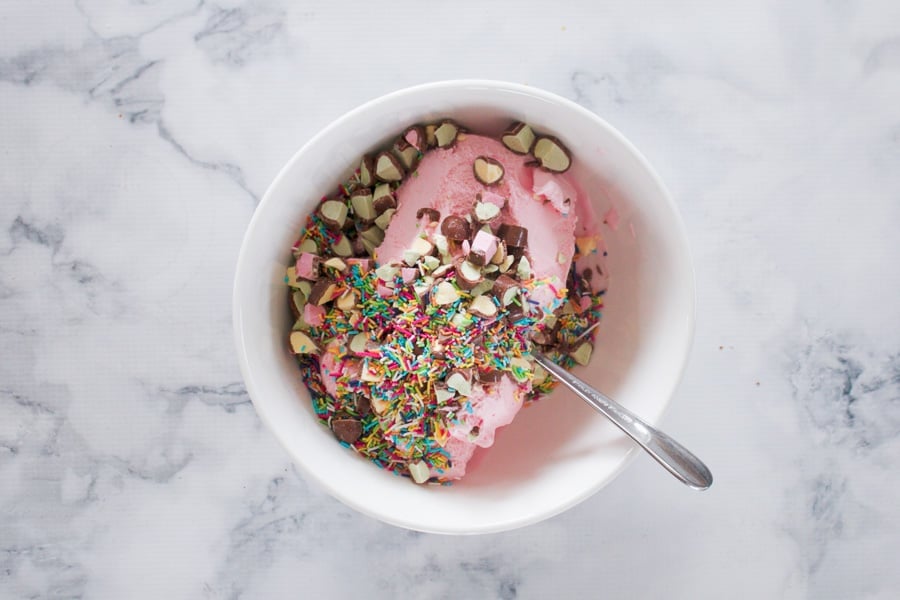
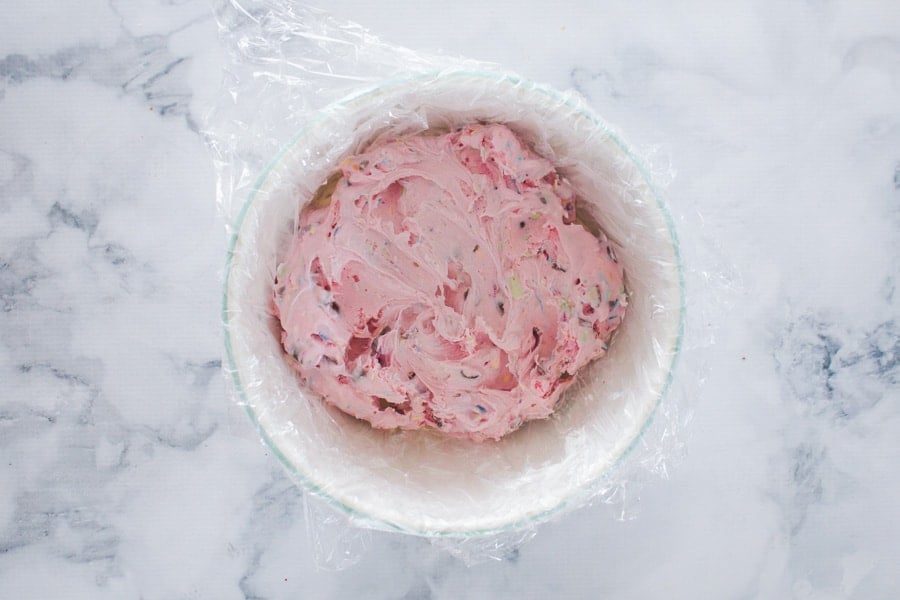
The Chocolate Layer
Allow the chocolate ice-cream to soften before mixing through the chopped chocolate cookies and Maltesers. Gently spread over the strawberry layer and place back into the freezer and leave overnight.
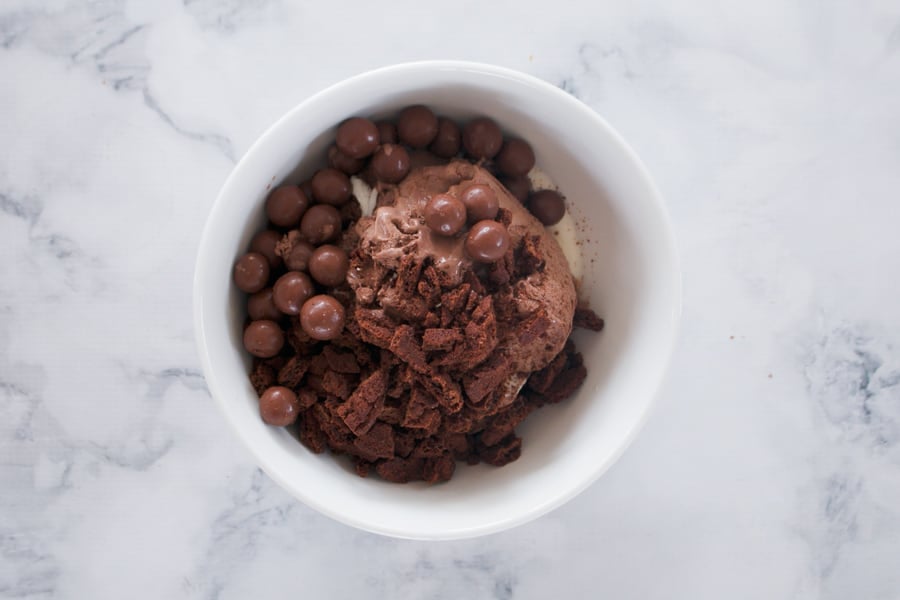
Decorating The Ice-Cream Cake
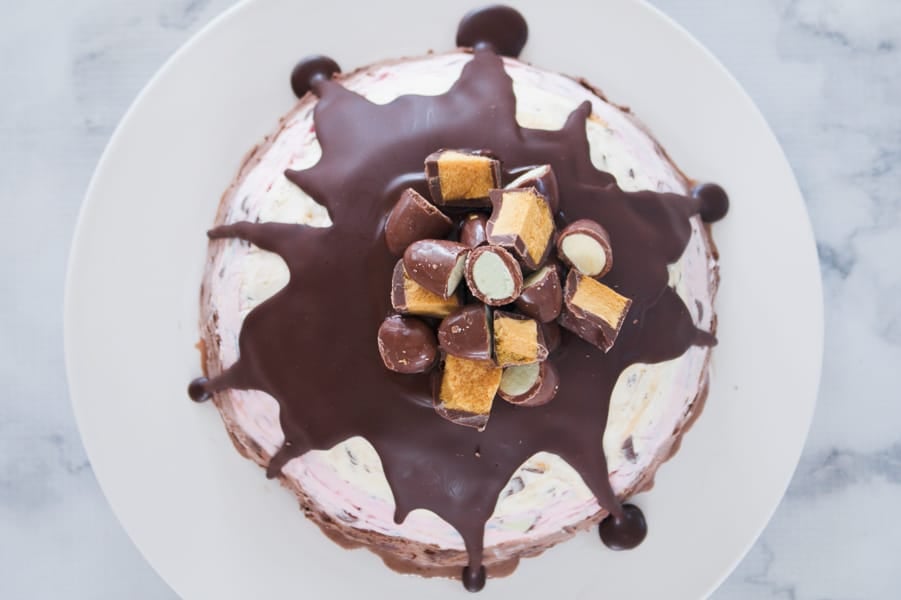
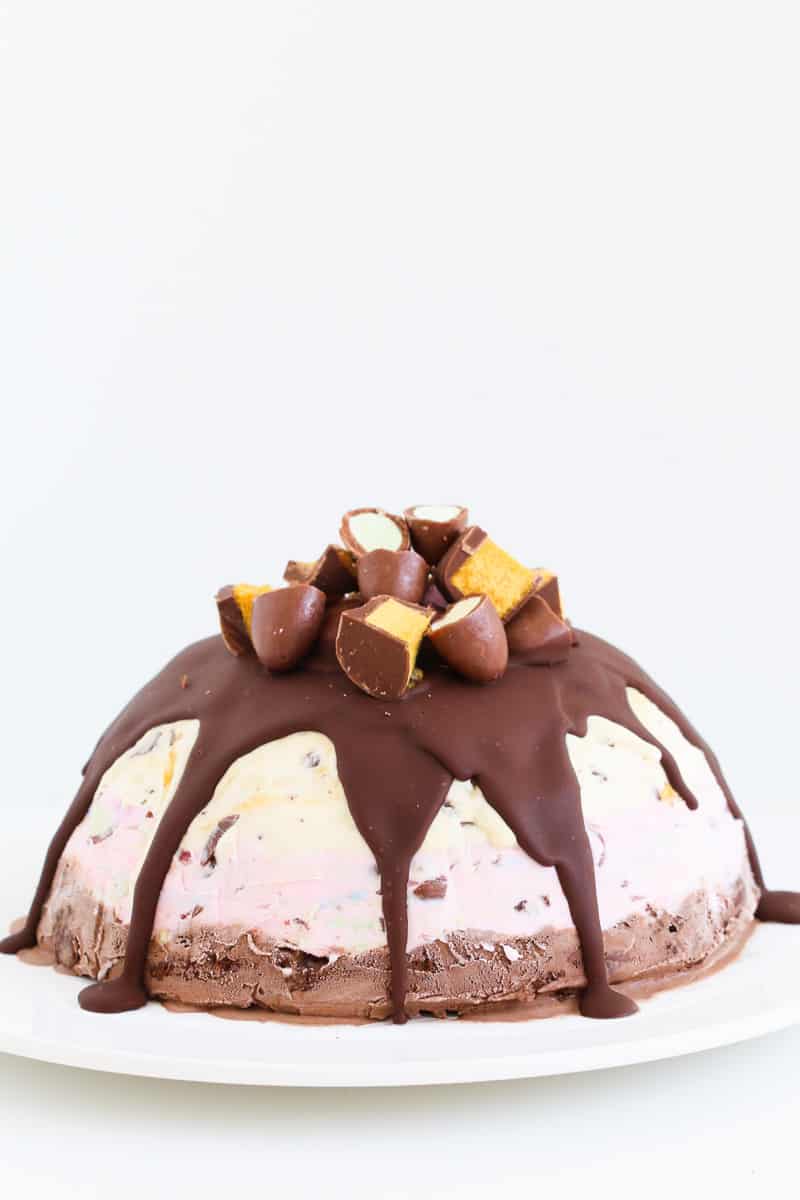
After freezing overnight, remove the cake and turn over onto a flat serving plate (see tips below). Pour Ice Magic (Magic Shell) over the top and decorate with chocolate honeycomb and Clinkers. Place back into the freezer until you're ready to serve.
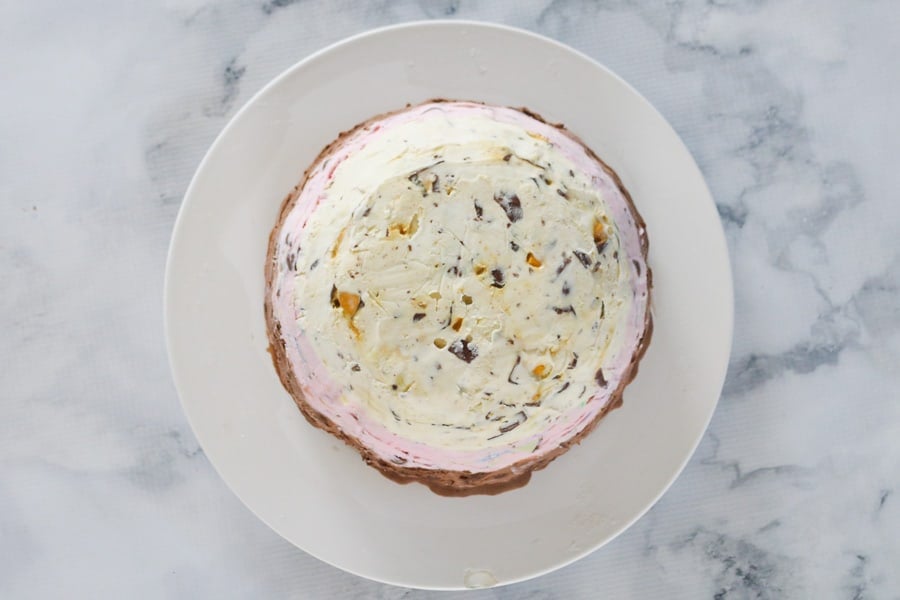
Tips For Making Christmas Ice-Cream Pudding
- Start preparing the day before - this ice-cream cake needs to set overnight so prepare it the day before you need it (or up to a week before) and then decorate on the day.
- Allow time for the layers to set - each layer requires 30 minutes to set in the freezer before adding the next layer. Ensure you have enough time before beginning.
- Choosing a bowl - you can use any kind of bowl or cake tin you like for this recipe (as long as it has an 8 cup capacity. Pudding tins, round cake tins or any round mixing bowl will work perfectly.
- Cover the inside of the bowl with plastic wrap - in order to be able to remove the ice cream cake once it's set, place 2 long sheets of plastic wrap over the base and sides of the bowl, allowing it to overhang over the sides.
- Softening the ice-cream - in order to mix the add-ins through the ice cream, allow it to soften slightly (but not melt).
- Add-Ins - I used chocolate honeycomb, Clinkers, white chocolate chips, sprinkles, chocolate cookies and Maltesers in my ice-cream, but you can substitute these with absolutely any of your favourite chocolates.
- Removing the cake from the bowl - take the bowl out of the freezer and leave it on the bench for a couple of minutes. Rub your hands over the sides and base (the heat from your hands will help to loosen the ice-cream cake). Remove the cake by pulling the overhanging plastic wrap and gently place onto a flat serving plate or board. I like to place the ice-cream cake back into the freezer for a further 10 minutes at this stage.
- Removing the plastic wrap 'wrinkles' - when you remove the ice-cream cake from the tin and take away the plastic wrap, you'll notice that your ice-cream cake will have lines or 'wrinkles' from the plastic wrap. To remove them, simply run a flat knife around the edge to smooth (this is an optional step).
- Decorating the cake - Working quickly, pour Ice Magic (Magic Shell) over the top of the ice-cream cake allowing it to drip down the sides. Decorate with extra chocolates.
More Ice-Cream Cake Recipes
If you love ice-cream cakes (and who doesn't!), check out our collection of the very best ice-cream cakes here.
WANT EVEN MORE DELICIOUS RECIPES? Subscribe to my newsletter or follow along on Facebook or Instagram. And if you love baking, then please come and join my Facebook cooking club group or subscribe to my YouTube channel.
Triple Layer Christmas Ice-Cream Pudding with Choc Honeycomb, Clinkers, Maltesers & More!
Ingredients
- 2 litres neapolitan ice-cream
- 100 g chocolate honeycomb plus 100g extra for decoration, roughly chopped
- ¼ cup white chocolate chips
- 150 g Clinkers plus 100g extra for decoration, roughly chopped
- ¼ cup sprinkles
- 100 g Maltesers
- 100 g chocolate biscuits see notes
- 1 bottle Ice-Magic
Instructions
- Line an 8 cup capacity bowl with two sheets of cling wrap, allowing the sides to overhang.
- Take the neapolitan ice-cream out of the freezer and leave it for 5 minutes to soften slightly.
- Squeeze the sides of the container to loosen and then overturn onto a chopping board.
- Cut the ice-cream into 3 seperate slices - chocolate, vanilla and strawberry and place each section into a seperate bowl and place back into the freezer.
- Take the vanilla ice-cream out of the freezer and allow it to soften (but not melt). Add the chopped chocolate honeycomb and the white chocolate chips and stir to combine.
- Spoon into the bottom of the cling wrap lined bowl, smooth the top and place into the freezer for 30 minutes or until set.
- Take the strawberry ice-cream out of the freezer and allow to soften. Mix in the chopped Clinkers and sprinkles and carefully spread over the vanilla layer. Place back into the freezer for 30 minutes to set.
- Take the chocolate ice-cream out of the freezer, mix in the chopped chocolate ripple biscuits and the Maltesers and spread over the top of the strawberry layer. Place back into the freezer and cover the top with cling wrap. Leave overnight.
- When you're ready to serve the Christmas ice-cream pudding, take it out of the freezer, remove the cling wrap and turn onto a plate.
- Squeeze the Ice Magic over the top of the pudding, allowing it to drip down the sides (you won't need the entire bottle).
- Decorate with extra chopped honeycomb and Clinkers.
- Place back into the freezer for 20 minutes to firm up. Remove from the freezer when you're ready to serve.
Notes
Nutrition



Jasmine says
My mum and I made a similar cake one year, save with Connoisseur icecream and it took until Feb to finish! We even used it as my birthday cake (Jan 23)!!
Lucy Mathieson says
Oh that's so awesome!!!!
Aysha says
Hi, this looks incredible, and just what I'd like to do, but ice cream always says 'once defrosted, do not refreeze'.
I'm worried I'll let it soften too far, so how do i know when it'll still be edible please?!
Stupid question I know :(! xxx
Bake Play Smile says
Hi Aysha, you need to allow it to soften enough to mix through the ingredients but you certainly don't want it to melt (otherwise it will go 'icy' and 'sticky' when it's refrozen). xx
Amy says
I made this pudding for my husband's birthday cake and it was a real show stopper that tasted AMAZING! !! He loved it and so did our guests!
Thank you for your wonderful recipes and great blog xx
Bake Play Smile says
I am SO SO happy to hear that!!!! xx
Tracey says
Wow!! This was definitely a hit in our house..thank you!