

This Easter Chocolate Ripple Cake is the easiest no-bake dessert you'll make all Easter - just 10 minutes prep and the fridge does the rest. It's a fun twist on the classic Aussie favourite, just like my Chocolate Ripple Cake and Salted Caramel Chocolate Ripple Cake.
A Quick Look At The Recipe
✅ Recipe Name: Easter Chocolate Ripple Cake
🕒 Ready In: 10 minutes + chilling time
👪 Serves: 10 serves
🍽 Calories: 318 per serve
🥣 Main Ingredients: chocolate ripple biscuits, cream, sugar, vanilla and Easter eggs
📖 Dietary Info: vegetarian
⭐ Why You'll Love It: This no-bake Easter dessert is quick, nostalgic and perfect for making ahead - with soft layers of biscuit and cream and a fun chocolatey topping.
SUMMARIZE & SAVE THIS CONTENT ON
If you know, you know - this is pure nostalgic magic. A few simple ingredients turn into a soft, sliceable cake overnight, and it's just as easy and crowd-pleasing as my Easter Chocolate Overload Cake and Easter Egg Cookie Slice.
Why You're Going To Love This Recipe
How could you not love everyone's favourite Aussie dessert... especially when it has an Easter twist!
- Only 10 minutes prep - no baking required, just whip, stack and chill.
- Perfect make-ahead dessert - this cake requires chilling for at least 6 hours (preferably overnight), so prepare it the night before Easter lunch for a stress-free morning.
- Kid-friendly recipe - little helpers love stacking the biscuits and decorating with Easter eggs.
- Budget-friendly - made with simple supermarket ingredients.
- Totally customisable - decorate it with your favourite Easter chocolates.
Jump to:
Easter Choc Ripple Ingredients
All of the ingredients are simple, budget-friendly staples that you can easily find at any supermarket. 🐣🍫
Note: Scroll to the recipe card at the bottom for the ingredients quantities and full detailed method.
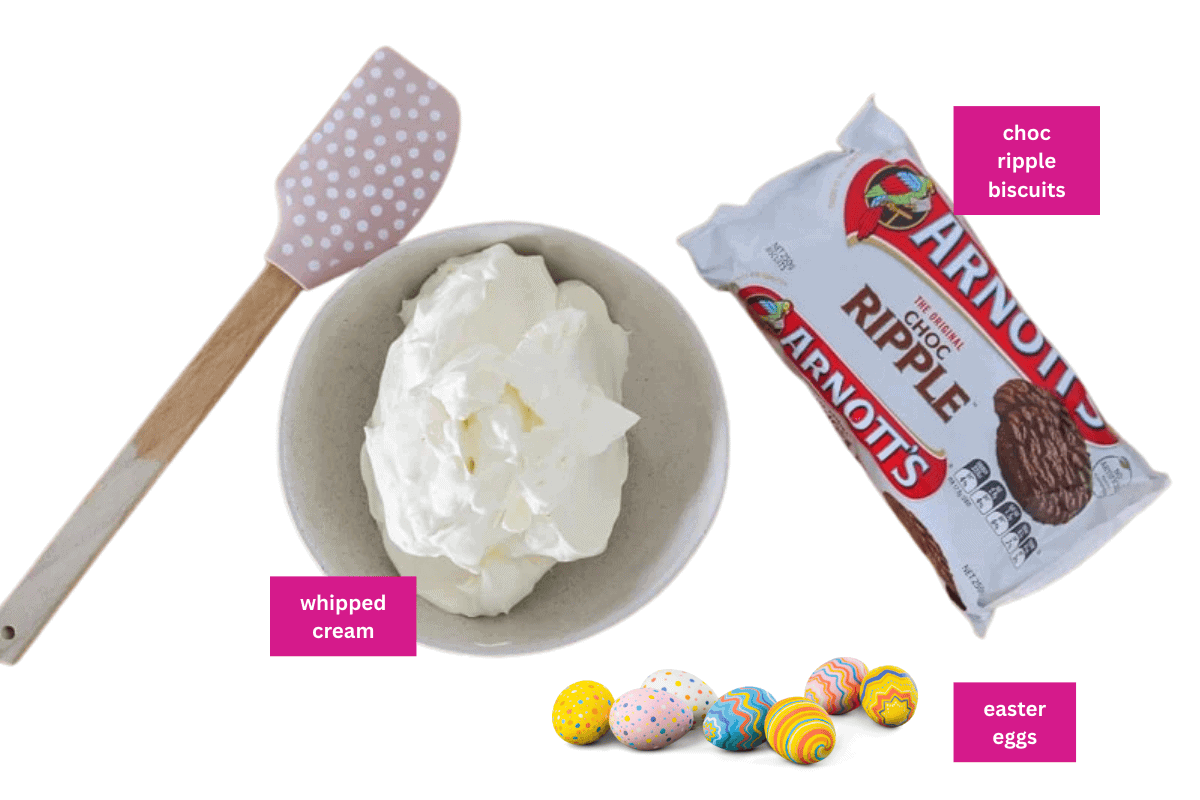
- Arnott's Chocolate Ripple Biscuits - These classic Aussie chocolate biscuits are ideal for ripple cakes as they soften perfectly once layered with cream. If you can't find them, any plain chocolate biscuit works.
- Thickened Cream - Use full-fat thickened cream so it whips nicely and holds its shape when layered between the biscuits.
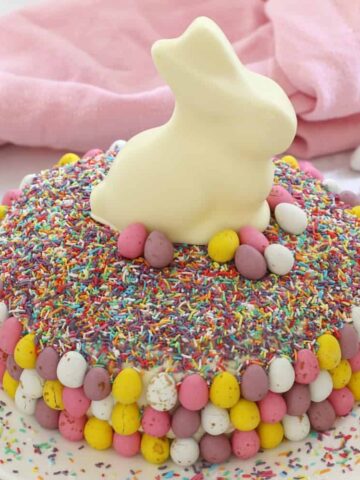
- Easter Eggs - I love using a mix of hollow chocolate eggs and mini solid eggs for decorating, but anything colourful and chocolatey works beautifully - including cute little chocolate bunnies!
Variations
One of the best things about chocolate ripple cakes is how easy they are to customise!
- Easter Nest Cake - Decorate the top with shredded coconut and mini eggs to create a cute "Easter nest" look.
- Chocolate Caramel Ripple Cake - Drizzle caramel sauce between the layers or over the top for a caramel twist.
- Double Choc Twist - Add a tablespoon of cocoa powder to the cream when whipping it.
- Berry Chocolate Ripple Cake - Add some fresh raspberries, strawberries or blueberries amongst the Easter eggs for a gorgeous berry contrast.
- Gluten-Free Option - Simply swap the biscuits for gluten-free chocolate biscuits. Many supermarkets carry suitable alternatives.
How To Make An Easter Chocolate Ripple Cake
Kids will love helping make this chocolate ripple cake - particularly when it comes to decorating with Easter eggs! One for me....one for the cake...
Note: Scroll to the recipe card at the bottom for the ingredients quantities and full detailed method.
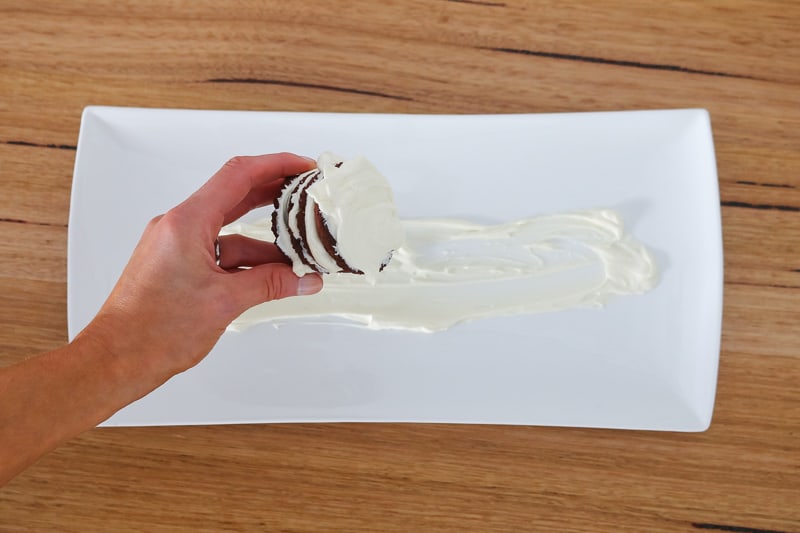
- Whip the cream and start the base: Beat the thickened cream, caster sugar and vanilla until soft peaks form. Spread a little whipped cream down the centrer of your serving platter to help hold the cake in place.
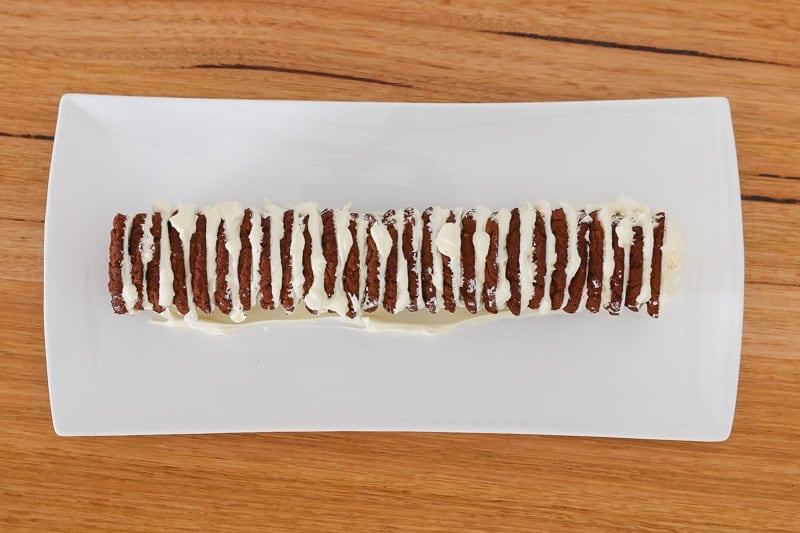
- Sandwich the biscuits and build a log: Spread a teaspoon of cream onto one biscuit and sandwich another biscuit on top. Continue stacking until you have a short stack of 3-4 biscuits. Stand the biscuit stack upright on the platter. Repeat with more stacks, joining them together to form one long log shape.
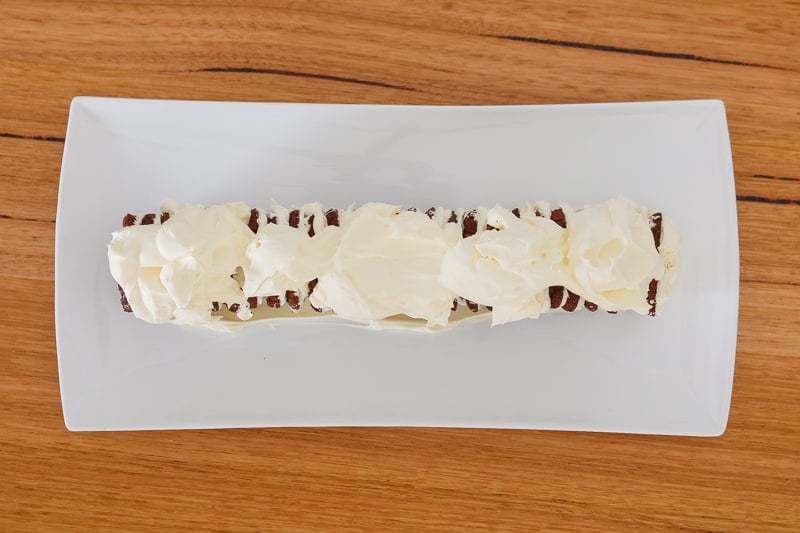
- Cover with cream then chill: Spread the remaining whipped cream over the entire cake, covering it completely. Refrigerate for at least 6 hours (preferably overnight) so the biscuits soften into cake-like layers.
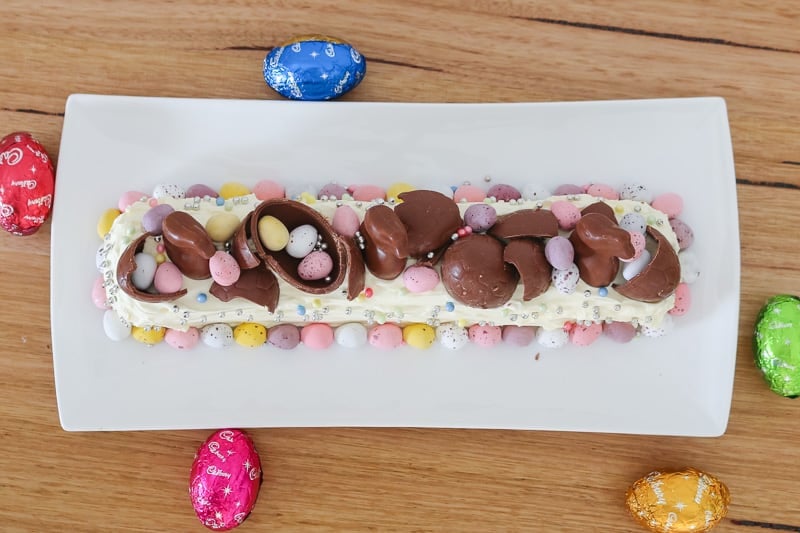
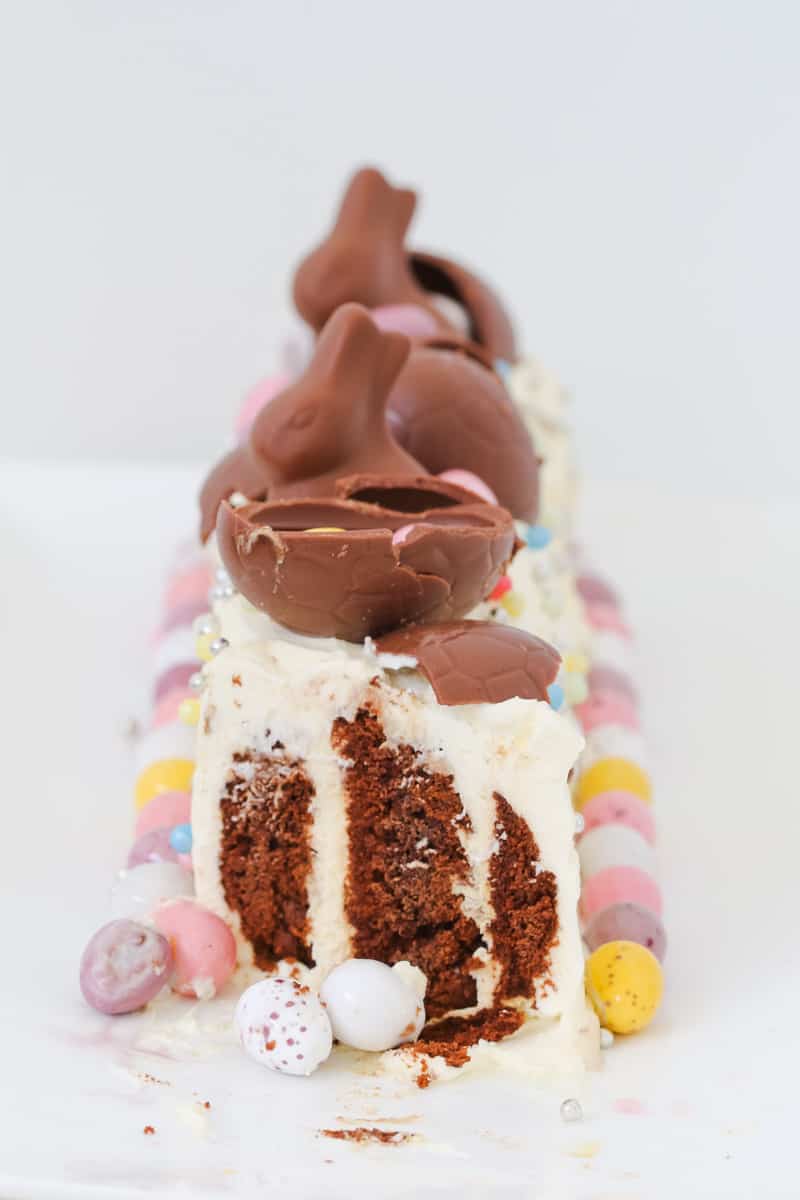
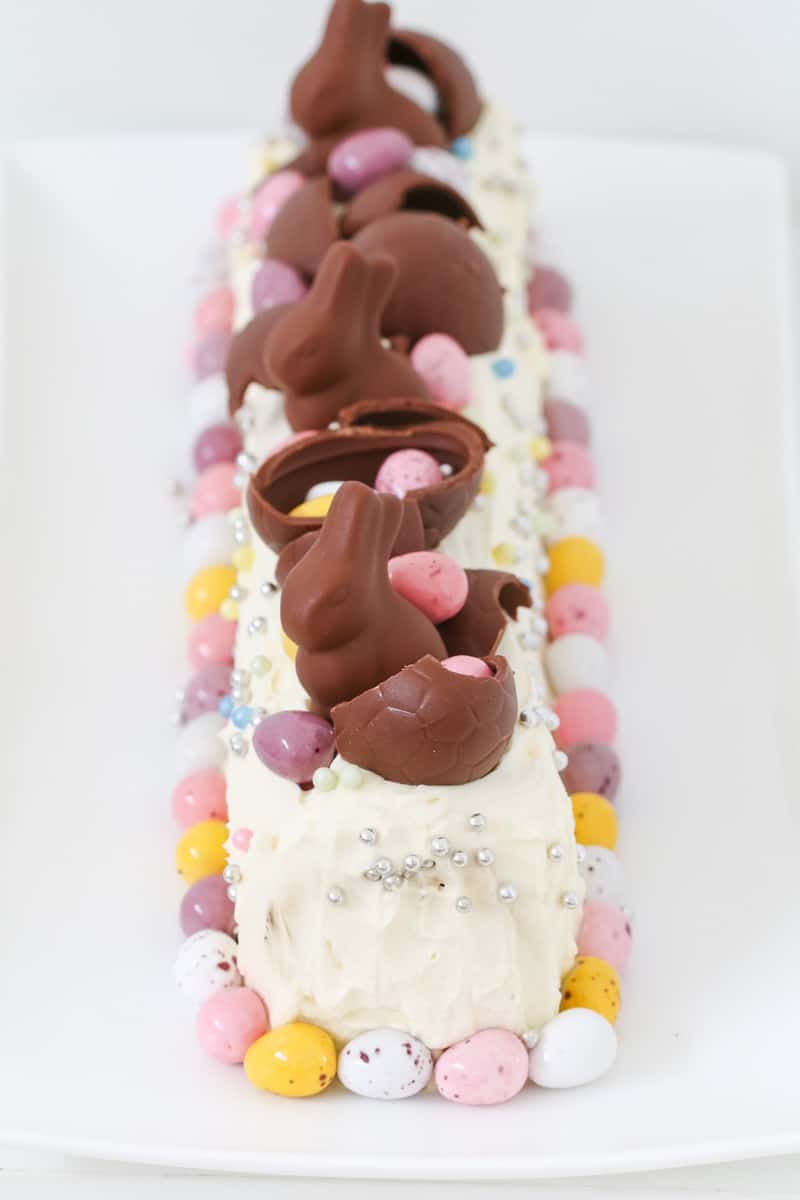
- Decorate and serve: Top with Easter eggs just before serving and slice on an angle to reveal the layers of cream and biscuit.
- Note: I have used a combination of mini solid Easter eggs, hollow eggs, little chocolate bunnies and sprinkles to decorate.
Recipe Tips
- Chill overnight if possible - or a minimum of 6 hours, this allows the biscuits to soften into cake-like layers.
- Use cold cream - cold cream whips faster and holds its shape better.
- Don't overwhip the cream - stop once soft peaks form so it spreads easily.
- Spread a little bit of whipped cream along your serving plate to help keep the biscuits in place.
- Slice on a diagonal - this reveals the beautiful striped layers of biscuit and cream.
- Decorate just before serving - this keeps the Easter eggs looking fresh and colourful.
- Transport tip - assemble the cake on the platter you plan to serve it on.
- Storage - keep the cake refrigerated in an airtight container for up to 2 days.
- Freezing - this dessert is not ideal for freezing as the cream can separate once thawed.
Easter Chocolate Ripple Cake FAQs
Any plain, crunchy chocolate biscuits or chocolate cookies with a firm texture will work.
Yes! Replace the caster sugar and vanilla extract with alcohol (such as Kahlua or Baileys Irish Cream) for an adults-only dessert.
At least 6 hours in the fridge, but overnight is best so the biscuits soften fully.
Slice on a slight diagonal to reveal the striped layers created by the biscuits.
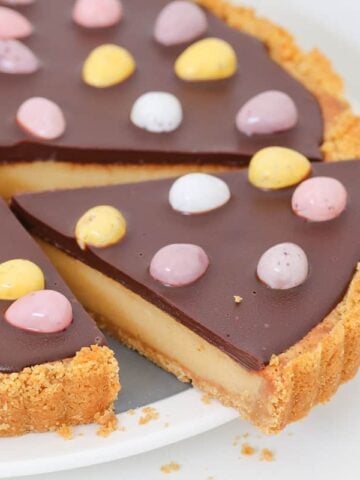
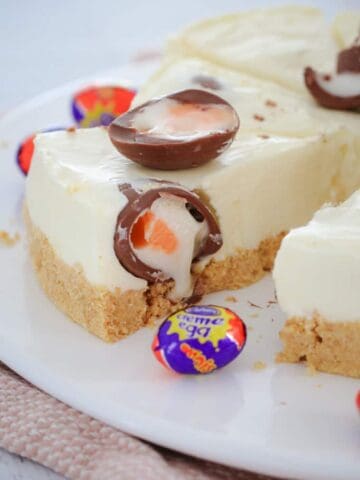
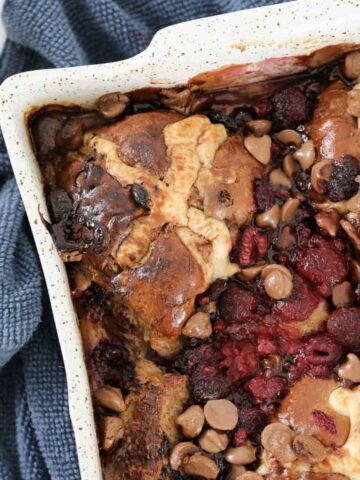
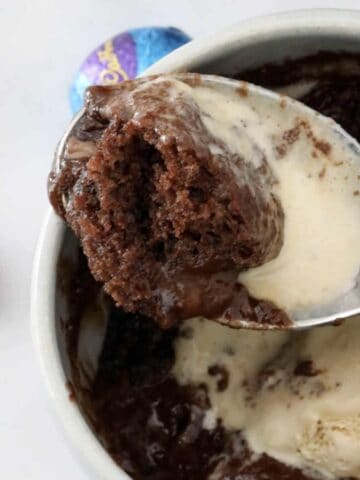
More Easter Dessert Recipes
Looking for more sweet treats to celebrate the season? These Easter dessert recipes are easy, fun and perfect for sharing with family and friends. 🐣🍫
WANT EVEN MORE DELICIOUS RECIPES? Subscribe to my newsletter or follow along on Facebook or Instagram. And if you love baking, then please come and join my Facebook cooking club group or subscribe to my YouTube channel.

Easter Chocolate Ripple Cake
Ingredients
- 600 ml thickened cream heavy whipping
- 1 teaspoon caster sugar superfine
- 1 teaspoon vanilla extract
- 250 g Arnott's Choc Ripple biscuits or any chocolate cookies
- Easter eggs, to decorate
Instructions
Conventional Method
- Place the cream, caster sugar and vanilla extract into a bowl. Beat with handheld beaters or a stand-mixer until soft peaks form.
- Spread some of the whipped cream along the base of your serving dish.
- Hold one chocolate ripple biscuit in your hand. Spread a teaspoon of whipped cream onto the flat edge and place another chocolate ripple biscuit on top. Repeat until you have a stack of 3-4 biscuits in your hand.
- Place the stack standing upright onto the cream on the serving plate. Repeat with another 3-4 biscuits and then join that stack to the serving platter to form one long log.
- Repeat until all of the biscuits have been used.
- Use the remaining whipped cream to spread over the entire outside of the log.
- For best results, place in the fridge overnight before serving (as this will allow the biscuits to soften).
- Decorate with Easter eggs before serving.
Thermomix Method
- Insert the butterfly into the Thermomix bowl. Add the cream, caster sugar and vanilla extract and beat on Speed 3 until soft peaks start to form.
- Spread some of the whipped cream along the base of your serving dish.
- Hold one chocolate ripple biscuit in your hand. Spread a teaspoon of whipped cream onto the flat edge and place another chocolate ripple biscuit on top. Repeat until you have a stack of 3-4 biscuits in your hand.
- Place the stack standing upright onto the cream on the serving plate. Repeat with another 3-4 biscuits and then join that stack to the serving platter to form one long log.
- Repeat until all of the biscuits have been used.Use the remaining whipped cream to spread over the entire outside of the log.
- For best results, place in the fridge overnight before serving (as this will allow the biscuits to soften). Decorate with Easter eggs.
Notes
- Chill overnight if possible - or a minimum of 6 hours, this allows the biscuits to soften into cake-like layers.
- Use cold cream - cold cream whips faster and holds its shape better.
- Don't overwhip the cream - stop once soft peaks form so it spreads easily.
- Spread a little bit of whipped cream along your serving plate to help keep the biscuits in place.
- Slice on a diagonal - this reveals the beautiful striped layers of biscuit and cream.
- Decorate just before serving - this keeps the Easter eggs looking fresh and colourful. Use a combination of mini eggs, hollow eggs, chocolate bunnies and sprinkles.
- Transport tip - assemble the cake on the platter you plan to serve it on.
- Storage - keep the cake refrigerated in an airtight container for up to 2 days.
- Freezing - this dessert is not ideal for freezing as the cream can separate once thawed.


Leave a Reply