If you grew up in Australia, chances are you've had a Chocolate Ripple Cake at least once! This nostalgic no-bake dessert is made with layers of whipped cream and Arnott's chocolate ripple biscuits, chilled overnight until the biscuits soften and become cake-like. It's simple, impressive, and absolutely delicious.
It sits proudly alongside other Aussie favourites like my Tim Tam Cheesecake and Classic ANZAC Biscuits - the kind of easy, crowd-pleasing recipes that never go out of style.
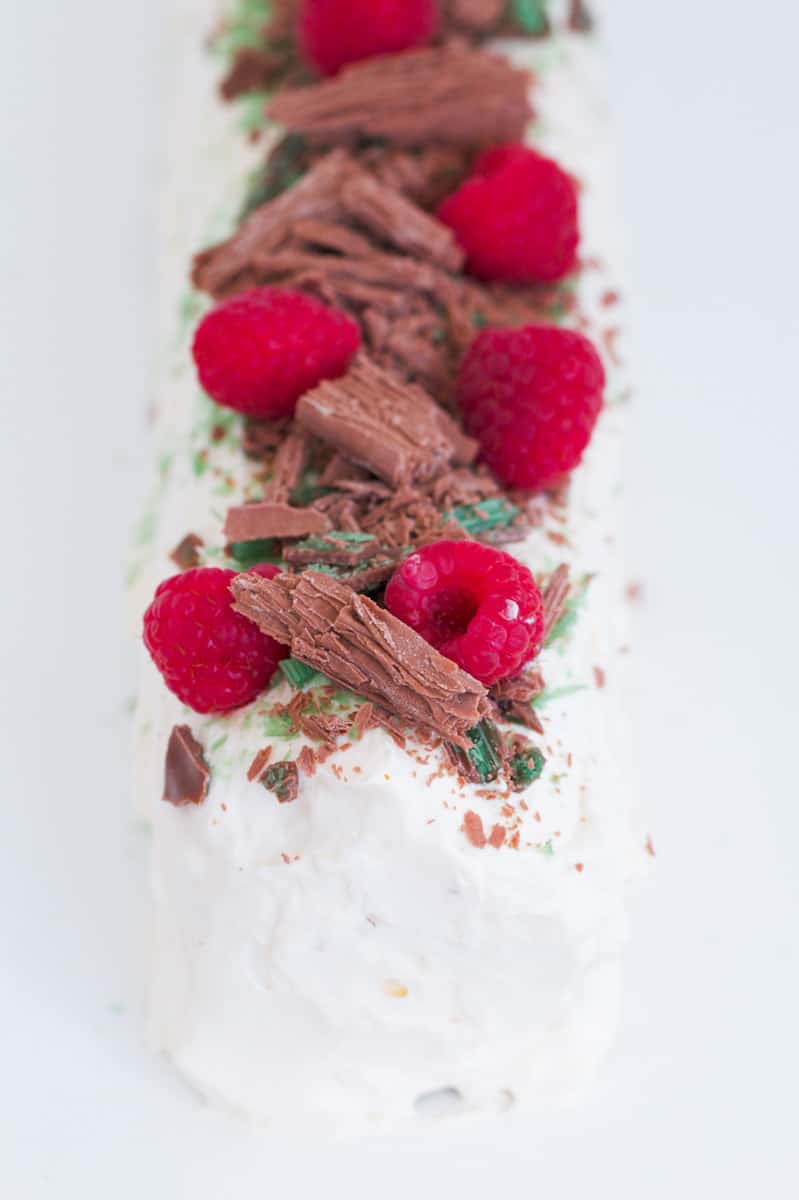
My family and I really like to eat this chocolate ripple cake. I love it. Will have it again. Thanks!
- Blitzo
A Chocolate Ripple Cake is every lazy baker's dream - no oven, no fuss, and just a few simple ingredients. Made with Arnott's Choc Ripple biscuits and whipped cream, it's layered into a log, covered in more cream, and chilled overnight until the biscuits soften into a mousse-like texture.
It's a go-to for Christmas, BBQs, and family get-togethers because it can be made ahead and tastes even better the next day. I've made so many versions over the years - from boozy Baileys twists to festive Christmas wreaths - but this classic version is always the crowd favourite.
If you love easy Aussie desserts, try my Baileys Choc Ripple Cake or Salted Caramel Choc Ripple Cake - both total showstoppers!
Why You're Going To Love This Recipe
⭐ Just 2 main ingredients - You only need whipped cream and Choc Ripple biscuits to get started.
🕒 No baking required - Perfect for hot Aussie summers or when you don't want to turn the oven on. A great recipe to make with the kids!
🎄 Make-ahead magic - Chill overnight for the ultimate soft, cake-like texture.
🍫 Customisable - Add Baileys, swap biscuits, or go double chocolate (see below for ideas!).
💕 A true Aussie classic - Loved by generations and perfect for Christmas, birthdays, or weekend entertaining.
Jump to:
Ripple Cake Ingredients
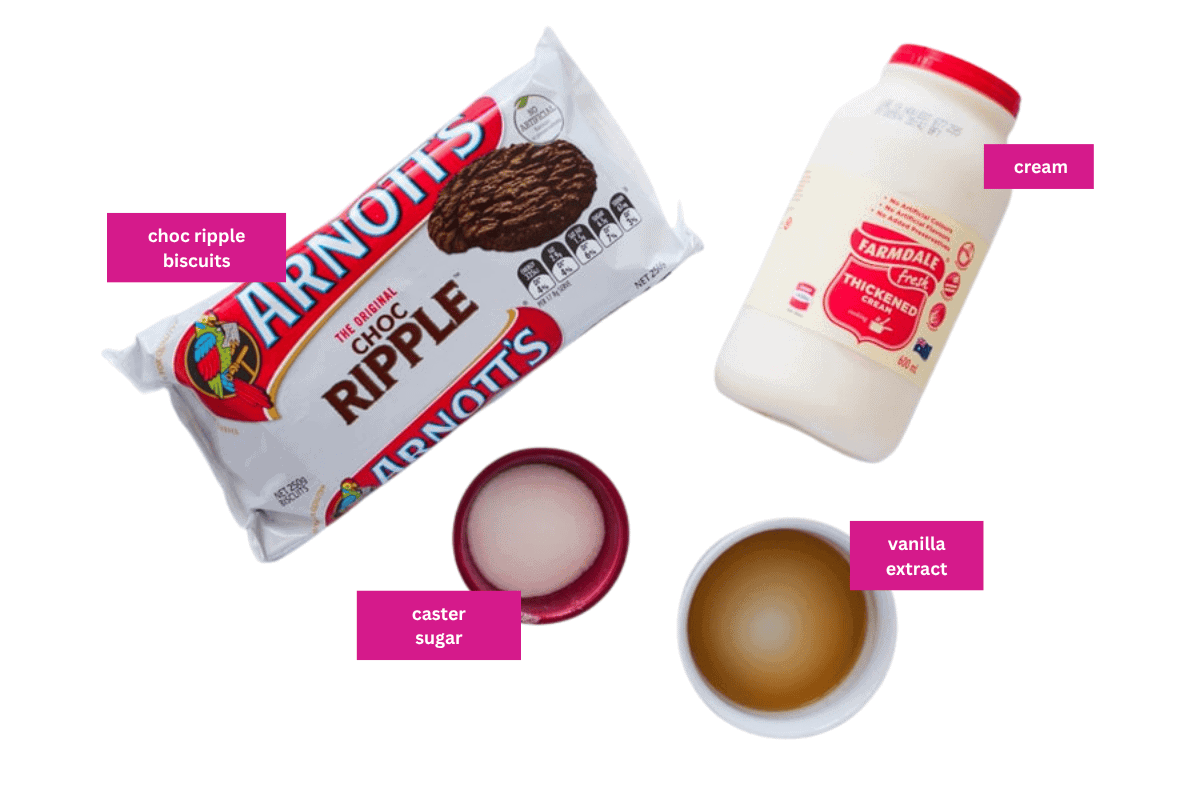
You only need a few simple ingredients to make this classic chocolate ripple cake. Here's what you'll need and why:
- Thickened (heavy) cream - Use thickened or heavy whipping cream that can be whipped to soft peaks. Avoid light cream - it won't hold its shape.
- Arnott's Choc Ripple biscuits - The classic choice! They're crisp, dark chocolate biscuits that soften beautifully when layered with cream. If you're outside Australia, use any plain chocolate cookie.
- Toppings - Try crushed Peppermint Crisp bars, Flake, raspberries, or shaved chocolate for a show-stopping finish.
Variations
There are so many fun ways to customise your choc ripple cake:
- Christmas Ripple Wreath - Shape the cake into a circle and decorate with berries, mint leaves, and chocolate curls.
- Boozy Version - Add a splash of alcohol (Baileys or Kahlua) to the whipped cream for a delicious adults-only twist.
- Gluten-Free Option - Use a gluten-free chocolate cookie (Coles and Woolworths both stock good ones).
- Double Chocolate Version - Mix 1 tablespoon of cocoa powder through your whipped cream for a rich, extra-chocolatey flavour.
Need To Substitute An Ingredient?
Ask ChatGPT for suggestions on how to substitute the particular ingredient:
How To Make Chocolate Ripple Cake
This no-bake dessert is one of the easiest you'll ever make! Just a few simple steps and a little patience while it chills.
Note: scroll to the printable recipe card at the bottom for ingredient quantities and the full detailed method.
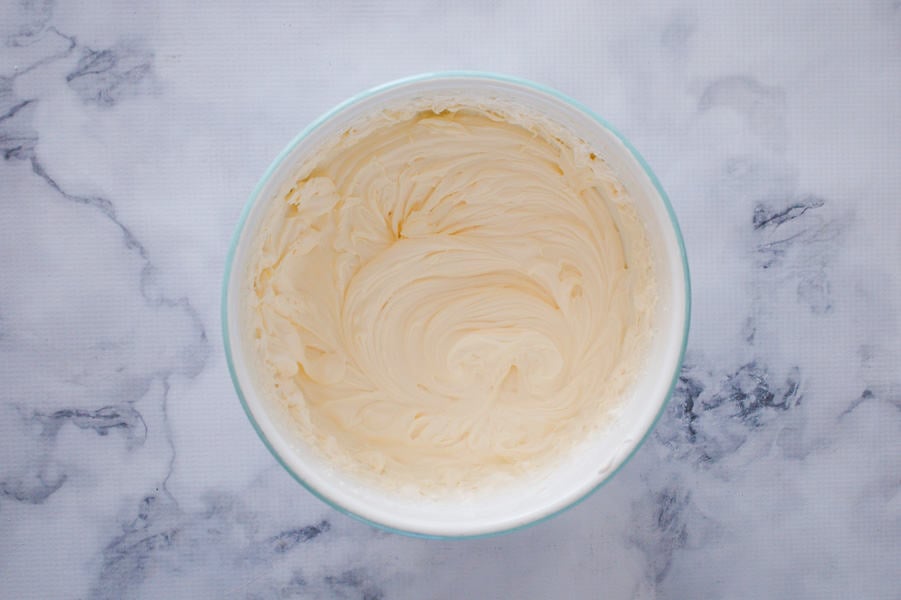
- Step 1: Whip the cream - Beat thickened cream (plus vanilla and sugar if using) until soft peaks form.
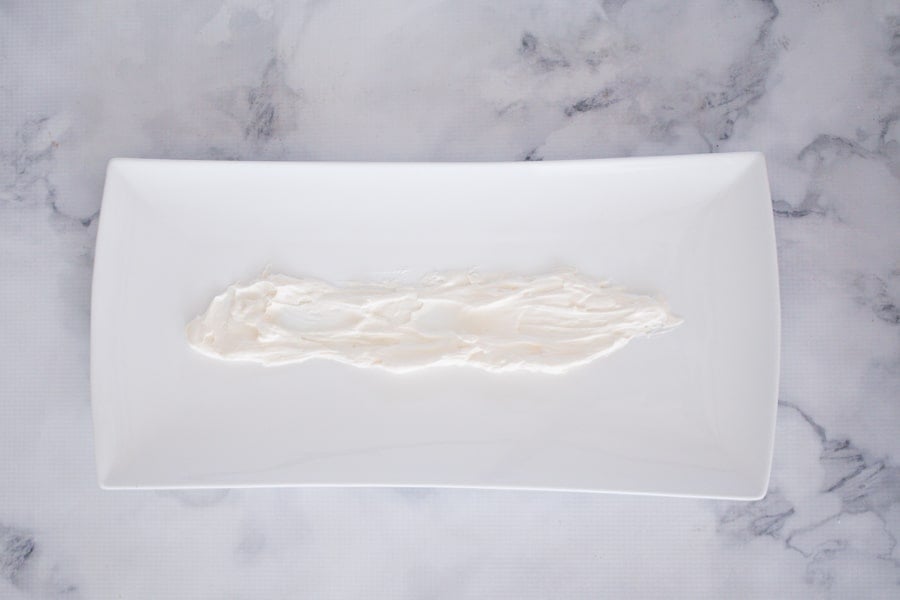
- Step 2: Start the base - Spread a line of whipped cream along your serving dish to hold the biscuits in place.
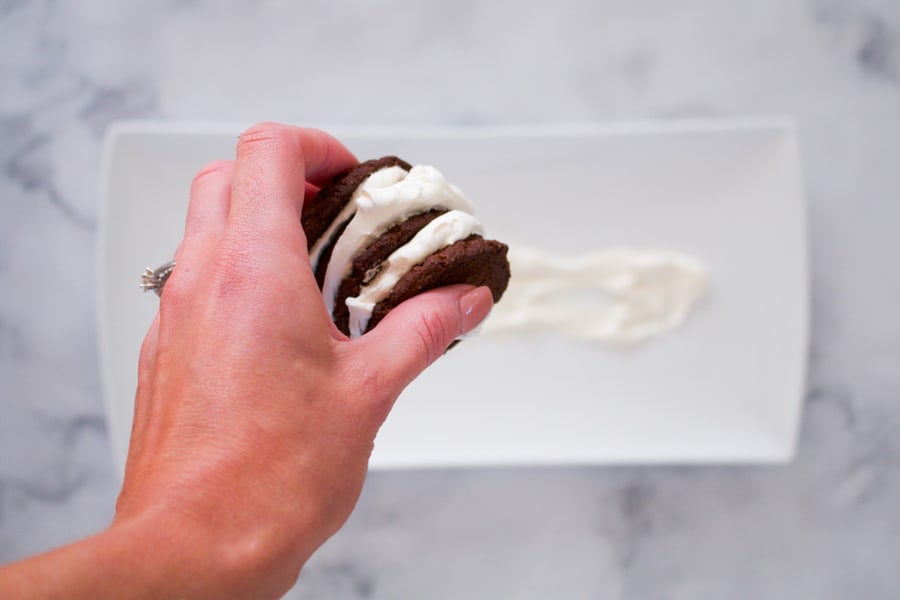
- Step 3: Layer the biscuits - Sandwich Choc Ripple biscuits together with whipped cream, then stand them upright on the dish in a long log shape.
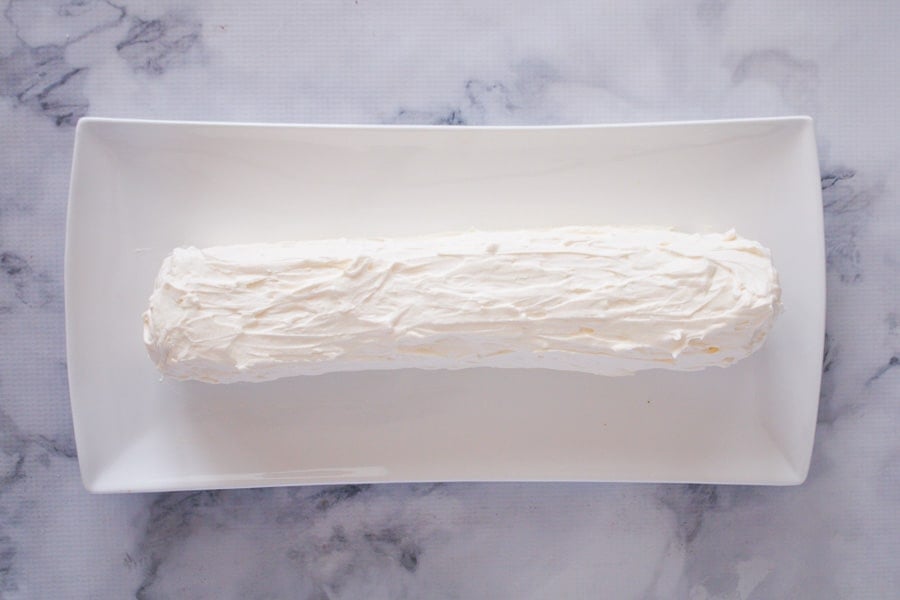
- Step 4: Cover with cream - Once all the biscuits are used, spread the remaining cream over the entire log to cover it completely.
Chill overnight - Refrigerate for at least 6 hours (ideally overnight) until the biscuits soften and turn cake-like.
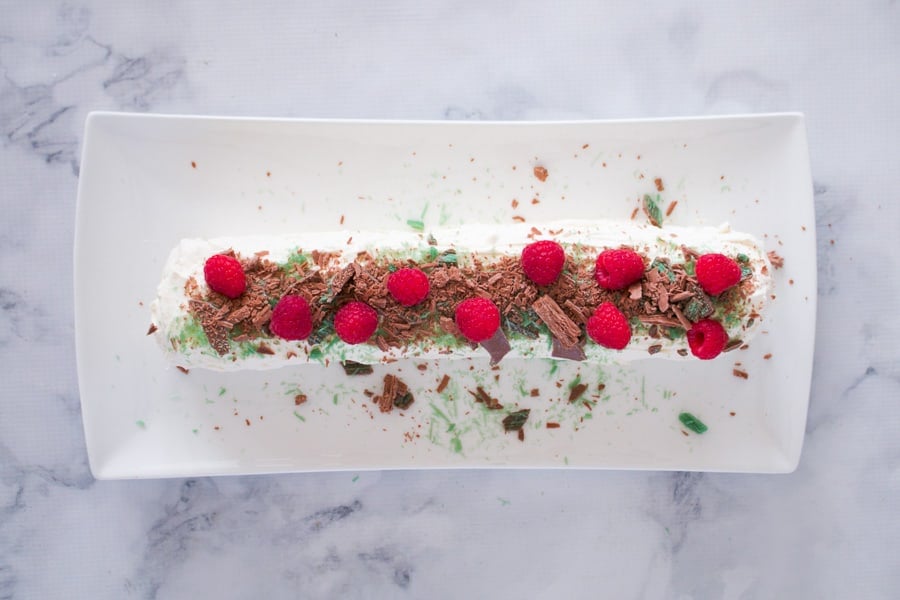
- Step 5: Decorate and serve - Just before serving, top with crushed Peppermint Crisp, Flake, fresh berries, or your favourite toppings.
Top Tip
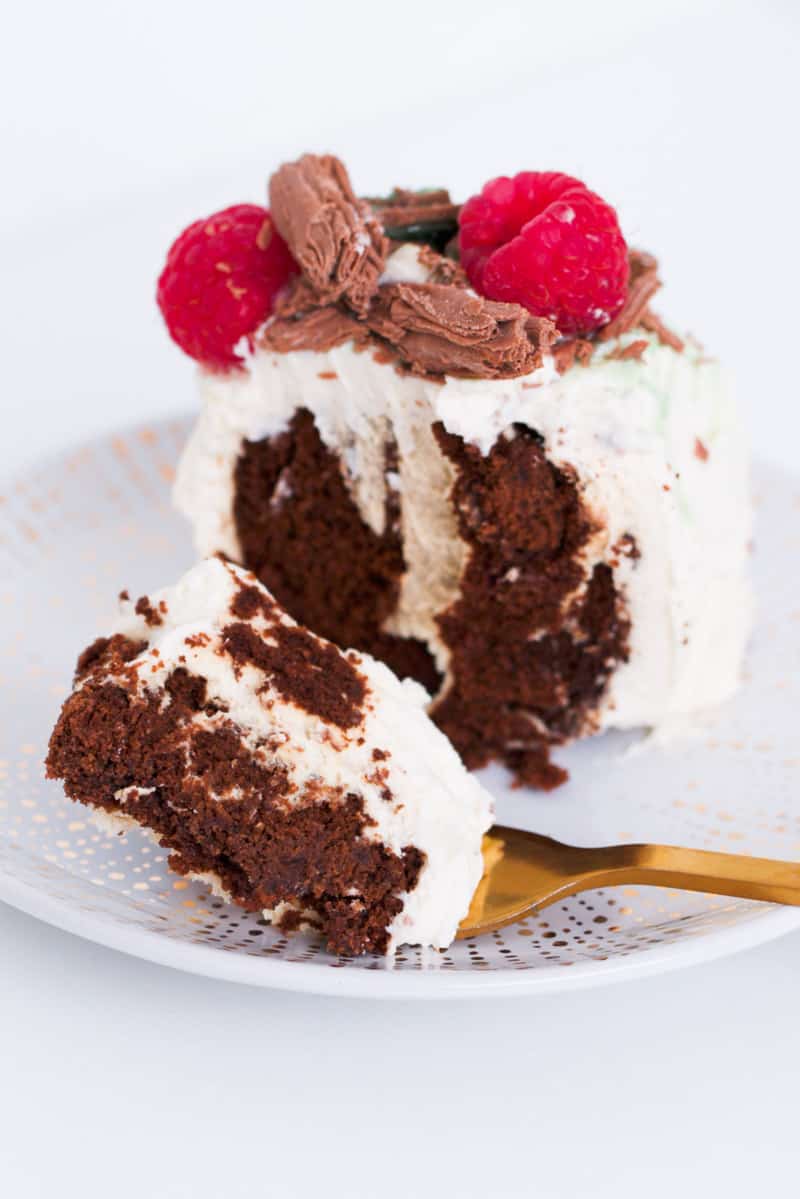
For perfect slices, chill the cake overnight and use a sharp, warm knife to cut on a diagonal - this reveals those gorgeous ripple layers!
Recipe Tips
- Don't overbeat the cream - Stop at soft peaks so it's spreadable.
- Chill overnight - This transforms the biscuits from crunchy to cake-like.
- Use a rectangular serving board or plate - It helps the cake hold its shape.
- Add sugar sparingly - The biscuits add plenty of sweetness already.
- Decorate just before serving - Especially if using Peppermint Crisp, as the peppermint can melt slightly in the fridge. Popular options for decorating include Peppermint Crisp, Flake, fresh berries (raspberries, strawberries, blueberries, blackberries) or cherries.
- Storage - Keep covered in an airtight container in the fridge for up to 2-3 days.
- Freezing - Not suitable for freezing (the cream texture will split).
- Transporting - For warm weather or travel, try stabilising the cream by adding a spoonful of cream cheese when whipping - it helps it hold firm longer.
Chocolate Ripple Cake FAQs
At least 6 hours, but overnight is best for the biscuits to soften fully.
Yes! It's the perfect make-ahead dessert. Assemble the day before and decorate just before serving.
Any plain chocolate cookie works - Biscoff, butternut snaps, ginger snaps, or even scraped Oreos. Just avoid chocolate-coated biscuits, as the coating stops the cream soaking in.
Beat to soft peaks only, and if it's a hot day, you can stabilise your cream with a tablespoon of cream cheese or mascarpone.
Absolutely! Add crushed Peppermint Crisp or drizzle caramel sauce between the layers for easy flavour twists.
More No-Bake Desserts
Here are a few more easy, no-bake desserts you'll love:
WANT EVEN MORE DELICIOUS RECIPES? Subscribe to my newsletter or follow along on Facebook or Instagram. And if you love baking, then please come and join my Facebook cooking club group or subscribe to my YouTube channel.
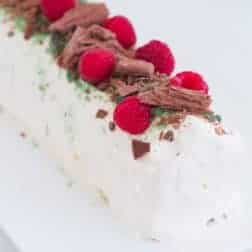
Chocolate Ripple Cake
Ingredients
- 600 ml thickened cream heavy whipping cream
- 1 teaspoon caster sugar optional
- 1 teaspoon vanilla extract optional
- 250 g Arnott's Choc Ripple biscuits see notes
- fresh raspberries, Peppermint Crisp bars and Flakes to decorate
Instructions
Conventional Method
- Place the cream, caster sugar and vanilla extract into a bowl. Beat with handheld beaters or a stand-mixer until soft peaks form.
- Spread some of the whipped cream along the base of your serving dish.
- Hold one chocolate ripple biscuit in your hand. Spread a teaspoon of whipped cream onto the flat edge and place another chocolate ripple biscuit on top. Repeat until you have a stack of 3-4 biscuits in your hand.
- Place the stack standing upright onto the cream on the serving plate. Repeat with another 3-4 biscuits and then join that stack to the serving platter to form one long log.
- Repeat until all of the biscuits have been used.
- Use the remaining whipped cream to spread over the entire outside of the log.
- For best results, place in the fridge overnight before serving (as this will allow the biscuits to soften).
- Decorate with fresh raspberries, Peppermint Crisp bars and Flakes.
Thermomix Method
- Insert the butterfly into the Thermomix bowl. Add the cream, caster sugar and vanilla extract and beat on Speed 3 until soft peaks form.
- Spread some of the whipped cream along the base of your serving dish.
- Hold one chocolate ripple biscuit in your hand. Spread a teaspoon of whipped cream onto the flat edge and place another chocolate ripple biscuit on top. Repeat until you have a stack of 3-4 biscuits in your hand.
- Place the stack standing upright onto the cream on the serving plate. Repeat with another 3-4 biscuits and then join that stack to the serving platter to form one long log.
- Repeat until all of the biscuits have been used.
- Use the remaining whipped cream to spread over the entire outside of the log.
- For best results, place in the fridge overnight before serving (as this will allow the biscuits to soften).
- Decorate with fresh raspberries, Peppermint Crisp bars and Flakes.
Notes
- Don't overbeat the cream - Stop at soft peaks so it's spreadable.
- Chill overnight - This transforms the biscuits from crunchy to cake-like.
- For perfect slices, chill the cake overnight and use a sharp, warm knife to cut on a diagonal - this reveals those gorgeous ripple layers!
- Use a rectangular serving board or plate - It helps the cake hold its shape.
- Add sugar sparingly - The biscuits add plenty of sweetness already.
- Decorate just before serving - Especially if using Peppermint Crisp, as the peppermint can melt slightly in the fridge.
- Storage - Keep covered in the fridge for up to 2 days.
- Freezing - Not suitable for freezing (the cream texture will split).
- Transporting - For warm weather or travel, try stabilising the cream by adding a spoonful of cream cheese when whipping - it helps it hold firm longer.



Ana says
I’ve made this numerous times. Always a hit. I’ve also added a dollop of jam in between each biscuit with the cream.
Karen says
Can I do this with icecream?
Lucy says
Hi Karen, choc ripple cake is traditionally made with whipped cream which softens the biscuits in the fridge overnight. You could do a frozen ice cream version but it would be very different to a choc ripple cake.