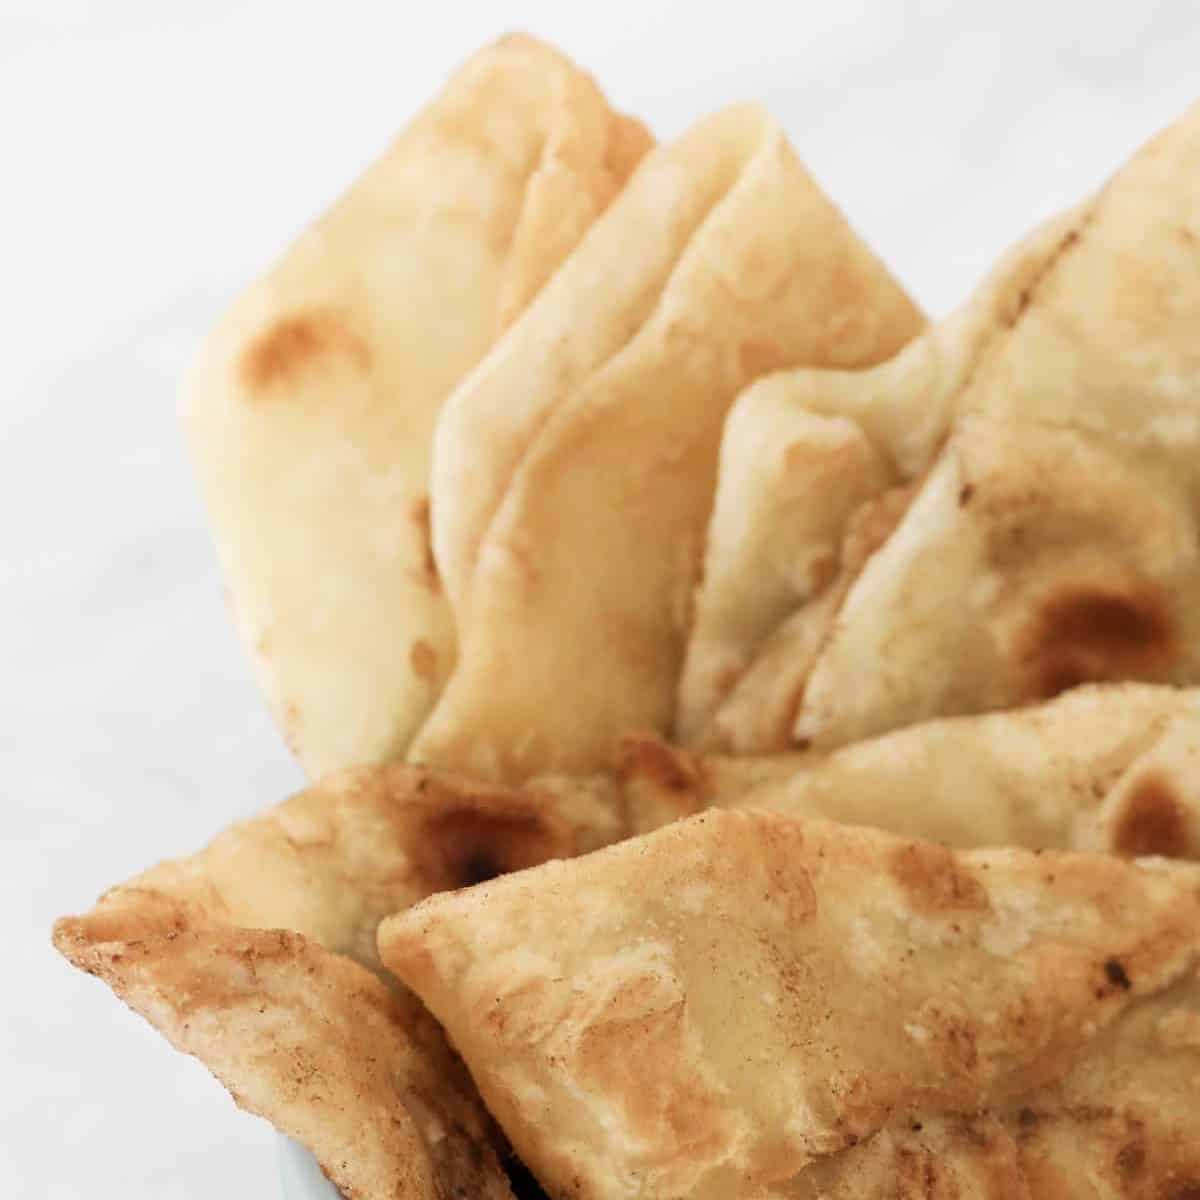
Roti Bread
The BEST buttery and flaky Roti Bread made with just 4 ingredients - flour, salt, butter and water... perfect for serving with your favourite curries and dips.
Print
Pin
Servings: 8 serves
Calories: 162kcal
Cost: $1
Equipment
- stand mixer (with dough attachment, Thermomix or board to knead on
- Frying pan
Ingredients
- 300 g (2 cups) bread flour or plain flour
- 1 tsp salt
- 30 g (2 tbs) butter melted
- 165 g (⅔ cup) warm water
- extra butter for frying
Instructions
- Sift the flour into a large bowl. Add the salt and mix to combine.
- Pour the melted butter into the bowl and whisk with a fork until dispersed.
- Pour in the warm water and mix until the dough starts to come together.
- Knead the dough for 6-8 minutes or until very stretchy and sticky. Note: You can knead the dough by hand on a lightly floured board, or in a stand mixer with a dough attachment, or by using the dough function on a Thermomix.
- Place the dough into a bowl, cover with a tea towel and rest for 30 minutes. Note: the dough will NOT rise - the resting time helps to ensure the roti is soft once cooked. You can omit the resting time if necessary.
- Divide the dough into 8 equal portions.
- On a lightly floured board, roll the dough out as thin as you possibly can (paper thin!)
- Melt 1 teaspoon of butter in a frying pan over medium heat.
- Place the roti bread into the frying pan and cook for 30-45 seconds or until it's lightly golden on the bottom and slightly bubbling. Turn the roti bread over and cook for a further 20-30 seconds.
- Place the roti bread into a container with a lid (or a ziplock bag). Place a slightly damp sheet of paper towel over the top and seal to keep the roti warm. Note: this keeps the bread moist and warm while you cook the remaining roti.
- Repeat cooking the remaining roti using extra butter each time.
- Serve immediately while still warm.
Notes
RECIPE NOTES & TIPS
- Knead the dough - by hand on a lightly floured board, or in a stand mixer with a dough attachment or by using the dough function on a Thermomix.
- Roll the dough as thinly as possible for soft, flexible roti.
- If the dough springs back while rolling, let it rest a few extra minutes.
- Don’t skip resting time – the dough will not rise however it makes it easier to roll, and cooks soft instead of chewy.
- For extra crispiness use a cast-iron pan as this holds the heat best.
- Brush with melted butter or ghee after cooking for added flavour.
- Keep cooked roti covered with a damp paper towel or in a container with a lid, to stay warm and moist while the rest are being cooked.
- Best served immediately, but leftovers will keep for up to 3 days at room temp.
- To freeze – layer baking paper between rotis, freeze in an airtight bag for up to 2 months. Thaw and reheat in a hot pan.
Nutrition
Calories: 162kcal | Carbohydrates: 27g | Protein: 5g | Fat: 4g | Saturated Fat: 2g | Polyunsaturated Fat: 0.4g | Monounsaturated Fat: 1g | Trans Fat: 0.1g | Cholesterol: 8mg | Sodium: 317mg | Potassium: 38mg | Fiber: 1g | Sugar: 0.1g | Vitamin A: 94IU | Calcium: 7mg | Iron: 0.3mg
