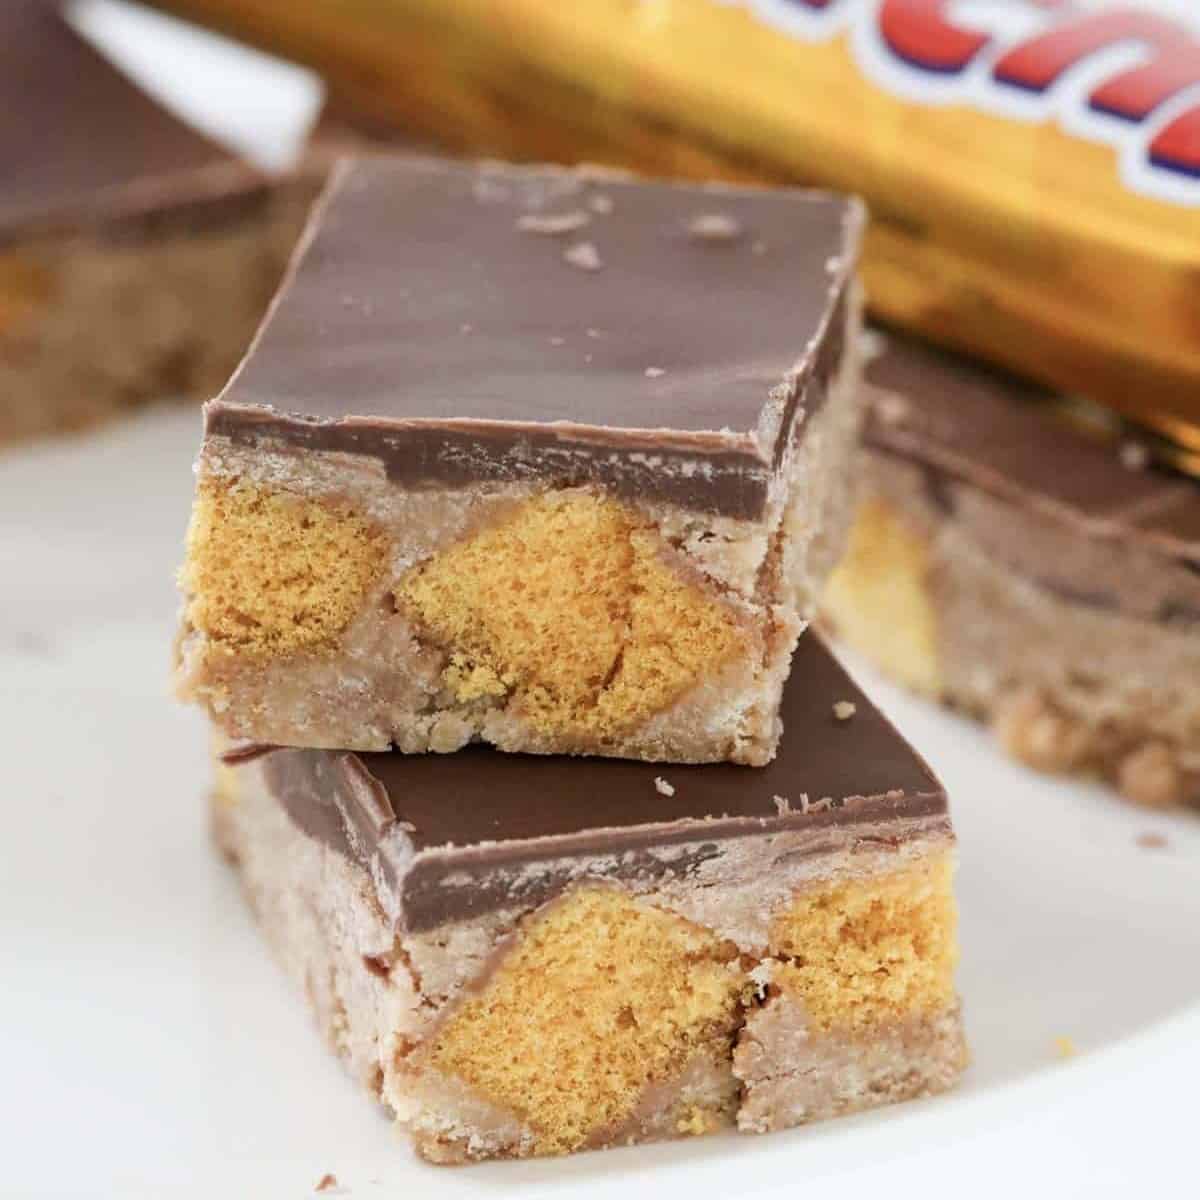
Chocolate Crunchie Slice
Everyone's favourite no-bake Chocolate Crunchie Slice takes just 10 minutes to make and tastes AMAZING! Chunks of crunchy honeycomb in a biscuit base, then topped with a layer of creamy milk chocolate.
Print
Pin
Servings: 20 serves
Calories: 226kcal
Cost: $10
Equipment
- Microwave, stove-top or Thermomix
Ingredients
- 250 g plain sweet biscuits like Arnotts Marie
- 200 g sweetened condensed milk add a little more if needed
- 100 g butter chopped
- 150 g honeycomb chocolate bars Crunchie bars or similar
- 250 g milk chocolate block or melts
Instructions
Conventional Method
- Melt butter and condensed milk in the microwave on 50% power for 2-3 minutes stirring every 30 seconds until melted. Mix until smooth. Pour warm mixture onto the biscuits and mix well.
- Stir through the chopped honeycomb.
- Spread mixture into an 18cm x 28cm rectangular slice tin lined with baking paper.
- Meanwhile, melt the chocolate in the microwave on 50% power for 3-4 minutes (stirring regularly) and pour over the slice.
- Refrigerate for 1 hour minimum (overnight is best).
Thermomix Method
- Place the biscuits into the Thermomix bowl and crush for 8 seconds, Speed 8. Set aside in a separate bowl.
- Place the cubed butter and sweetened condensed milk into the Thermomix bowl. Melt for 4 minutes on 50 degrees, Speed 2.
- Add the crushed biscuits and Crunchie bar chunks and mix for 20 seconds, REVERSE, Speed 2 (using the spatula to help mix).
- Spread mixture into an 18cm x 28cm rectangular slice tin lined with baking paper.
- Grate the milk chocolate for 10 seconds, Speed 5. Scrape down the bowl and melt for 3 minutes on 50 degrees, Speed 2. Pour chocolate over the slice.
- Refrigerate for 1 hour minimum (overnight is best).
Video
Notes
RECIPE NOTES & TIPS
- Biscuits/Cookies - you can use any brand of plain sweet biscuits (known as cookies in the US) you like. I generally use Arnott’s Marie biscuits.
- Crushing the biscuits - a food processor, Thermomix or a rolling pin all work great!
- Sweetened condensed milk - ensure you use a full-fat sweetened condensed milk for best results. Depending on the type of biscuits used, you may need a little more than 200g. If the mixture seems too dry and crumbly add a little more (you want it to hold together well but certainly not be too soft).
- Chocolate - I prefer to use milk chocolate on this slice. You can use either a block of cooking chocolate or chocolate melts - see my notes below for tips on preventing the chocolate from cracking when cut.
- Line your baking tin - line your slice tin with baking paper to allow for easy removal once the slice has been chilled and is ready to be cut into pieces.
- Storing - store chocolate honeycomb slice in an airtight container in the fridge for up to 5 days.
- Freezing - store the slice in an airtight container in the freezer for up to 3 months.
- Cutting the slice - add a small amount coconut oil or vegetable oil to the melted chocolate before pouring over the slice. This helps to stop the chocolate from cracking when sliced. Allow the slice to set in the fridge (preferably overnight before cutting). Remove the slice from the fridge and place onto a chopping board 30 minutes before cutting. This will allow the chocolate to soften slightly which prevents it from cracking. Use a knife to gently ‘score’ through the chocolate layer first. This involves gently cutting lines in the chocolate until you’ve cut through the entire chocolate layer. Then use a large flat knife and press down through the rest of the slice. If you attempt to cut through both the chocolate layer and the slice underneath in one go, the chocolate is likely to crack and break. Cutting through the chocolate layer first solves this problem.
Nutrition
Calories: 226kcal | Carbohydrates: 28g | Protein: 3g | Fat: 13g | Saturated Fat: 7g | Cholesterol: 14mg | Sodium: 111mg | Potassium: 114mg | Fiber: 1g | Sugar: 20g | Vitamin A: 152IU | Vitamin C: 1mg | Calcium: 38mg | Iron: 1mg