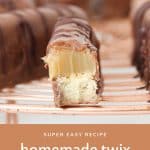
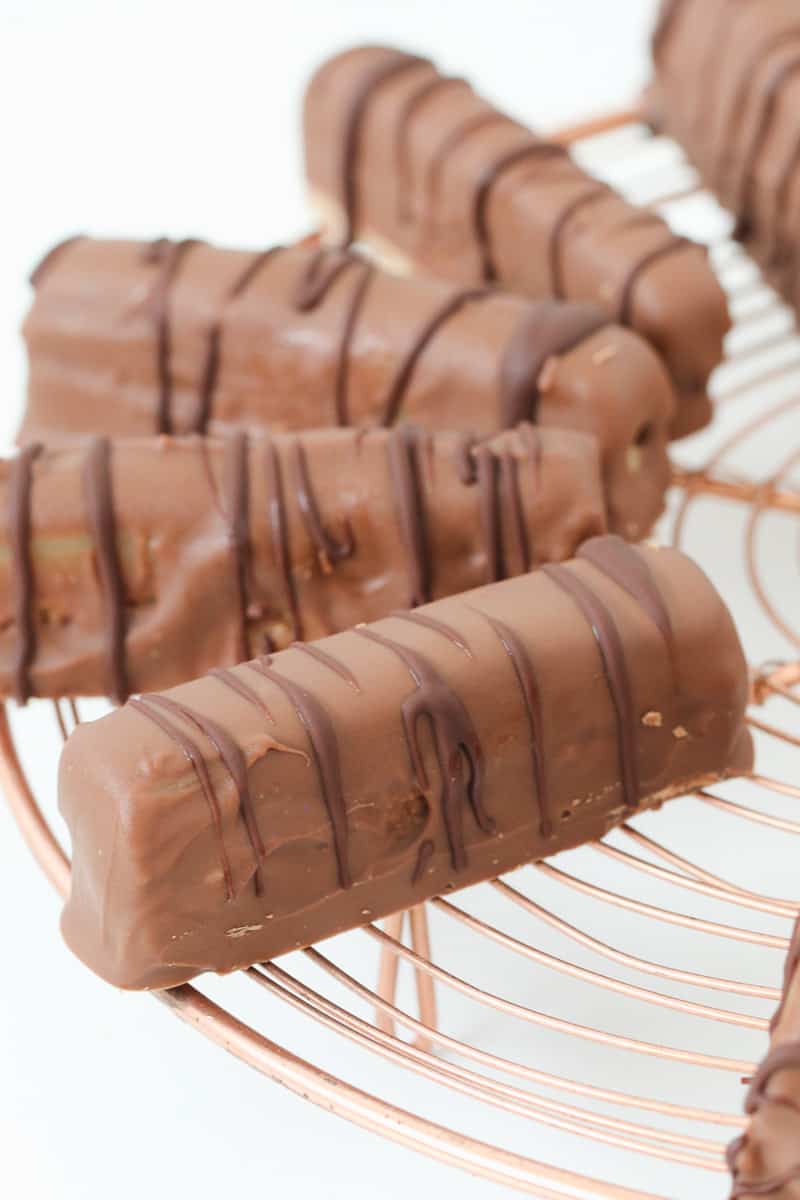
Chewy and crunchy homemade Twix Bars... a copycat version of the famous chocolate bar made with a shortbread base and soft caramel dipped in chocolate. A decadent dessert that takes just 20 minutes to prepare.
If you love store-bought Twix bars, you're going to go crazy for this homemade version.
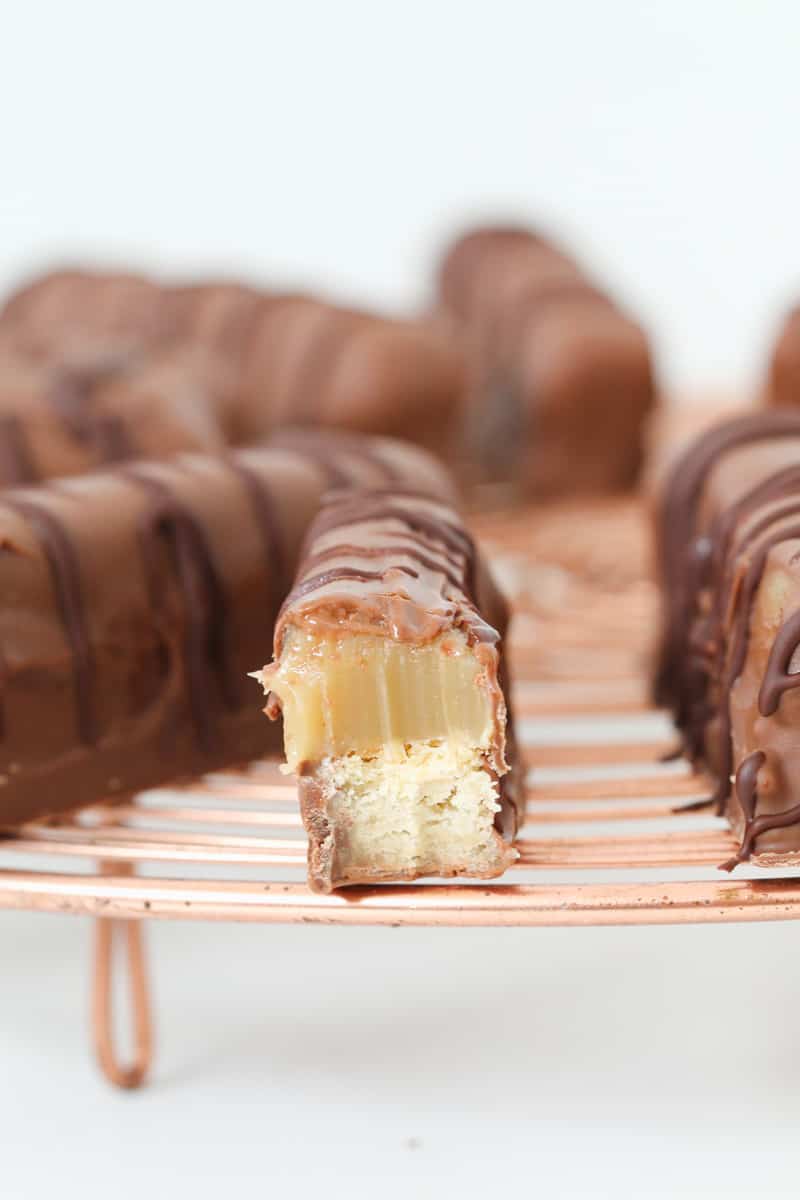
Just like my Twix Cookies, these Twix bars combine the perfect trio of caramel, chocolate and melt-in-your-mouth shortbread.
The ultimate dessert!
Why You're Going To Love This Recipe
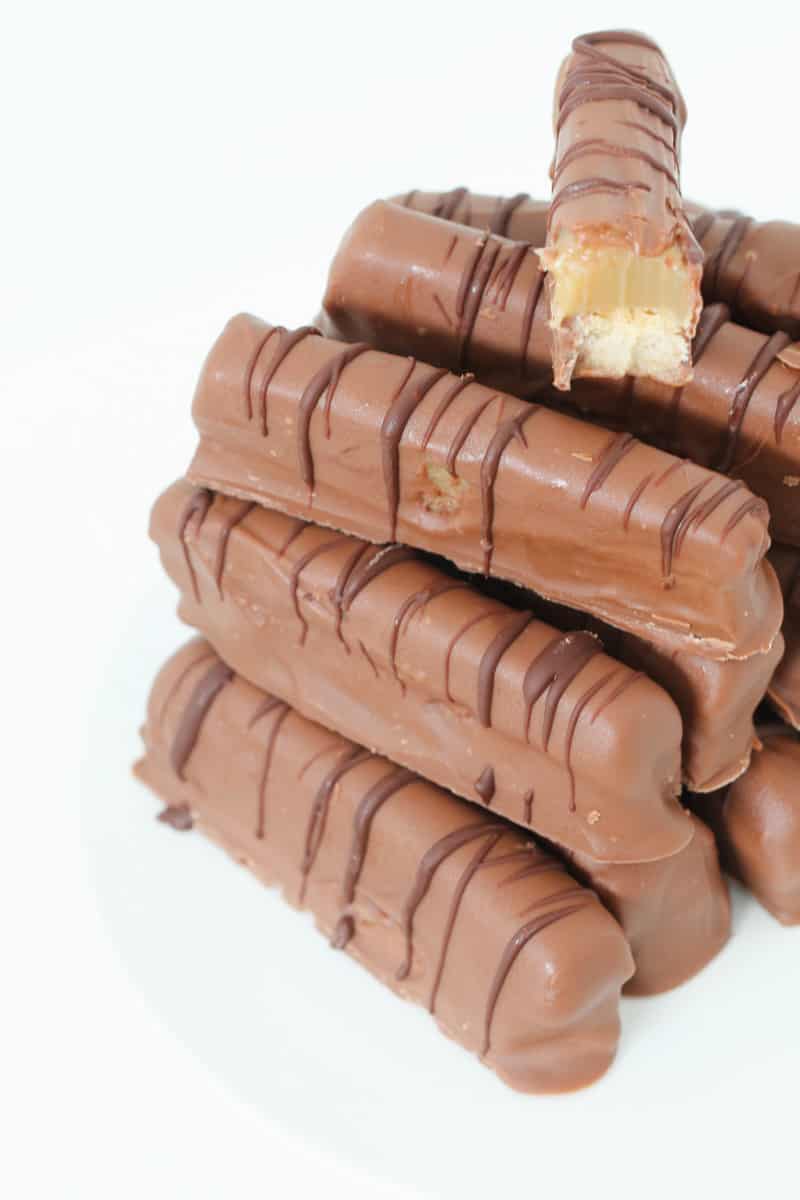
This recipe is broken down into 3 seperate parts - the melt-in-your-mouth shortbread base, the chewy caramel filling and the sweet and creamy chocolate coating.
Here's why you're going to fall in love with homemade Twix Bars:
- Better Than Store-Bought - once you try my homemade Twix Bars, you'll never go back to store-bought again! With all the classic flavours, but without any additives!
- Perfect For Any Occasion - serve at morning tea with coffee, as a late night dessert or a delicious party food.
- Quick & Easy - despite looking fancy, these Twix Bars take just 20 minutes to prepare.
What You Need
Lets get baking!
Note: please scroll to the recipe card for the ingredient quantities and full detailed method.
For The Shortbread Base
- plain flour - also known as all-purpose flour
- icing sugar - also known as confectioners sugar or powdered sugar
- brown sugar - you can use regular brown sugar or dark brown sugar for this recipe
- salt
- butter - either salted or unsalted butter can be used in this recipe. If using salted butter, omit the extra pinch of salt.
For The Caramel Filling
- sweetened condensed milk - choose full fat (not skim or light) sweetened condensed milk. I like to use Nestle brand as it sets firmer than home brand.
- brown sugar - you can use regular brown sugar or dark brown sugar for this recipe
- golden syrup - golden syrup is a cane sugar syrup popular in Australian, New Zealand and British baking recipes. If golden syrup is not available where you live, you can replace it with corn syrup, honey or maple syrup.
- vanilla extract - or vanilla essence
- salt
For The Chocolate
- milk chocolate - use milk chocolate melts (or cooking chocolate) as they melt easily.
- dark chocolate - for drizzling (optional)
Step By Step Instructions
Follow my simple steps for the perfect homemade Twix Bars!
Note: please scroll to the recipe card for the ingredient quantities and full detailed method.
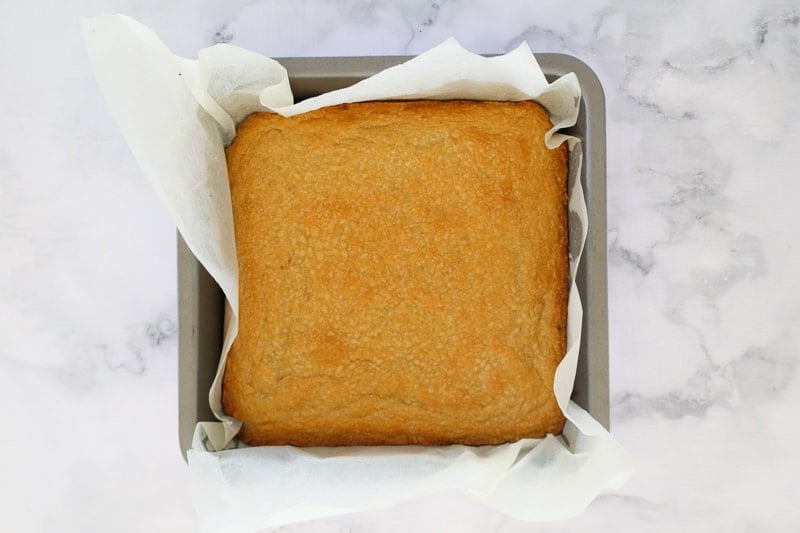
Step 1 - Make The Base
Mix the dry ingredients together.
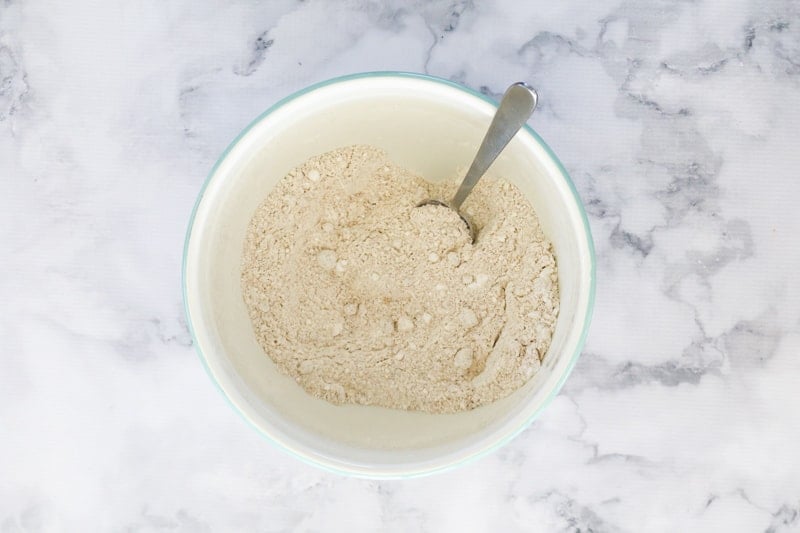
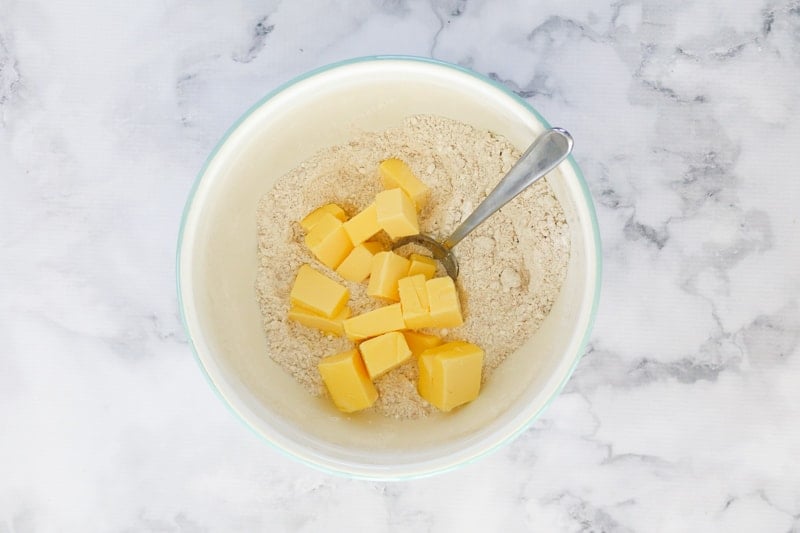
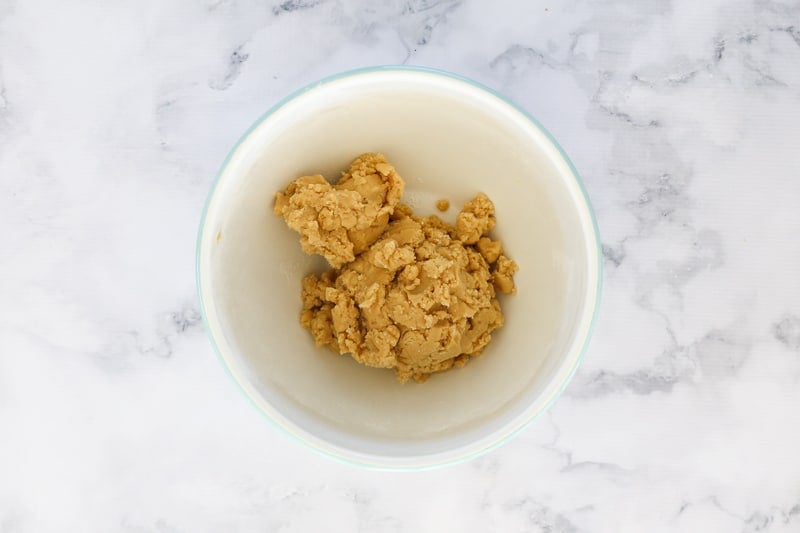
Add the butter and beat with hand-held beaters, a stand-mixer or a Thermomix until the mixture resemble crumbly balls.
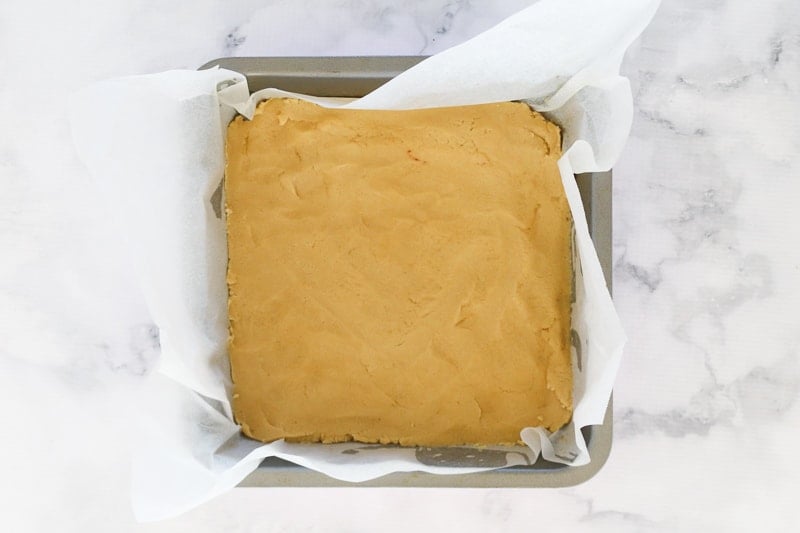
Press the mixture firmly into a square baking tin and bake until lightly golden.
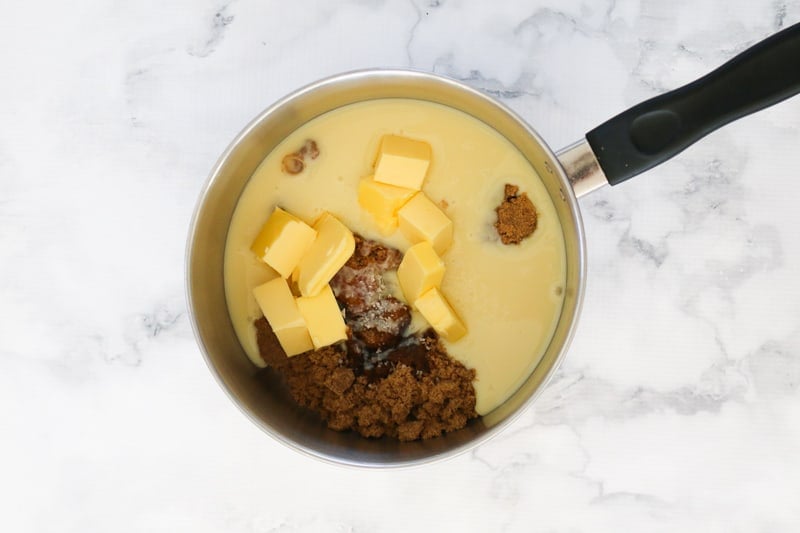
Step 2: Make The Caramel
Place all ingredients into a saucepan and melt over medium heat for 15 minutes or until visibly thickened.
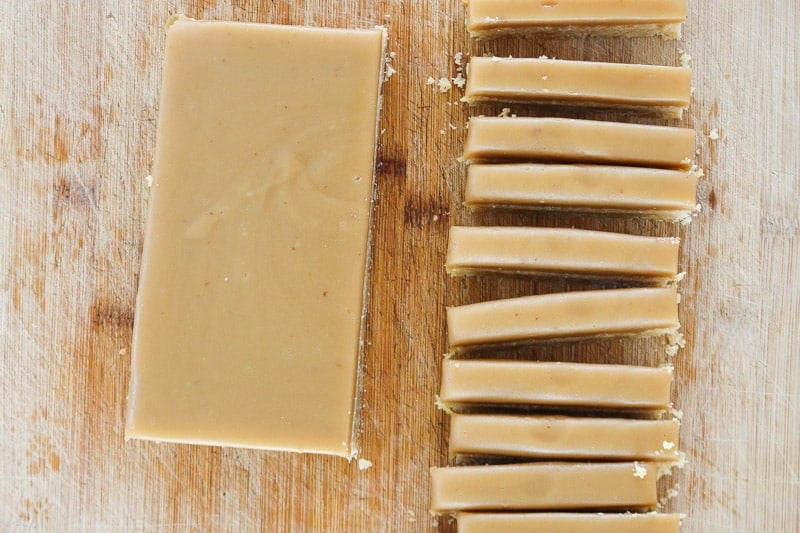
Pour the caramel over the shortbread base and chill in the fridge.
Cut the caramel and shortbread into long rectangles.
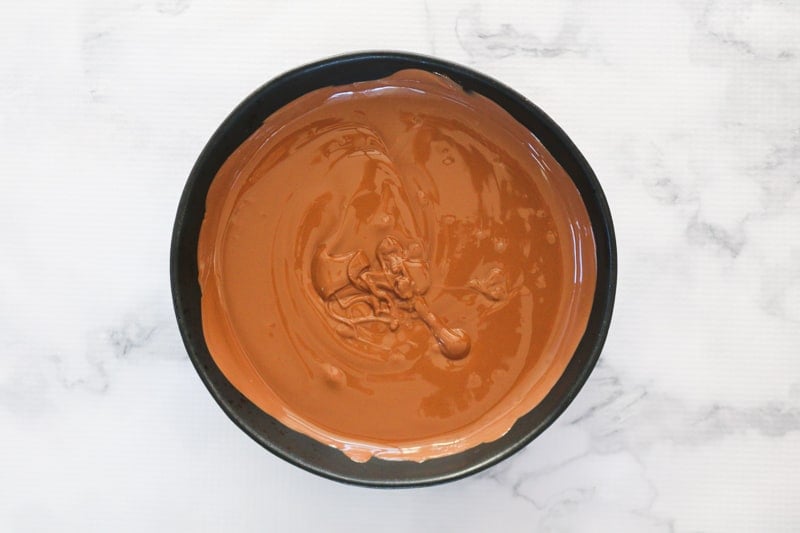
Step 3: Dip Into Chocolate
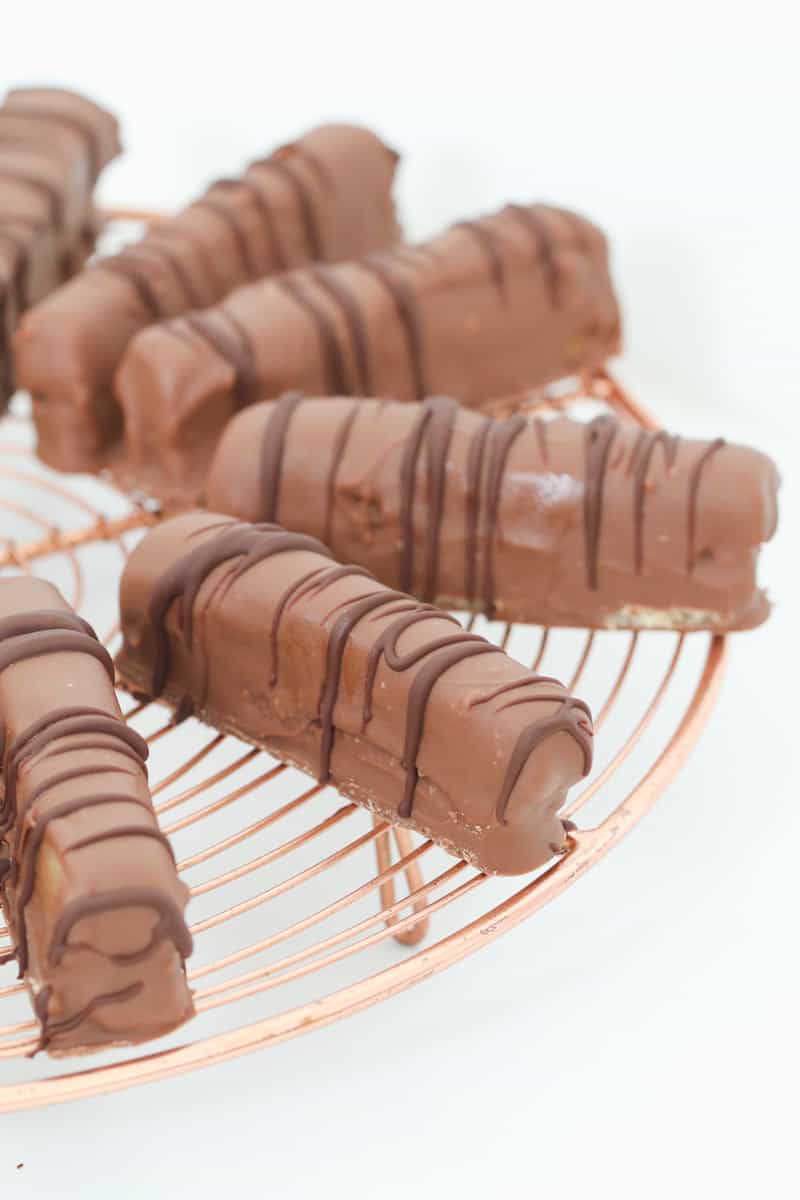
Dip the caramel shortbread fingers into the melted chocolate and allow any excess chocolate to drip off.
Place the chocolate coated fingers onto a baking paper lined tray and place into the fridge to set.
Drizzle with extra dark melted chocolate if you like.
Expert Tips & FAQ
Follow my simple tips for the perfect Homemade Twix Bars:
Twix Bars are a famous chocolate bar made by Mars. They have a shortbread biscuit base, soft chewy caramel filling and a chocolate coating and are available in supermarkets worldwide.
Ensure the heat isn't too high or the caramel will stick to the bottom of the saucepan.
Stir the caramel continuously while it cooks.
Use full fat sweetened condensed milk as skim milk wont set firm.
Continue cooking the caramel until it's very thick.
Pour the caramel onto the cooled base and allow it to set completely in the fridge.
Use a very sharp knife to cut the slice down the middle and then into small fingers (approximately 30).
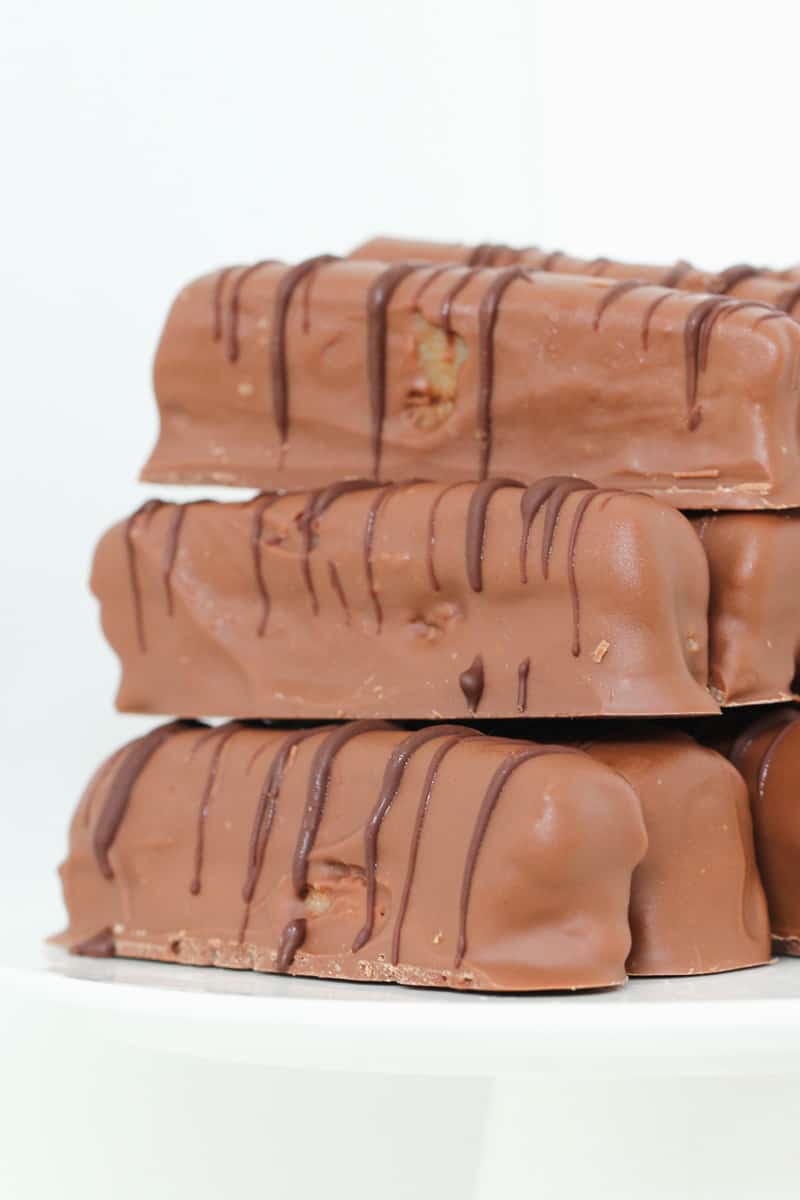
Keep the Twix bars in an airtight container in the fridge for up to 5 days.
Freeze in an airtight container for up to 1 month. Place sheets of baking paper between each layer.
Related Recipes
Browse my collection of chocolate bar inspired recipes!
- Mars Bar Cheesecake - A decadent white chocolate cheesecake packed with chunks of Mars Bars.
- Chocolate Crunchie Slice - Chocolate honeycomb mixed throughout a no-bake chocolate slice.
- Malteser Slice - A delicious no-bake slice topped with Maltesers.
- Mars Bar Slice - A classic slice that everyone loves - perfect for lunchboxes or an afternoon tea treat.
WANT EVEN MORE DELICIOUS RECIPES? Subscribe to my newsletter or follow along on Facebook or Instagram. And if you love baking, then please come and join my Facebook cooking club group or subscribe to my YouTube channel.

Homemade Twix Bars
Ingredients
For the shortbread base
- 185 g (1 ¼ cups) plain flour
- 40 g (¼ cup icing sugar
- 55 g (¼ cup) brown sugar firmly packed
- pinch of salt
- 150 g butter softened
For the caramel
- 395 g sweetened condensed milk
- 100 g (½ cup) brown sugar firmly packed
- 2 tbs golden syrup
- 125 g butter
- 1 tsp vanilla extract
- pinch of salt
For the chocolate topping
- 450 g milk chocolate (see notes)
- 50 g dark chocolate for drizzling, optional
Instructions
Conventional Method
- Preheat oven to 180 degrees celsius (fan-forced). Grease and line a 23cm square baking tin with baking paper and set aside (leave a 5cm overhang on the sides).
- Place the plain flour, icing sugar, brown sugar and salt into a large mixing bowl and stir to combine.
- Add the softened butter and beat on medium-high speed until the mixture turns into crumbly balls.
- Pour the mixture into the prepared pan and use a spoon to spread out evenly and press down firmly.
- Bake for 15 minutes or until lightly golden. Allow to cool in the pan.
- To make the caramel, place the sweetened condensed milk, brown sugar, golden syrup, butter, vanilla extract and salt into a medium saucepan. Cook on medium heat (stirring continuously) for 15 minutes or until visibly thickened (see notes).
- Pour the caramel over the shortbread base and place into the fridge to set.
- Remove from the baking pan and place onto a chopping board. Cut one long line down the middle and then cut each half into approximately 15 small fingers. Place back into the fridge for 30 minutes.
- Melt the milk chocolate in a microwave-safe bowl on 50% power for 3-4 minutes (stirring every 30 seconds) or until just melted.
- Dip the caramel shortbread fingers into the melted chocolate and allow any excess to drip off. Place onto a flat baking tray and place back into the fridge to set.
- Optional: drizzle with extra melted dark chocolate.
- Store in an airtight container in the fridge for up to 5 days.
Thermomix Method
- Preheat oven to 180 degrees celsius (fan-forced). Grease and line a 23cm square baking tin with baking paper and set aside (leave a 5cm overhang on the sides).
- Place the plain flour, icing sugar, brown sugar, salt and butter into the Thermomix bowl and mix for 10 seconds, Speed 8. Mix on Interval/Knead function until the mixture turns into crumbly little balls.
- Pour the mixture into the prepared pan and use a spoon to spread out evenly and press down firmly. Bake for 15 minutes or until lightly golden. Allow to cool in the pan.
- To make the caramel, place the sweetened condensed milk, brown sugar, golden syrup, vanilla extract and butter into a clean and dry Thermomix bowl. Mix on 80 degrees, Speed 4, 8 minutes. Check the consistency and if it's not considerably thicker, continue cooking (same temperature and speed) in 1 minute intervals until thick.
- Pour the caramel over the shortbread base and place into the fridge to set.
- Remove from the baking pan and place onto a chopping board. Cut one long line down the middle and then cut each half into approximately 15 small fingers. Place back into the fridge for 30 minutes.
- Place the milk chocolate into a clean and dry Thermomix bowl. Melt for 4 minutes, 60 degrees, Speed 2 (or until melted). Dip the caramel shortbread fingers into the melted chocolate and allow any excess to drip off.
- Place onto a flat baking tray and place back into the fridge to set. Optional: drizzle with extra melted dark chocolate.
- Store in an airtight container in the fridge for up to 5 days.
Leave a Reply